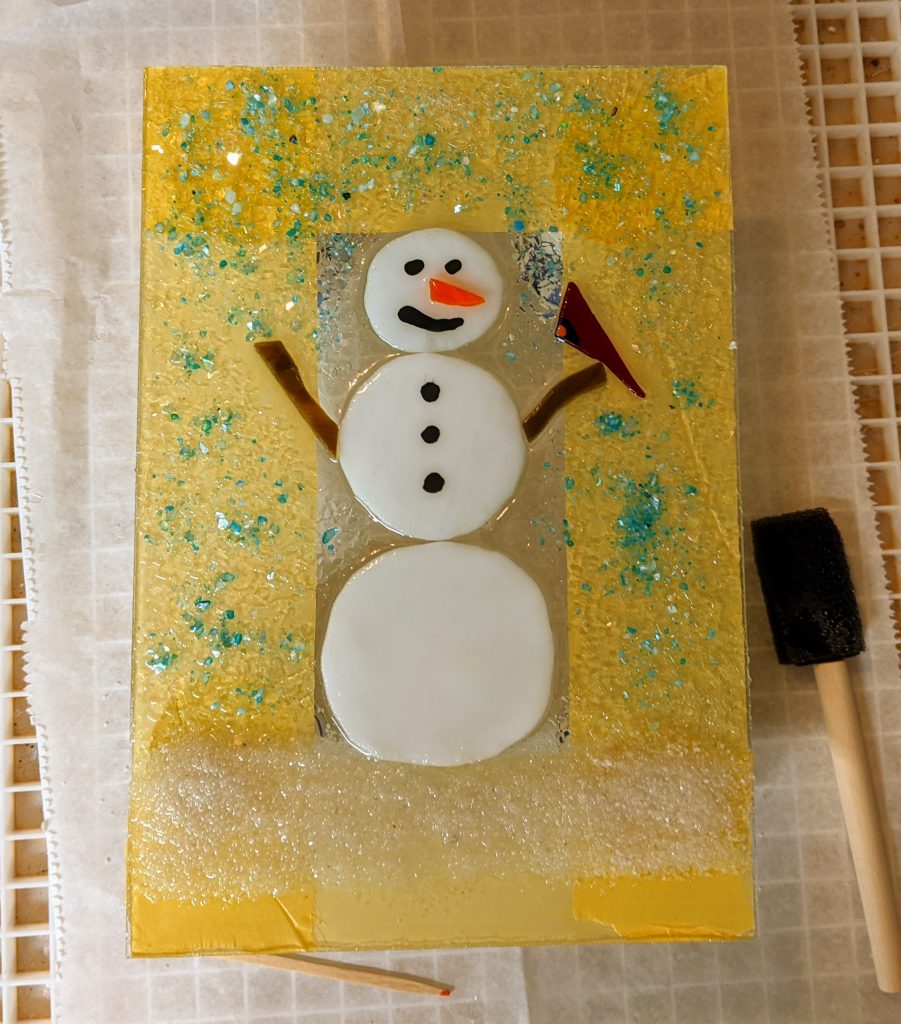
I finished this guy yesterday and he cured overnight. Measures approximately 6.5″ w x 9.5″ tall, stained glass on recycled window glass coated with resin and decorated with glass chips, ground stone, glass glitter and blue shell accents.
Glass of Sherry
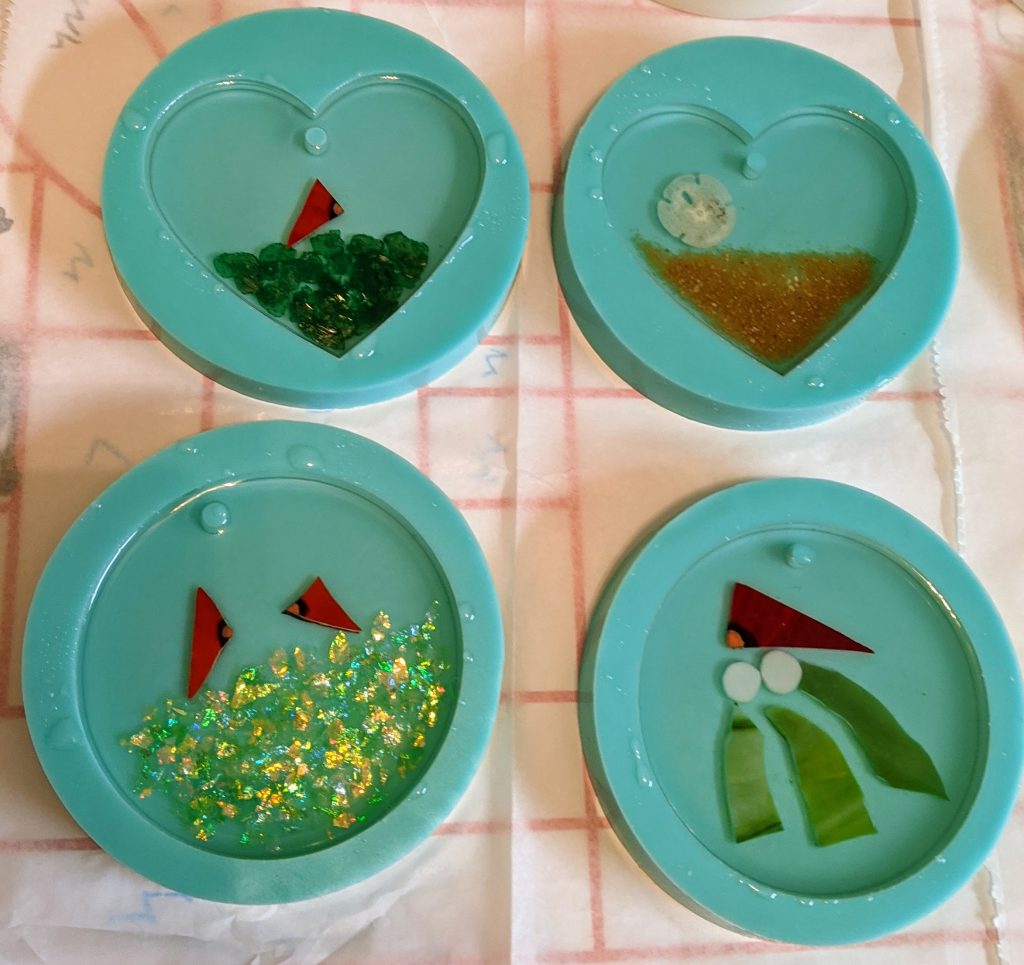
I’m on roll with the holiday ornaments. I only have four molds, though, so I can only make four every other day, and that’s if I actually don’t skip any days, which I do. So it’s not a high output production, but it is a labor of love. 🙂
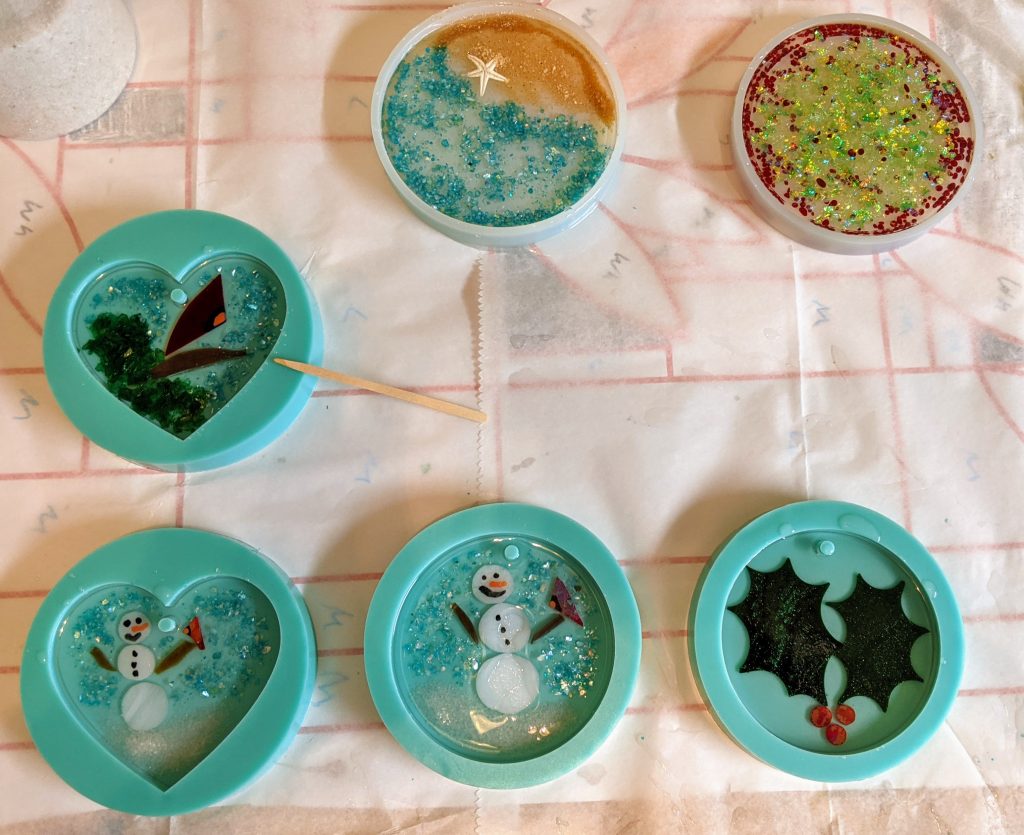
I poured the second layer on the fourth “Holiday Confetti” coaster and the first layer on the other five pieces. In addition, I poured the resin and decorated a small (though big compared to the other items) Snowman panel.
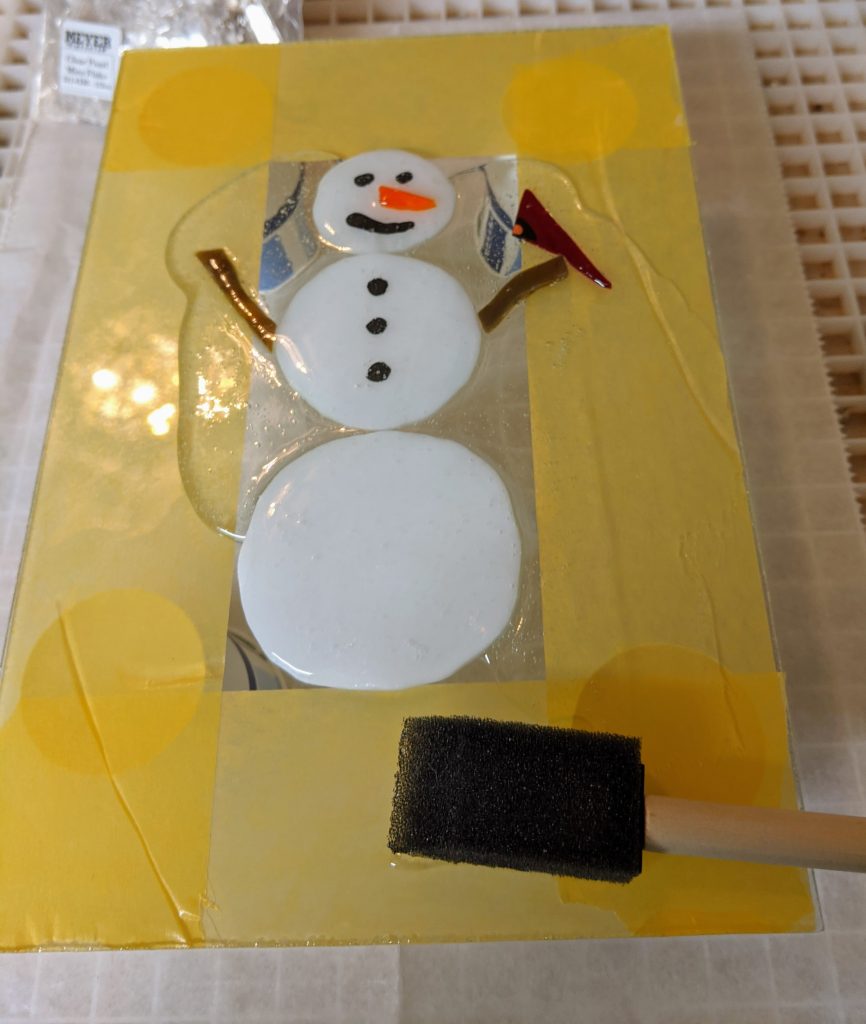
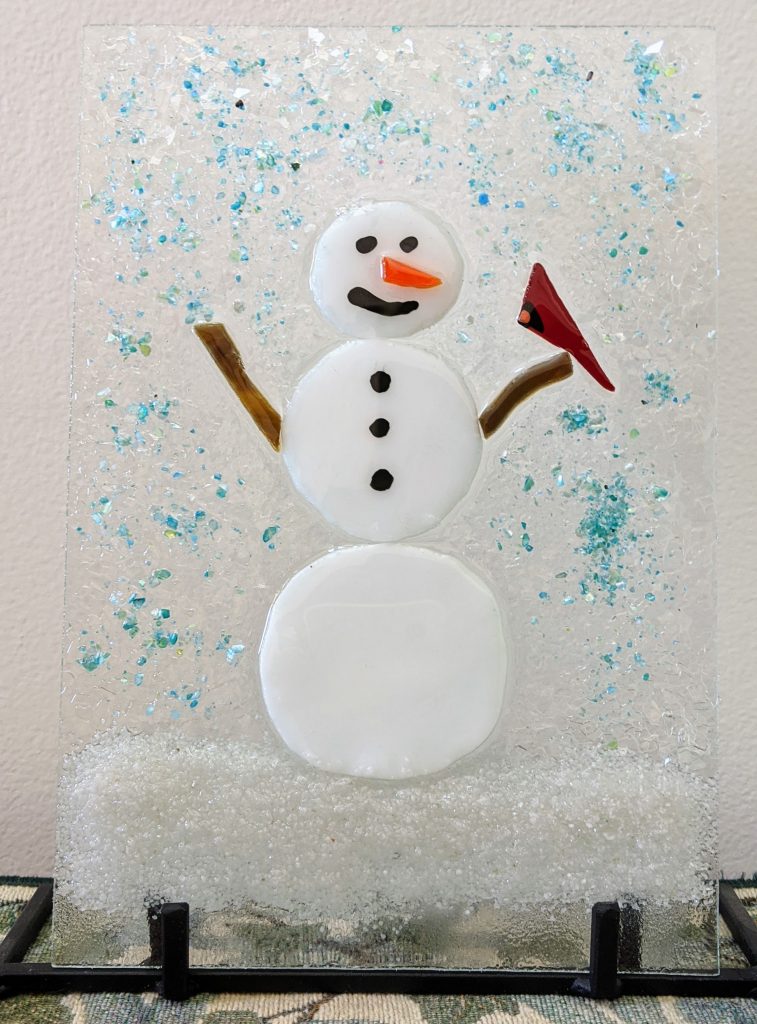
The yellow on the glass is actually painters tape I applied to the underside of the glass to make cleanup a bit easier. I pour a small amount of resin over all of the stained glass, then spread a thin layer over the rest of the backer glass so I have a substrate for my decorations to adhere to. In this case, I used crushed stone for snow, clear glass chips and blue shell chips for sparkle and interest. I dusted a bit of fine glass glitter over the snowbank and bottom area as well, but I’m finding that the glitter doesn’t seem to show up very well / as I would hope.
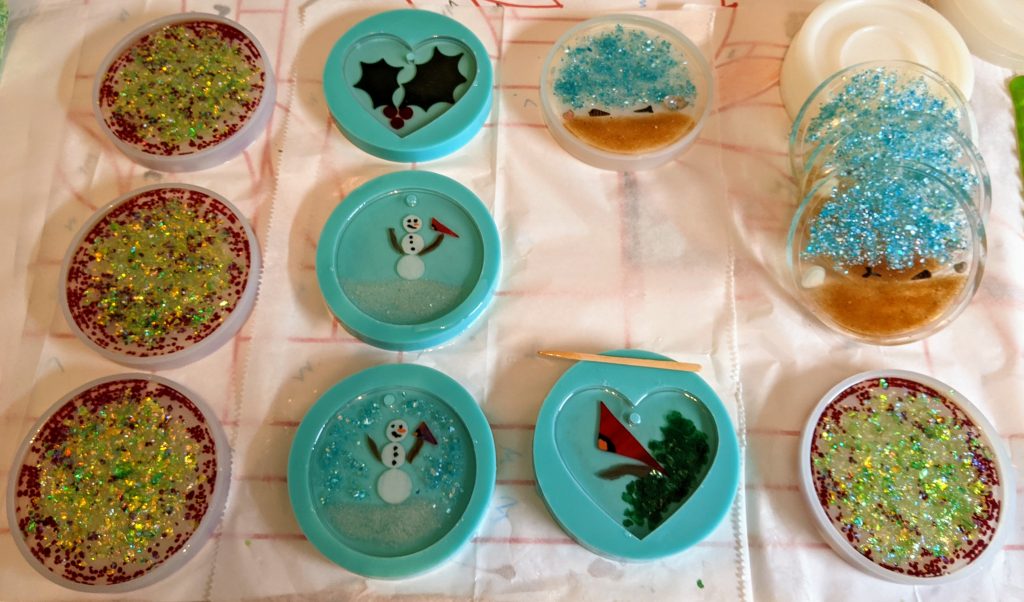
I also popped out some finished products from yesterday’s time spent creating.
I used some of the fine glass glitter in the Cardinal and Snowman suncatchers / ornaments above and it didn’t turn out as I had hoped. The glitter is sort of cloudy instead of sparkly. It still looks ok, just not the way I expected it to look. It might be better on the surface of my non-mold resin projects, so I will keep experimenting.
Today I poured the second layer of resin on several small projects and then spent some time making several small snowmen. I am experimenting with some abstract red and green coasters too, though my son says his favorite is the holly leaf suncatcher. My current favorites are the little snowmen. This is as close as you can get to making snowmen here in Charleston, SC. It’s 80 degrees outside and it’s well into November!
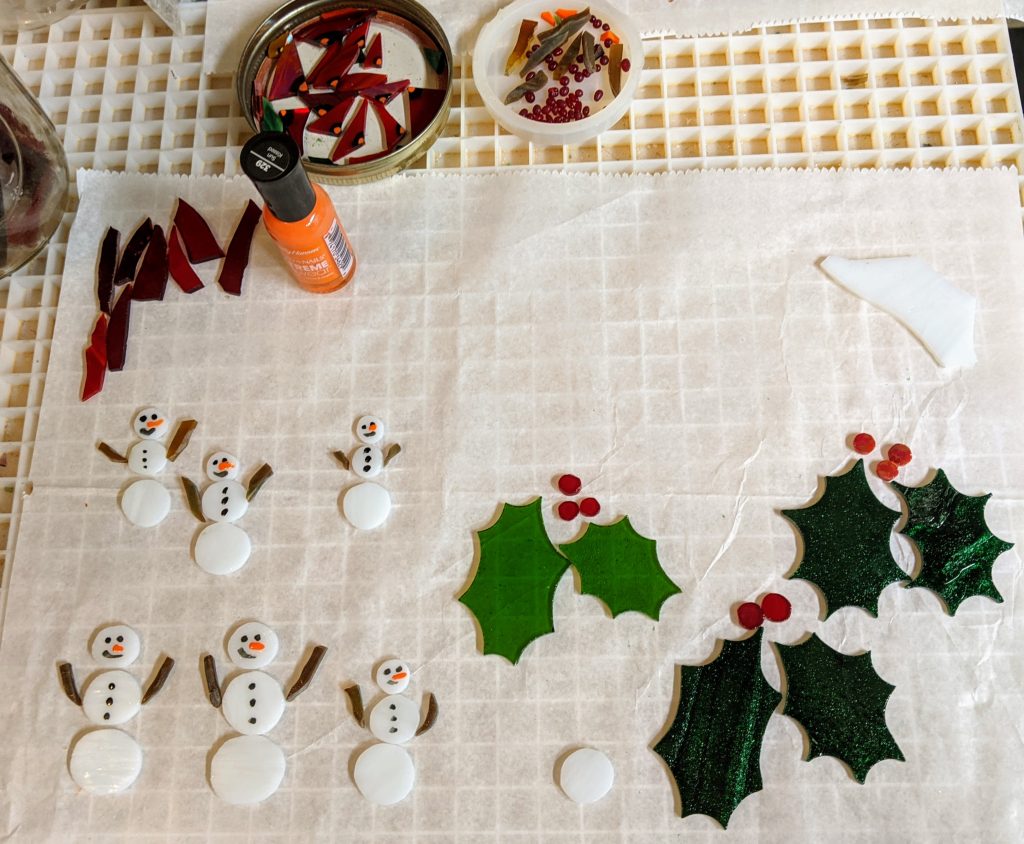
To make the “snowballs” for their bodies, I use glass nippers to rough out a generally round shape, then I use my glass grinder to smooth the edges. My fingers are pretty sore after making so many snowmen in one day! After the “snowballs” are ready, I paint on their faces (on the tiny ones). I use glass for the detail on the faces of the larger snowmen. Since these tiny ones are destined to be in two sided ornaments, I painted both sides of their faces / buttons and the little birds that will perch on their stick arms.
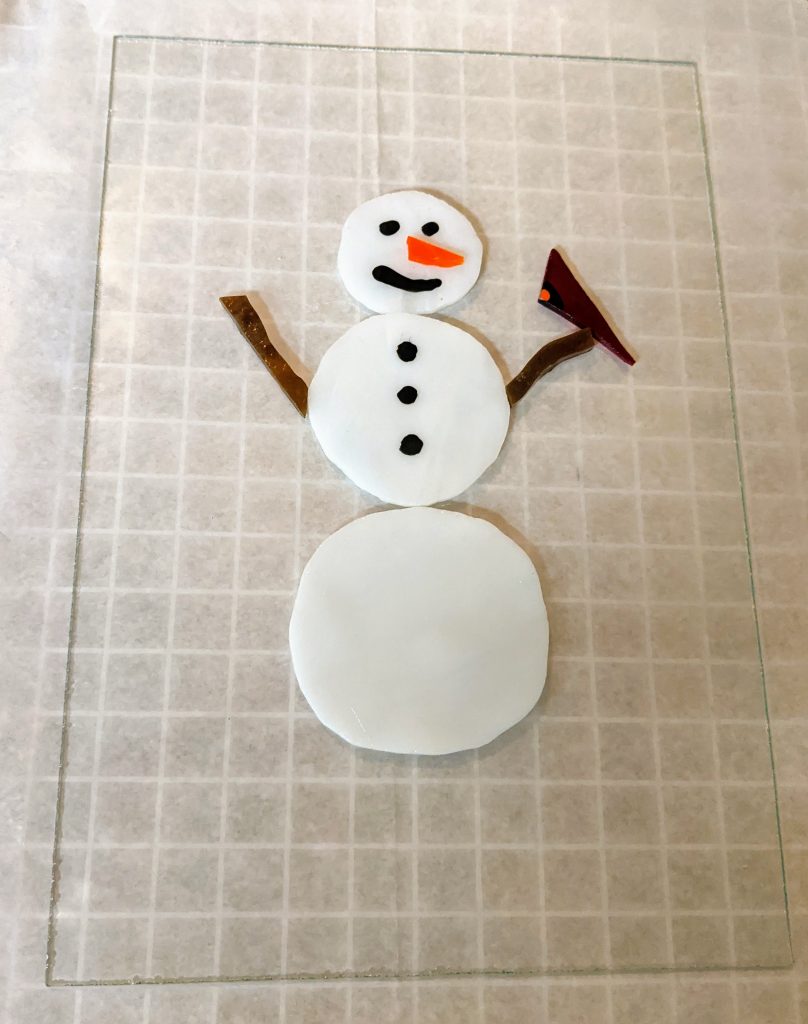
I also cut some backer glass and glued the pieces of this “big” snowman in place. I will pour the resin and decorate it another day, after the mosaic adhesive has had a chance to fully cure. This piece will be table top sized as it’s slightly smaller than a standard sheet of paper.
Today’s little ‘cheer-full’ projects! Second or third layers poured on the beachy coasters, first layer on all the others. I got some new colors of mica and other types of flitter / glitter from meyer-imports this week and I can’t wait to try them all out!
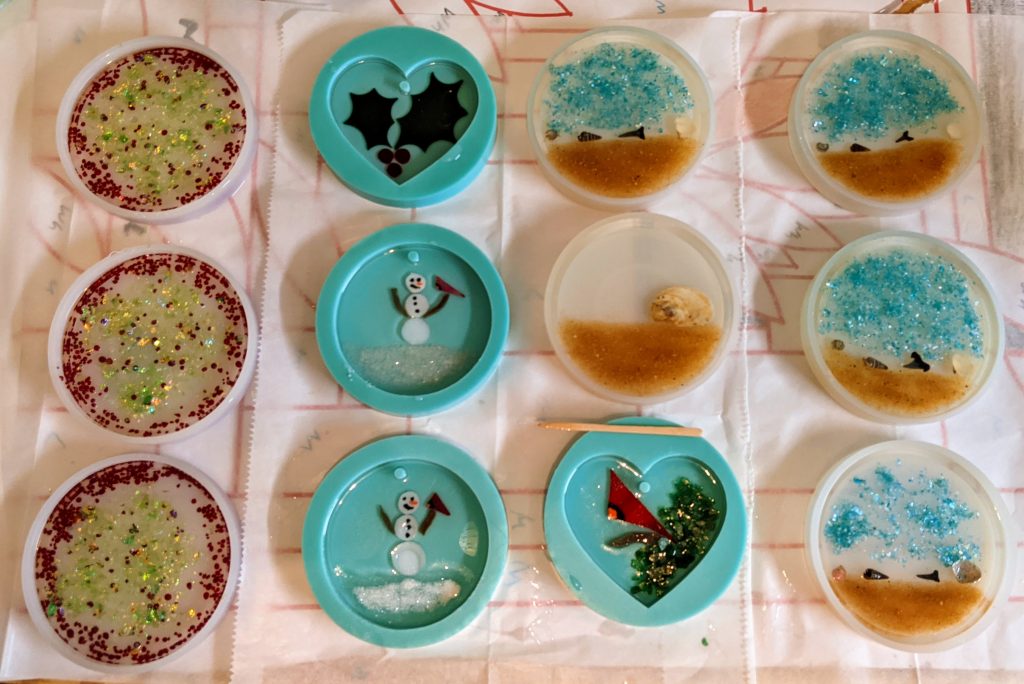
Suncatchers / ornaments are between 3-3.5″ across. Handmade suncatchers are $20 each. Handmande coasters with stained glass are $50 for the set. Contact me for delivery / shipping options.
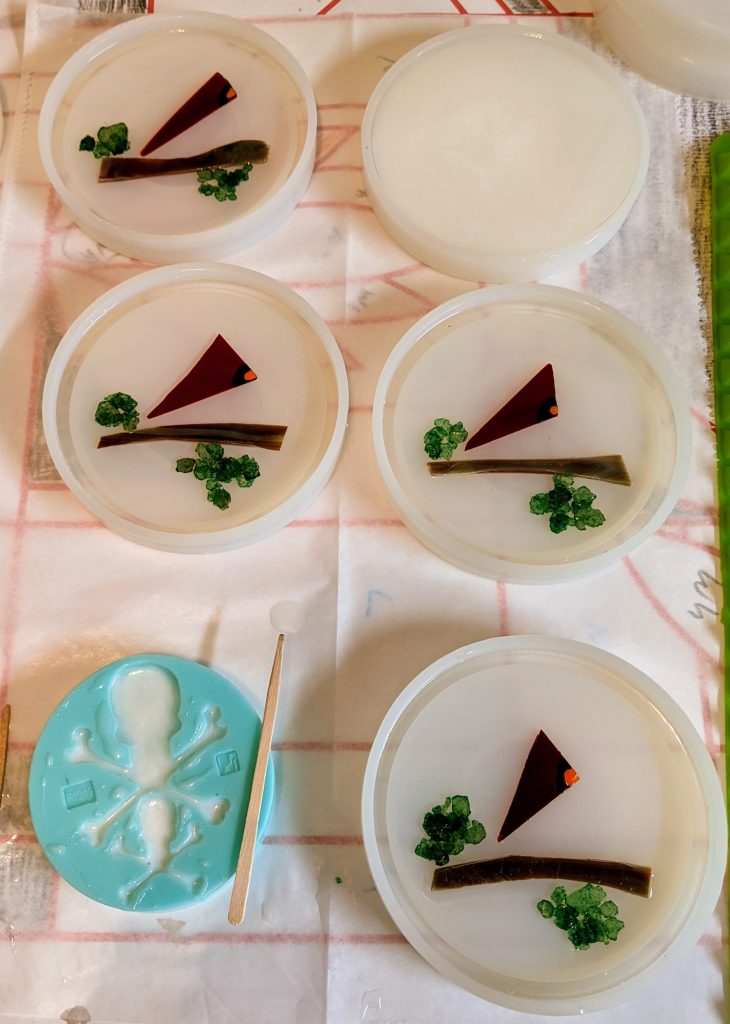
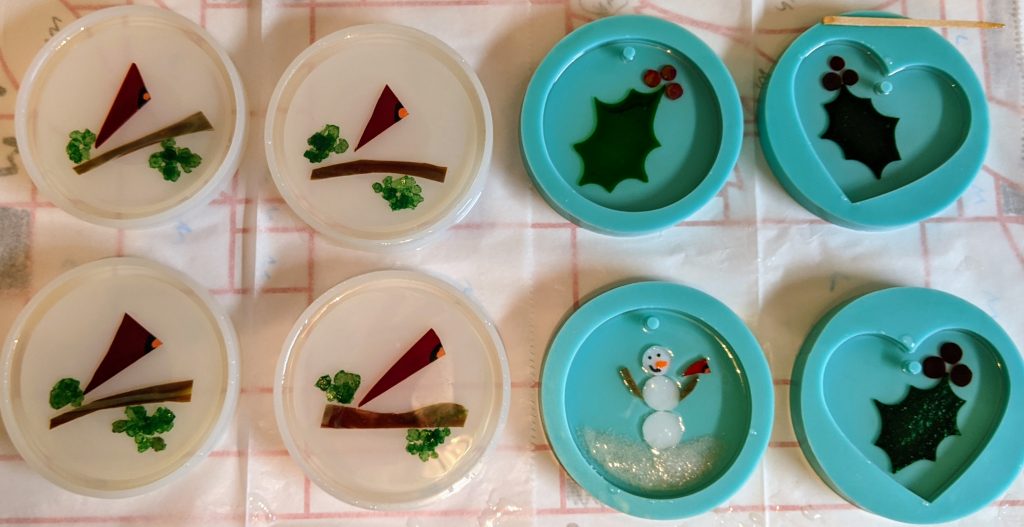
Poured the second layer of resin on four Cardinal coasters (one needs a third layer as I ran out of resin) and the first layer on some new holiday suncatchers / ornaments!
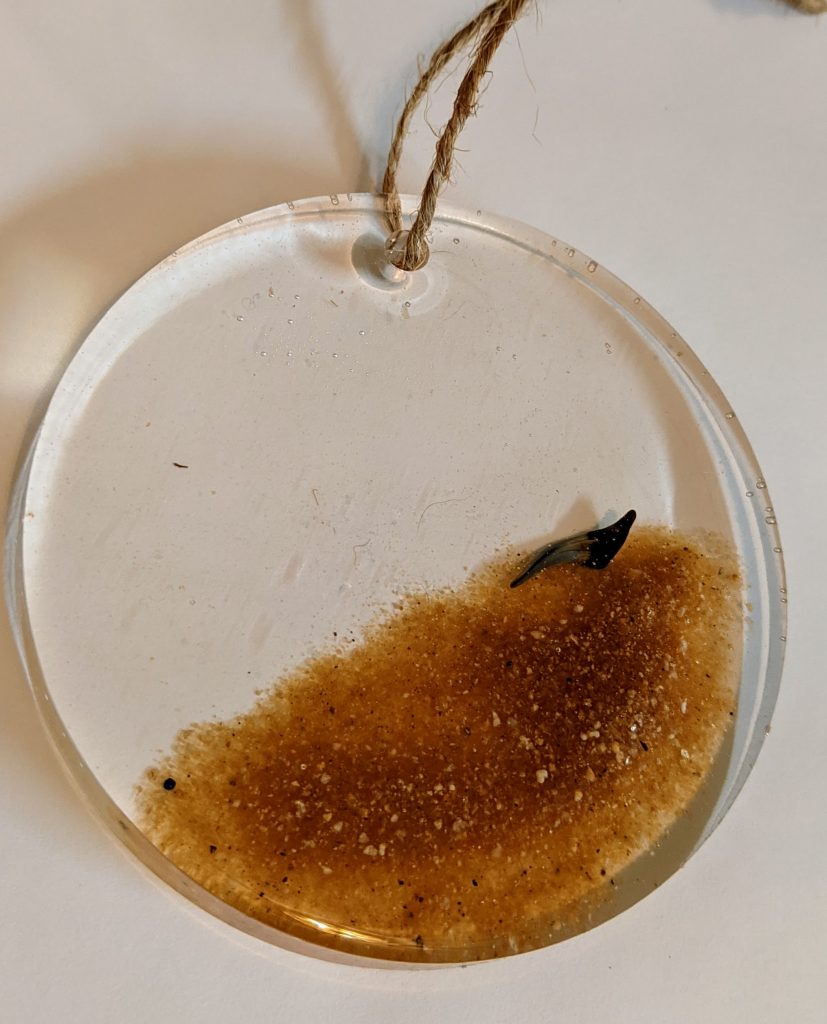
Also took some better photos of the past few weeks worth of ornaments, though I’m no photographer with my phone, ha!
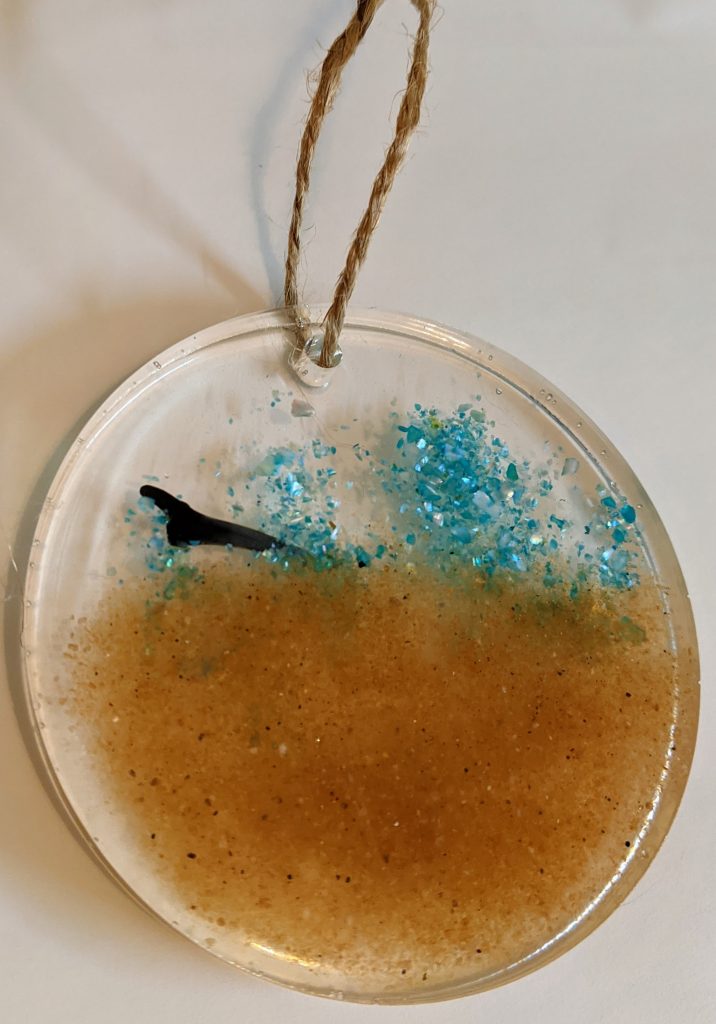
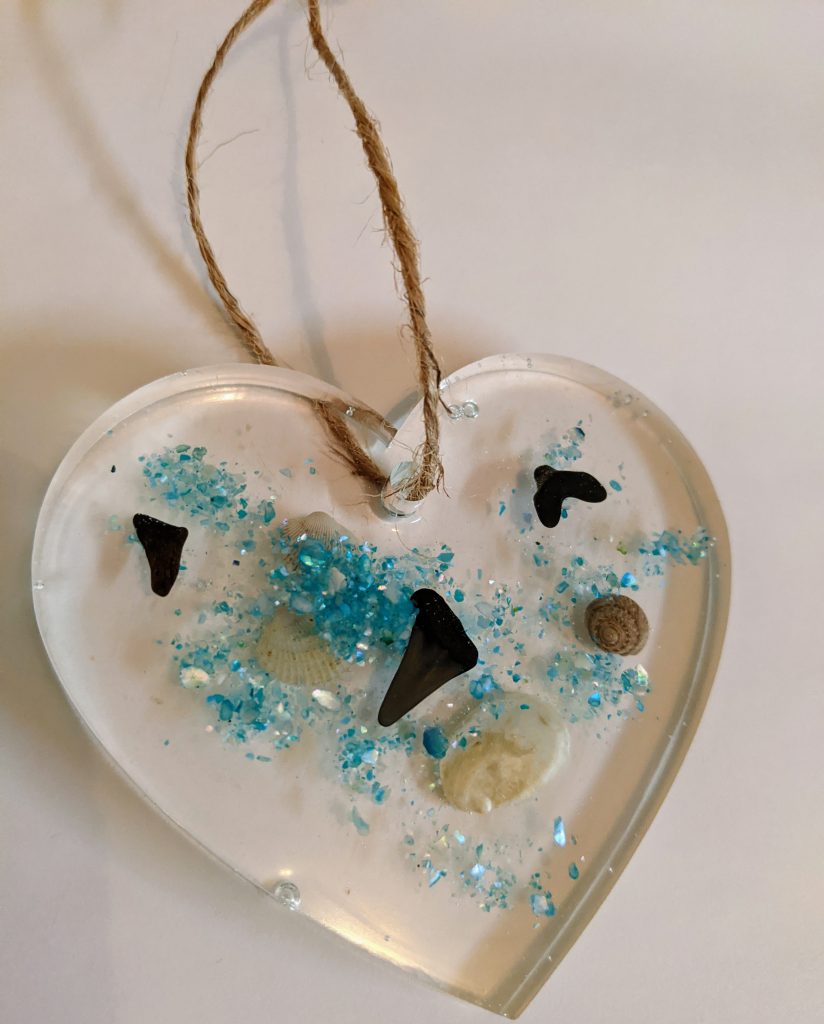
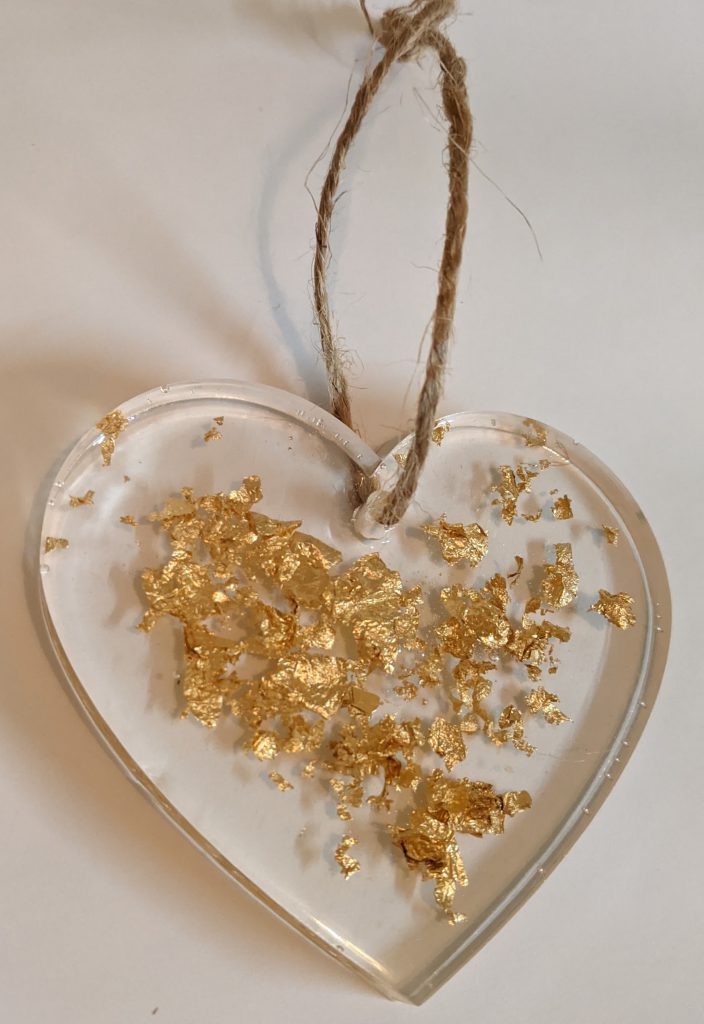
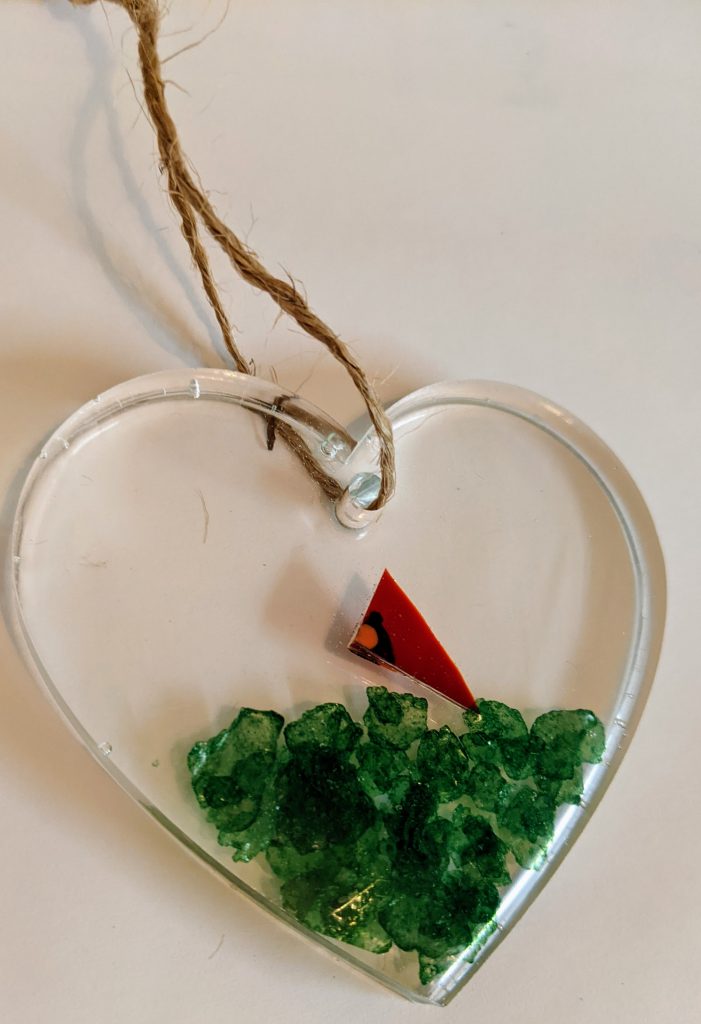
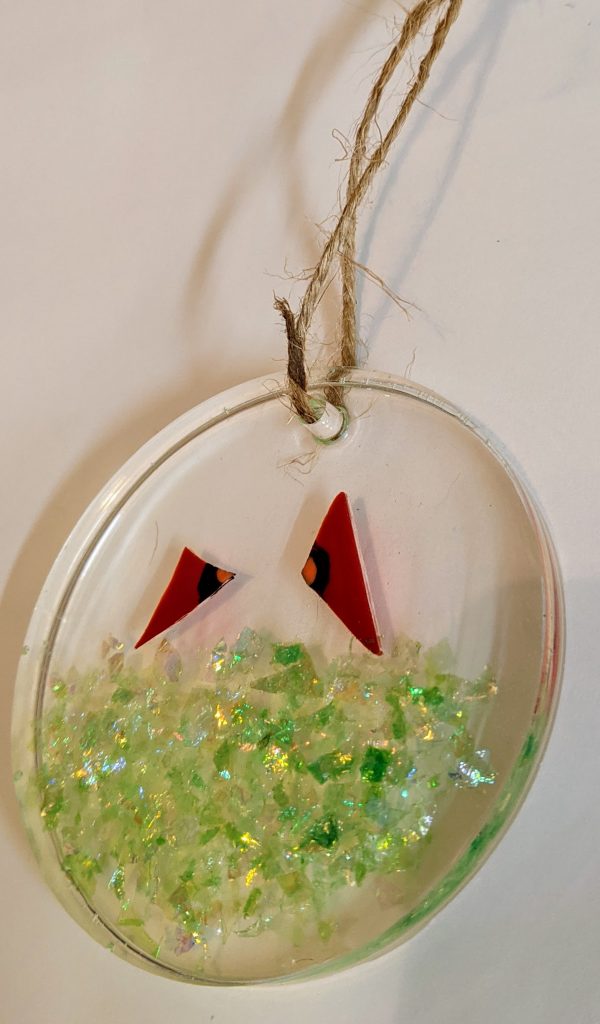
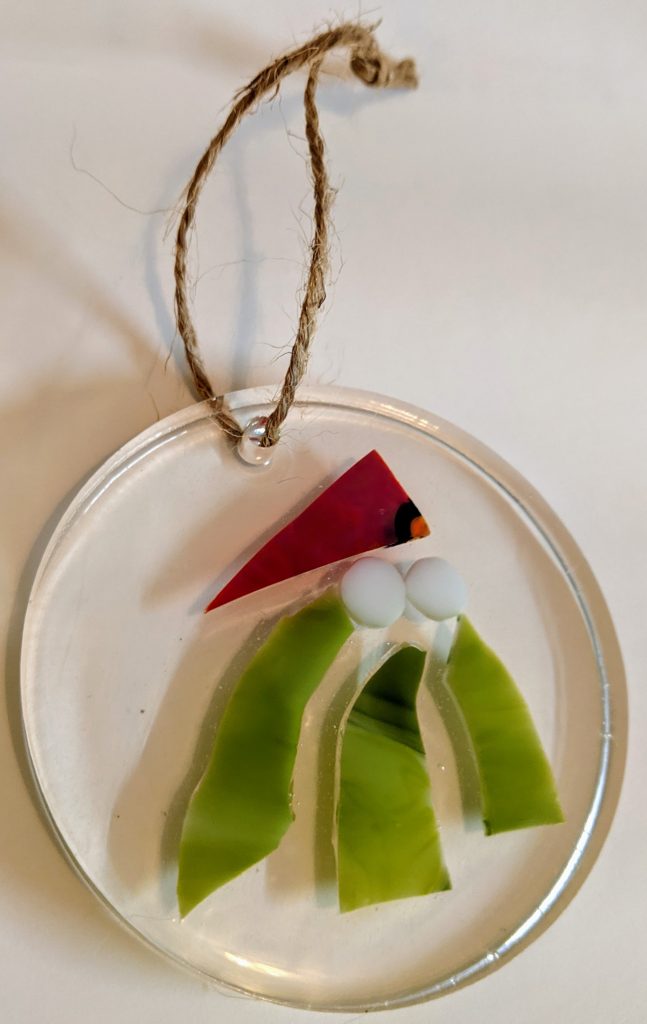
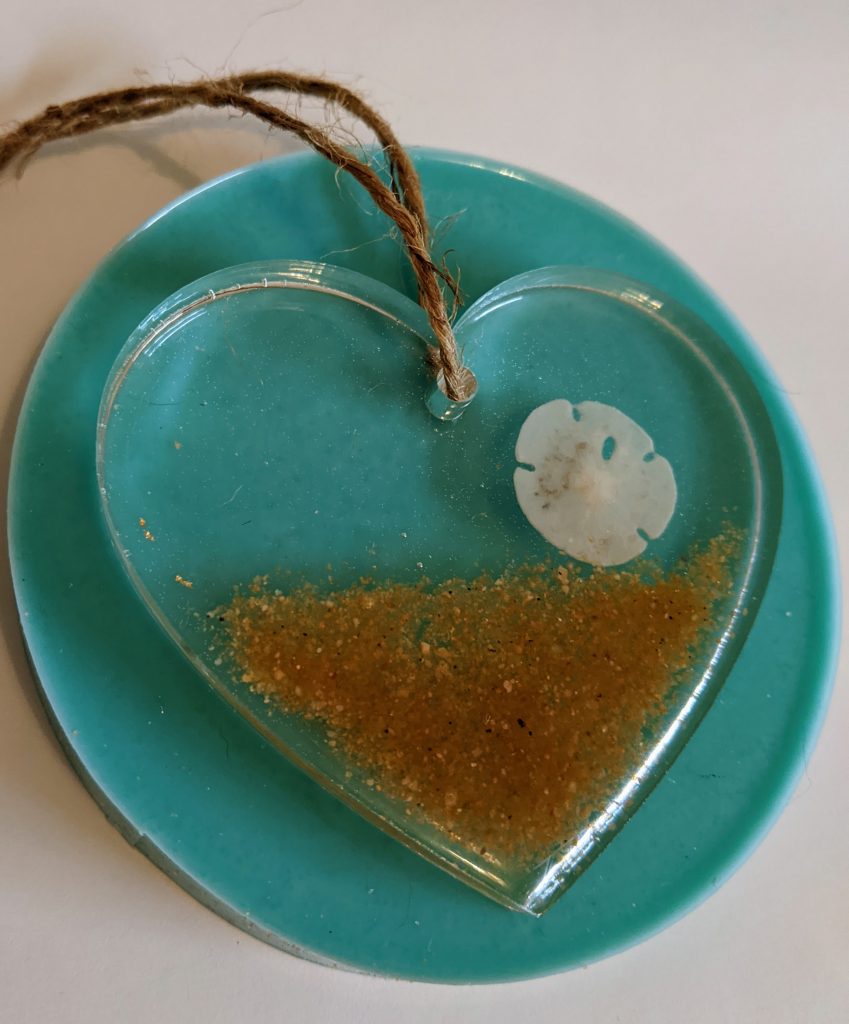
Working on some small, fun projects inspired by friends and holidays. Poured the second layer on these ornaments and the first layer of a set of cardinal coasters today.
