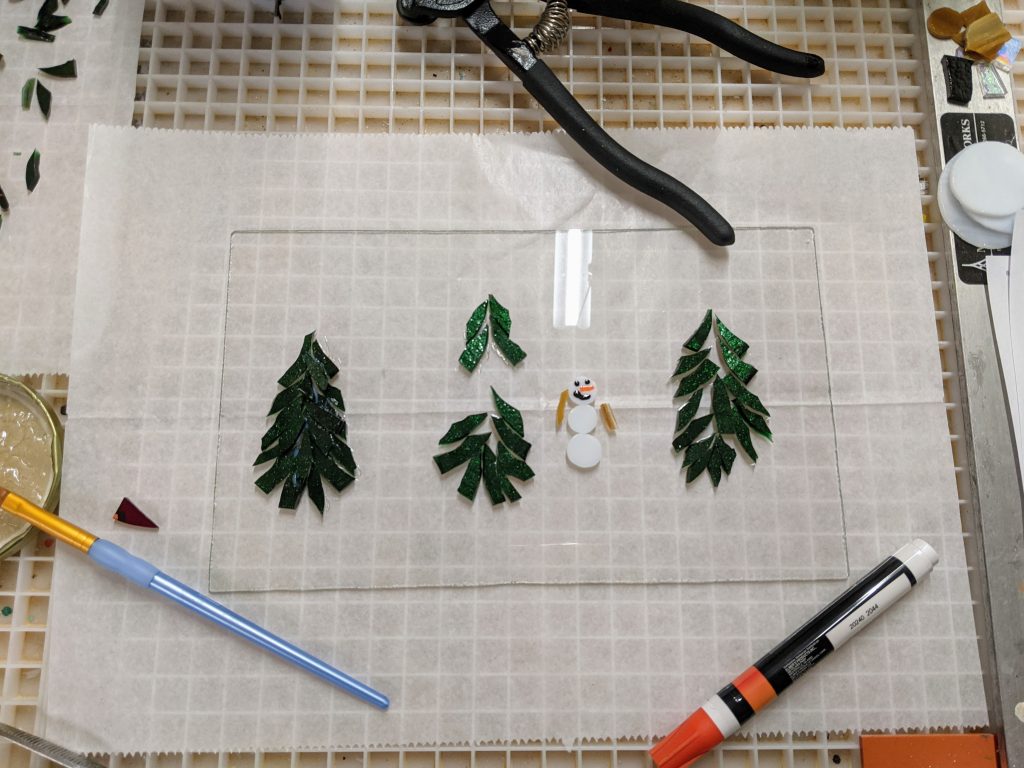
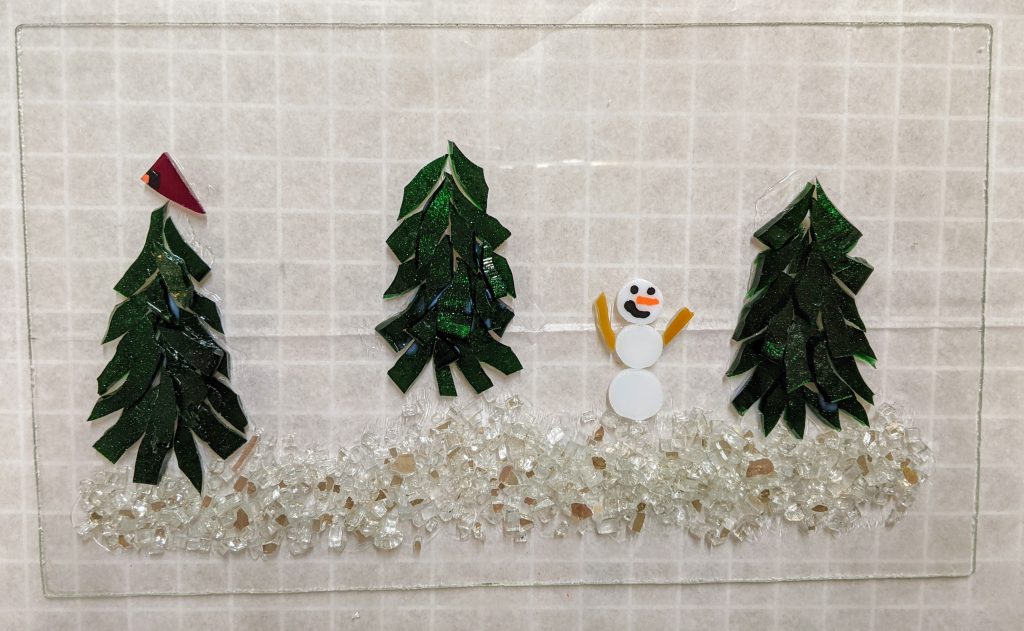
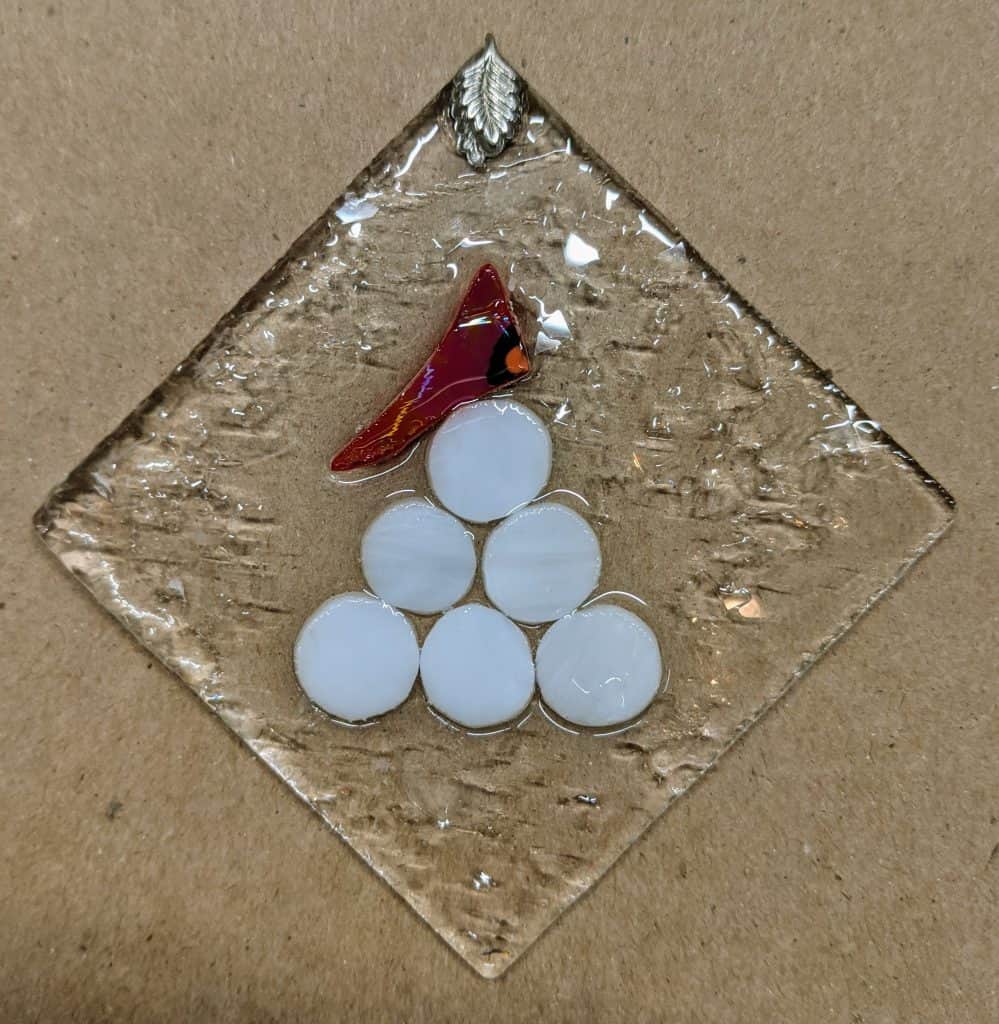
I’m still busier than usual at work, so my weekends are my best time for crafting. Today I finished cutting out and gluing the glass for a little winter scene and a small snowman panel (not pictured), as well as laid out the “beach” for some starfish and sand dollar ornaments.
Laying out the pieces / gluing in place.Everything glued – waiting for the glue to dry.Gluing the sand for the “beach” on some ornaments.
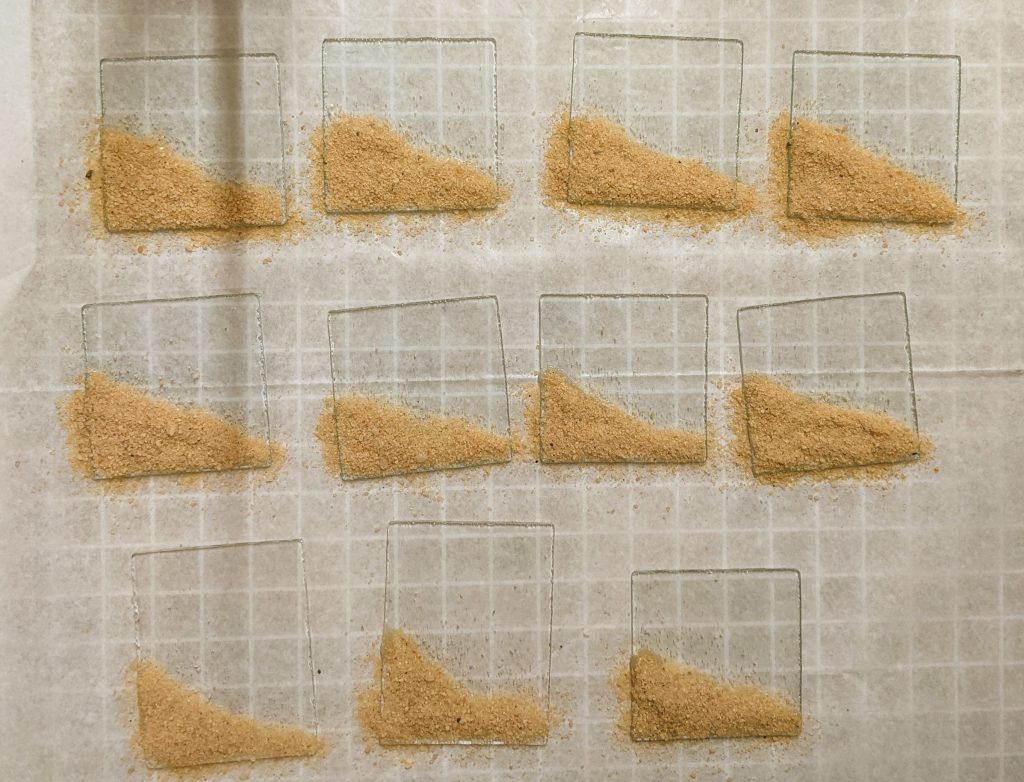
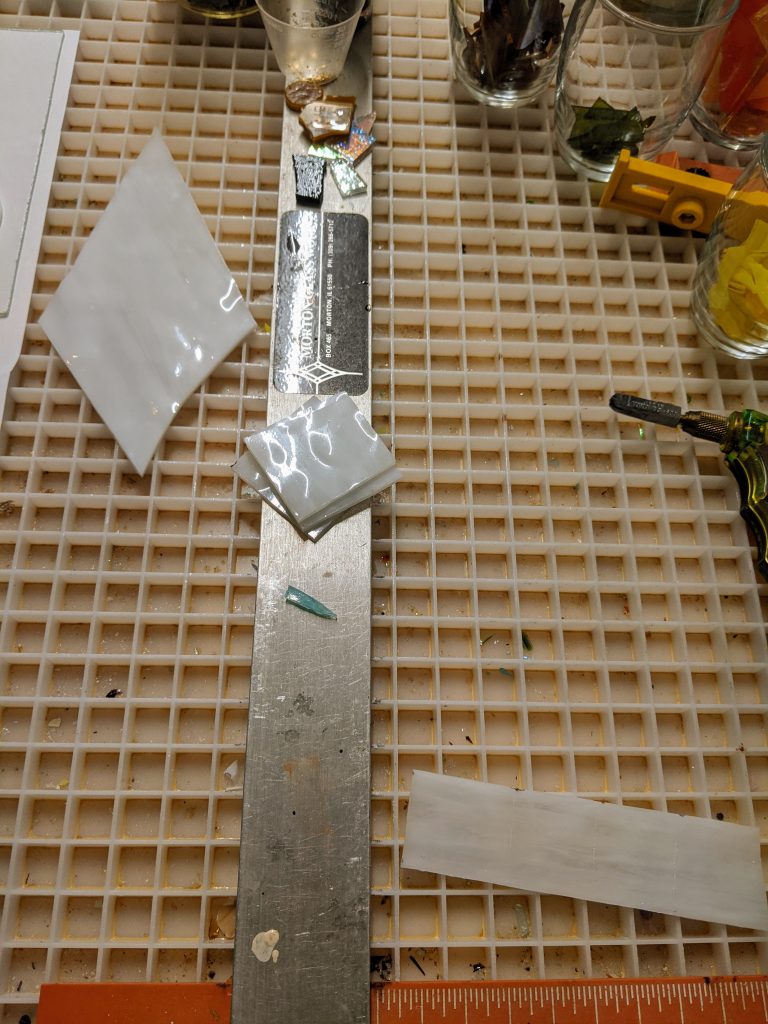
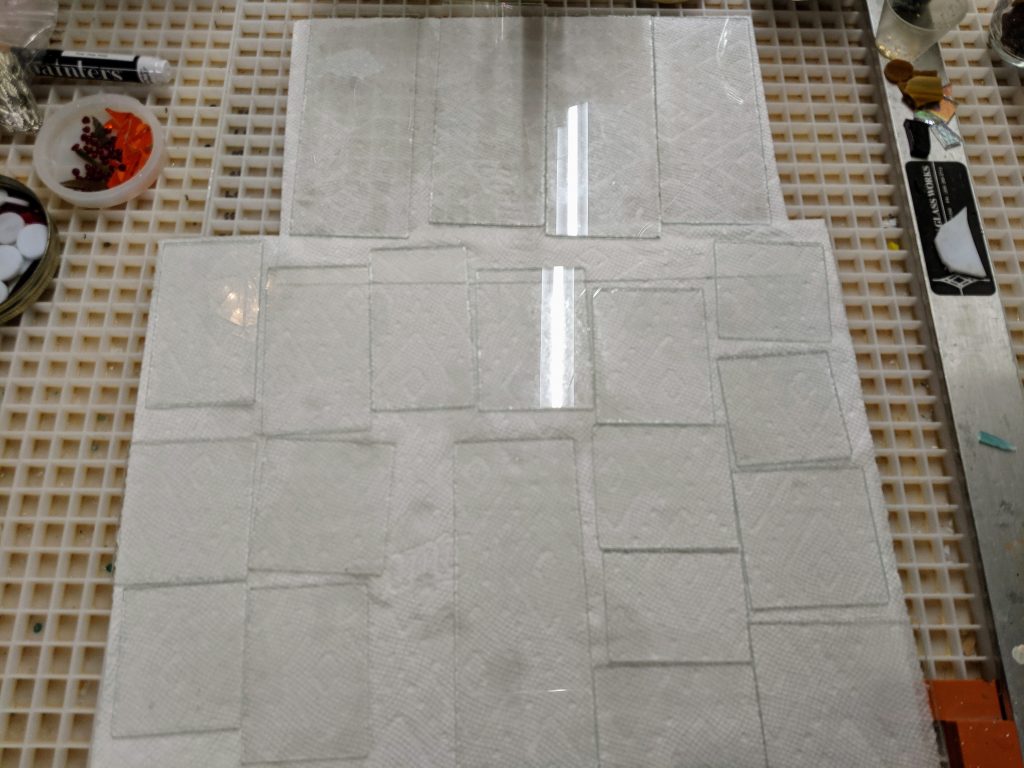
Of course, I had to cut the backer glass and sand the edges for all of these before decorating could begin. Hopefully the sand will stick well and I won’t have to add another layer before I can pour the resin, but I have a feeling I’ll need a bit more sand once the glue cures. I plan to make these into mini starfish & sand dollar ornaments / suncatchers.
I’ve been busy with work lately so today was the first opportunity I’ve had since I poured the resin on these to clean them up and get some pictures. Cuteness!
I’ve been busier than usual at work, but was finally able to circle back to these ornaments to pour the resin. For these molds, I first pour a thin layer of resin and then use the heat gun to reduce the amount of bubbles. I also run a craft stick around the edge of the mold for the same reason.
First resin layer poured
I also had these ornaments assembled and elevated on silicone ready for the resin coating.
Ready for resinResin poured
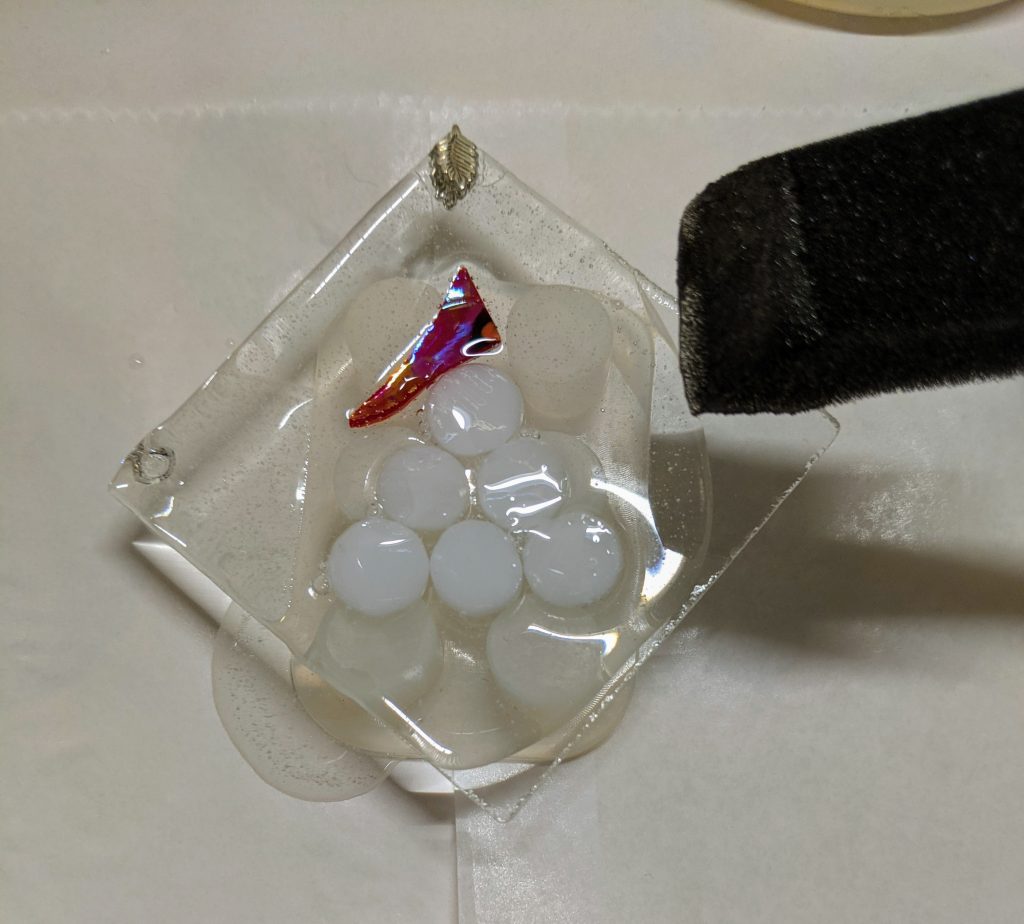
I try to cover the glass in the foreground completely, then use a sponge on a stick to spread the resin to any areas that aren’t yet coated.
Spreading the resinSpreading the resin
Once the resin is spread, I also use the heat gun on these to remove bubbles.
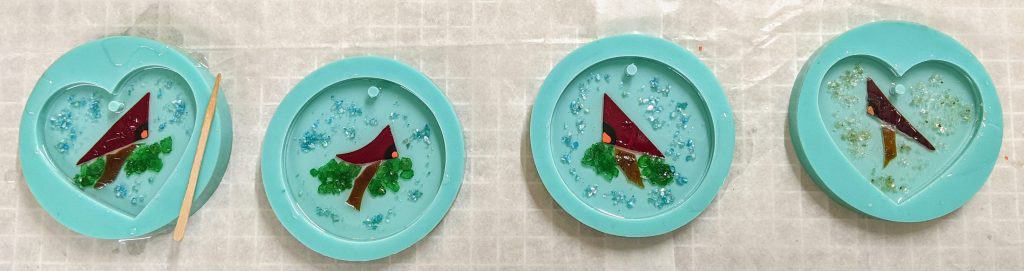
Decorations set into the first layer of resin
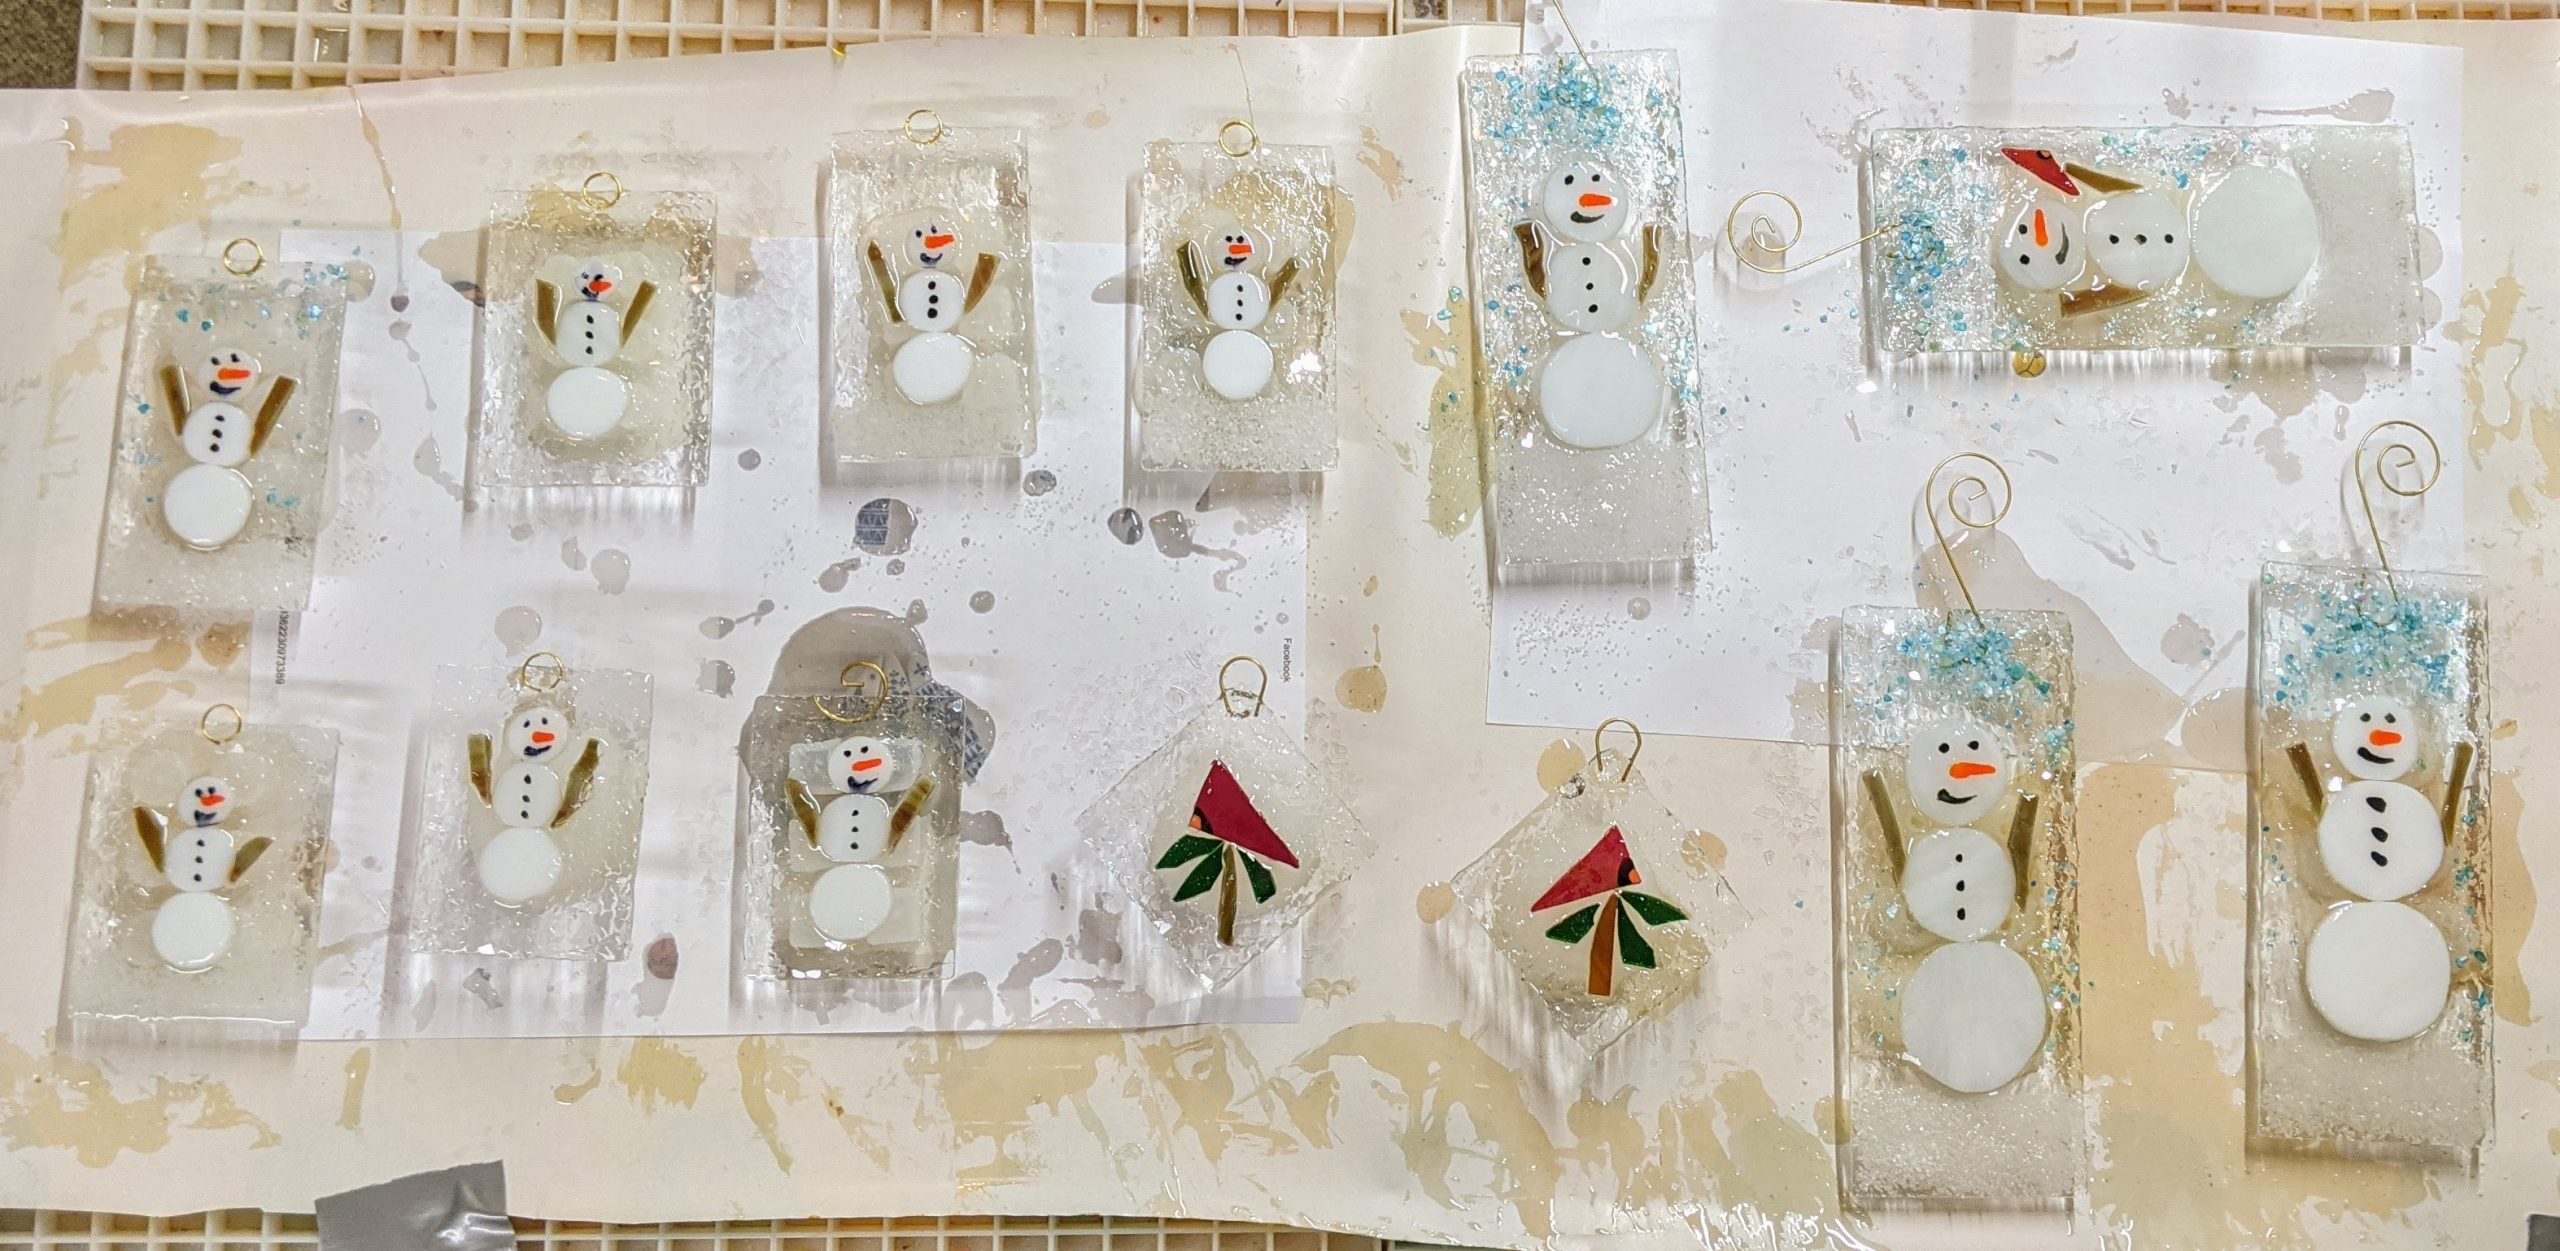
Once the resin in the molds is starting to thicken, I place the glass pieces and then the sparkly mica chips used for the snow / sky / leaves.
Glass chips added to the background
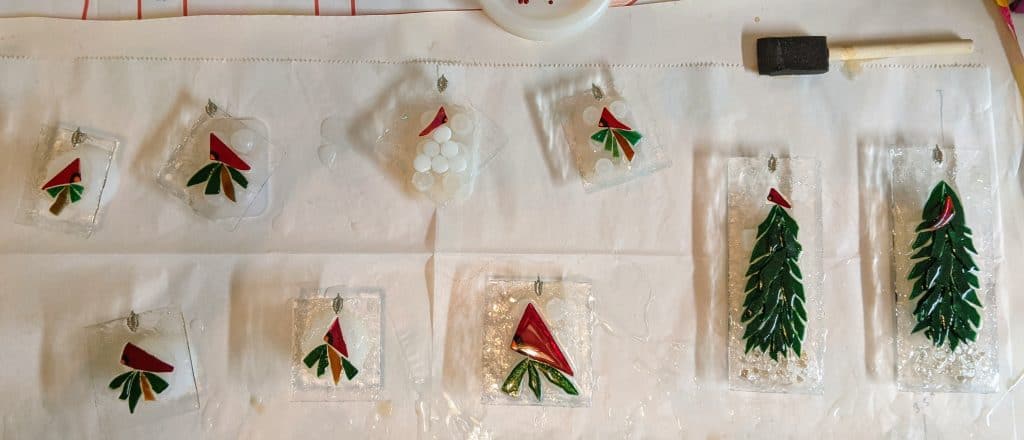
For this type of ornament, I sprinkle glass chips into the resin in the clear background areas for sparkle, then I spend about an hour scraping drips off the backs of the backer glass. I can clean up any leftover drips with a razor blade once the resin has cured, but this helps reduce the cleanup. On larger pieces I like to use masking tape on the back, but I don’t always remember to apply it in time. Now just to wait until the resin cures!
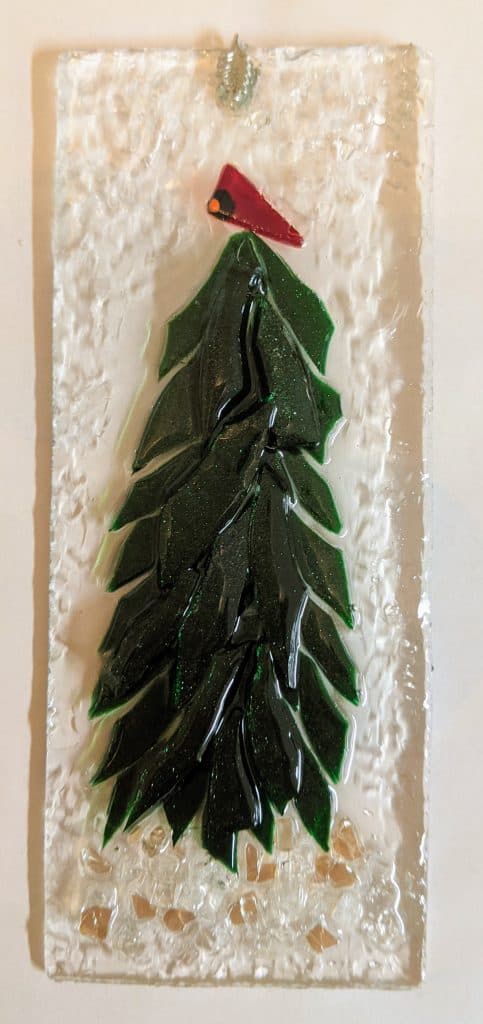
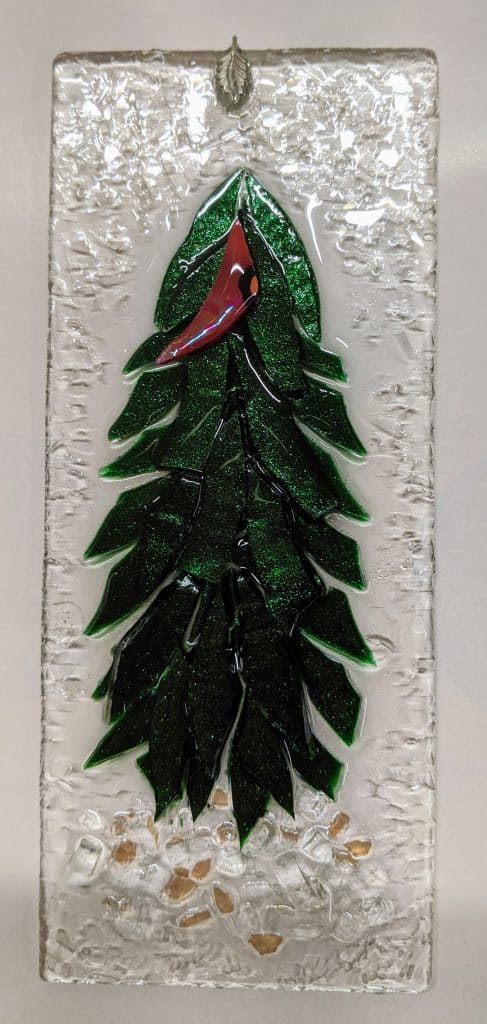
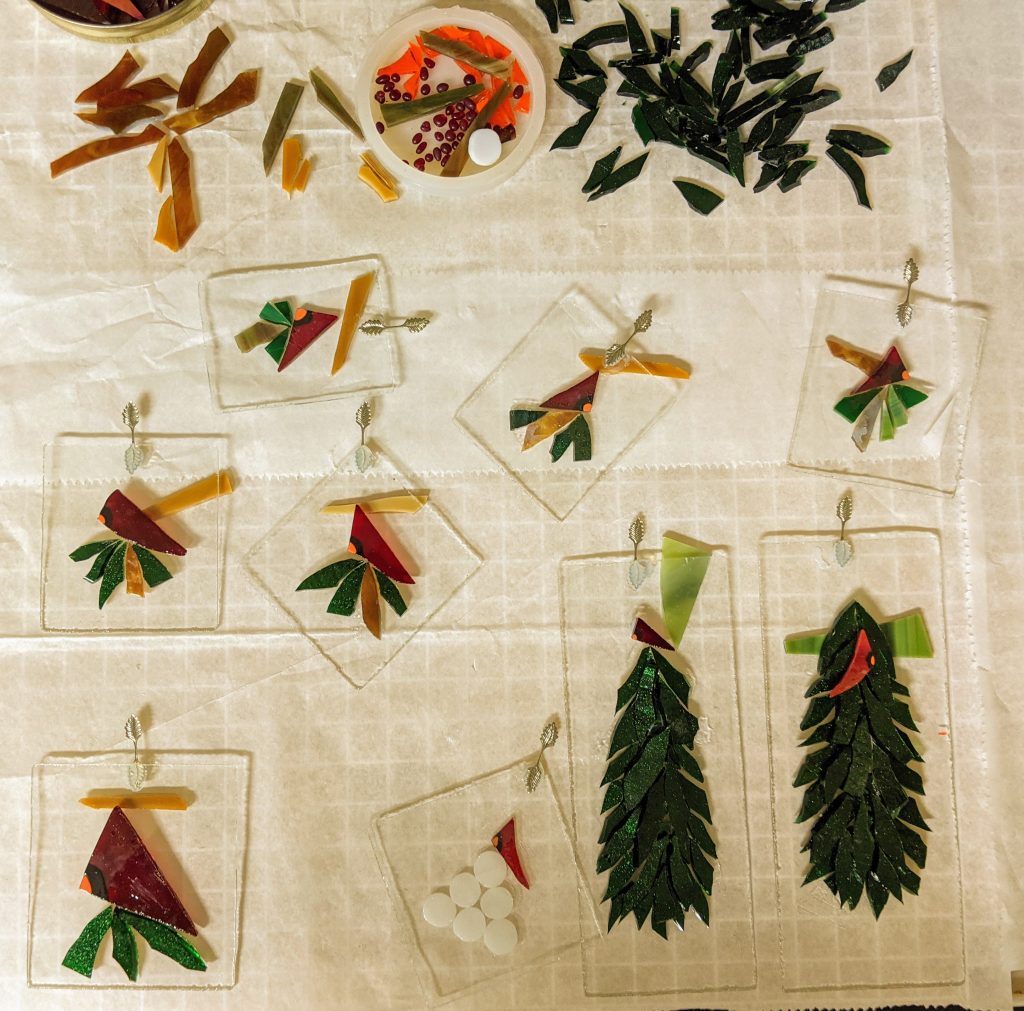
Today I laid out some designs and glued them in place. These will have a lot more detail once the resin is poured and decorated. I like to use “glass chunk snow” under the trees and glass chips / mica accents for sparkle.
Laying out the pieces for the ornamentsGlued in place and propped up for drying
The resin cured overnight on the ornaments I made yesterday, so I cleaned them and my work area up and started on some…more….ORNAMENTS!
Yesterday’s batch of ornaments
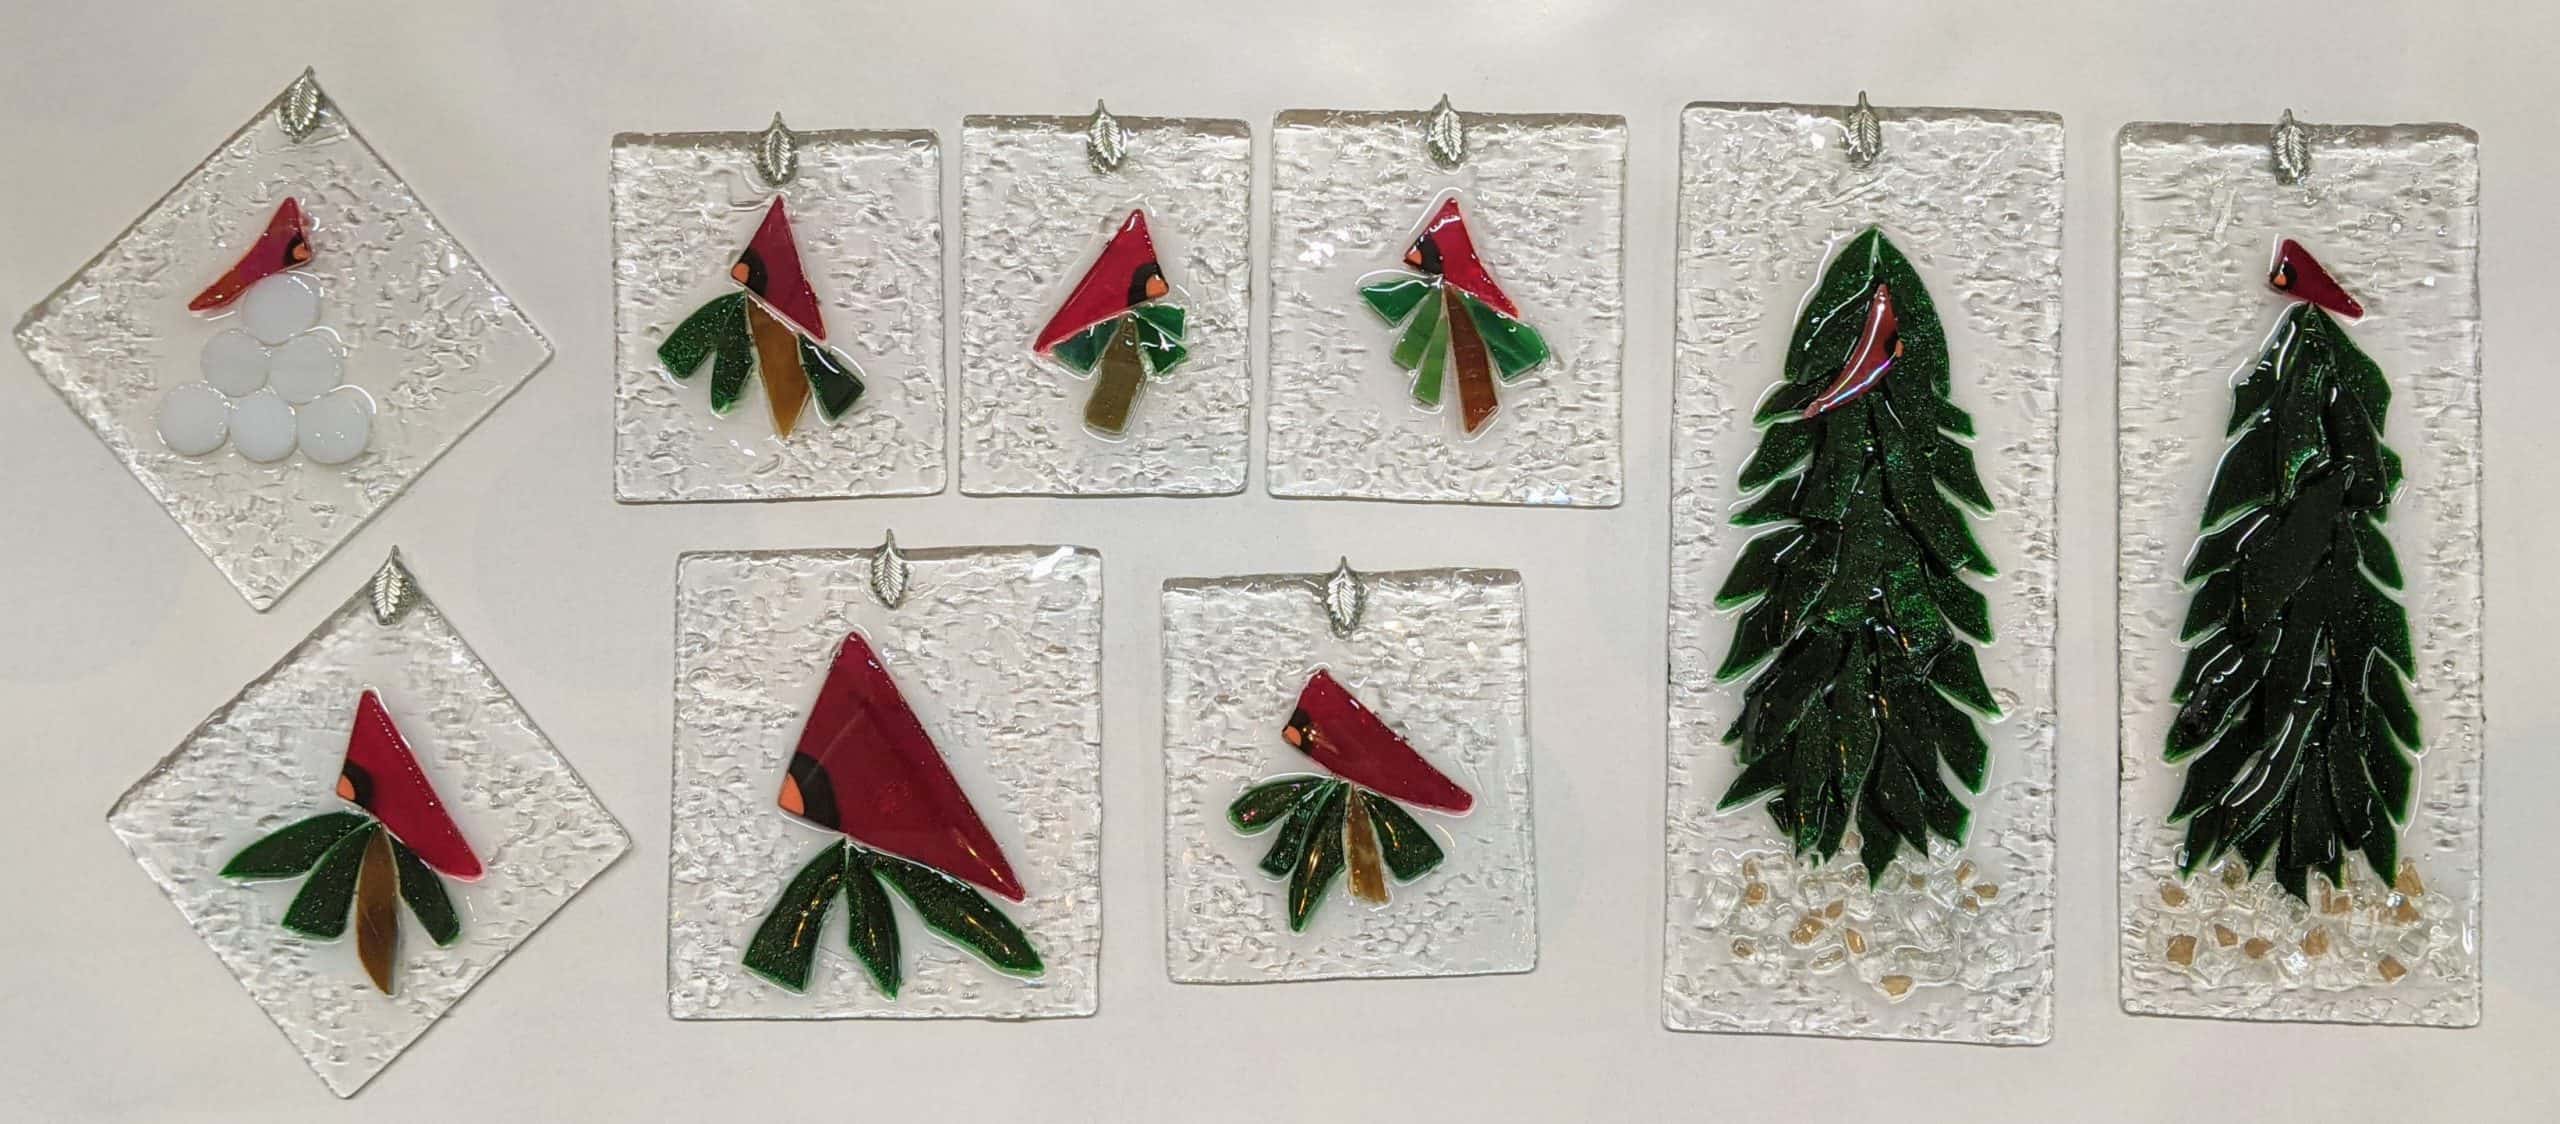
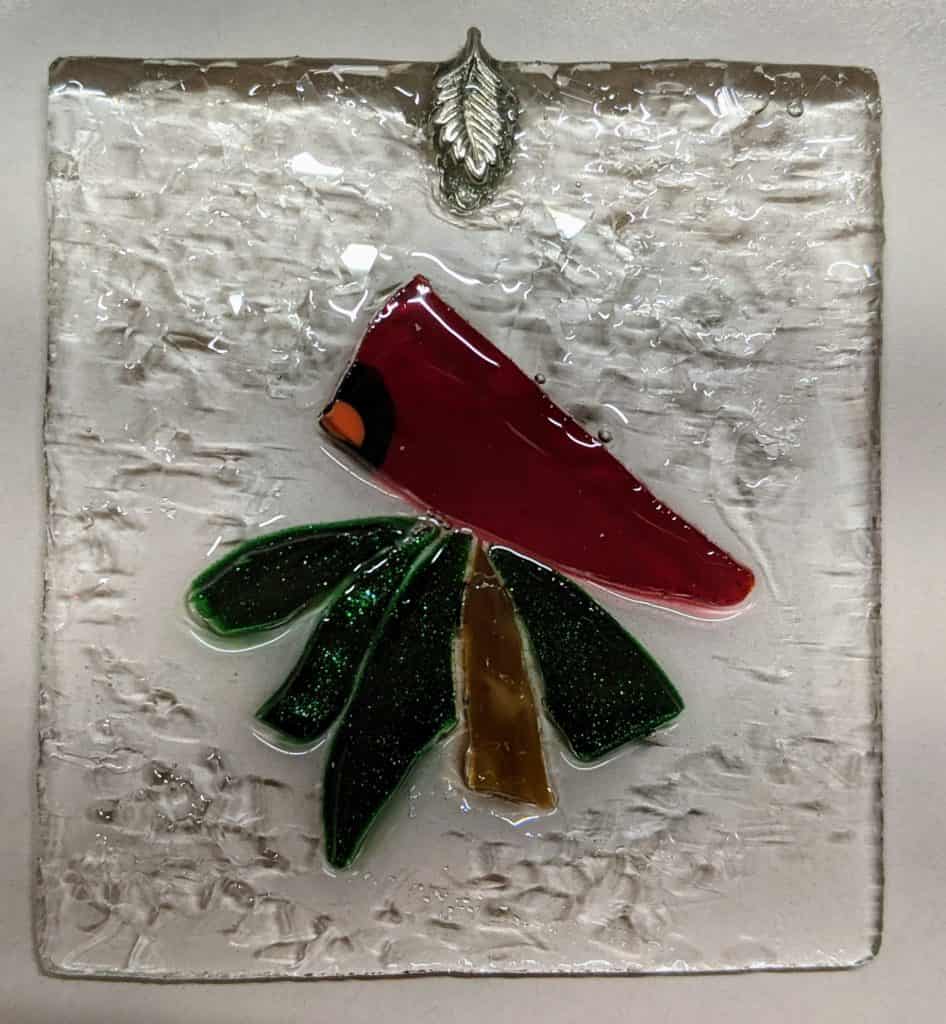
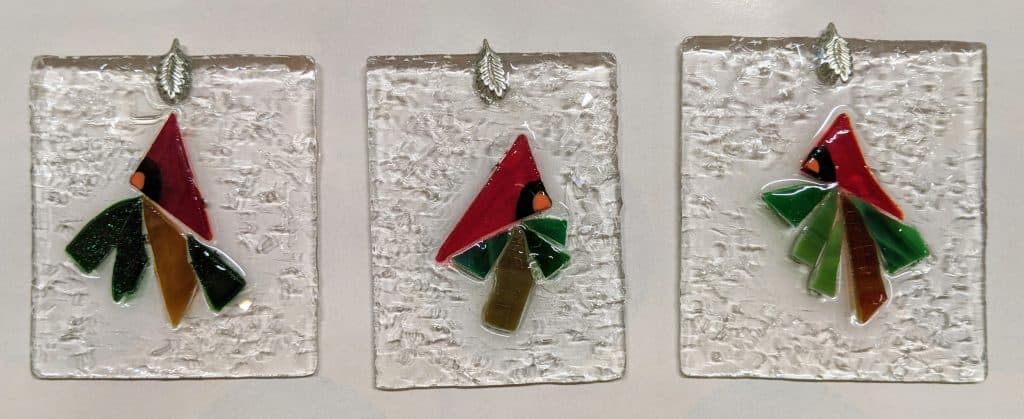
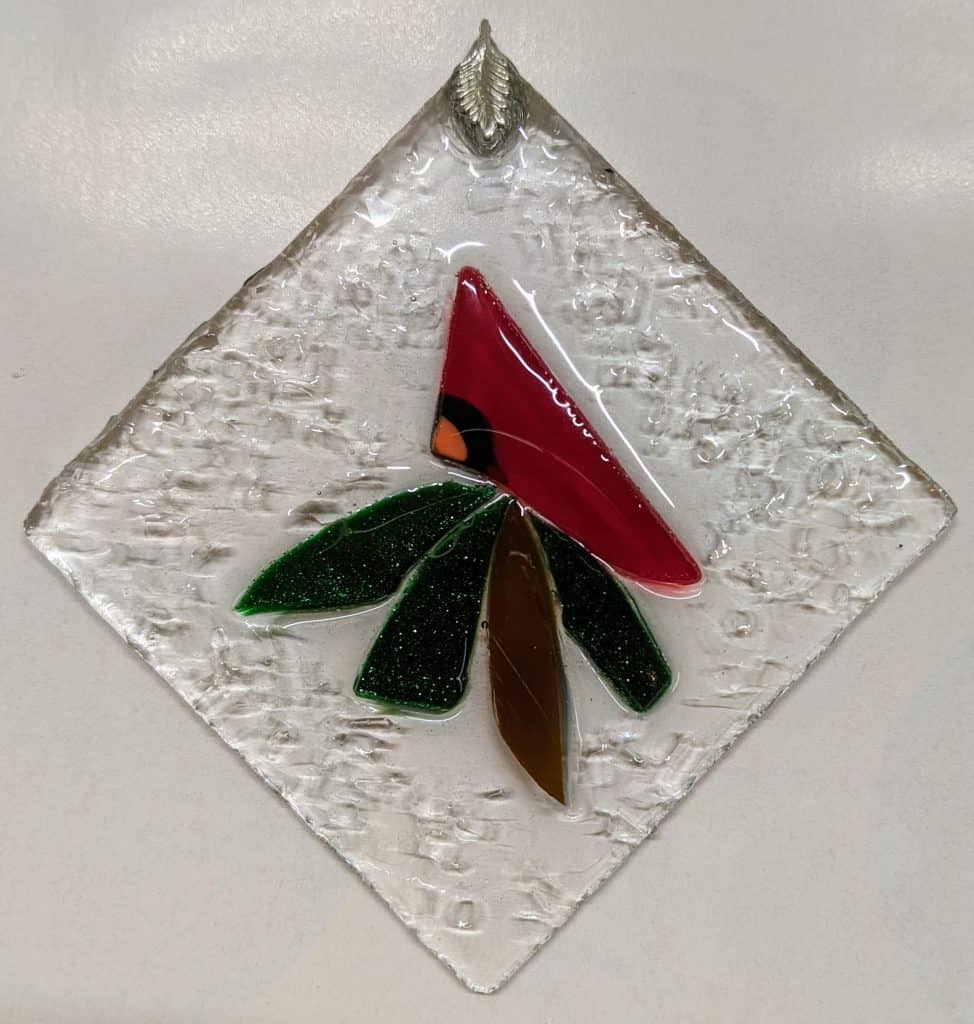
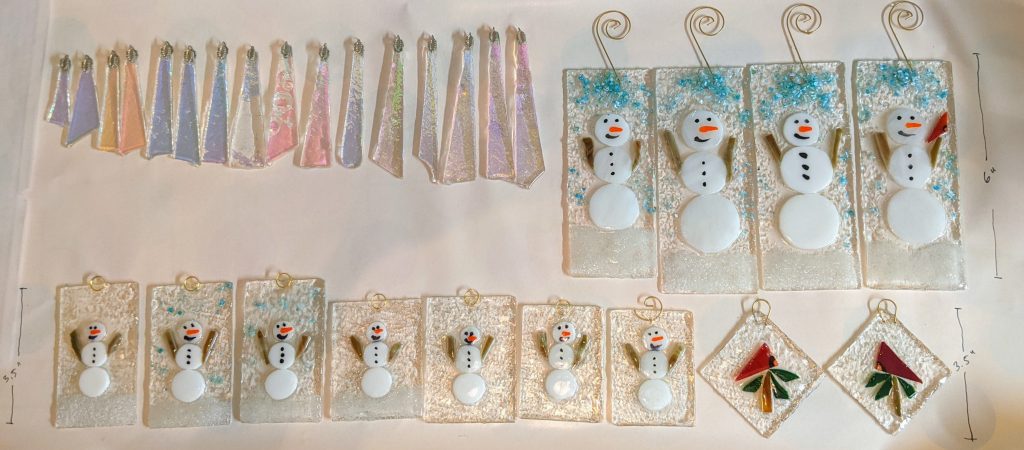
Cardinals
Dichro-cicles
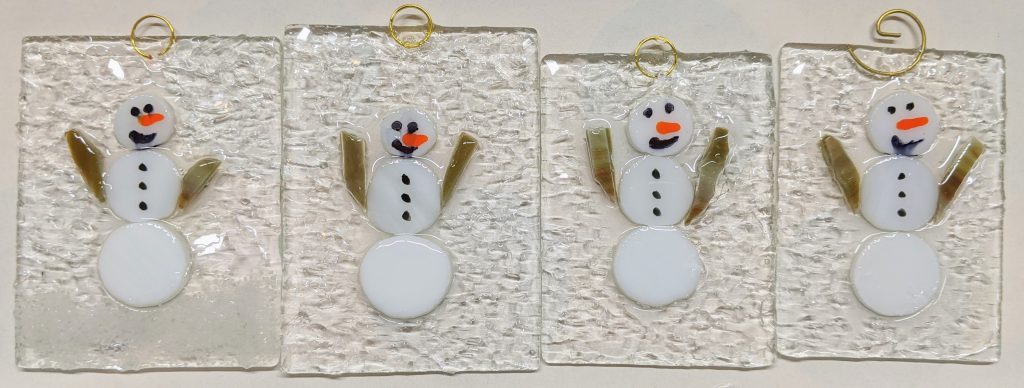
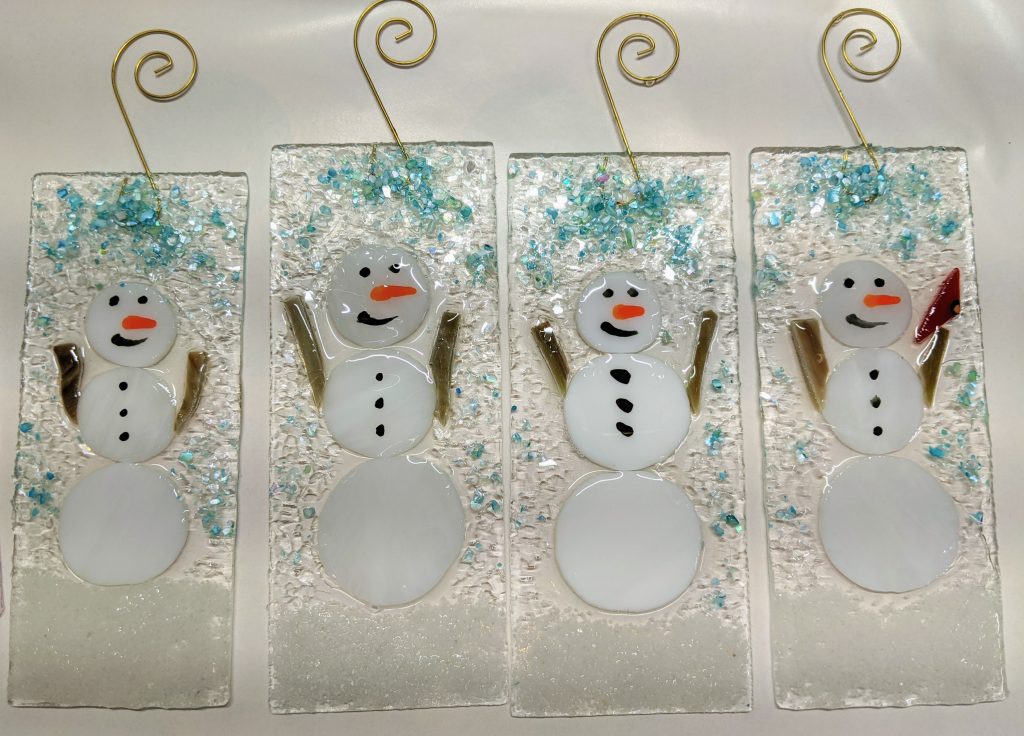
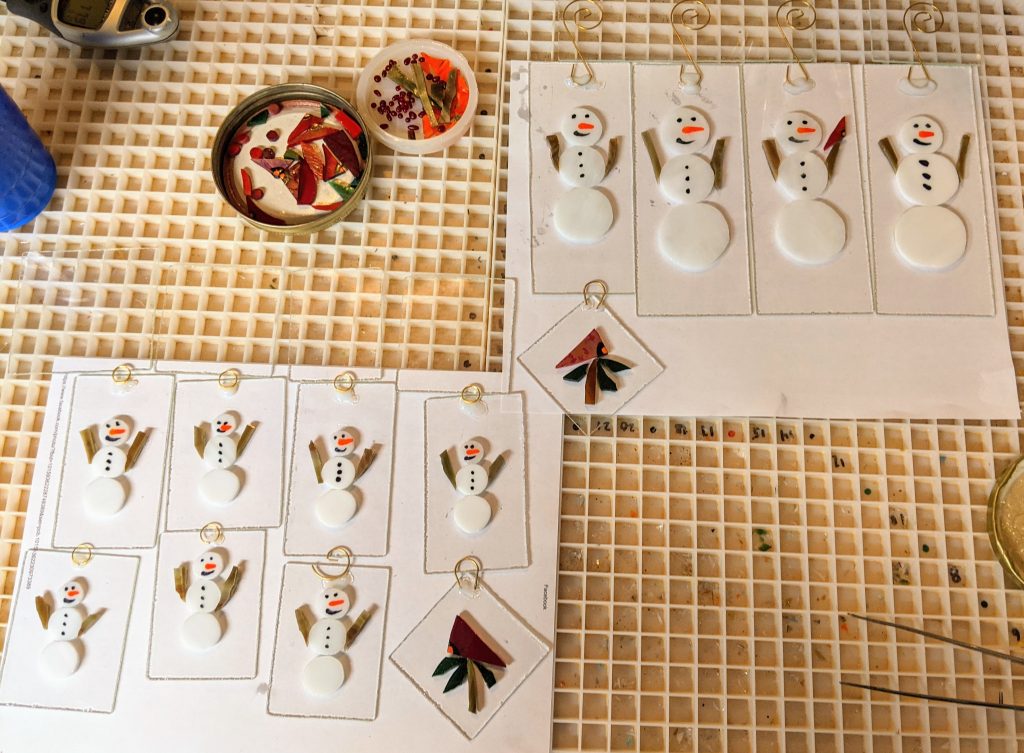
Snowmen (medium)
Snowmen (small)
Snowmen (large)
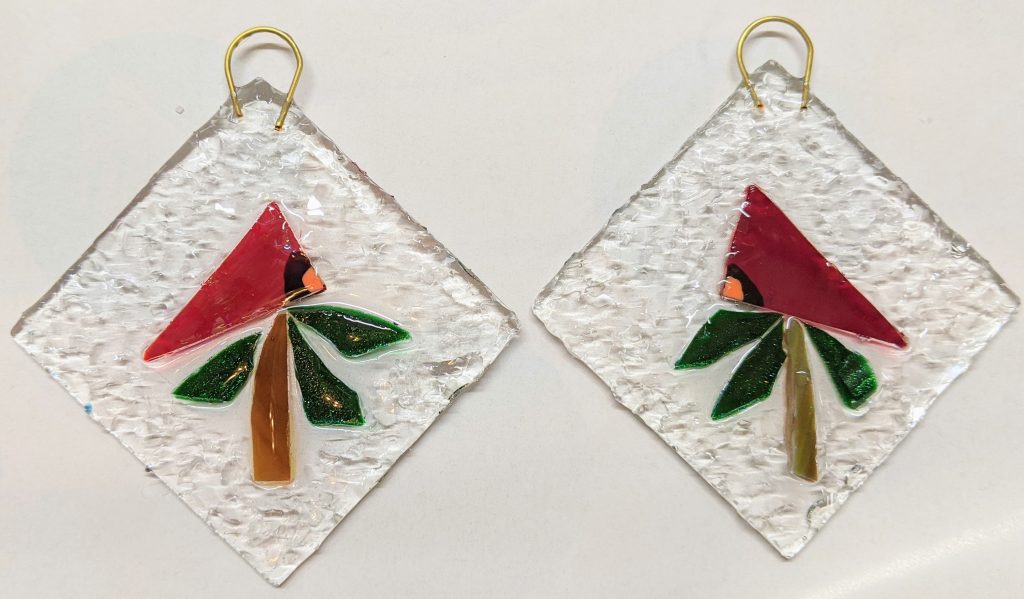
The large snowmen are around 6″ (not including hanger), the medium snowmen are around 3.5″ and the smaller ones are around 3″. The dichro-cicles range from around 4.5″-2″. I have some additional backer glass ready for more ornaments, but I haven’t made many “parts” for the scenes, so I decided to make a stockpile of cardinals to use.
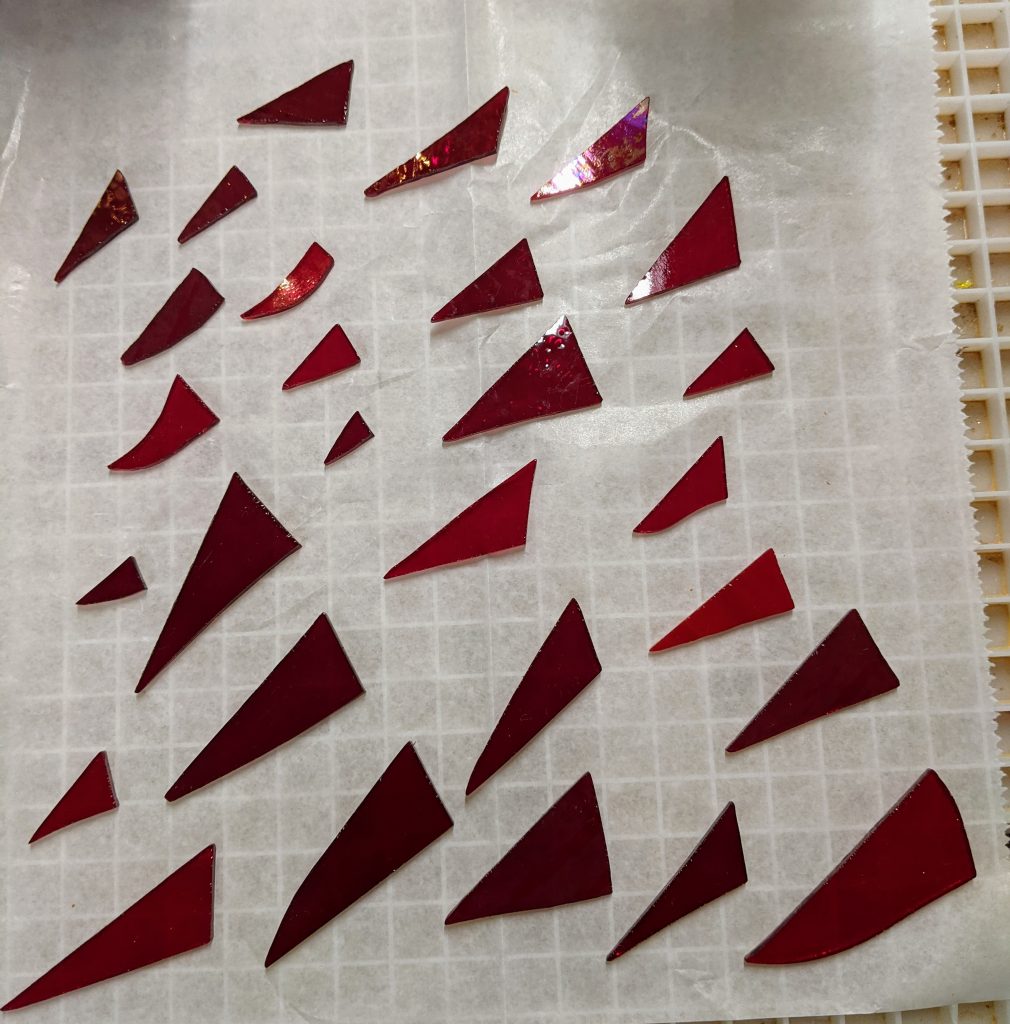
Flock of Triangles
Painting black patches
Painting beaks
Transformation from triangle to cardinal
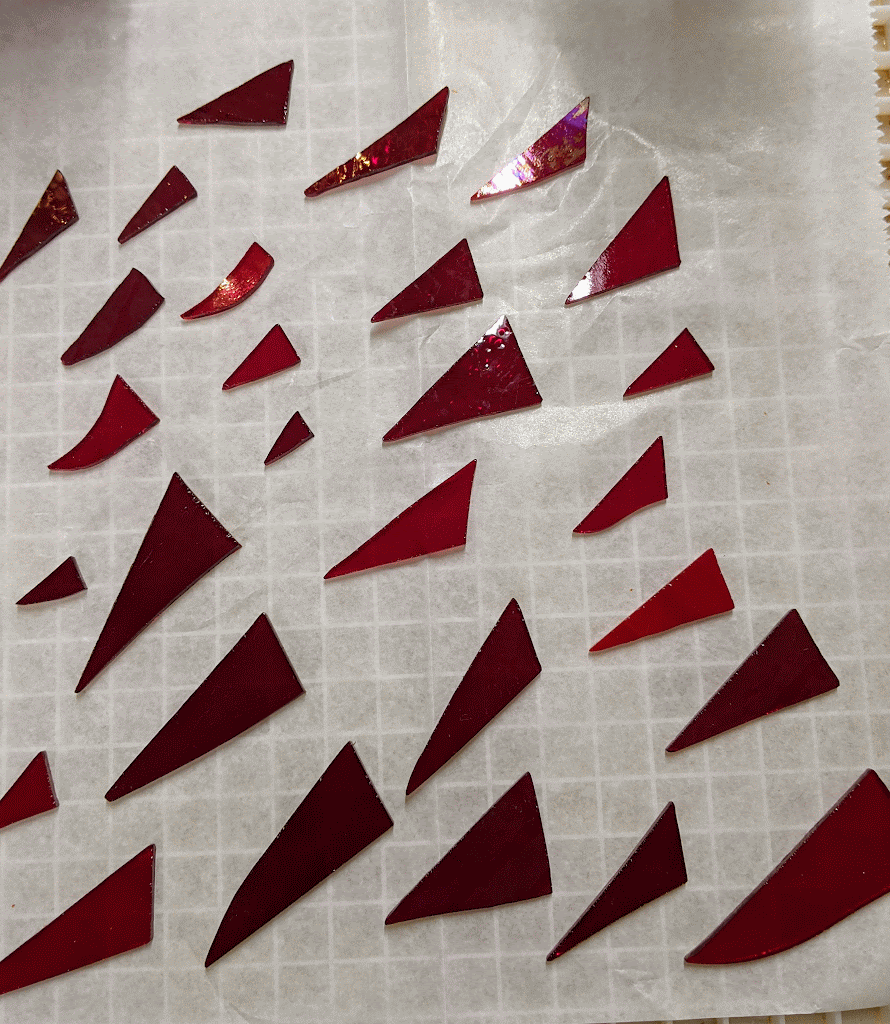
First I cut out the triangles, then grind the edges to smooth & shape them. Then I dry them off and paint the black patch on each bird’s face. Once that dries, I paint the orange beak on top. After that layer dries, I can flip them over and start again with the black and orange layers. I like the simplicity of these little red birds.
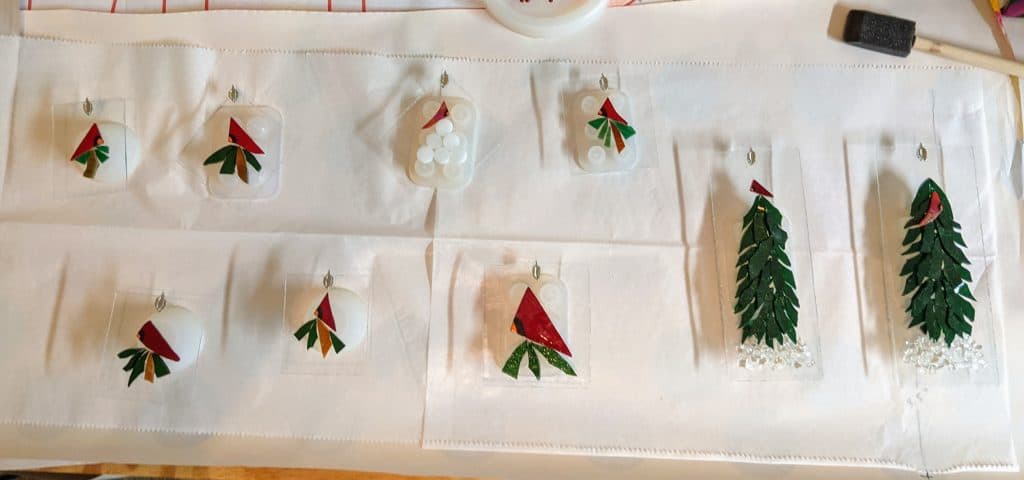
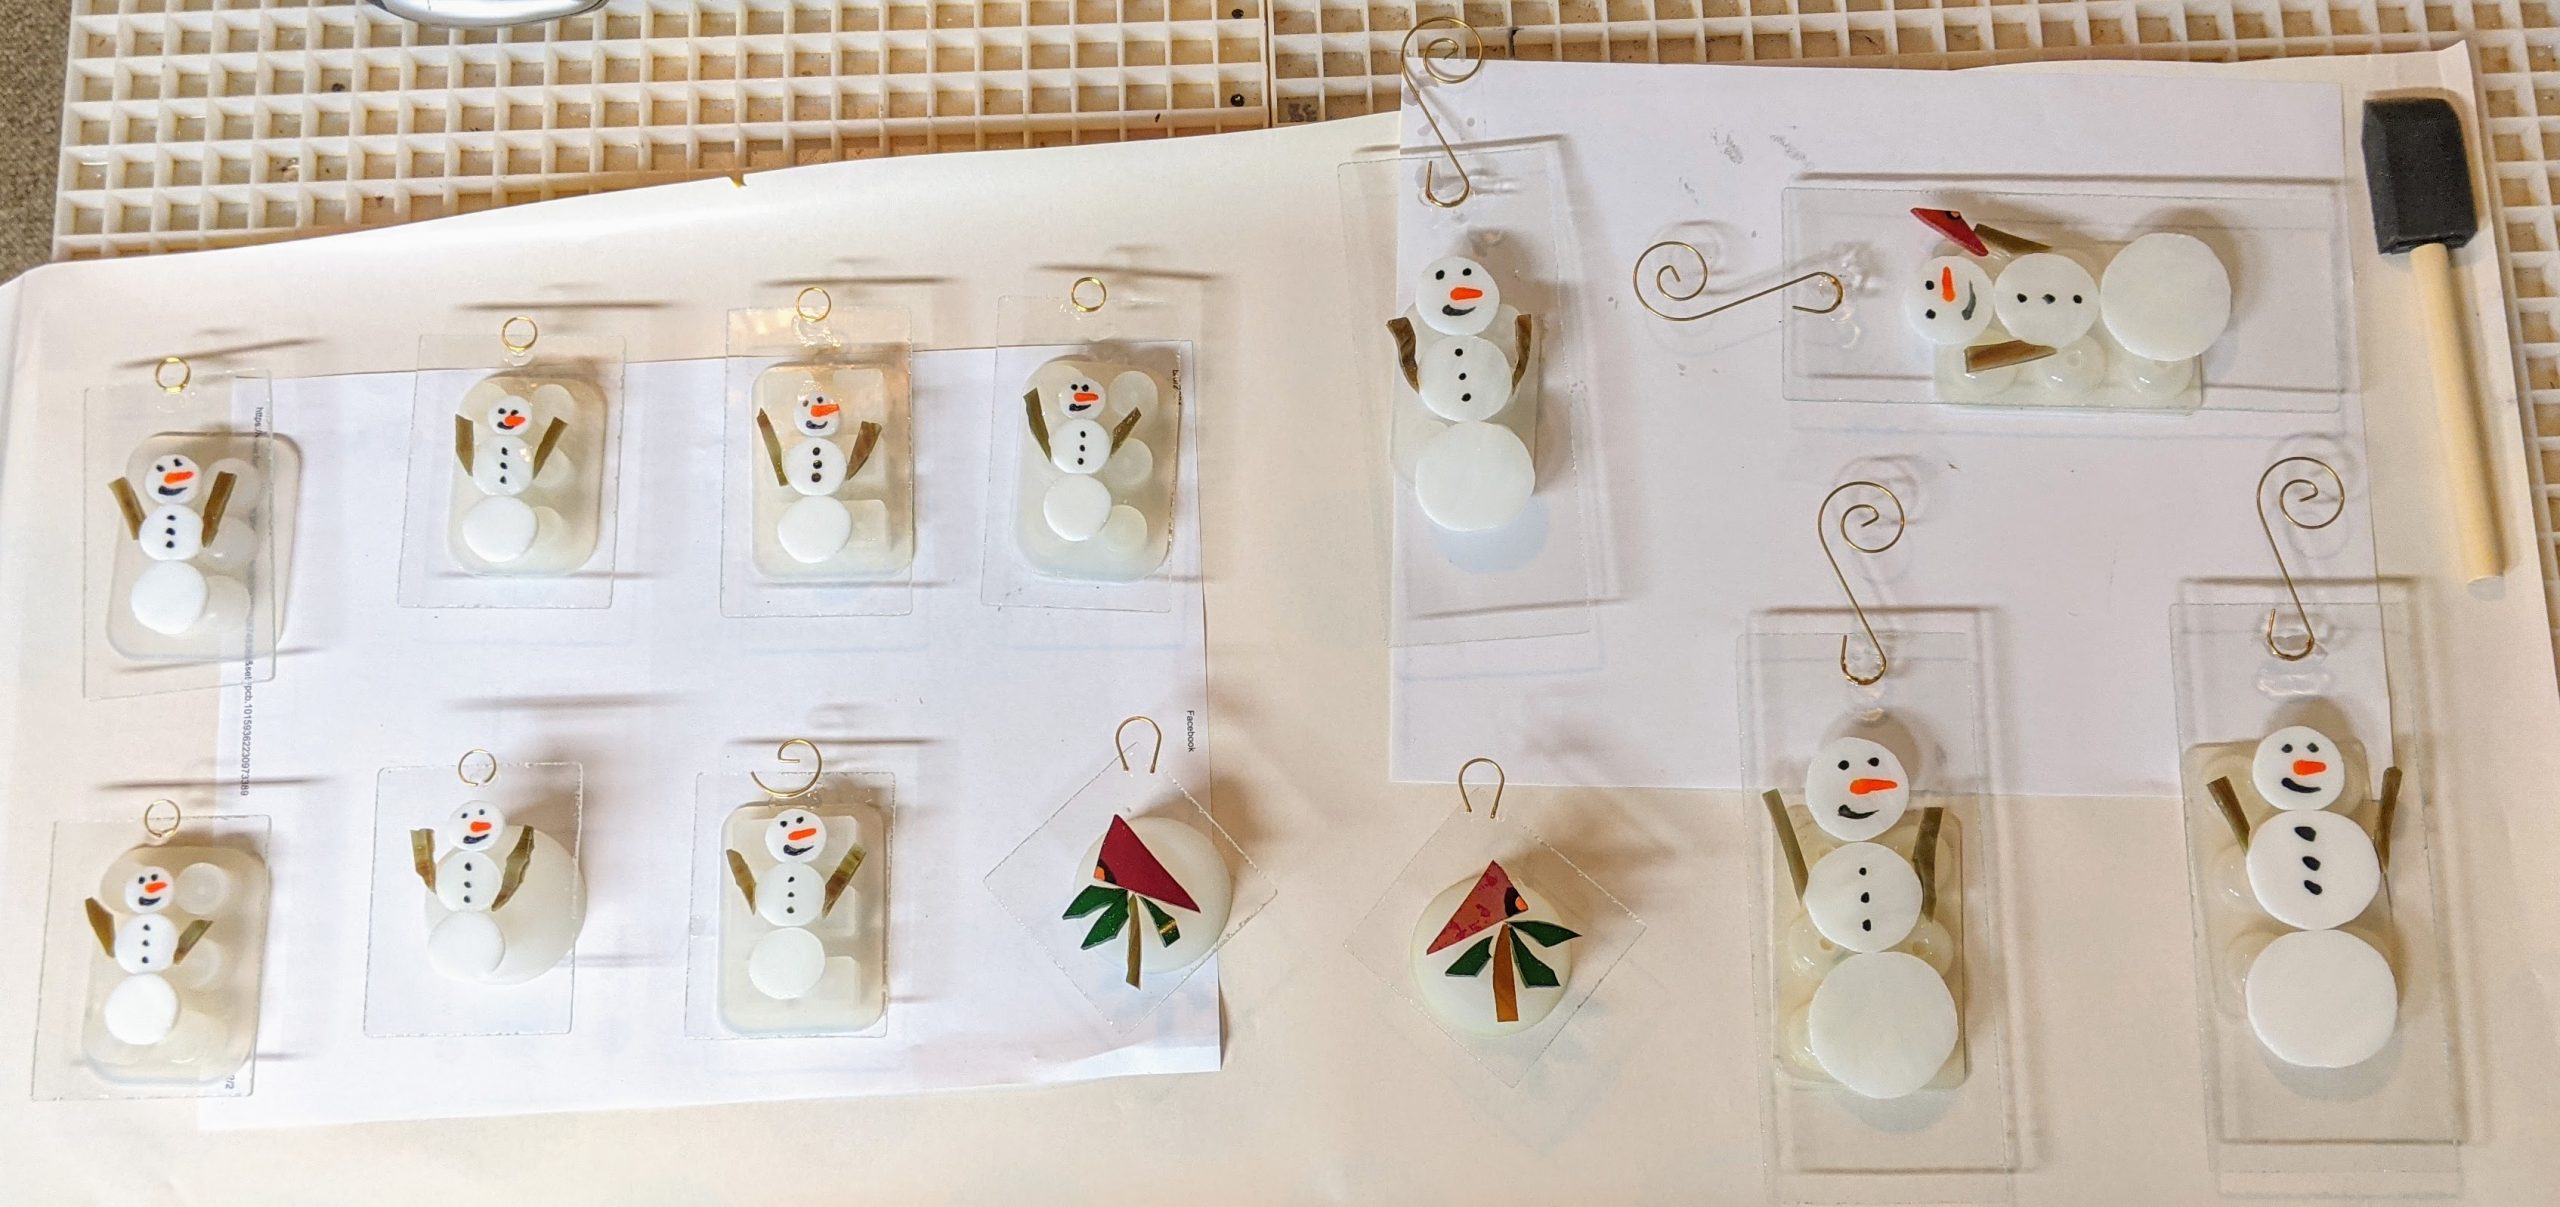
The other morning I glued the metal hooks / receivers that will be used to hang the ornaments with MAC glue. I like to glue them even though the resin coating will hold them in place. The next step will be coating them with resin and decorating the resin with glass chips and mica.
Glue drying on ornaments
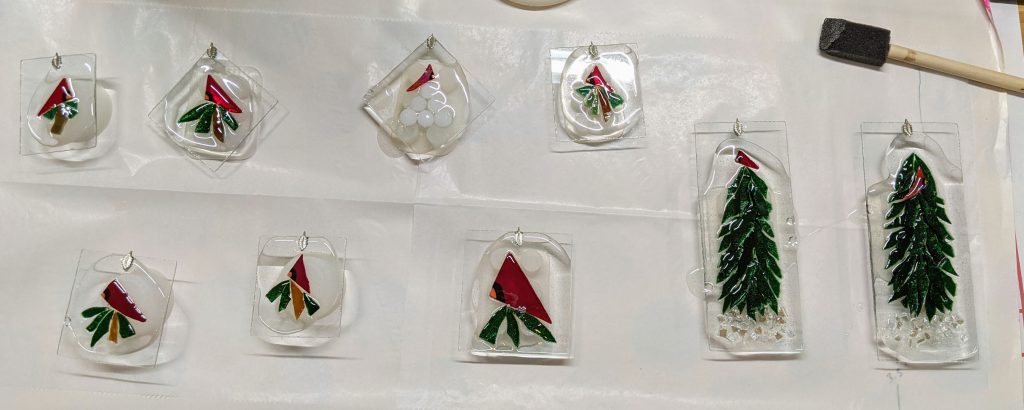
Before I can pour the resin, I have to elevate each ornament on something that the resin won’t adhere to. I usually use silicone cups or molds. They all need to have a bit of space between them so I can scrape drips off with a wooden craft stick while the resin settles. First I pour the resin and spread it around with a sponge on a stick to make sure everything is coated. Then I use a heat gun to remove bubbles in the resin. Once that is done, I can sprinkle glass chips and other decorations in the resin. Unfortunately, once I mix the resin I’m in a big sticky mess that doesn’t lend itself well to taking photos / video. I need to get my husband to help with that one of these days.
Ornaments elevated and spaced out.Resin poured and decorated, curing.
Some of the smaller snowmen’s mouths drifted a bit after covered with resin. It’s always a new challenge, sigh. I also dipped the “Dichro-cicles” and hung them on my little laundry line. We’ll see how they come out.
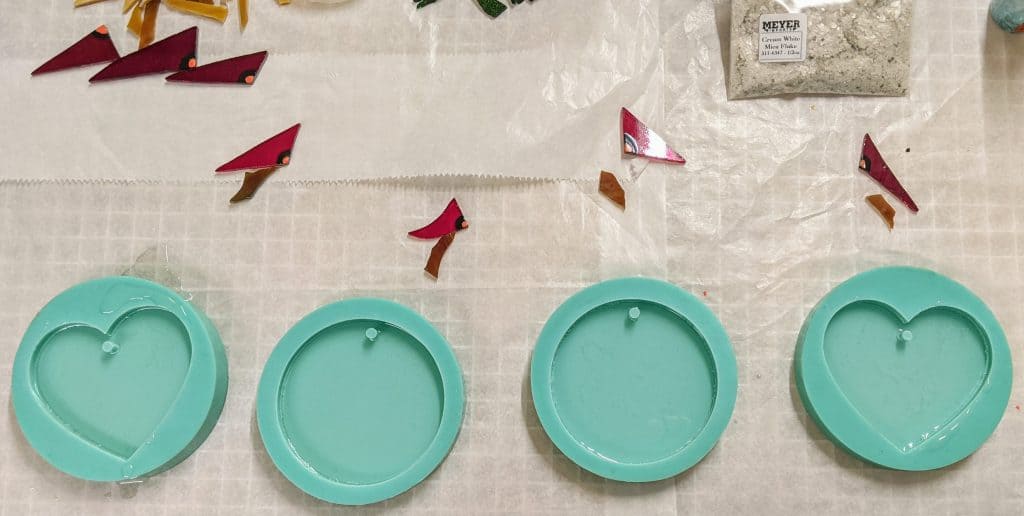
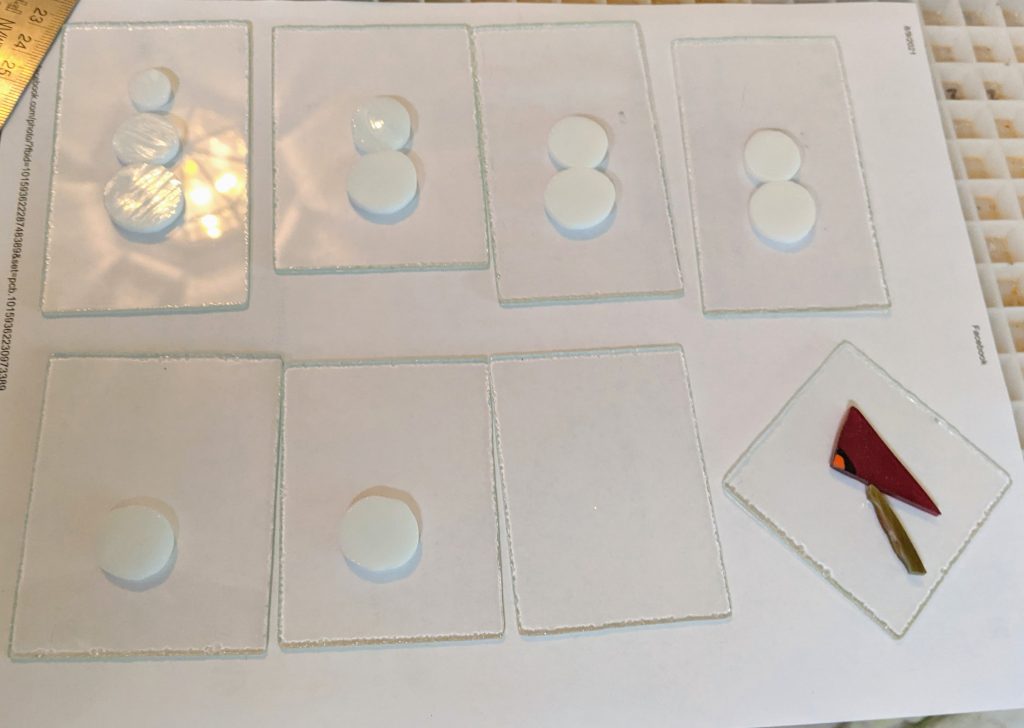
I needed to make some more projects before mixing the next batch of resin (don’t want to waste the resin), so I spent today cutting out parts for snowmen and cardinals and prepping them for the resin.
Cutting glass
Grinding glass
Laying out the snowmen
More ornaments being laid out
Cutting / grinding / laying out the glass
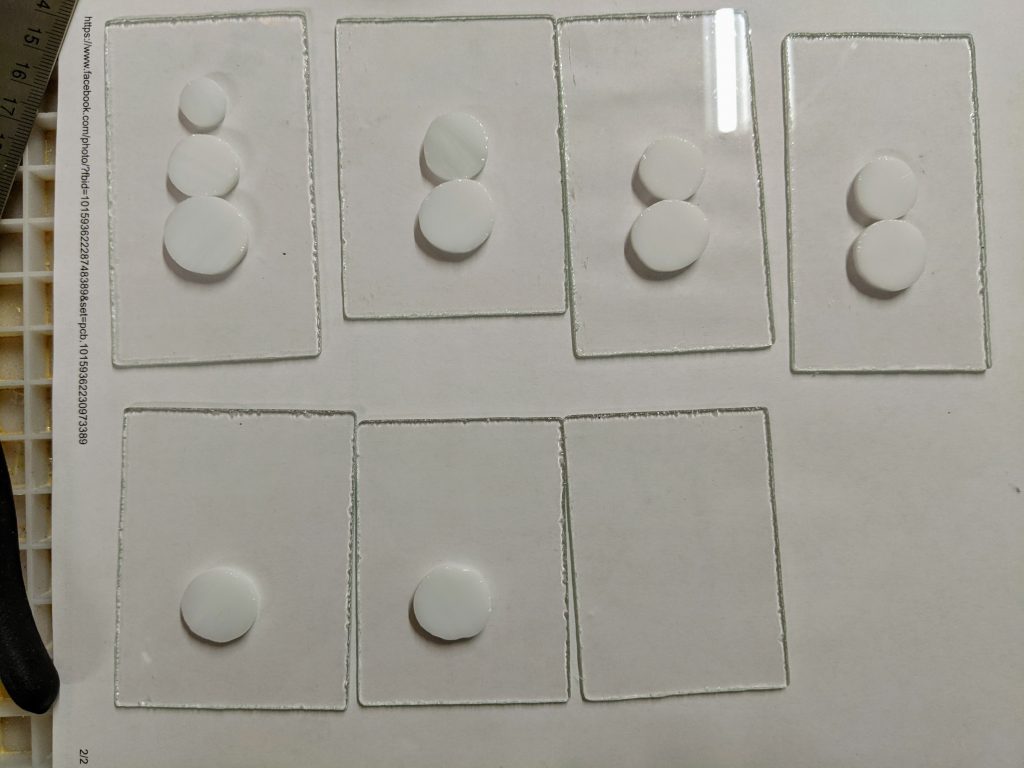
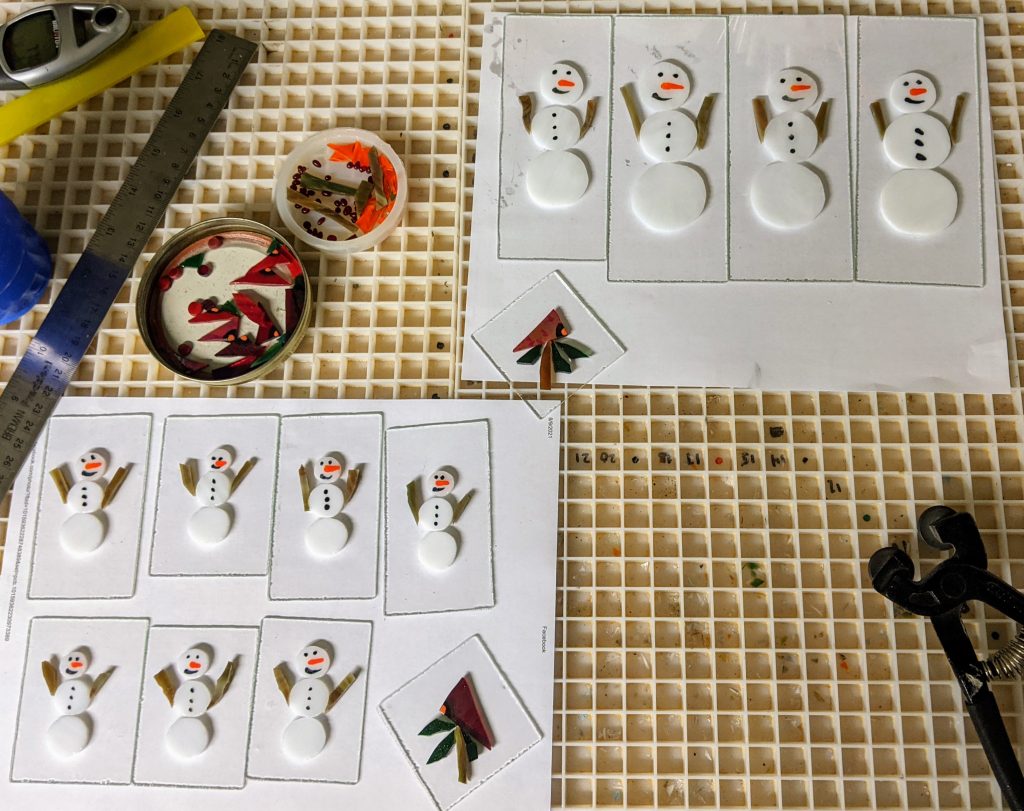
After I lay out all the parts, I decorate the snowmen with nail polish for their faces and coal buttons (I did this previously for the cardinals I’m using). Once the glue dries, they can be coated with resin and decorated. Sometimes I use glass for the noses on the snowmen when they are larger, but these are smaller ornaments.
Decorated and ready for the resin
Once the decorations dry, I can glue the glass pieces to the clear backer glass. After they dry overnight, they should be ready for the resin coating.
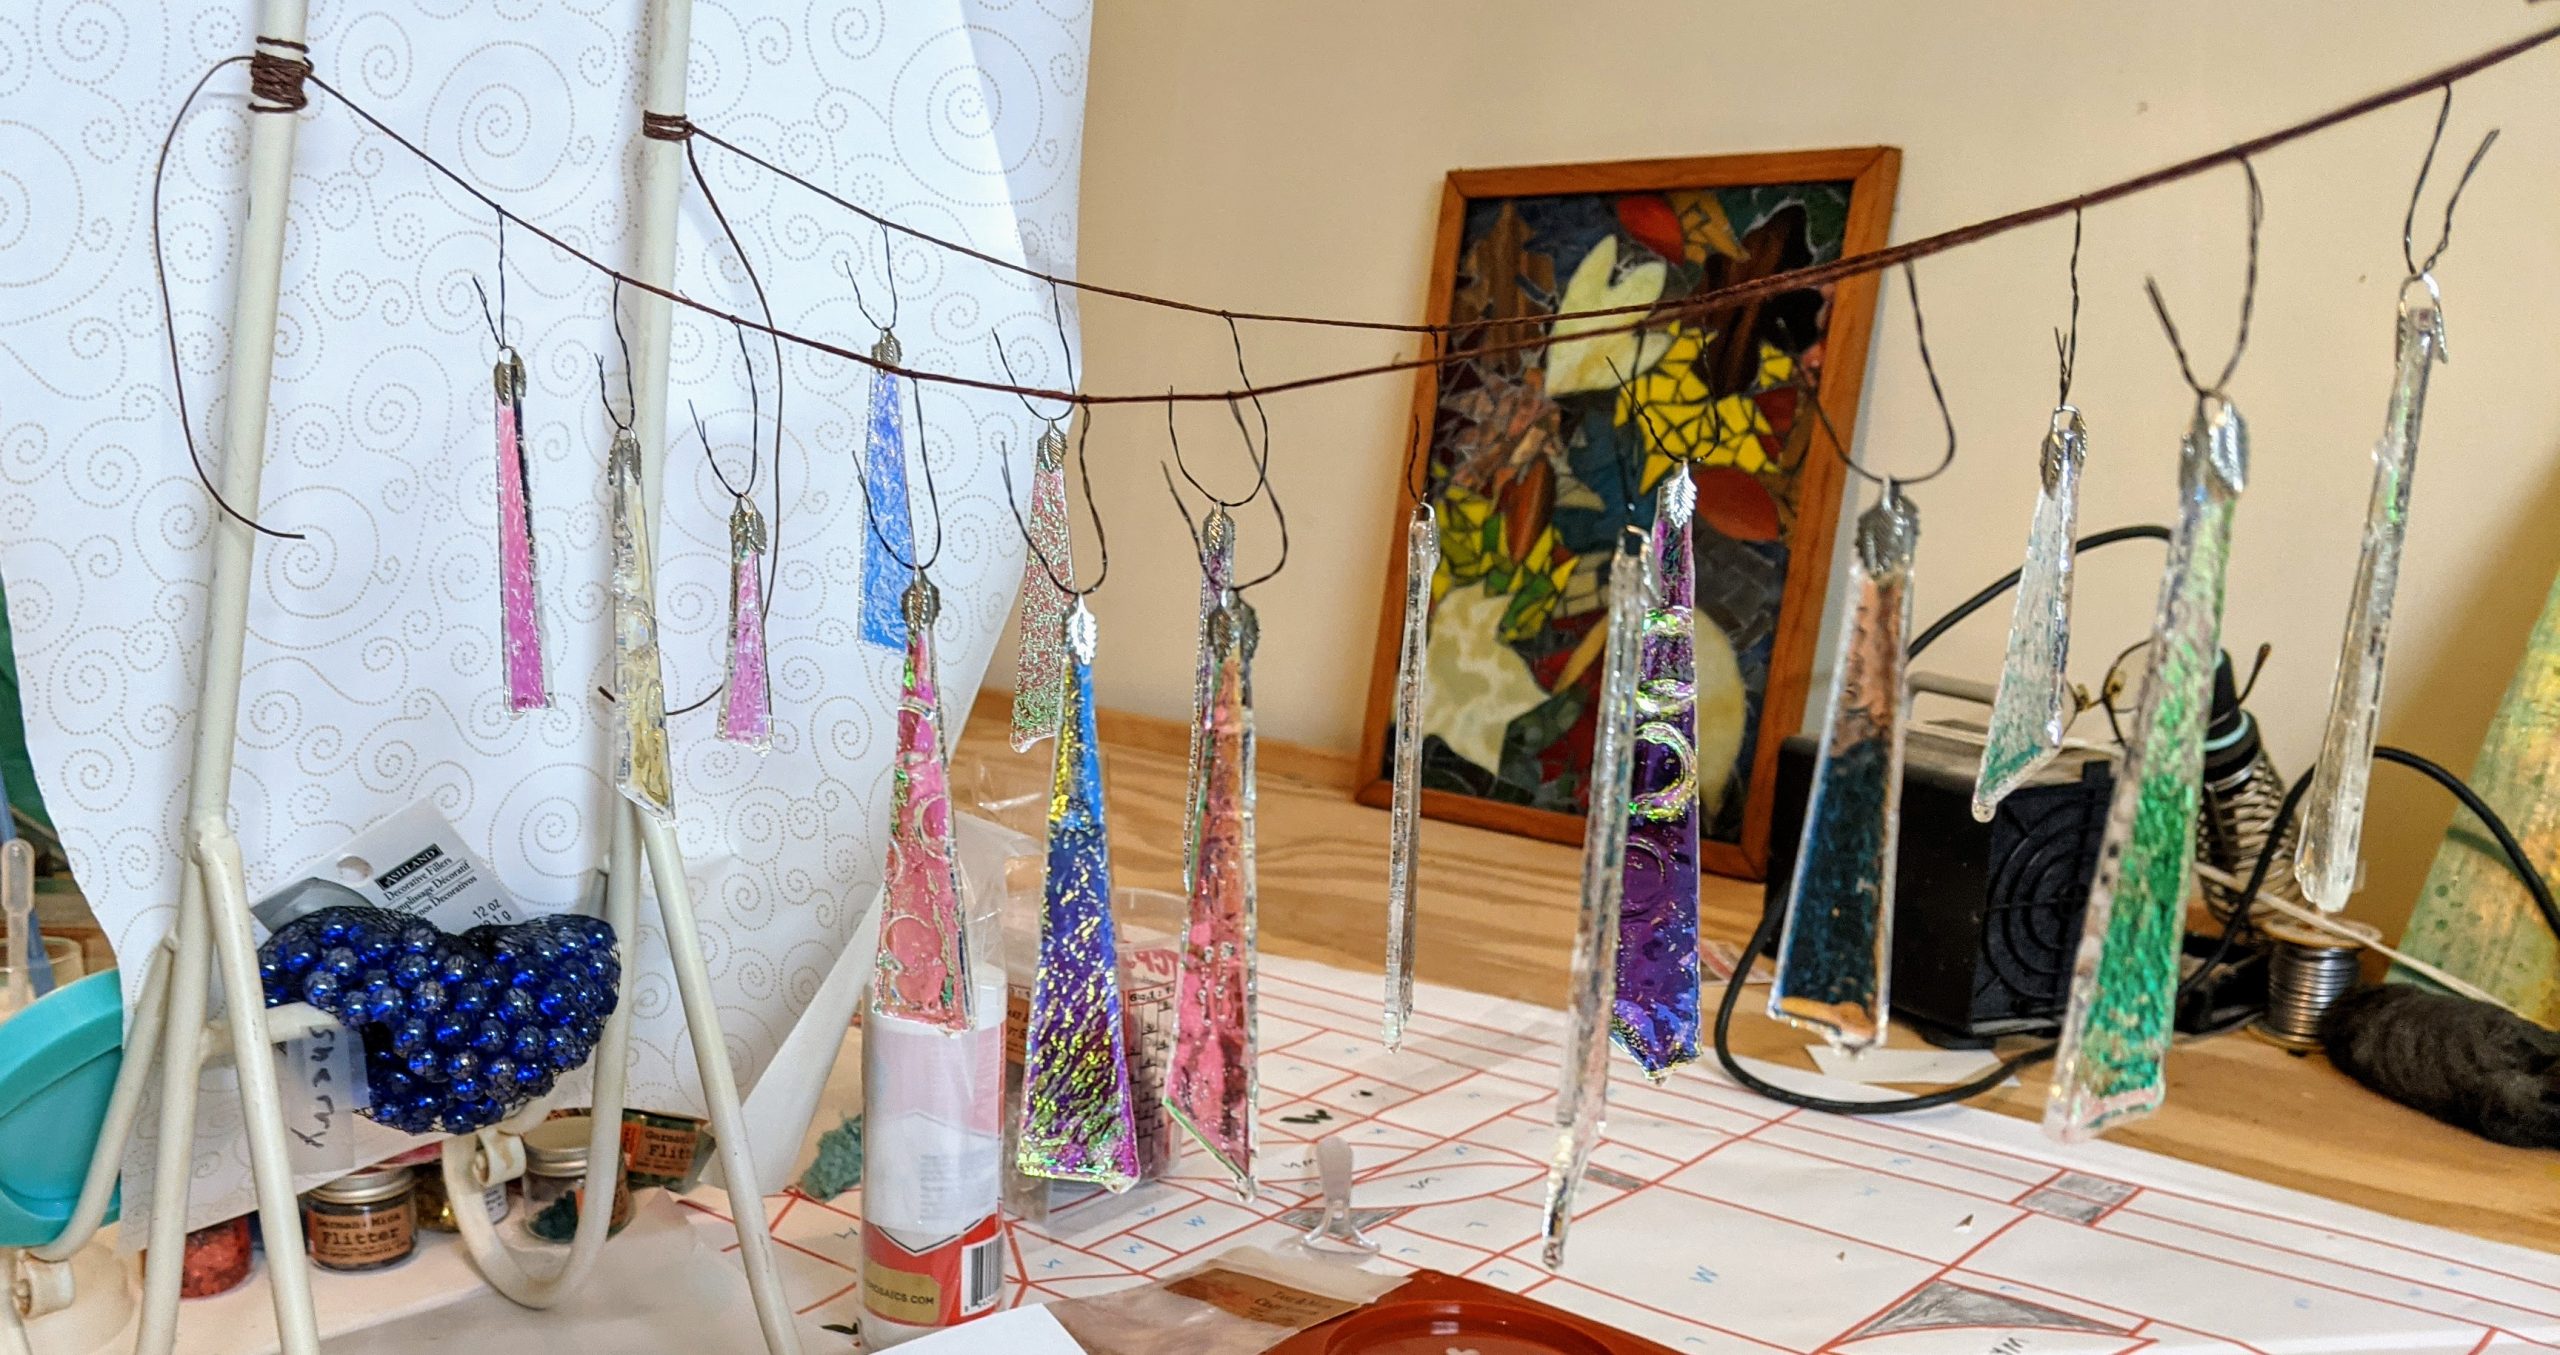
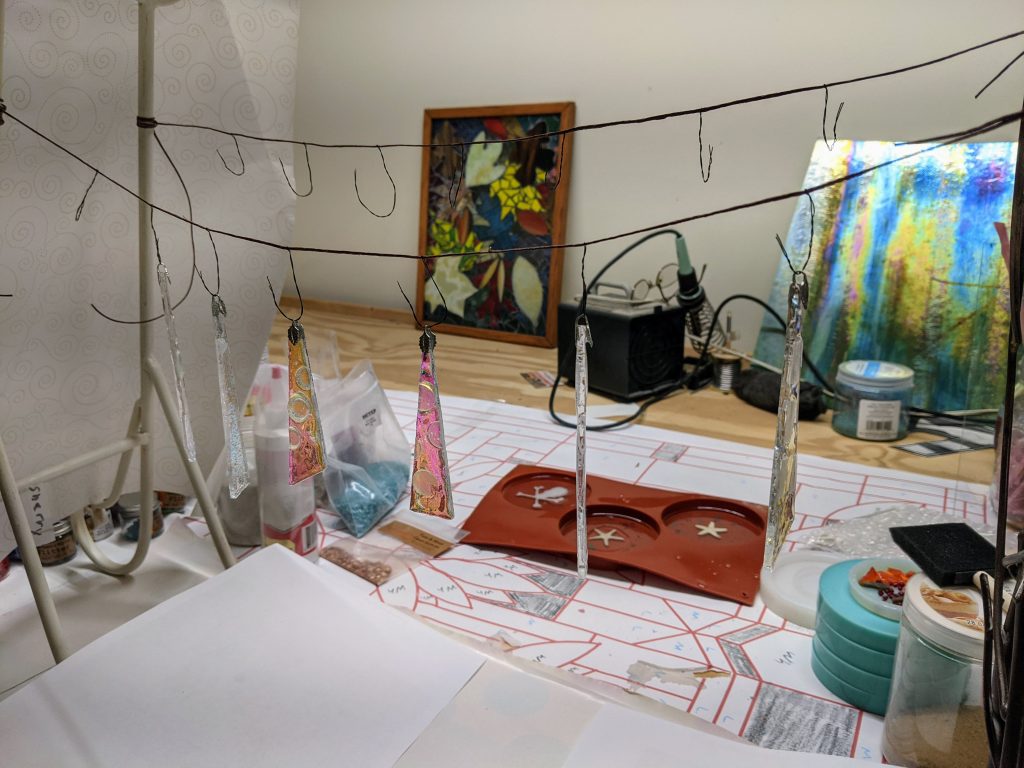
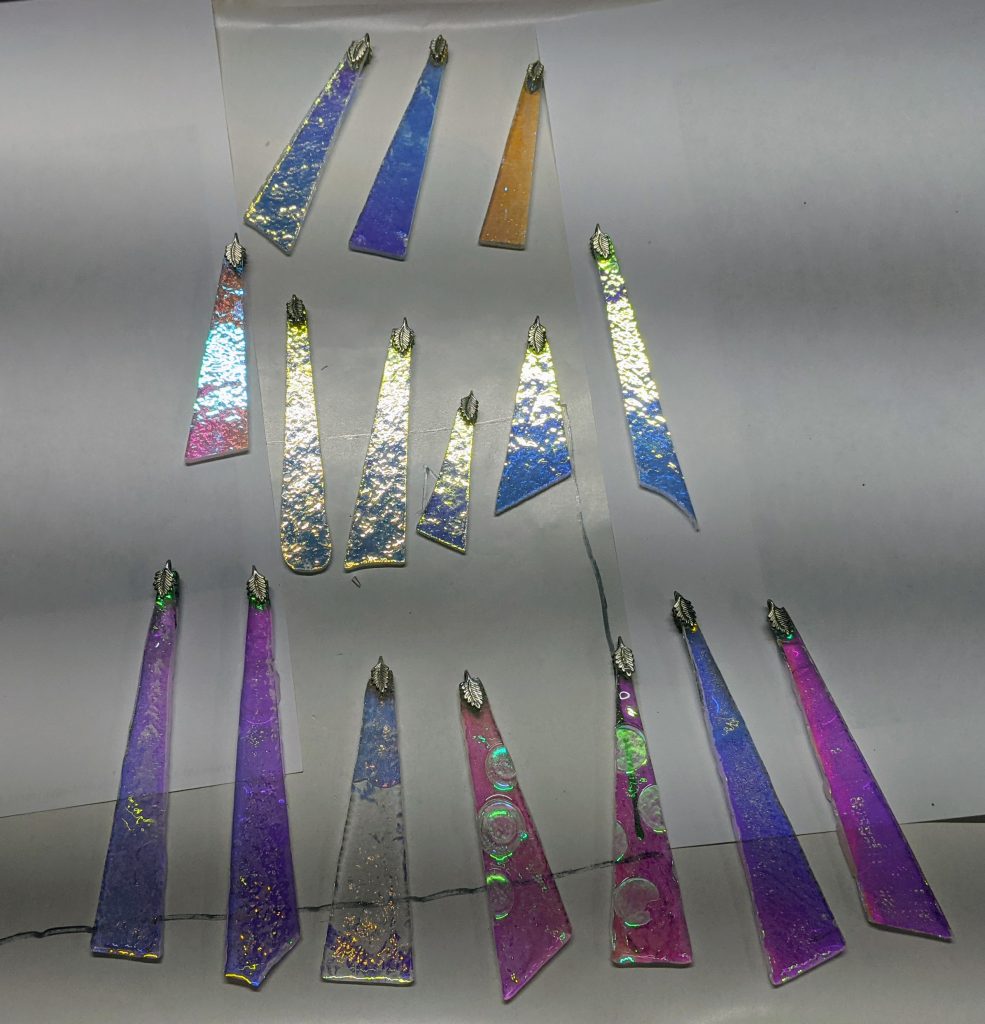
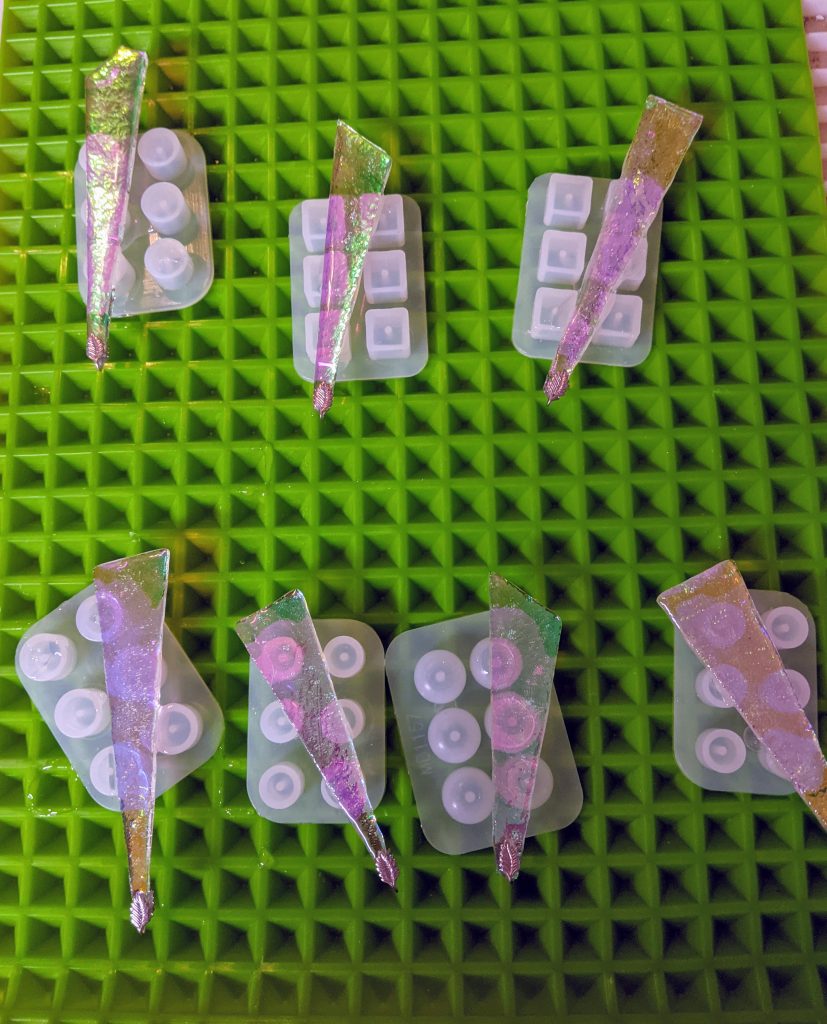
So I made an attempt at creating some icicle ornaments using dichroic glass and coating them with resin the other day. Well let’s just say that my initial attempt at horizontal curing isn’t ideal and results in a lot of lumpy cleanup in the best case and disappointing results in the worst case. So I rigged up a mini clothesline of sorts to use to hold the next batch while they cure. I’m sure it will need adjustments as well, but it’s an improvement in the making!
Icicle hanging arrangement made with twine and florist wire hooks
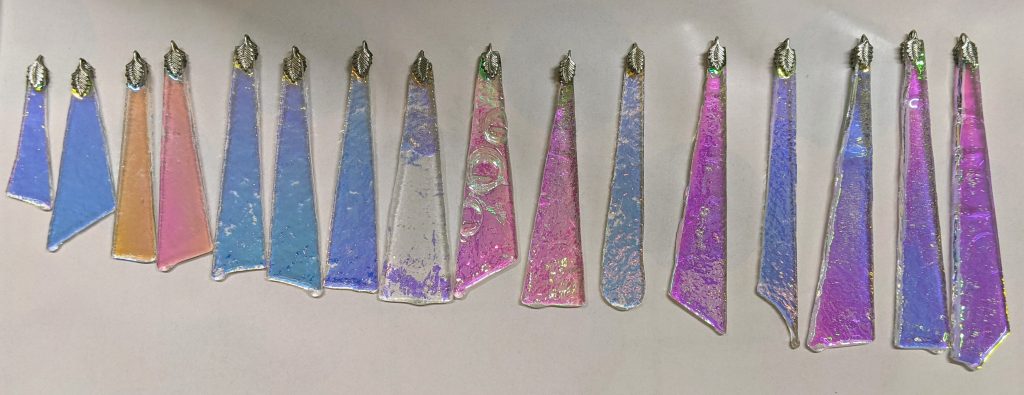
Of course, before I can coat the glass in the resin, I have to cut the glass, grind the edges and glue the metal holder on the top that will be used to hang the icicle. Once I’ve done all of that, they are ready to coat.
Gluing metal holders in place
Ready to coat
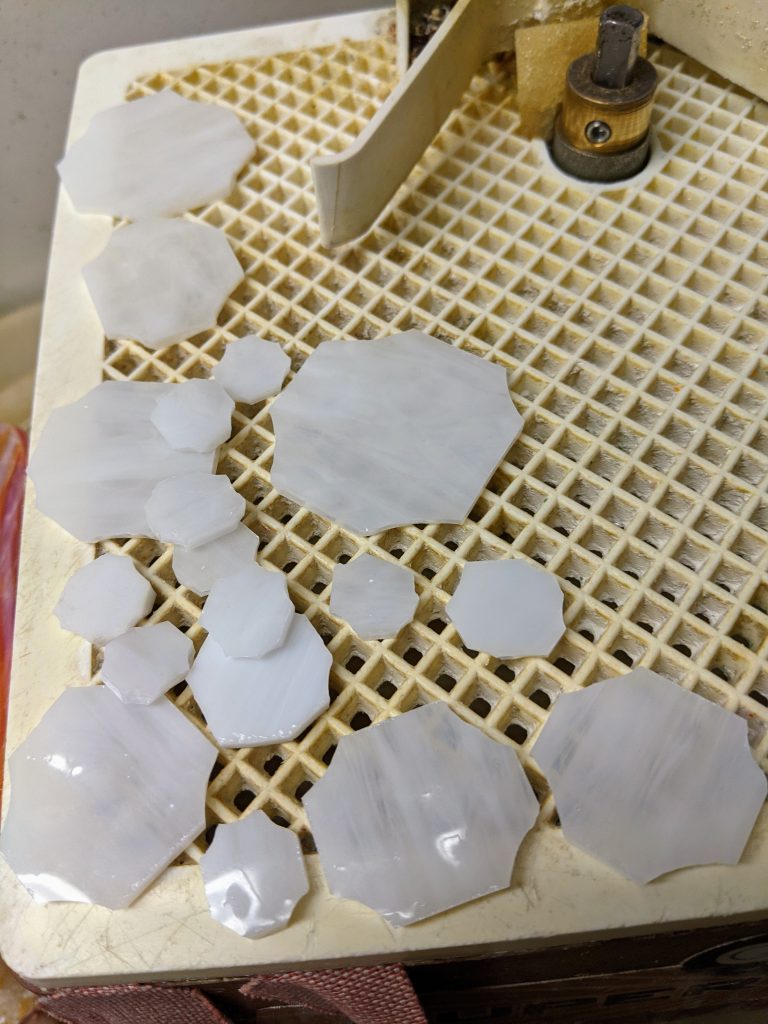
I thought I might be able to do a coat of resin today, but realized that I need more projects ready in case I have extra resin. So instead I cut and ground the edges of the recycled window glass I use to make smaller ornaments with scenes, birds, leaves, snowmen, etc on them.
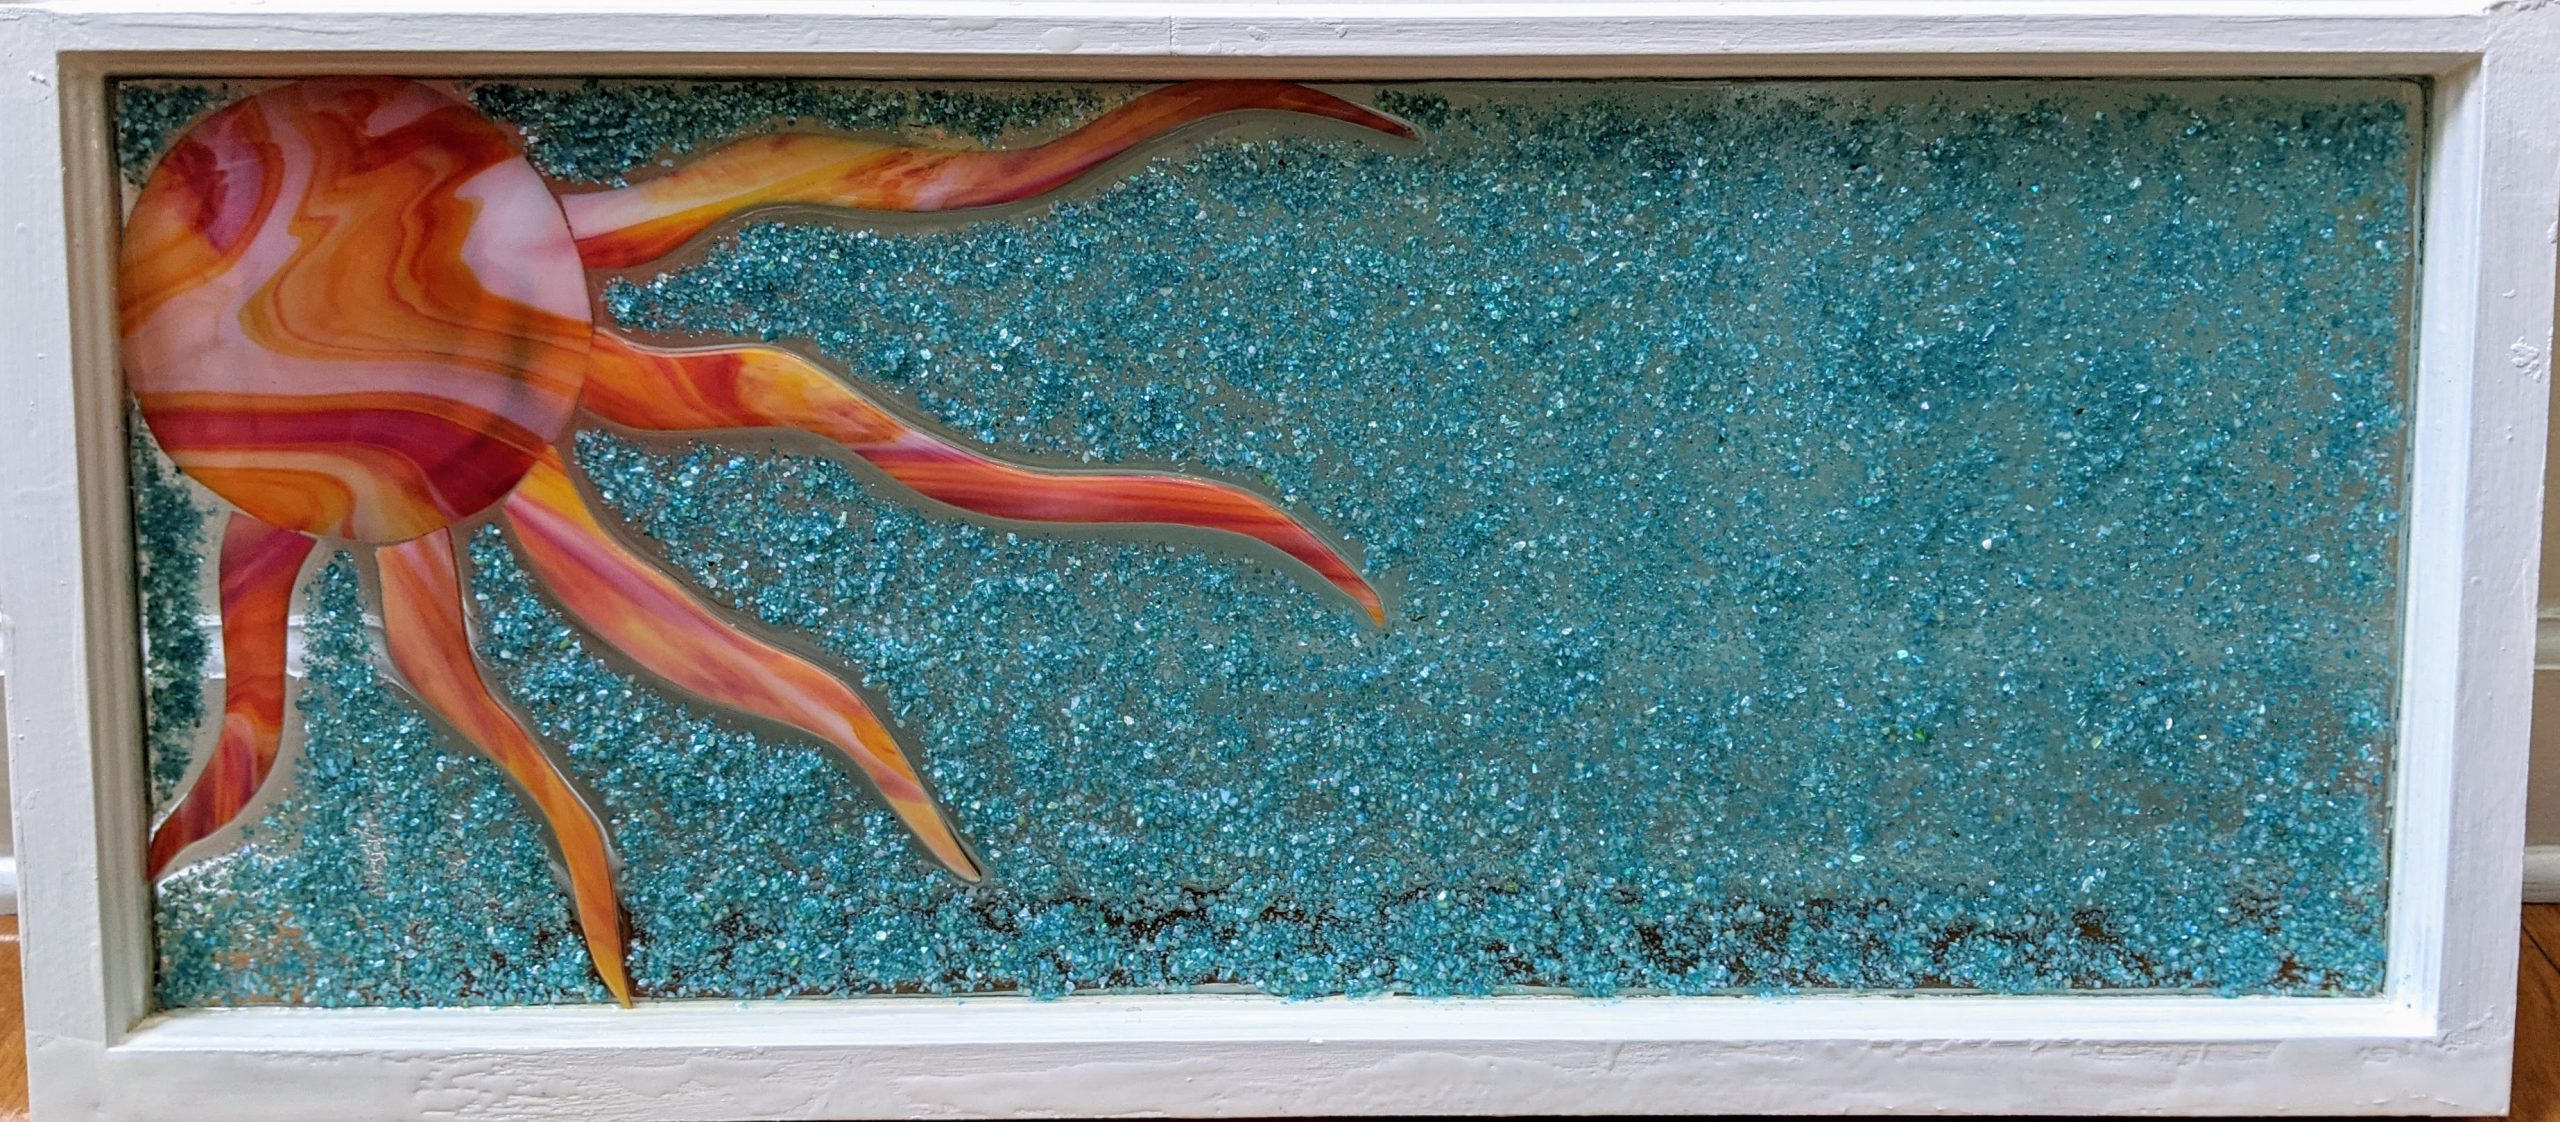
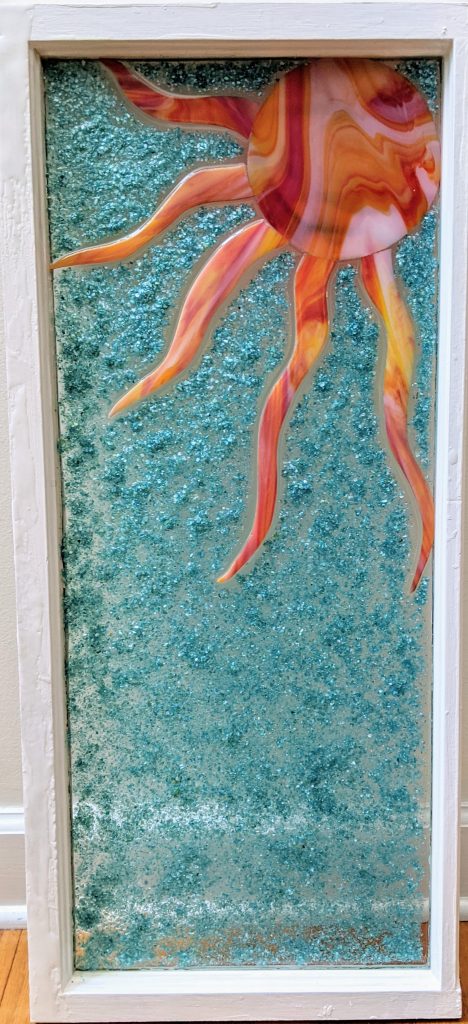
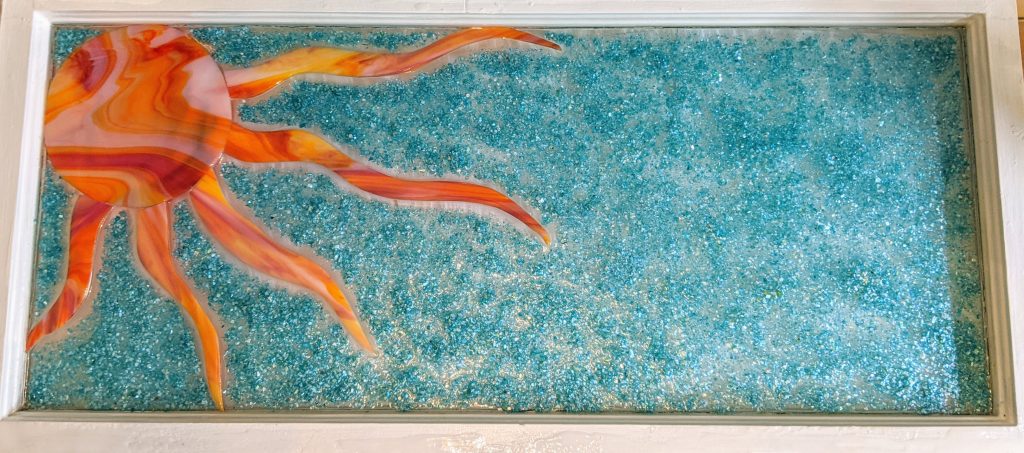
My sister talked me out of adding the glass around the edge of the corner sun mosaic window, so I decided to pour the resin and add the blue shell background today. I prepared about 10ml of resin, which ended up being about 2-4ml too much. I poured the resin a bit too thick at the top of the window, so hopefully it won’t migrate too much while it is curing.
Corner sun, resin poured and blue shell in place
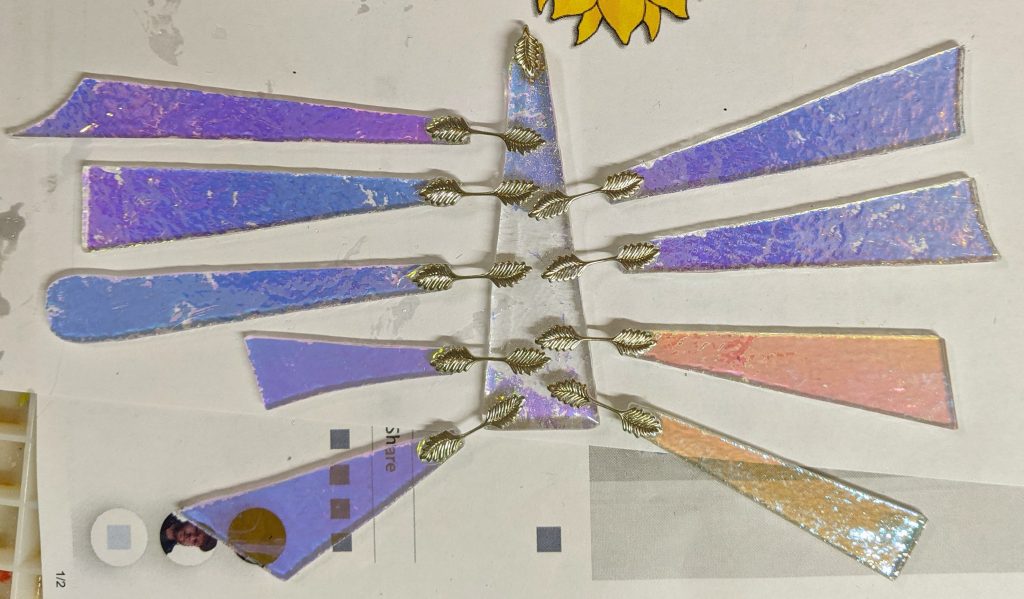
I also decided to experiment with some dichroic glass ornaments. I need to figure out a way to let the resin cure nicely on these, which is a challenge for me because they are small. I might need to find a way to let them cure vertically (hanging) instead of horizontally.