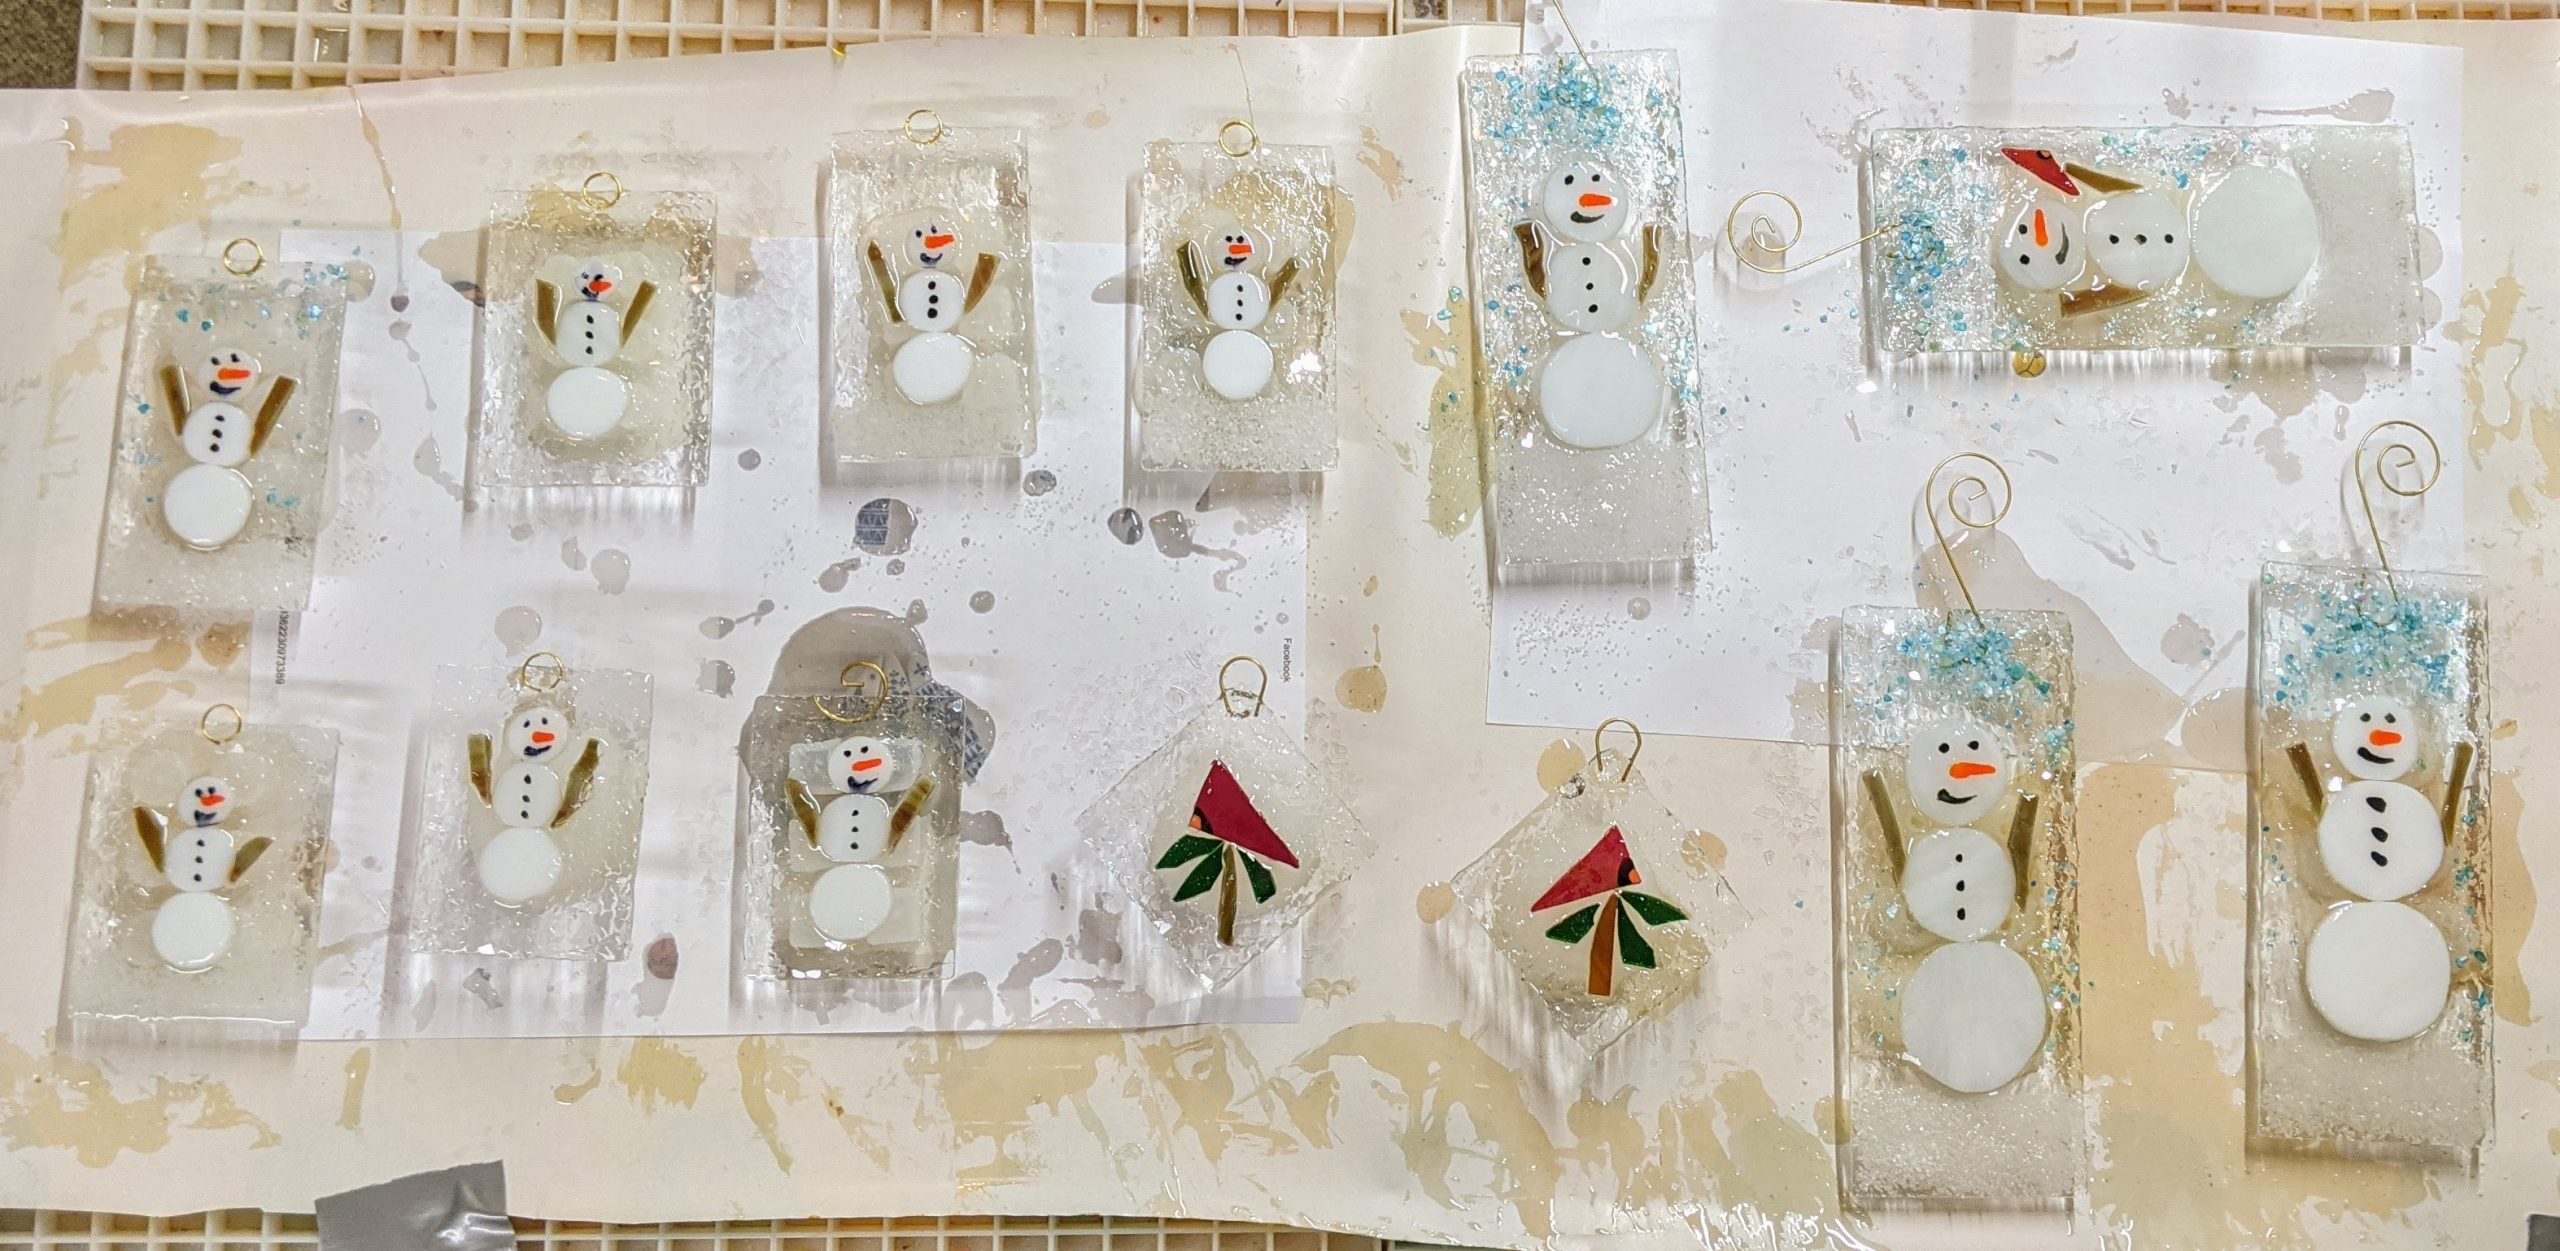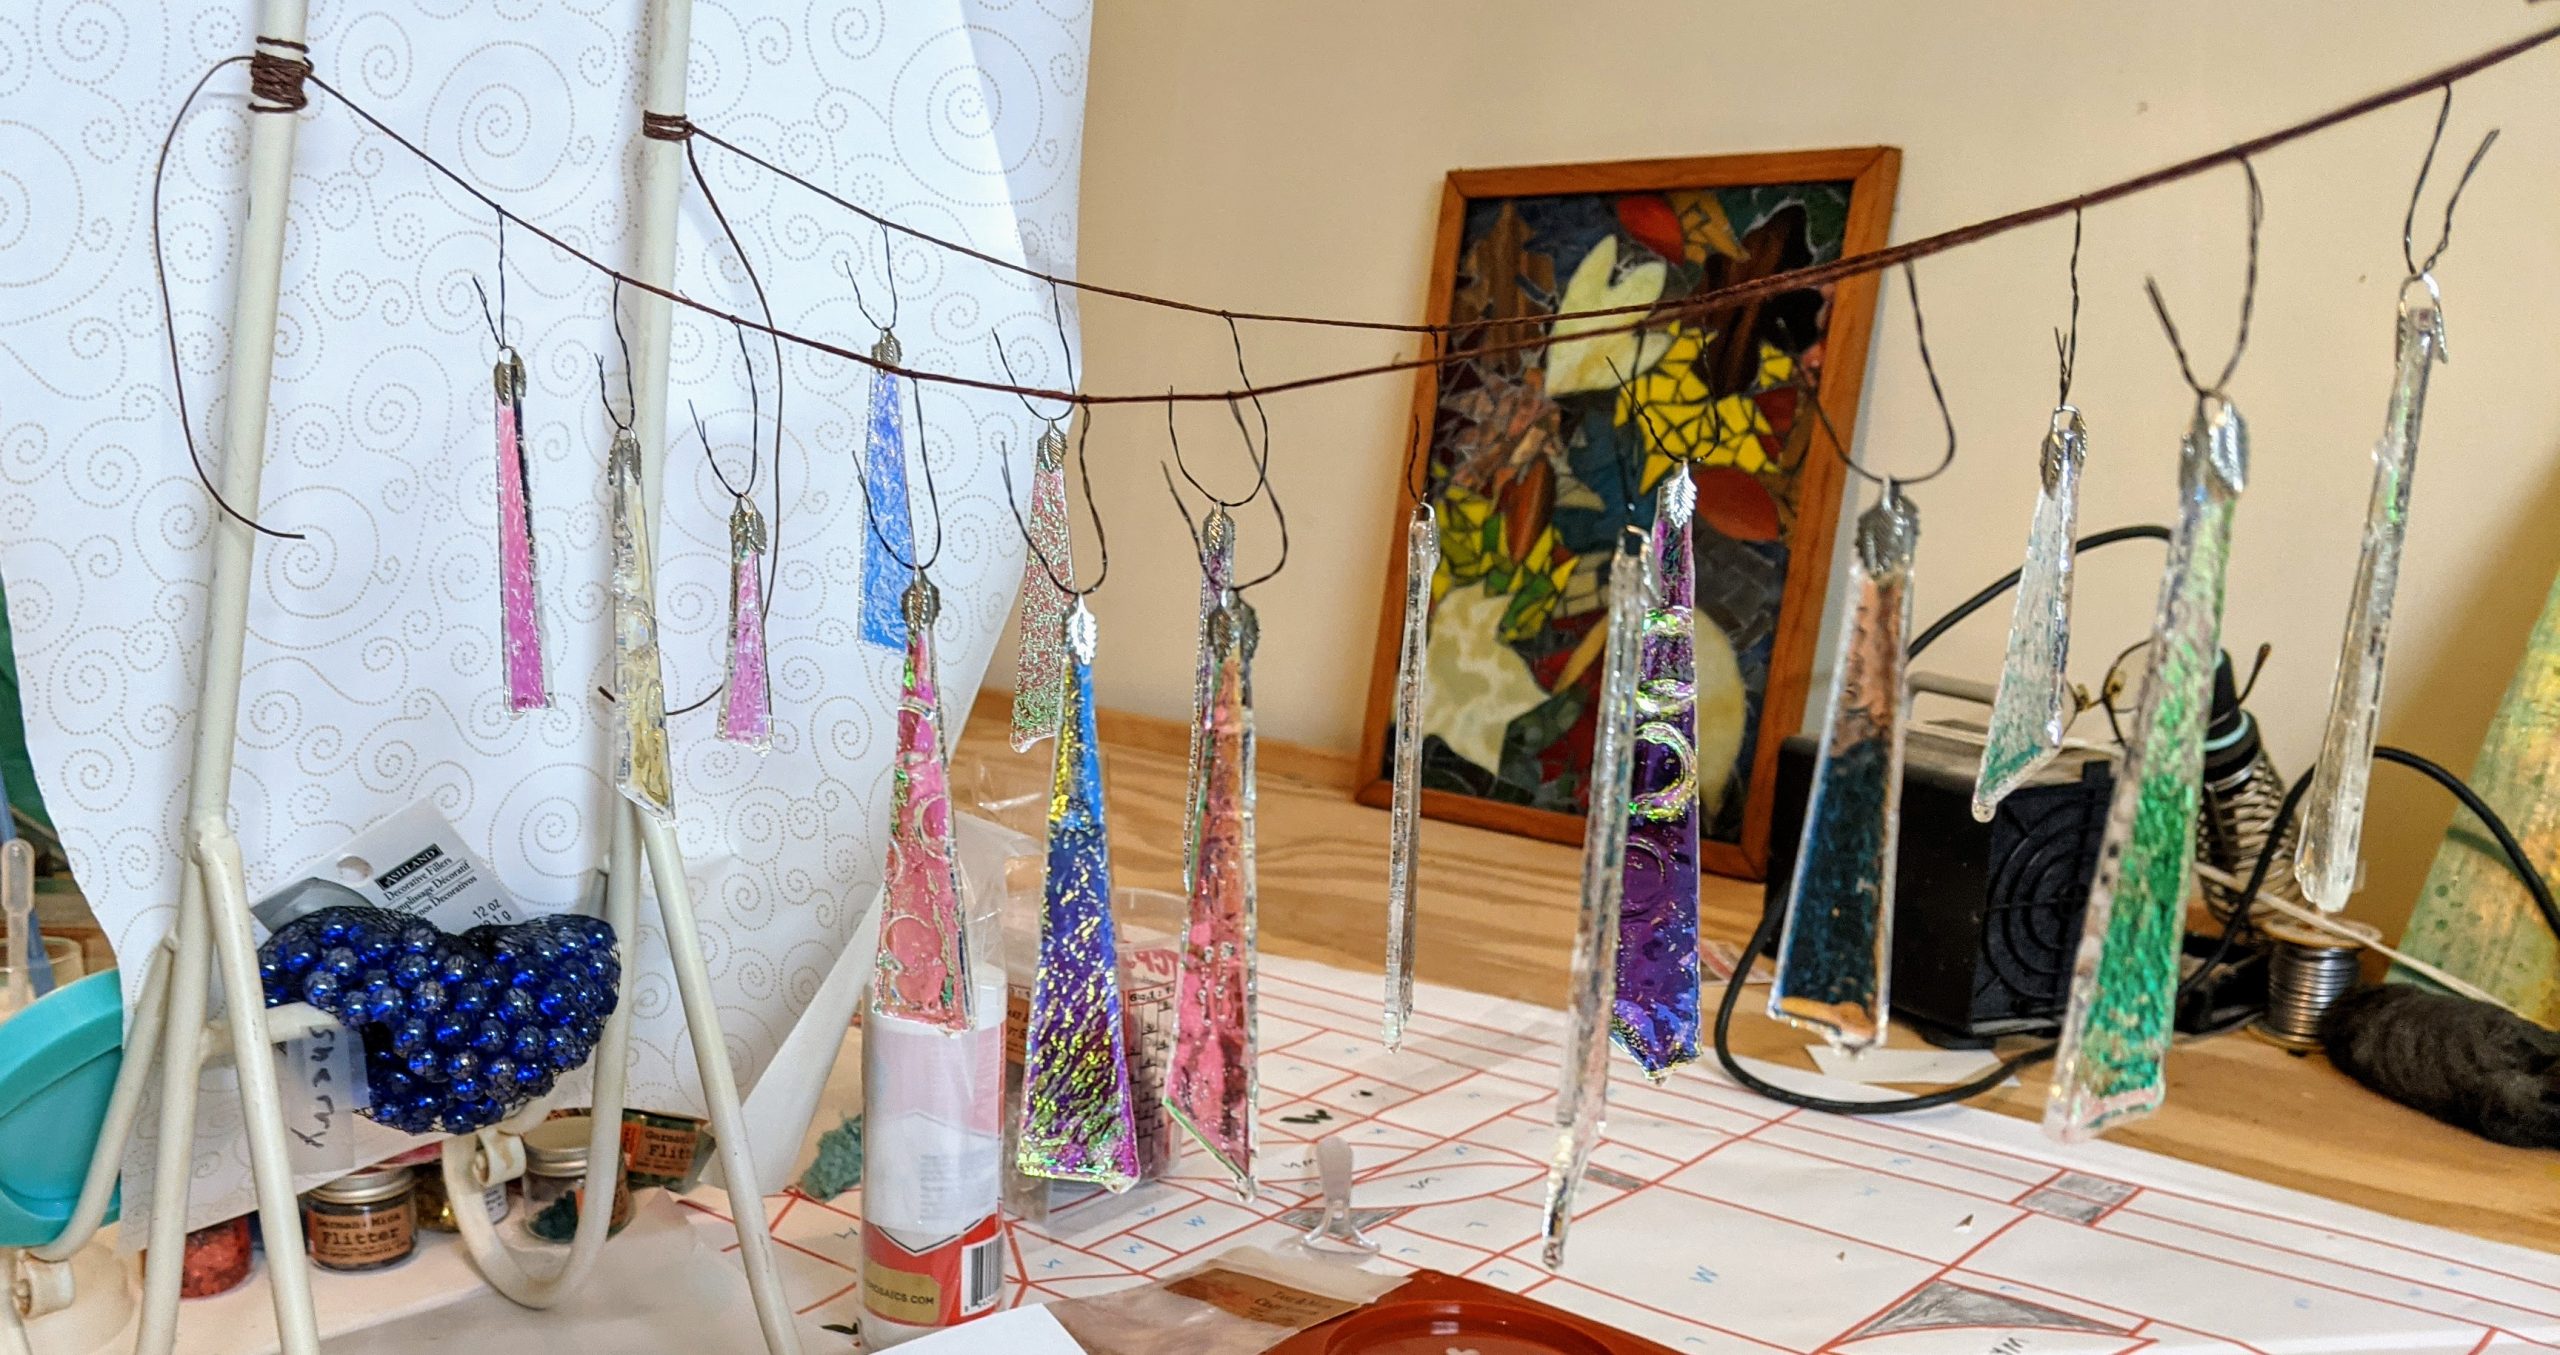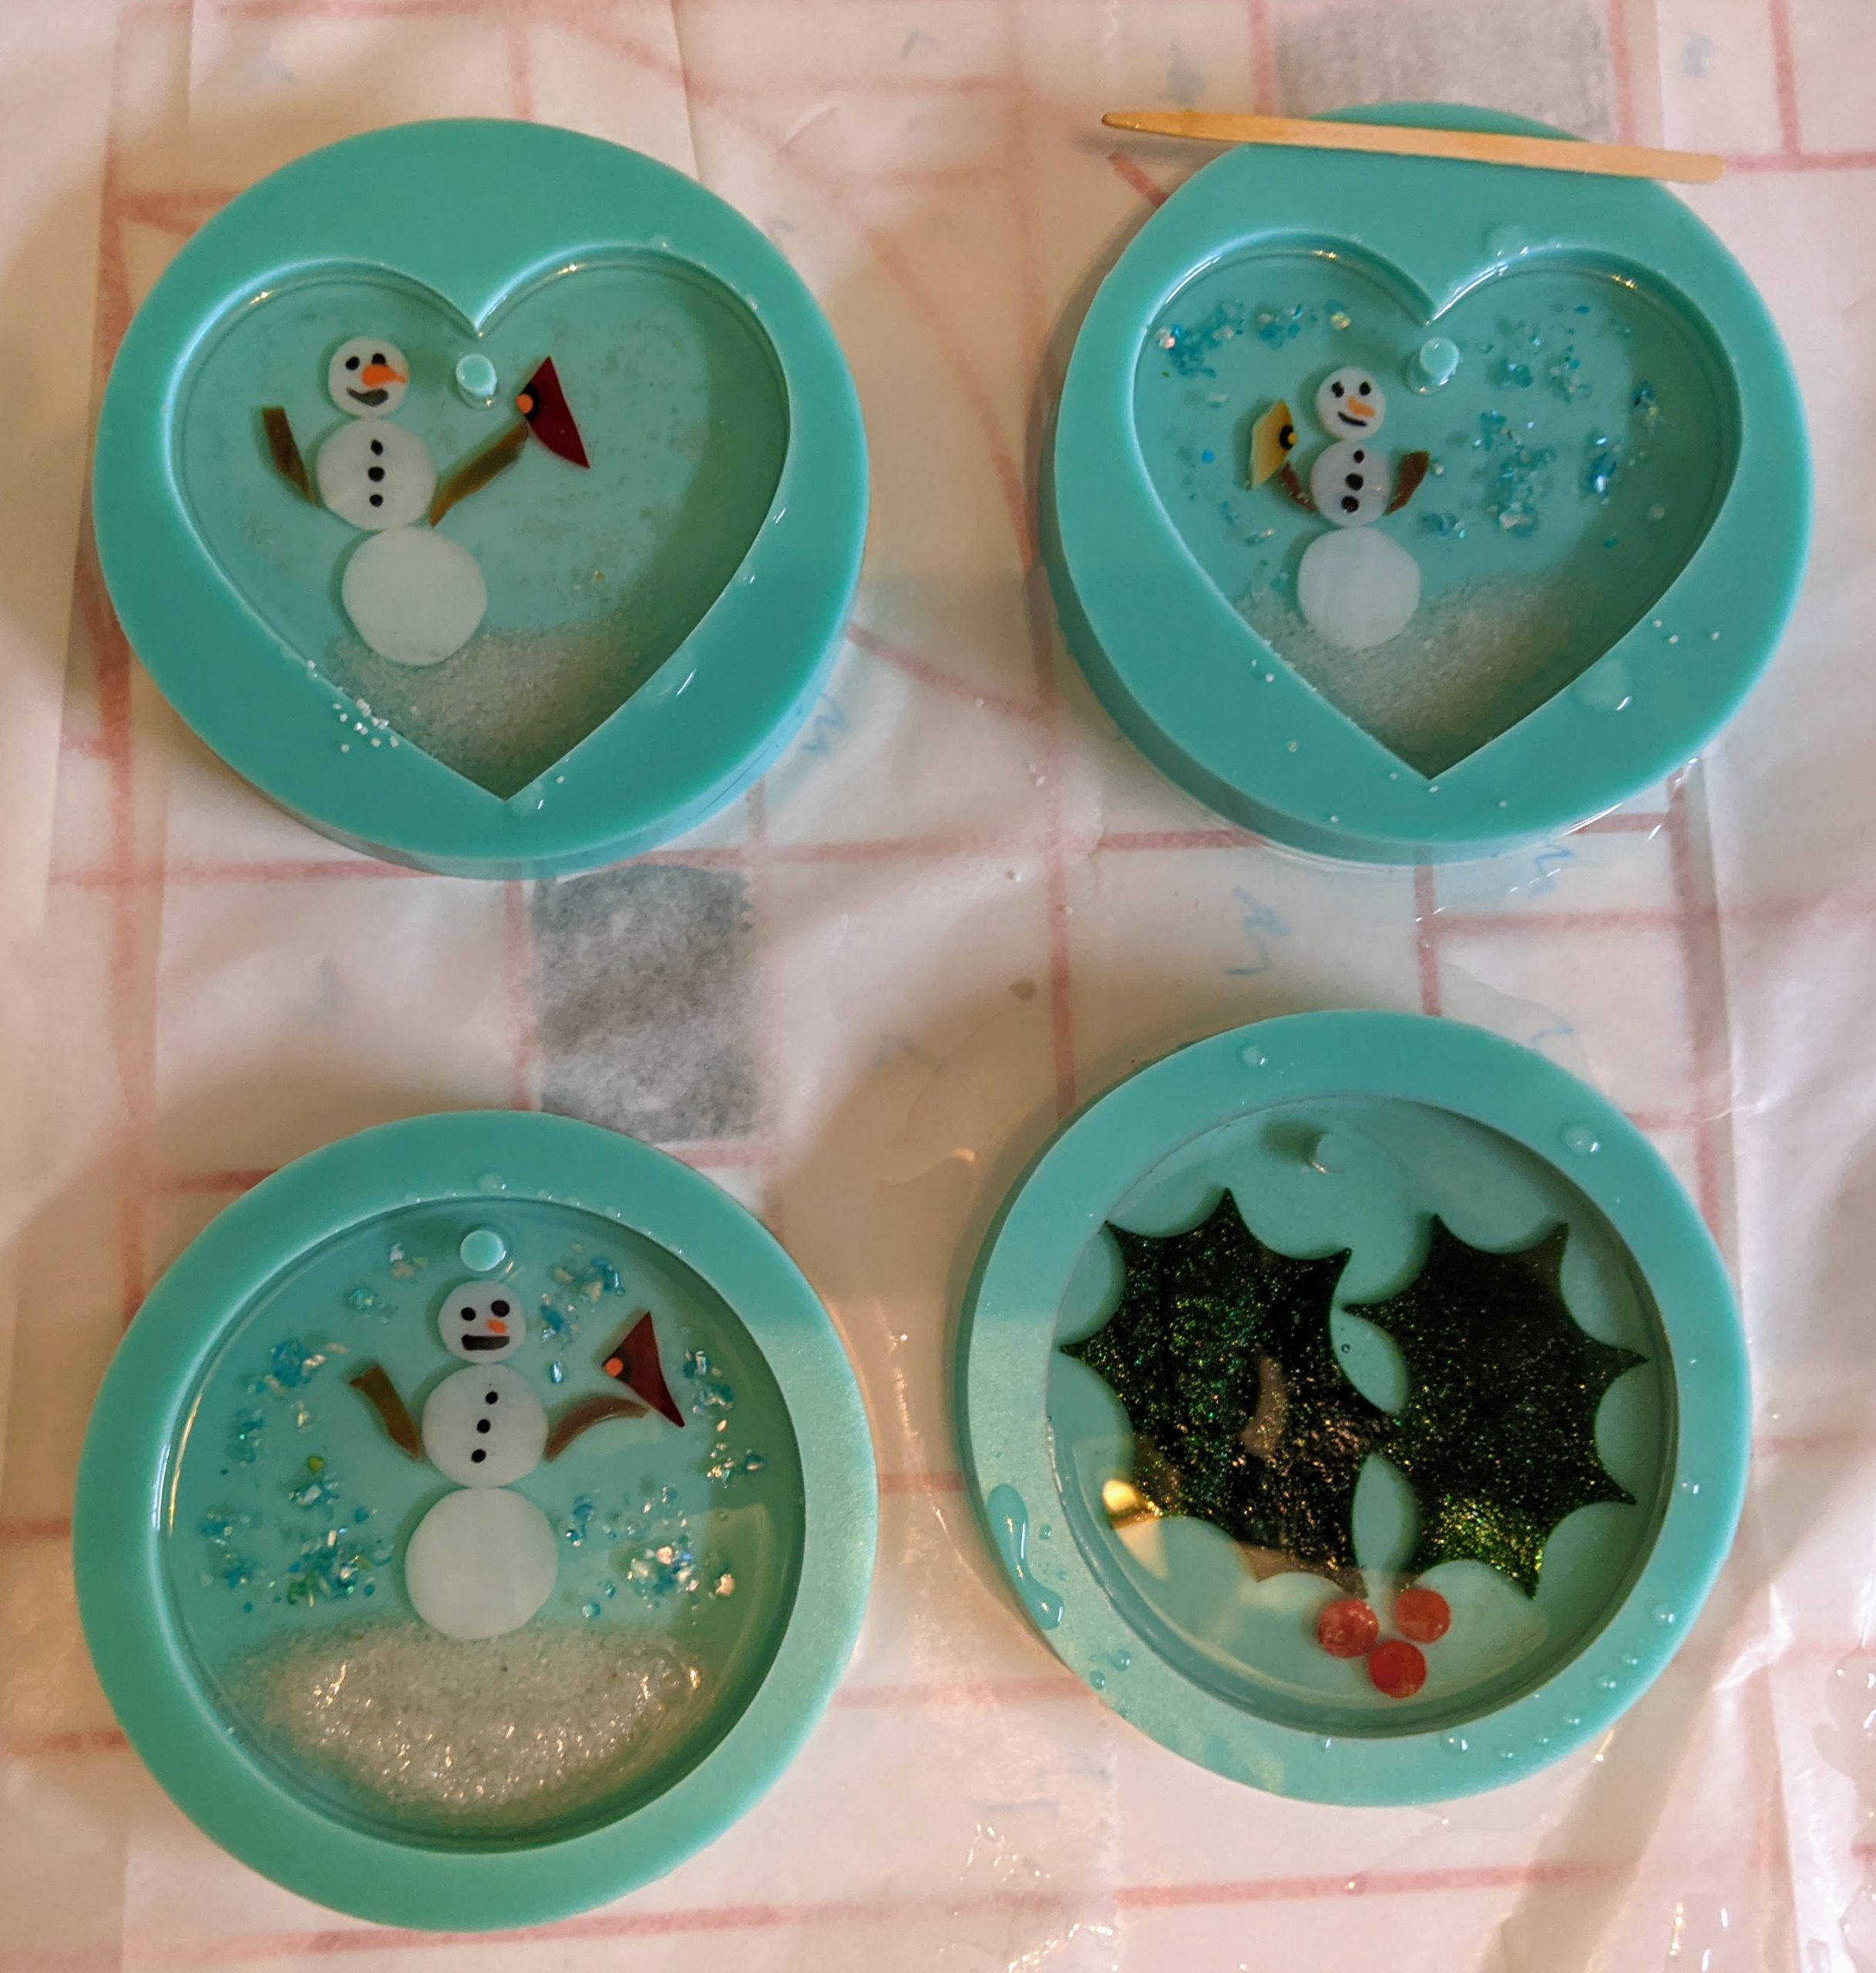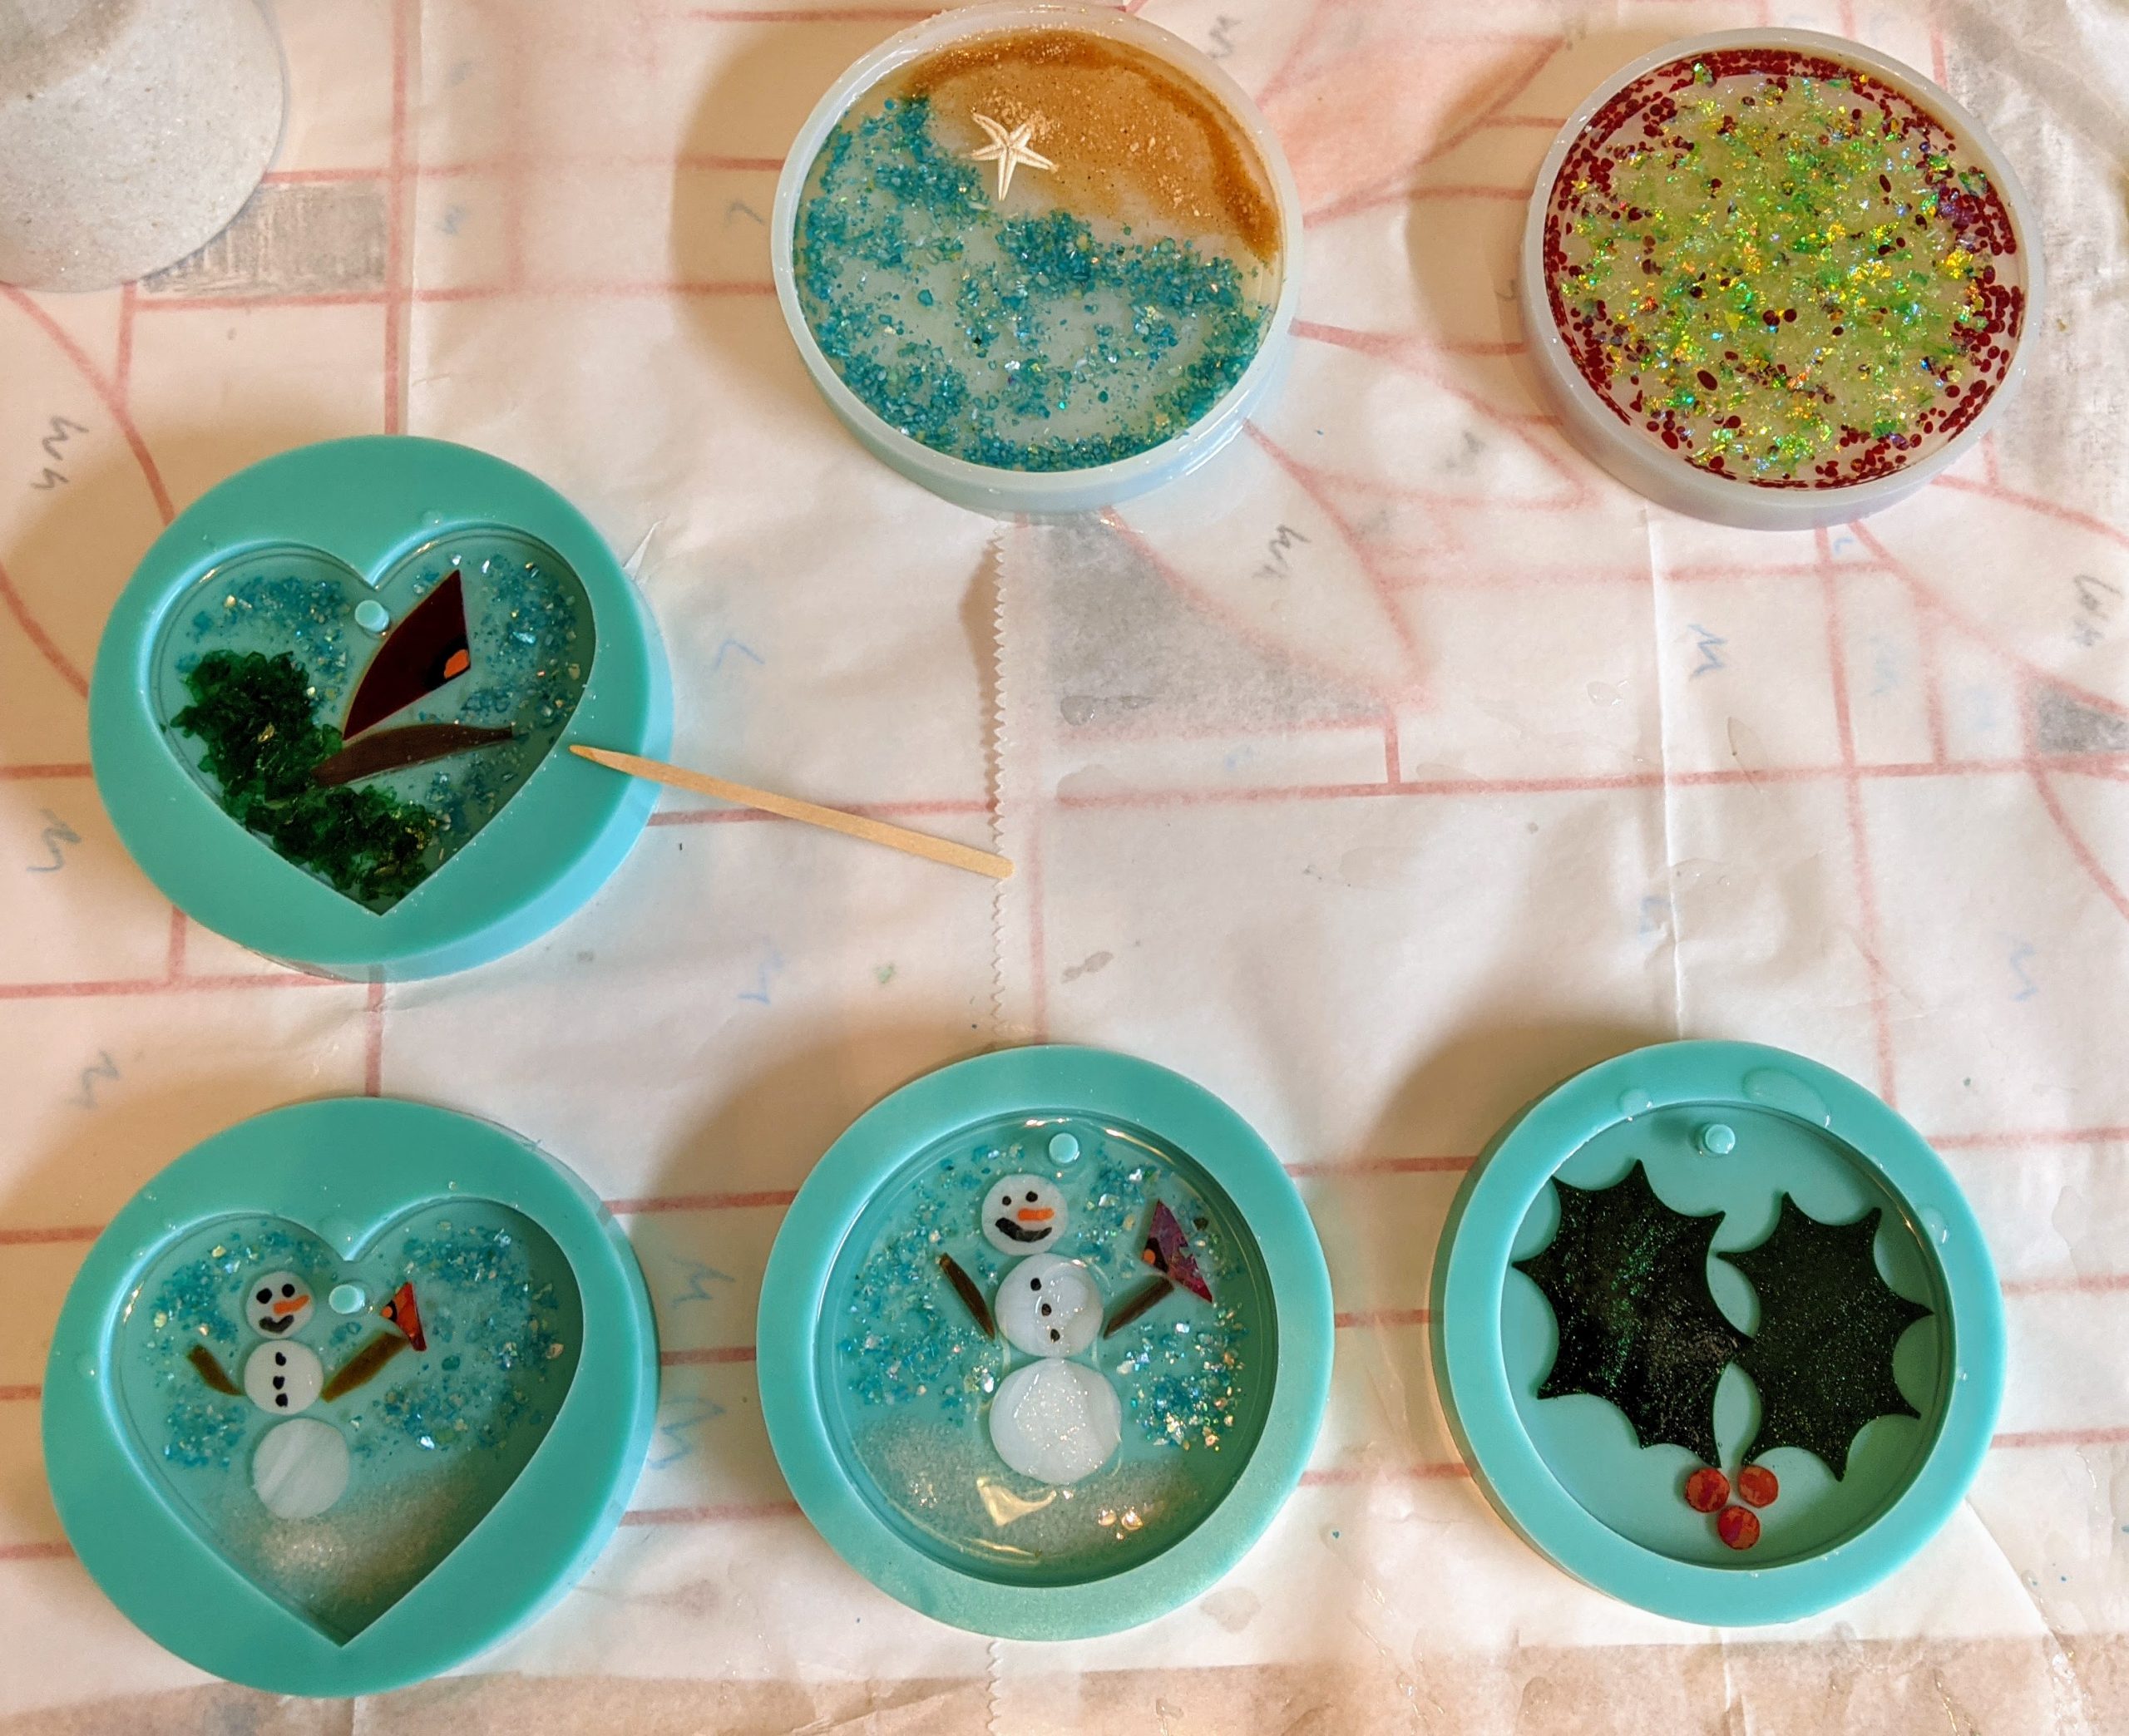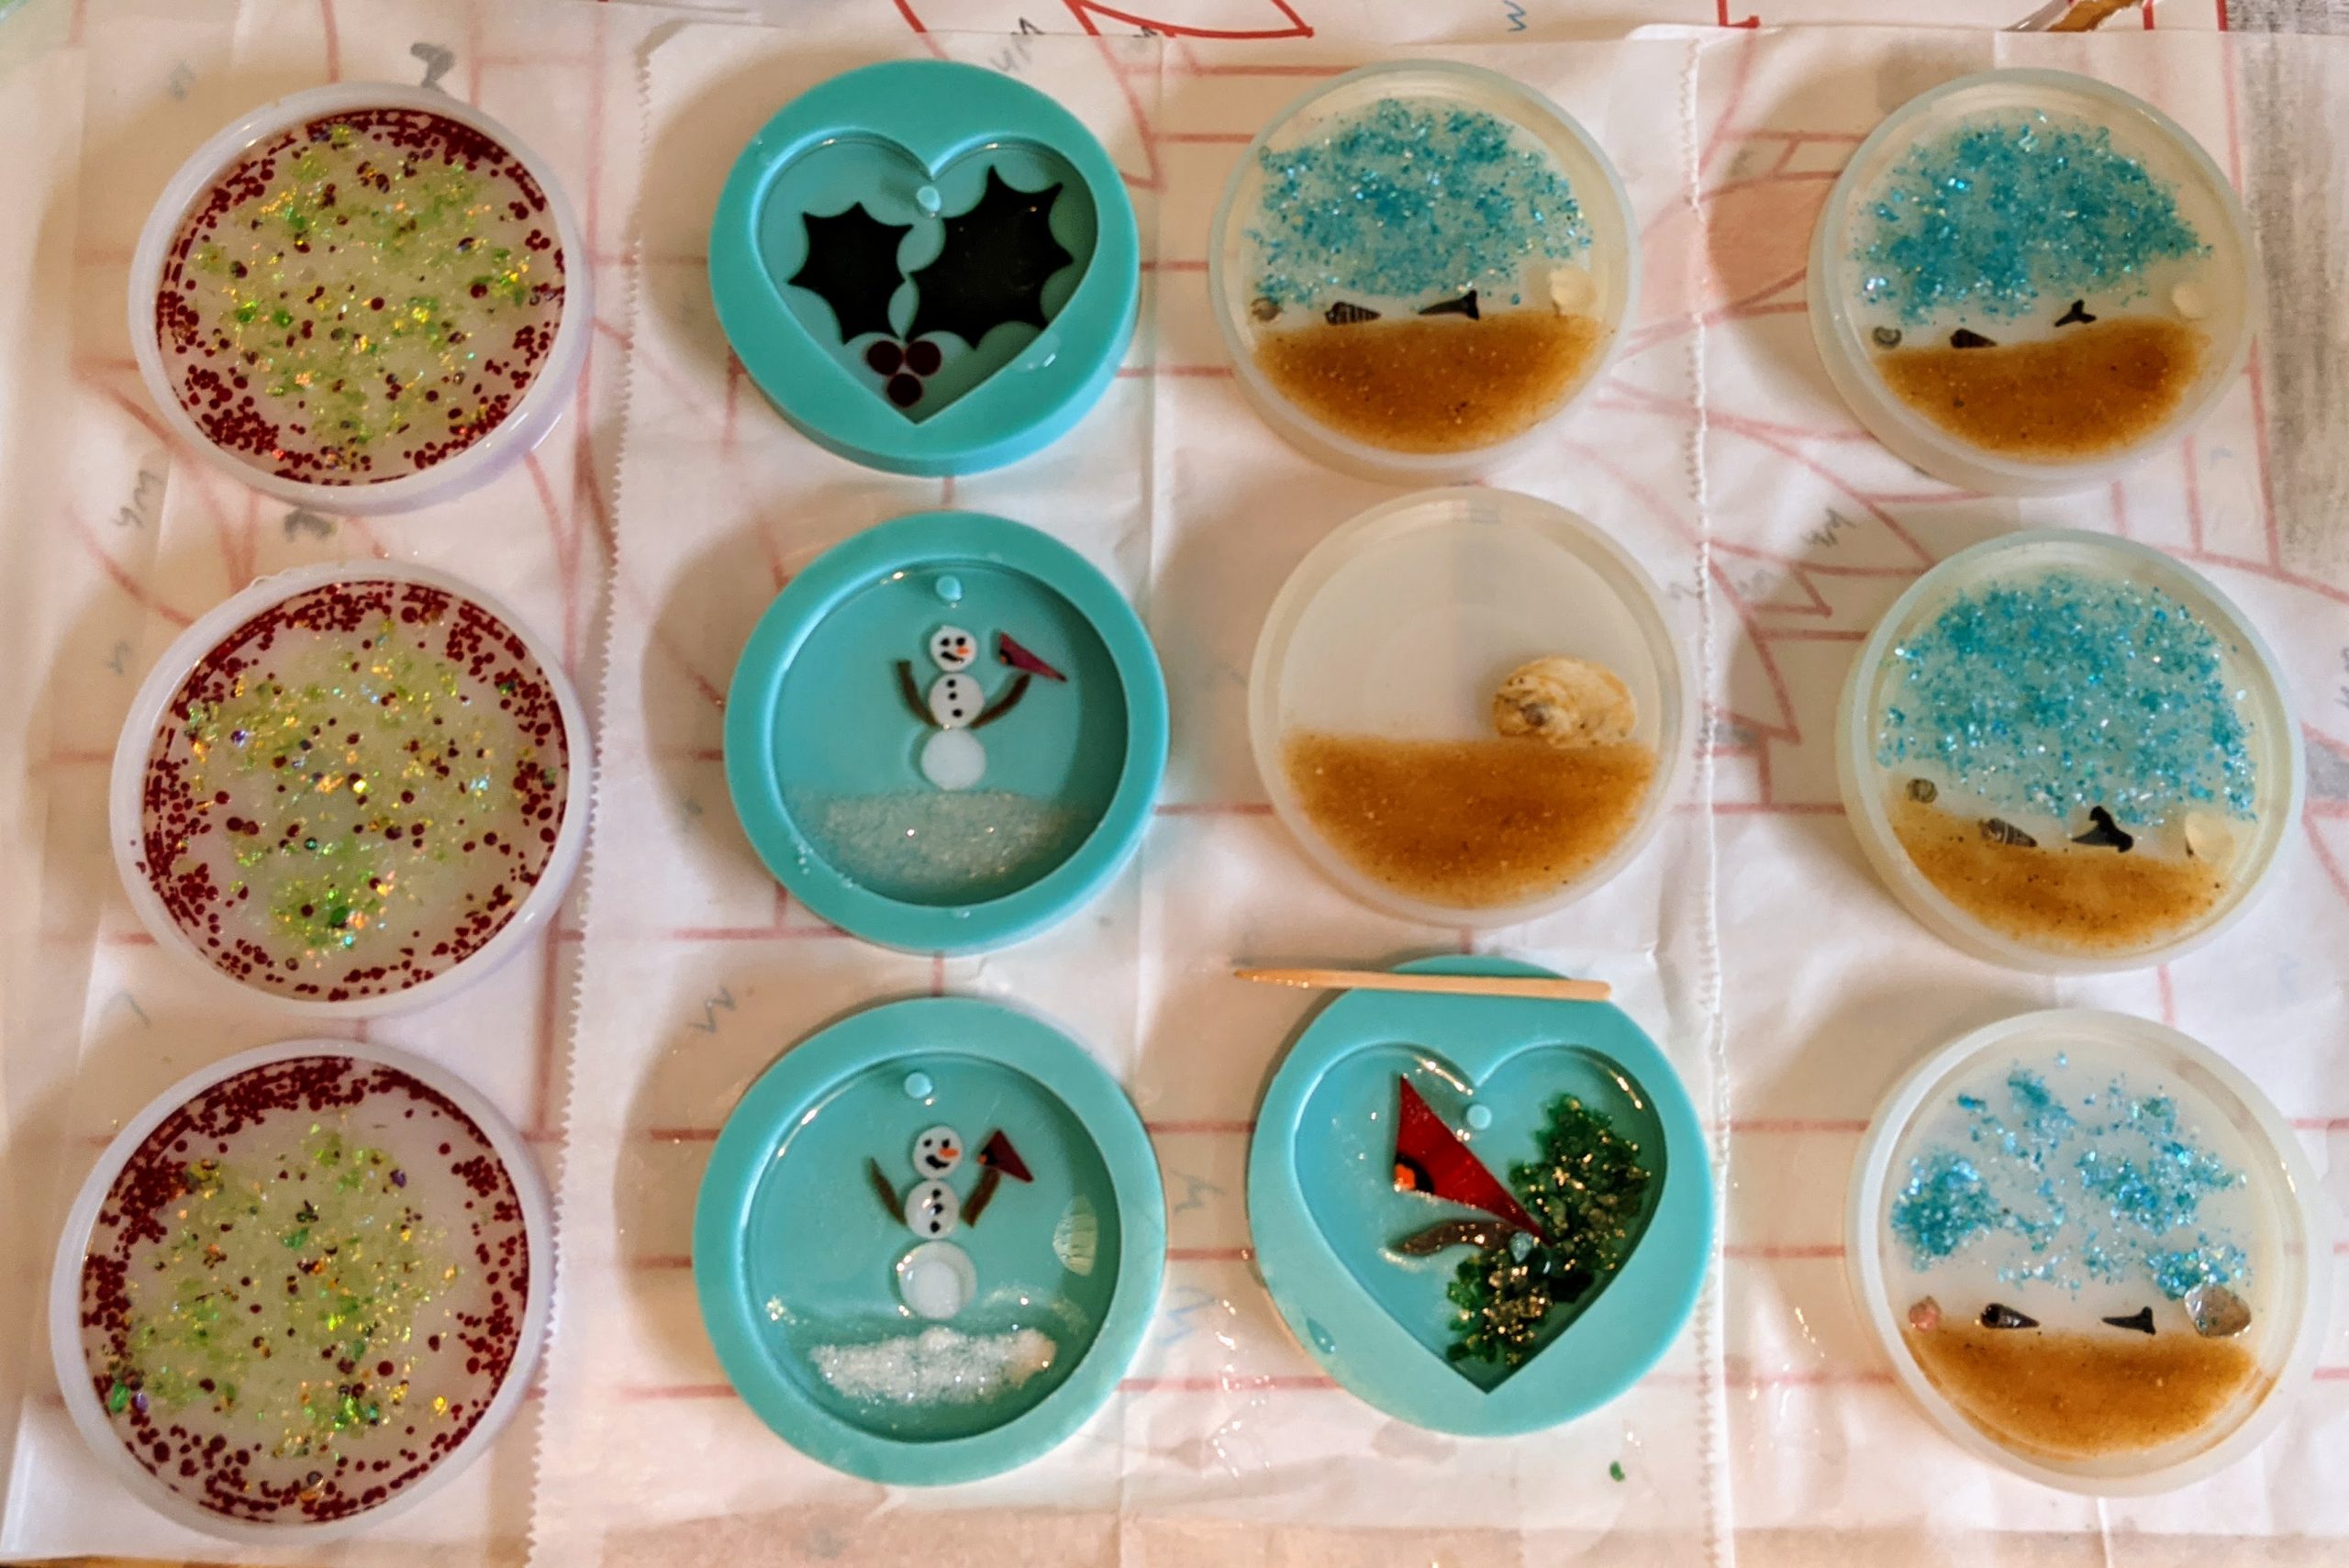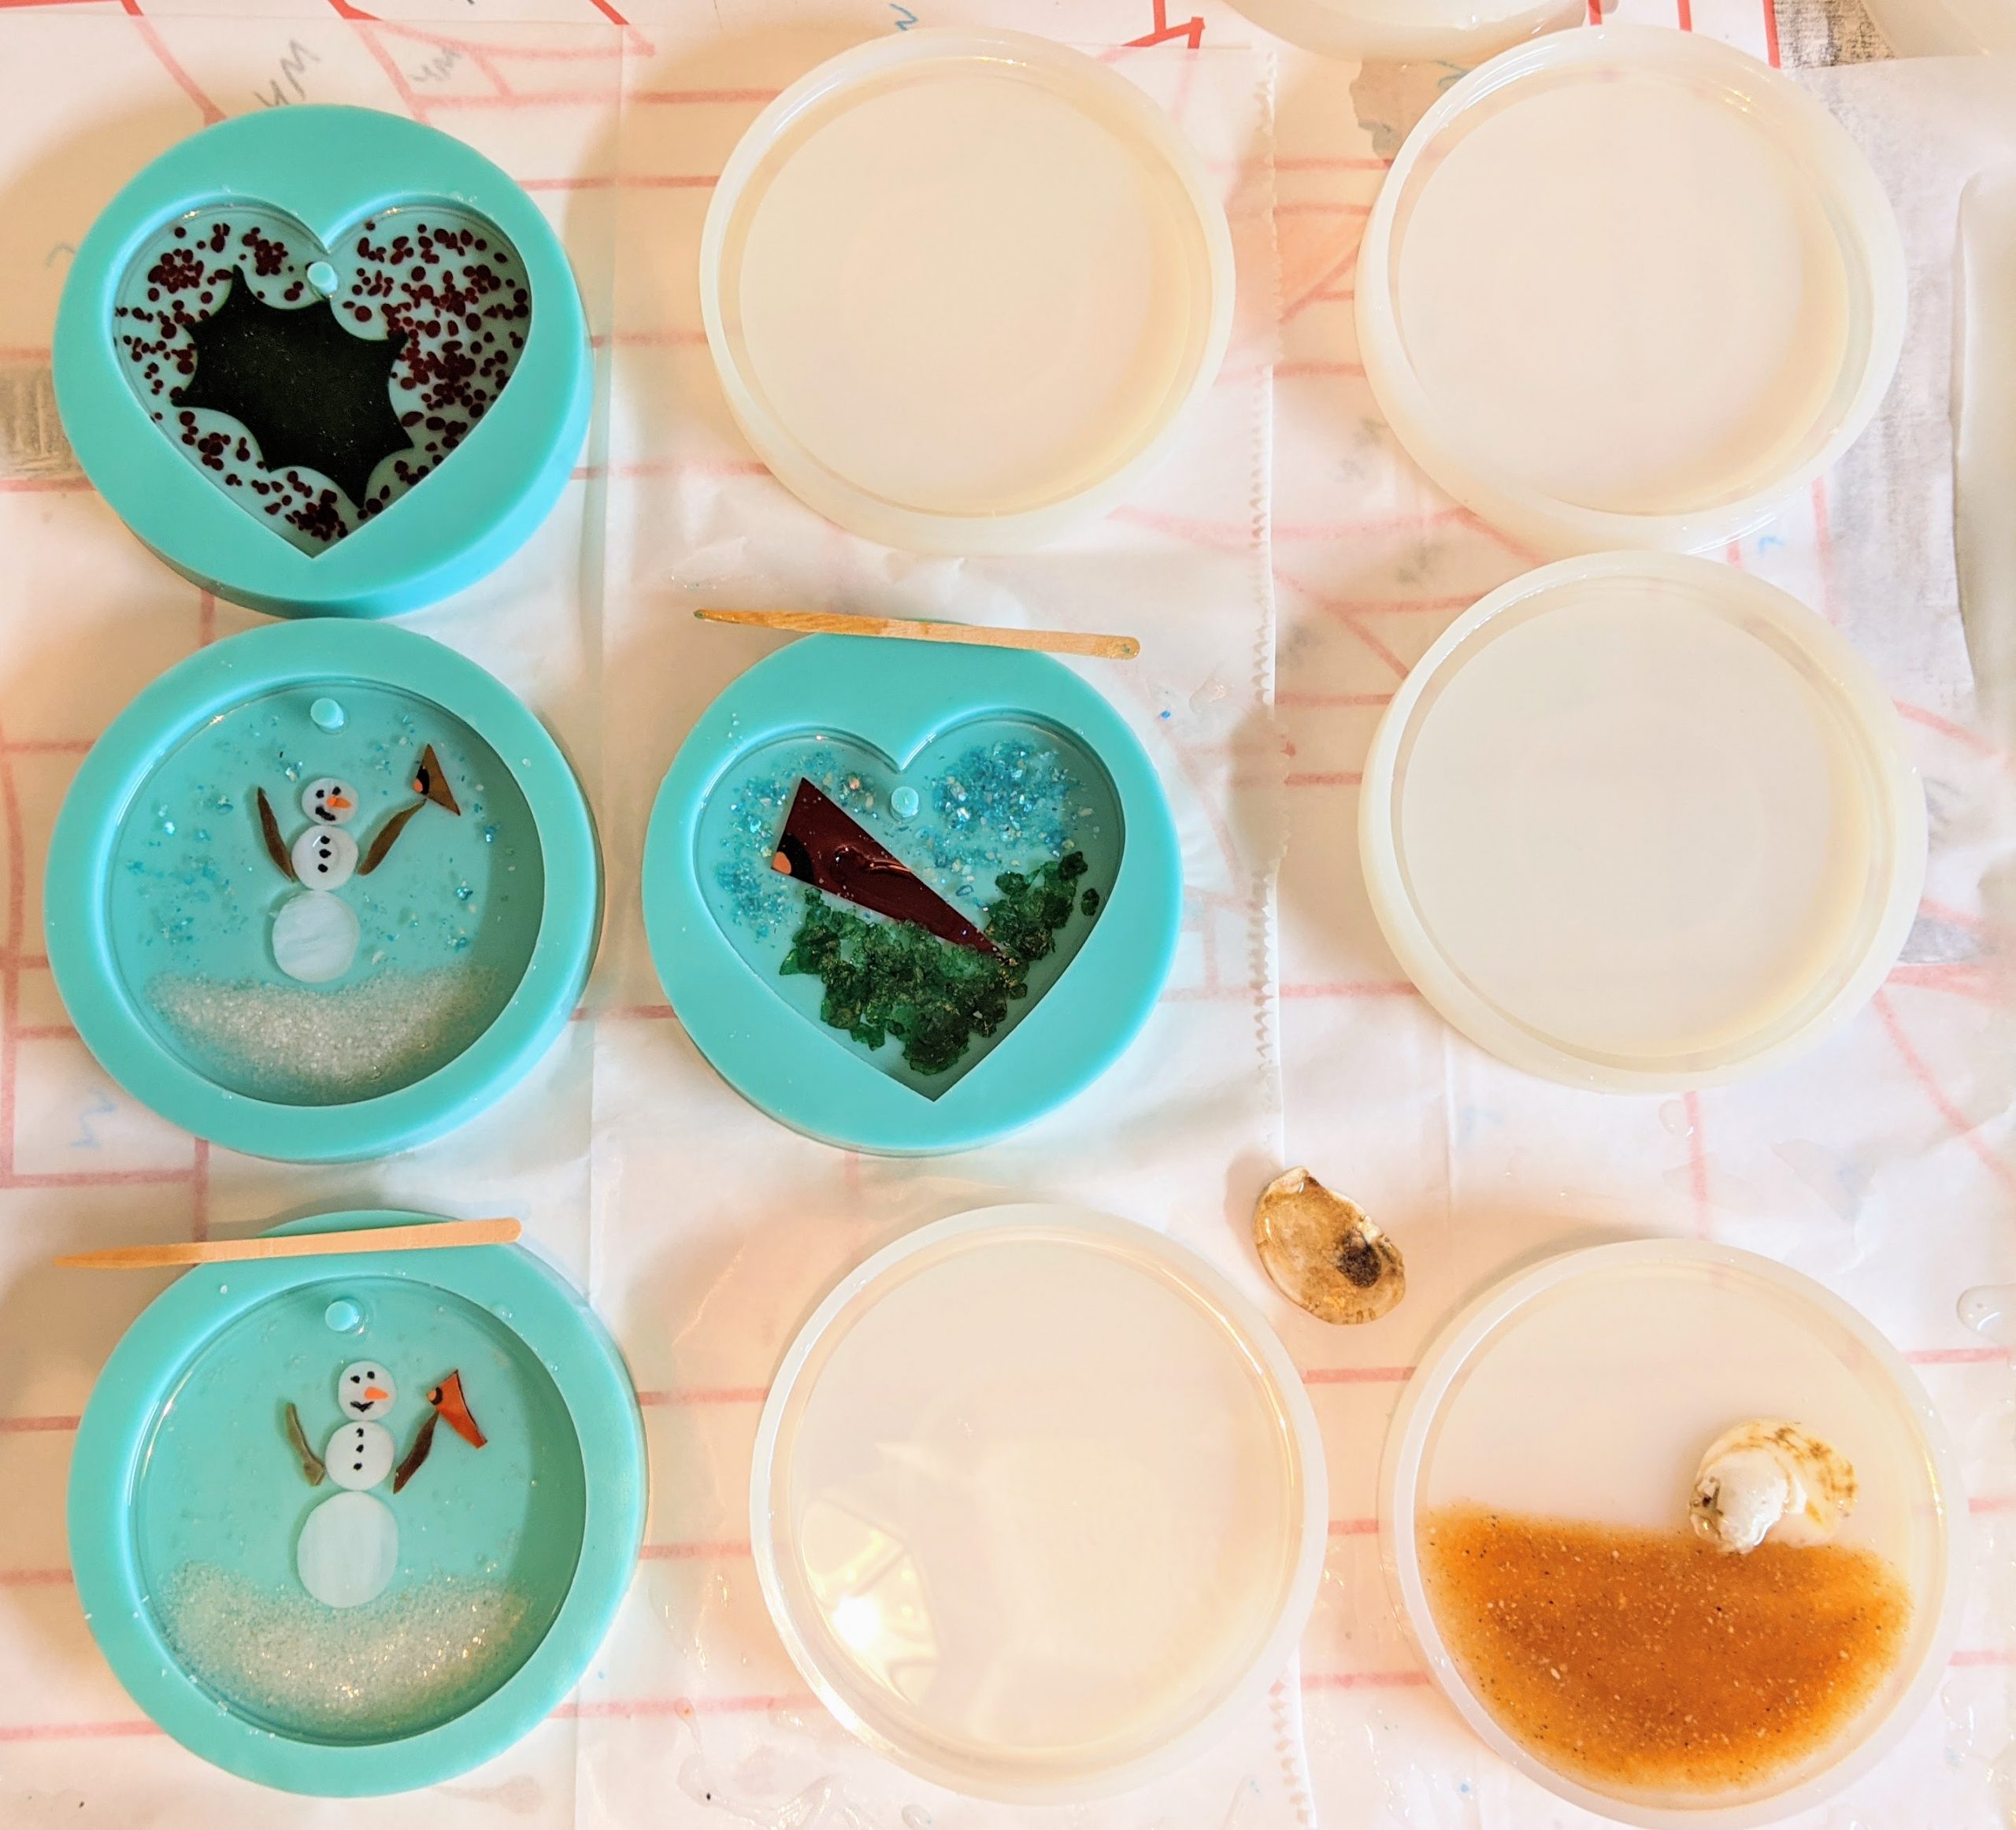
The resin cured overnight on the ornaments I made yesterday, so I cleaned them and my work area up and started on some…more….ORNAMENTS!
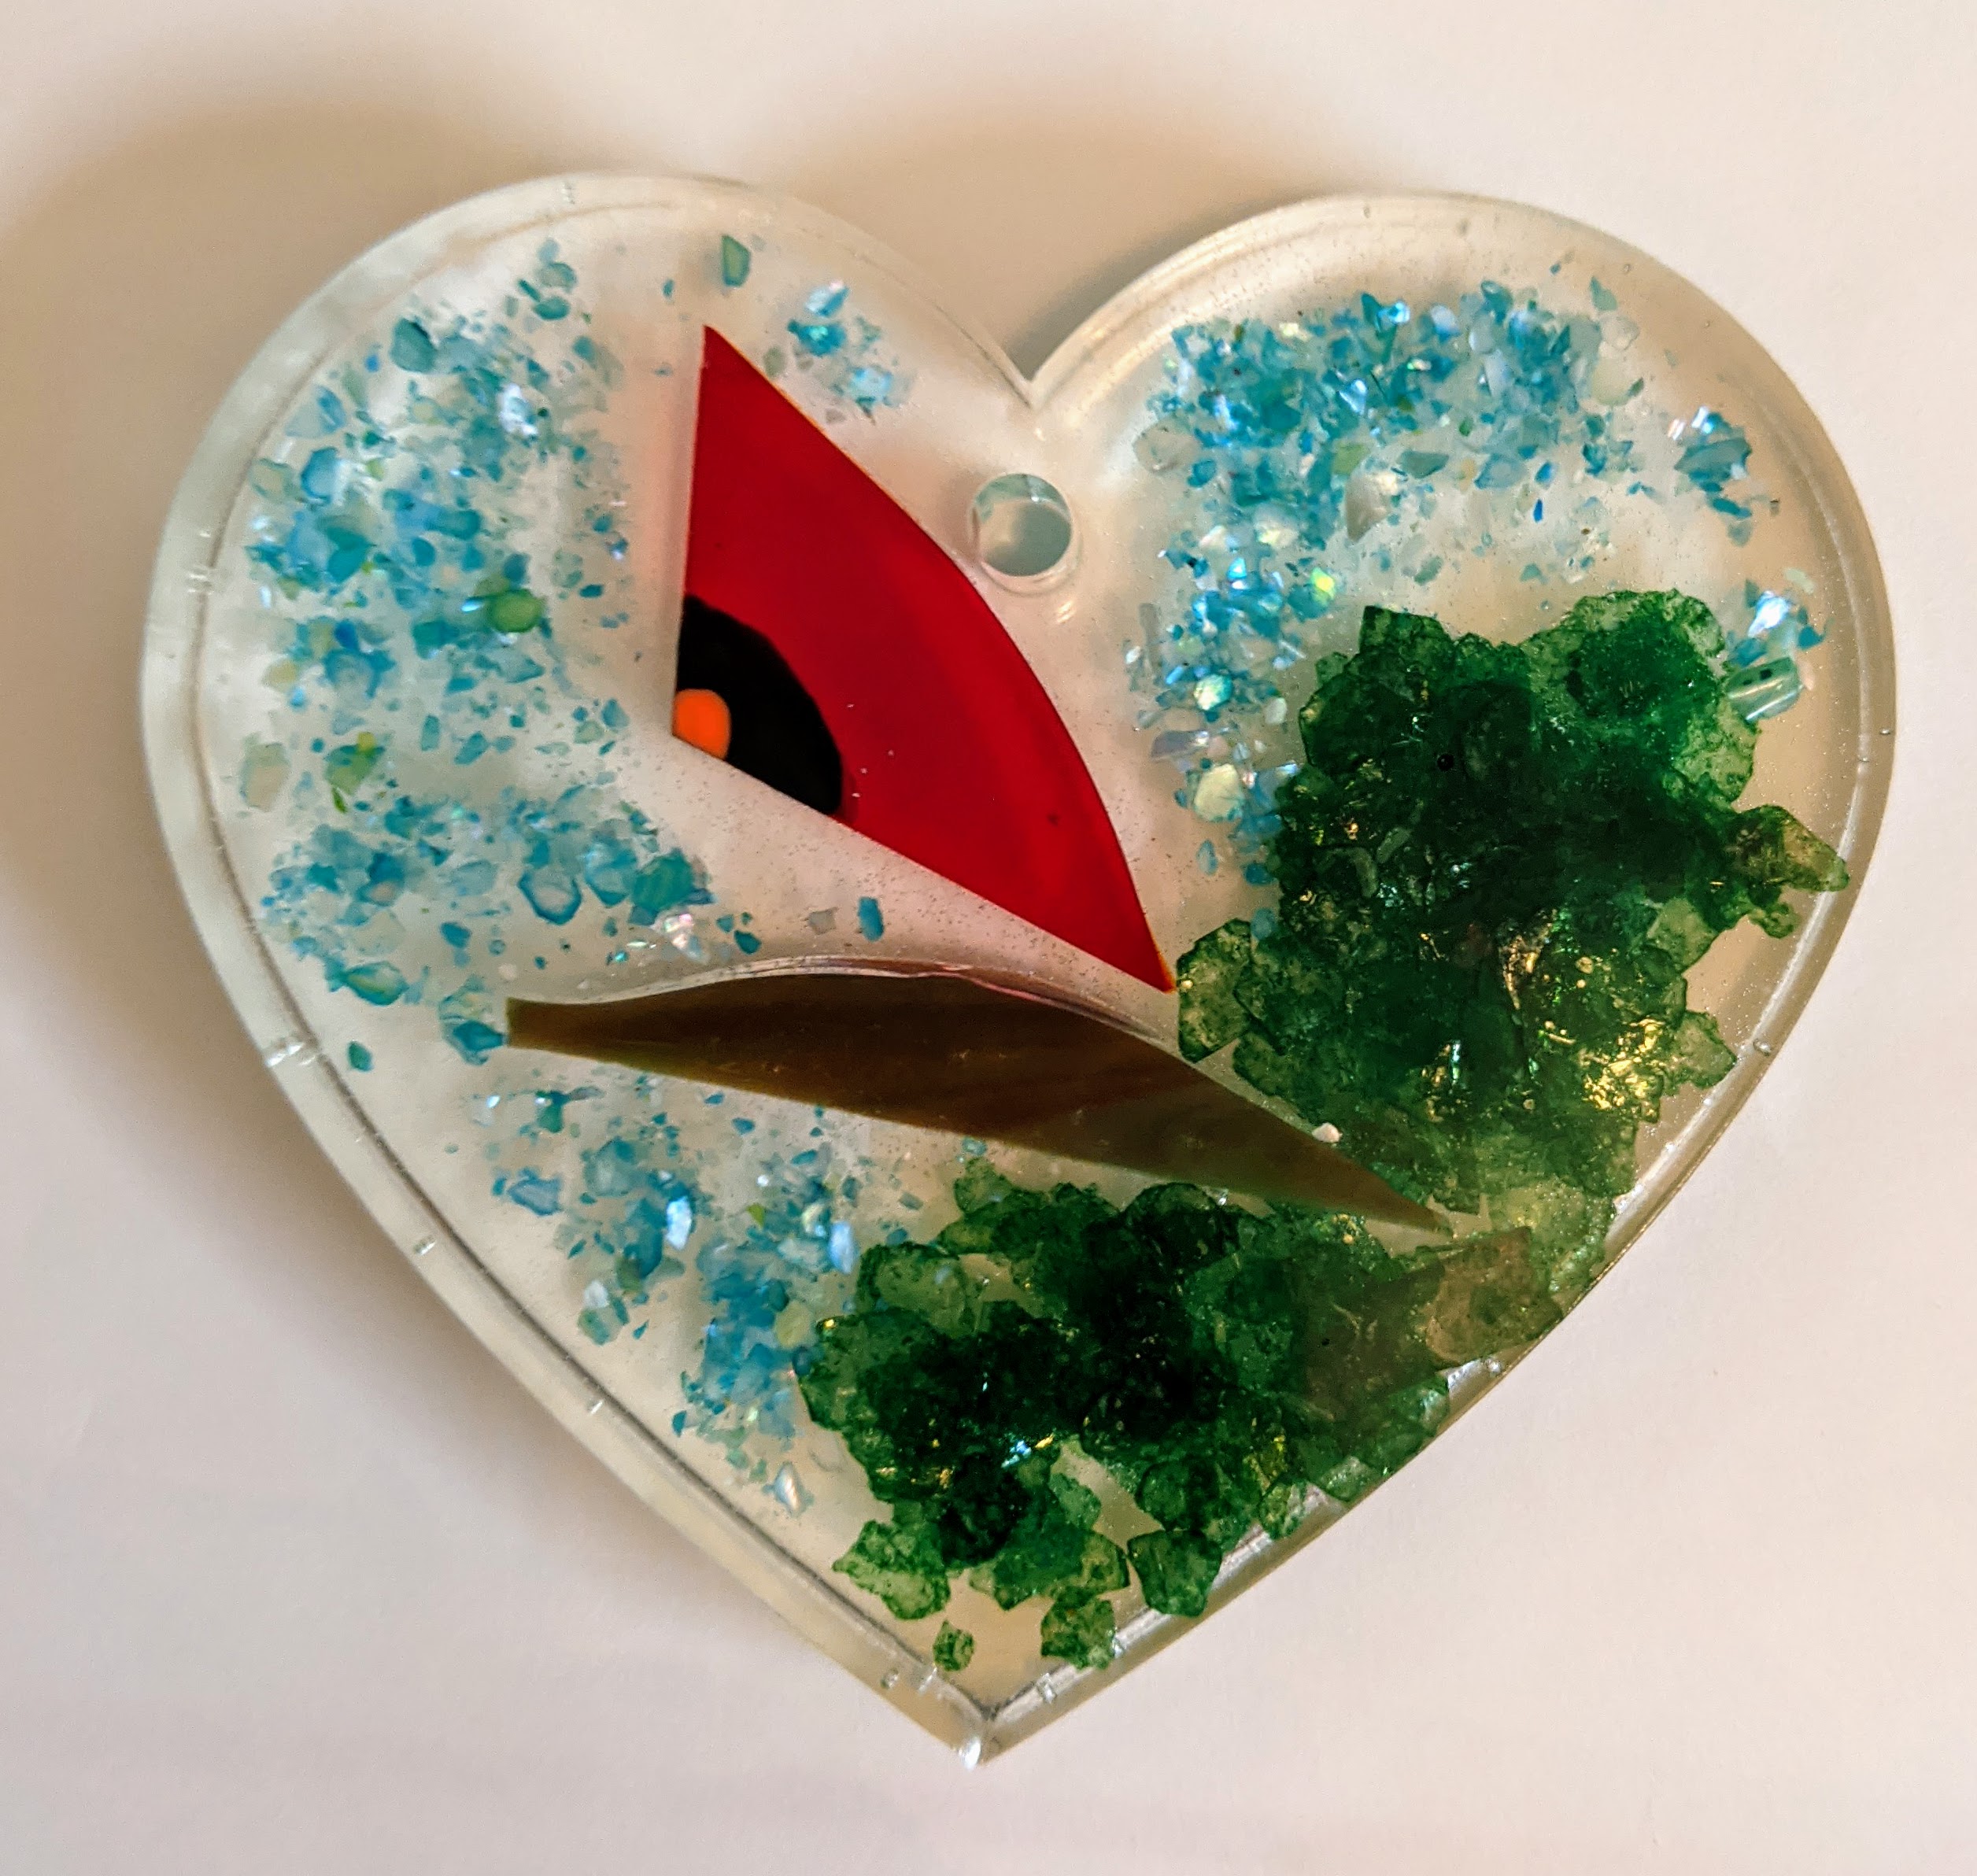
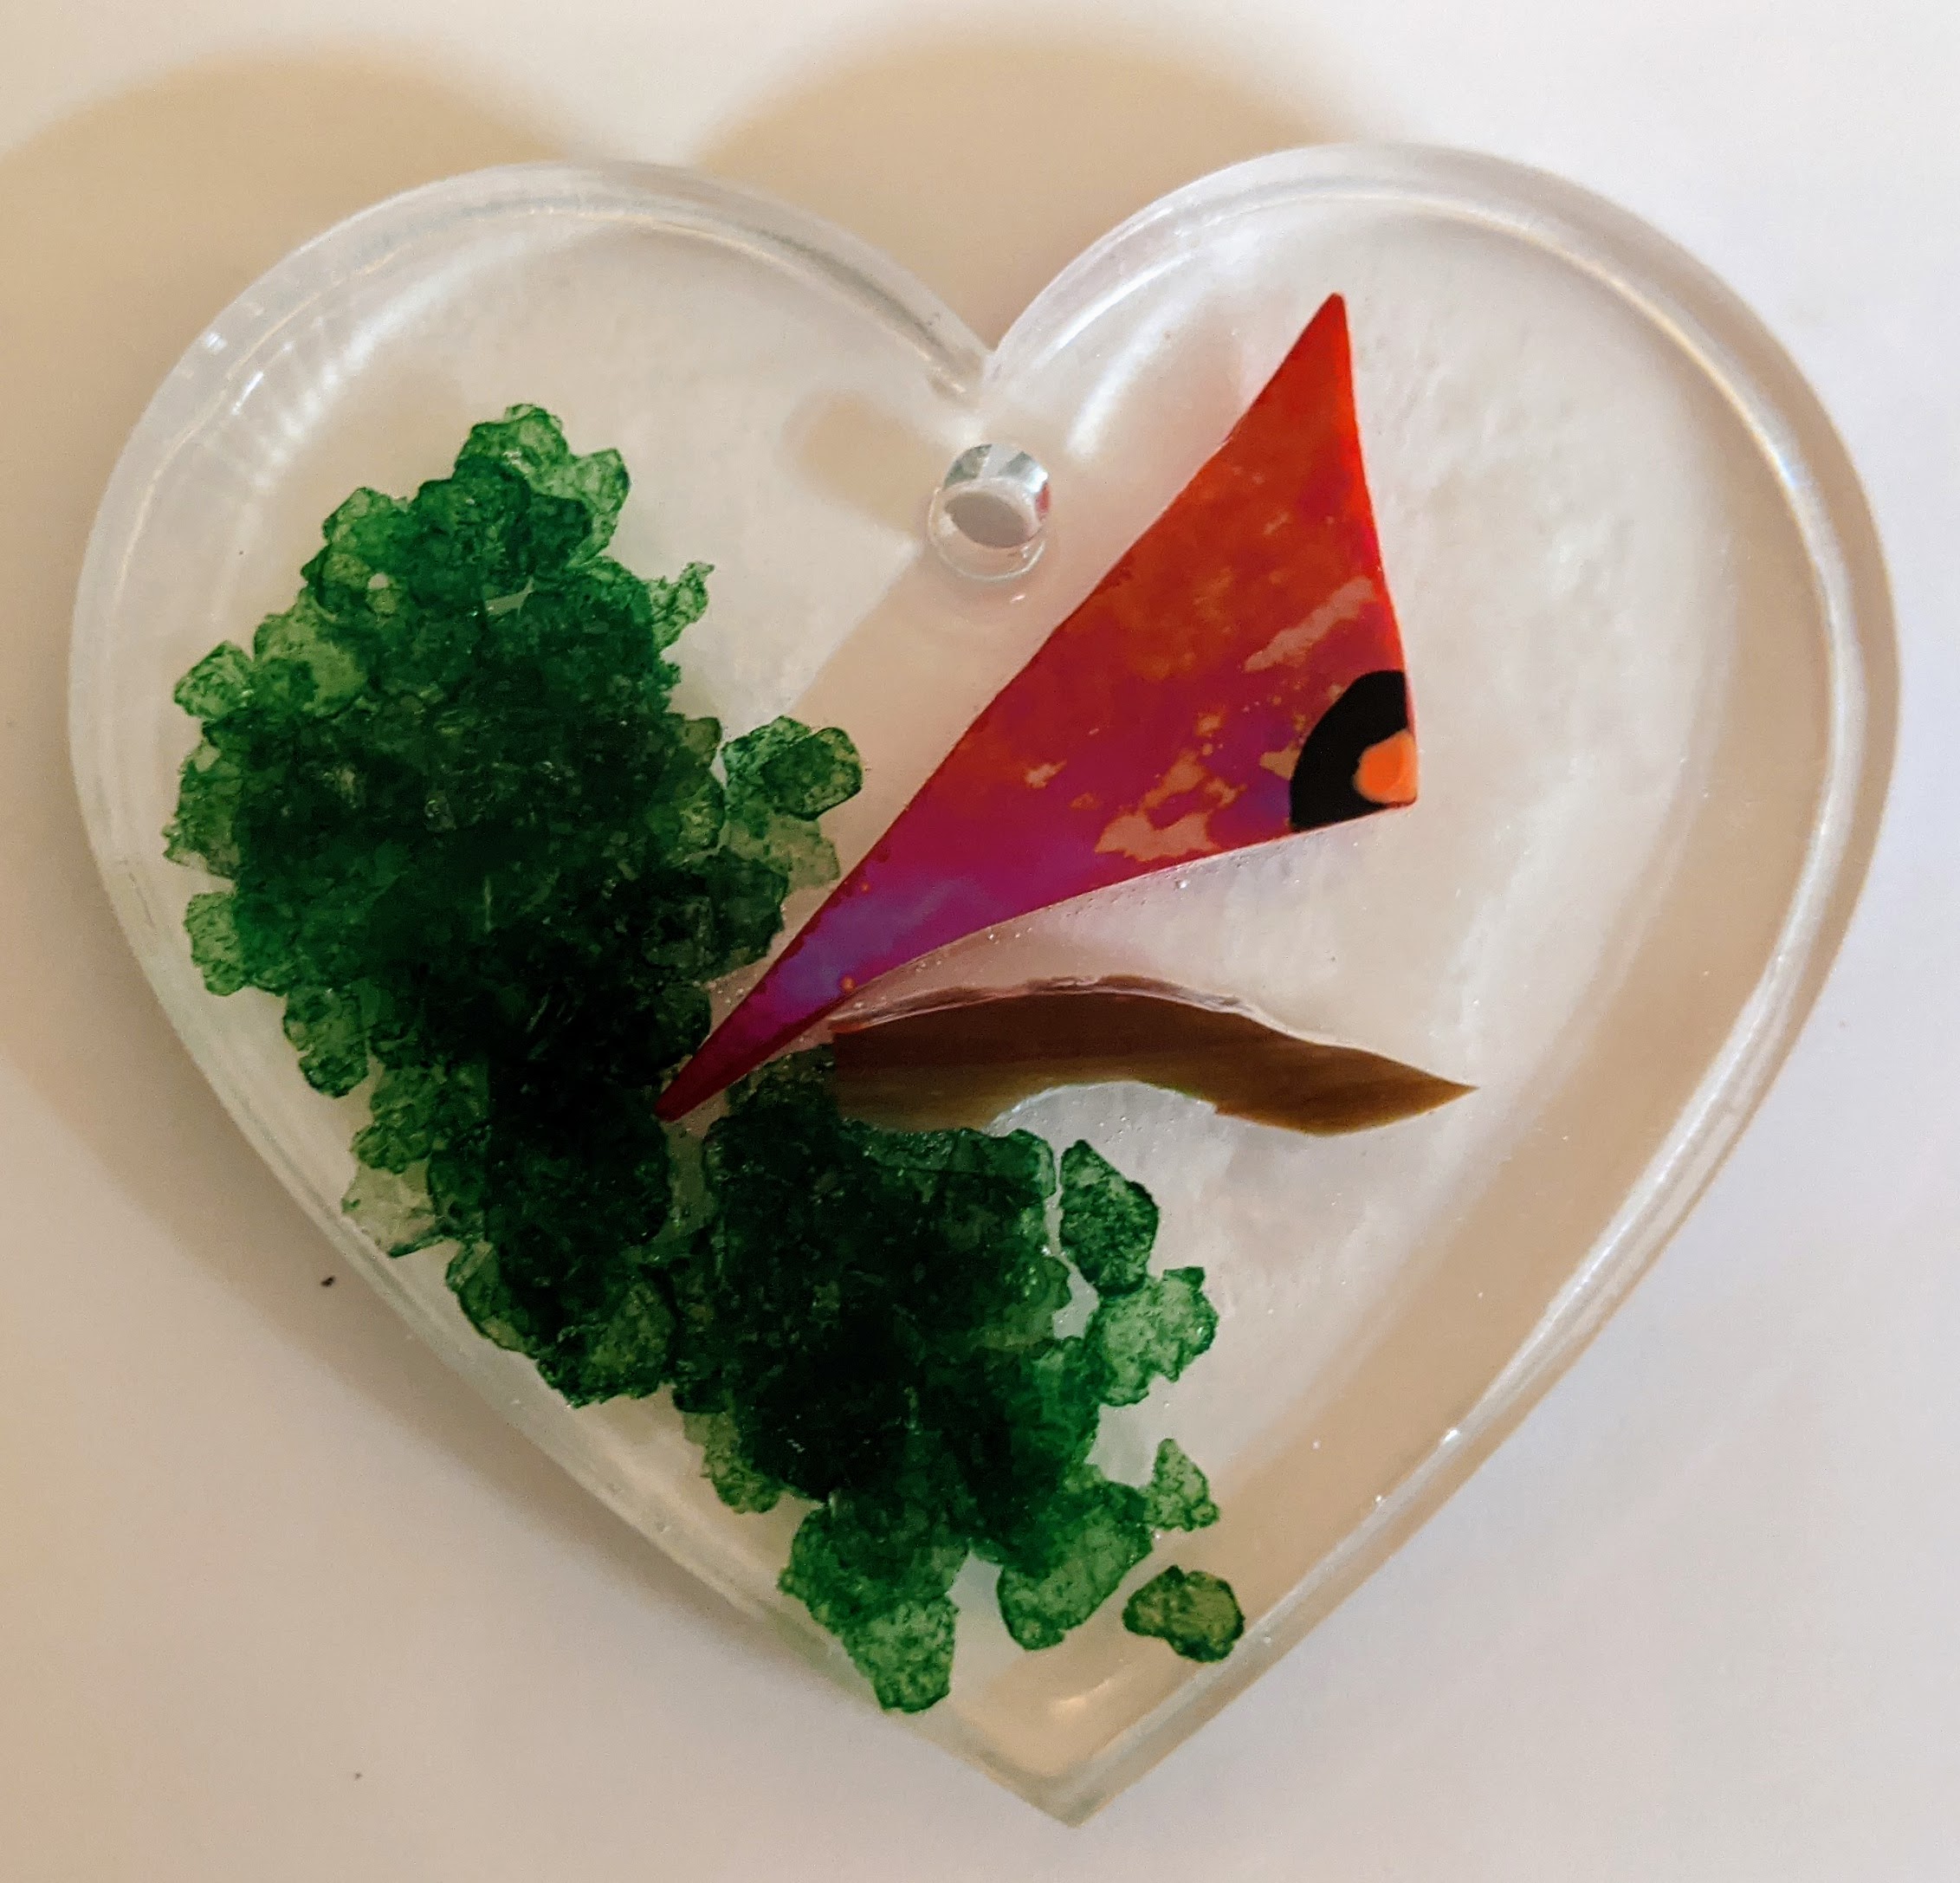
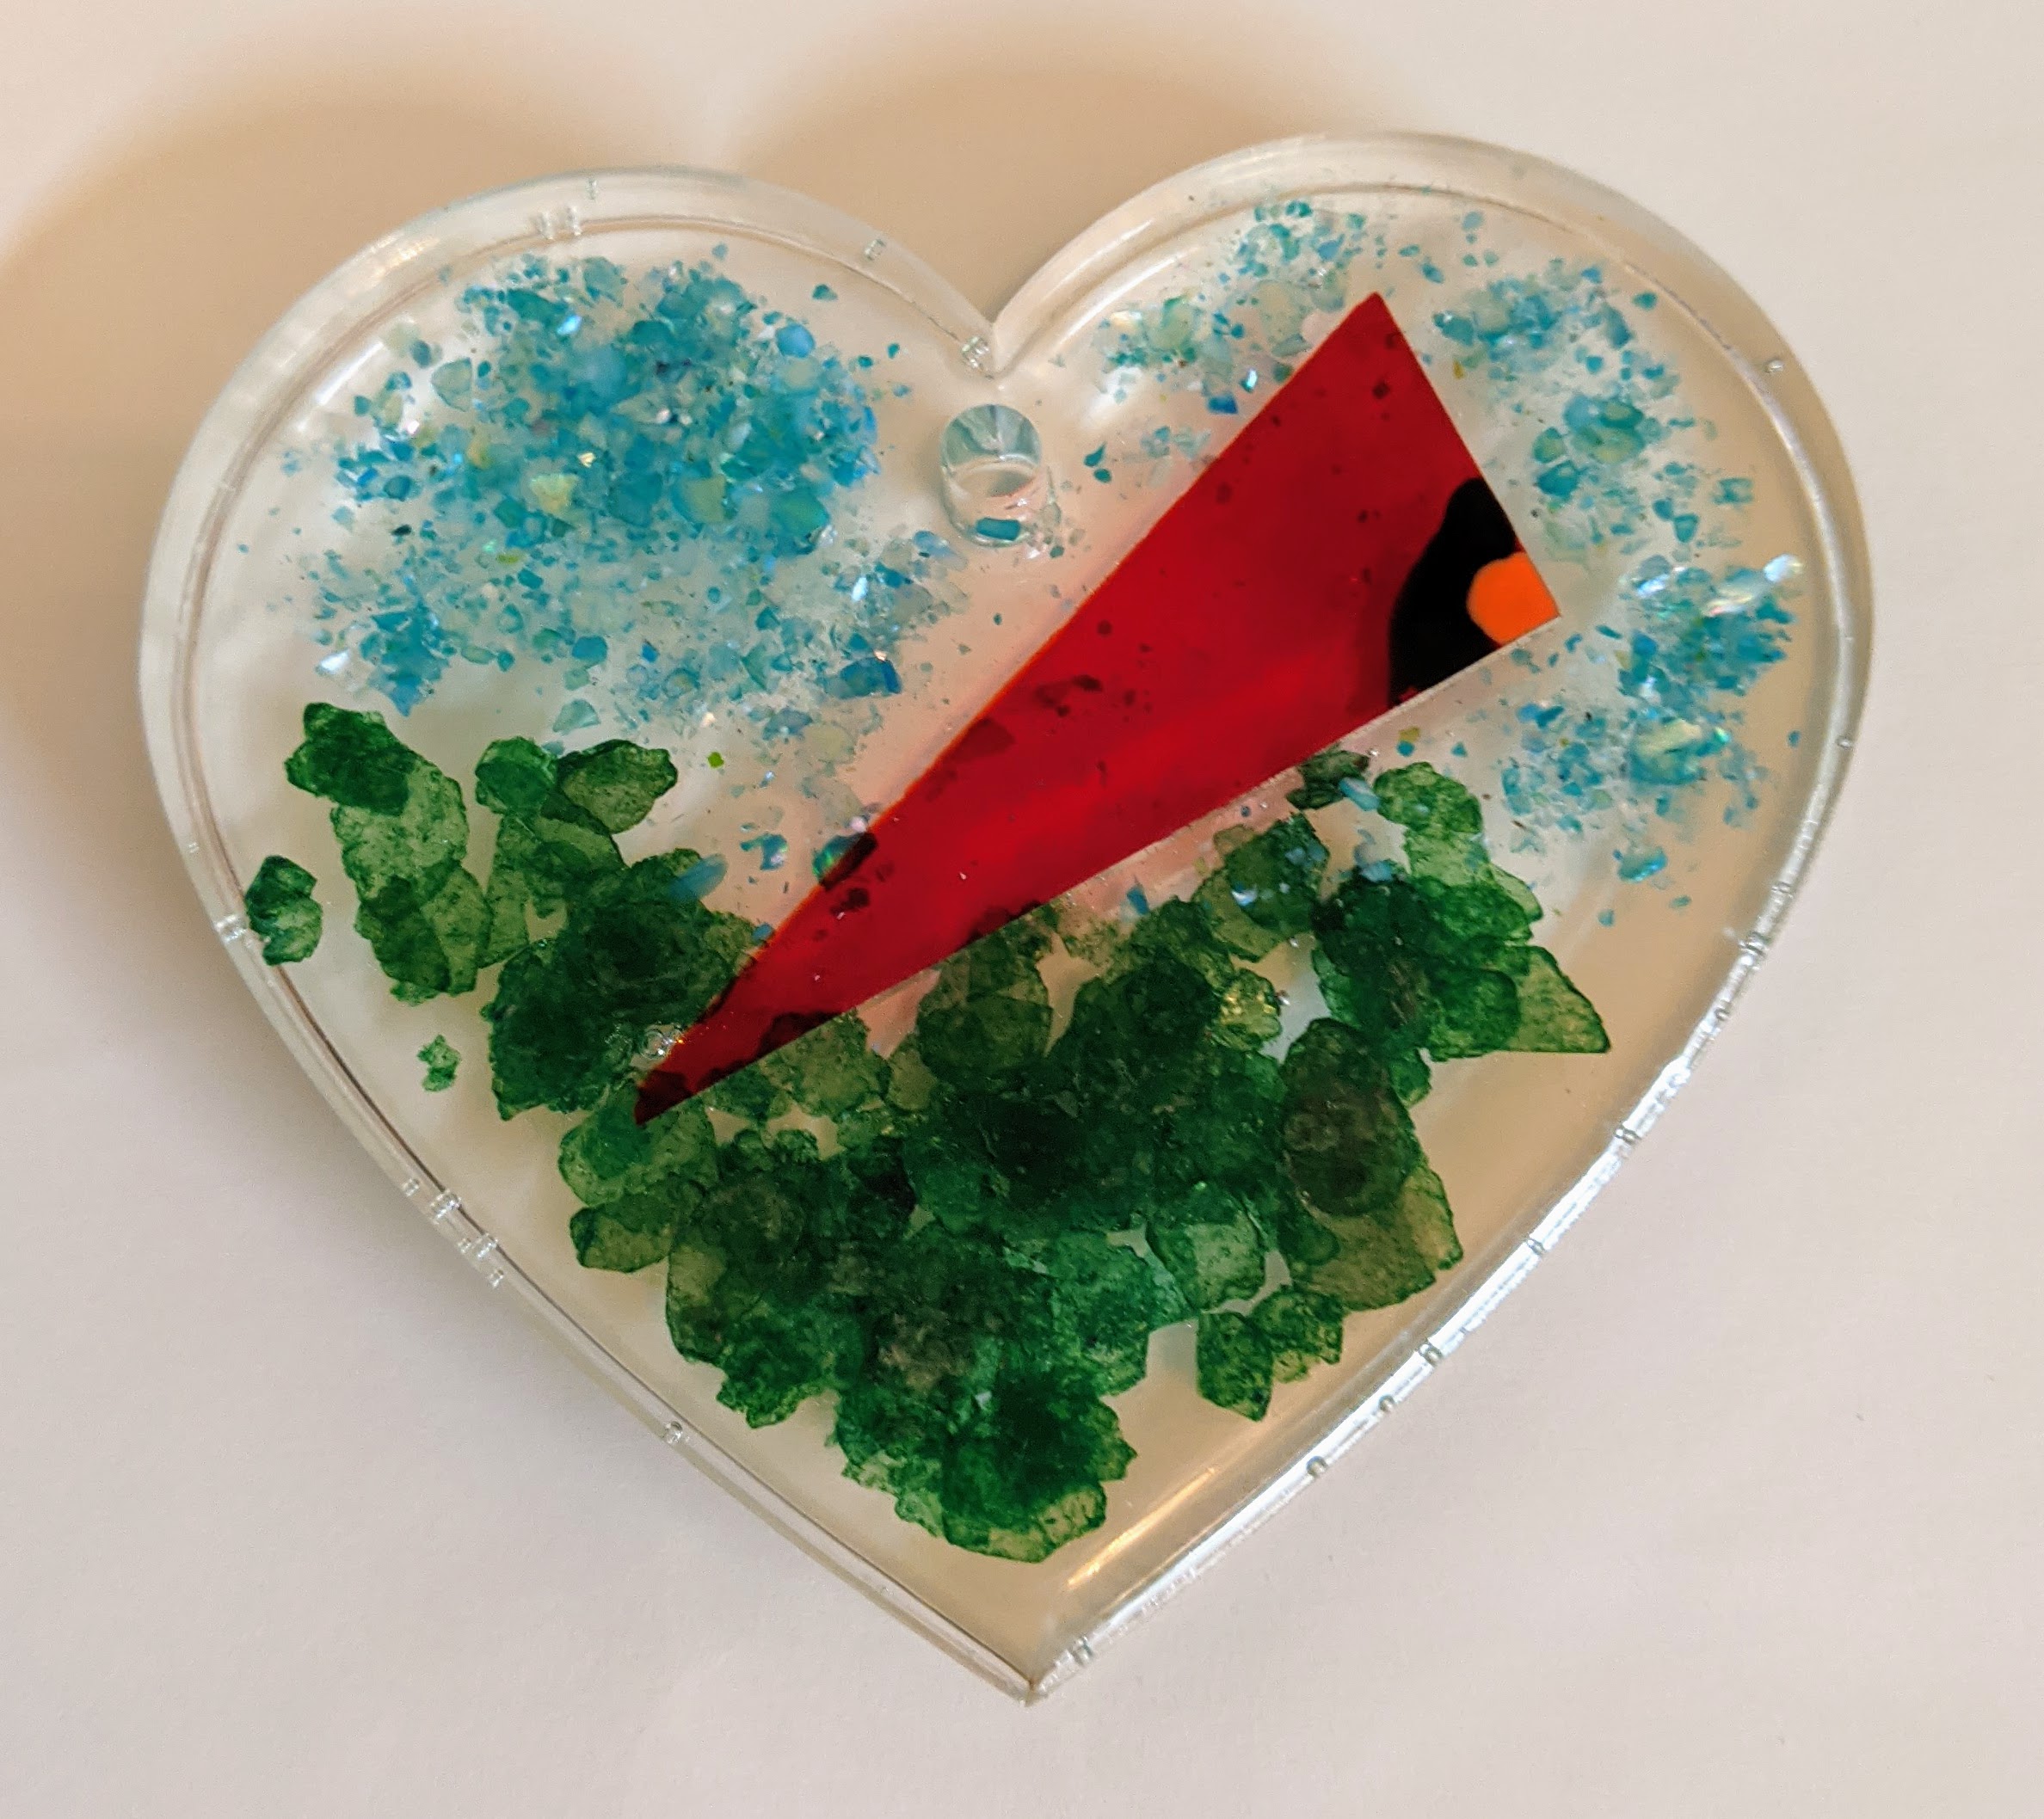
Cardinals 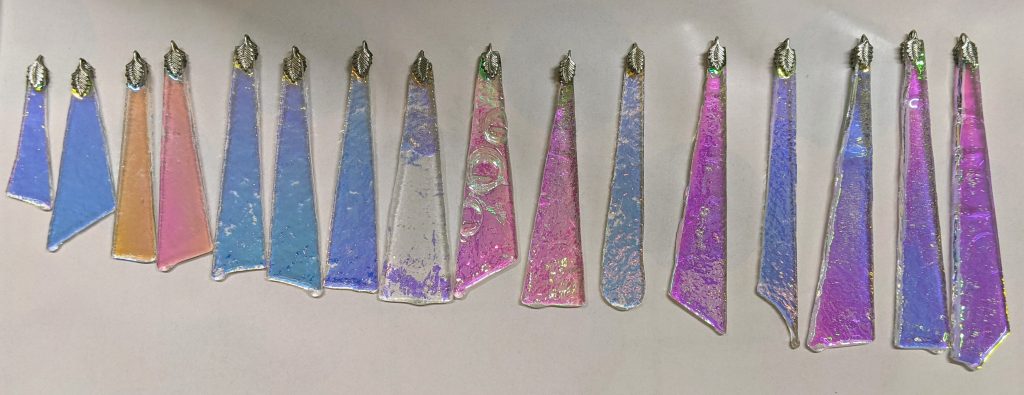
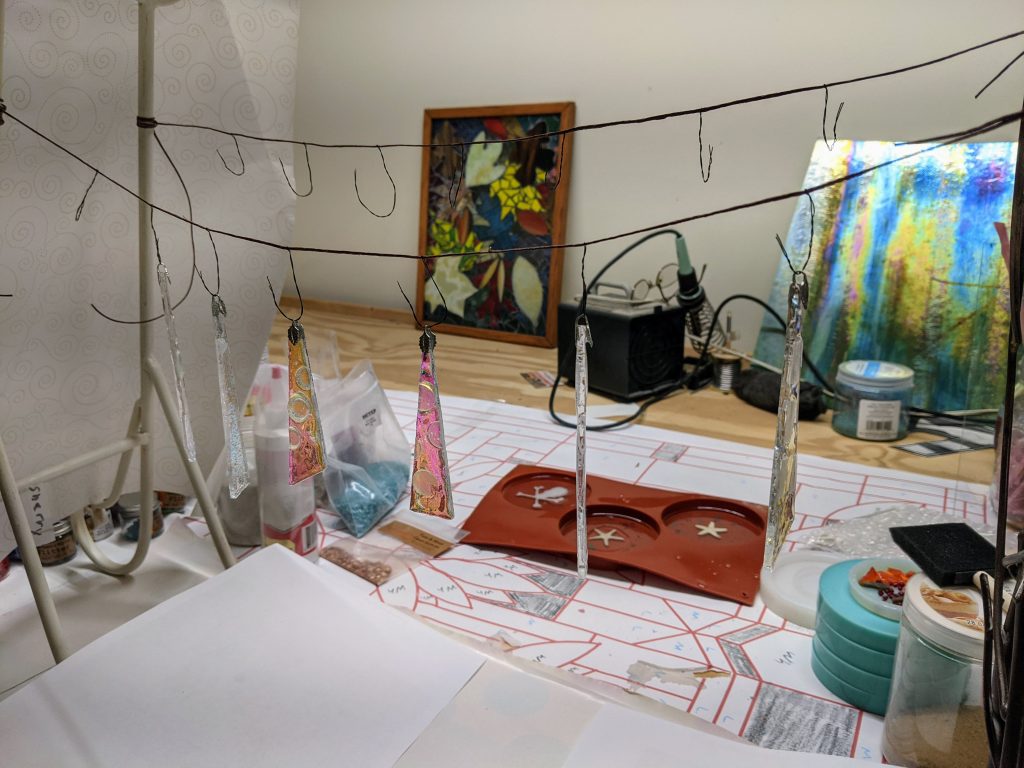
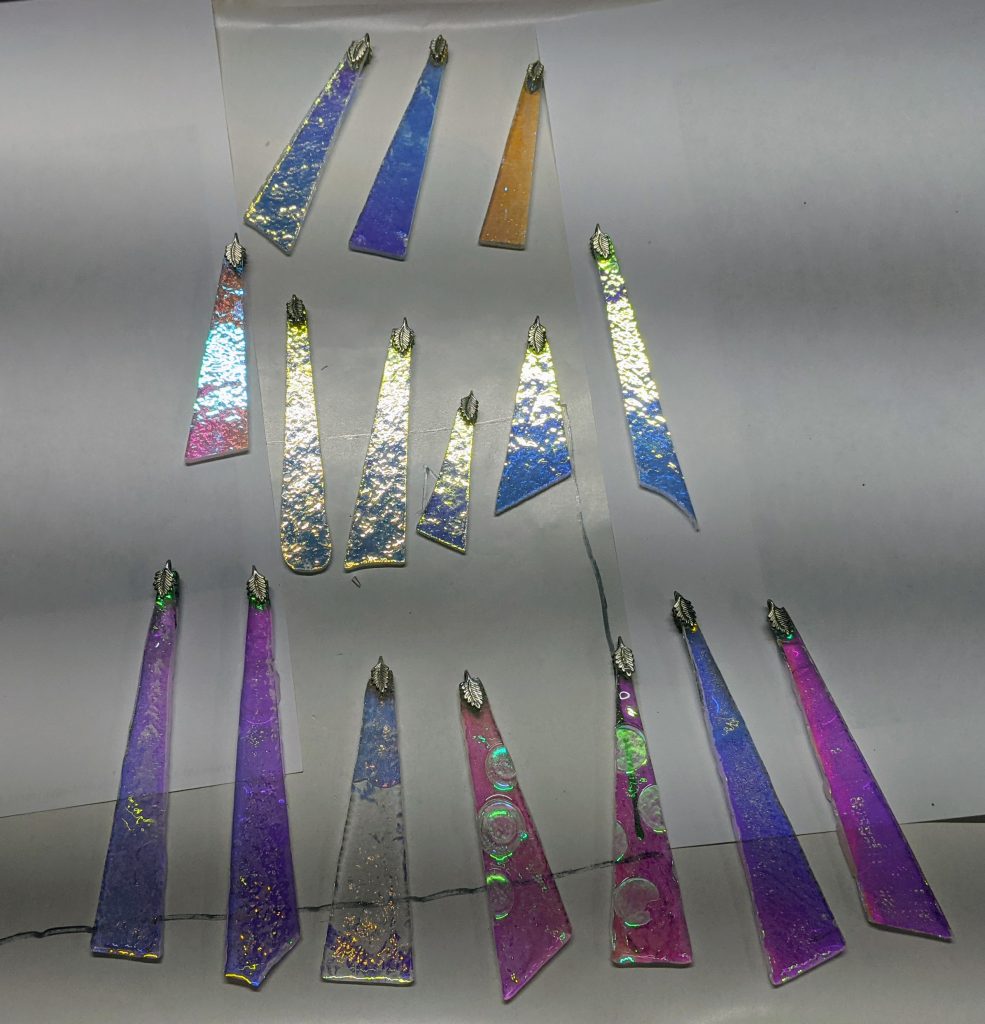
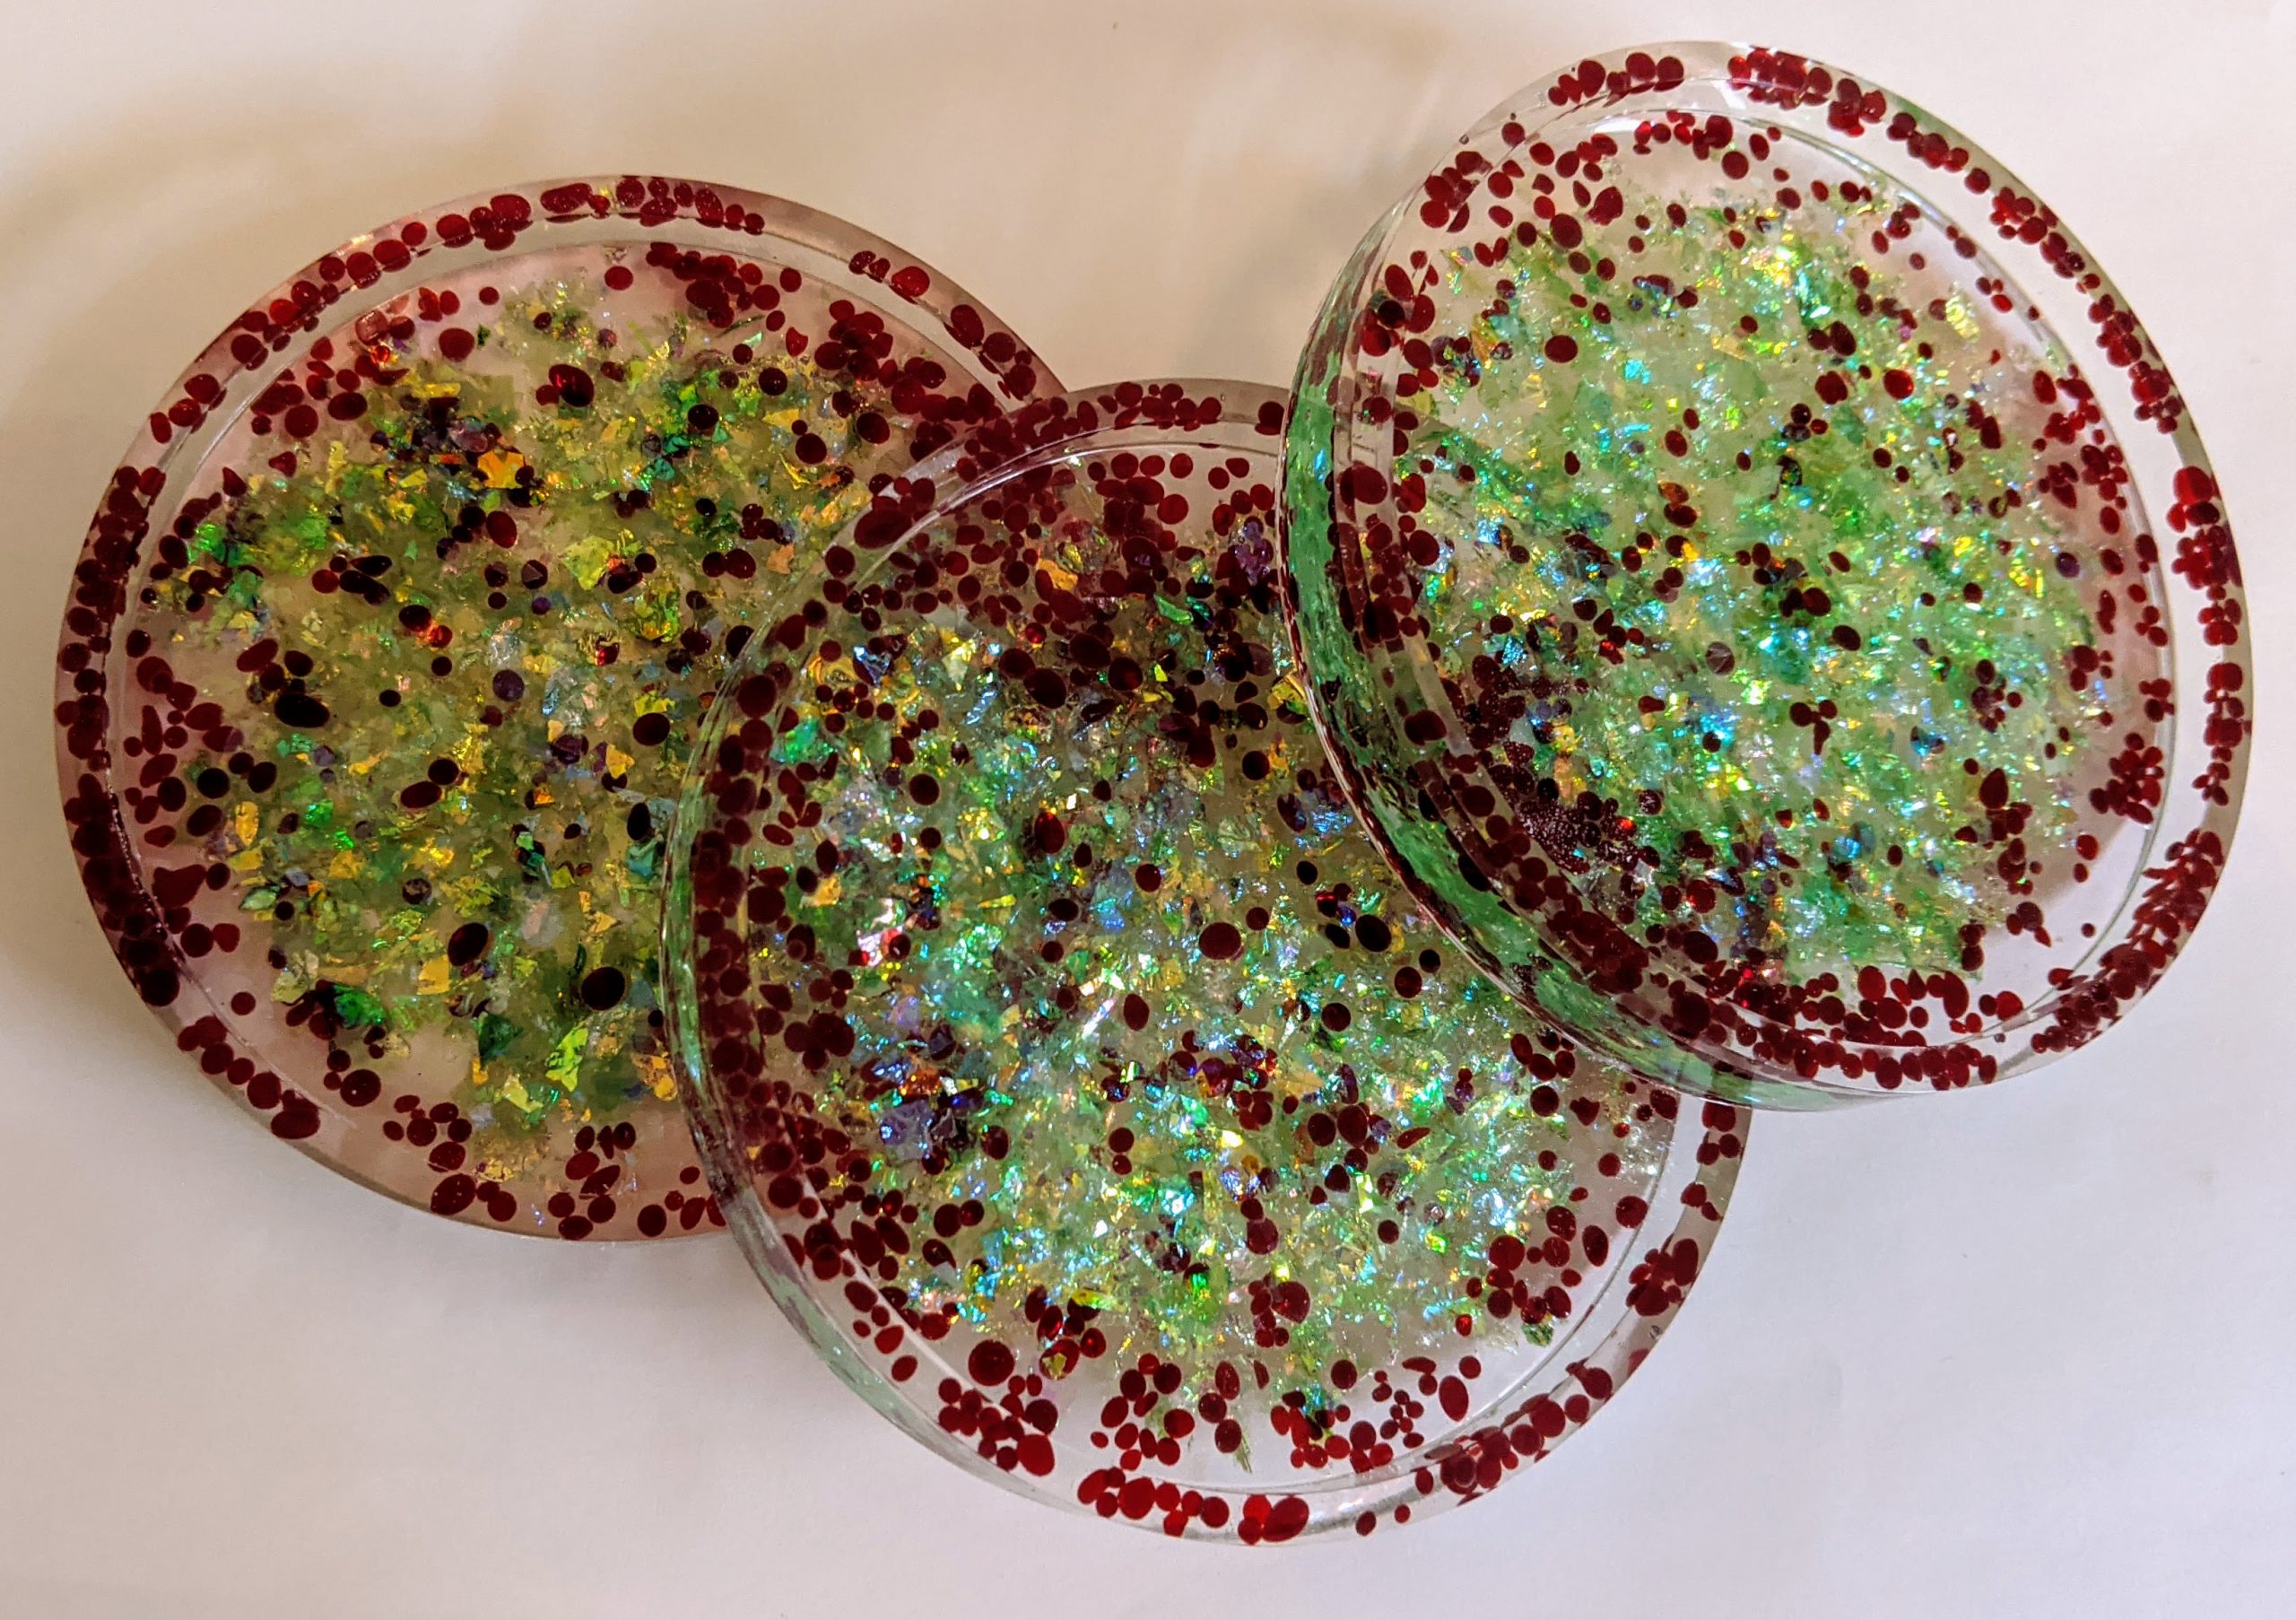
Dichro-cicles 
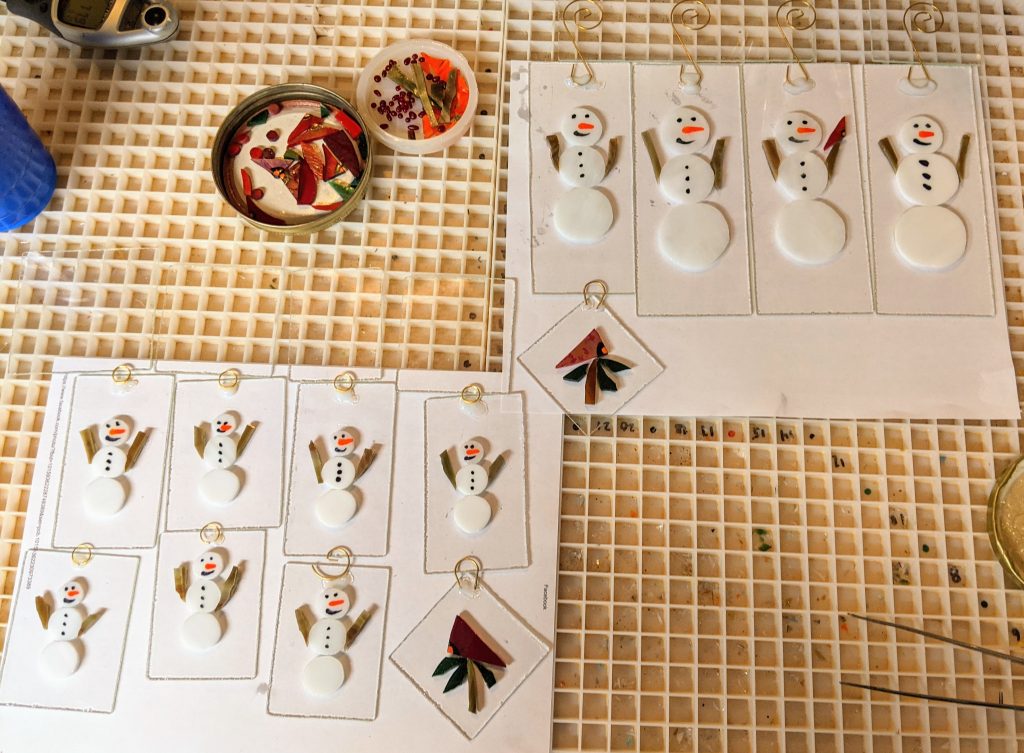
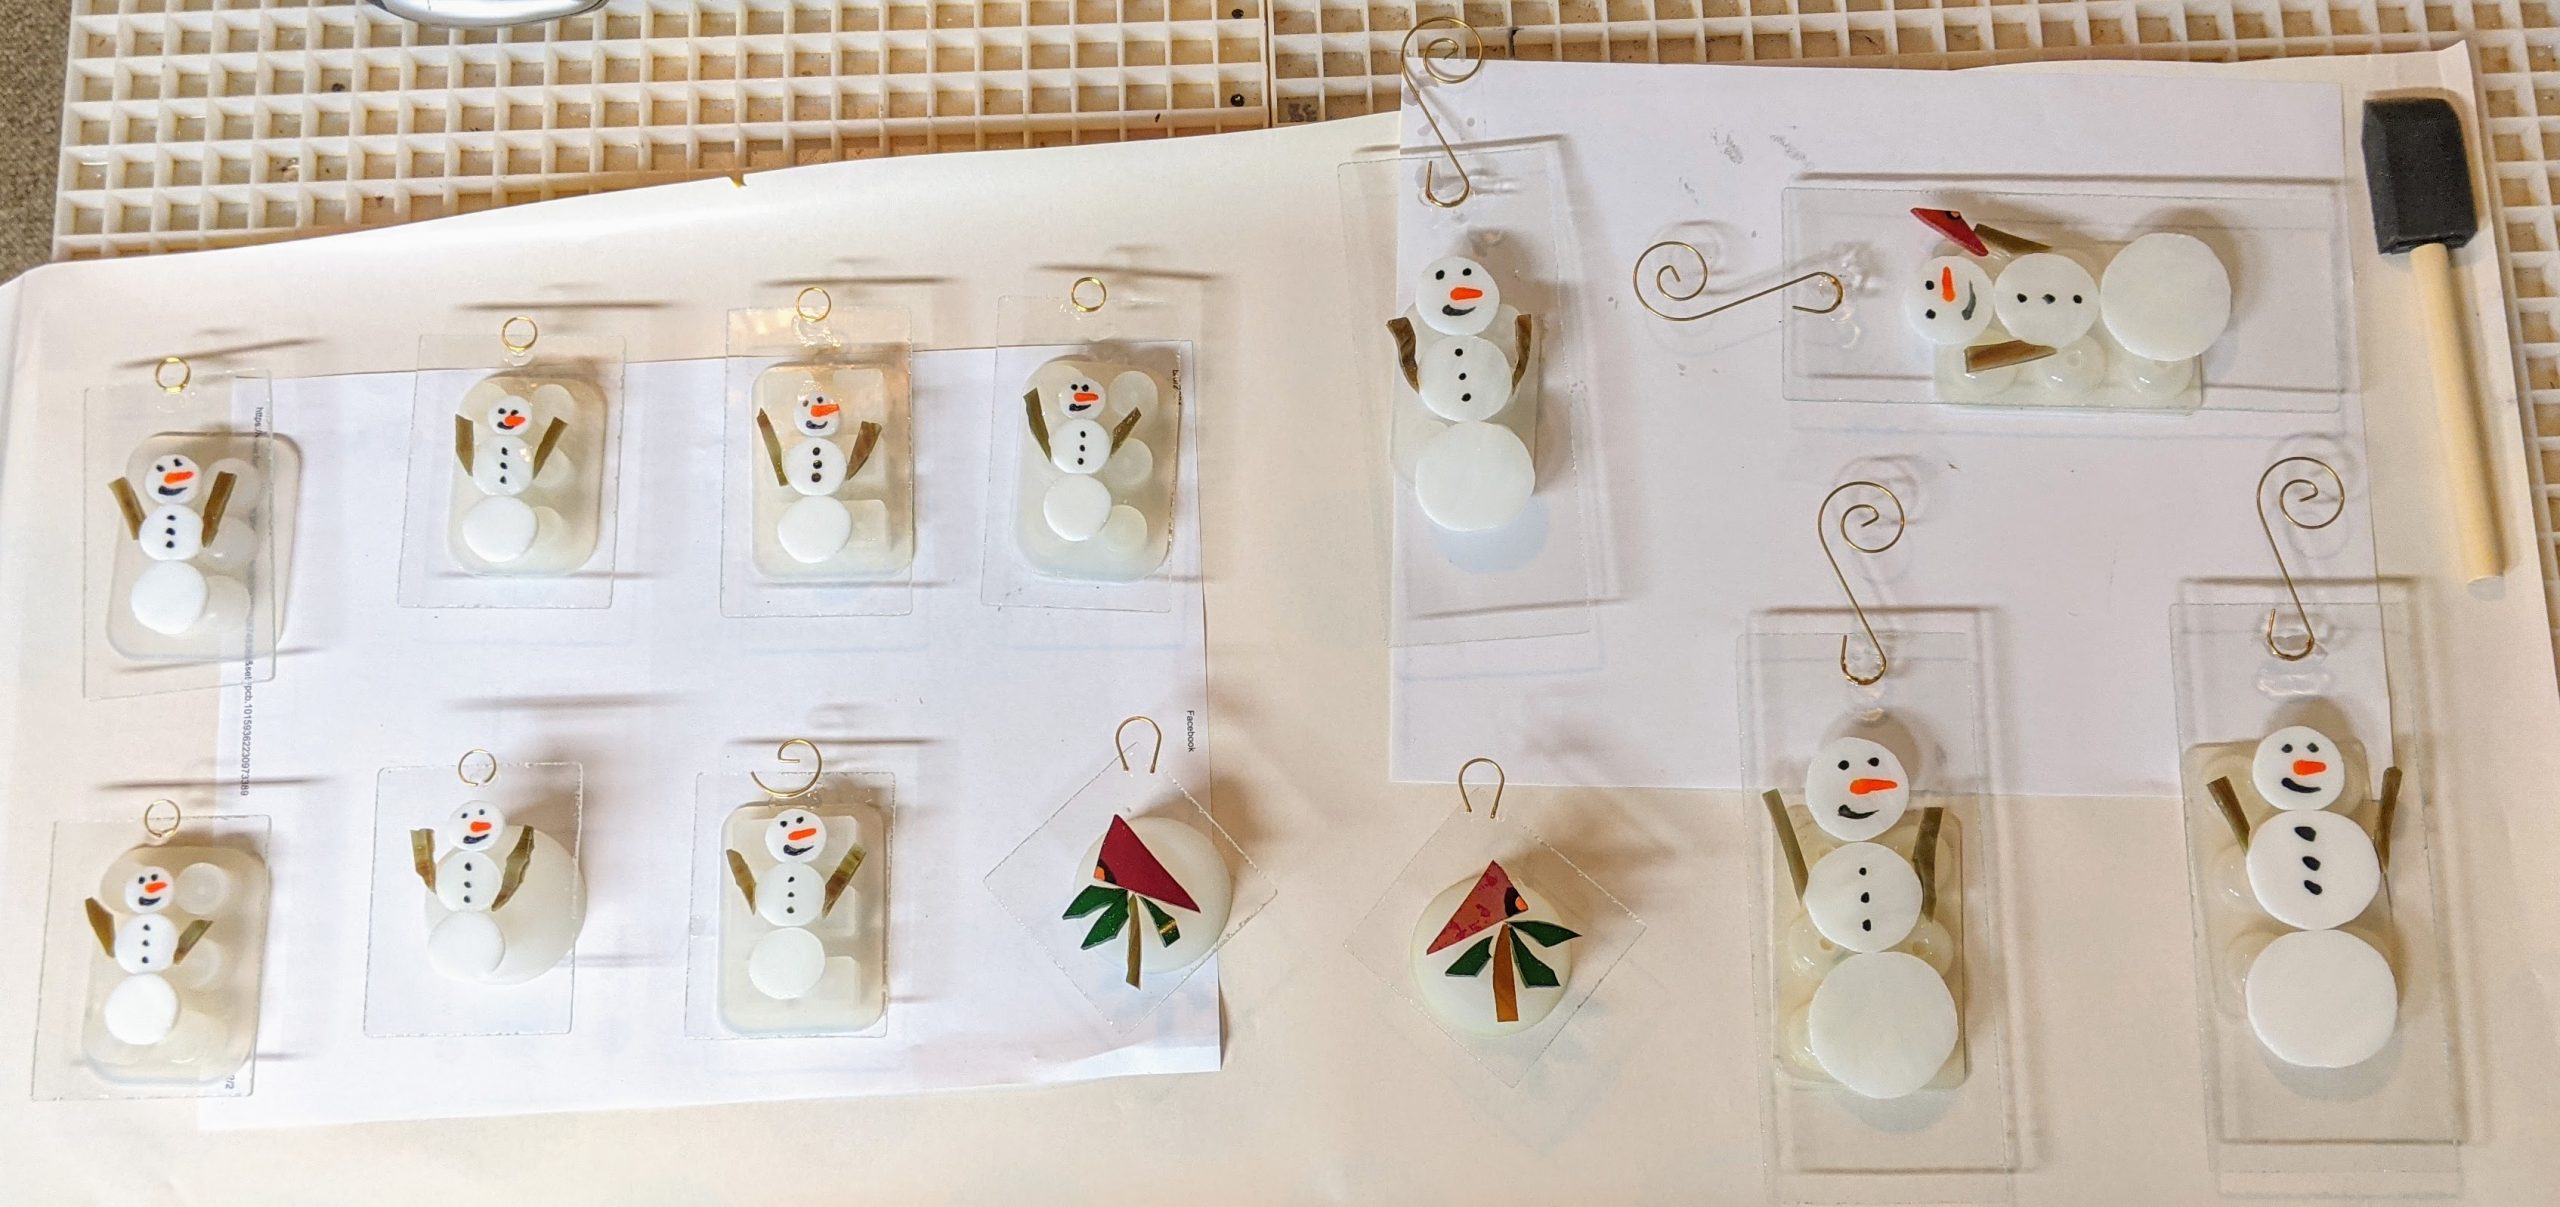
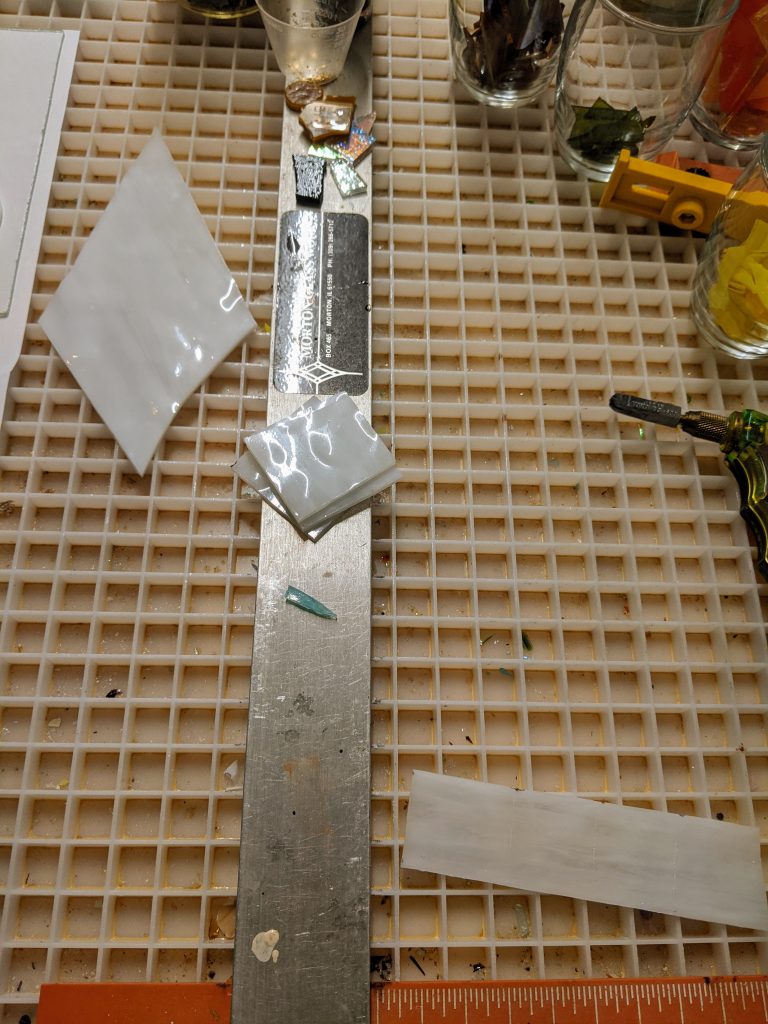
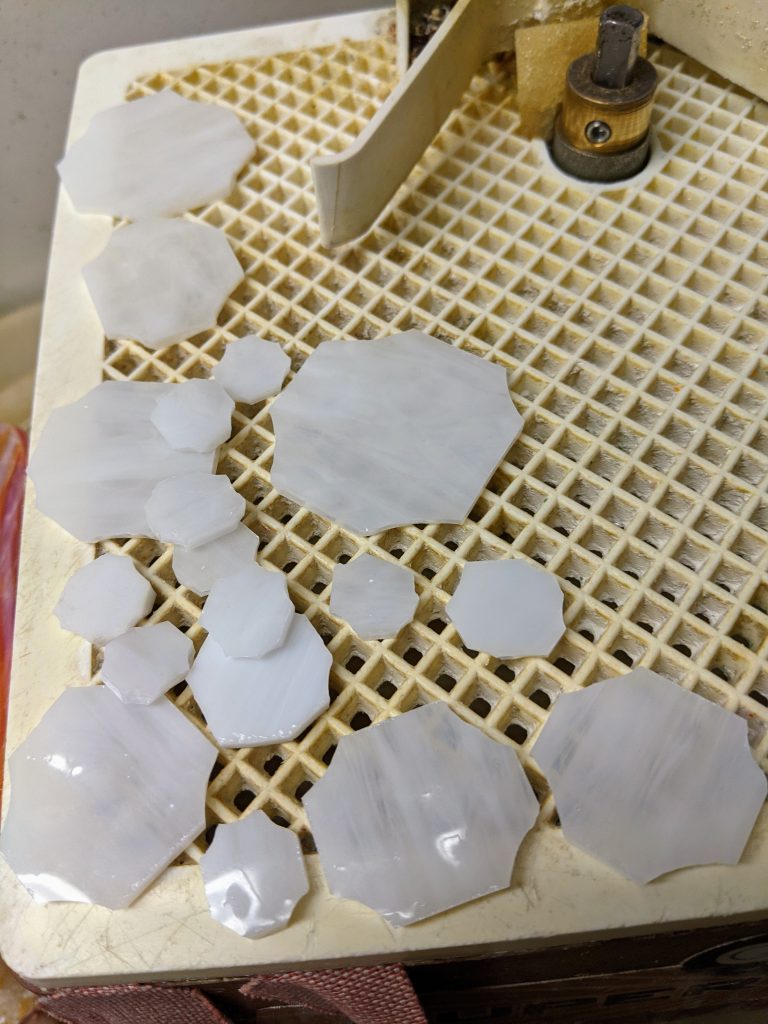
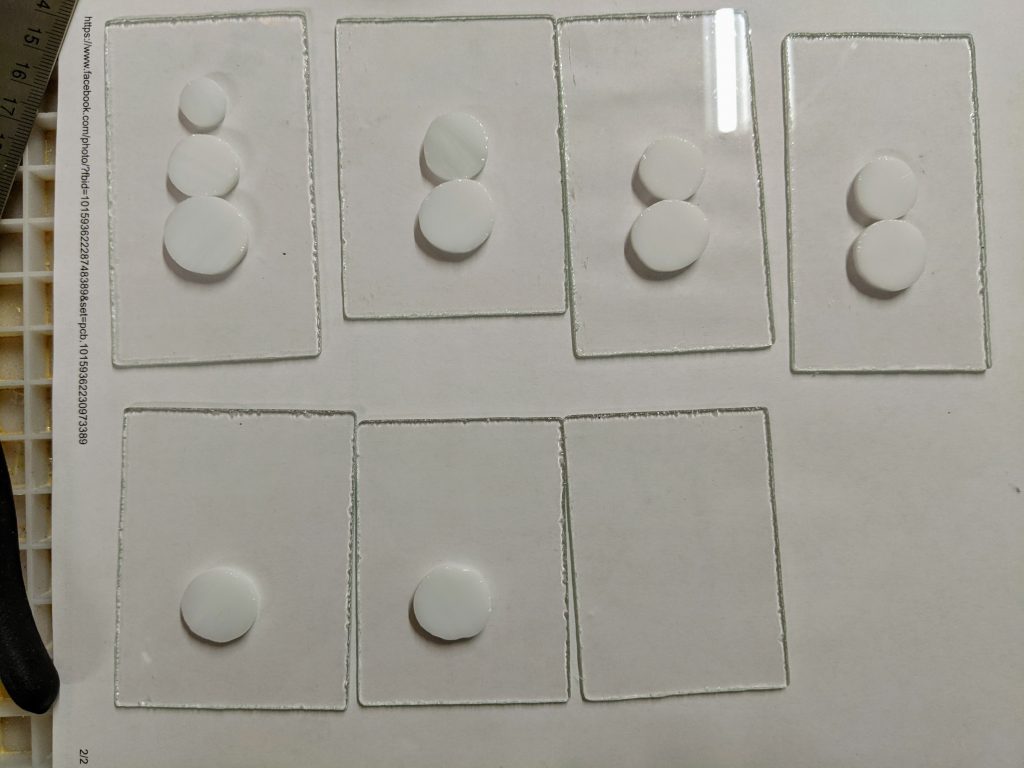
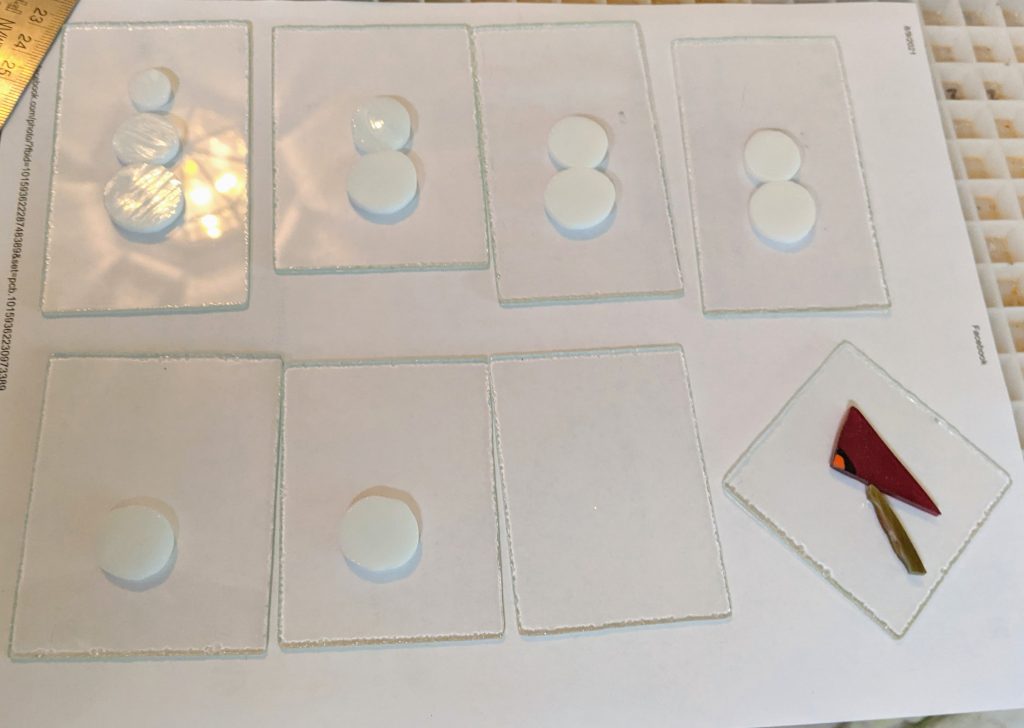
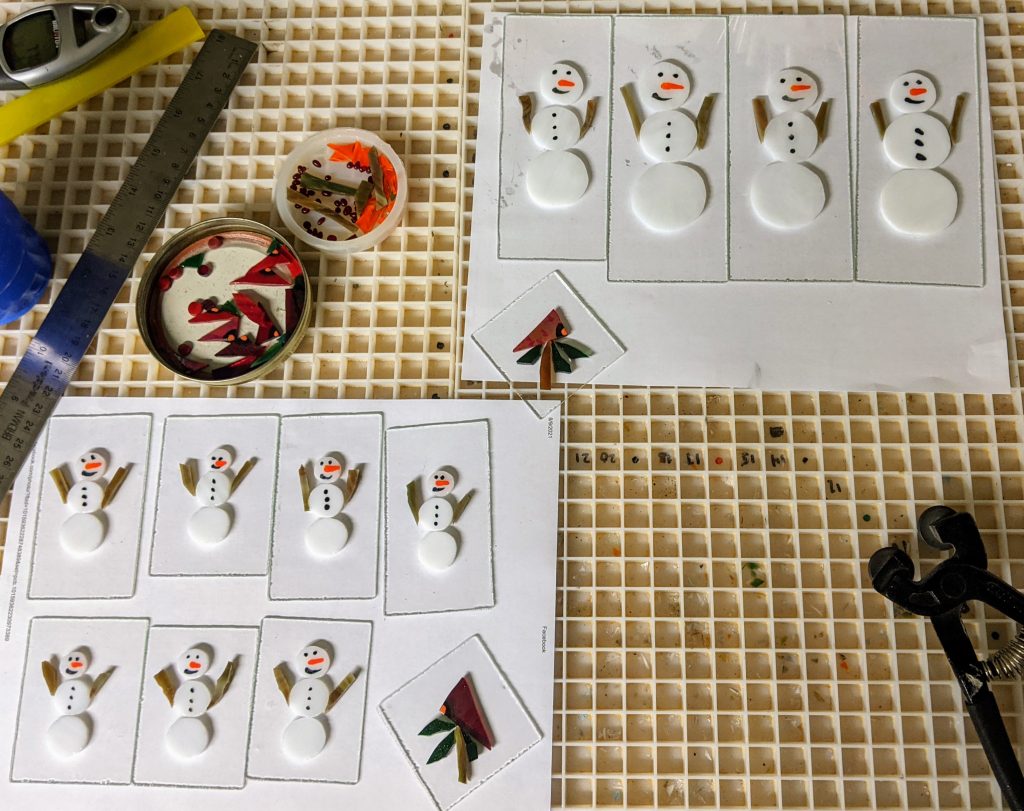
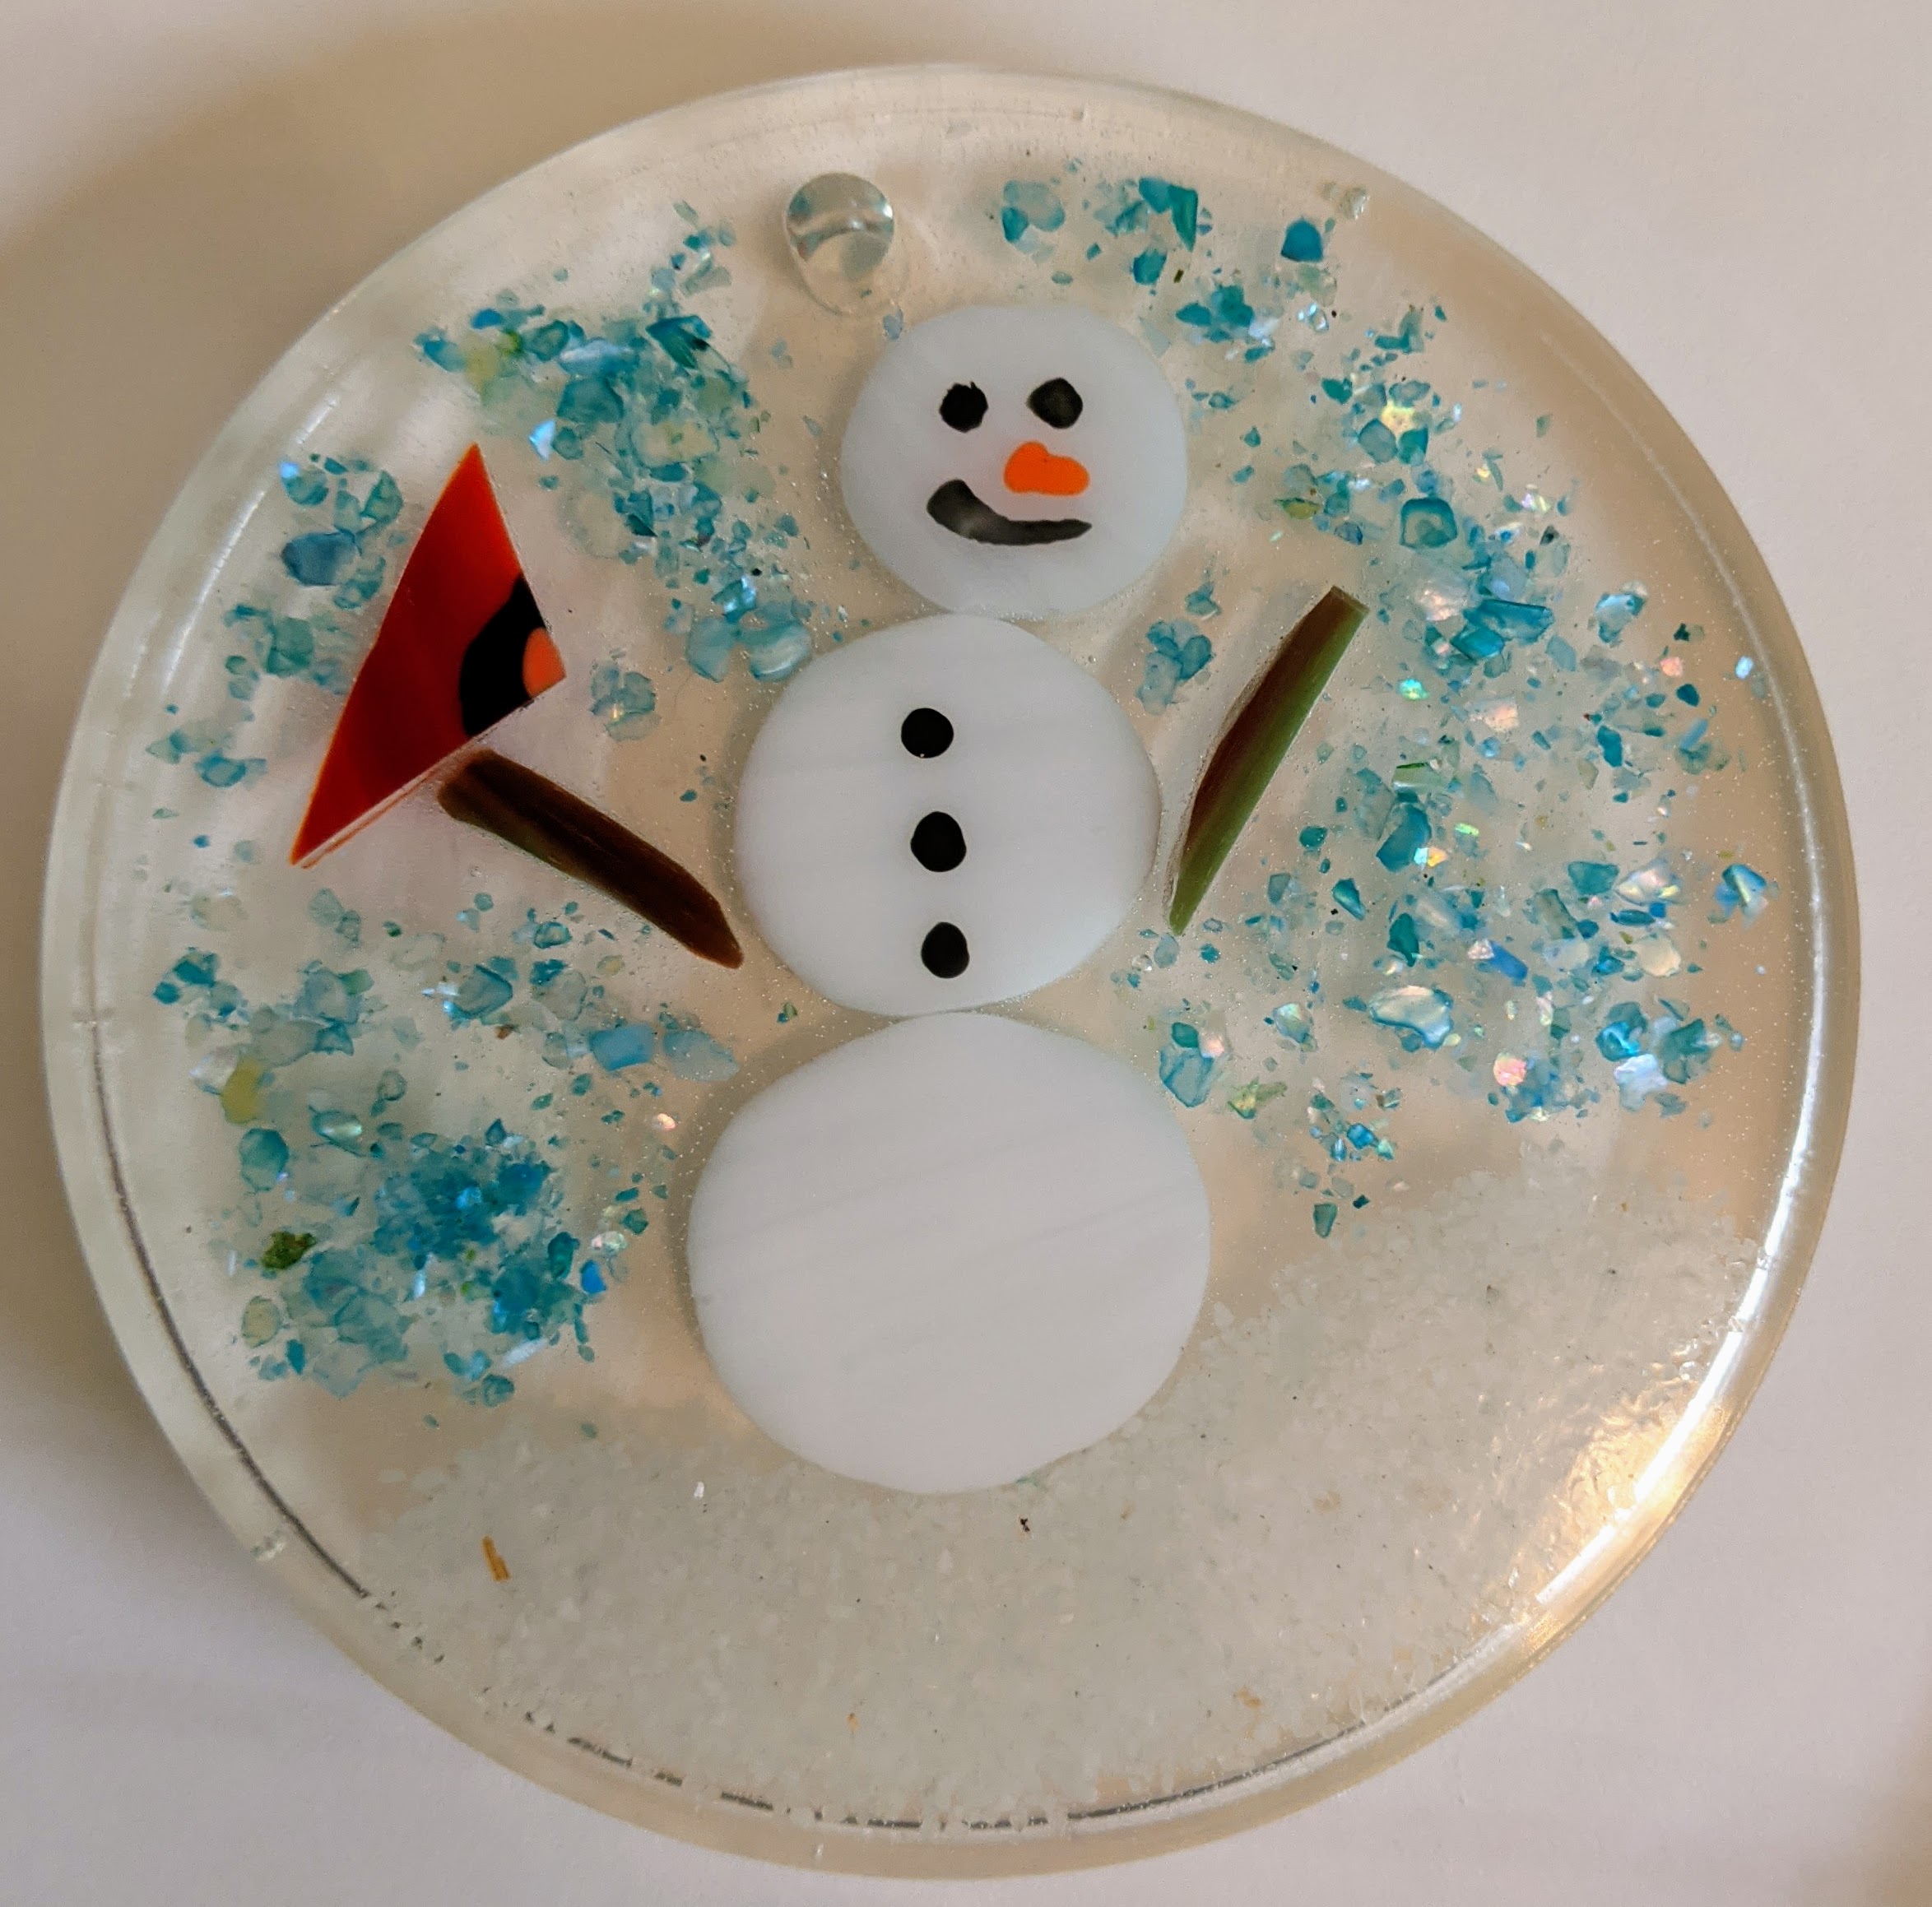
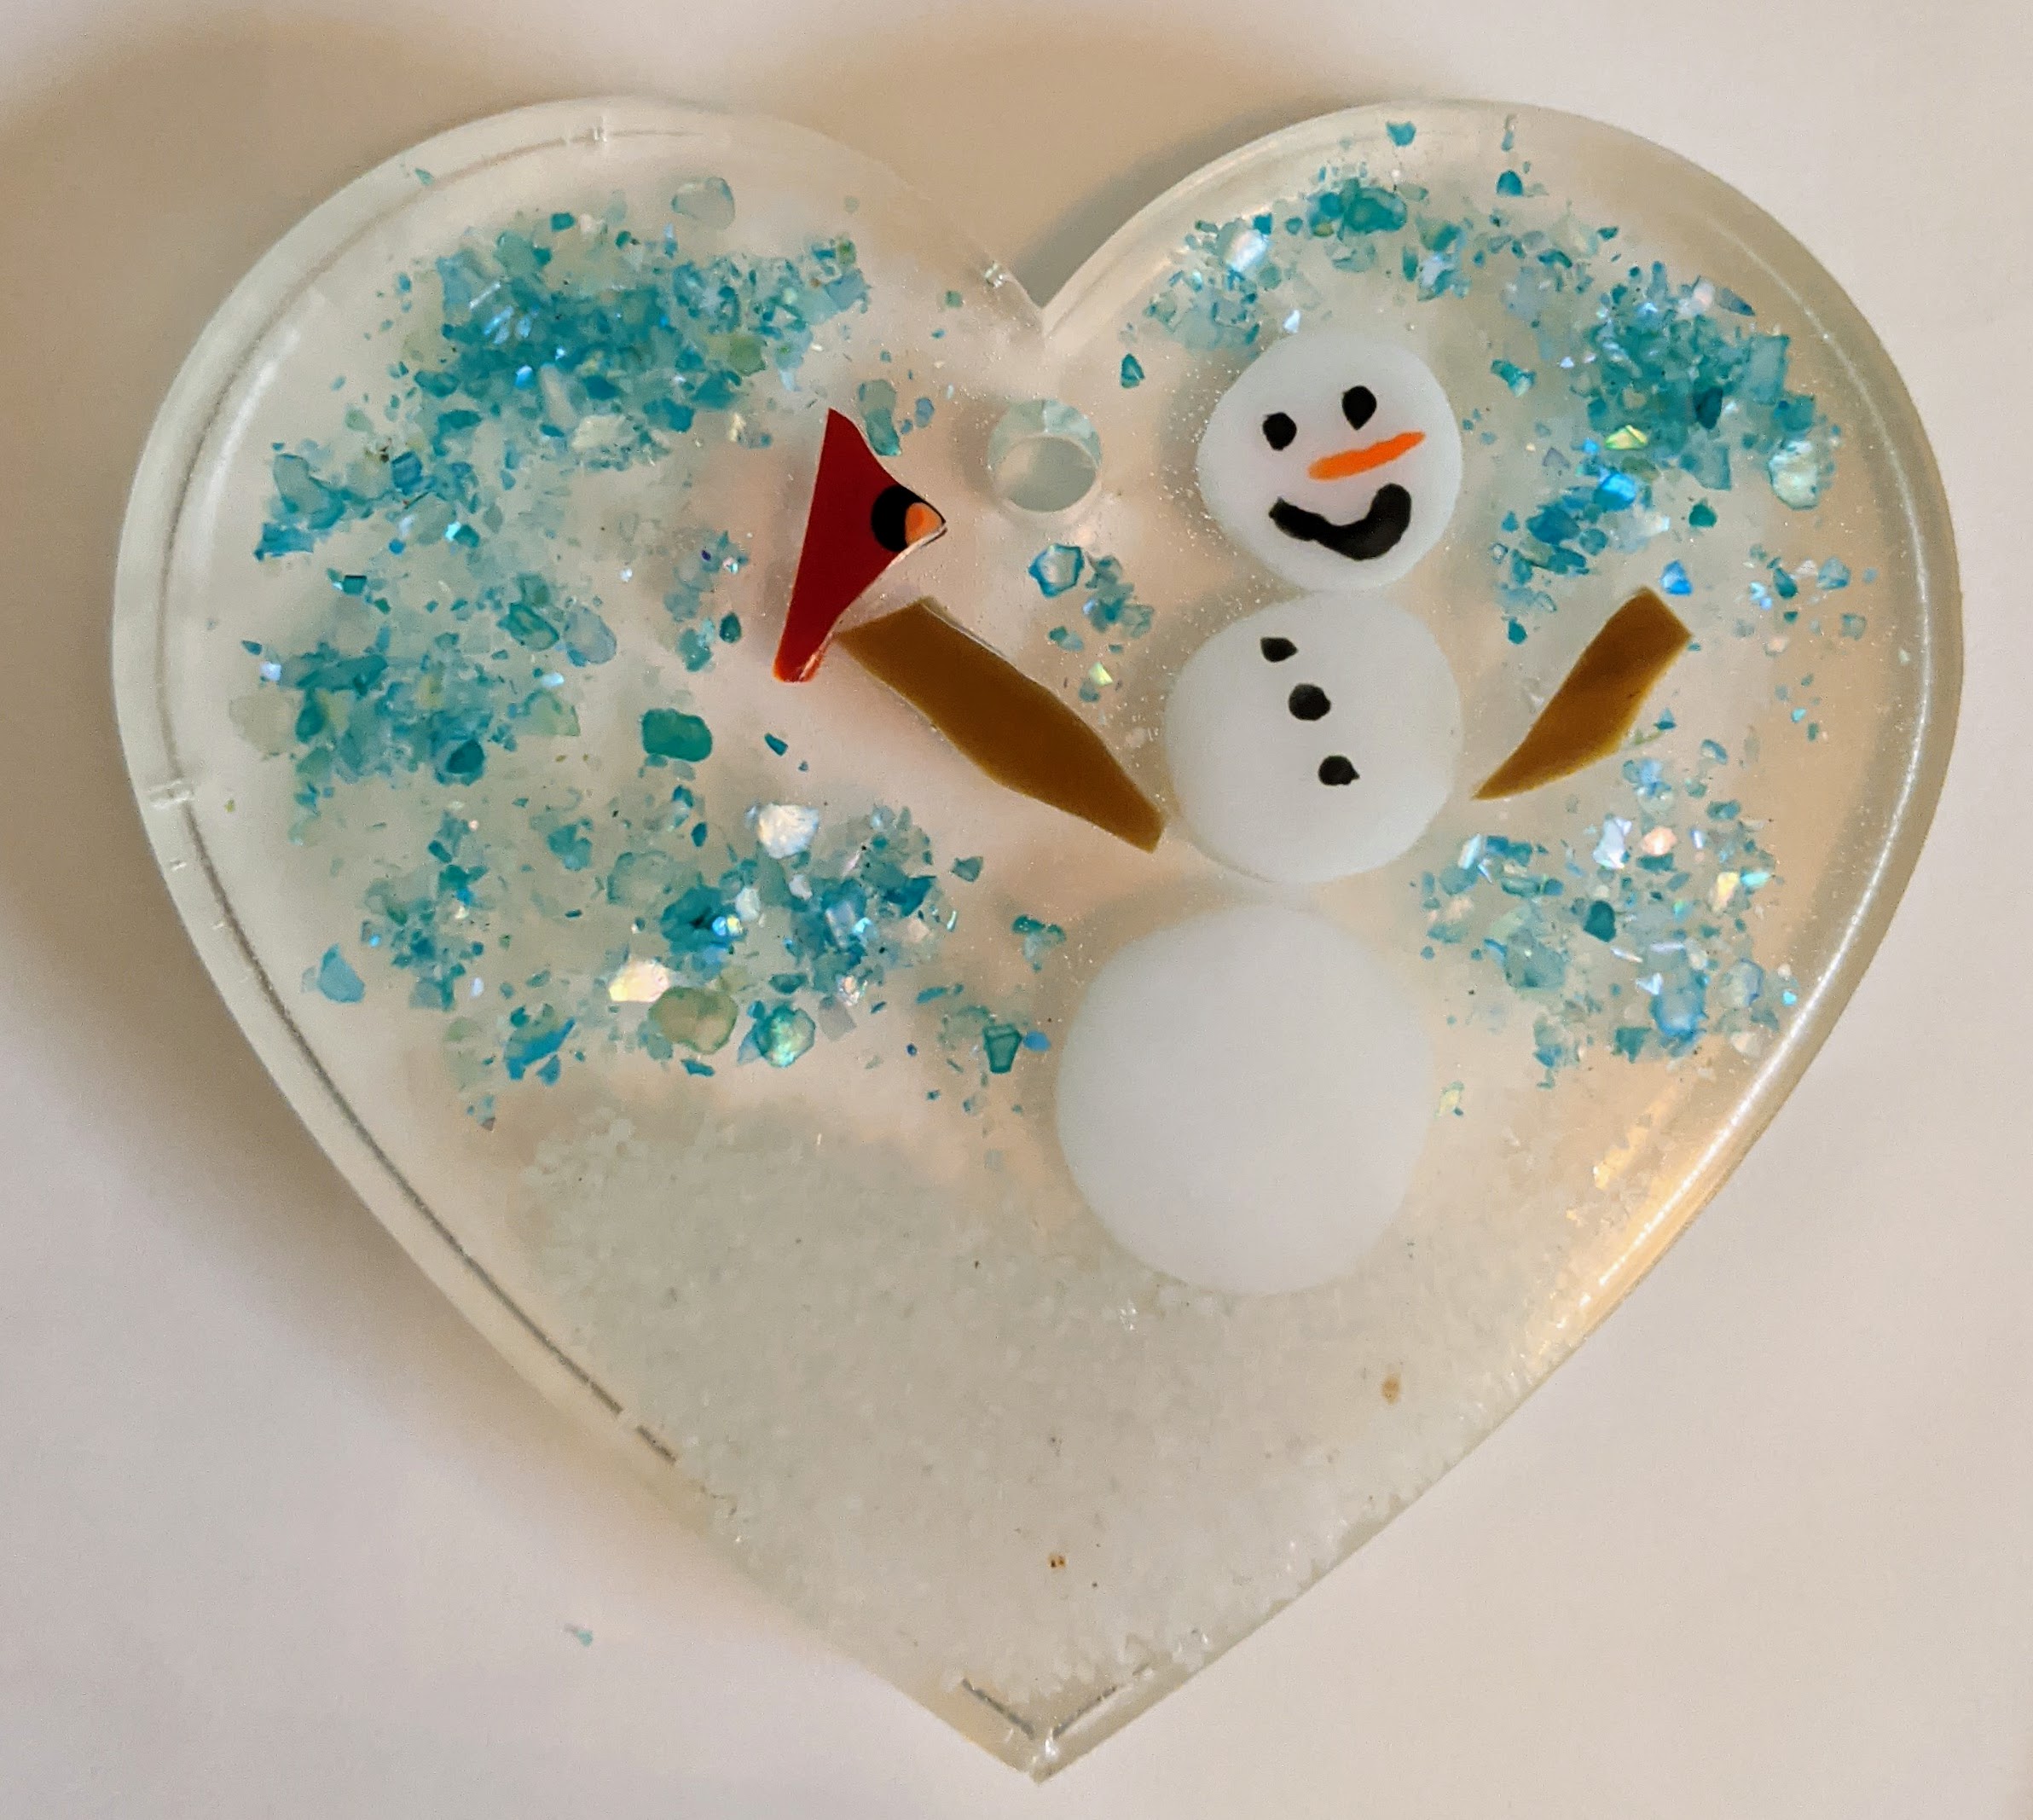
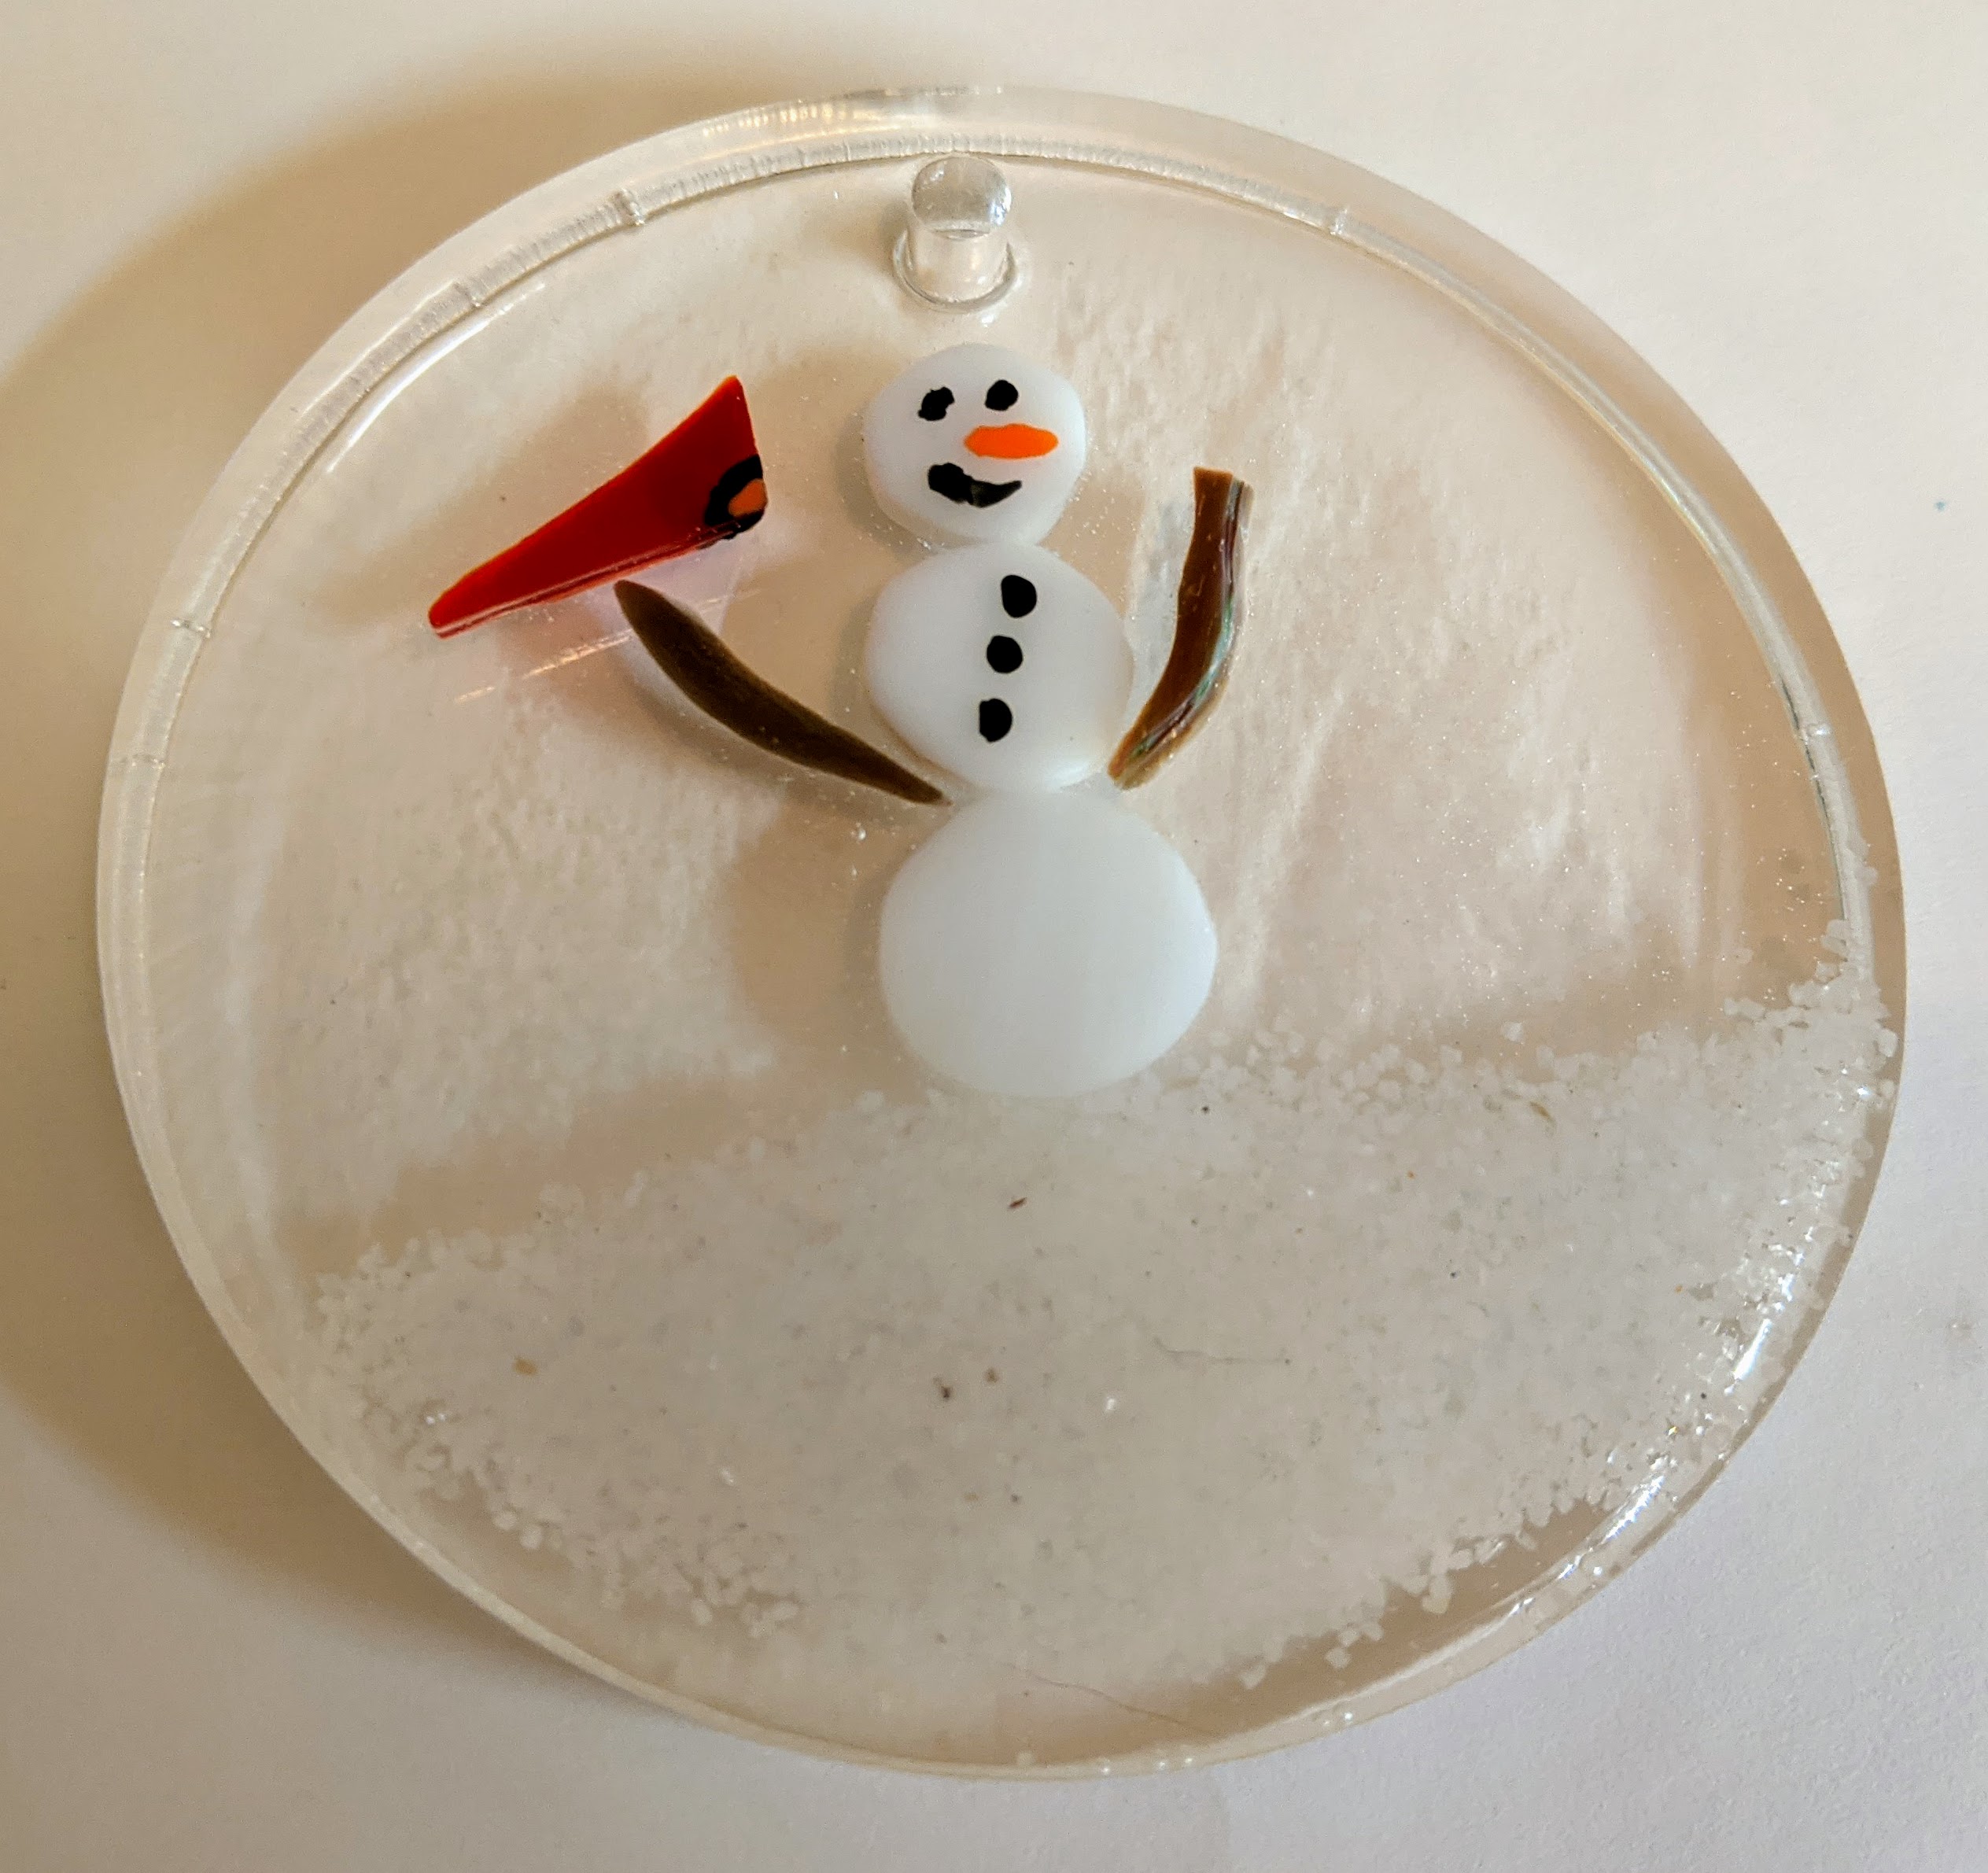
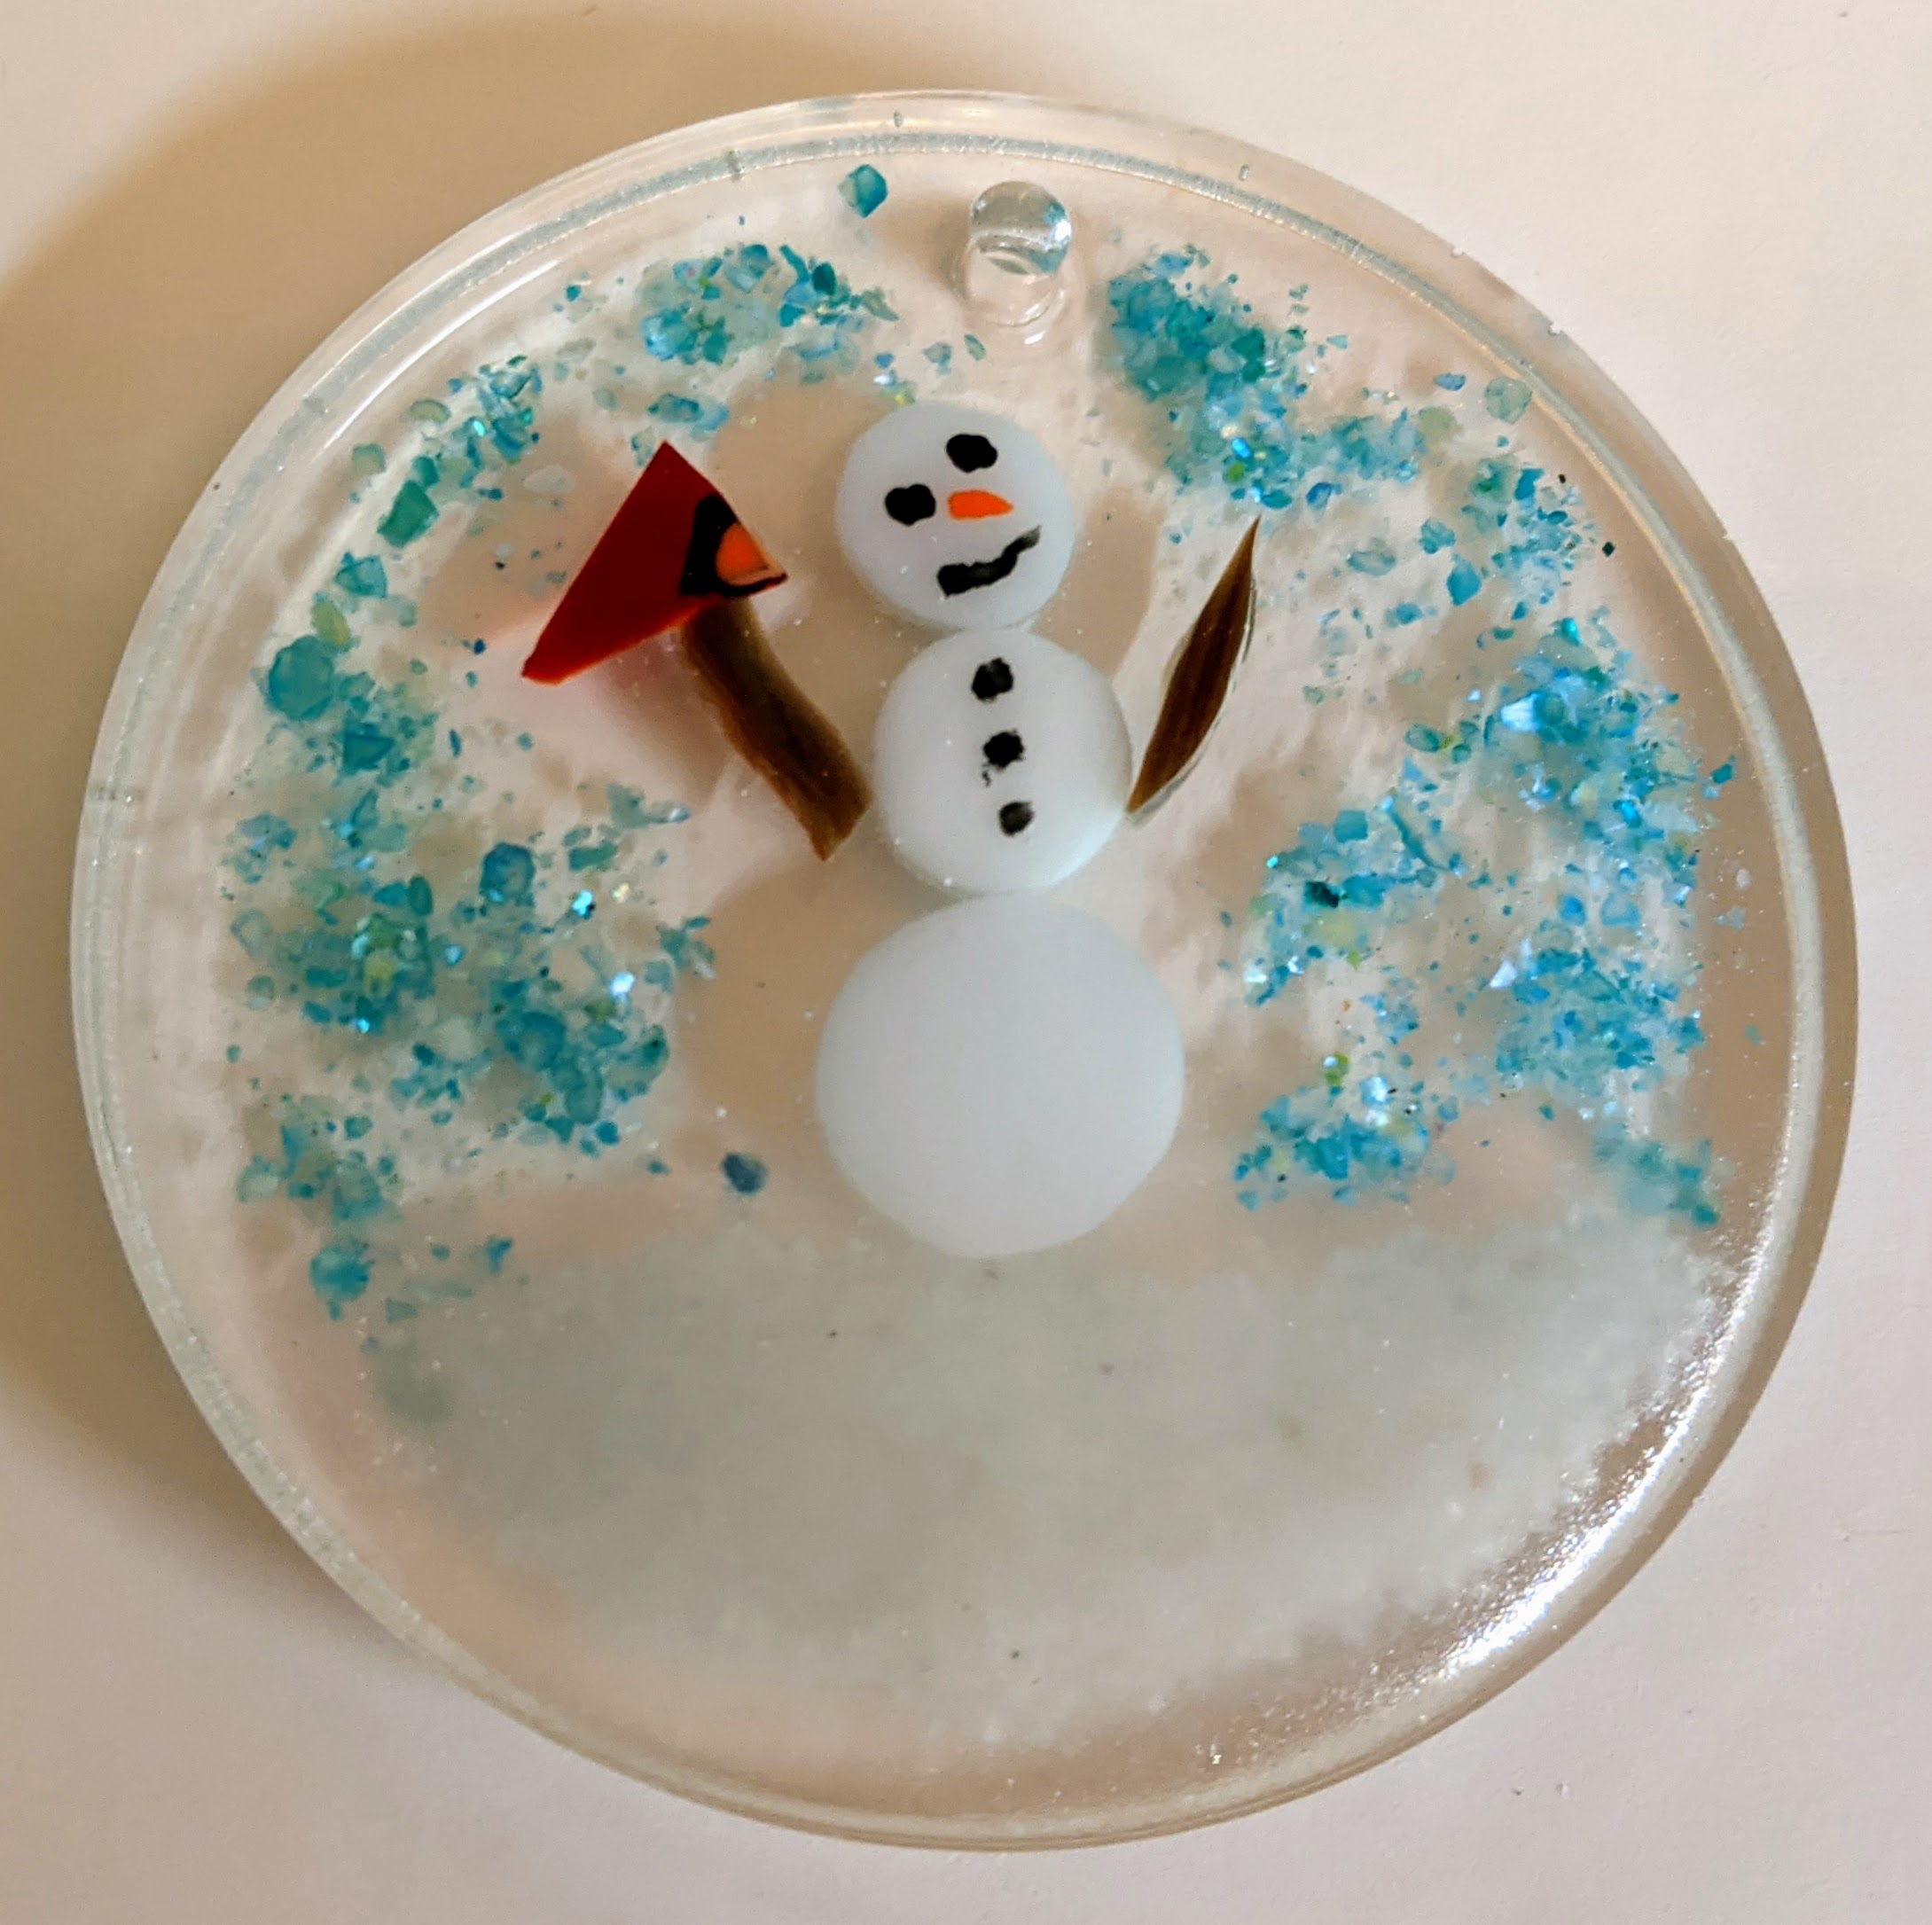
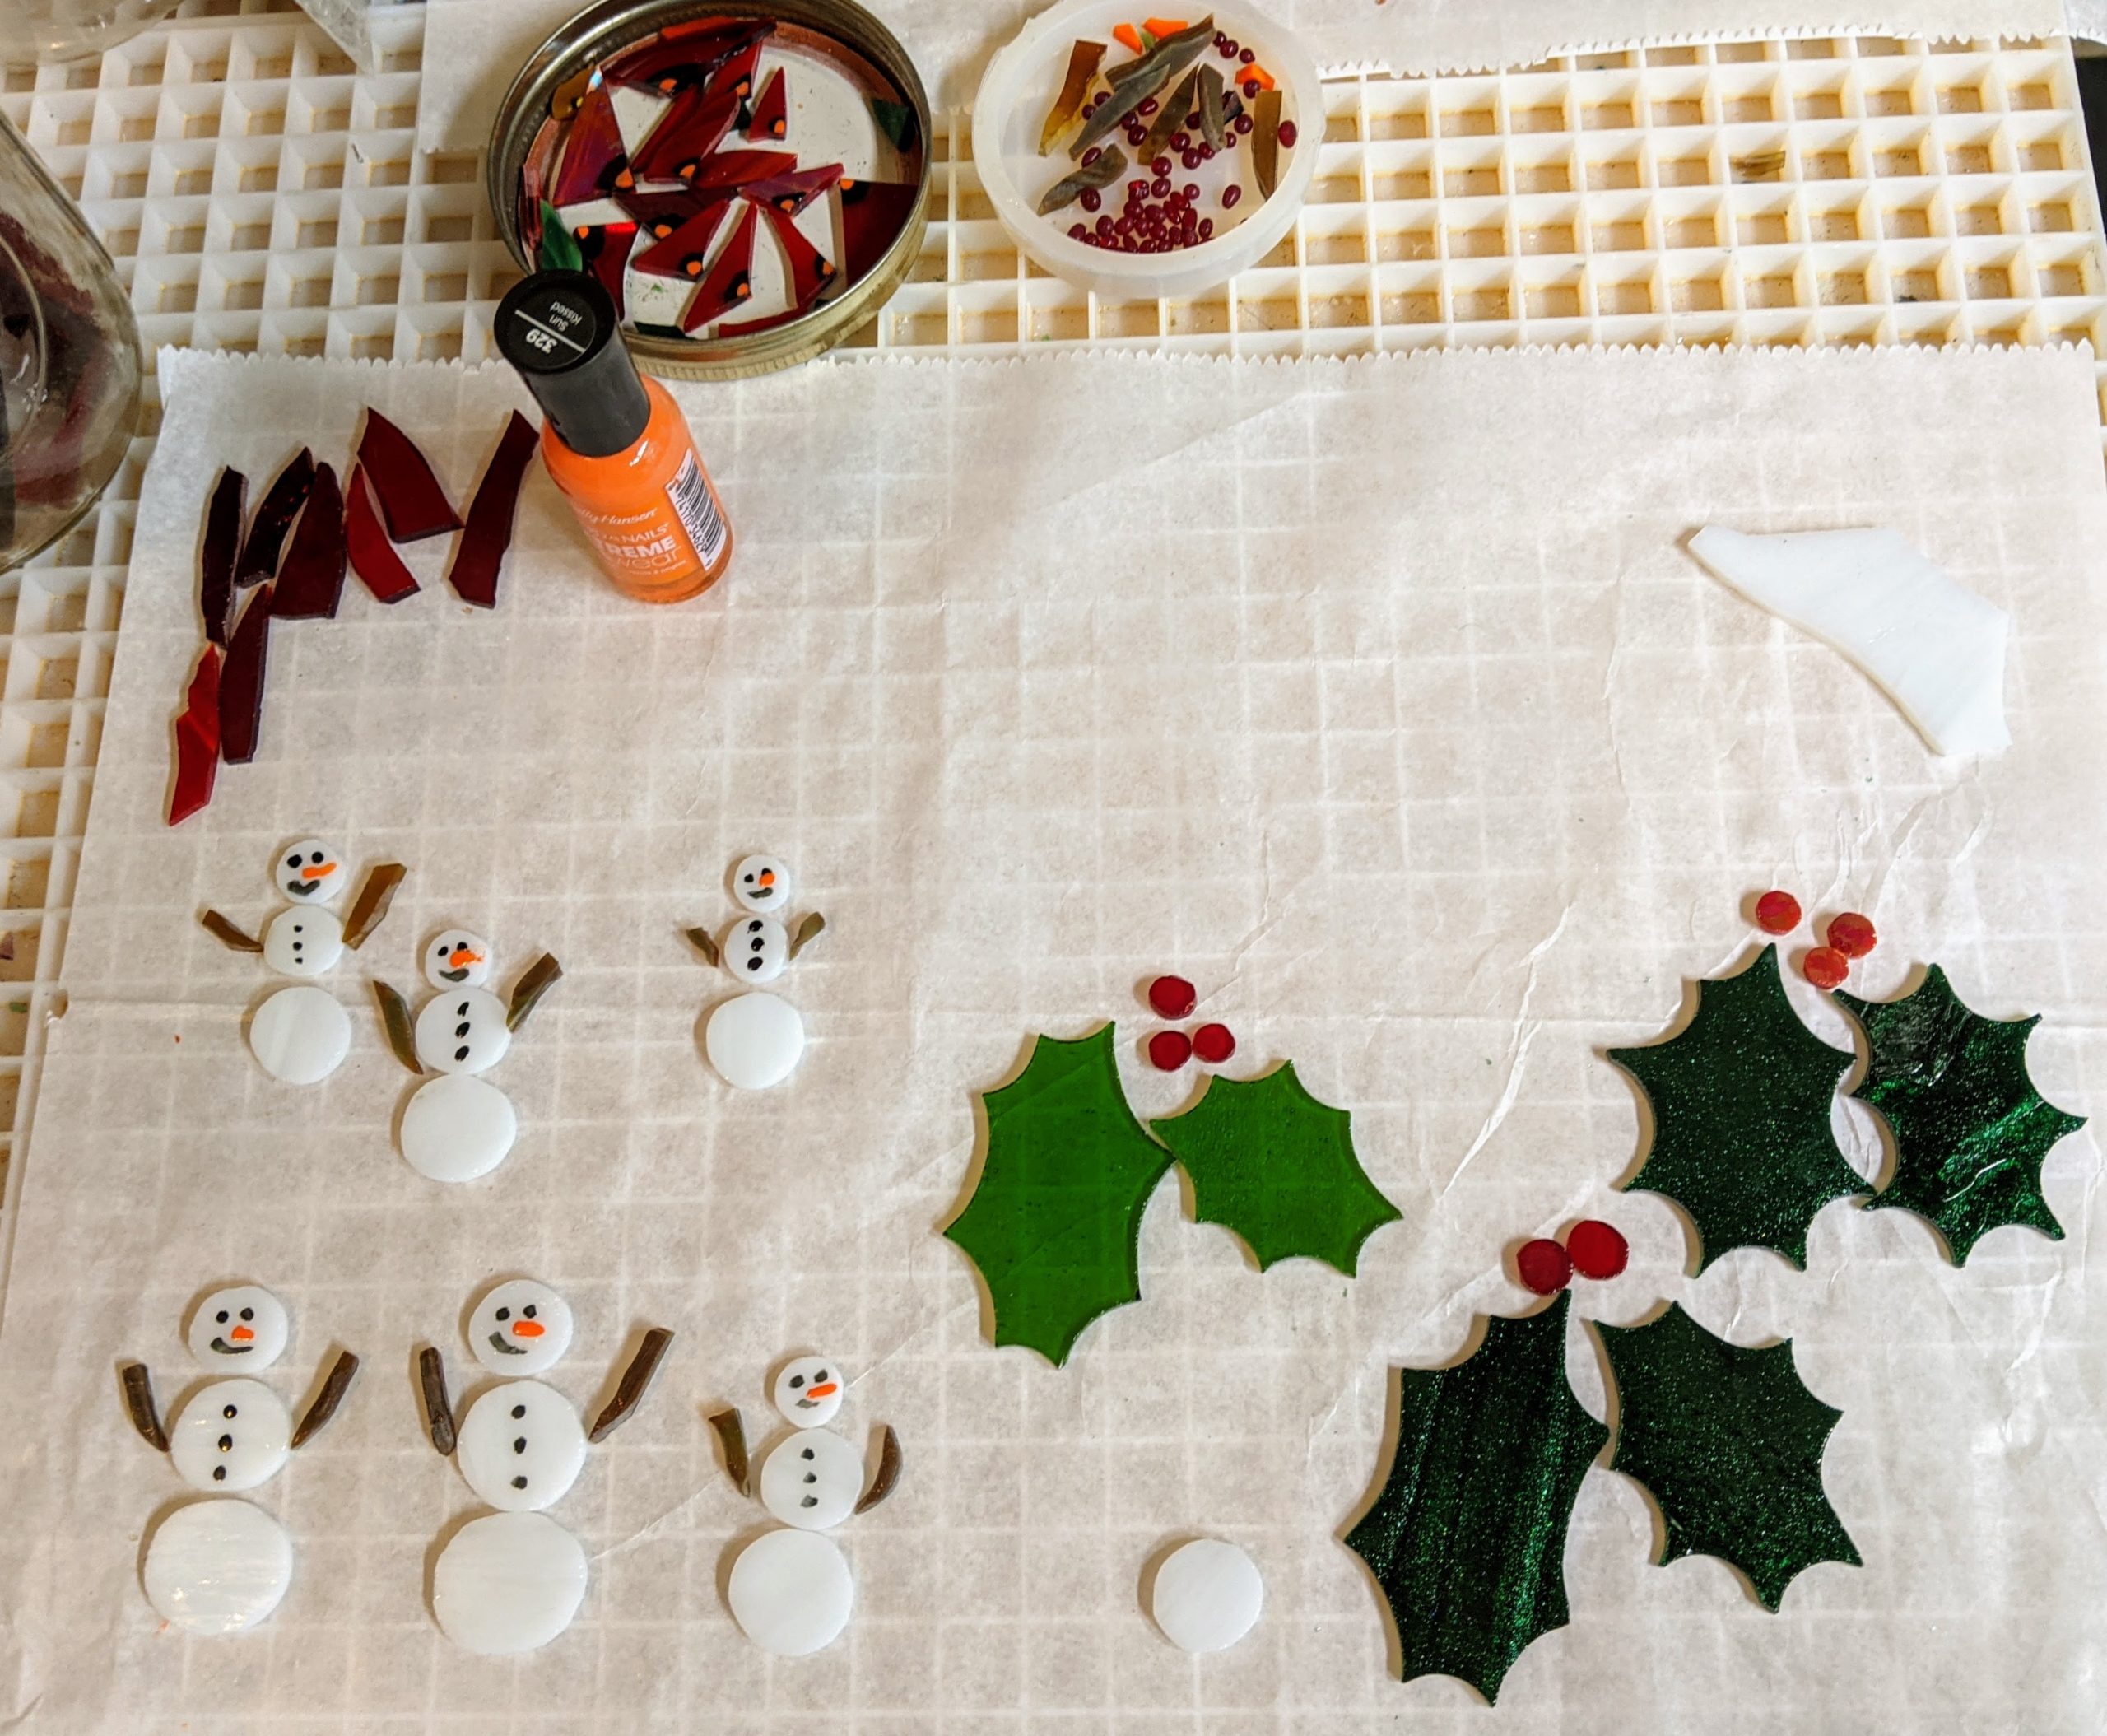
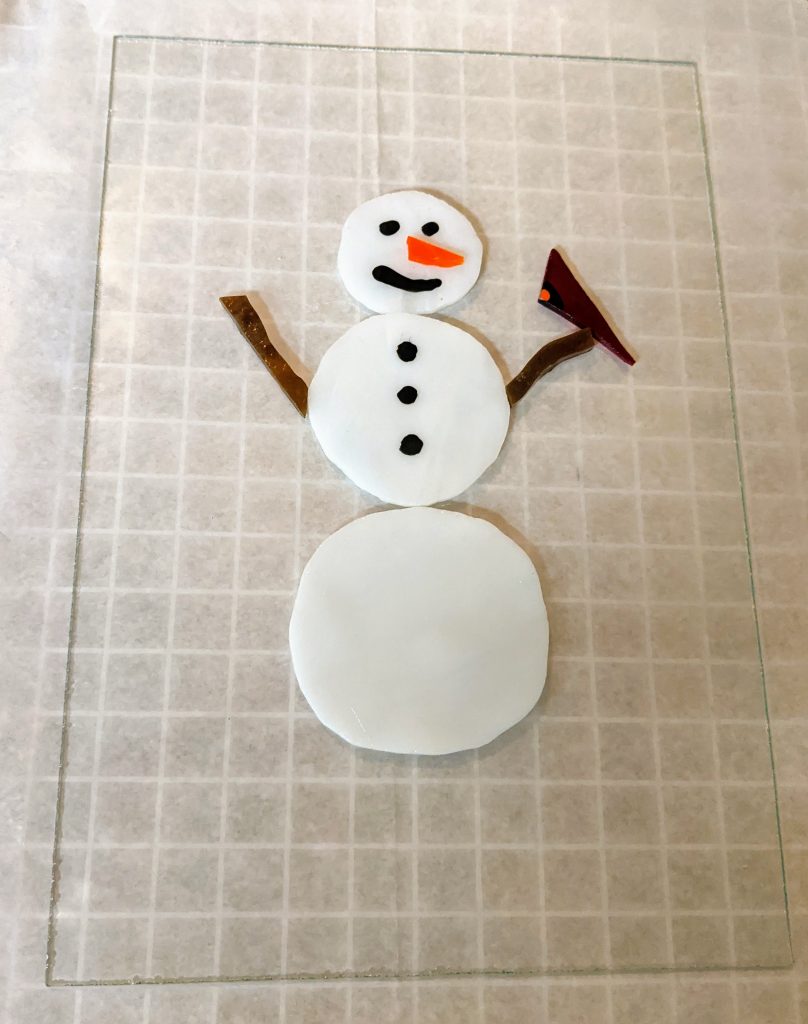
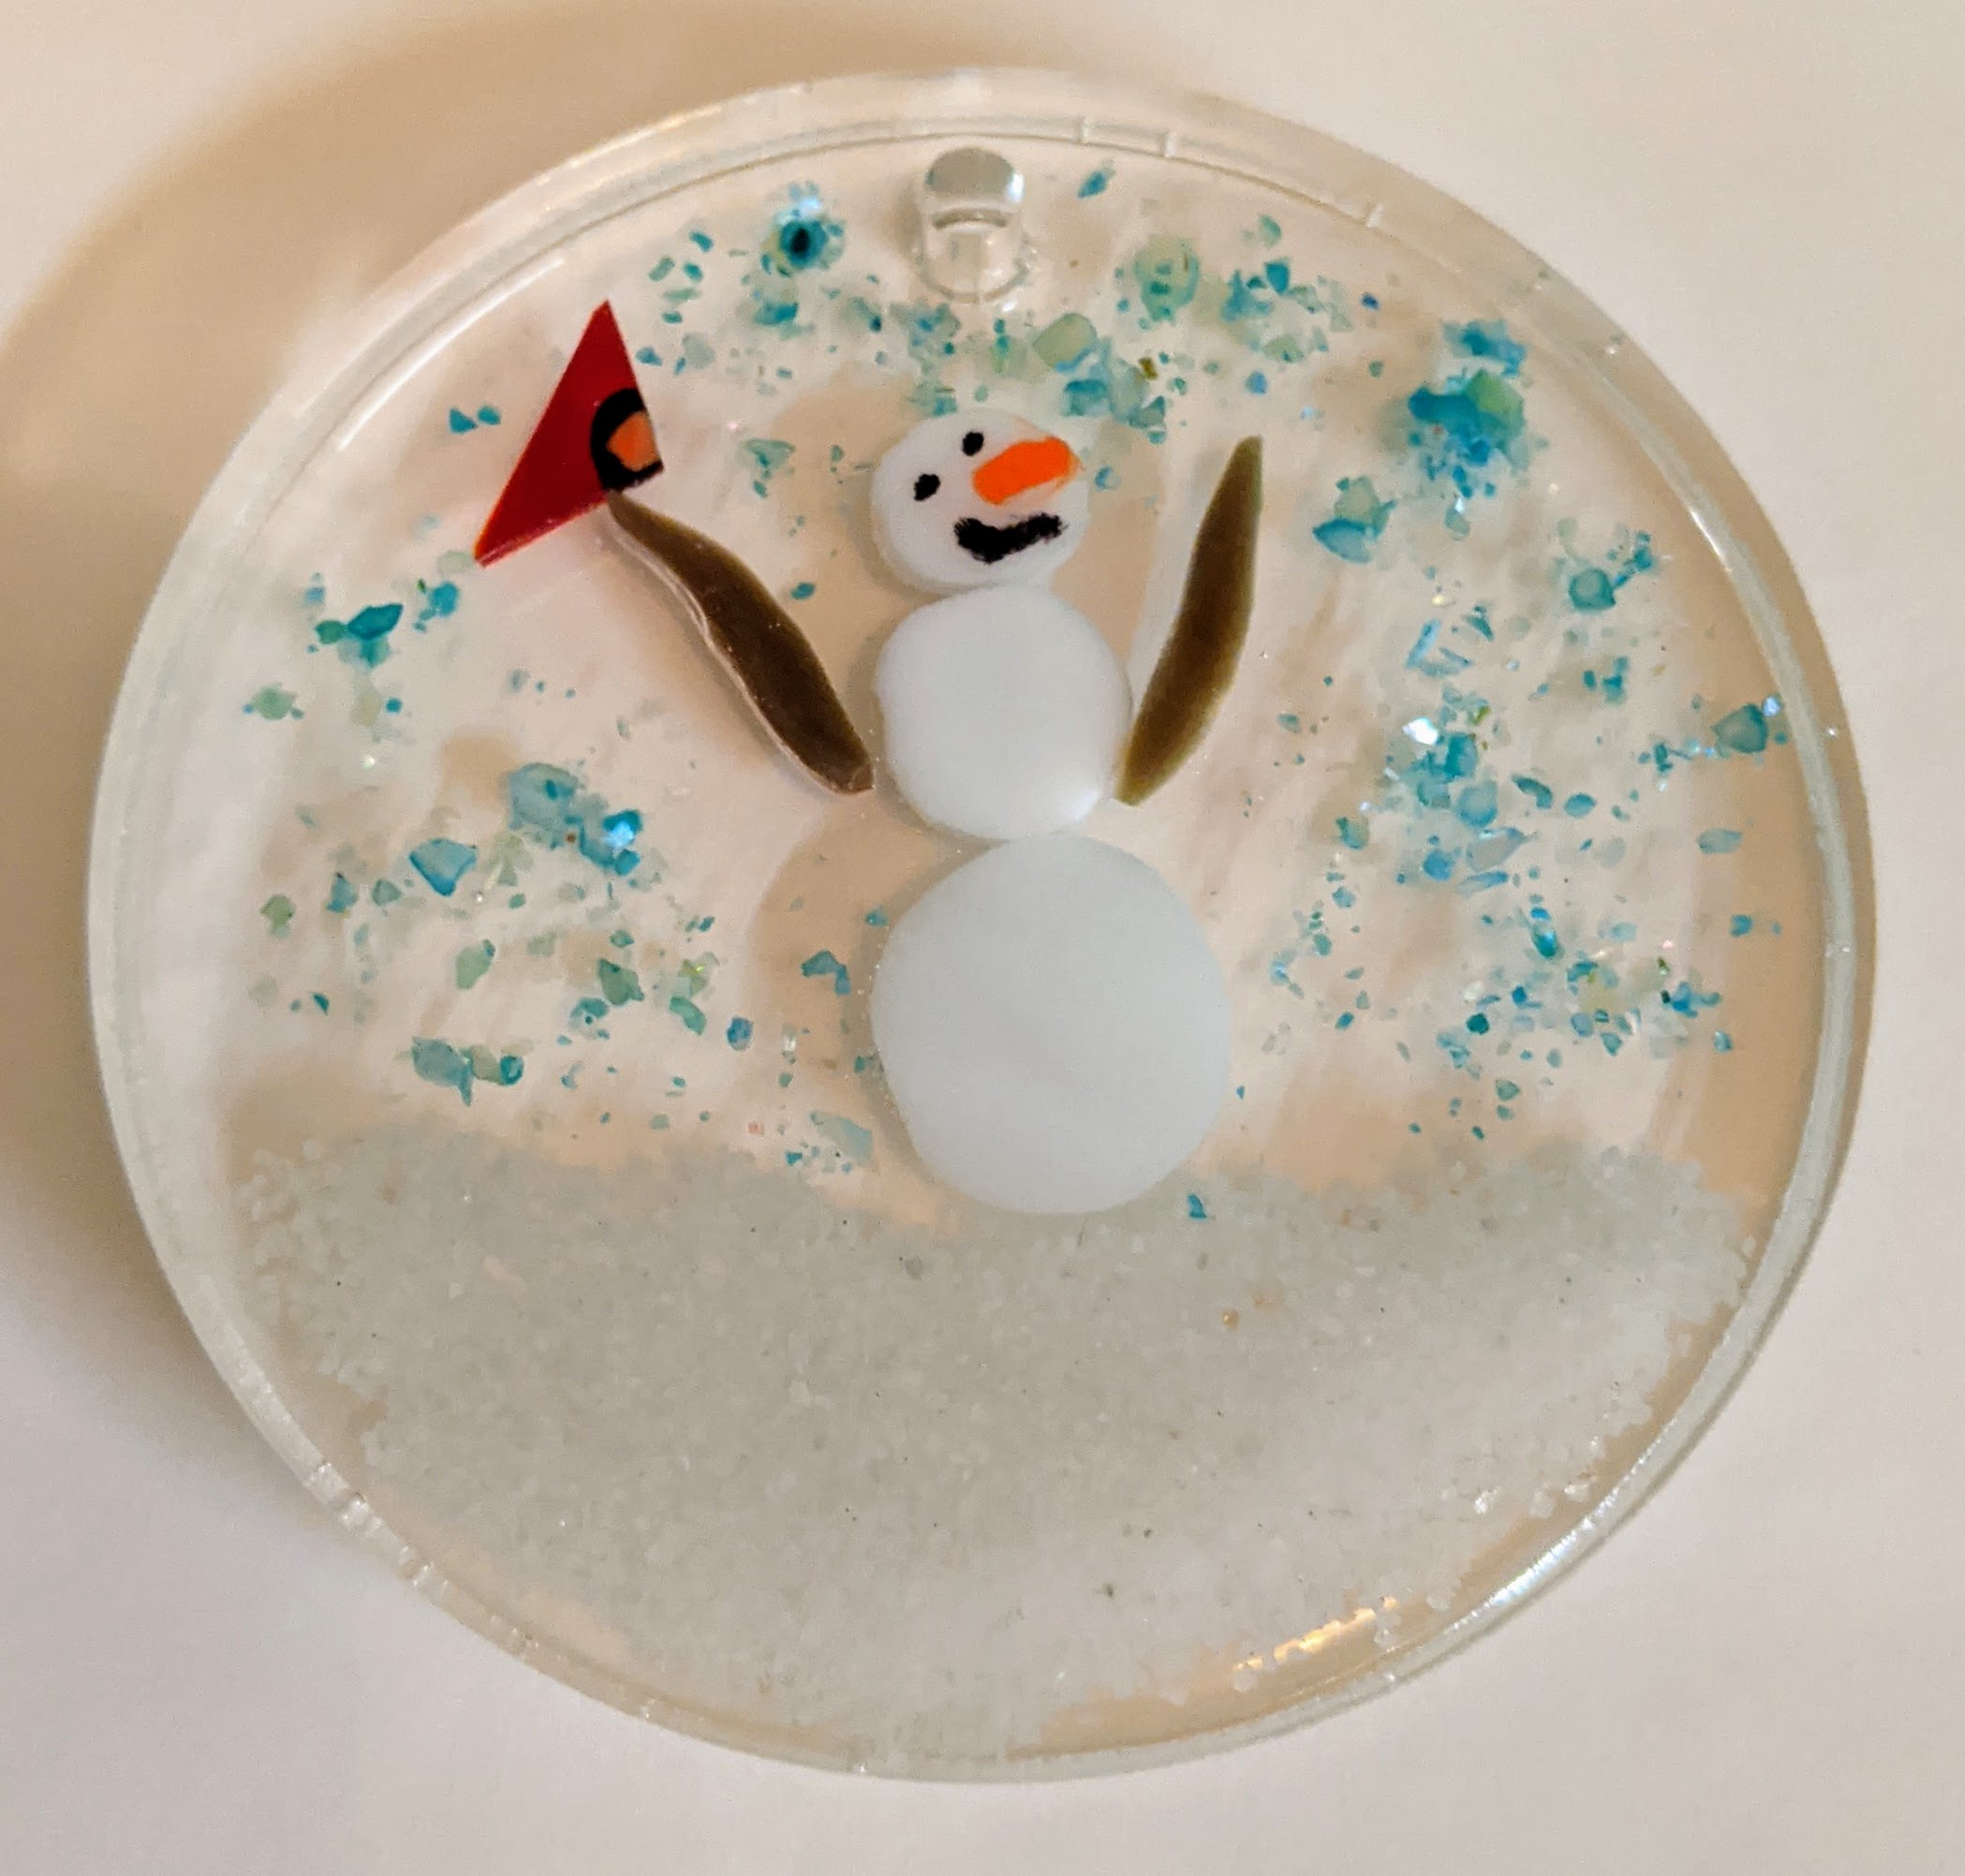
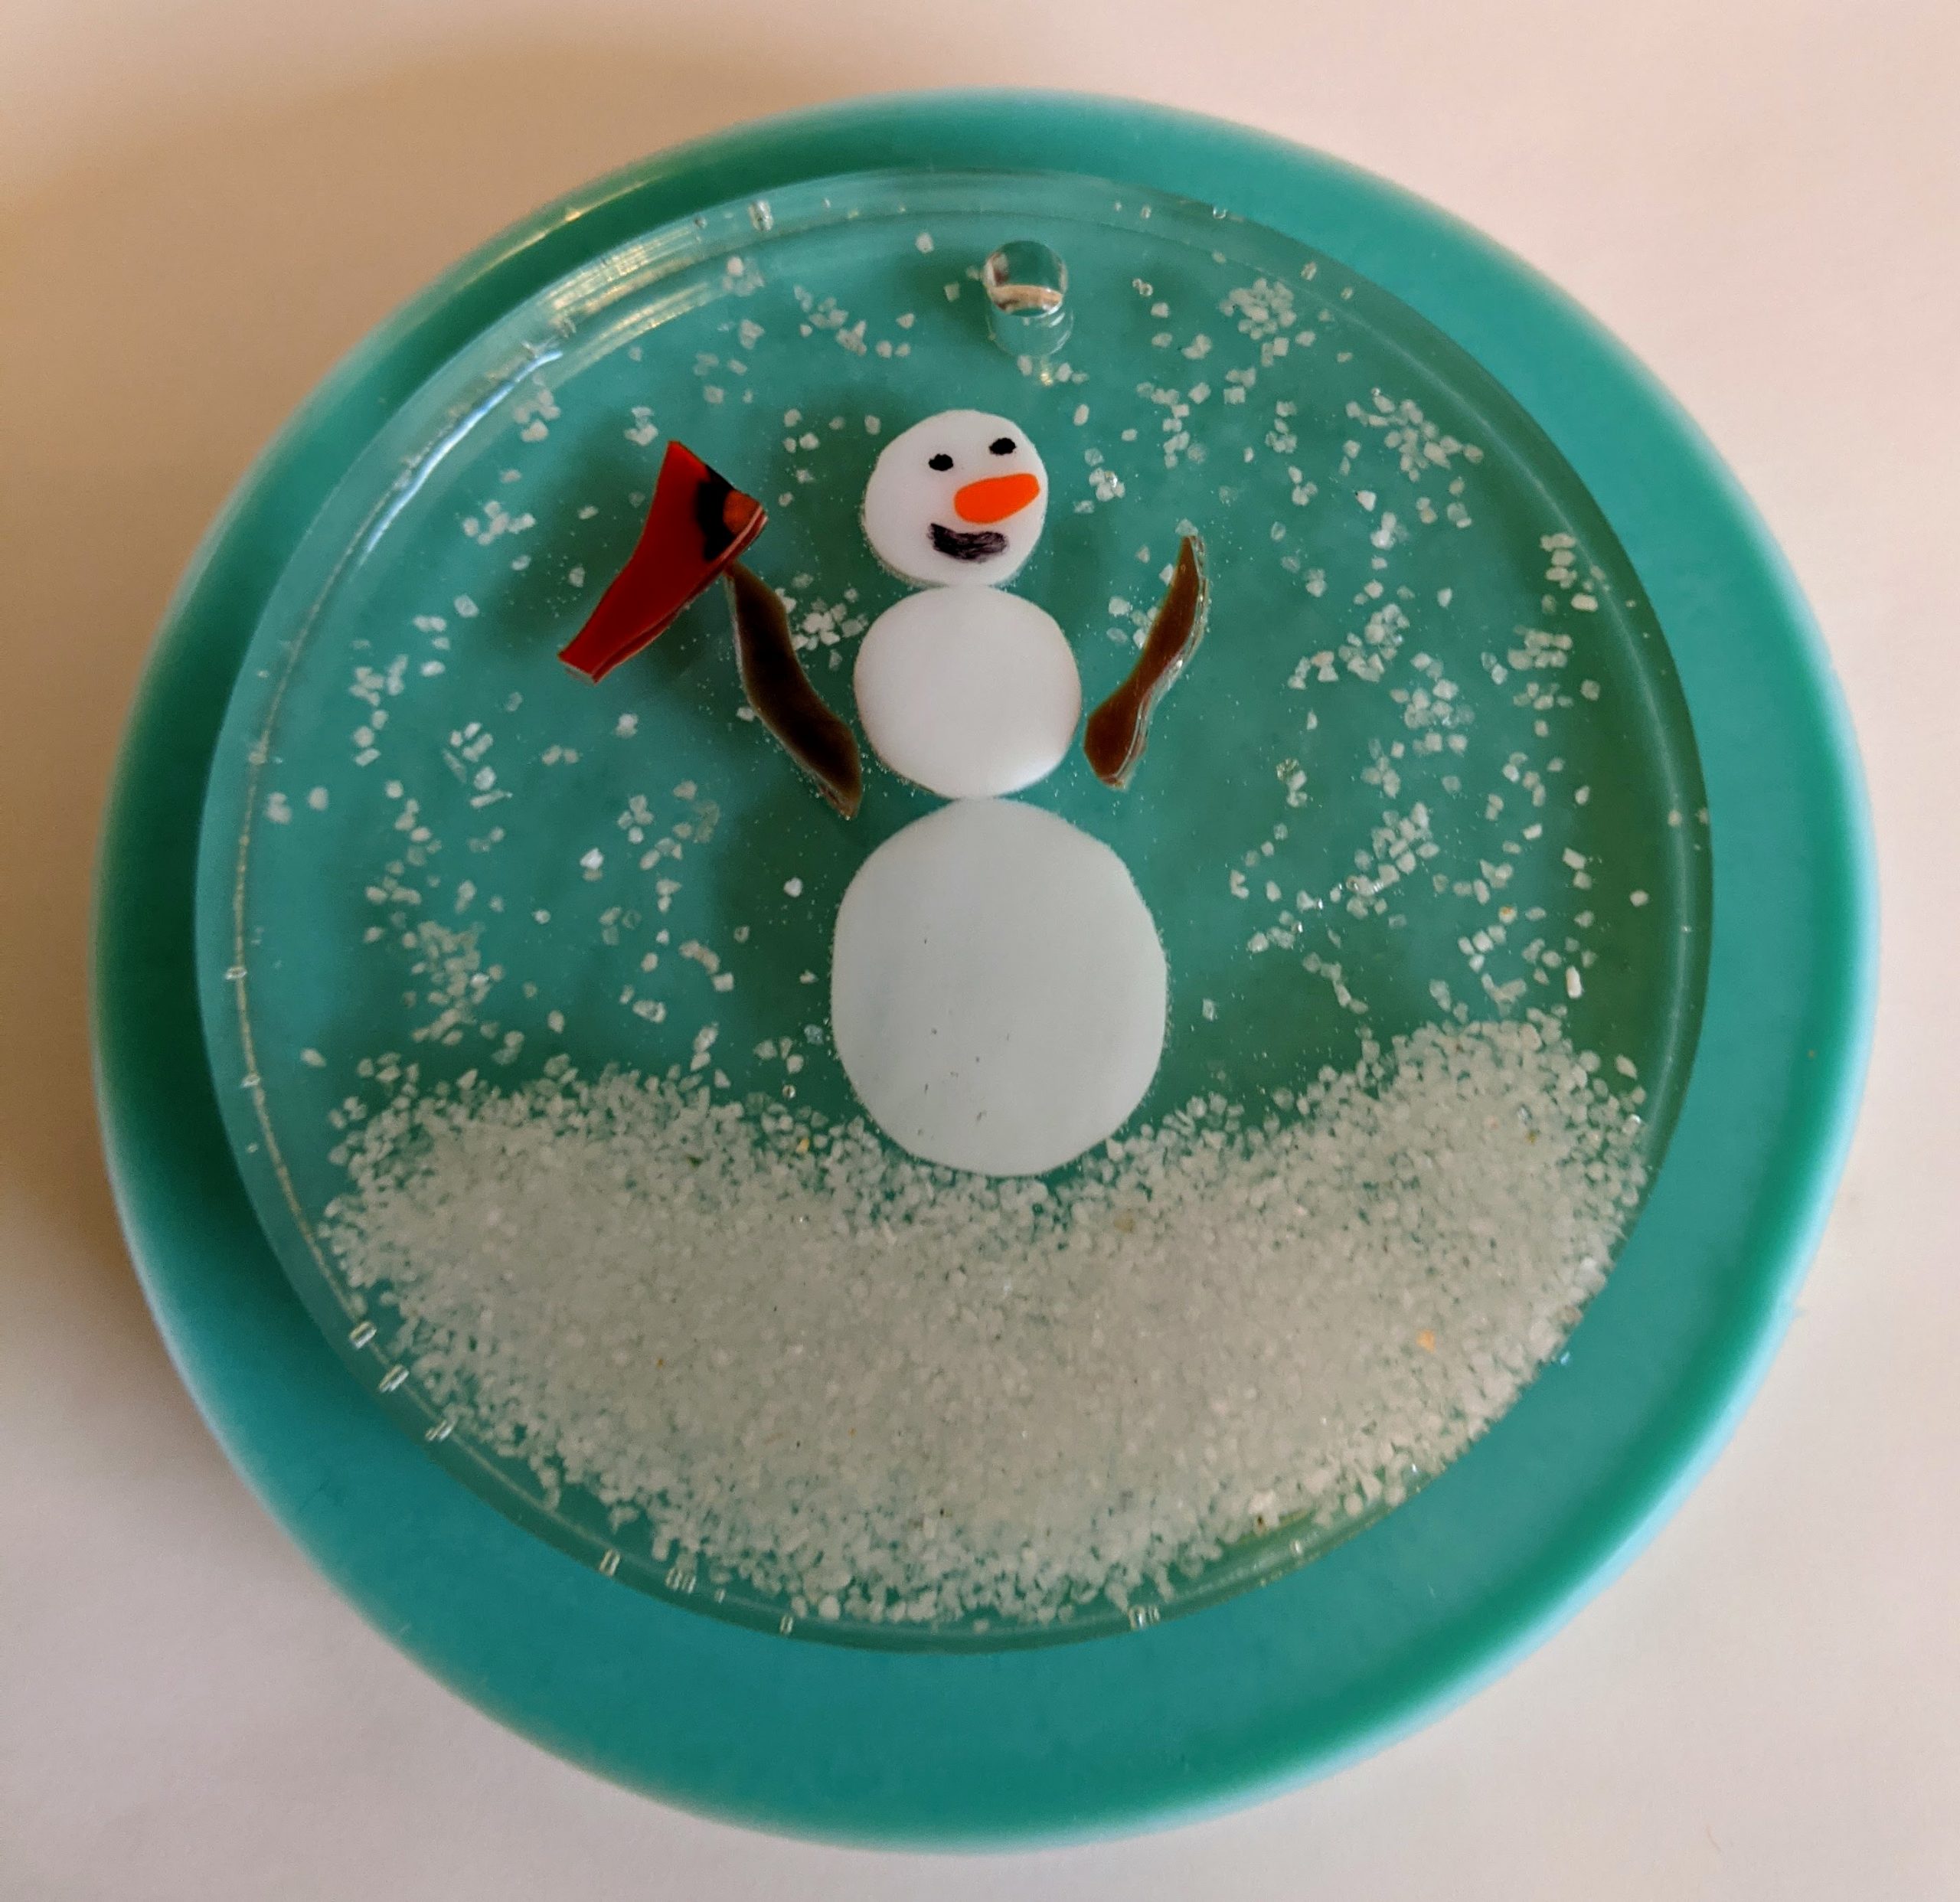
Snowmen (medium) 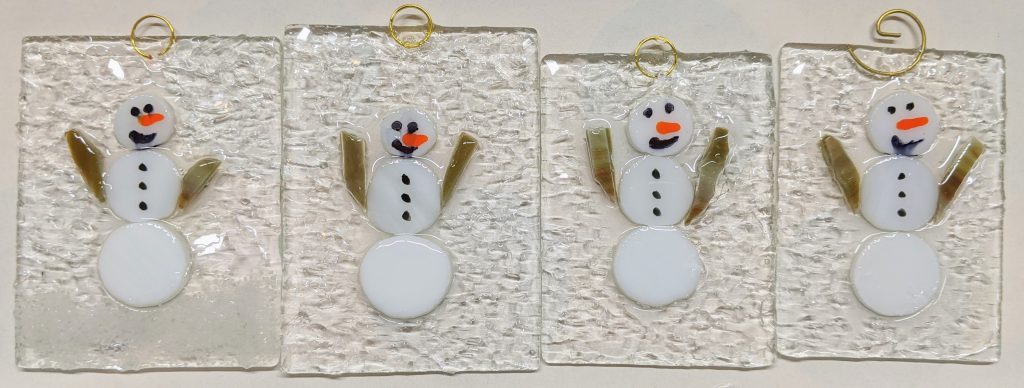
Snowmen (small) 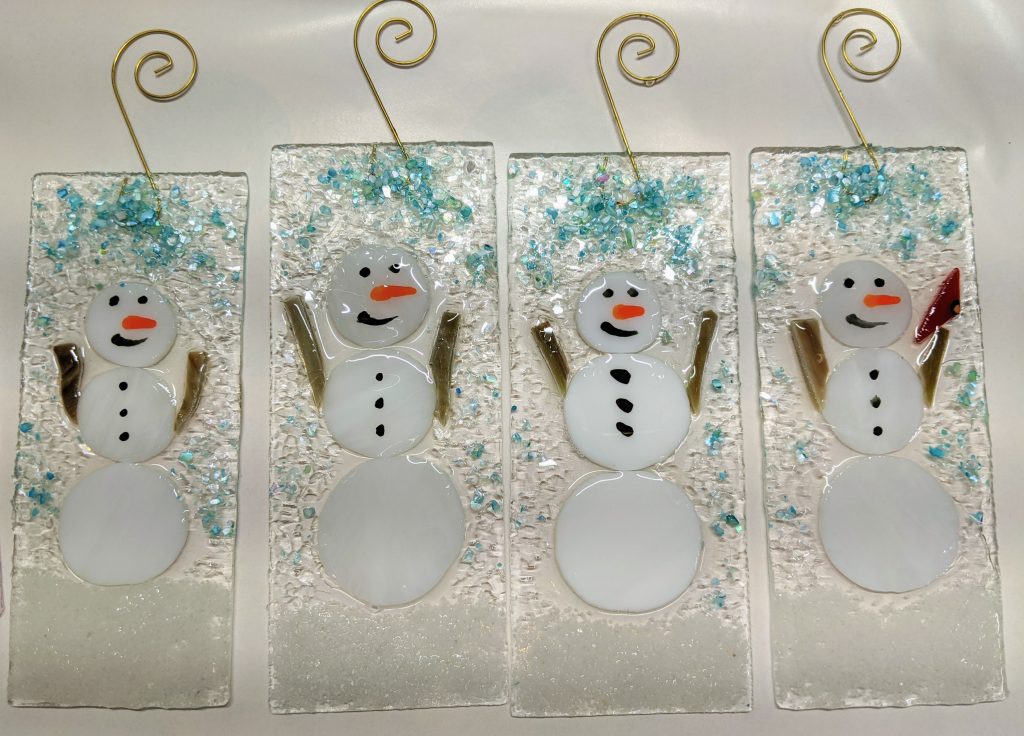
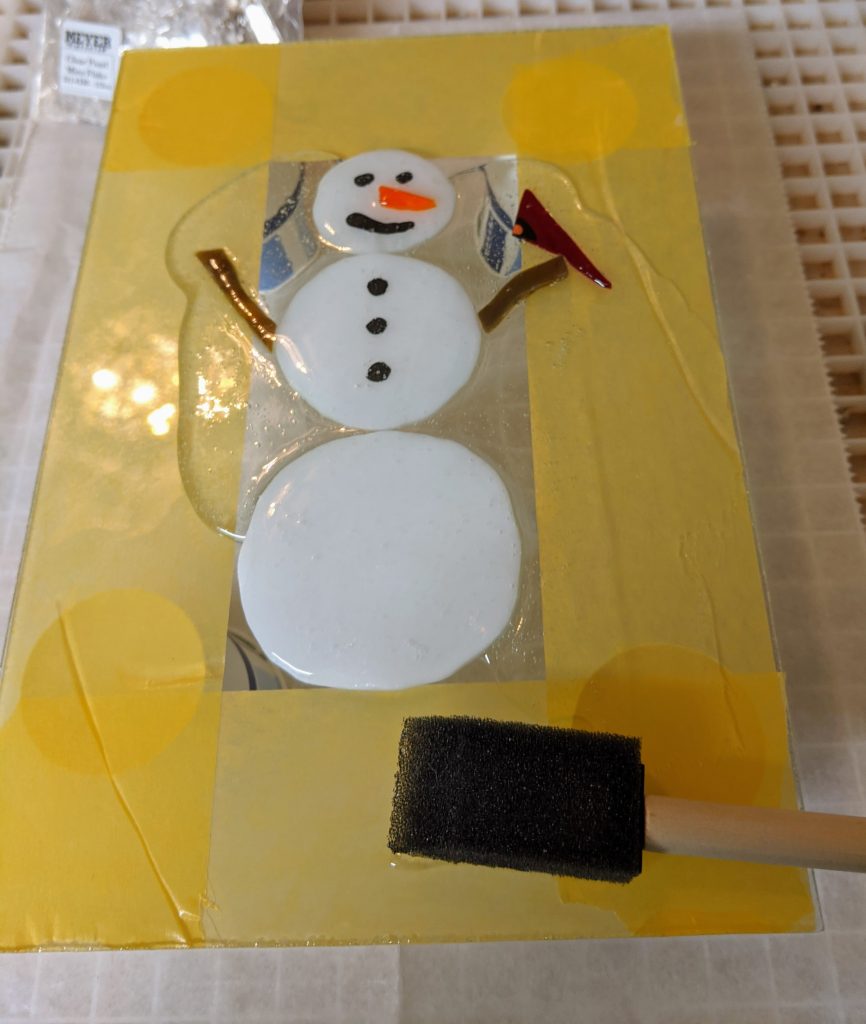
Snowmen (large)
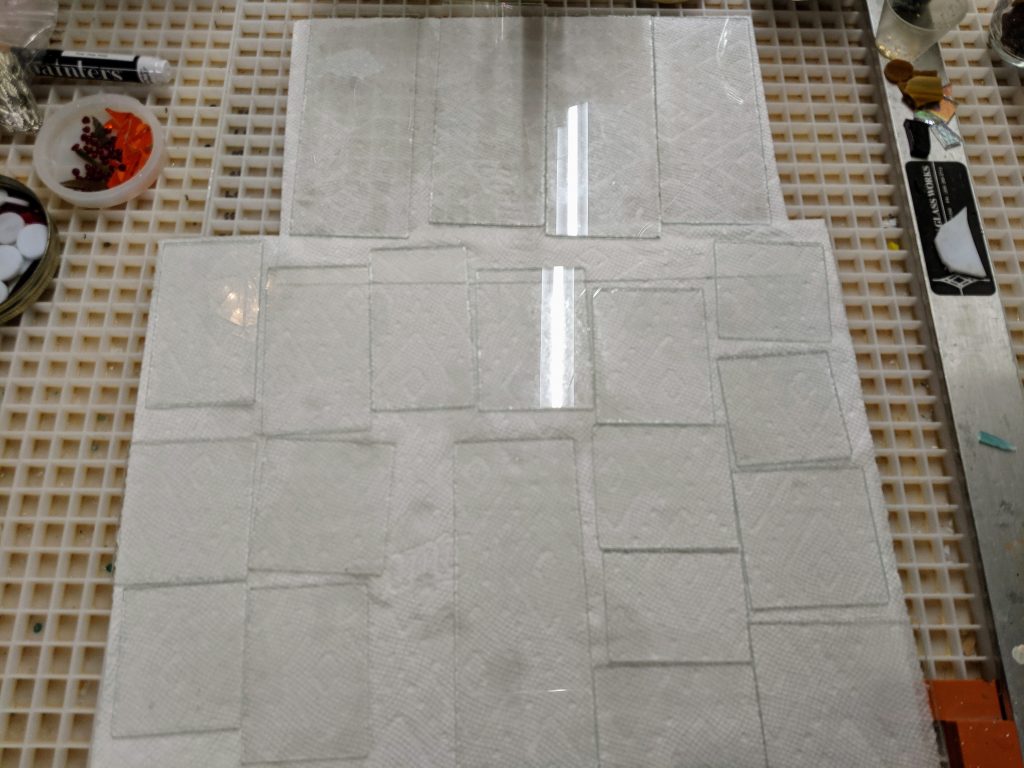
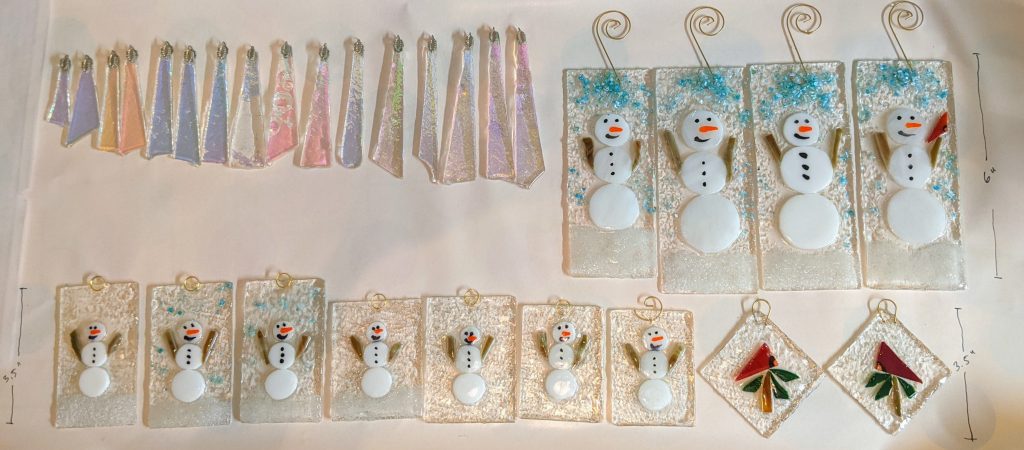
The large snowmen are around 6″ (not including hanger), the medium snowmen are around 3.5″ and the smaller ones are around 3″. The dichro-cicles range from around 4.5″-2″. I have some additional backer glass ready for more ornaments, but I haven’t made many “parts” for the scenes, so I decided to make a stockpile of cardinals to use.
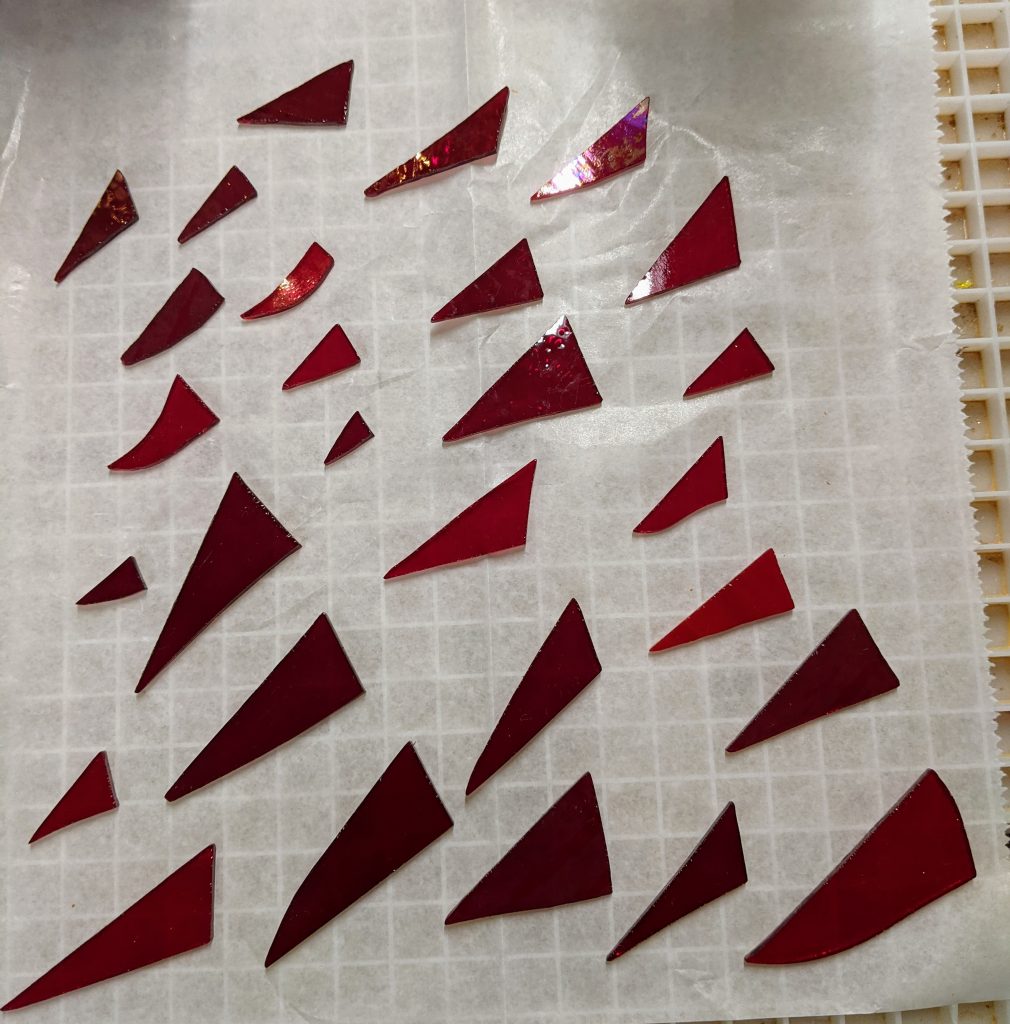
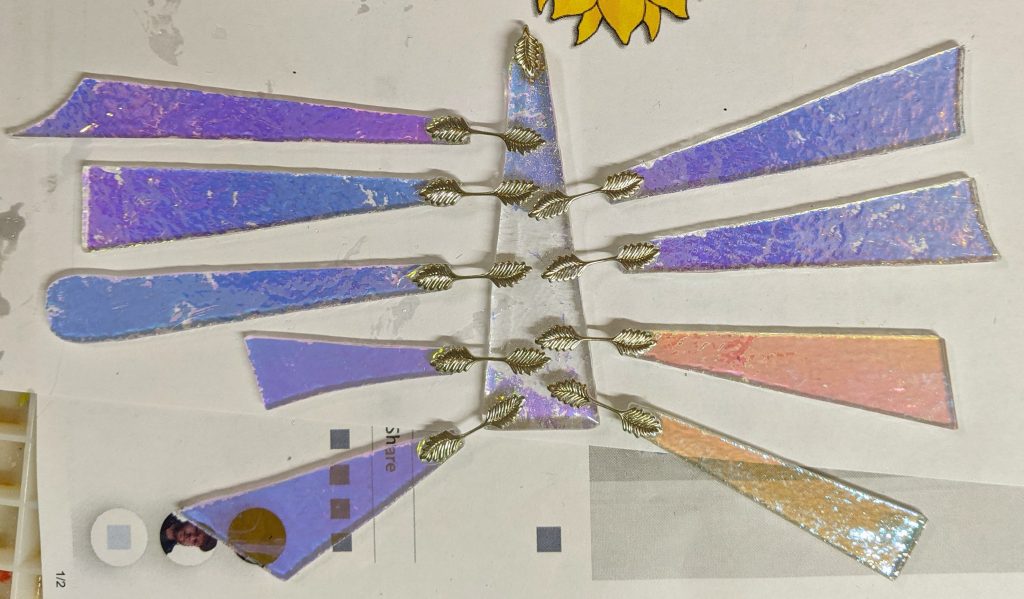
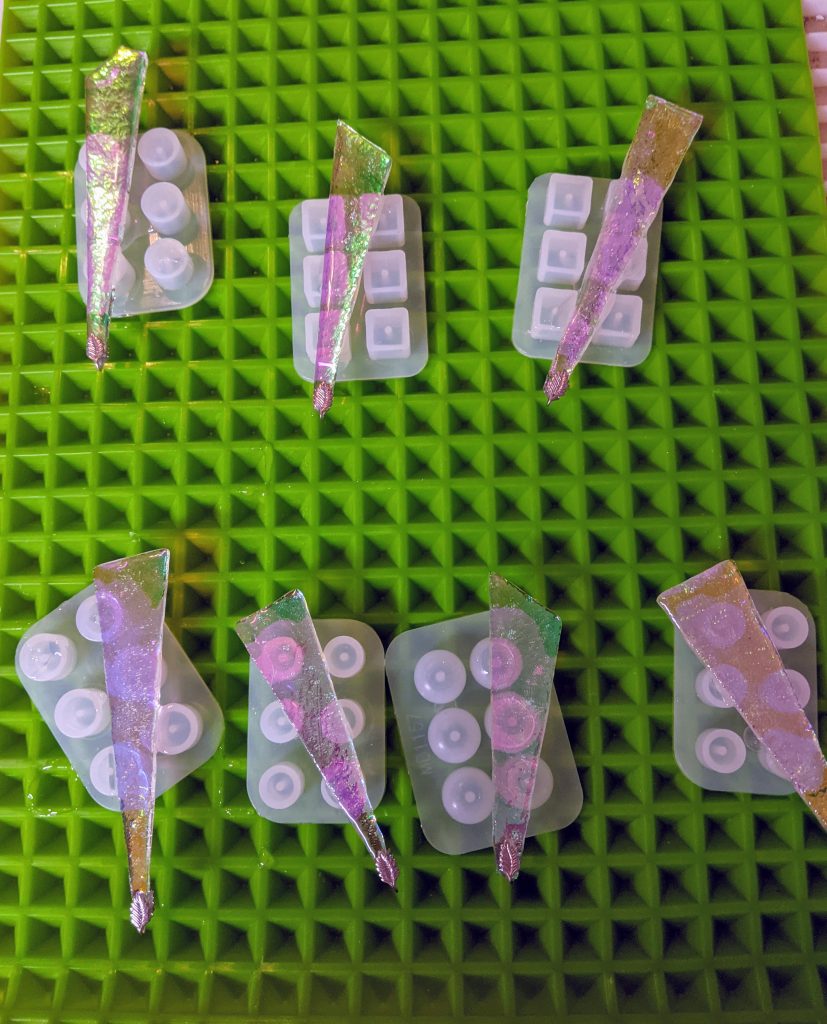
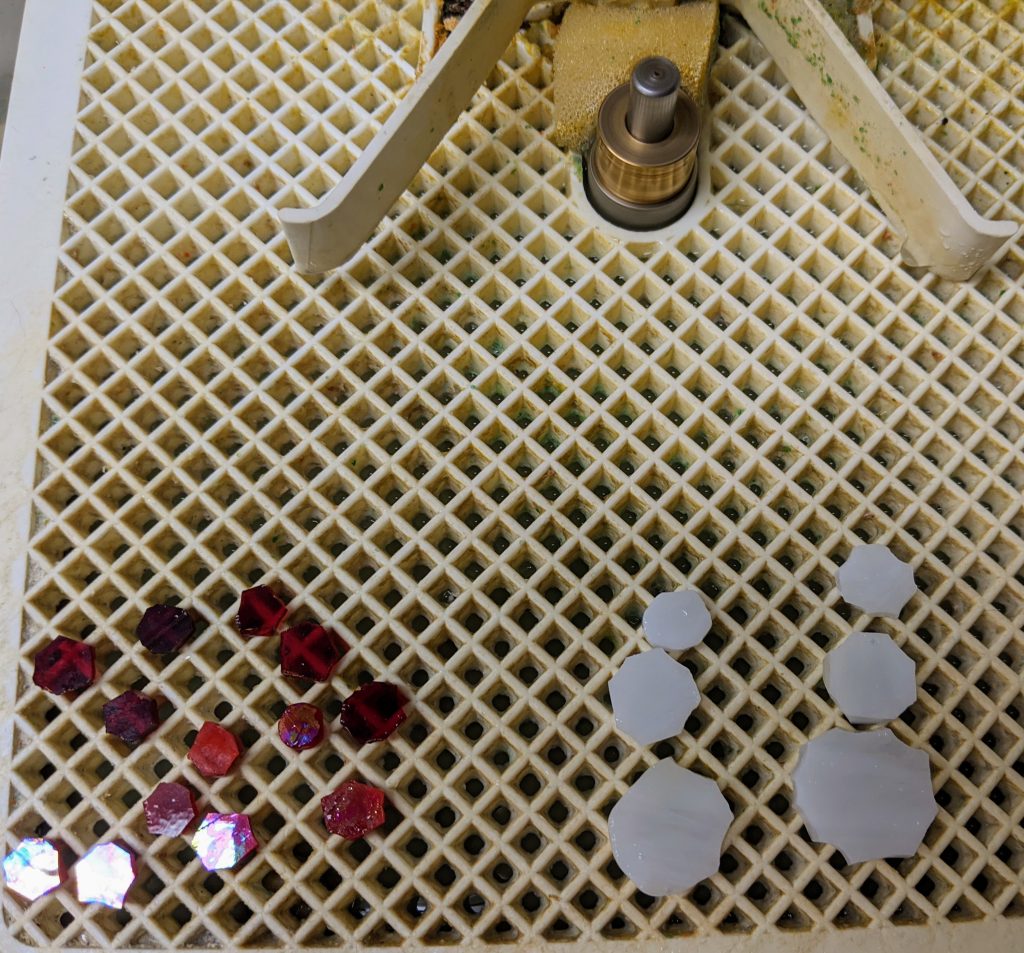
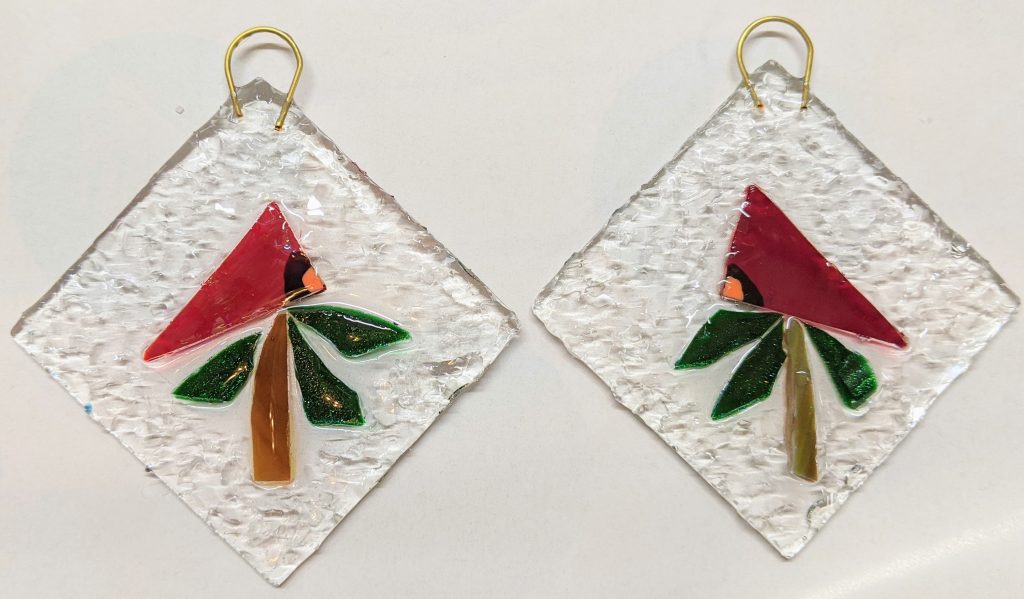
Flock of Triangles 
Painting black patches 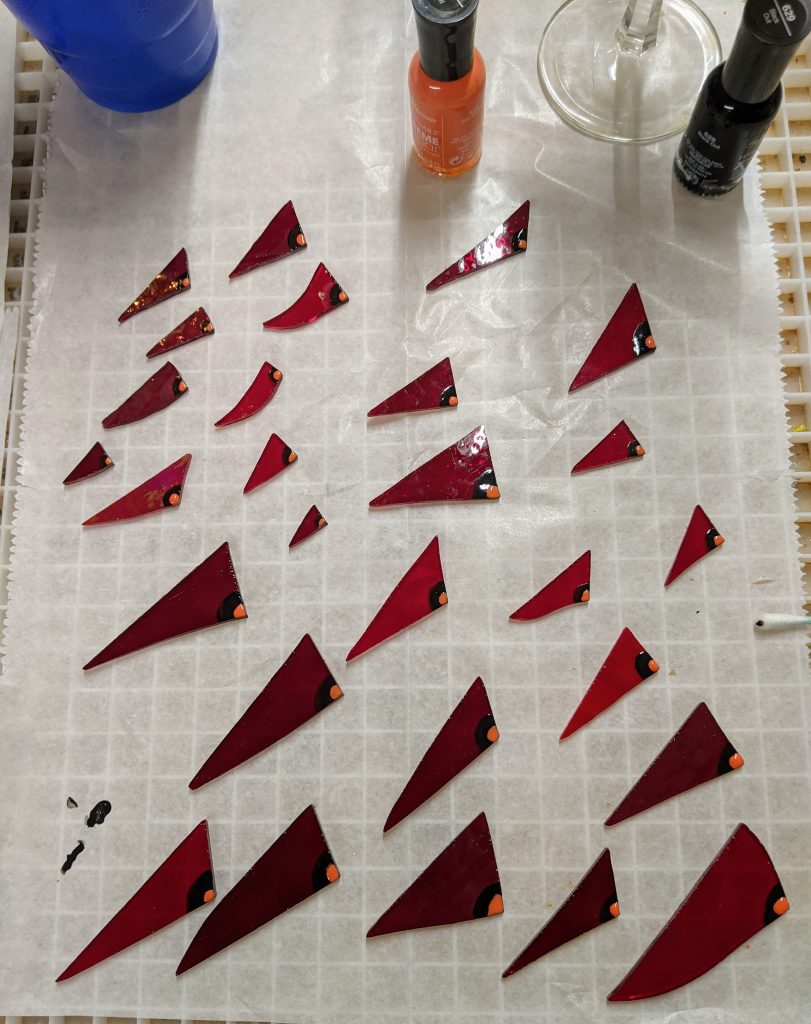
Painting beaks
First I cut out the triangles, then grind the edges to smooth & shape them. Then I dry them off and paint the black patch on each bird’s face. Once that dries, I paint the orange beak on top. After that layer dries, I can flip them over and start again with the black and orange layers. I like the simplicity of these little red birds.