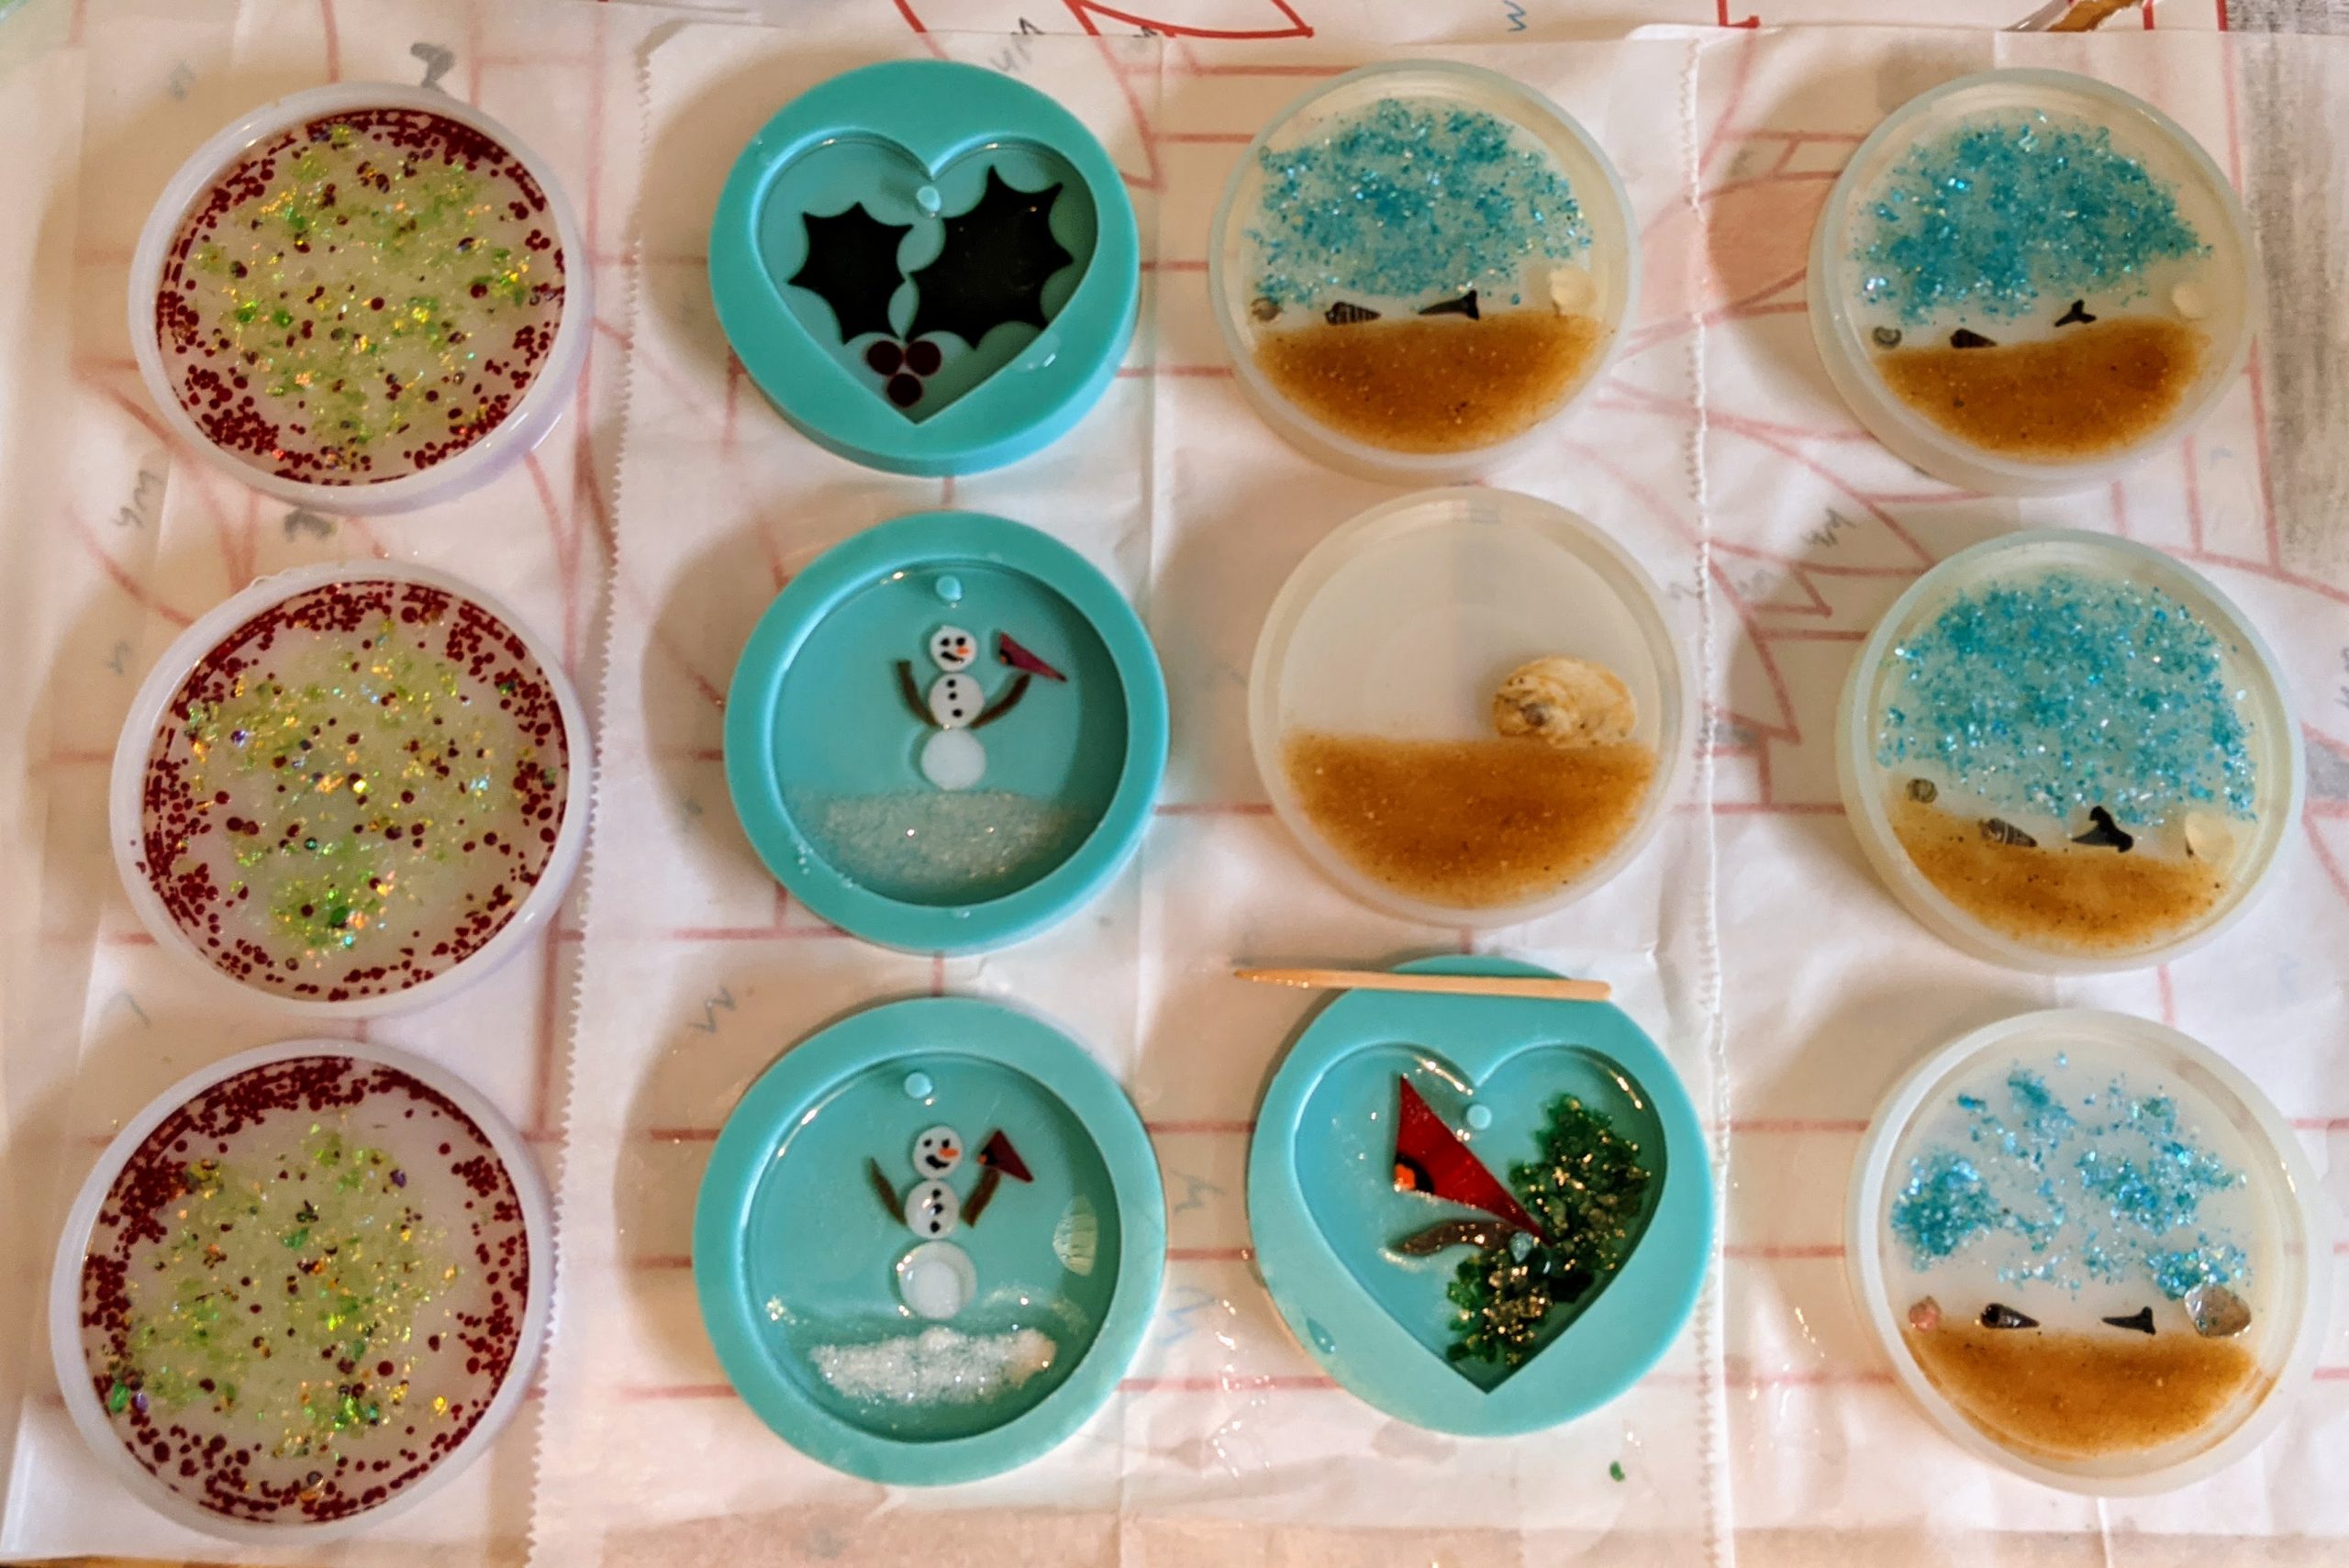
I’m on roll with the holiday ornaments. I only have four molds, though, so I can only make four every other day, and that’s if I actually don’t skip any days, which I do. So it’s not a high output production, but it is a labor of love. 🙂
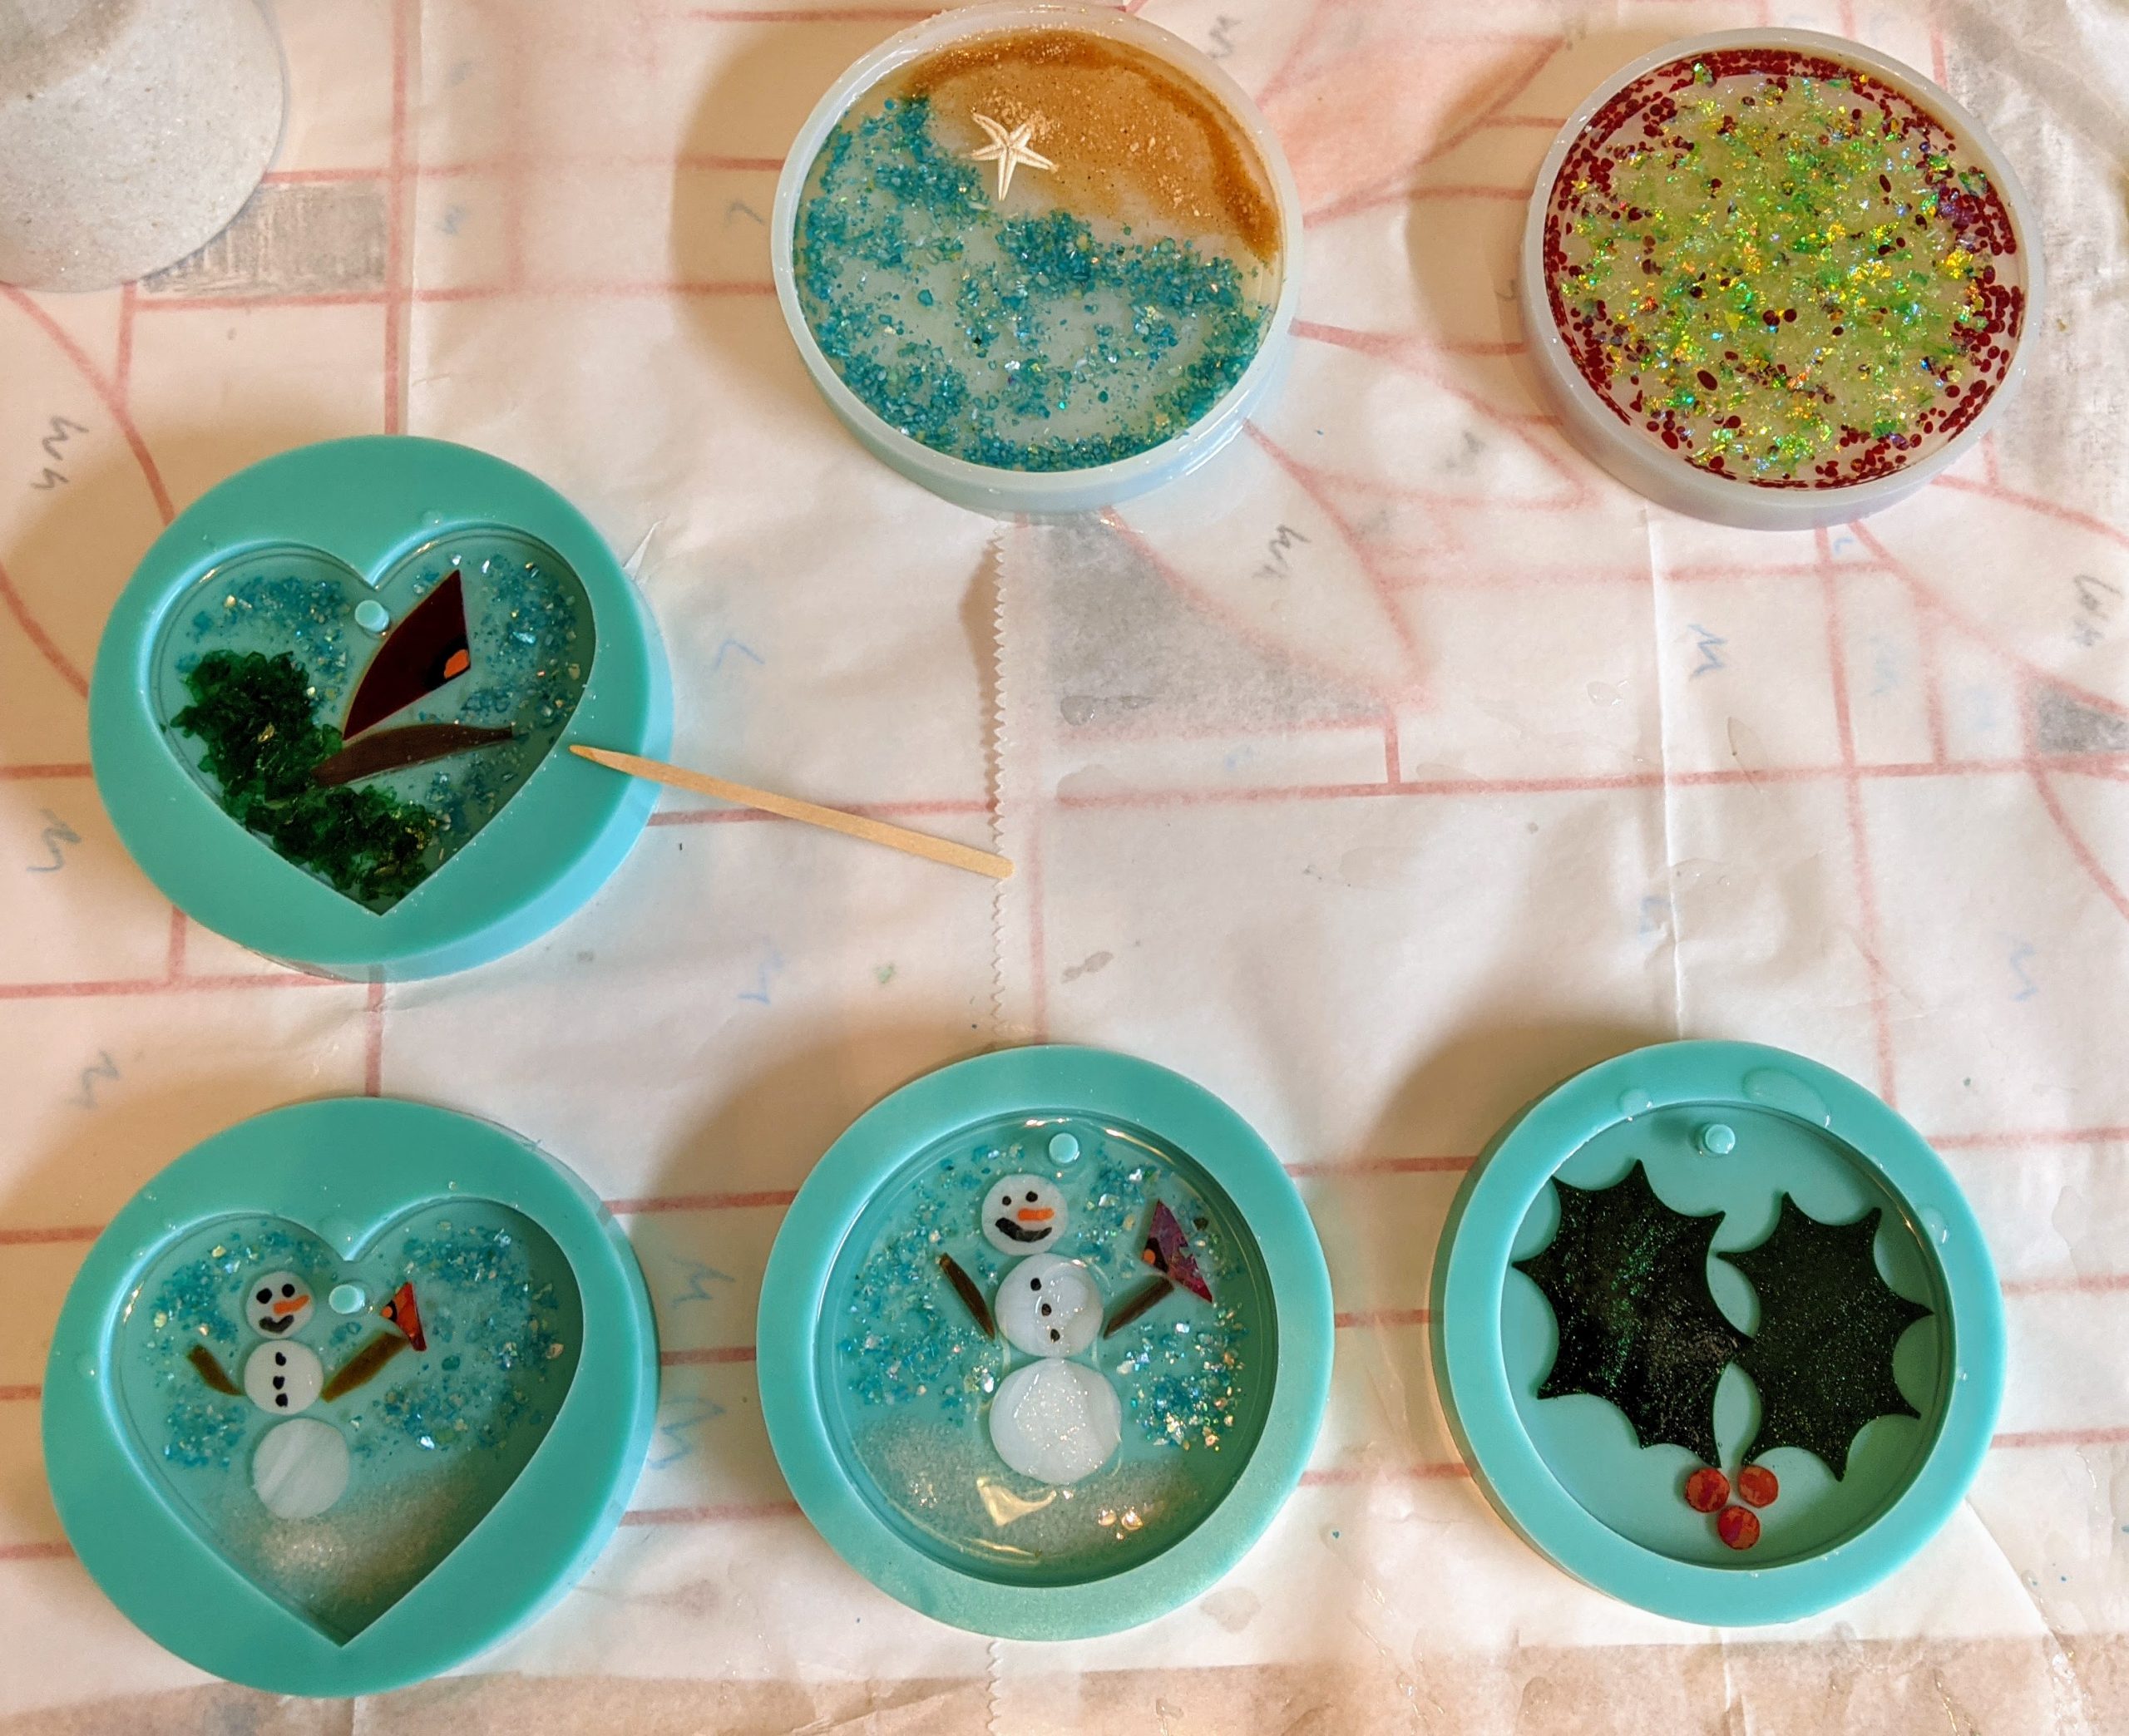
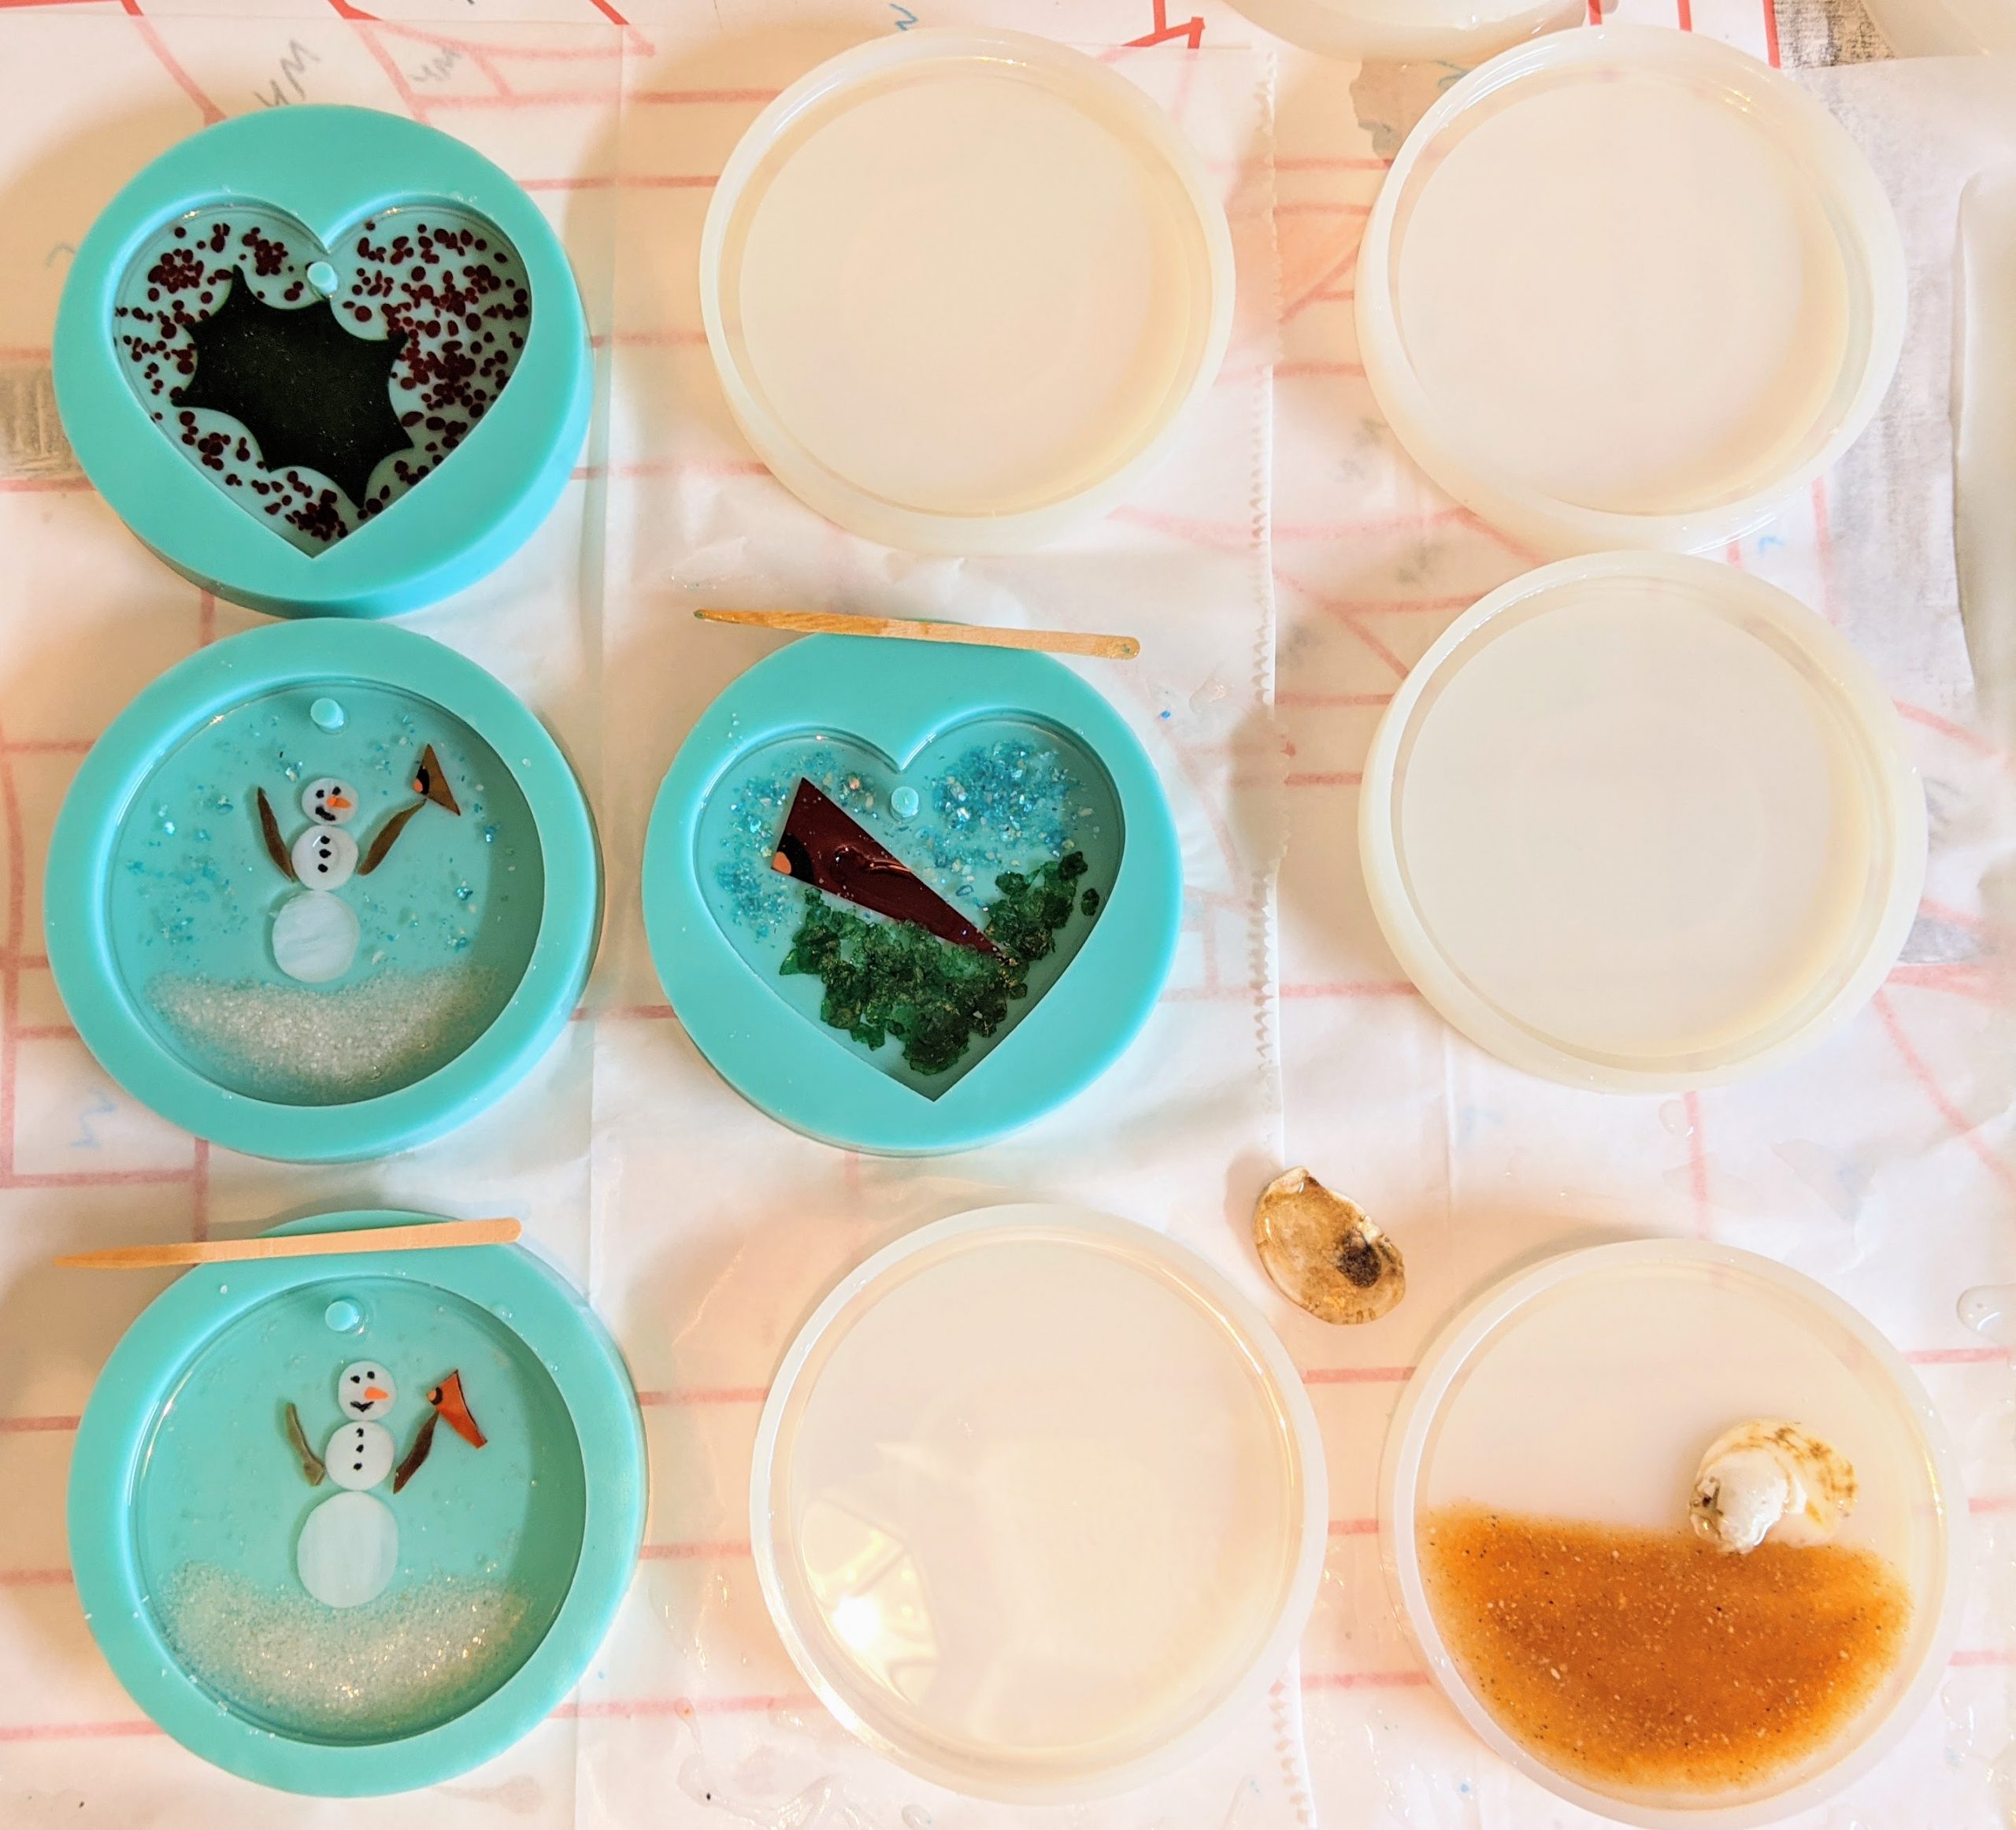
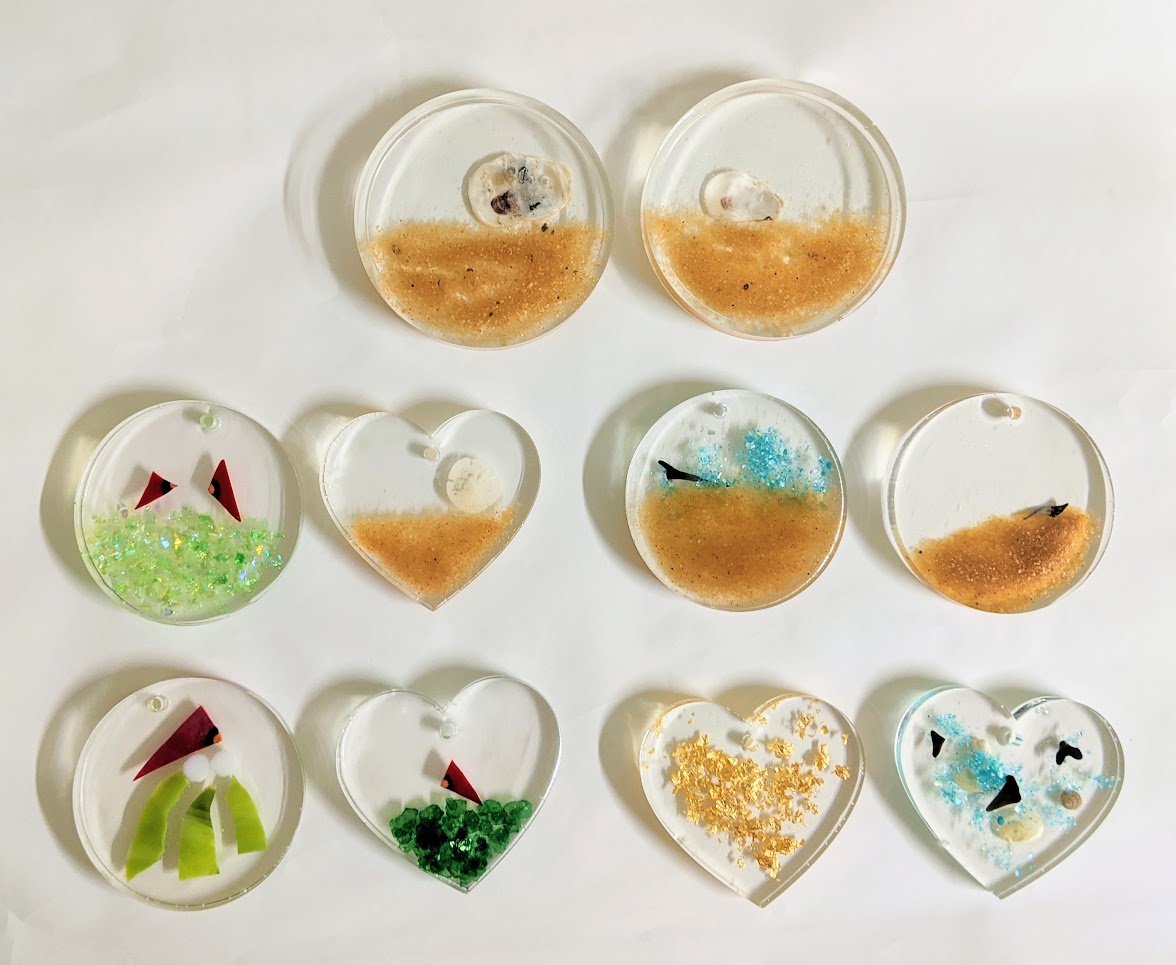
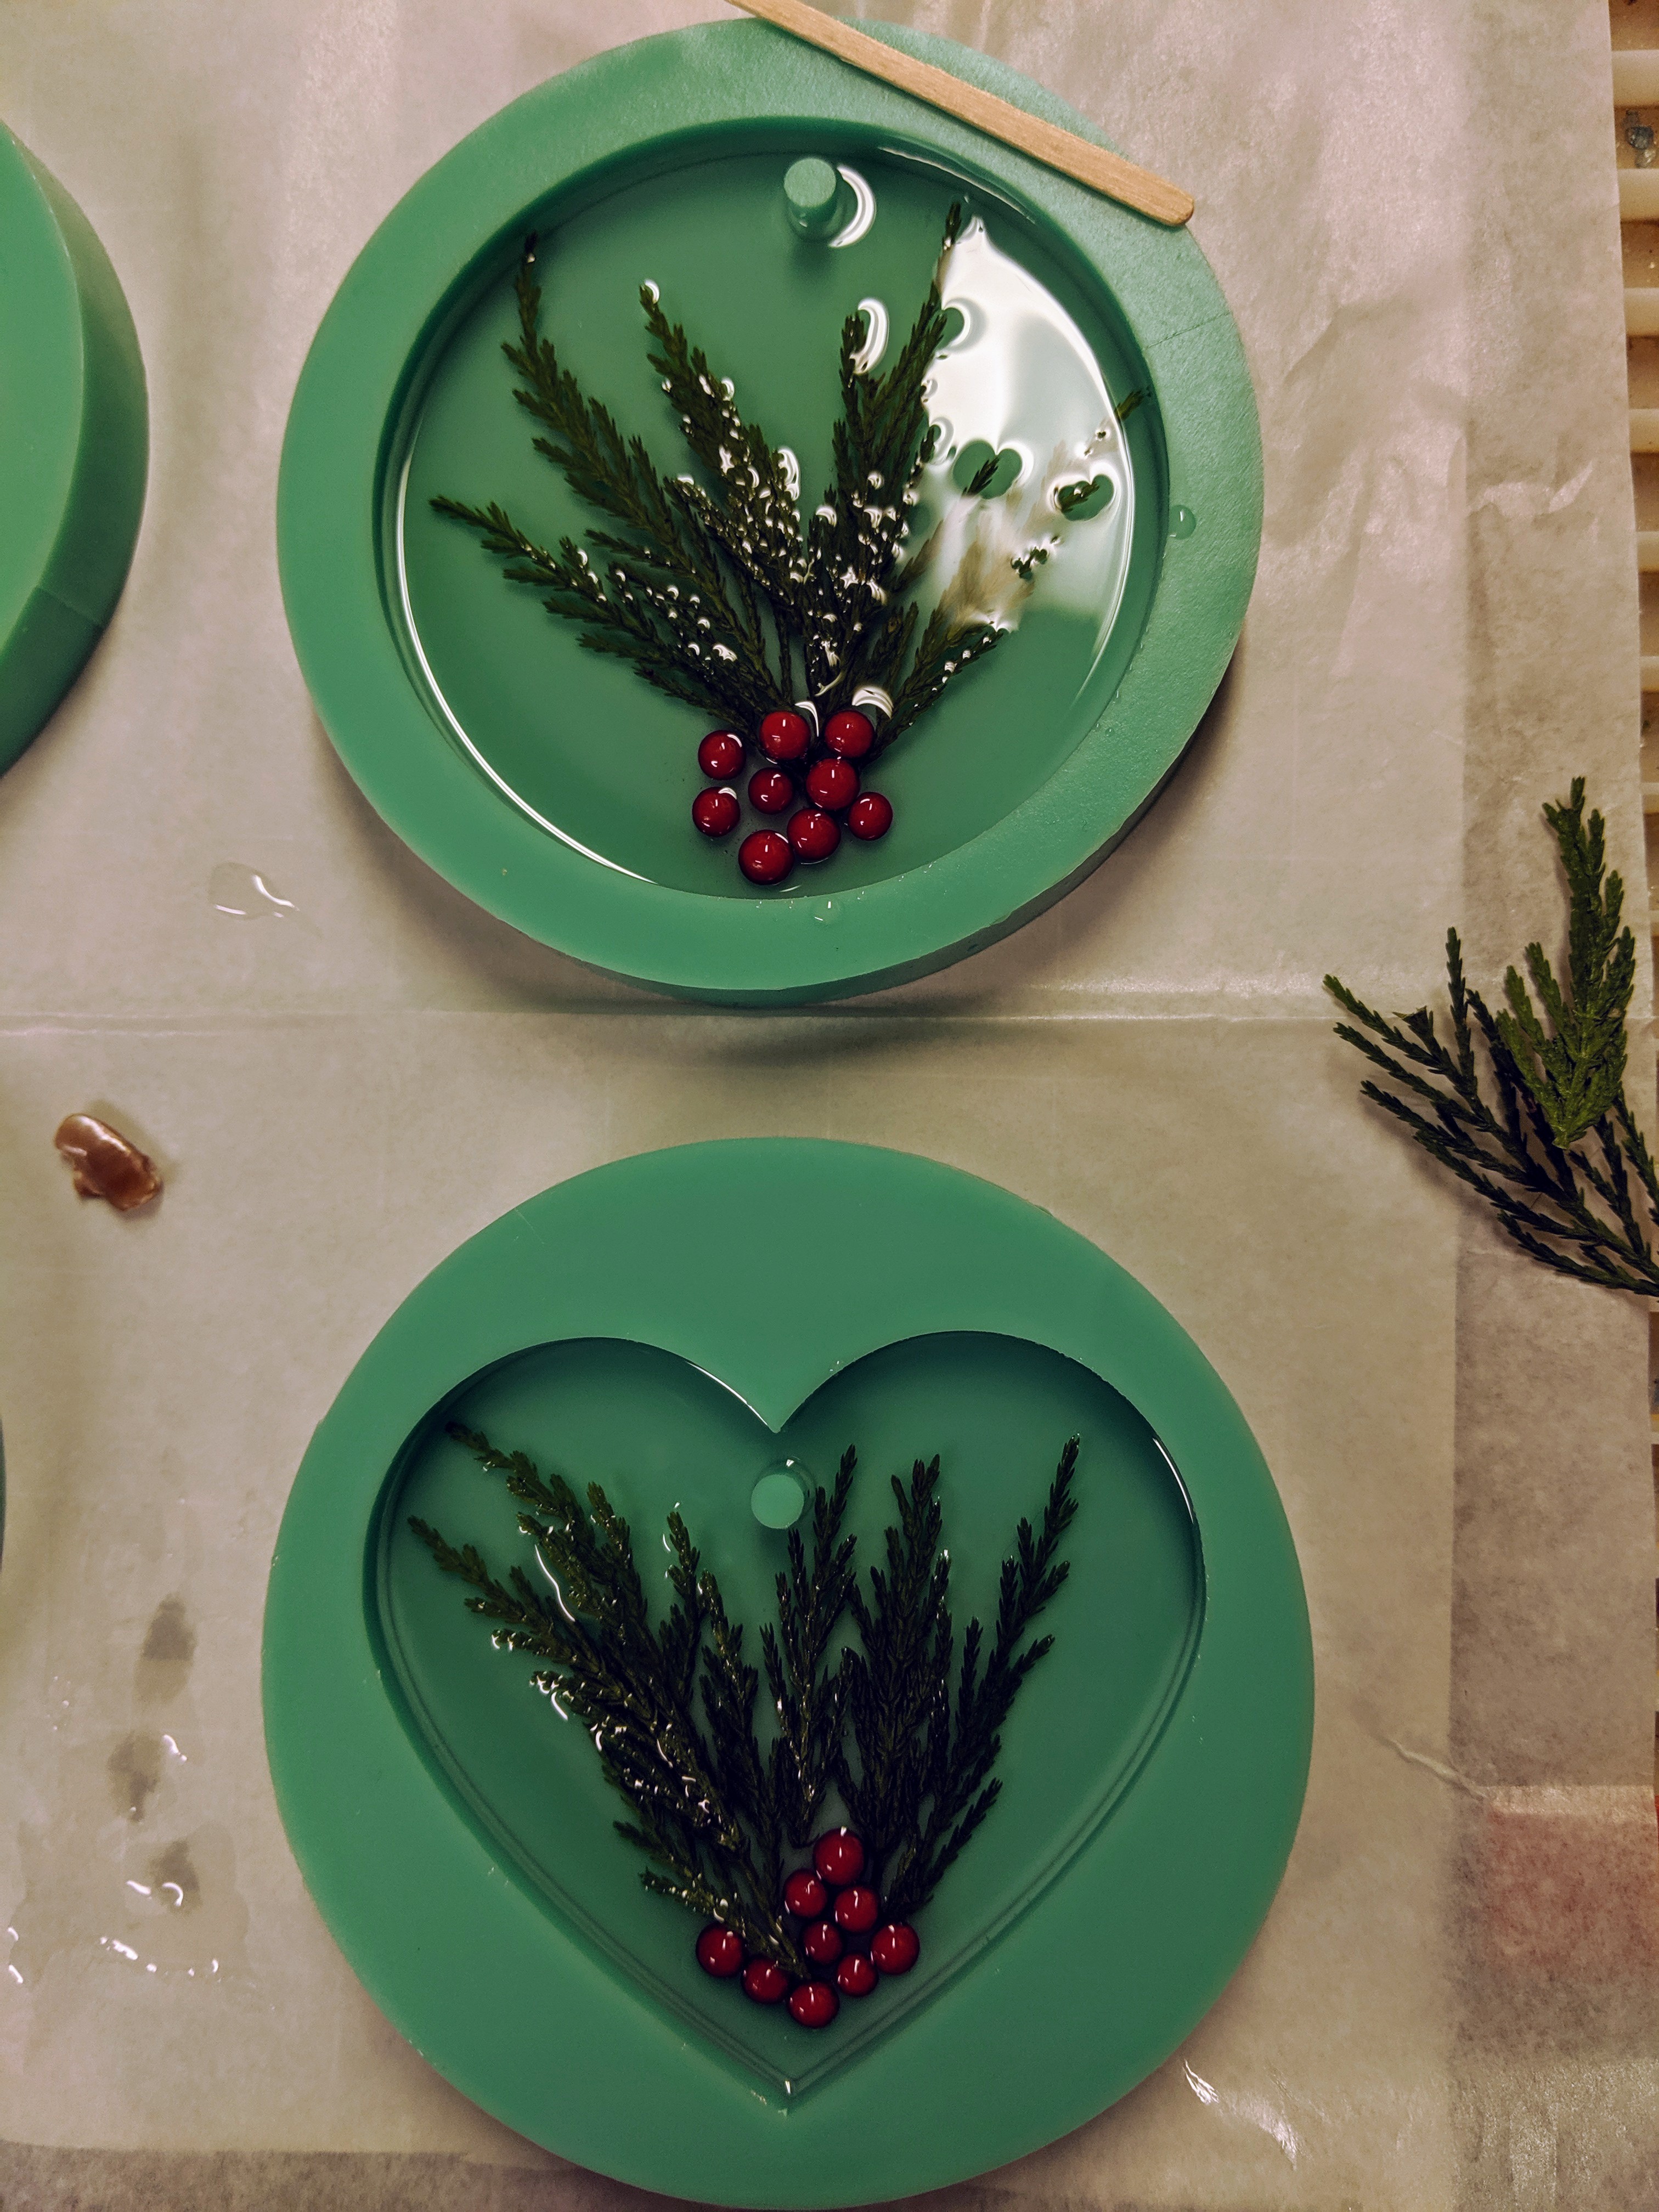
I poured the second layer on the fourth “Holiday Confetti” coaster and the first layer on the other five pieces. In addition, I poured the resin and decorated a small (though big compared to the other items) Snowman panel.
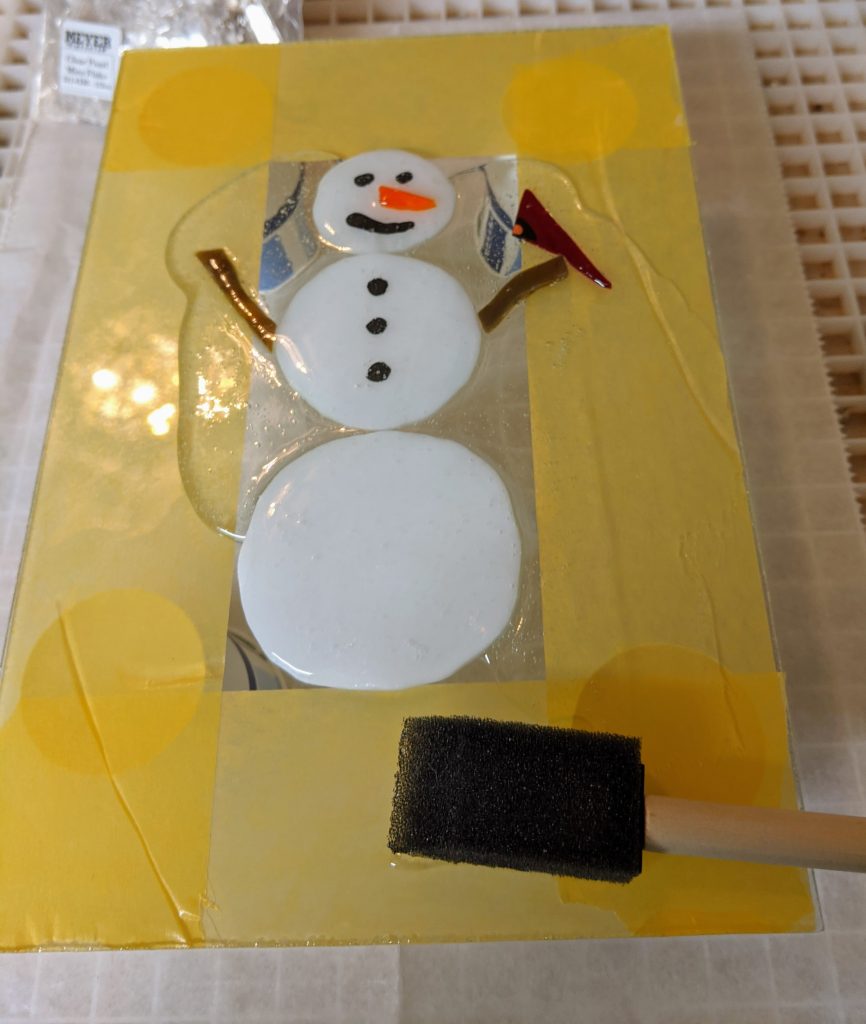
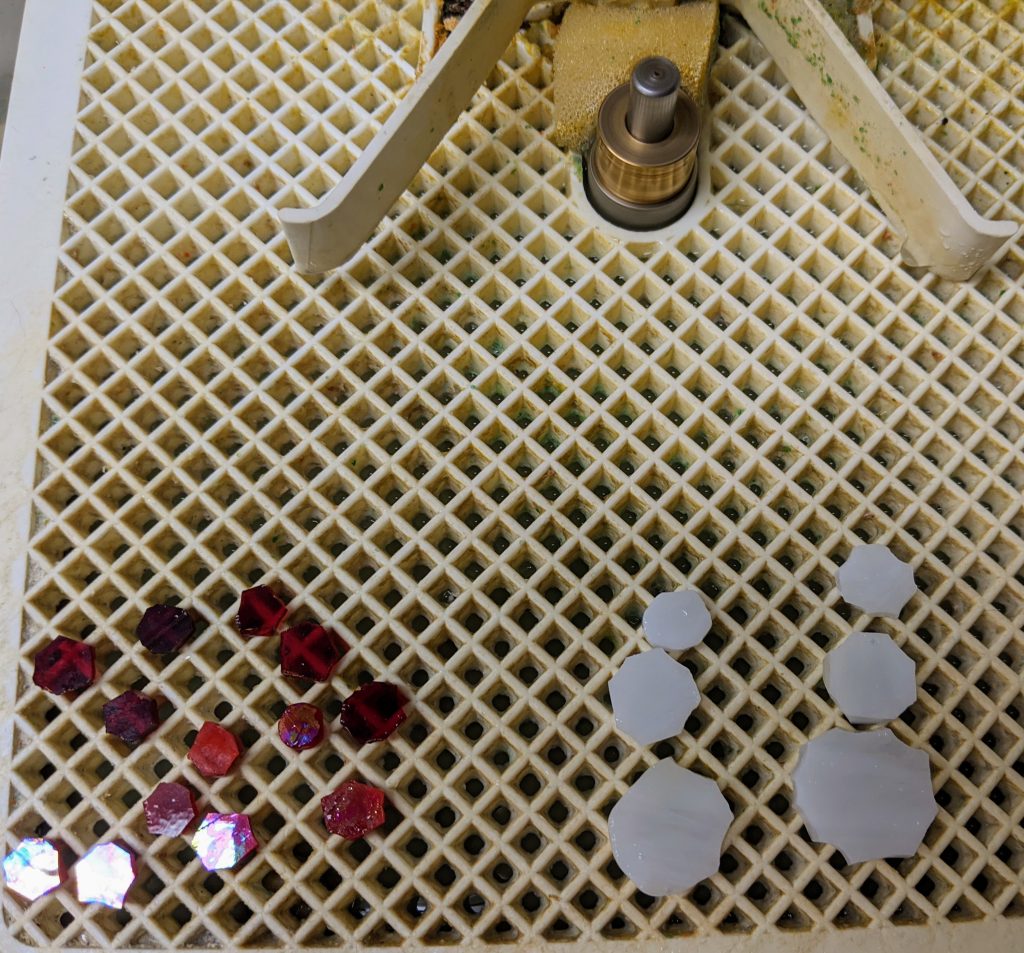
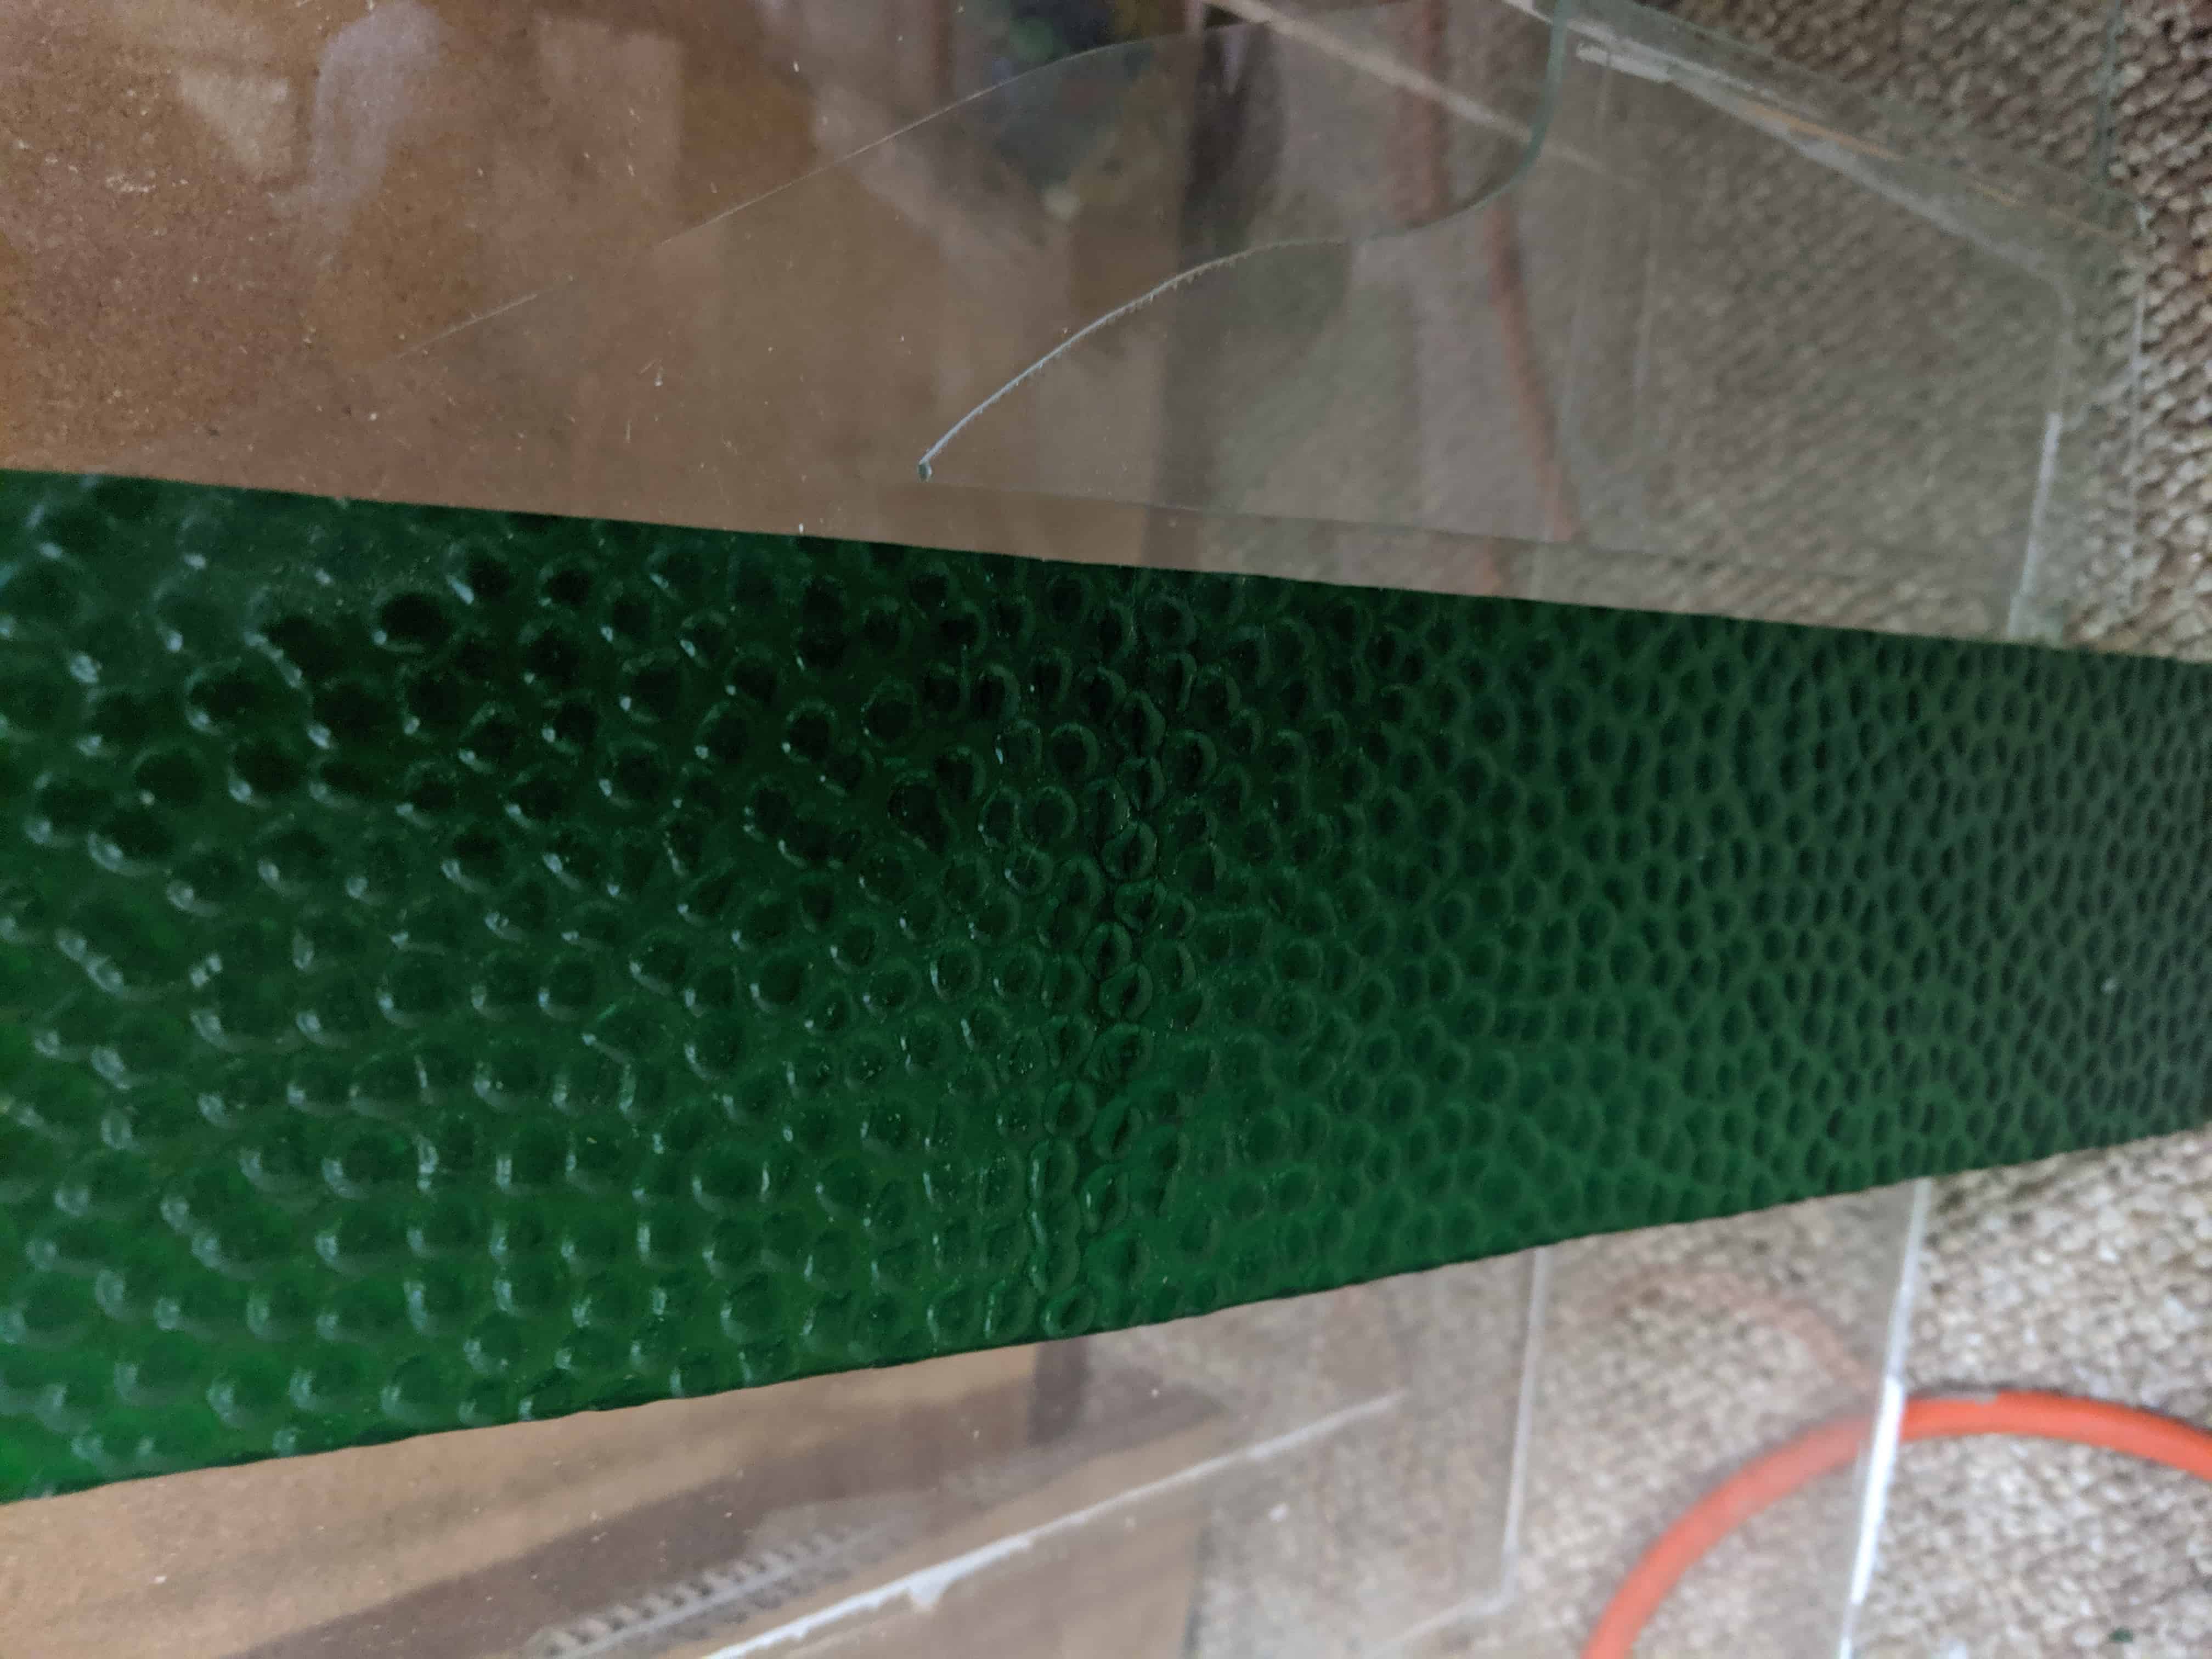
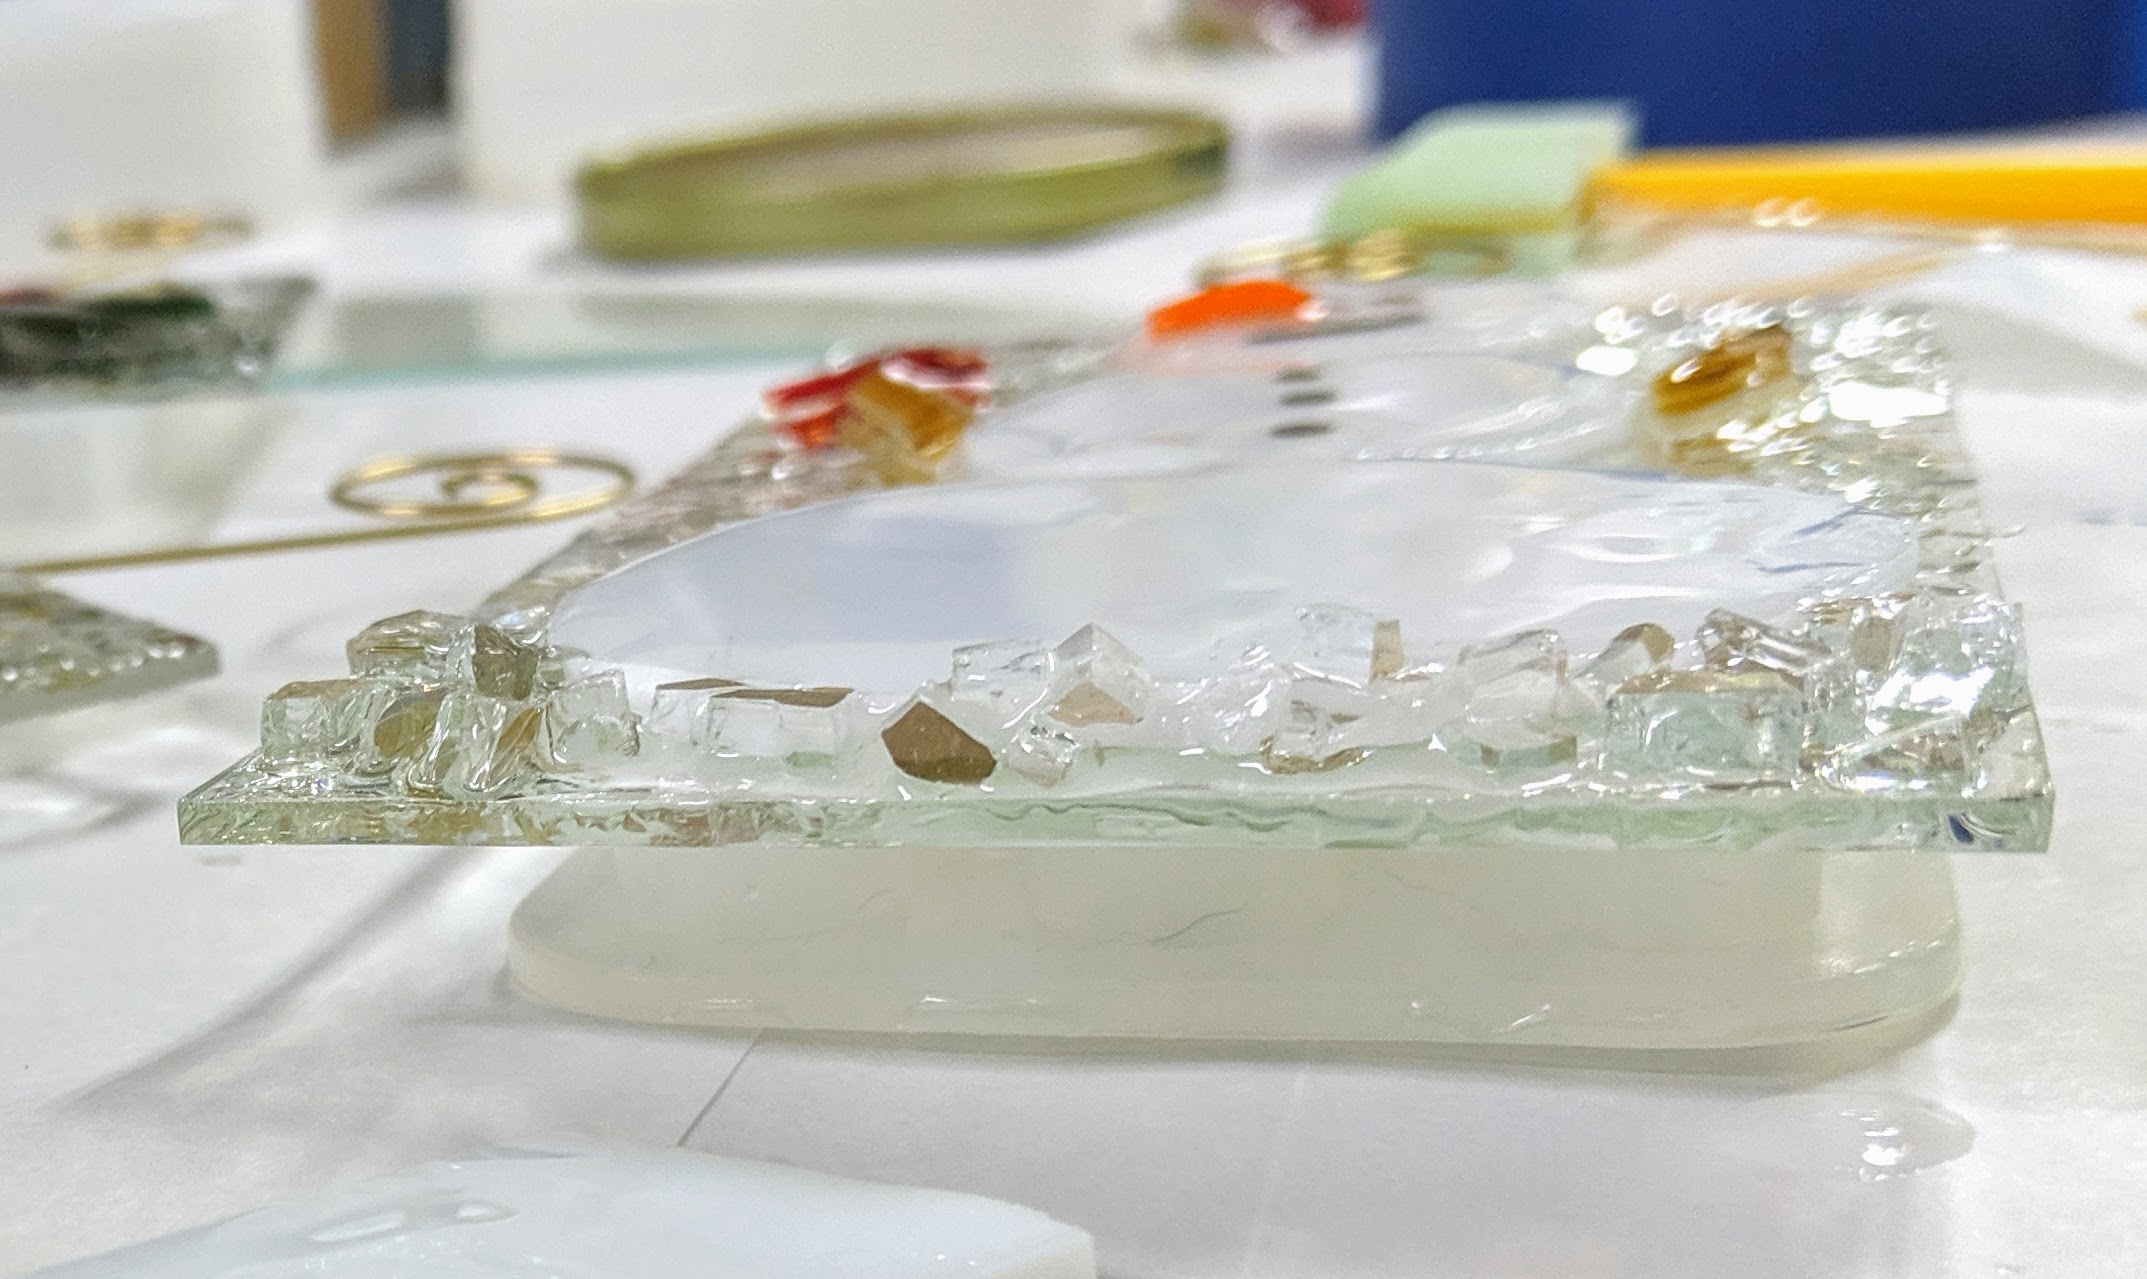
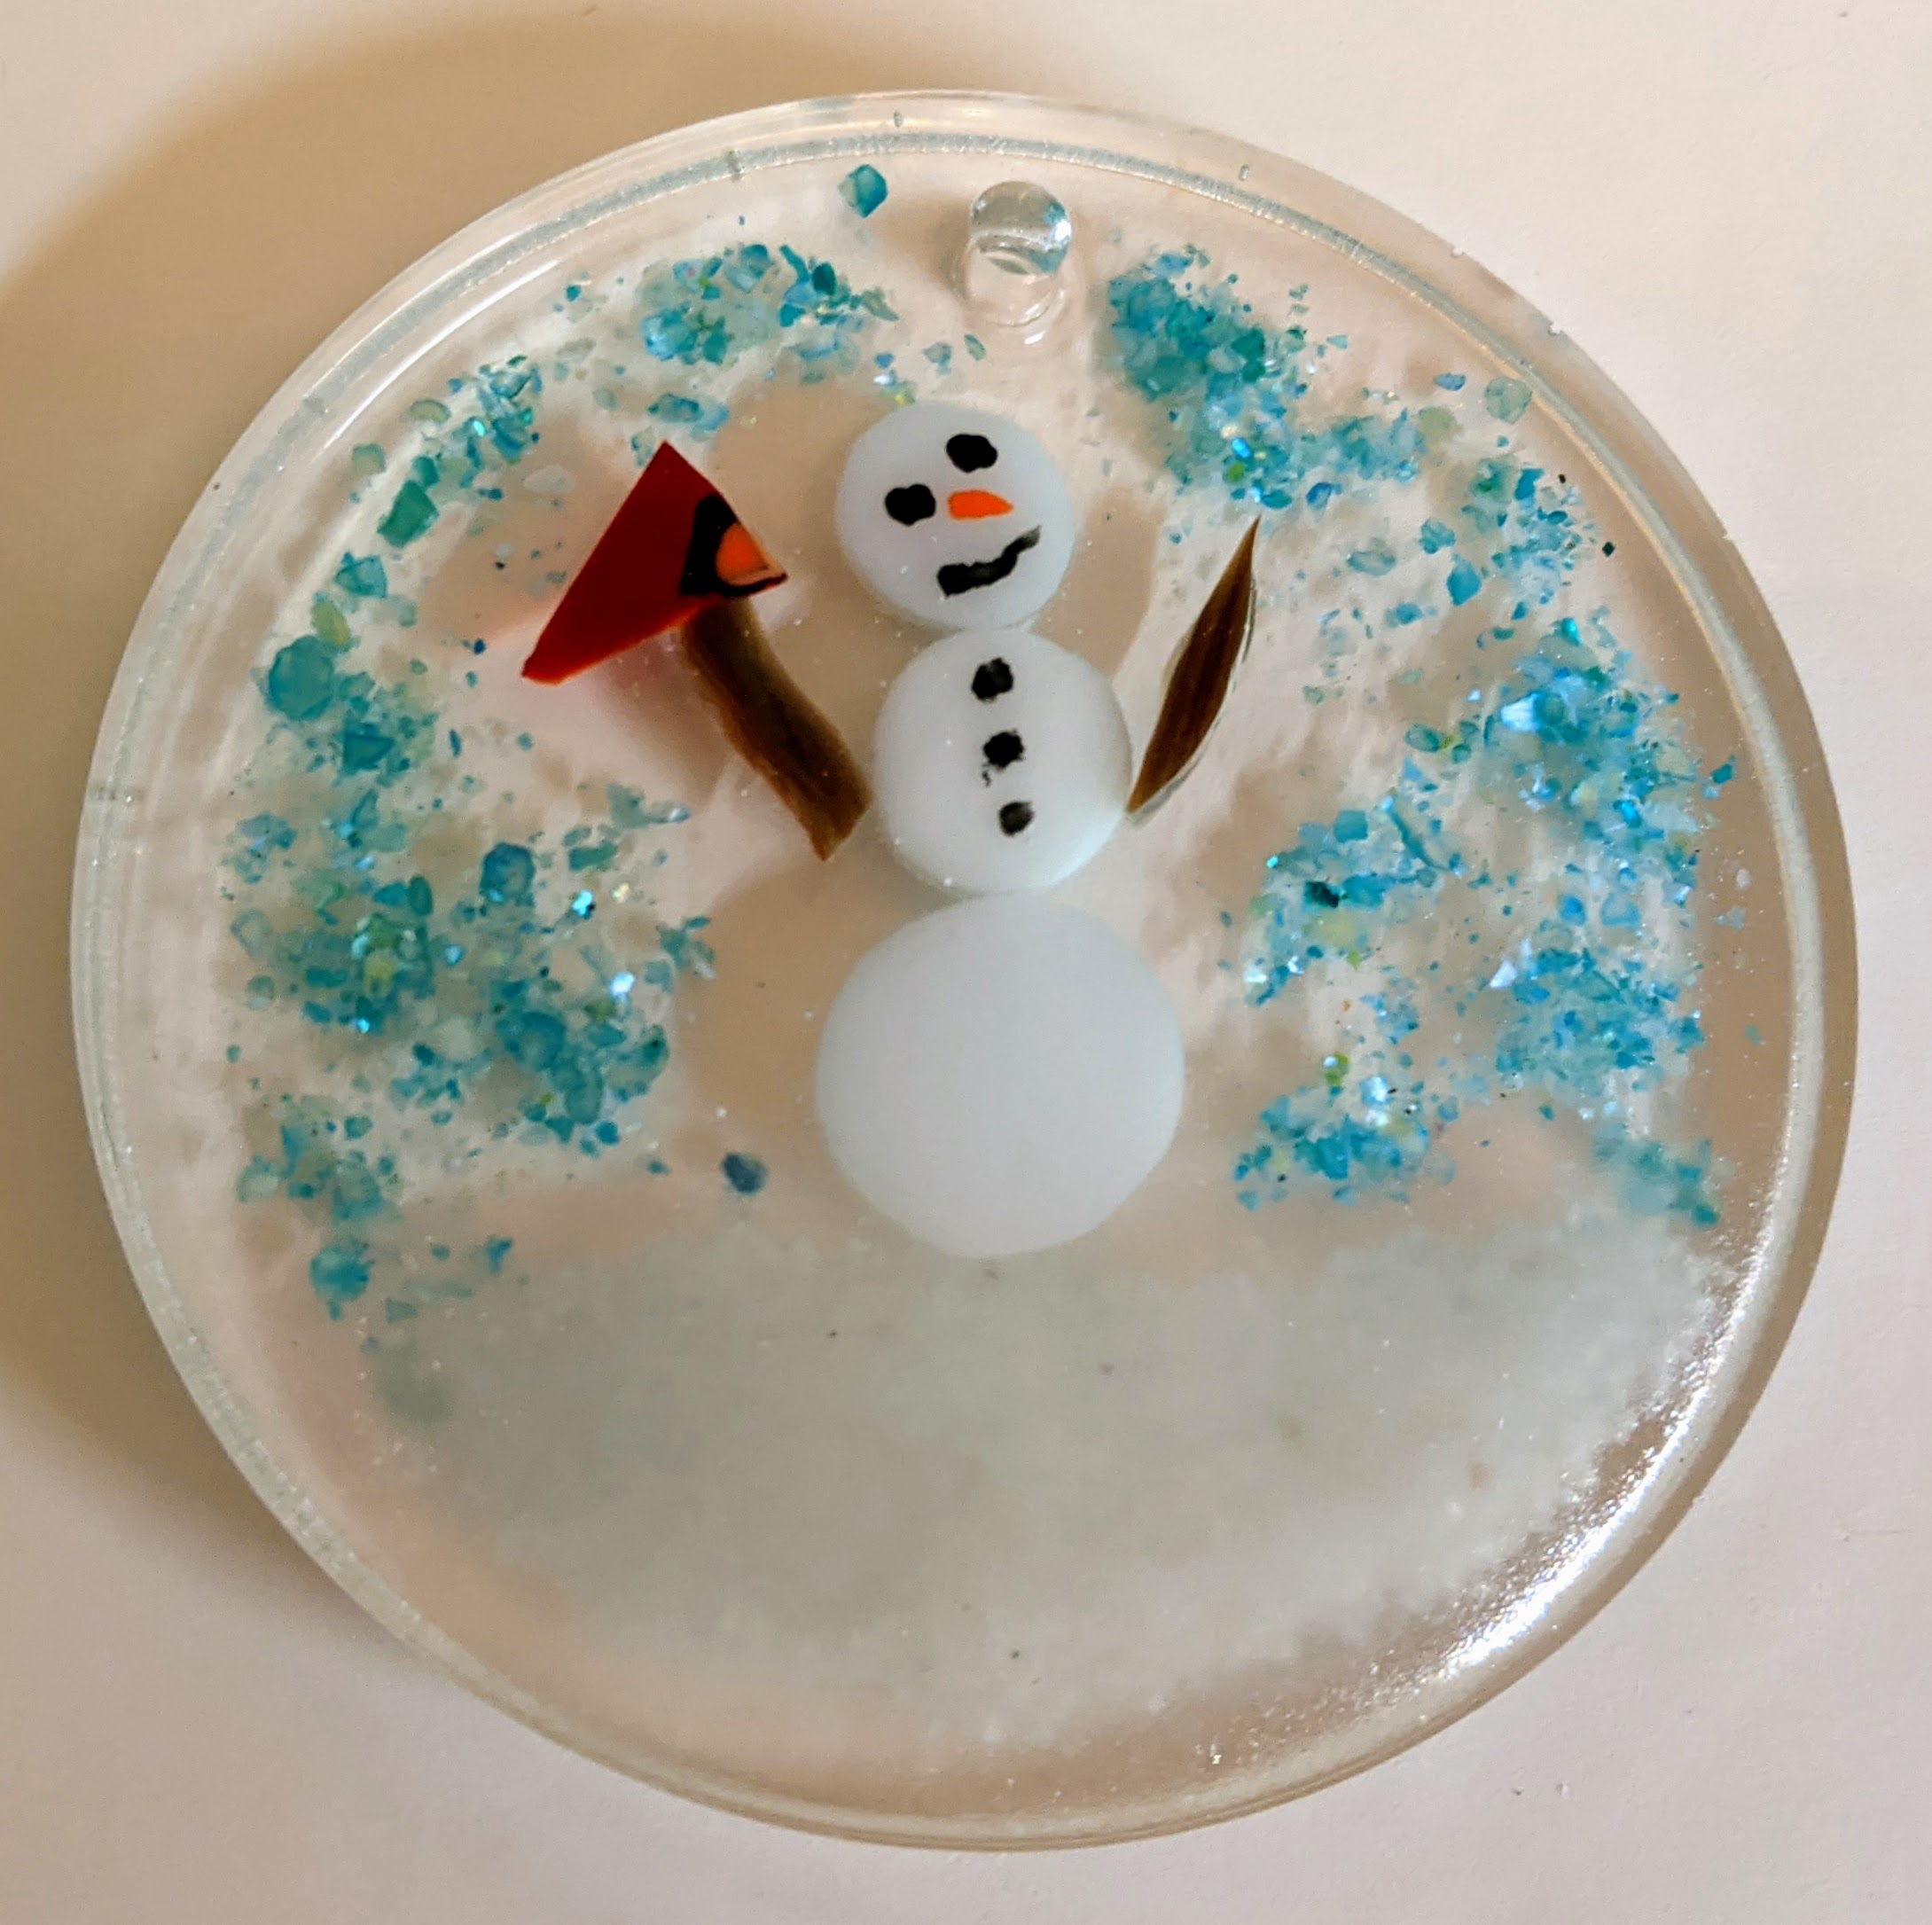
The yellow on the glass is actually painters tape I applied to the underside of the glass to make cleanup a bit easier. I pour a small amount of resin over all of the stained glass, then spread a thin layer over the rest of the backer glass so I have a substrate for my decorations to adhere to. In this case, I used crushed stone for snow, clear glass chips and blue shell chips for sparkle and interest. I dusted a bit of fine glass glitter over the snowbank and bottom area as well, but I’m finding that the glitter doesn’t seem to show up very well / as I would hope.
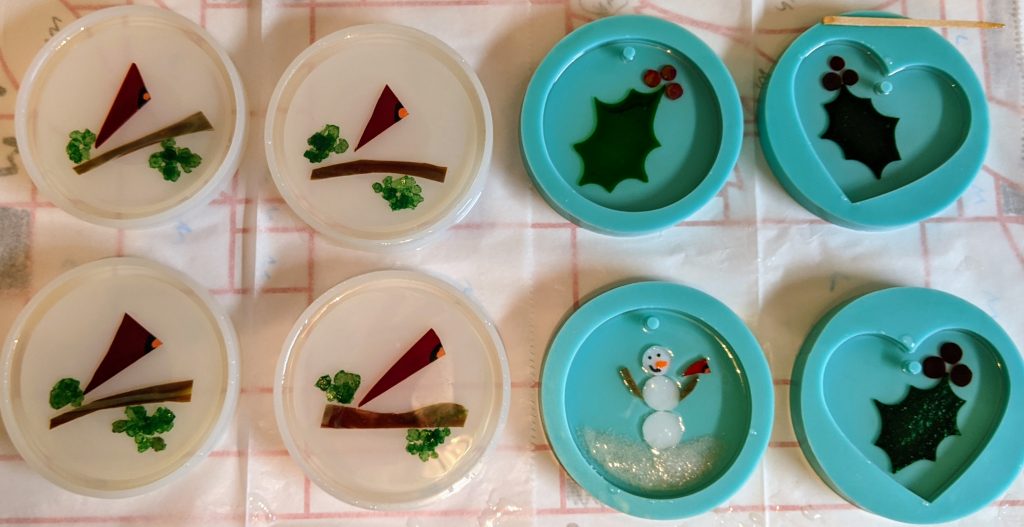
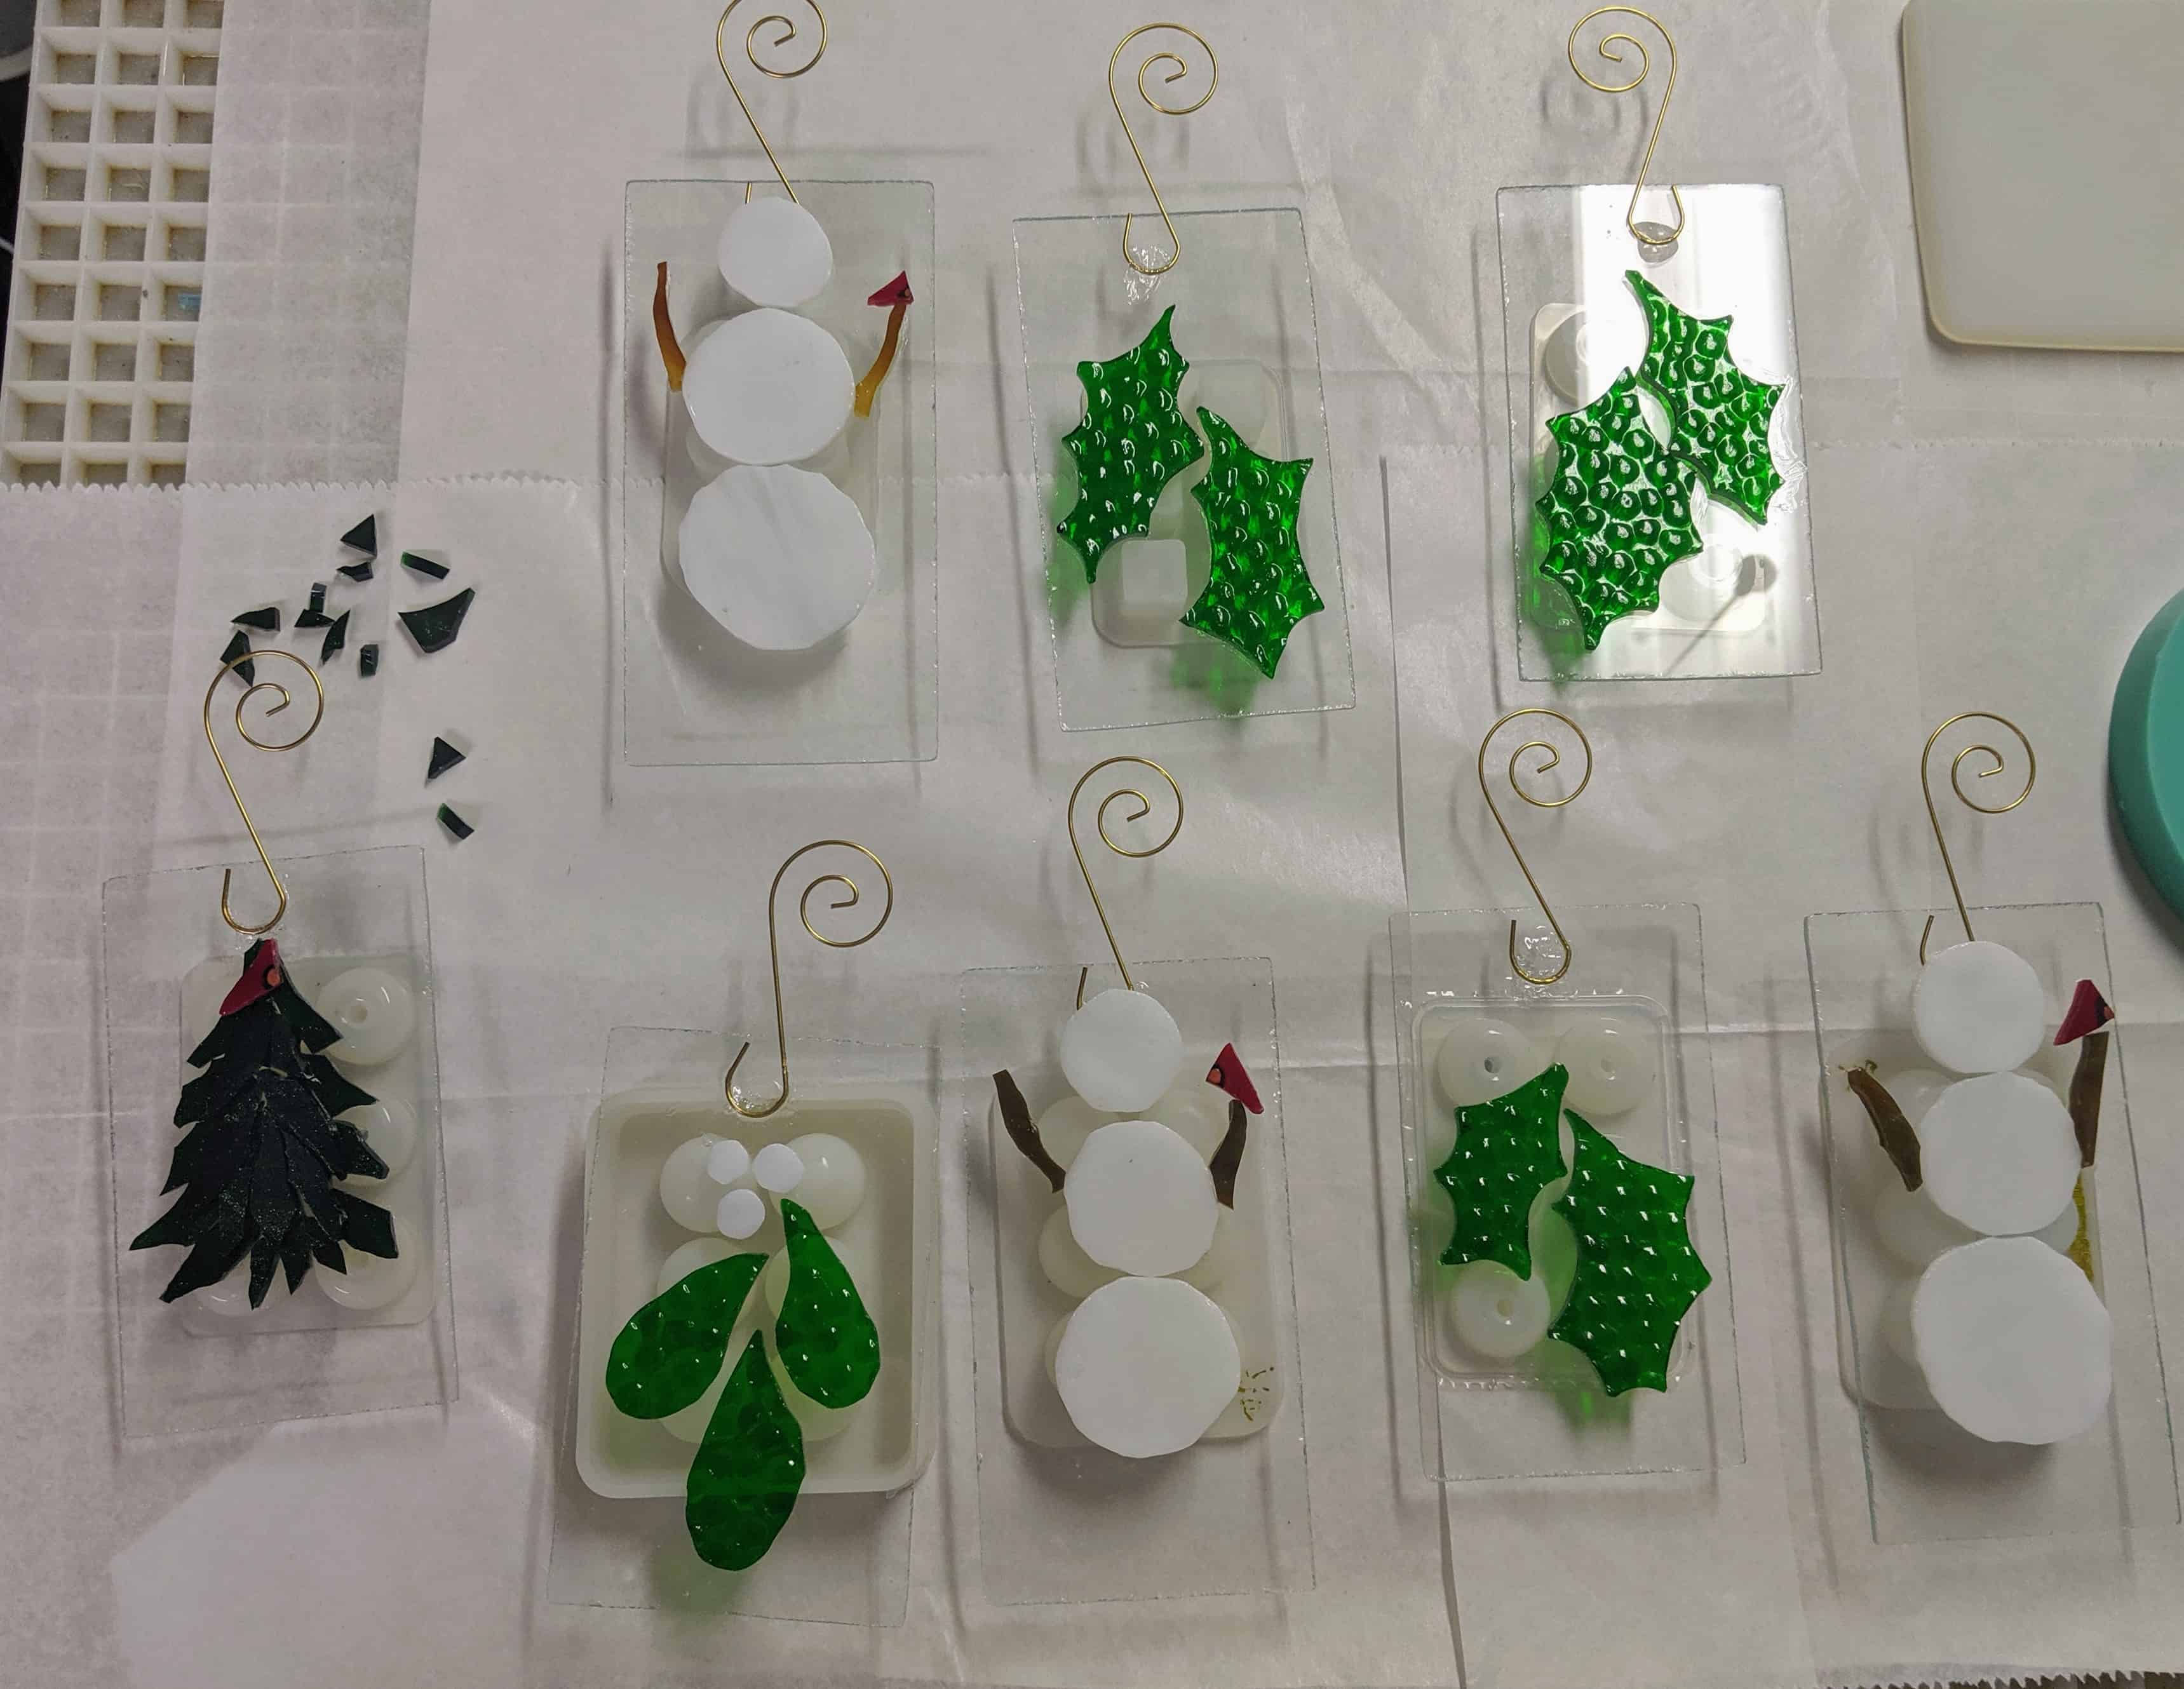
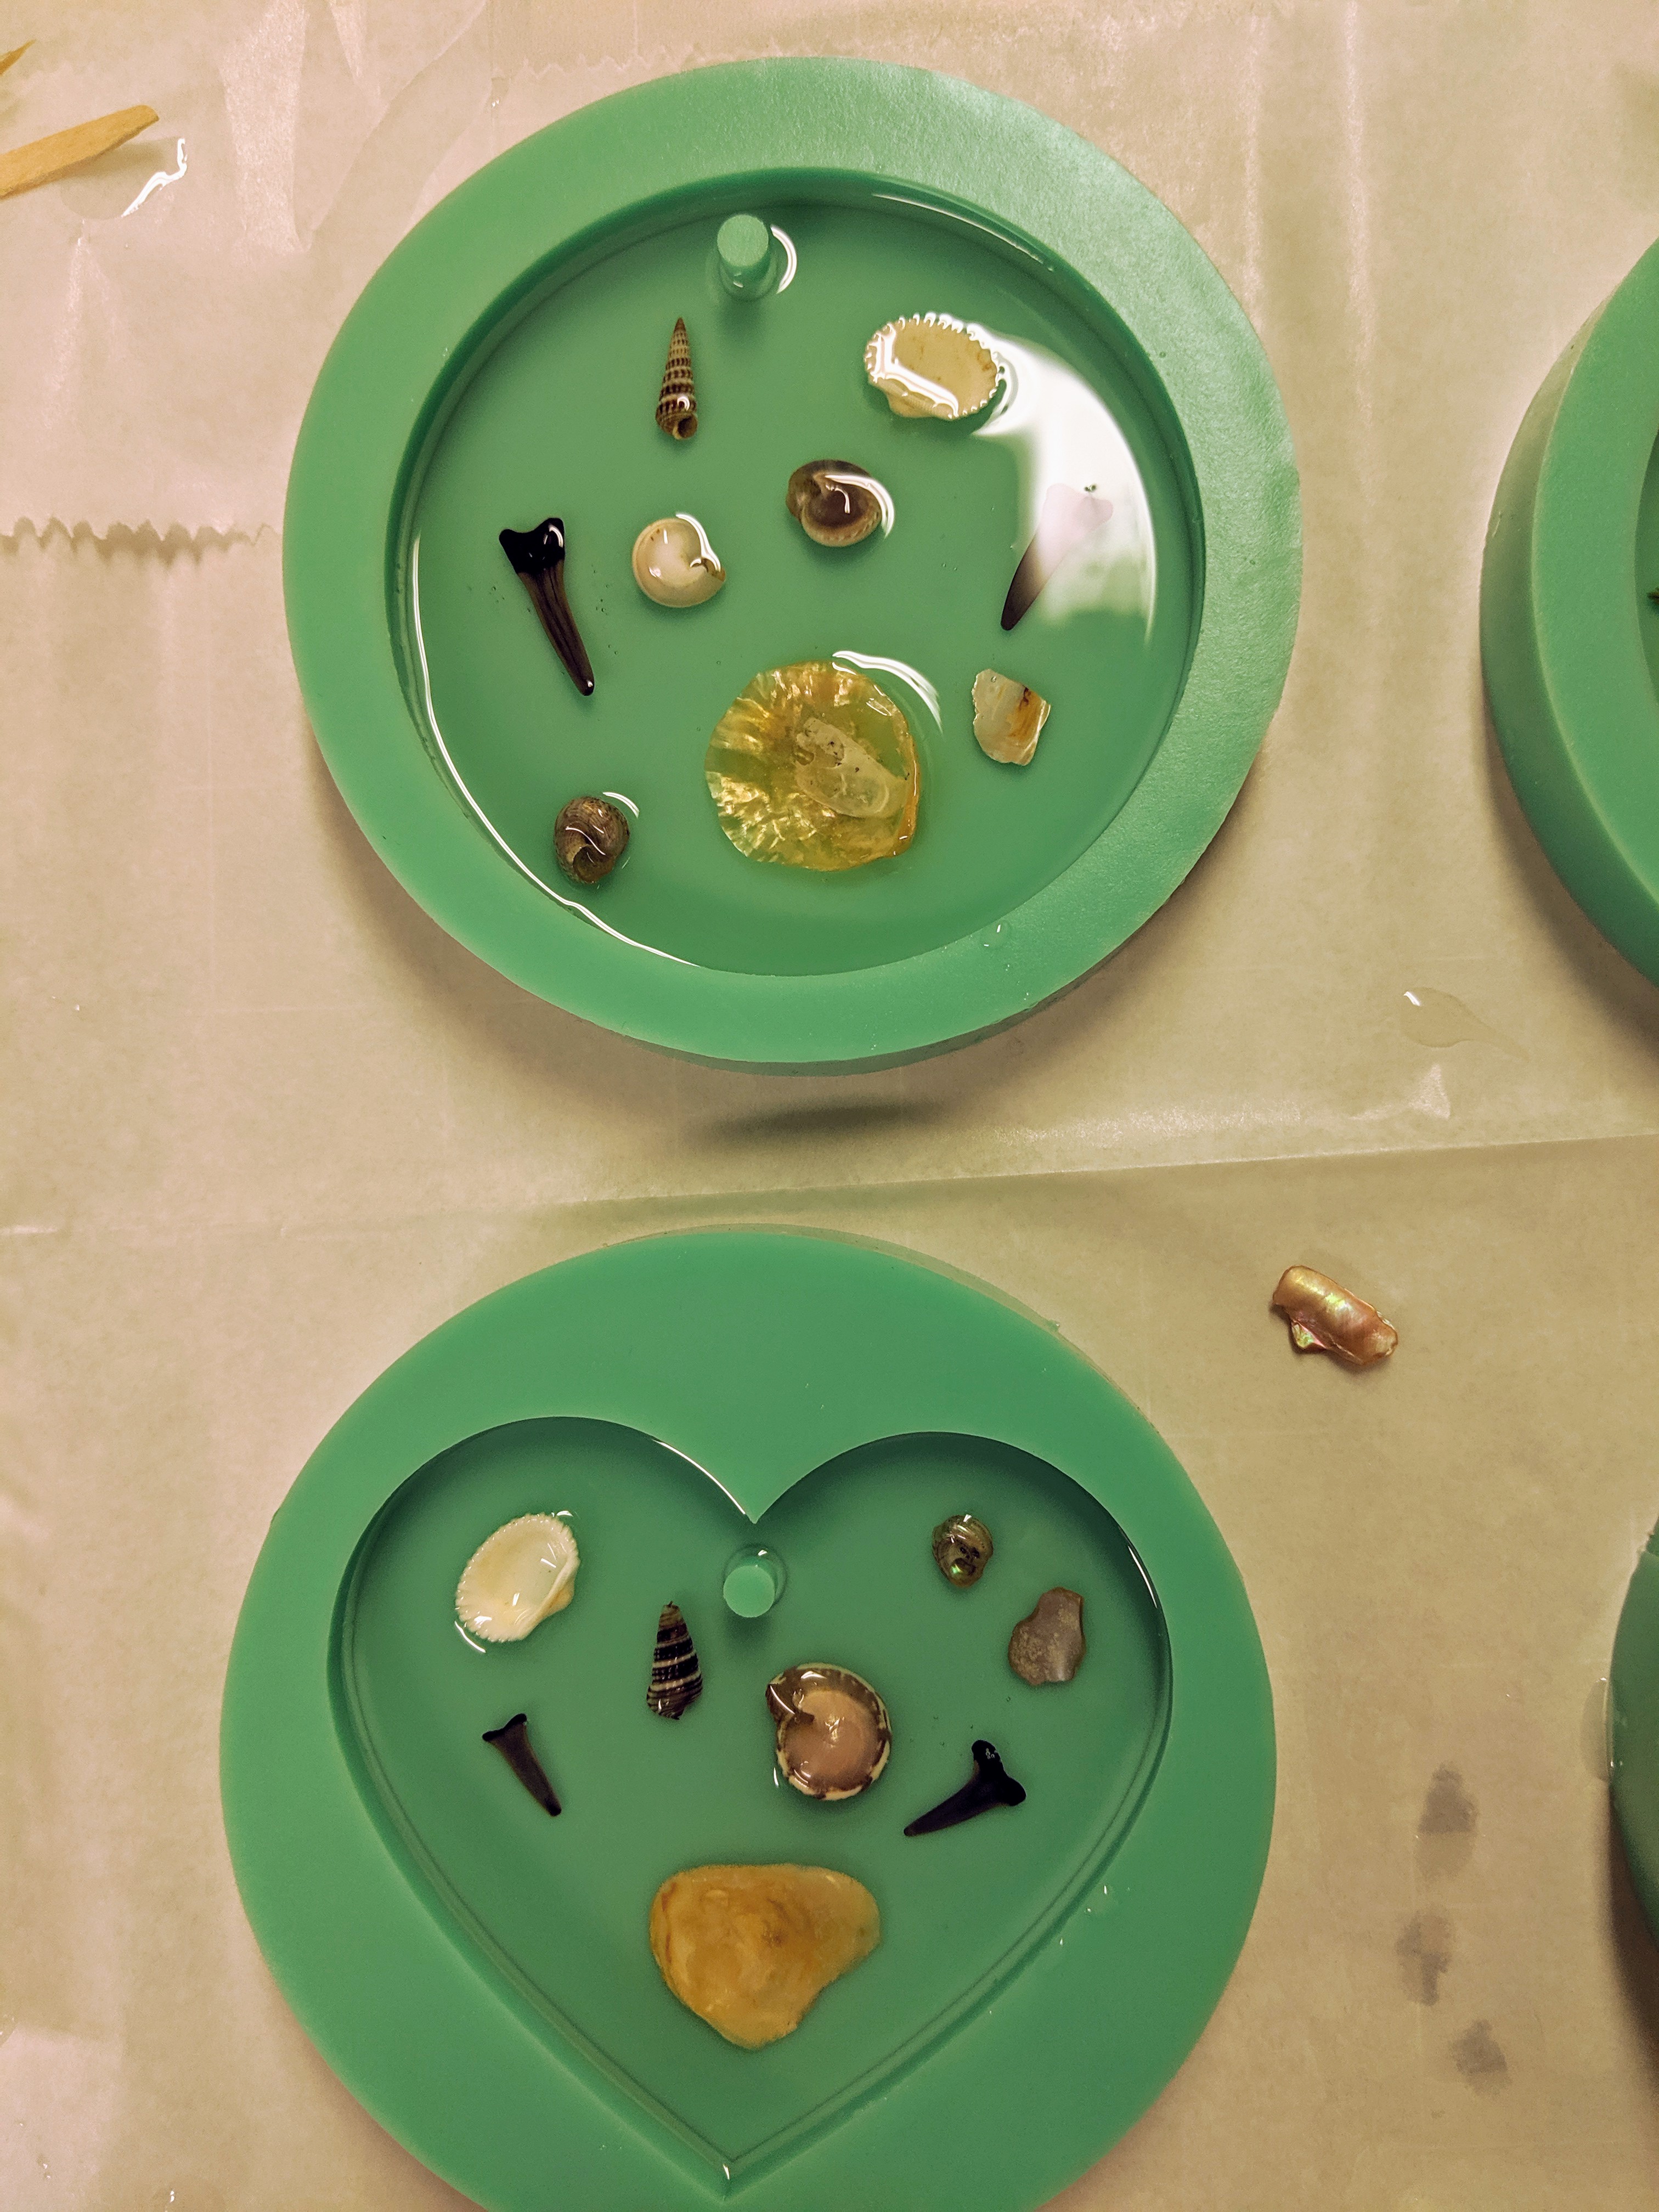
I also popped out some finished products from yesterday’s time spent creating.
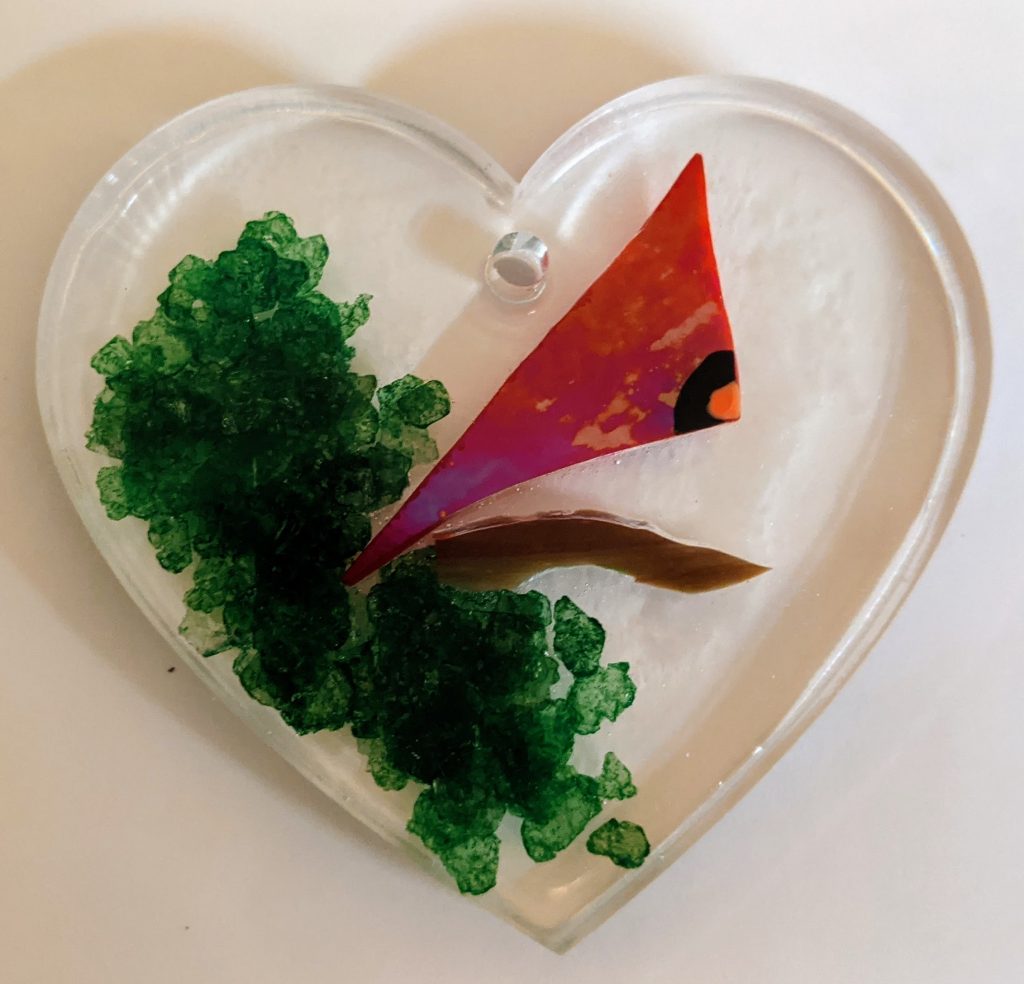
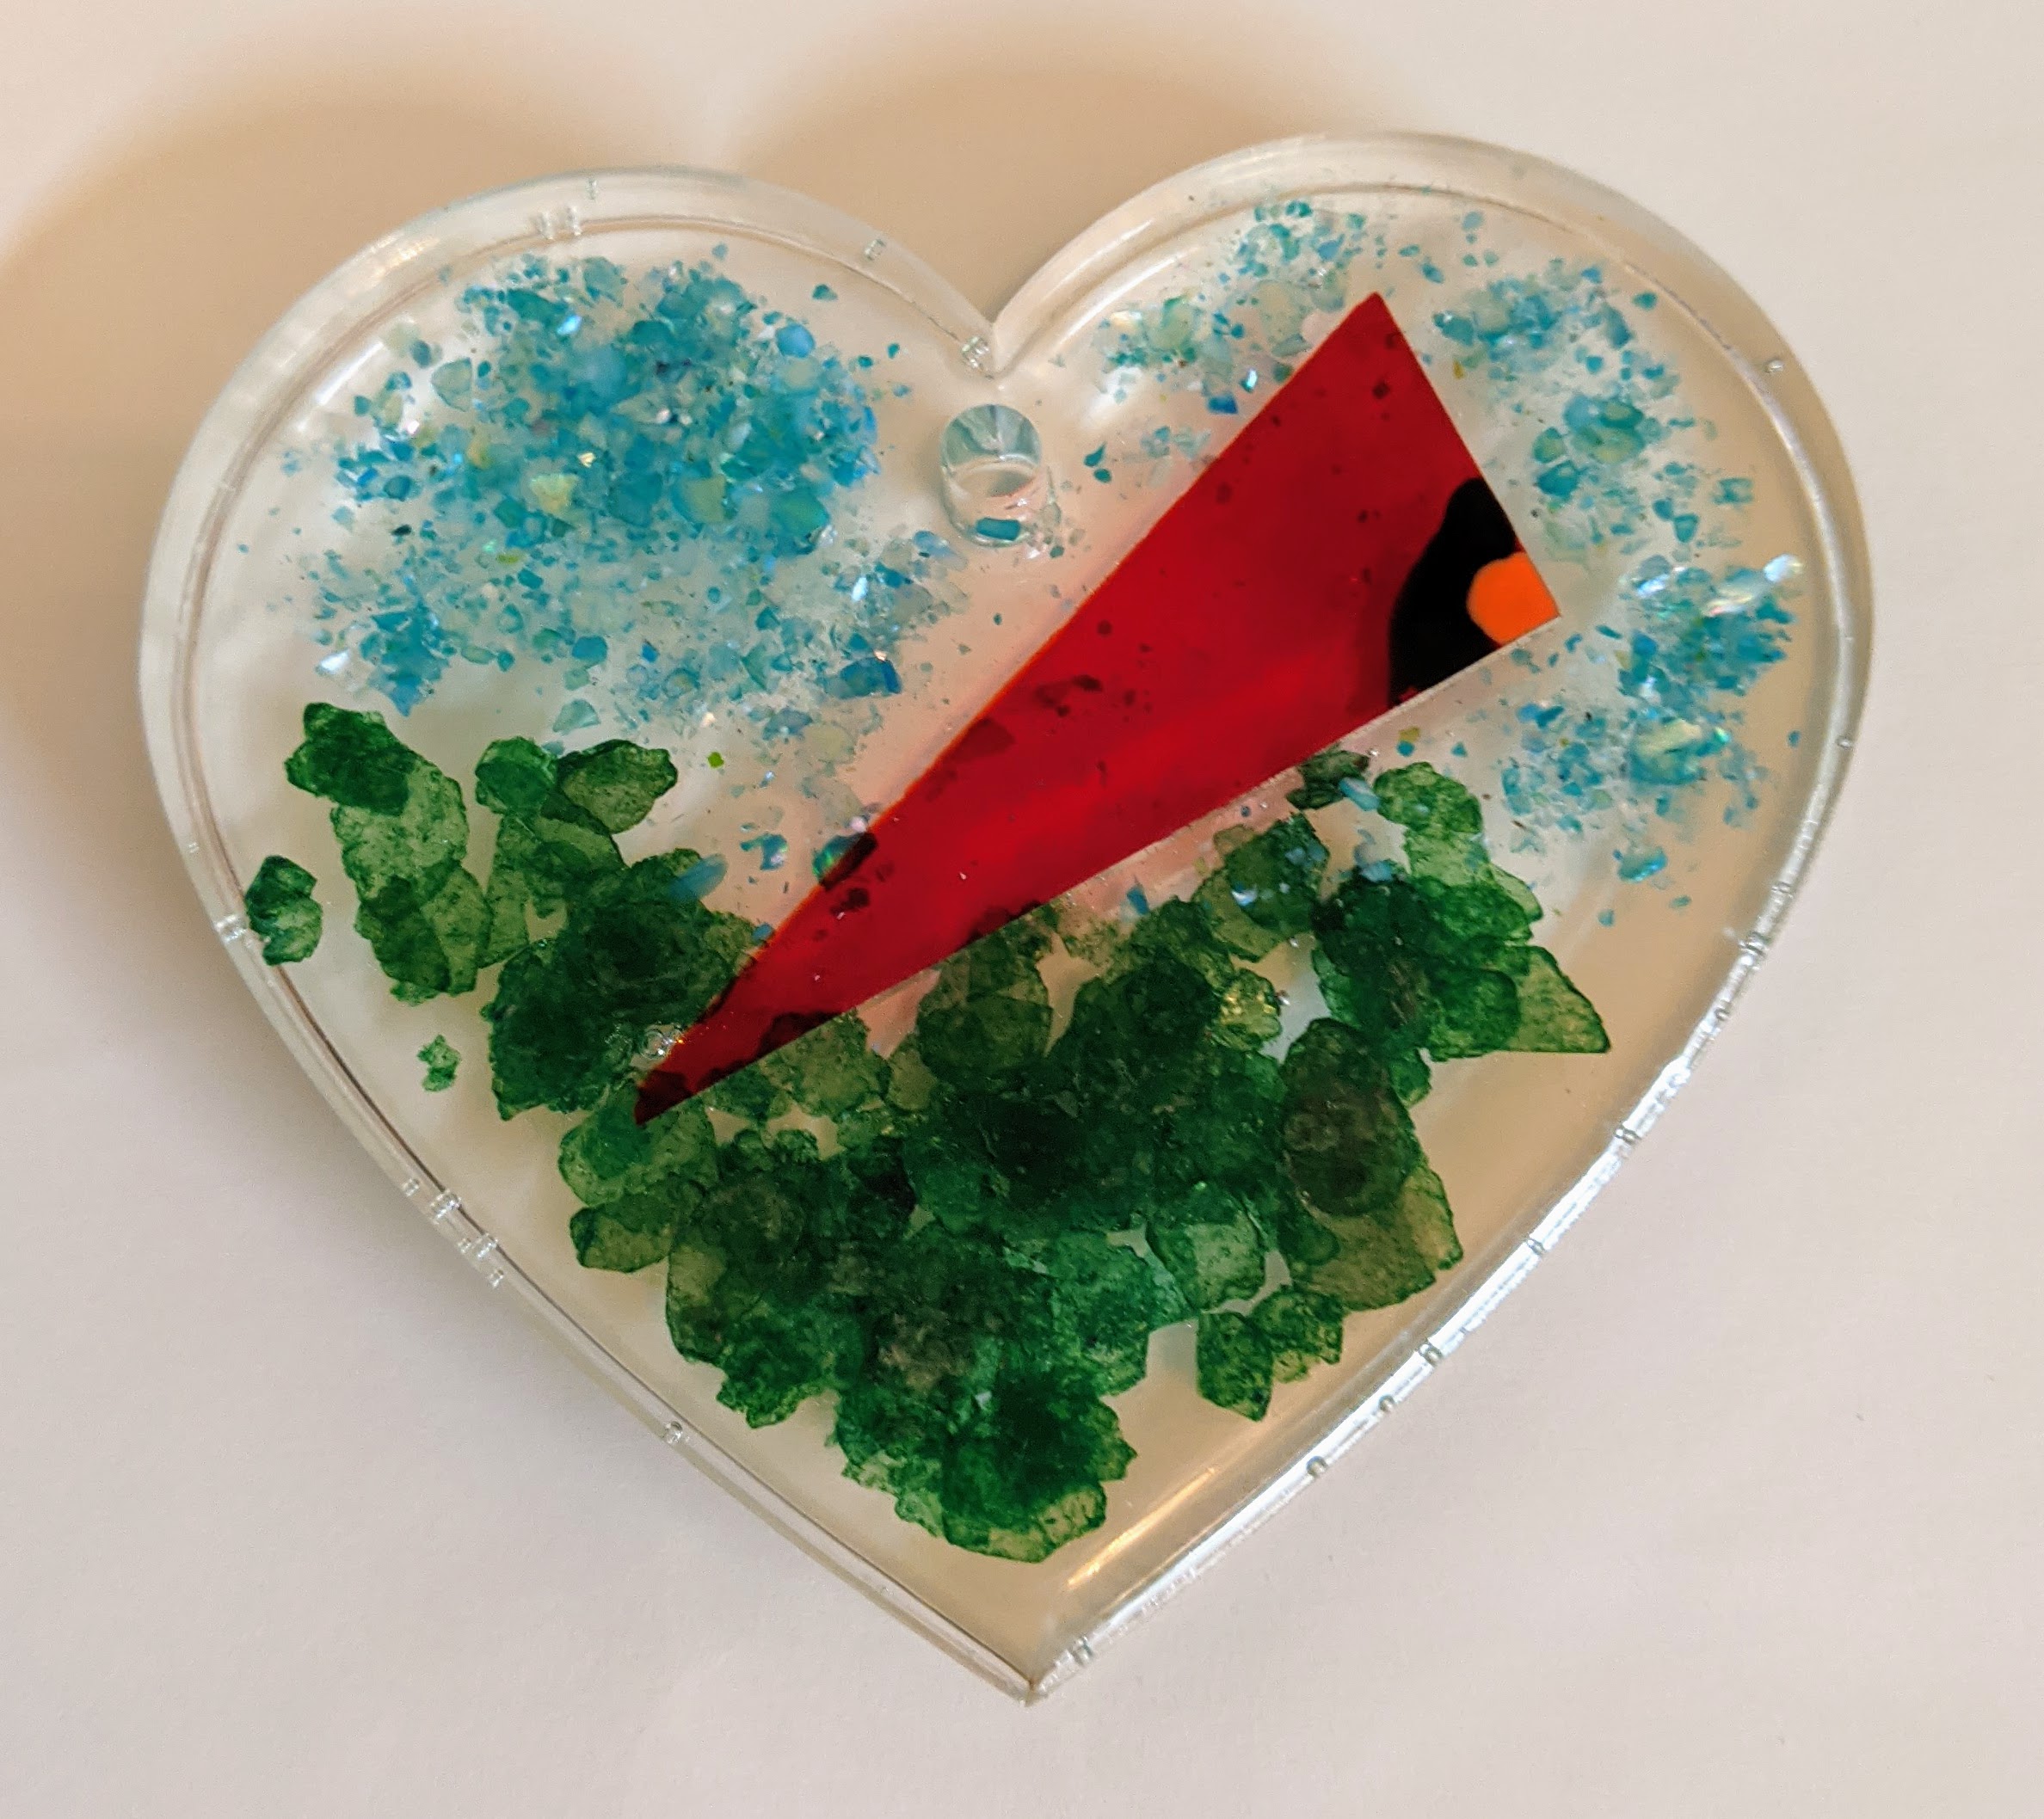
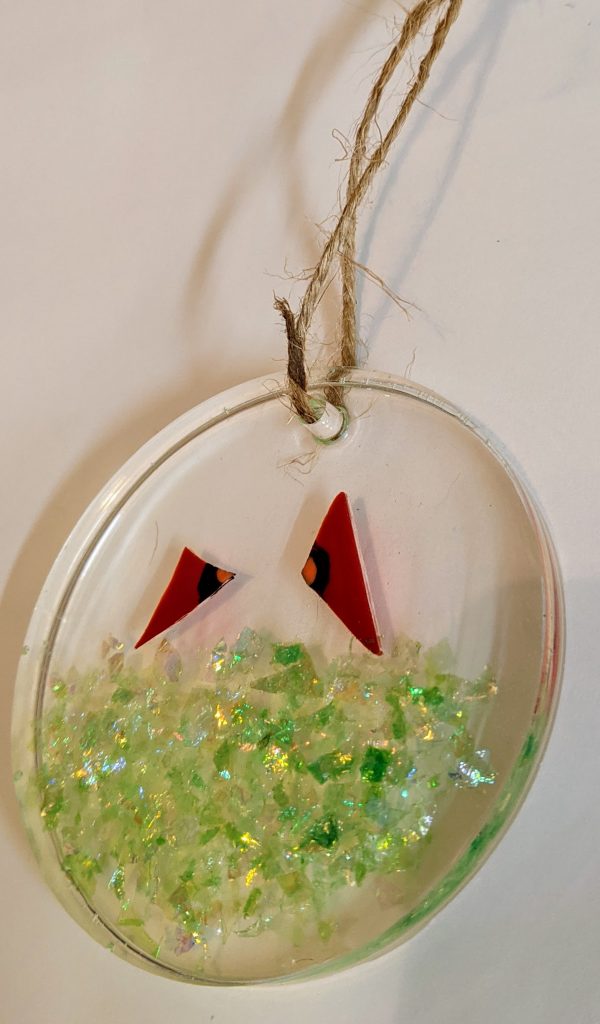
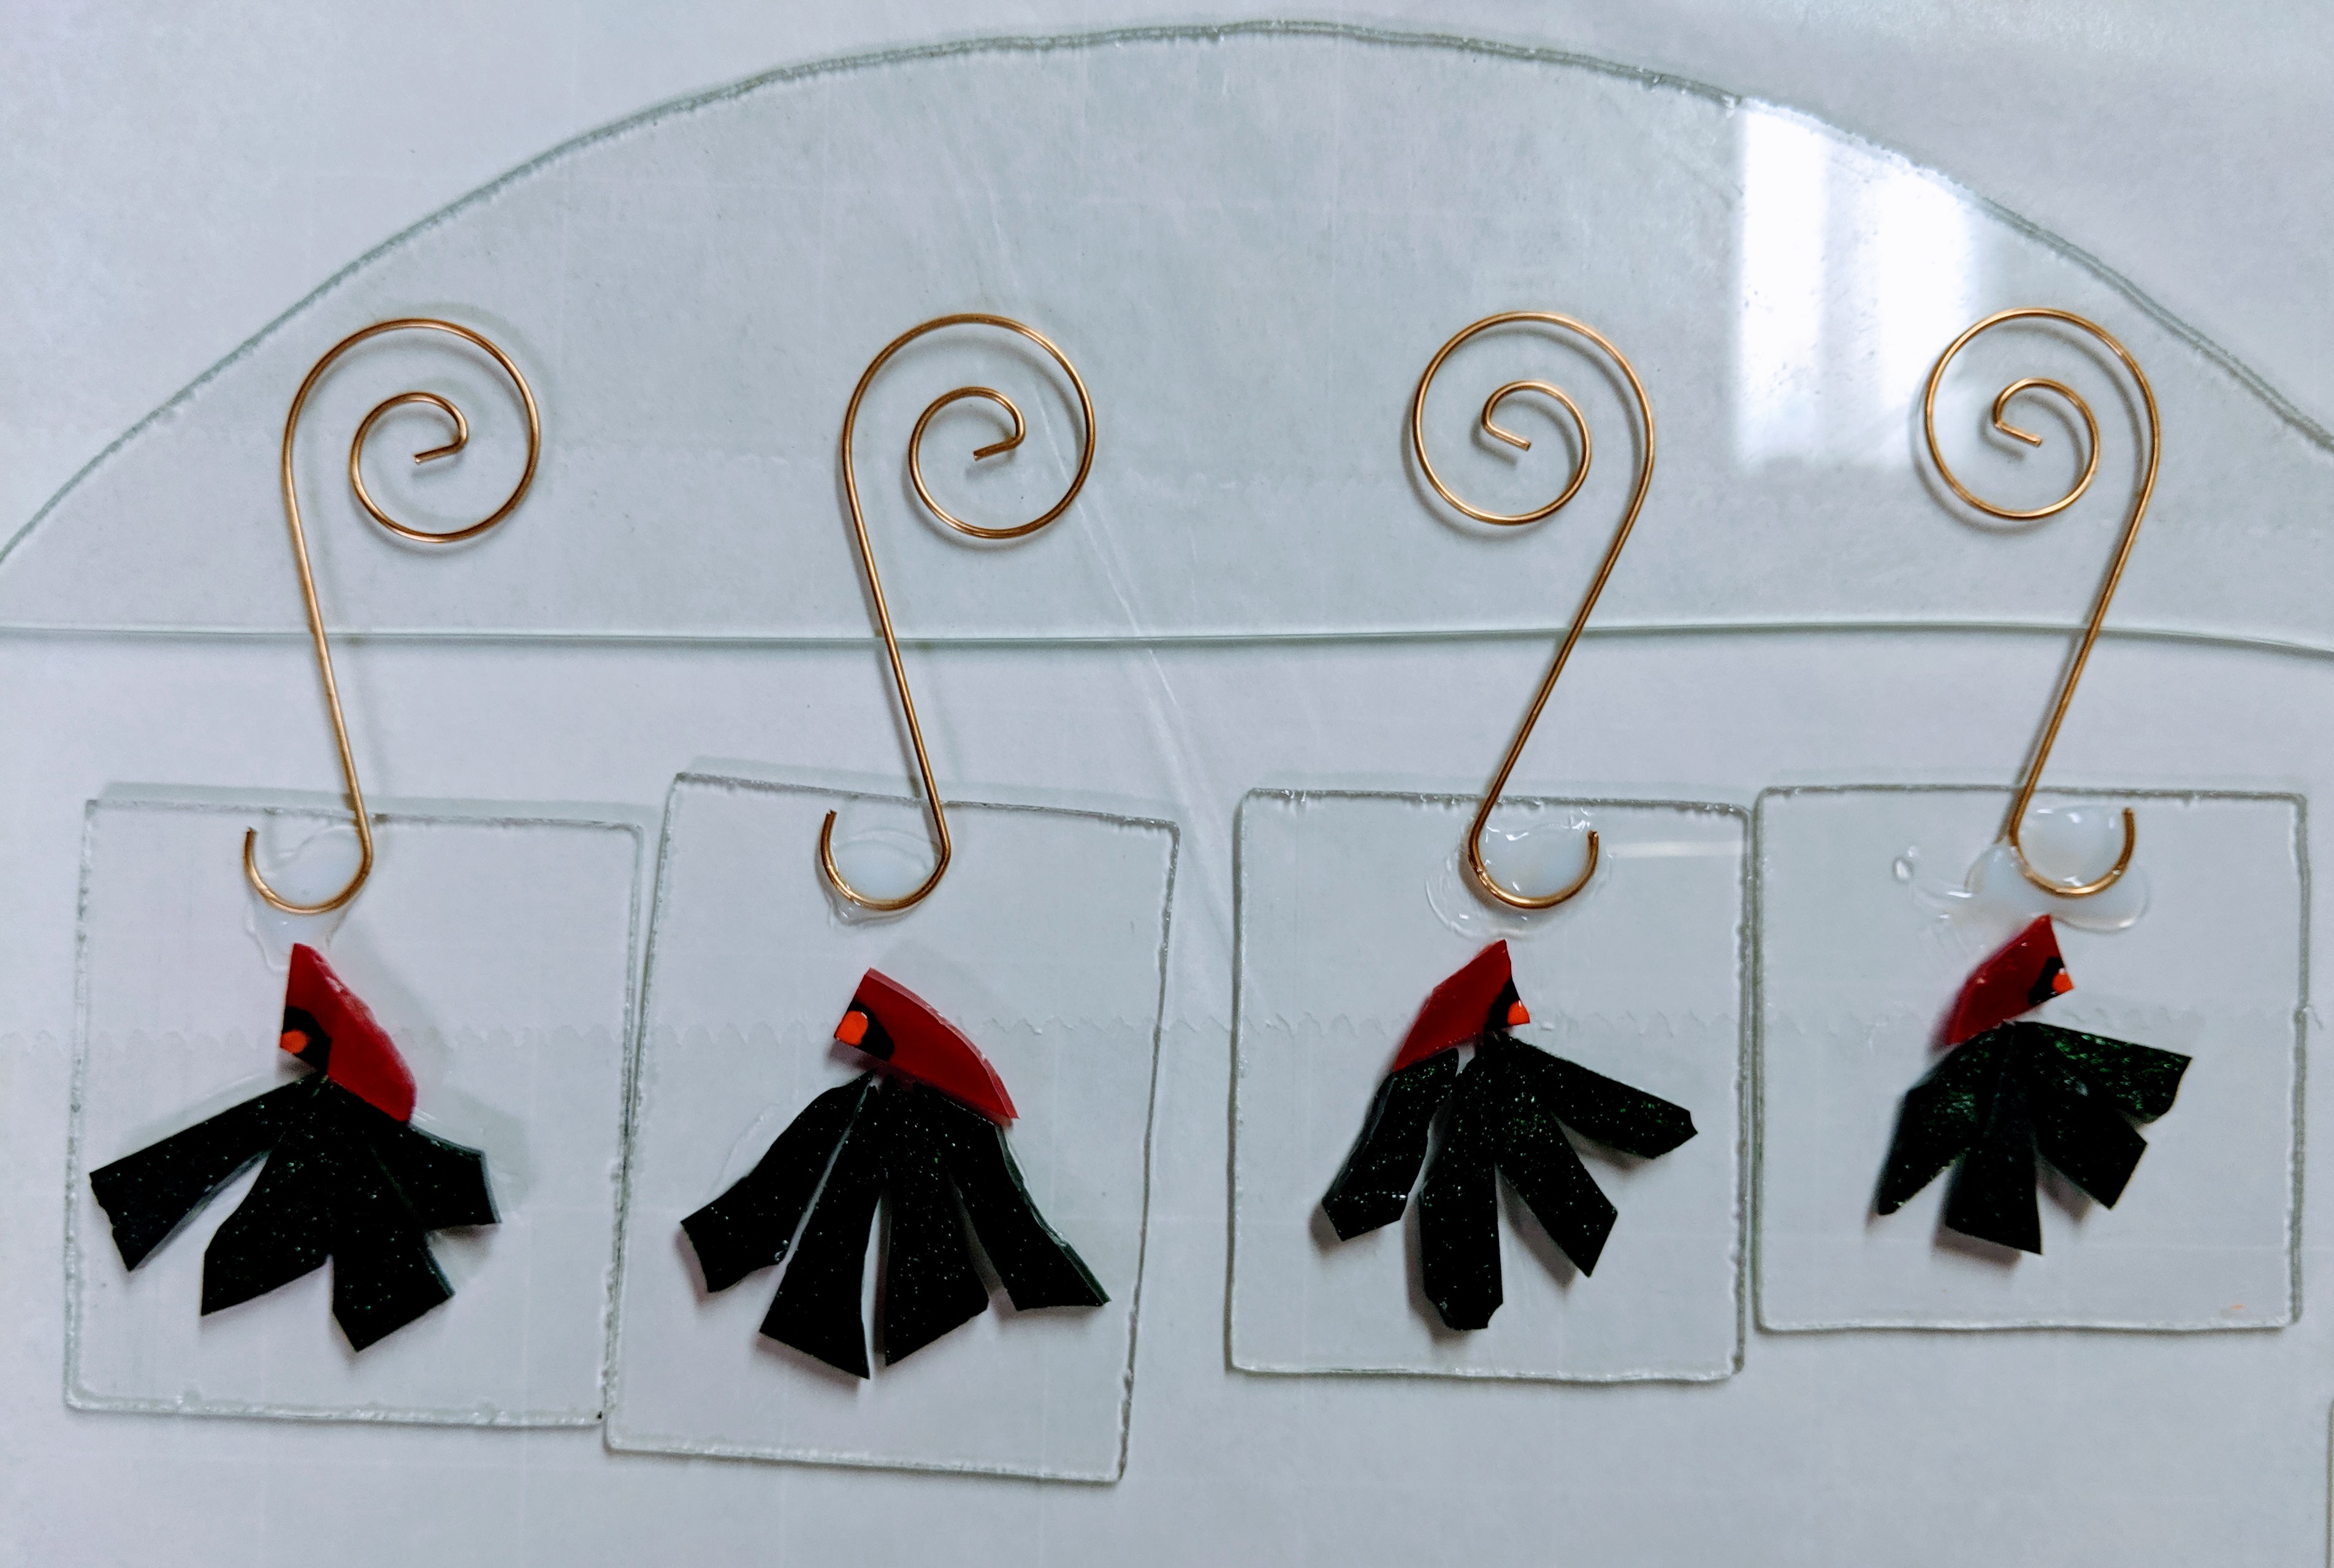
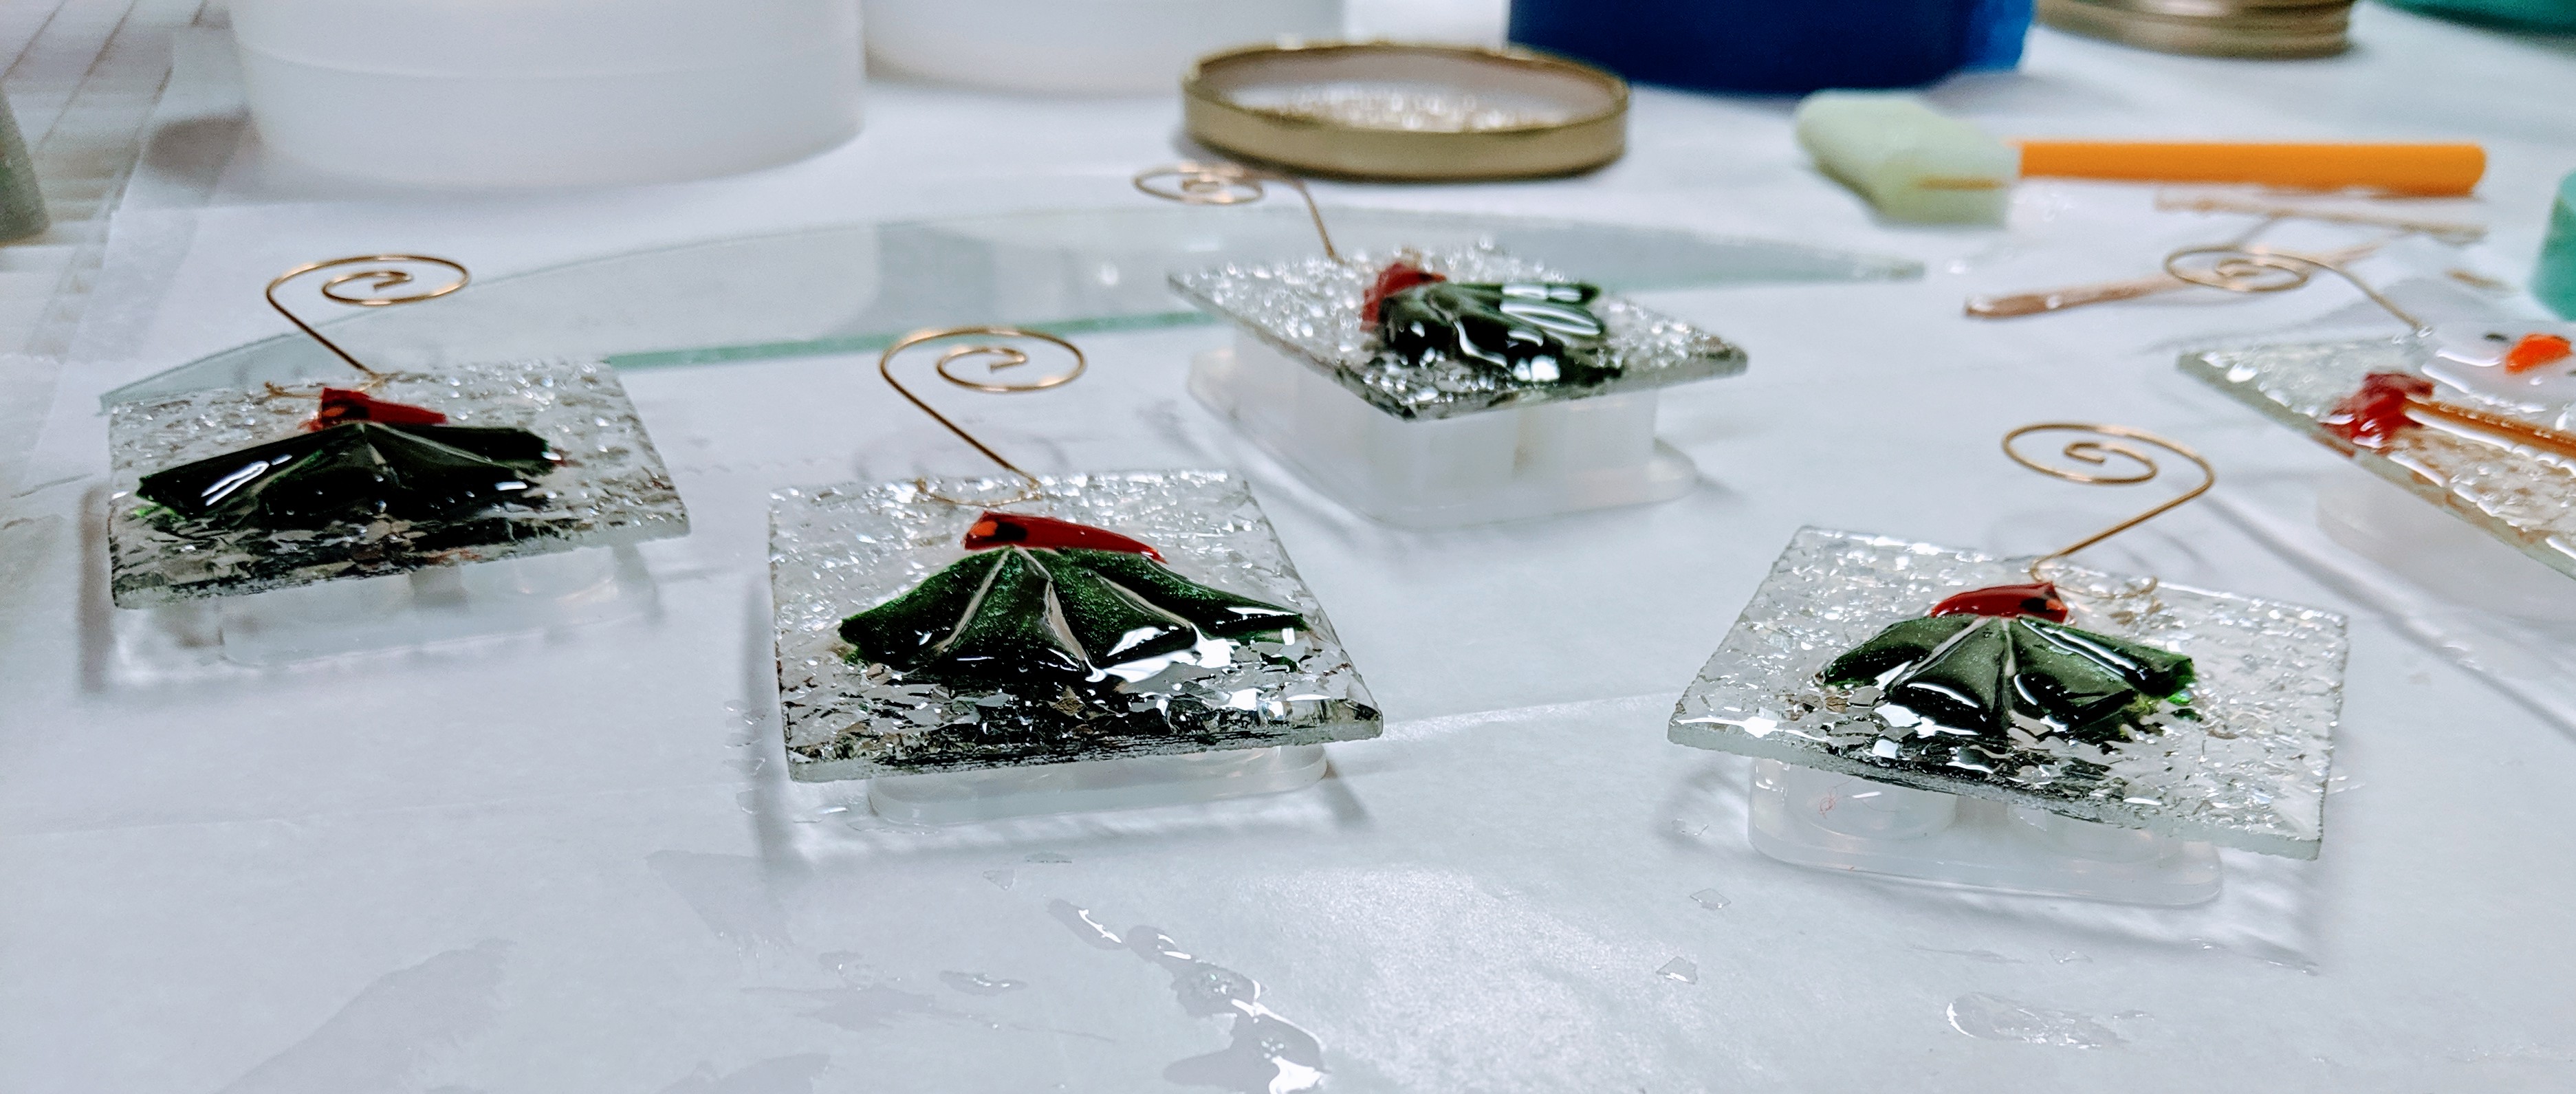
Cardinal Suncatcher / Ornament 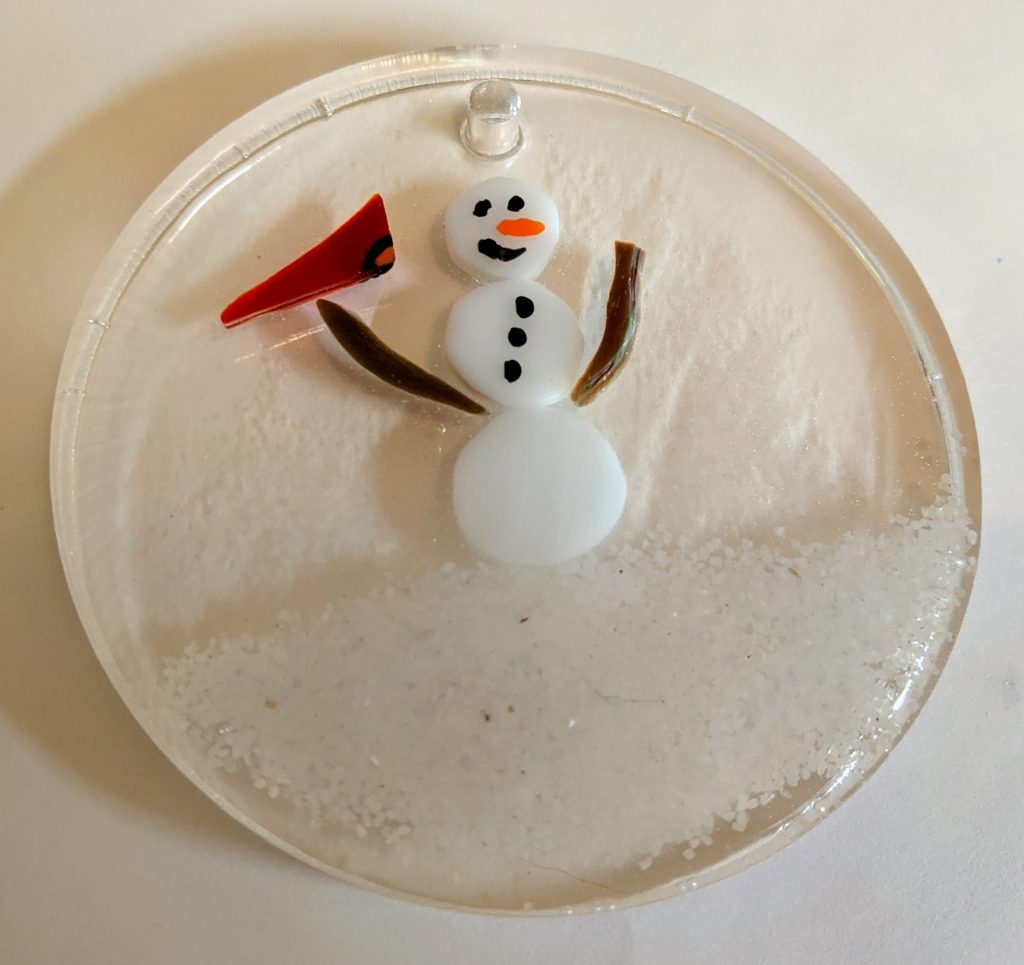
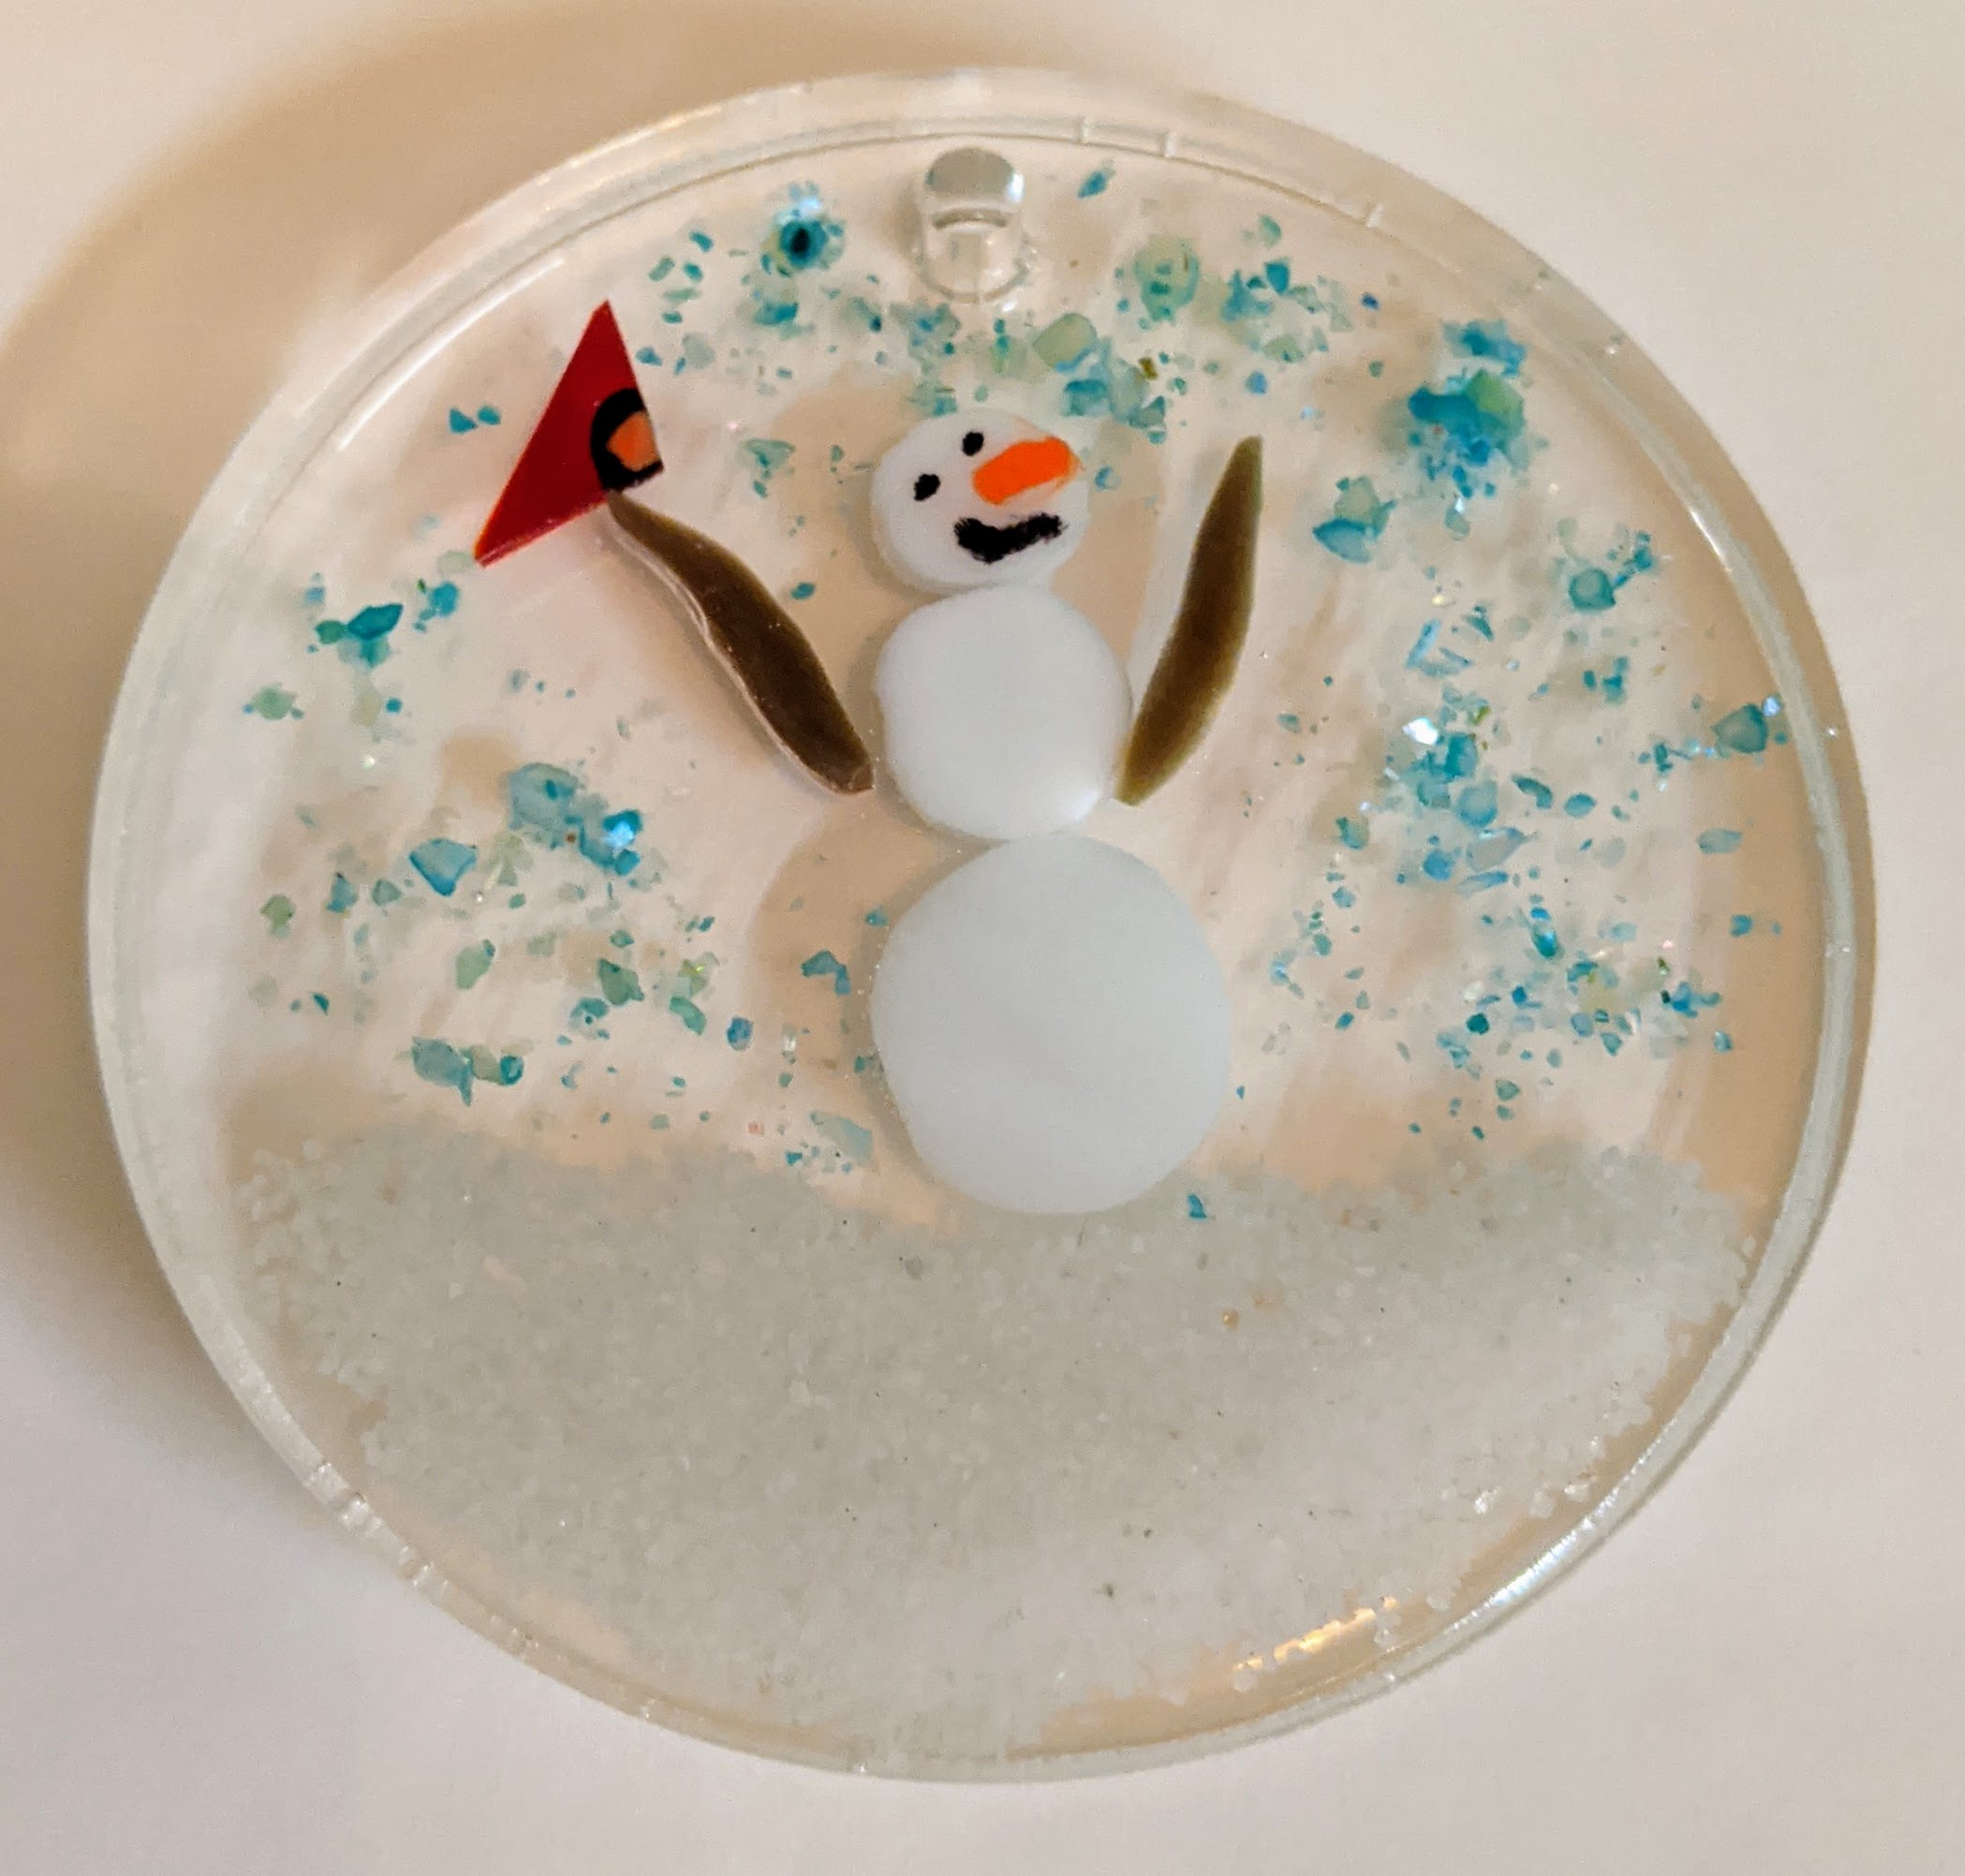
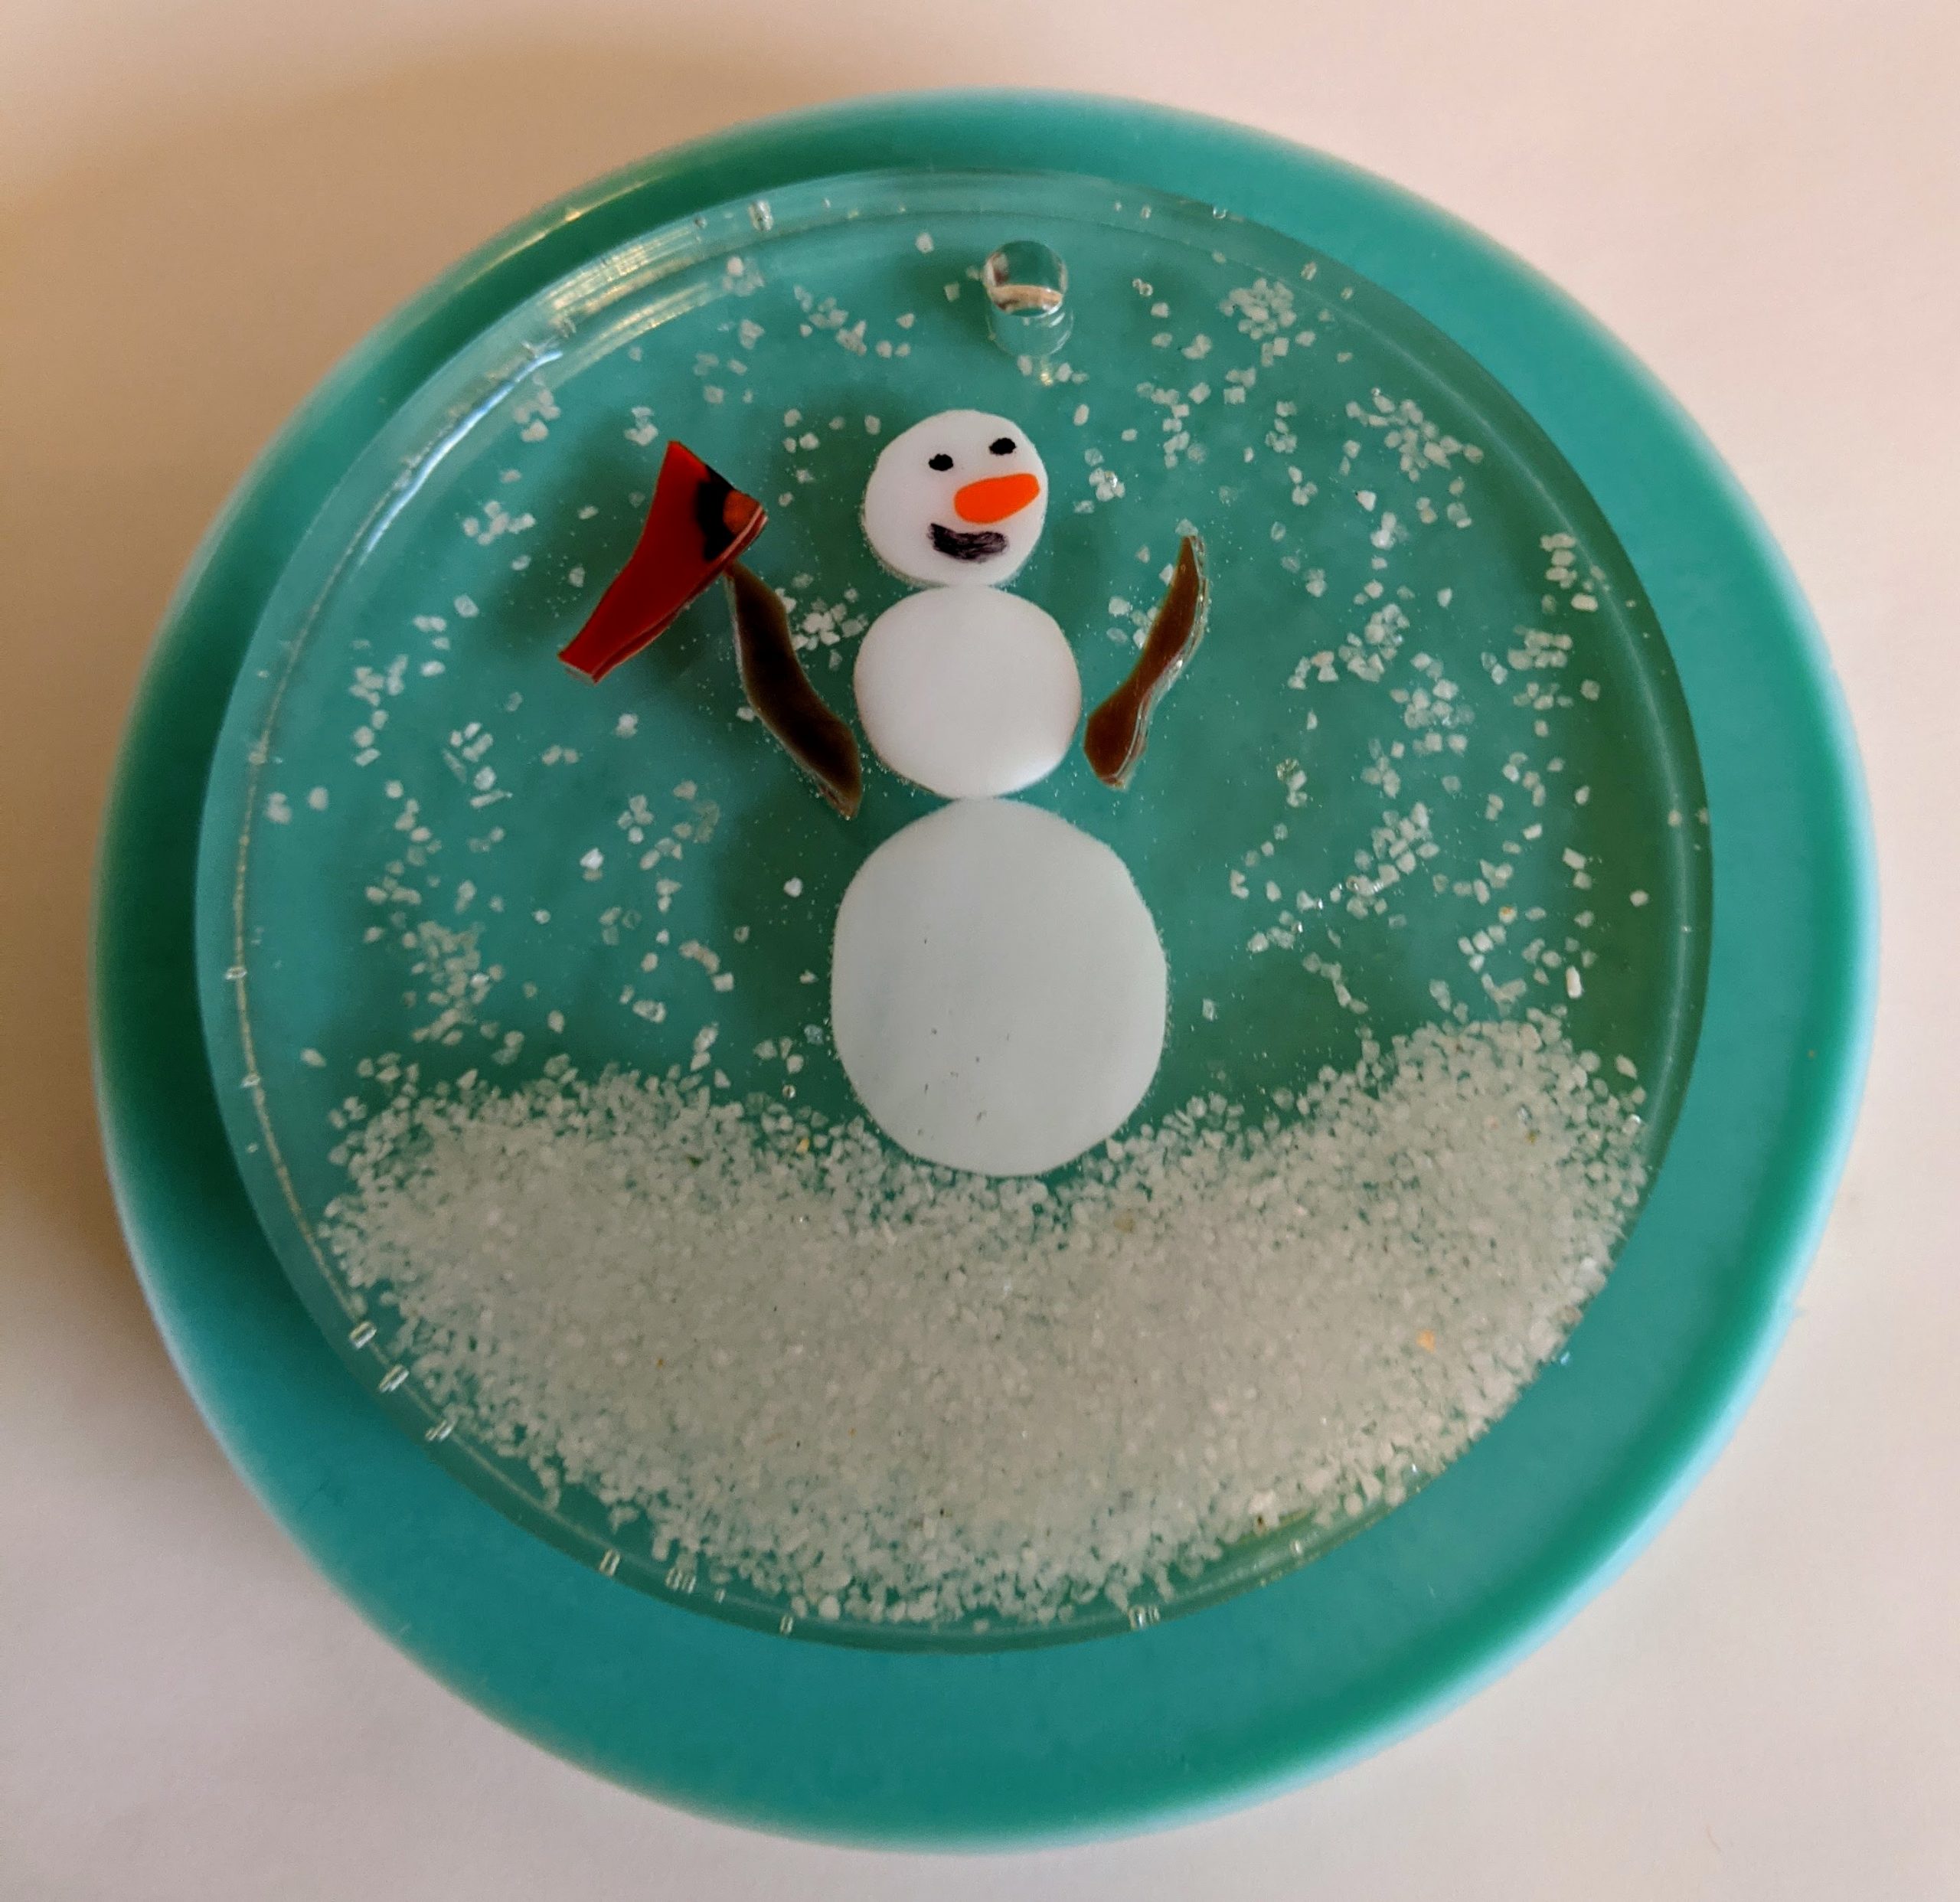
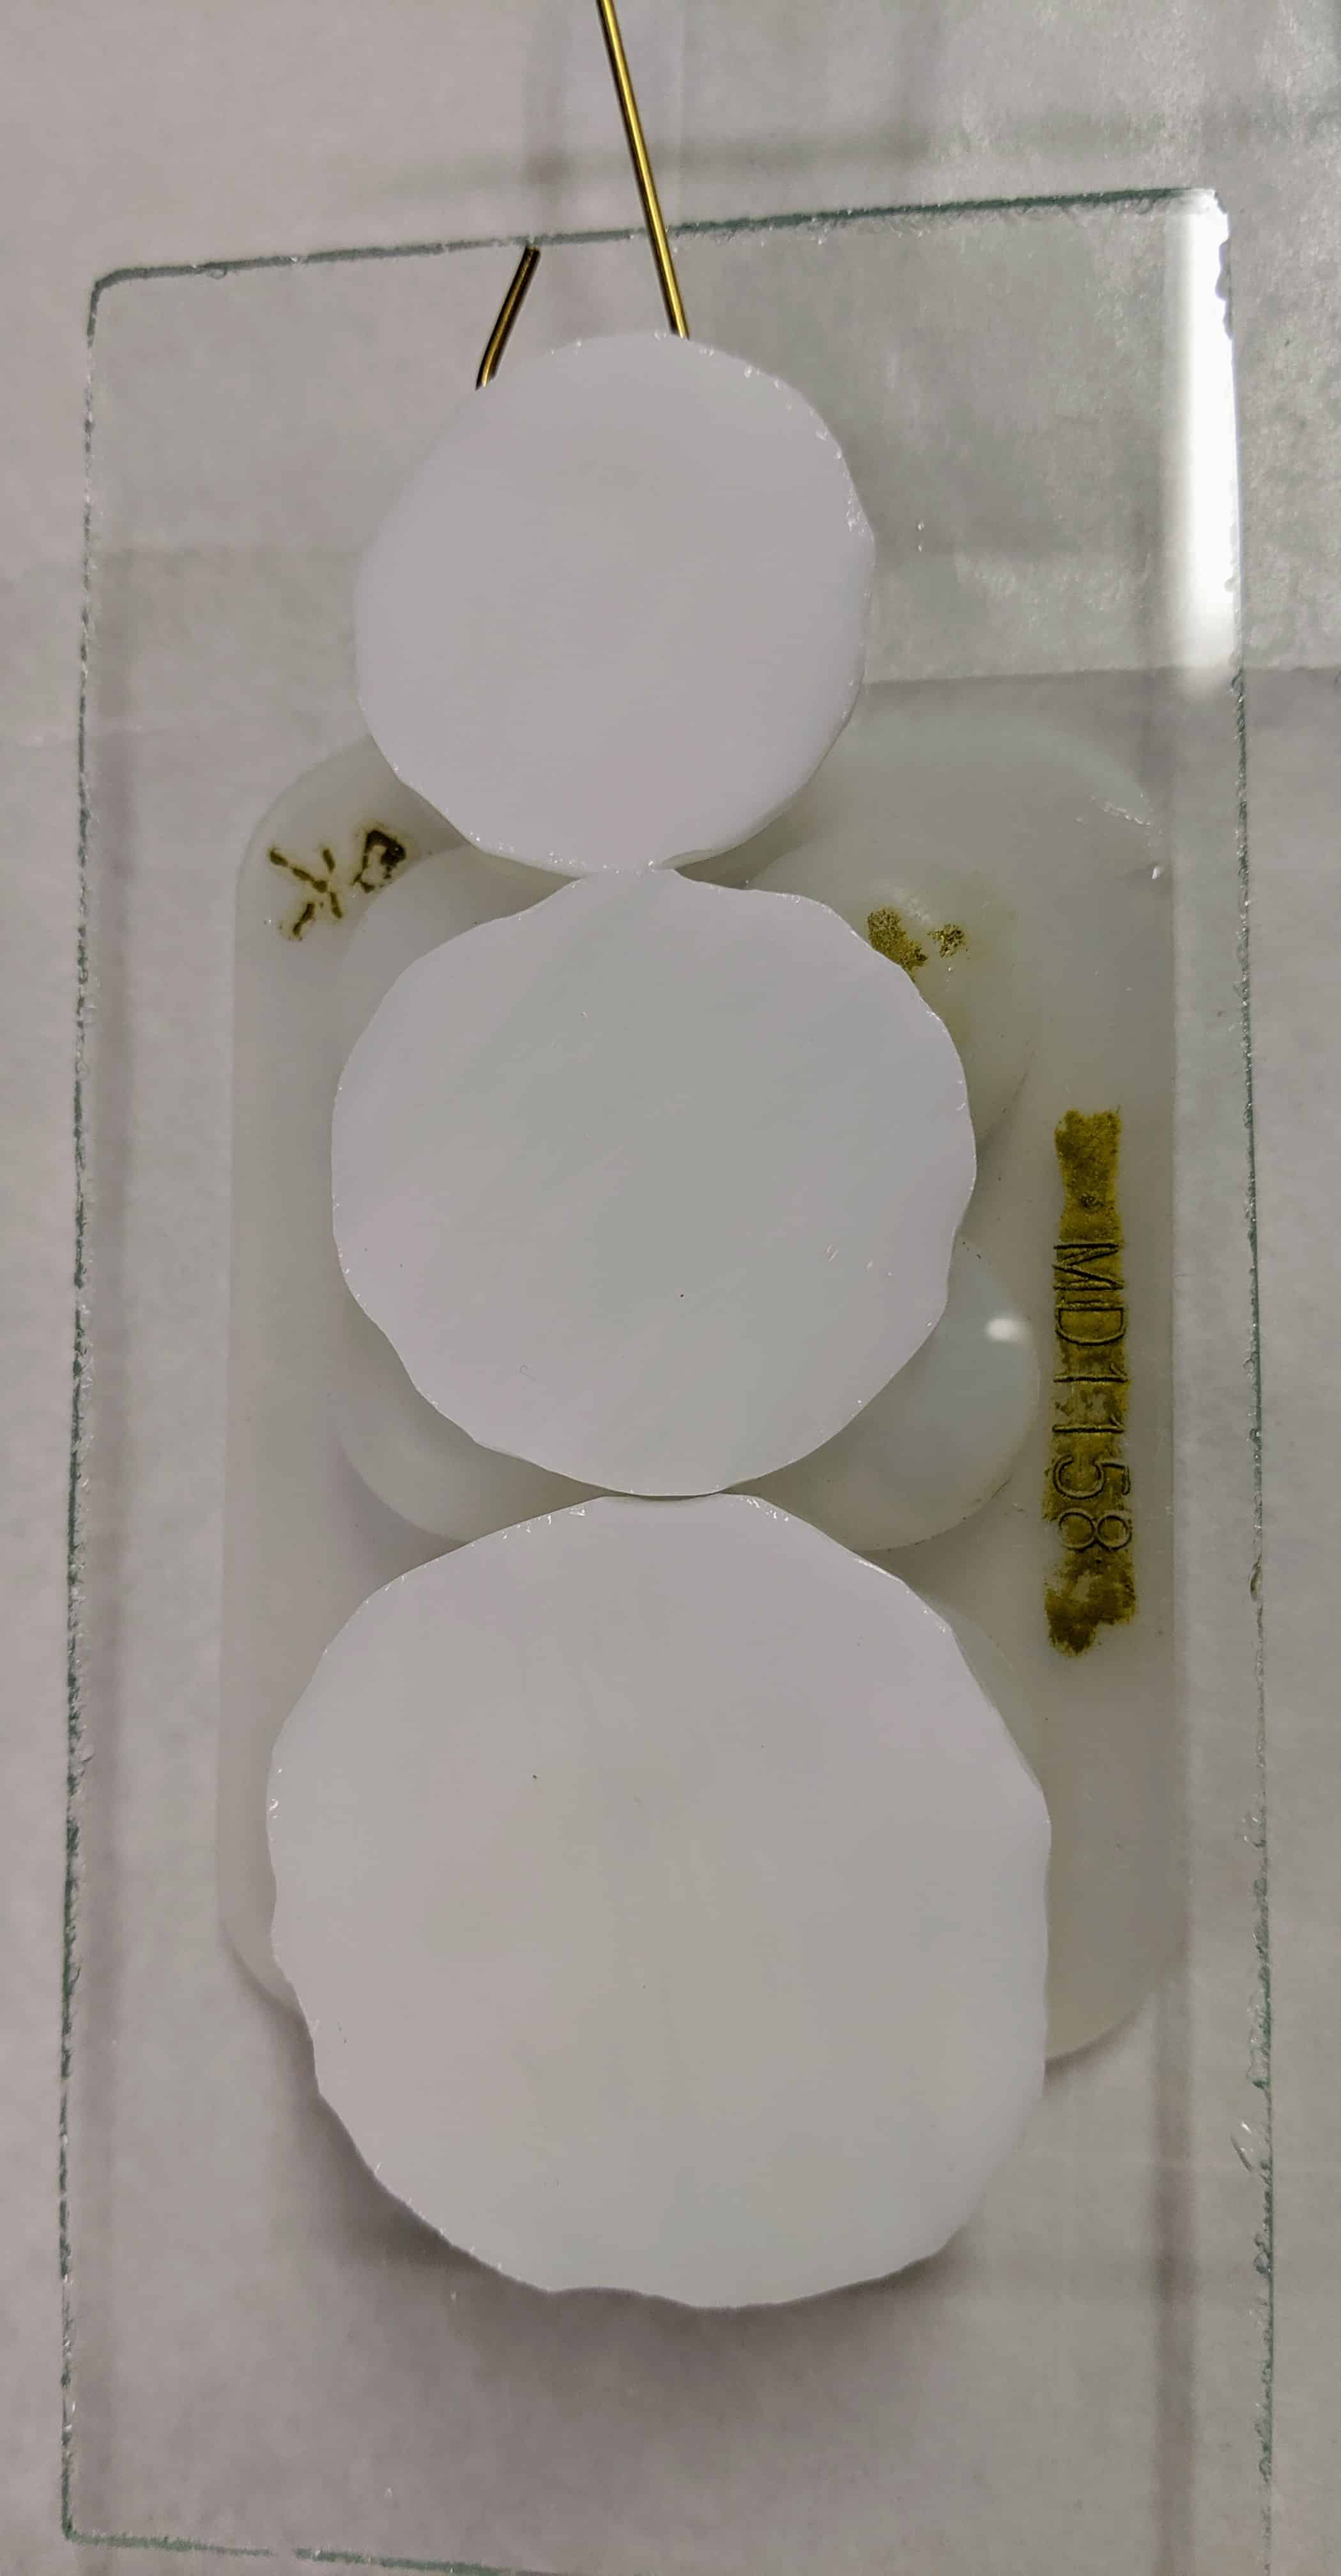
Snowman Suncatcher / Ornament 
Snowman with blue sky 
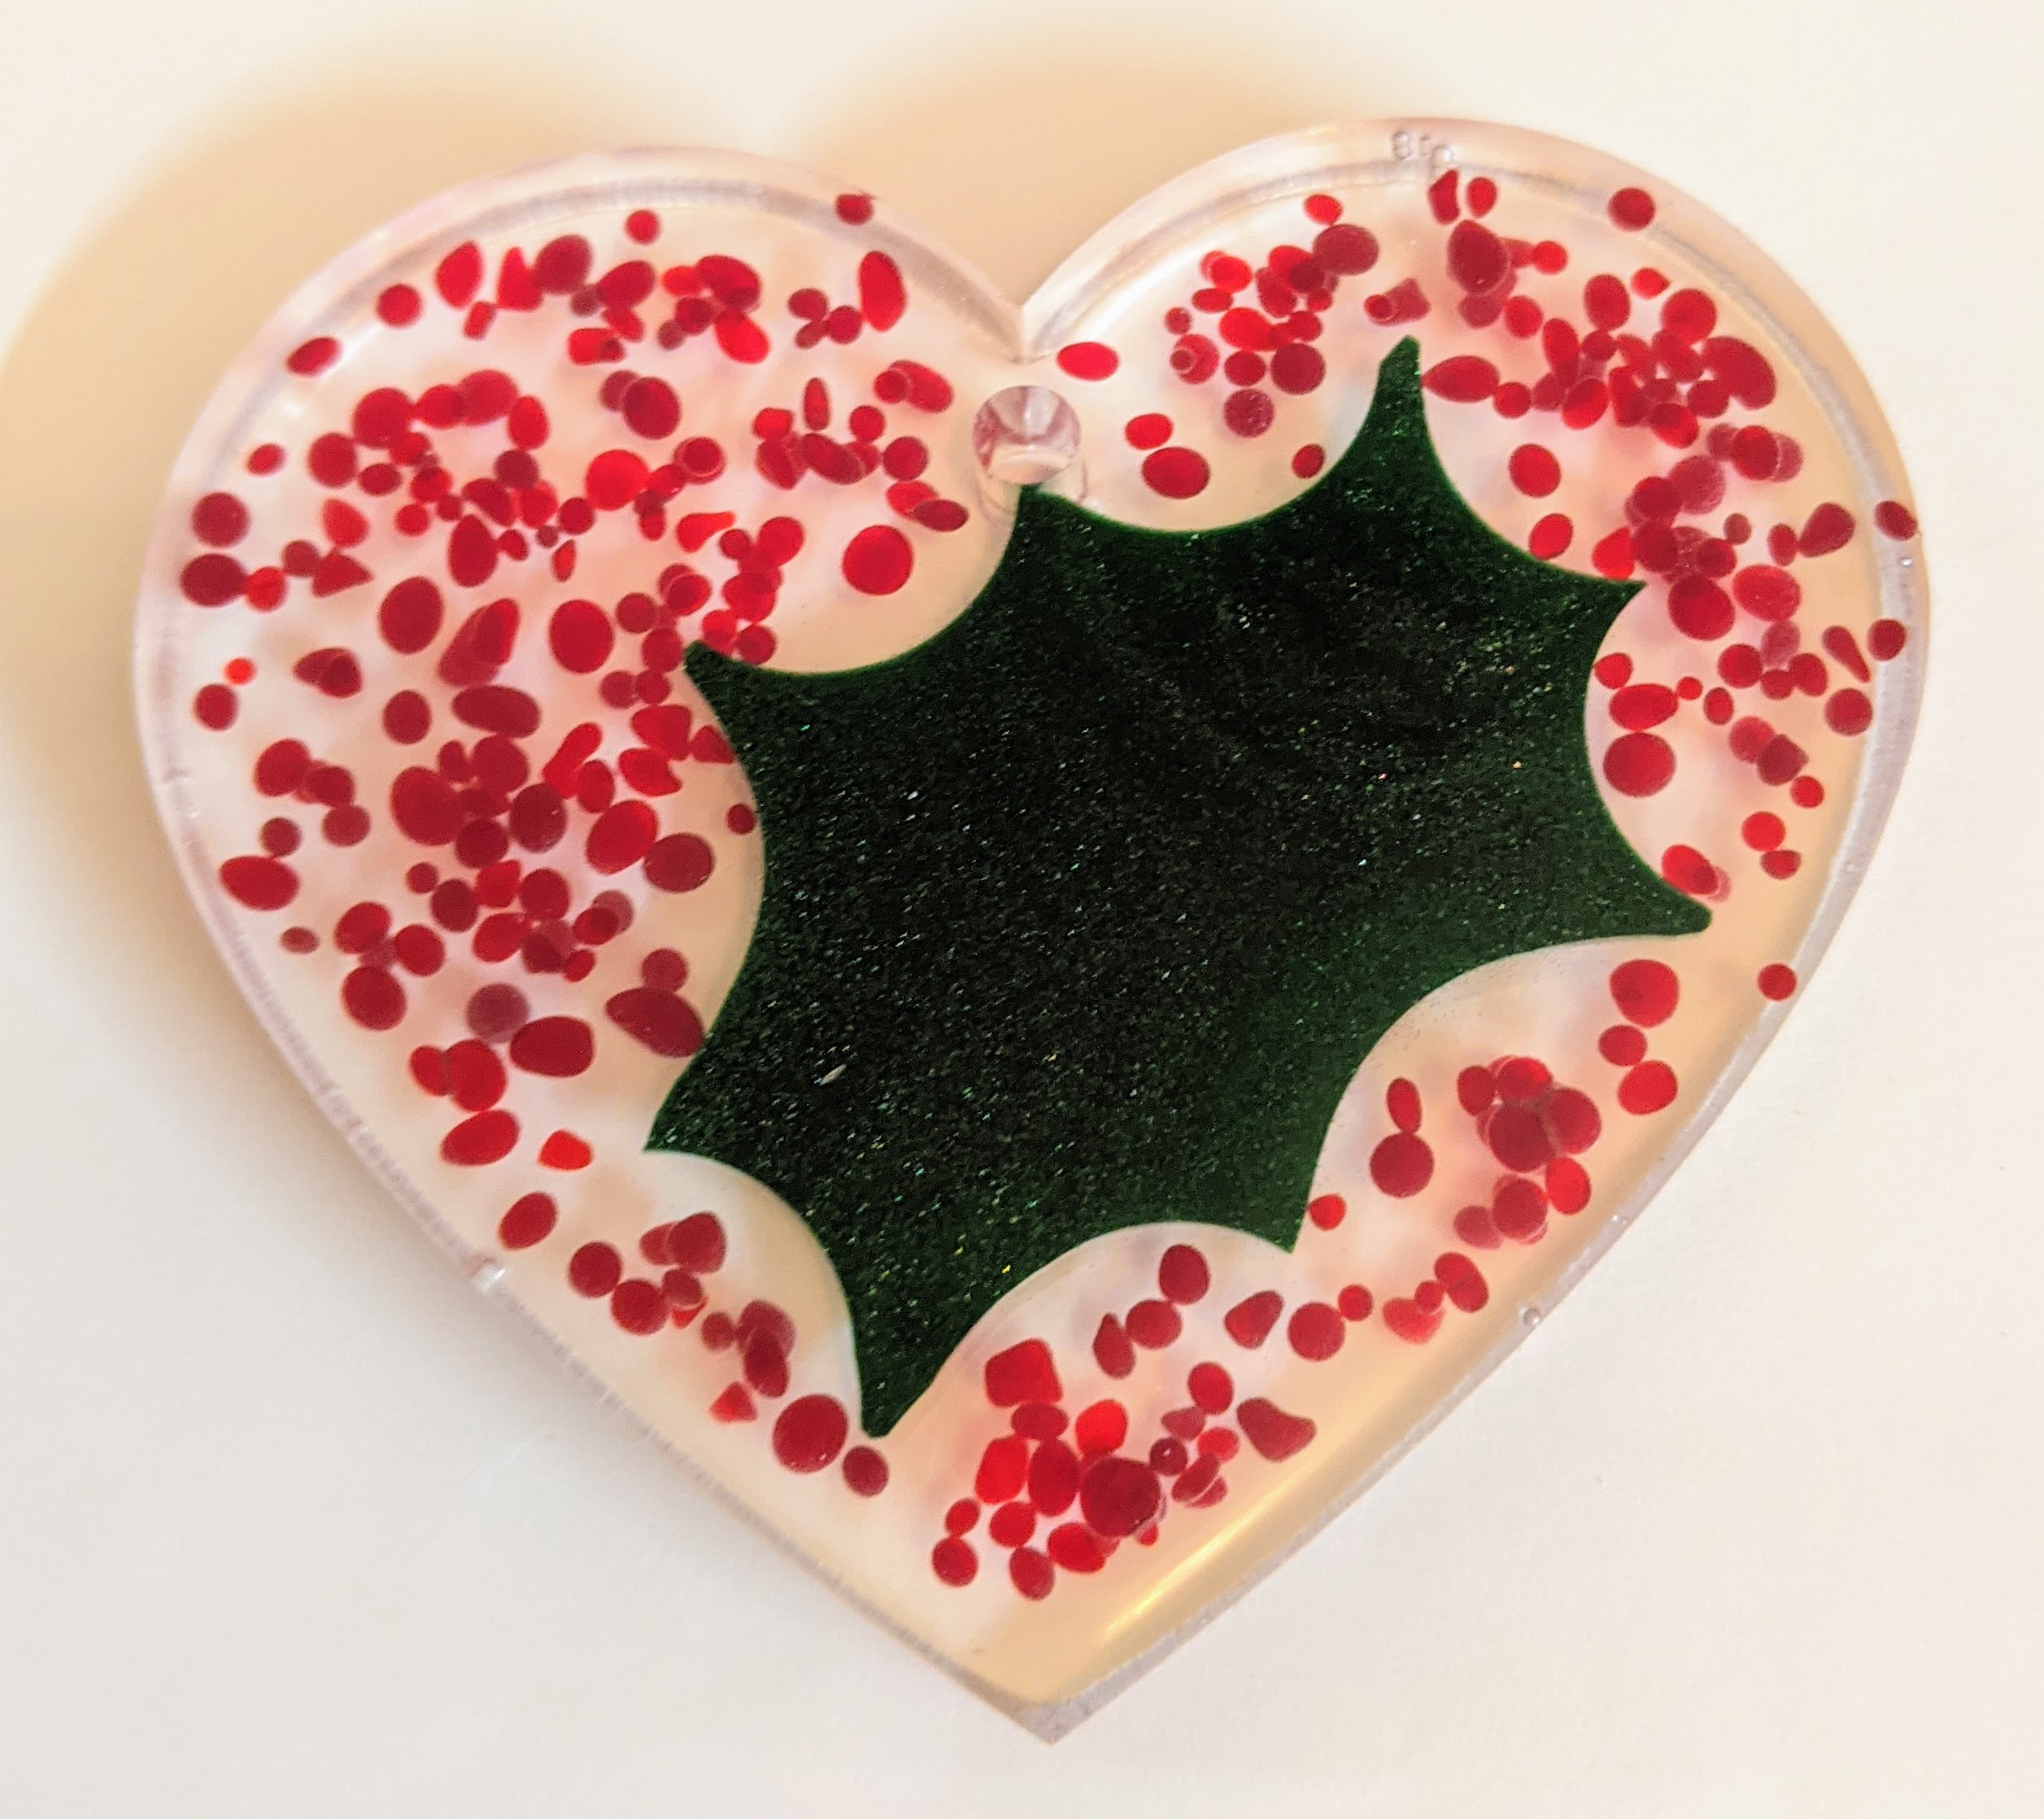
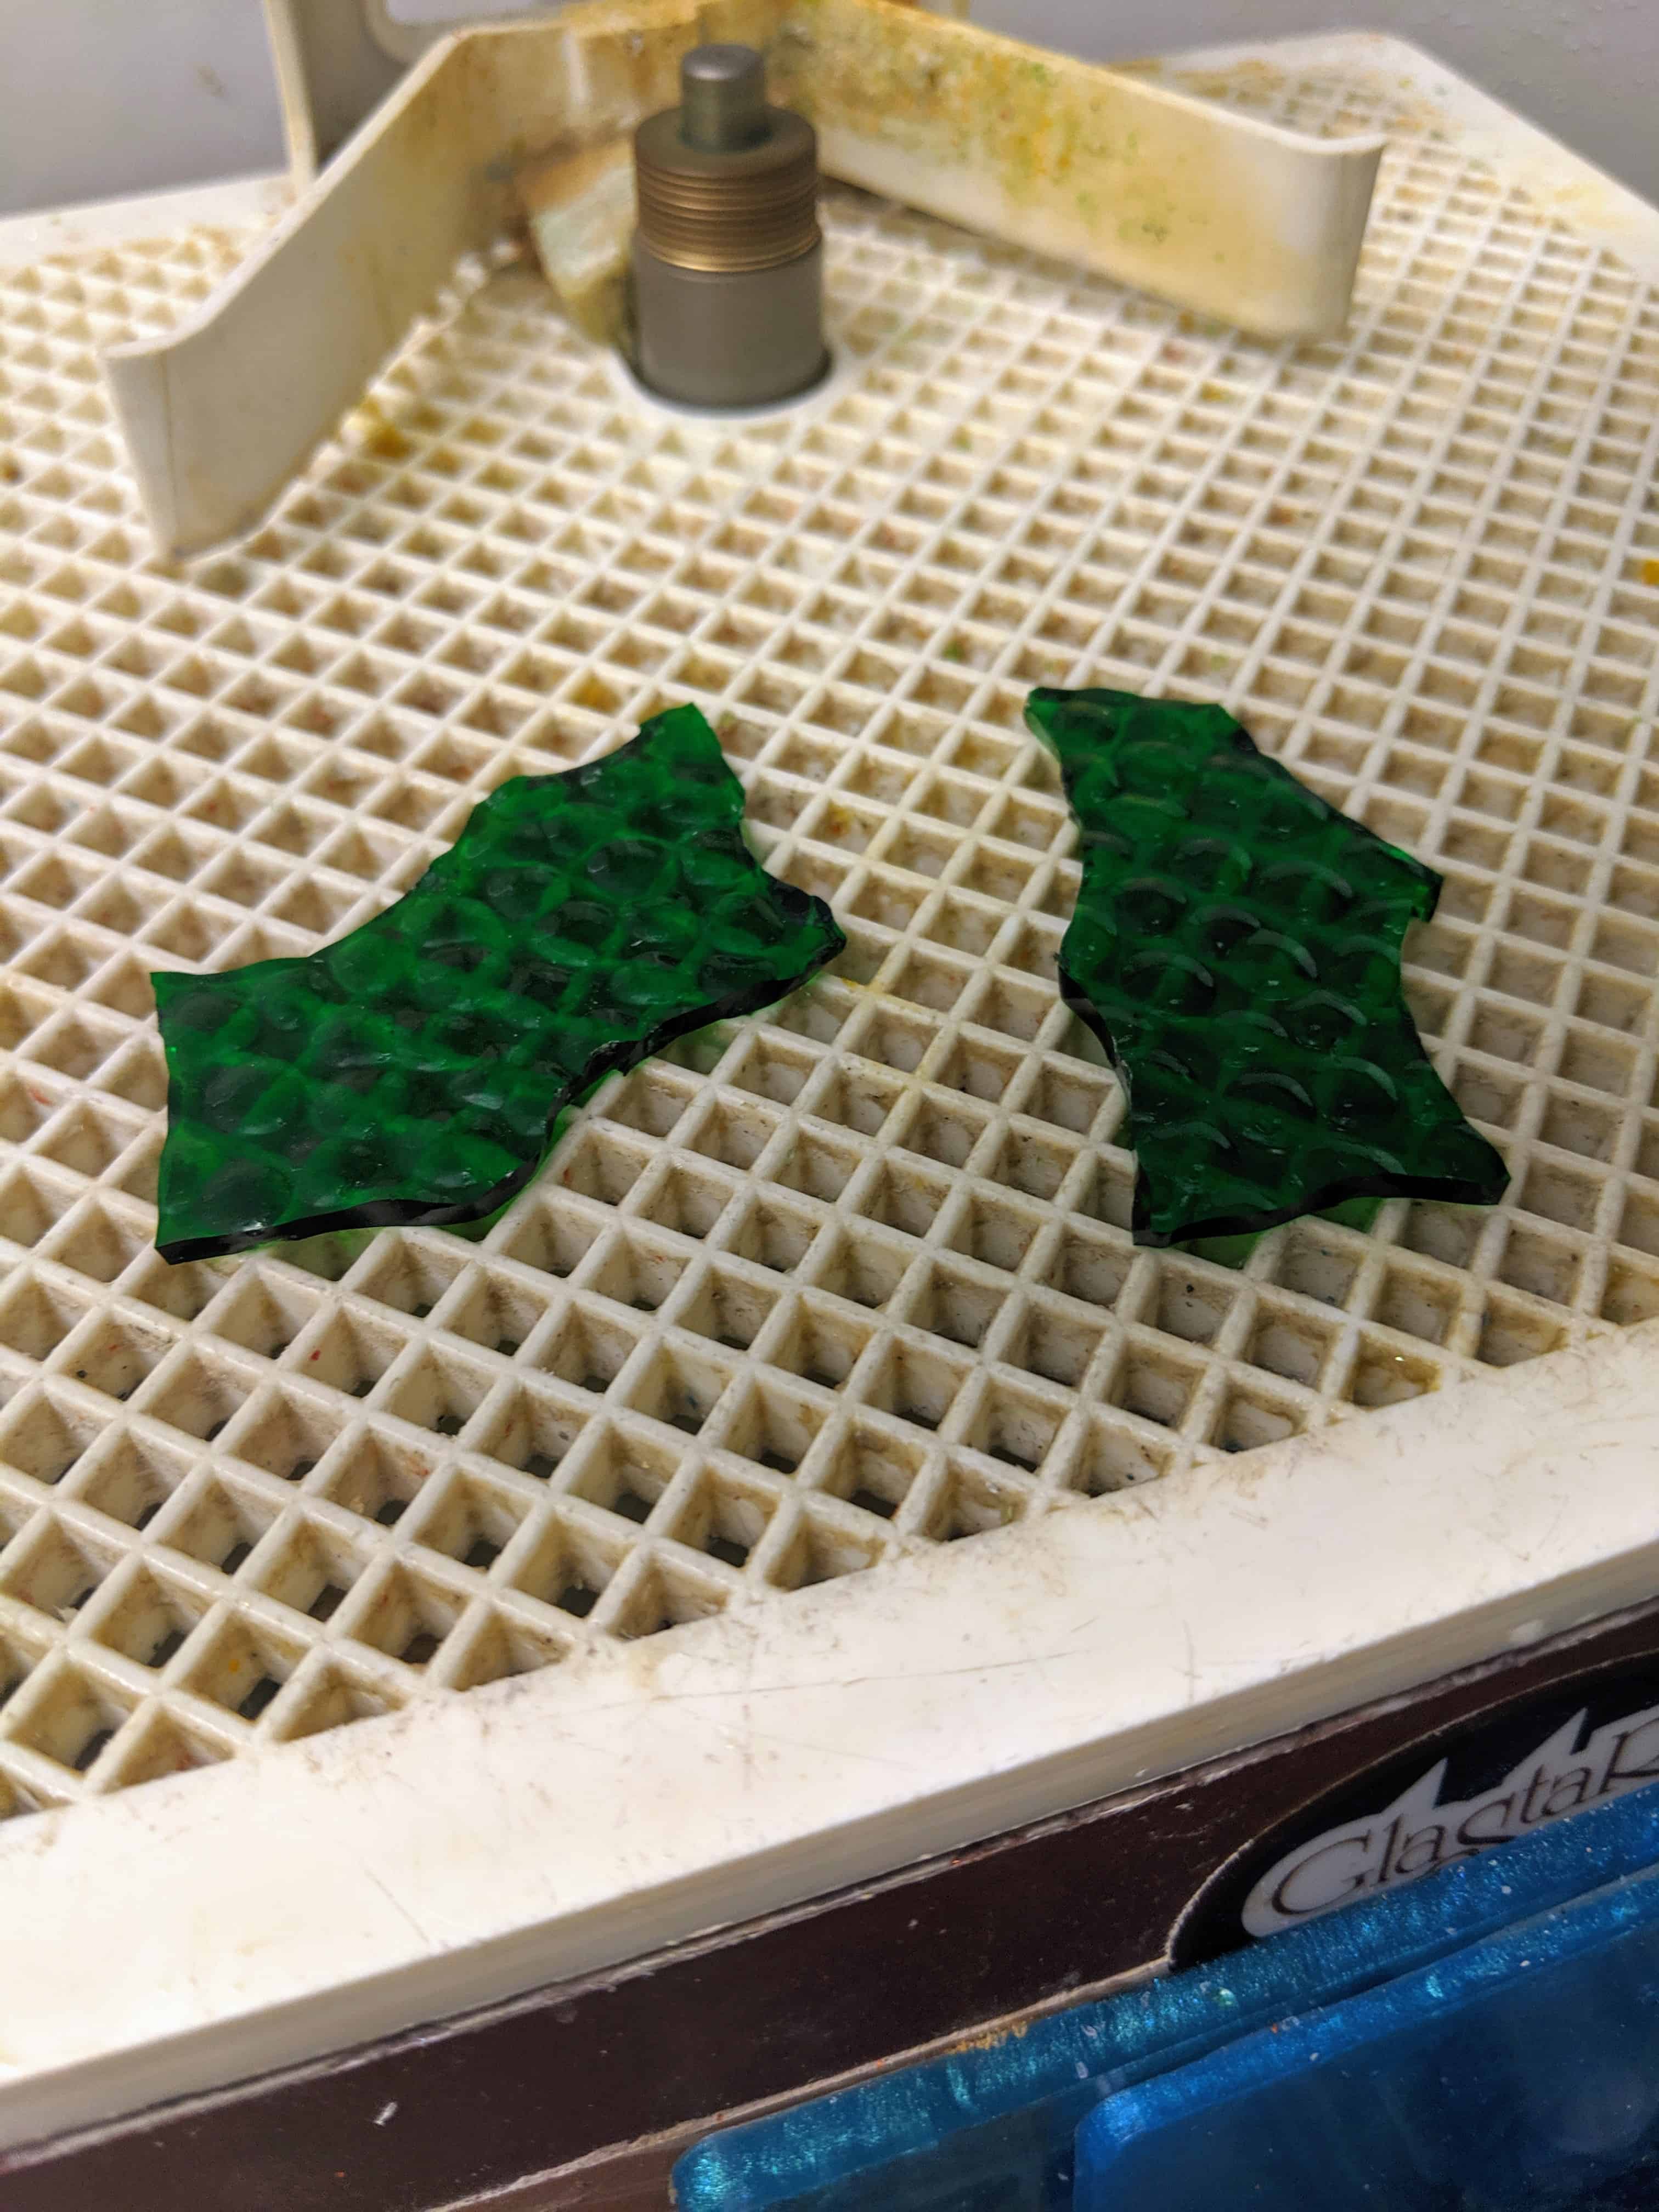
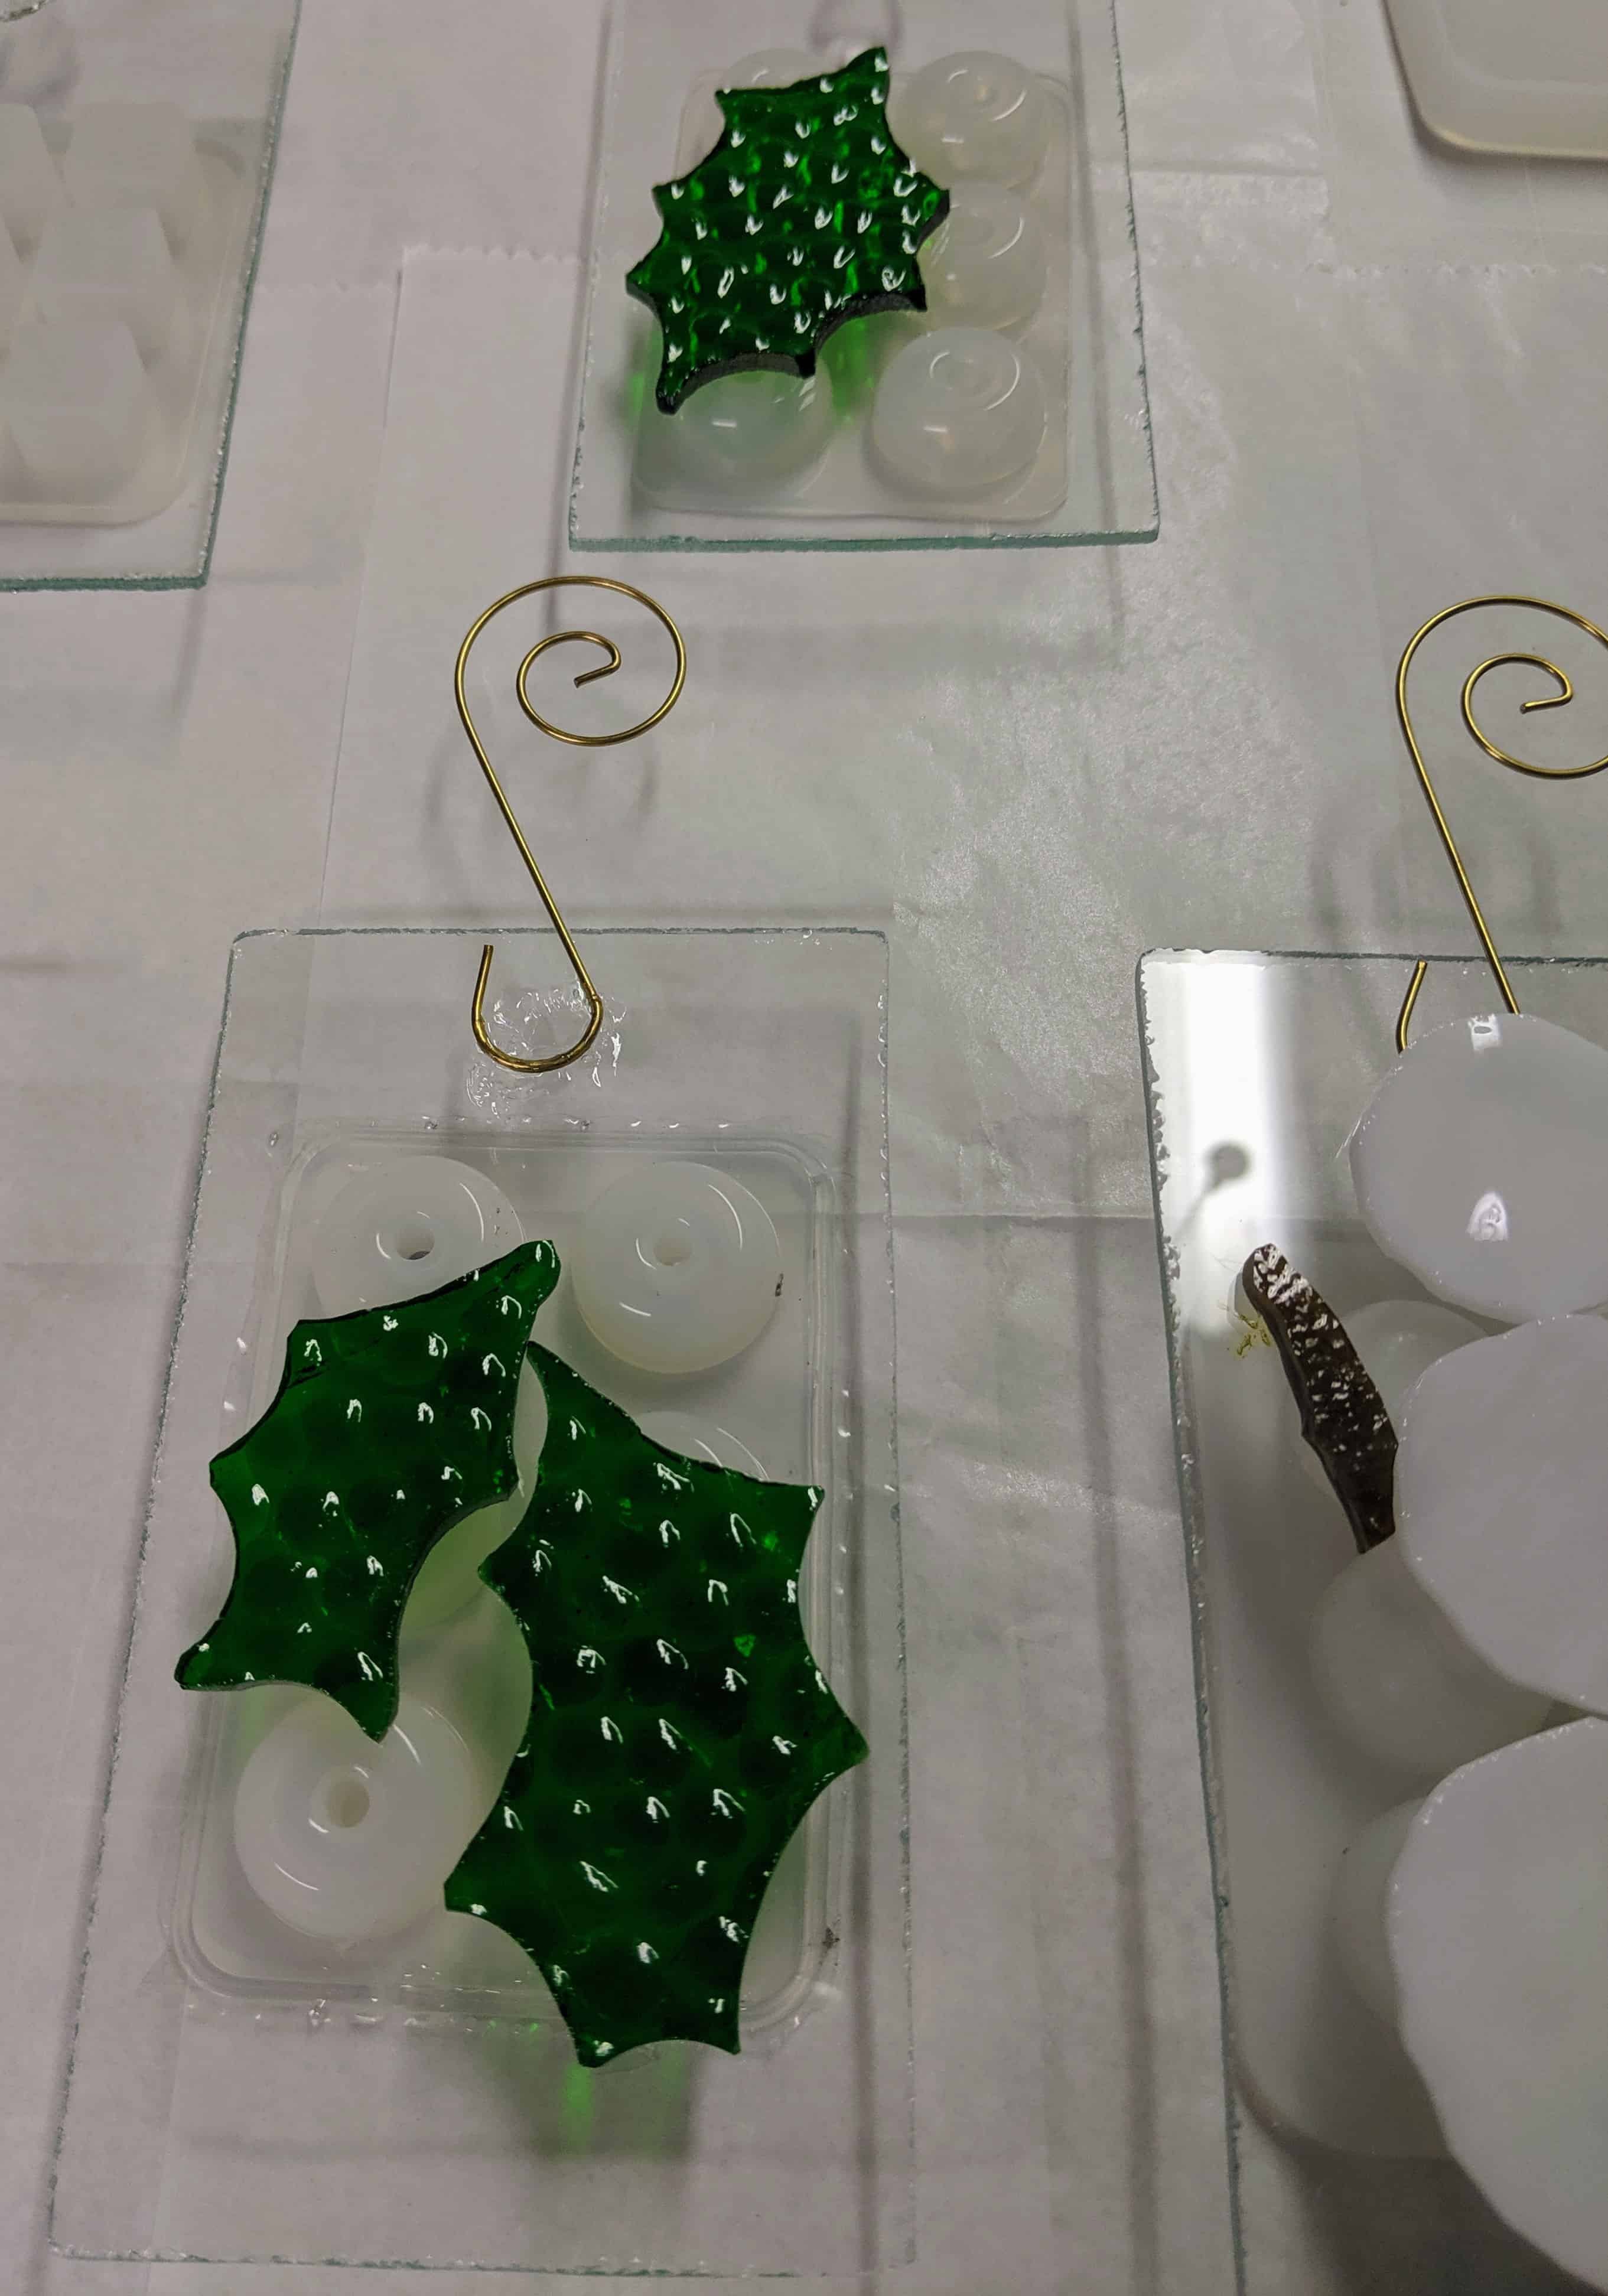
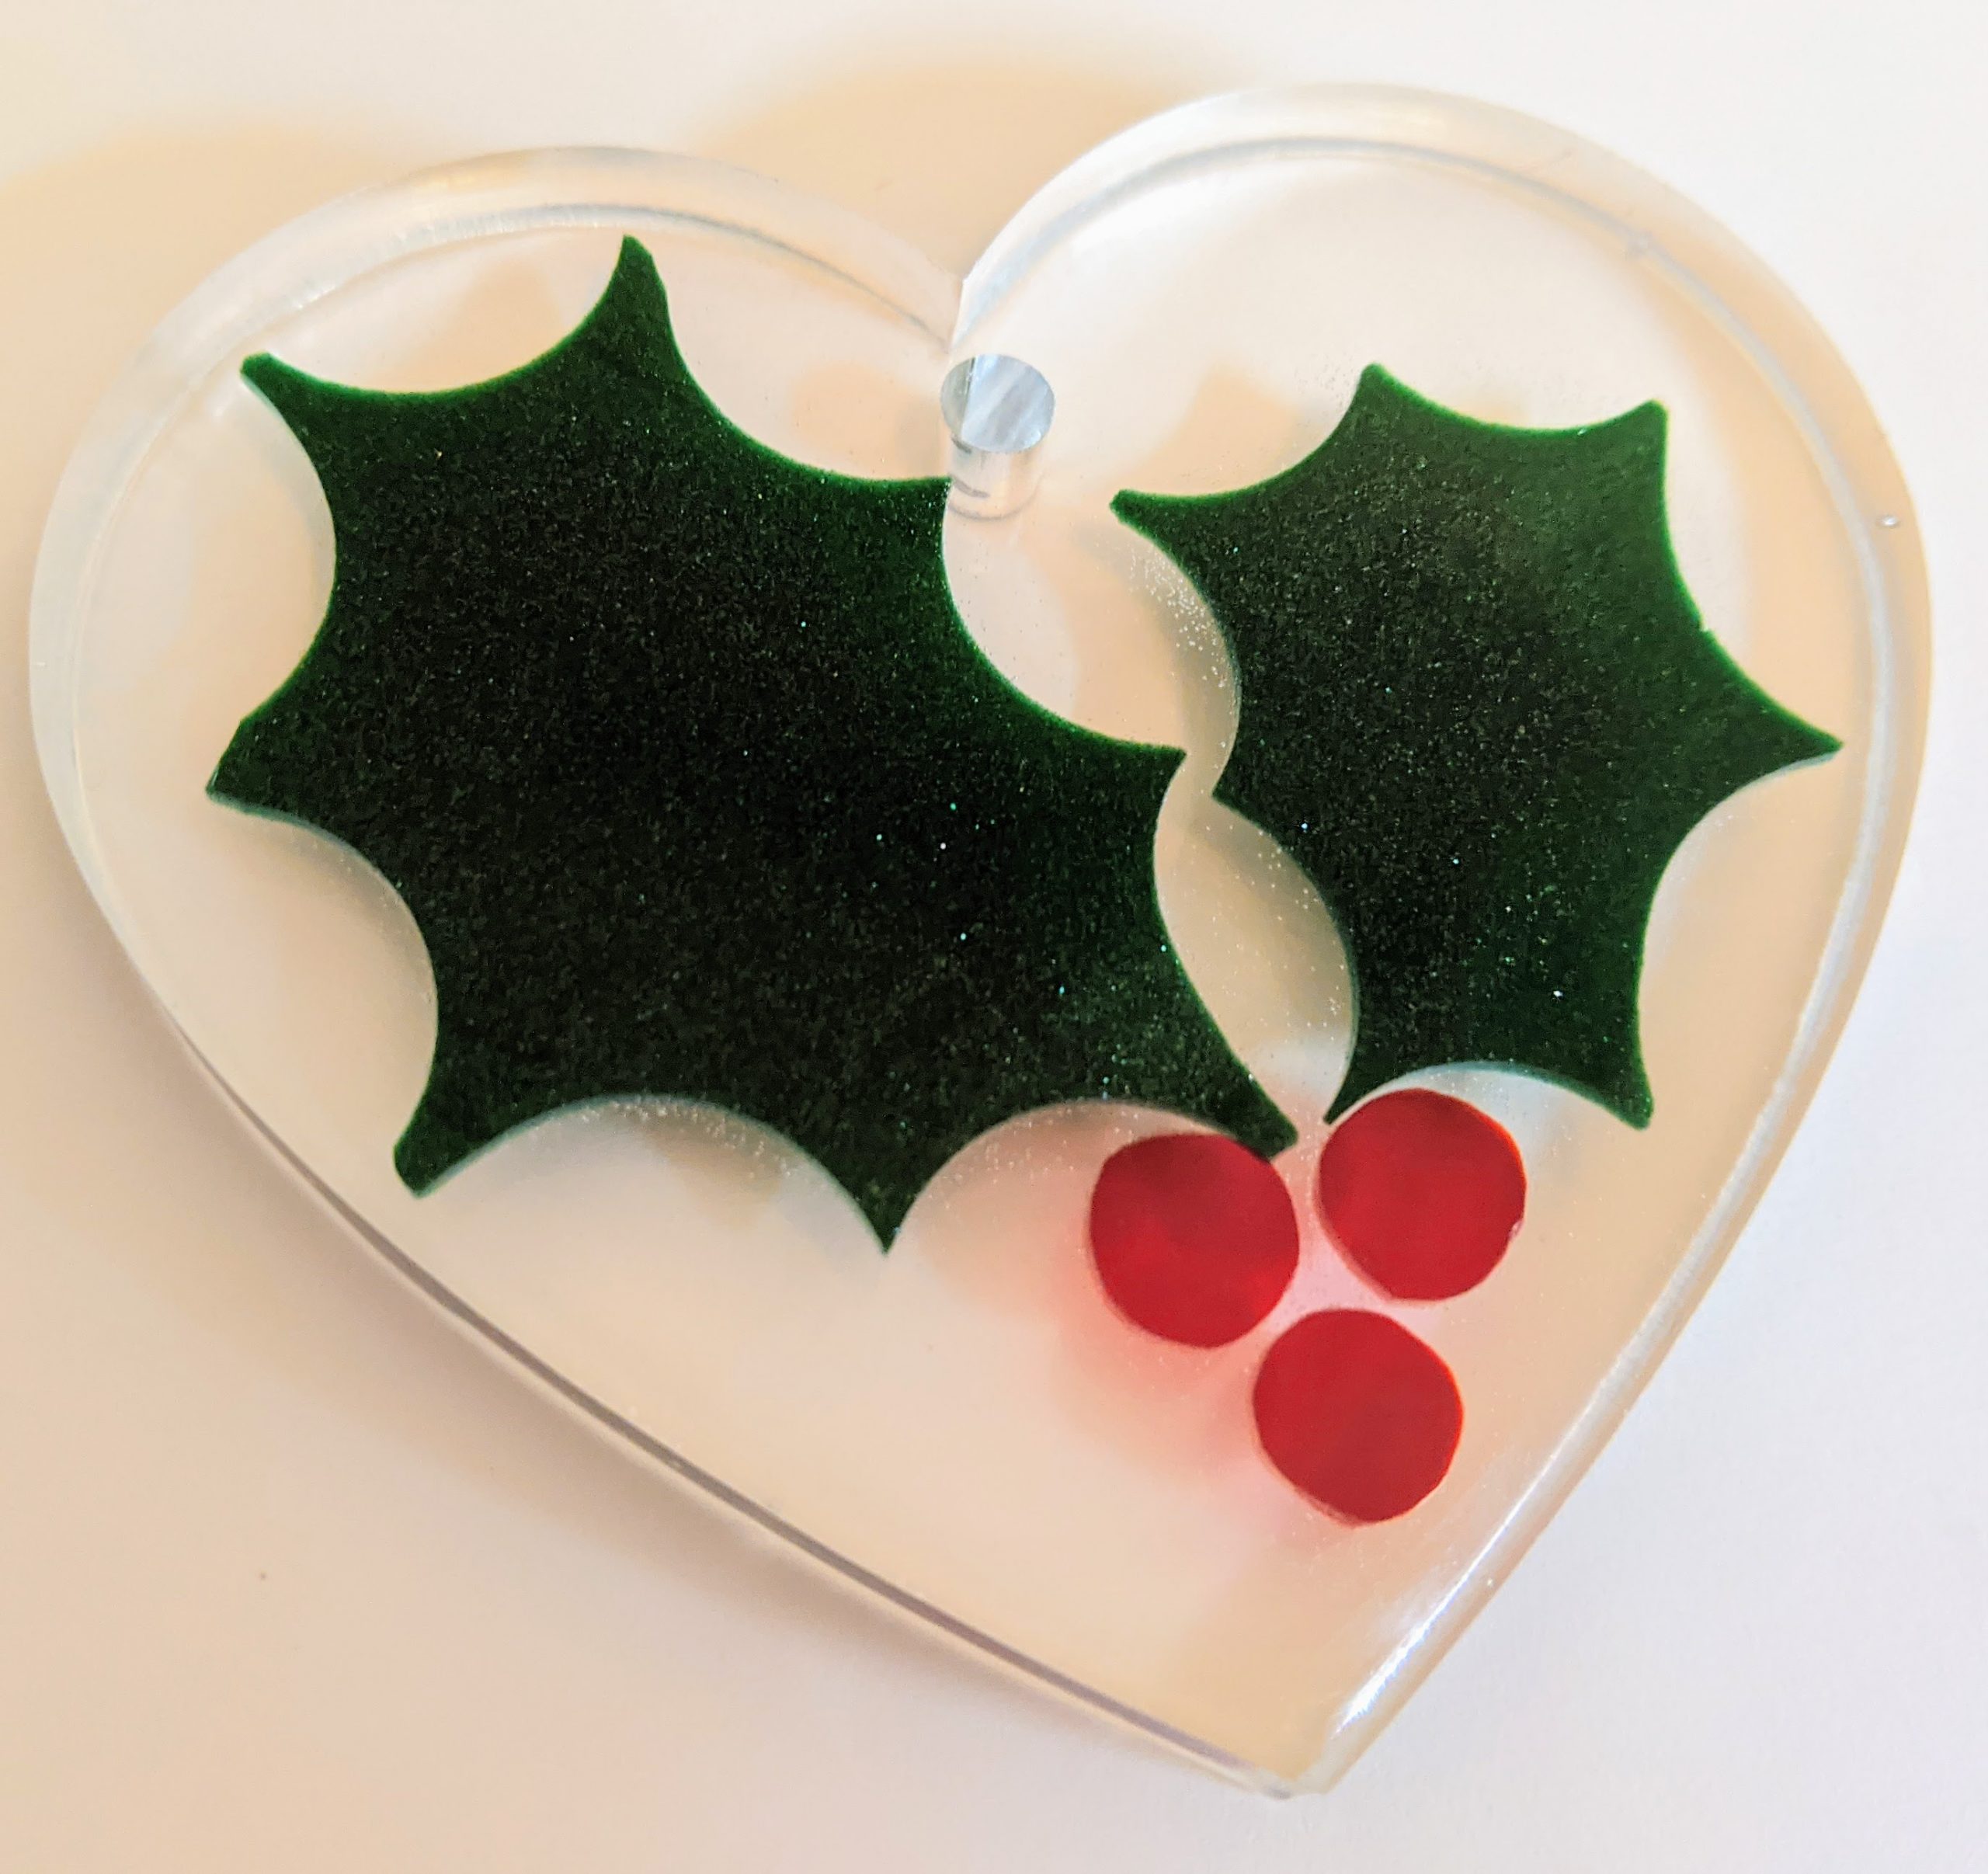
Holly Suncatcher / Ornament 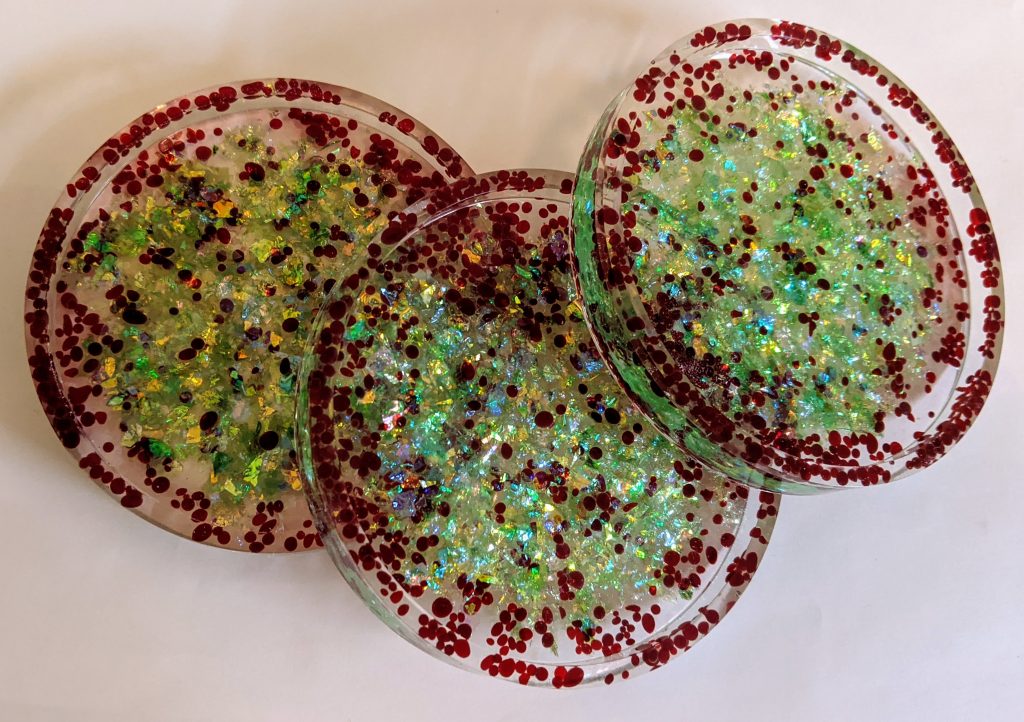
Holiday Confetti Coasters 
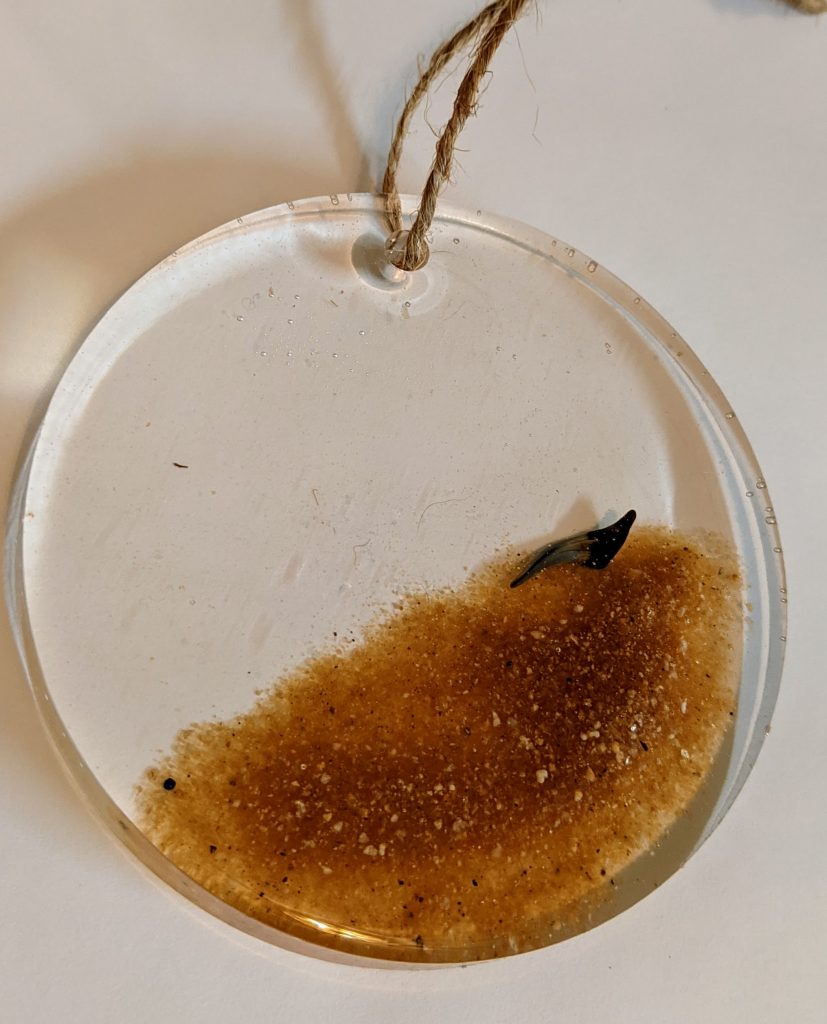
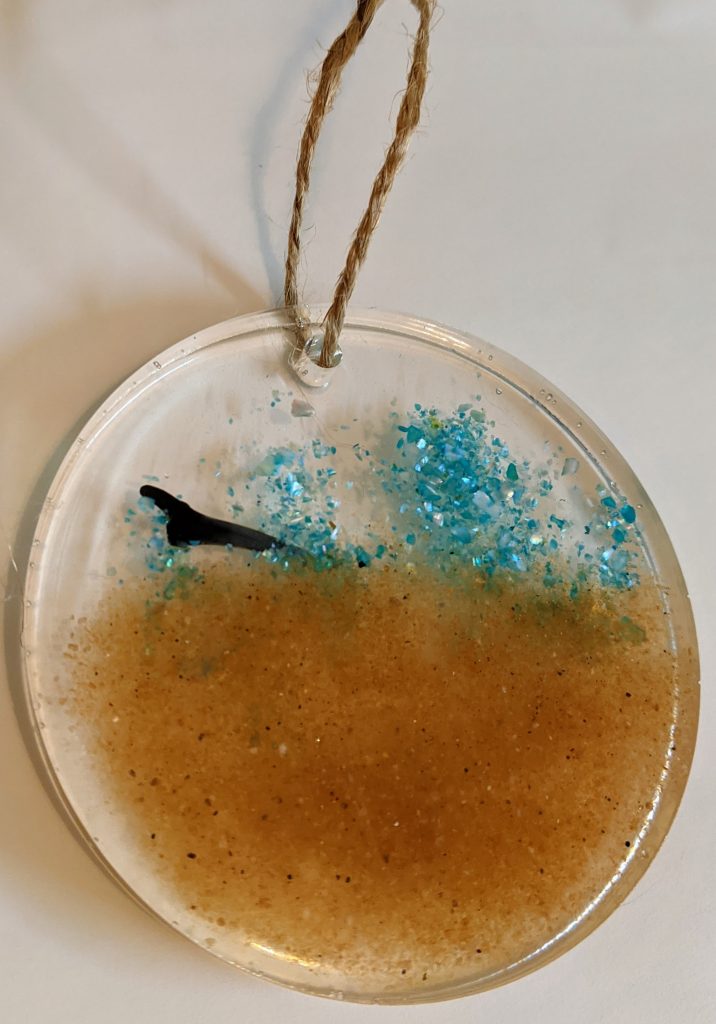
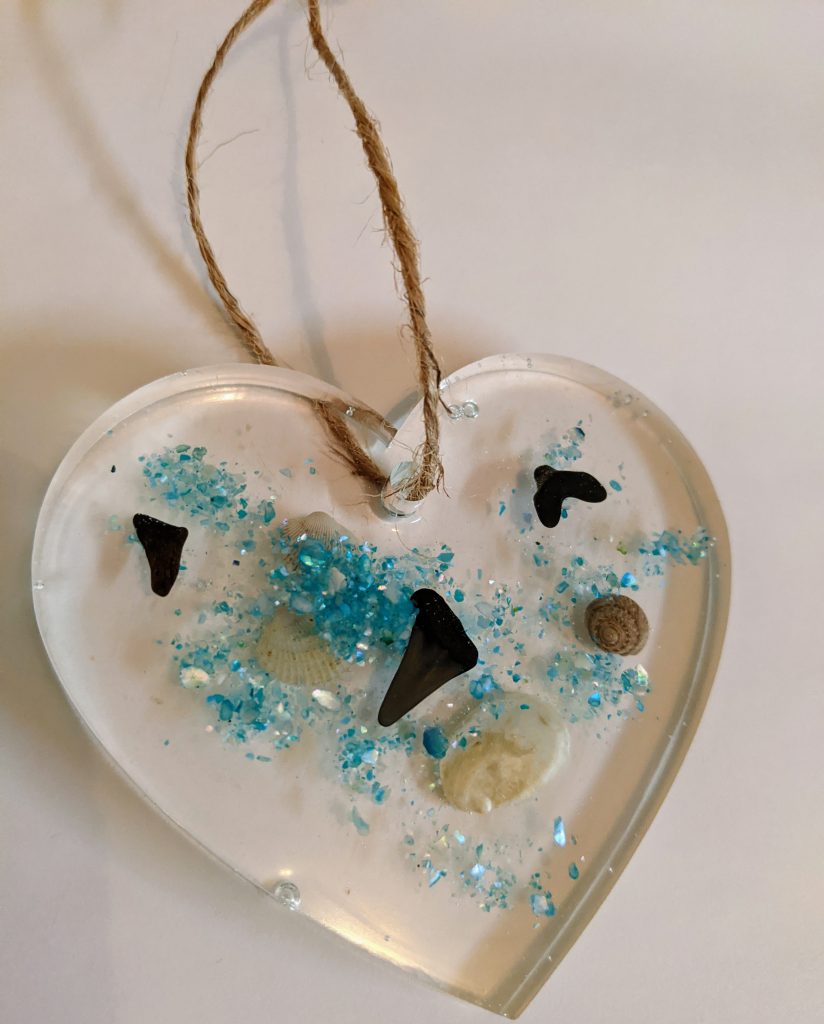
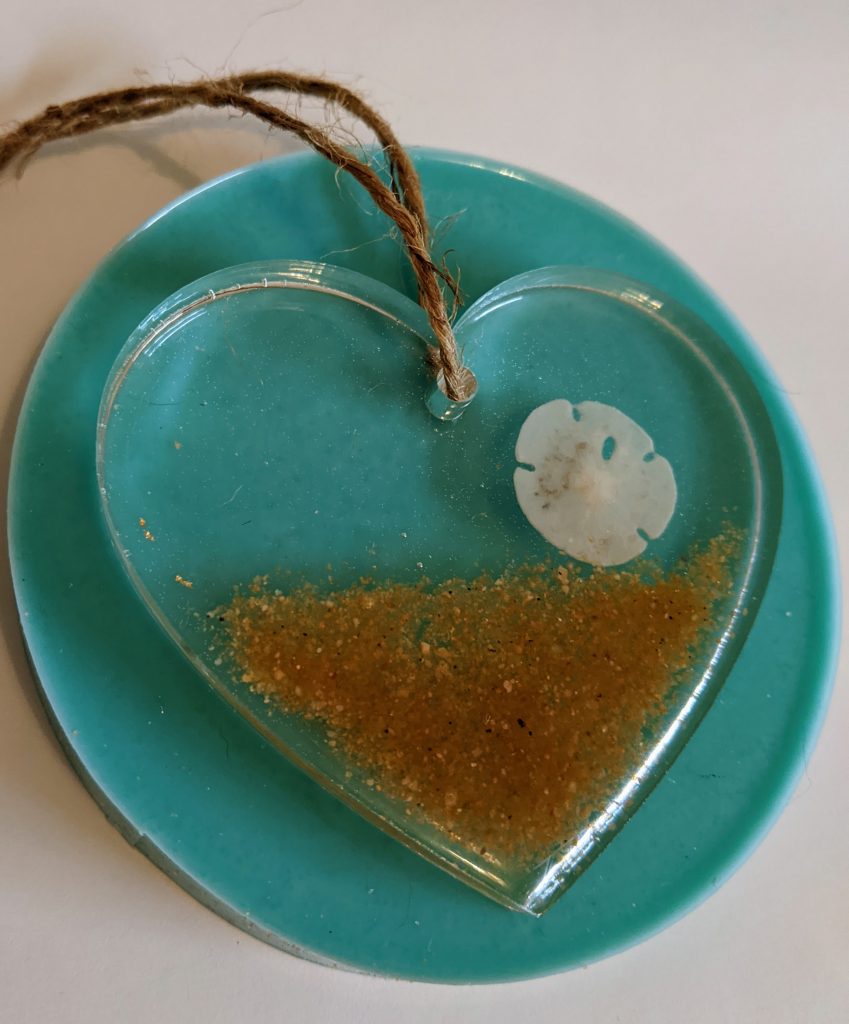
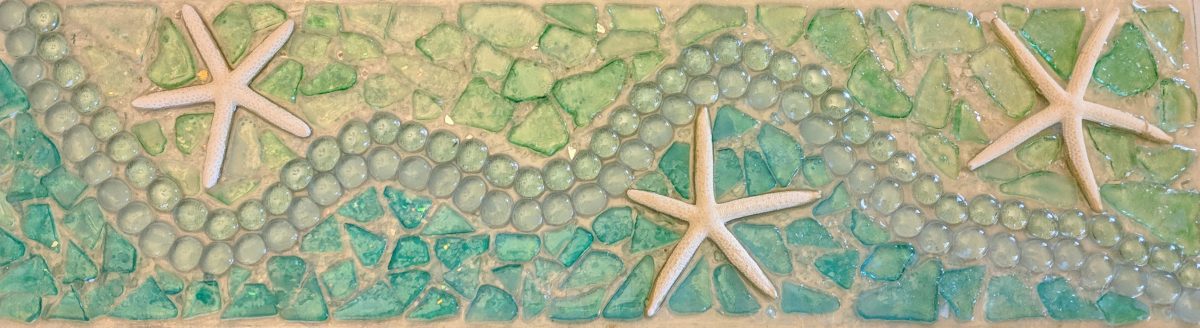
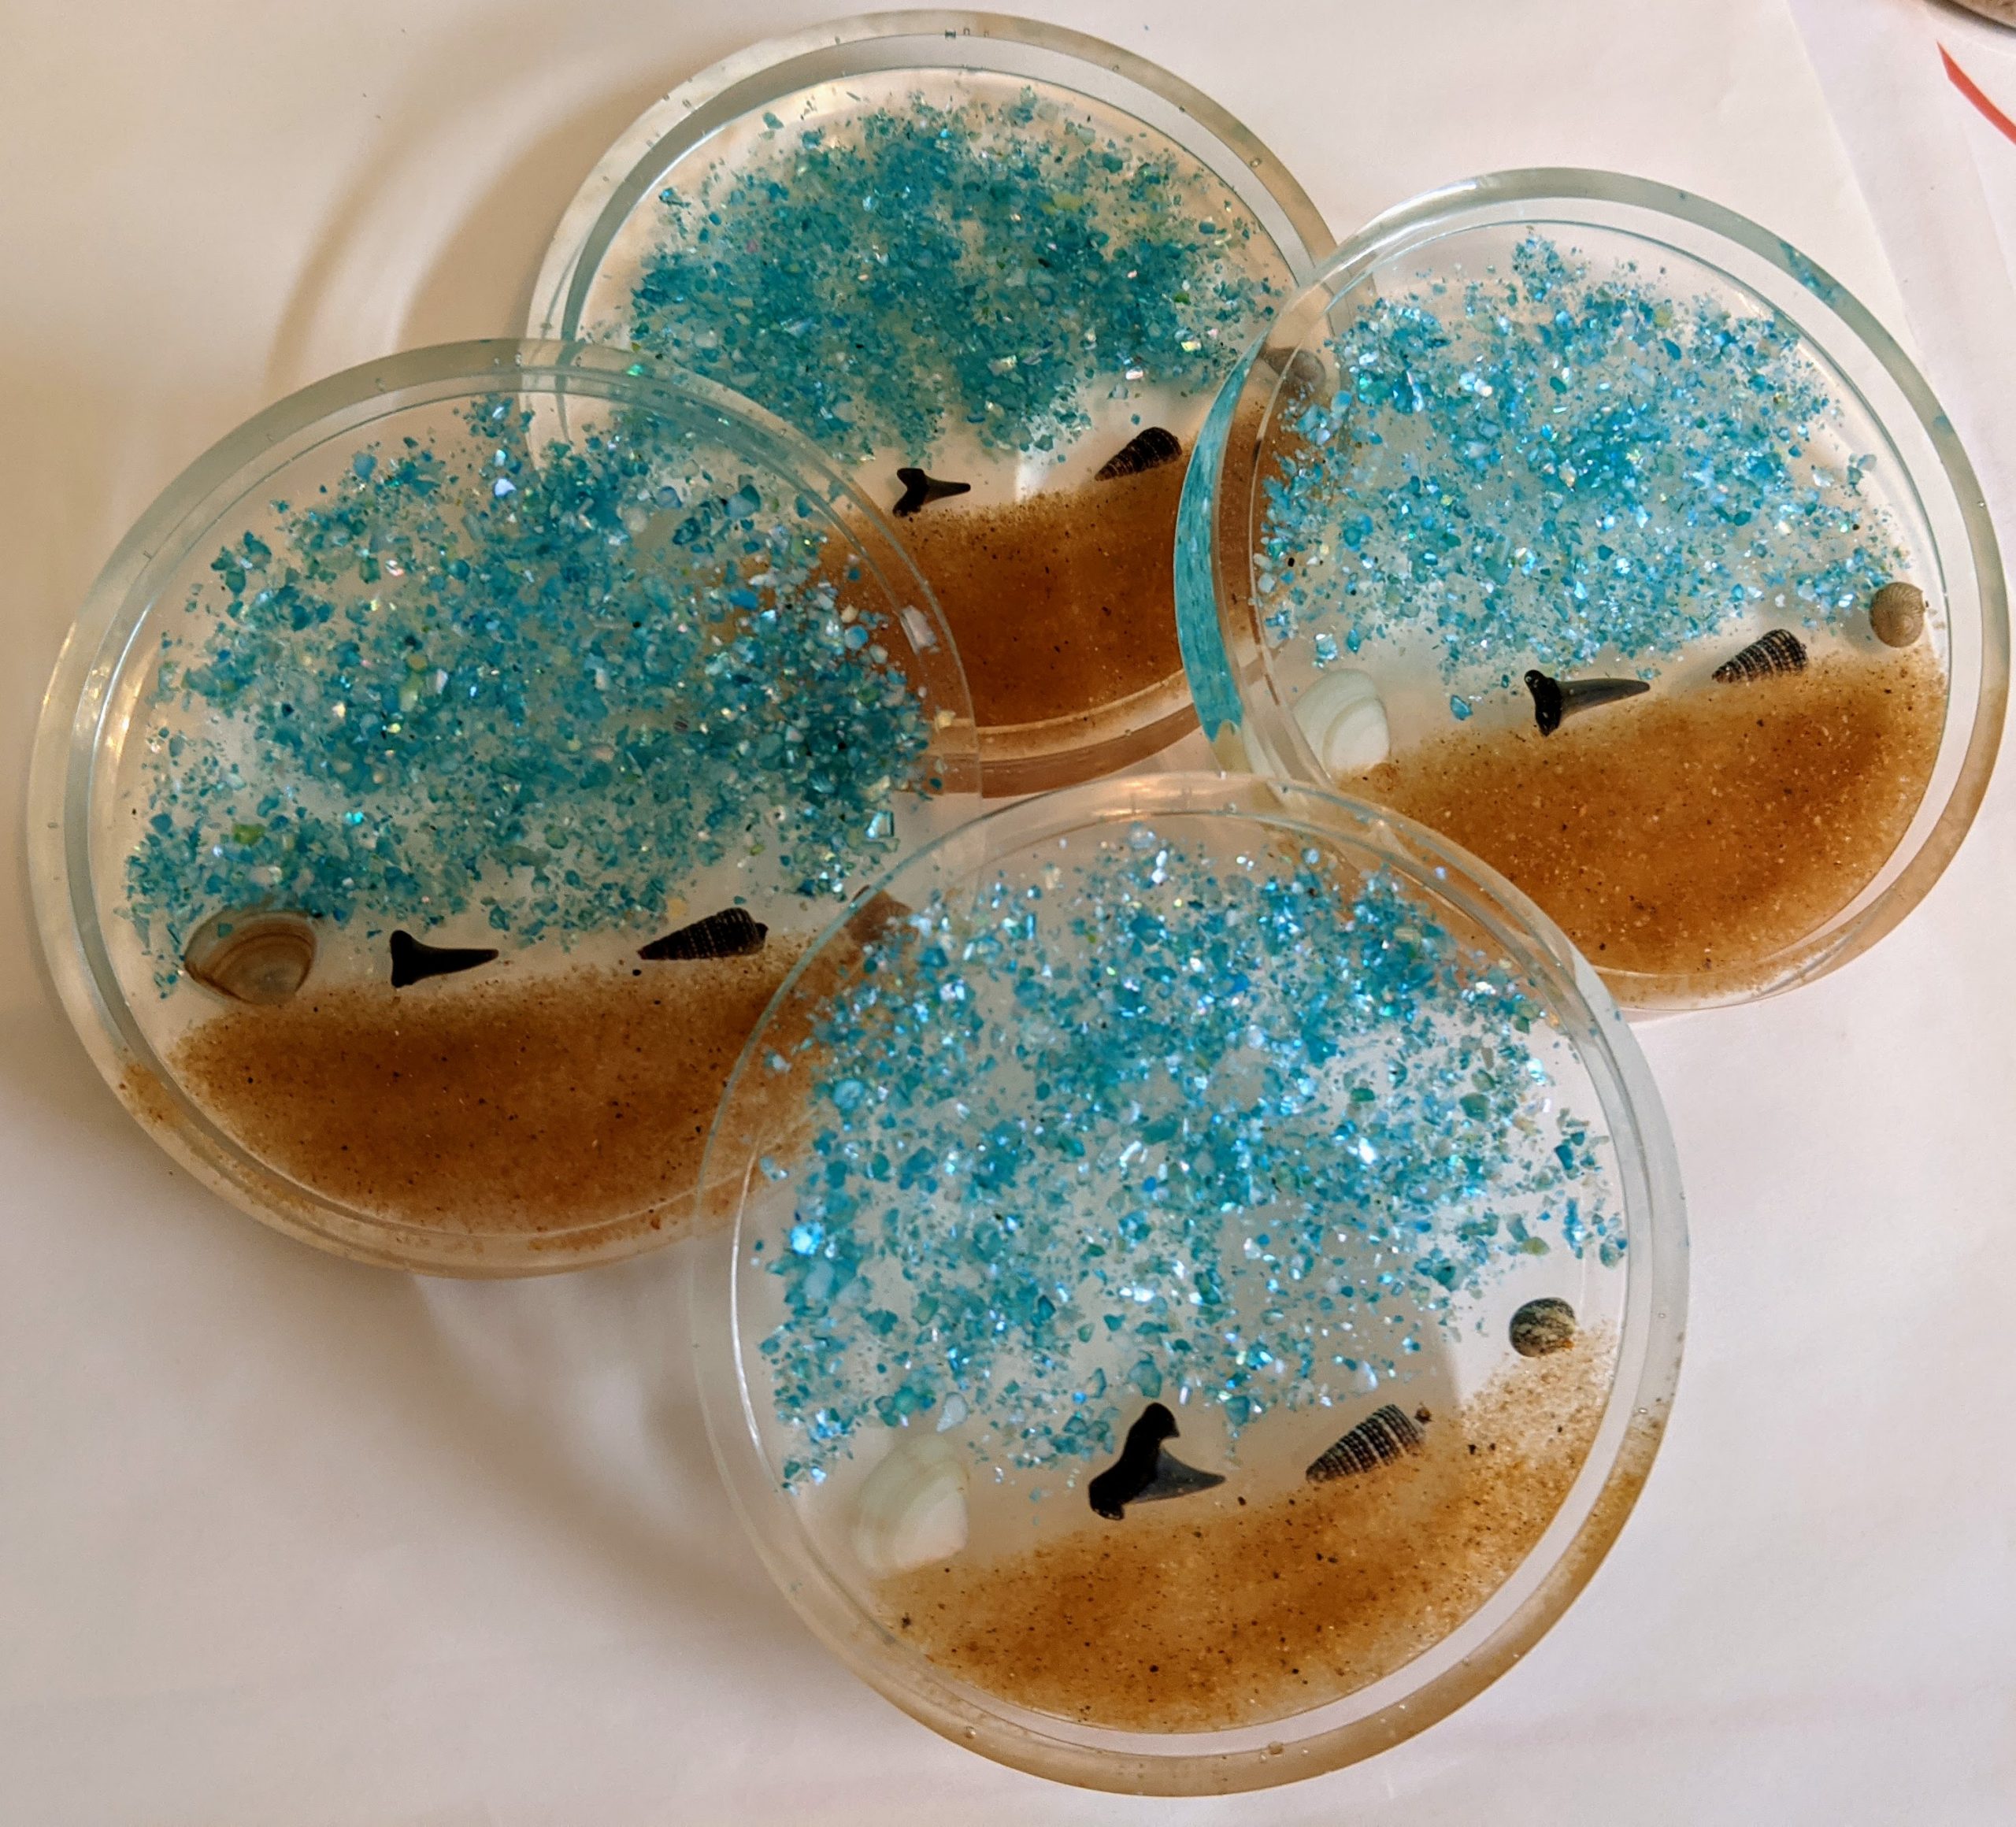
Beachy Coasters

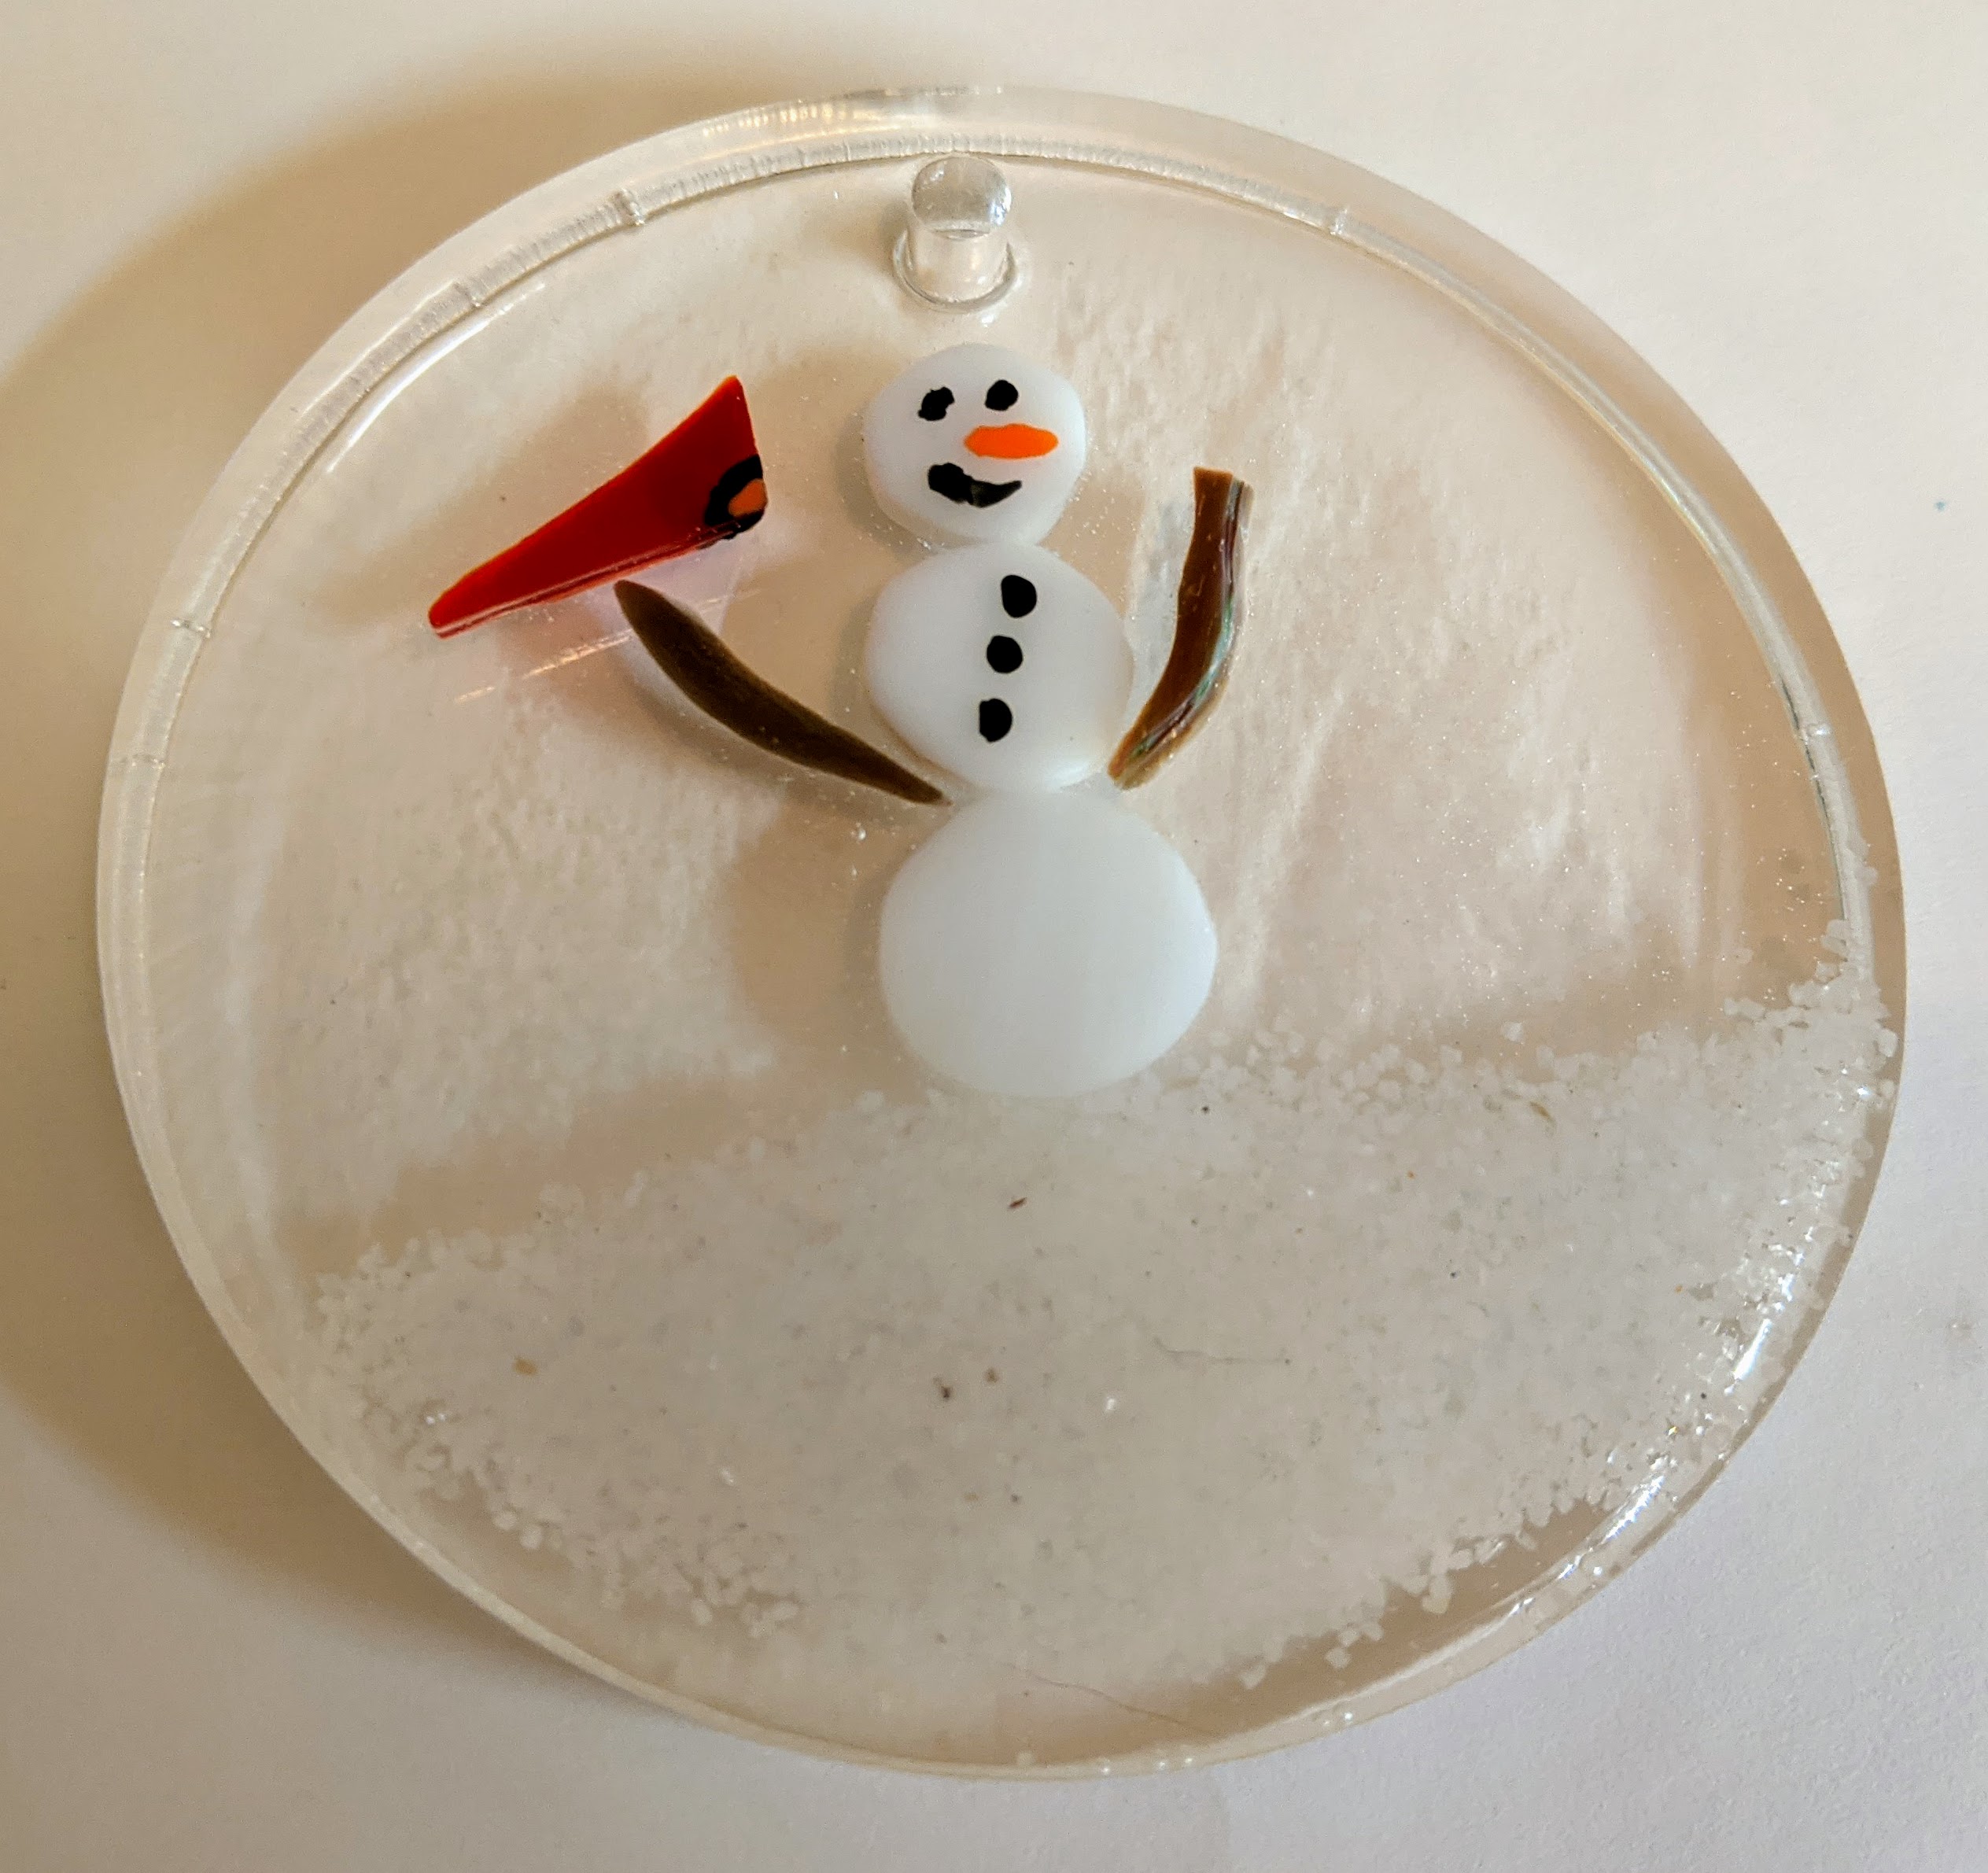

I used some of the fine glass glitter in the Cardinal and Snowman suncatchers / ornaments above and it didn’t turn out as I had hoped. The glitter is sort of cloudy instead of sparkly. It still looks ok, just not the way I expected it to look. It might be better on the surface of my non-mold resin projects, so I will keep experimenting.