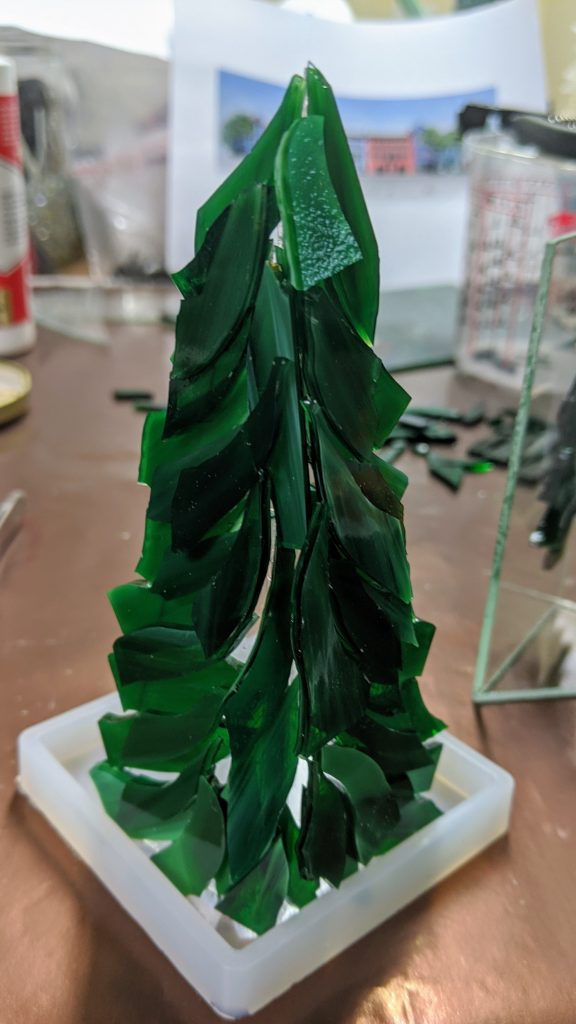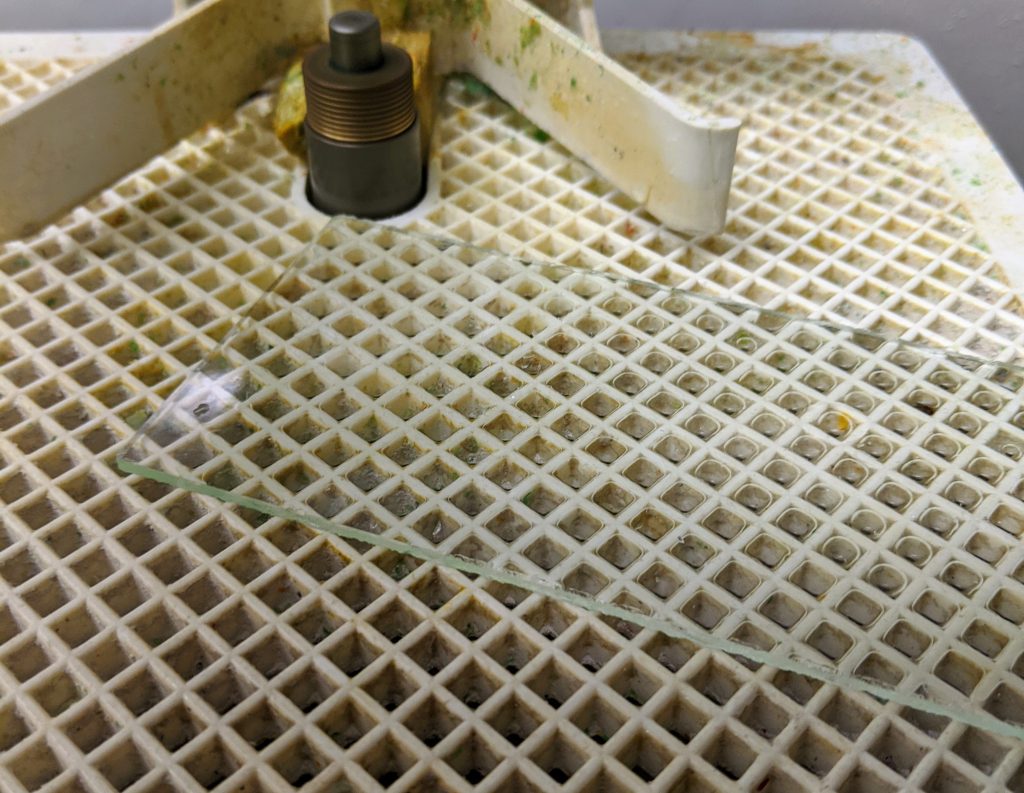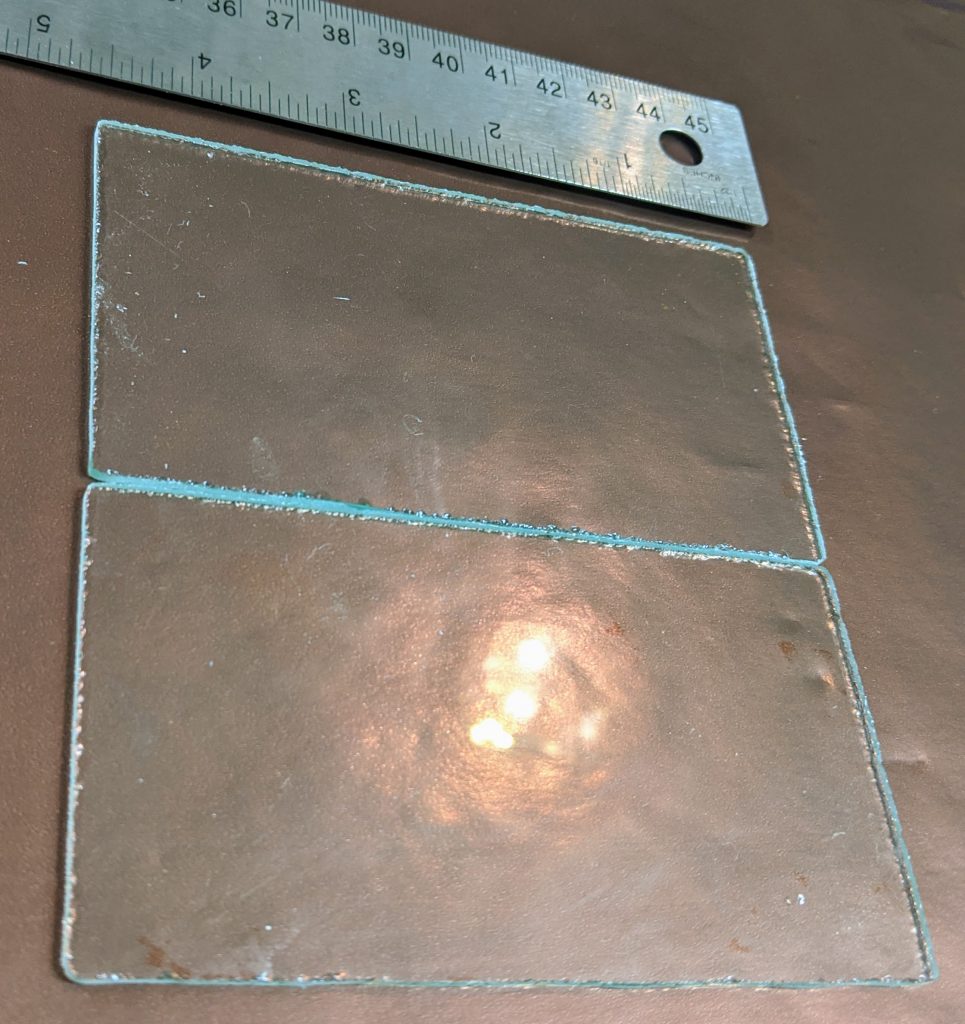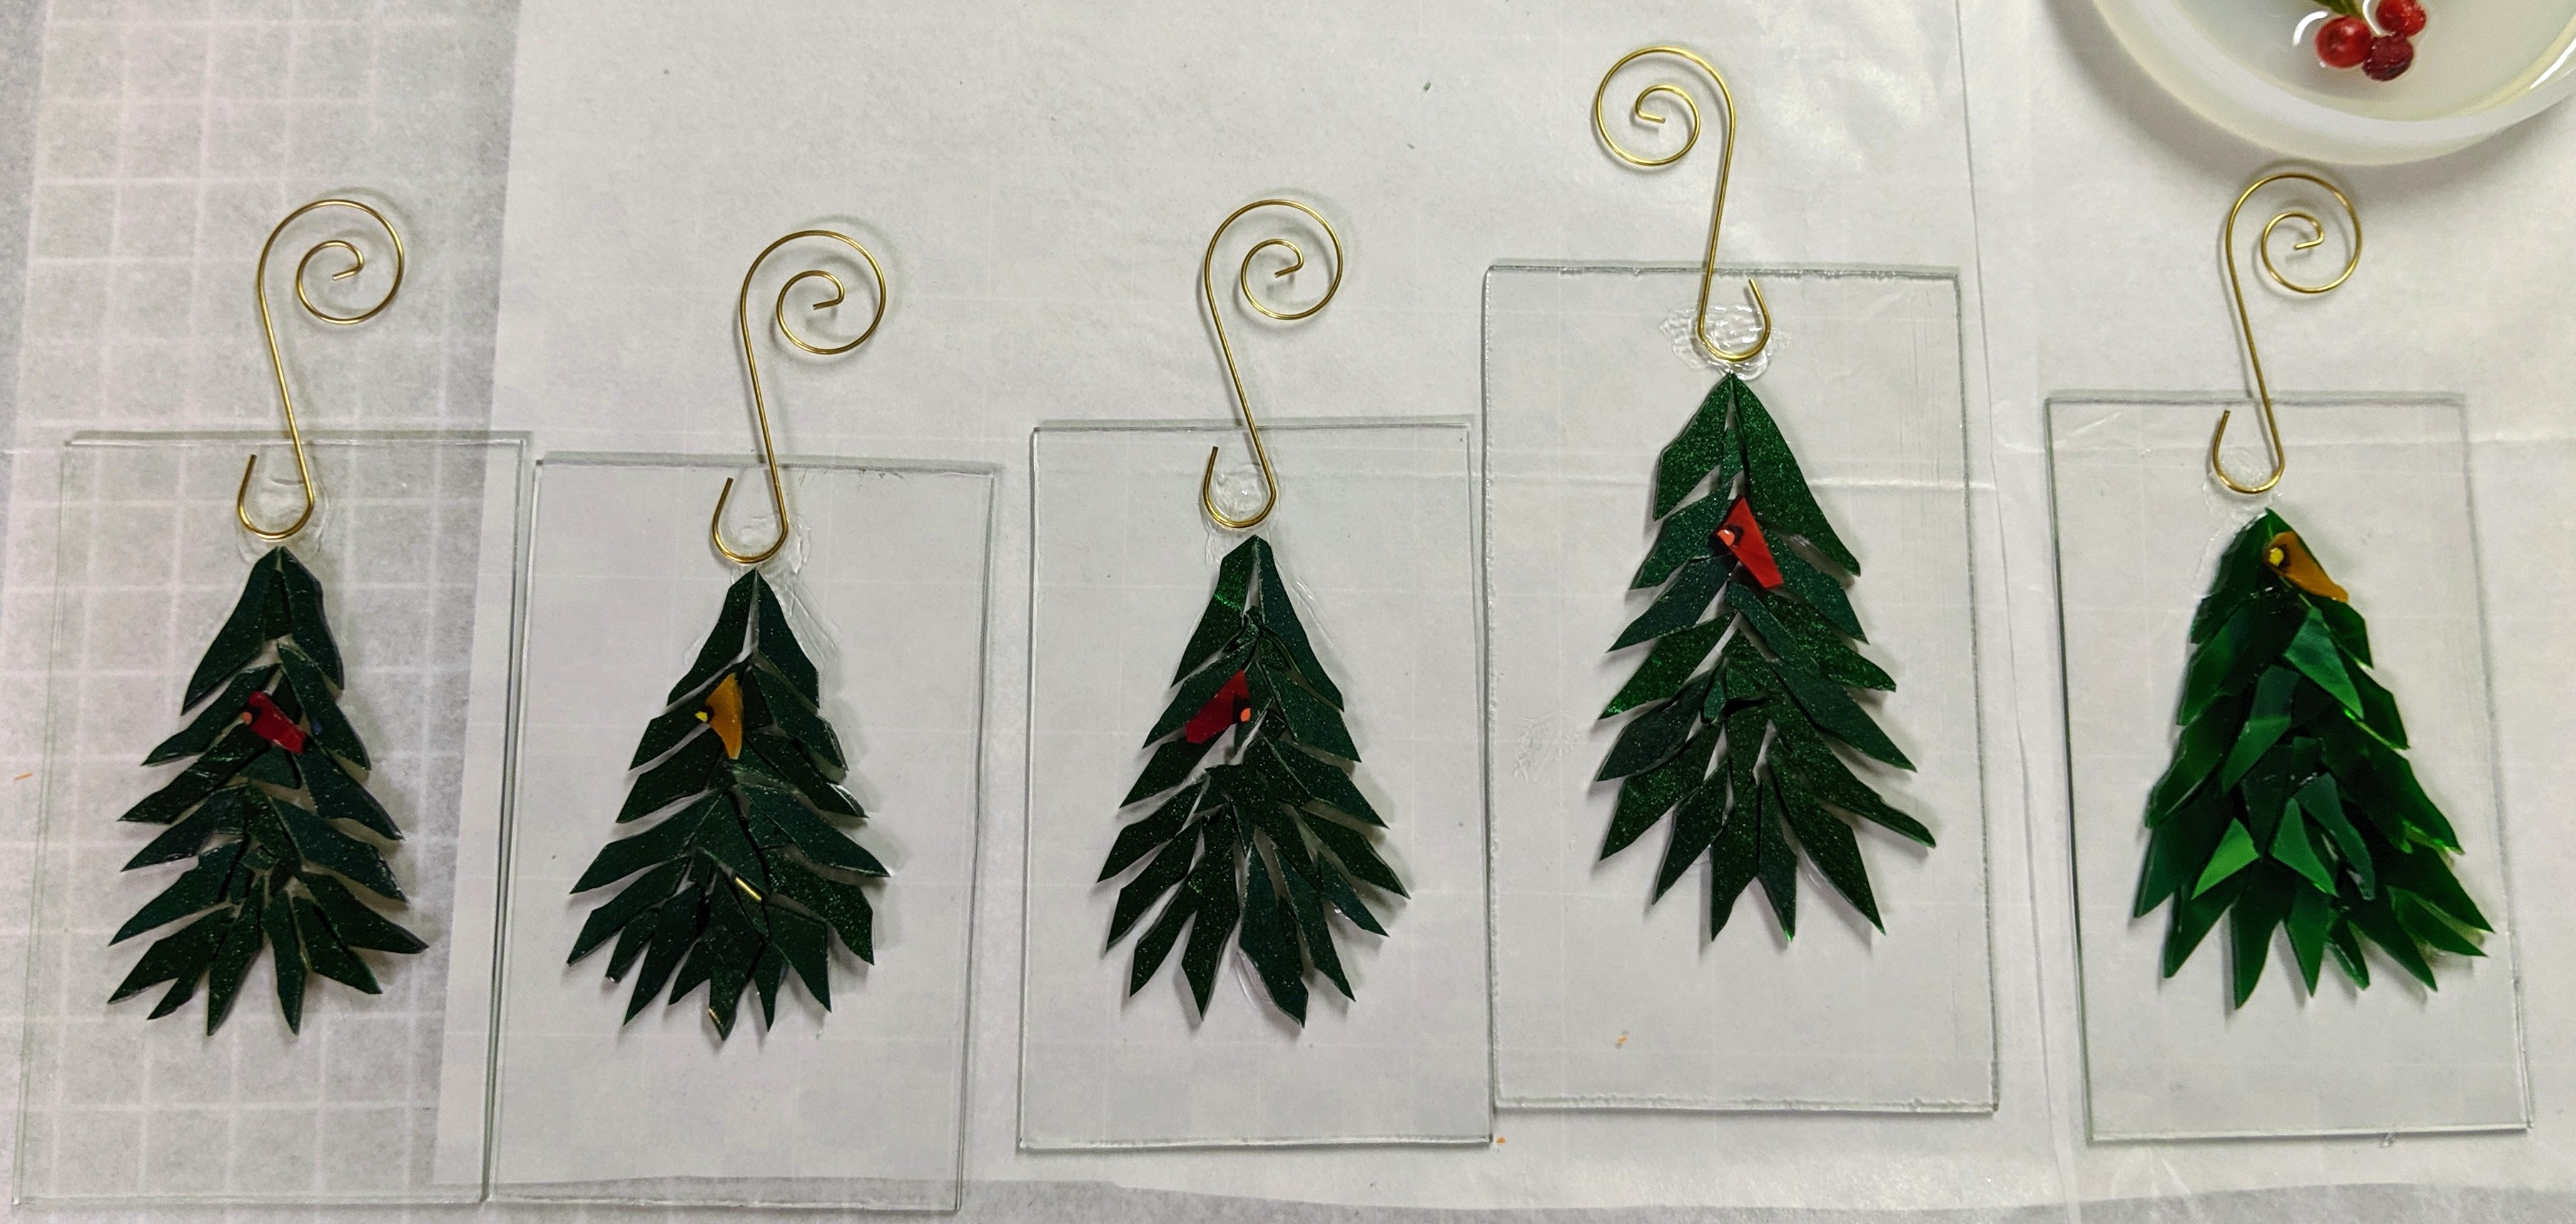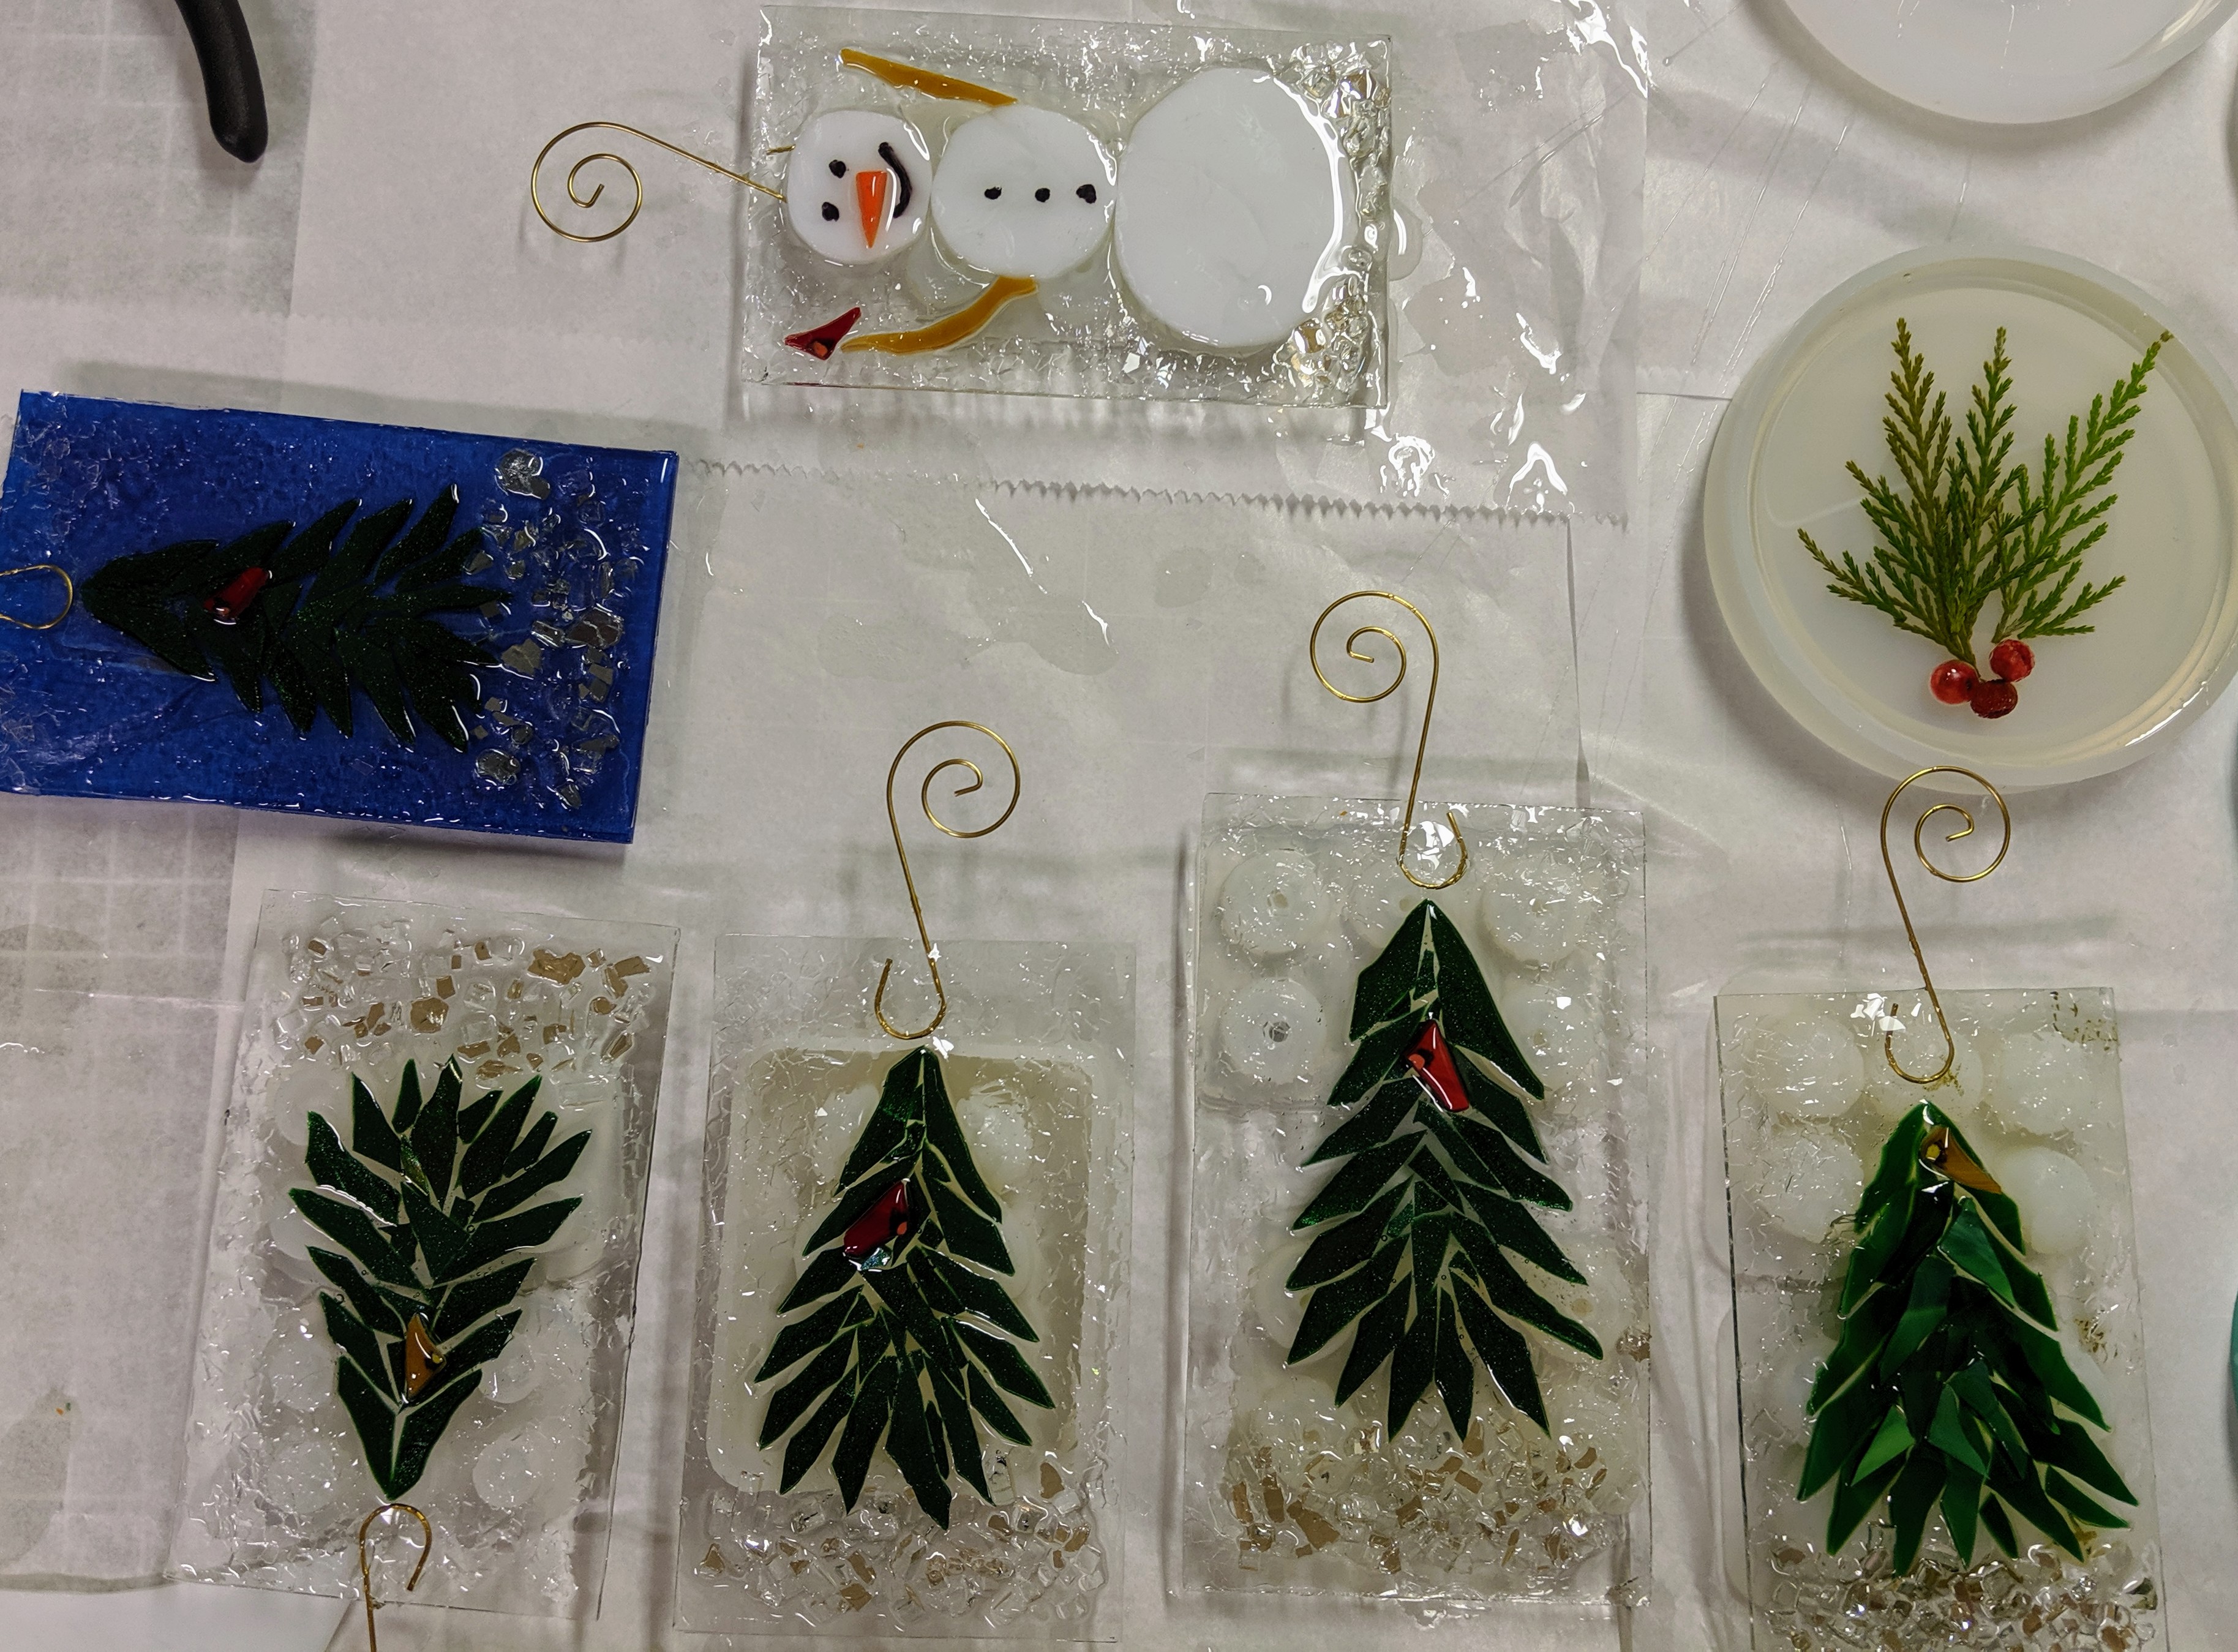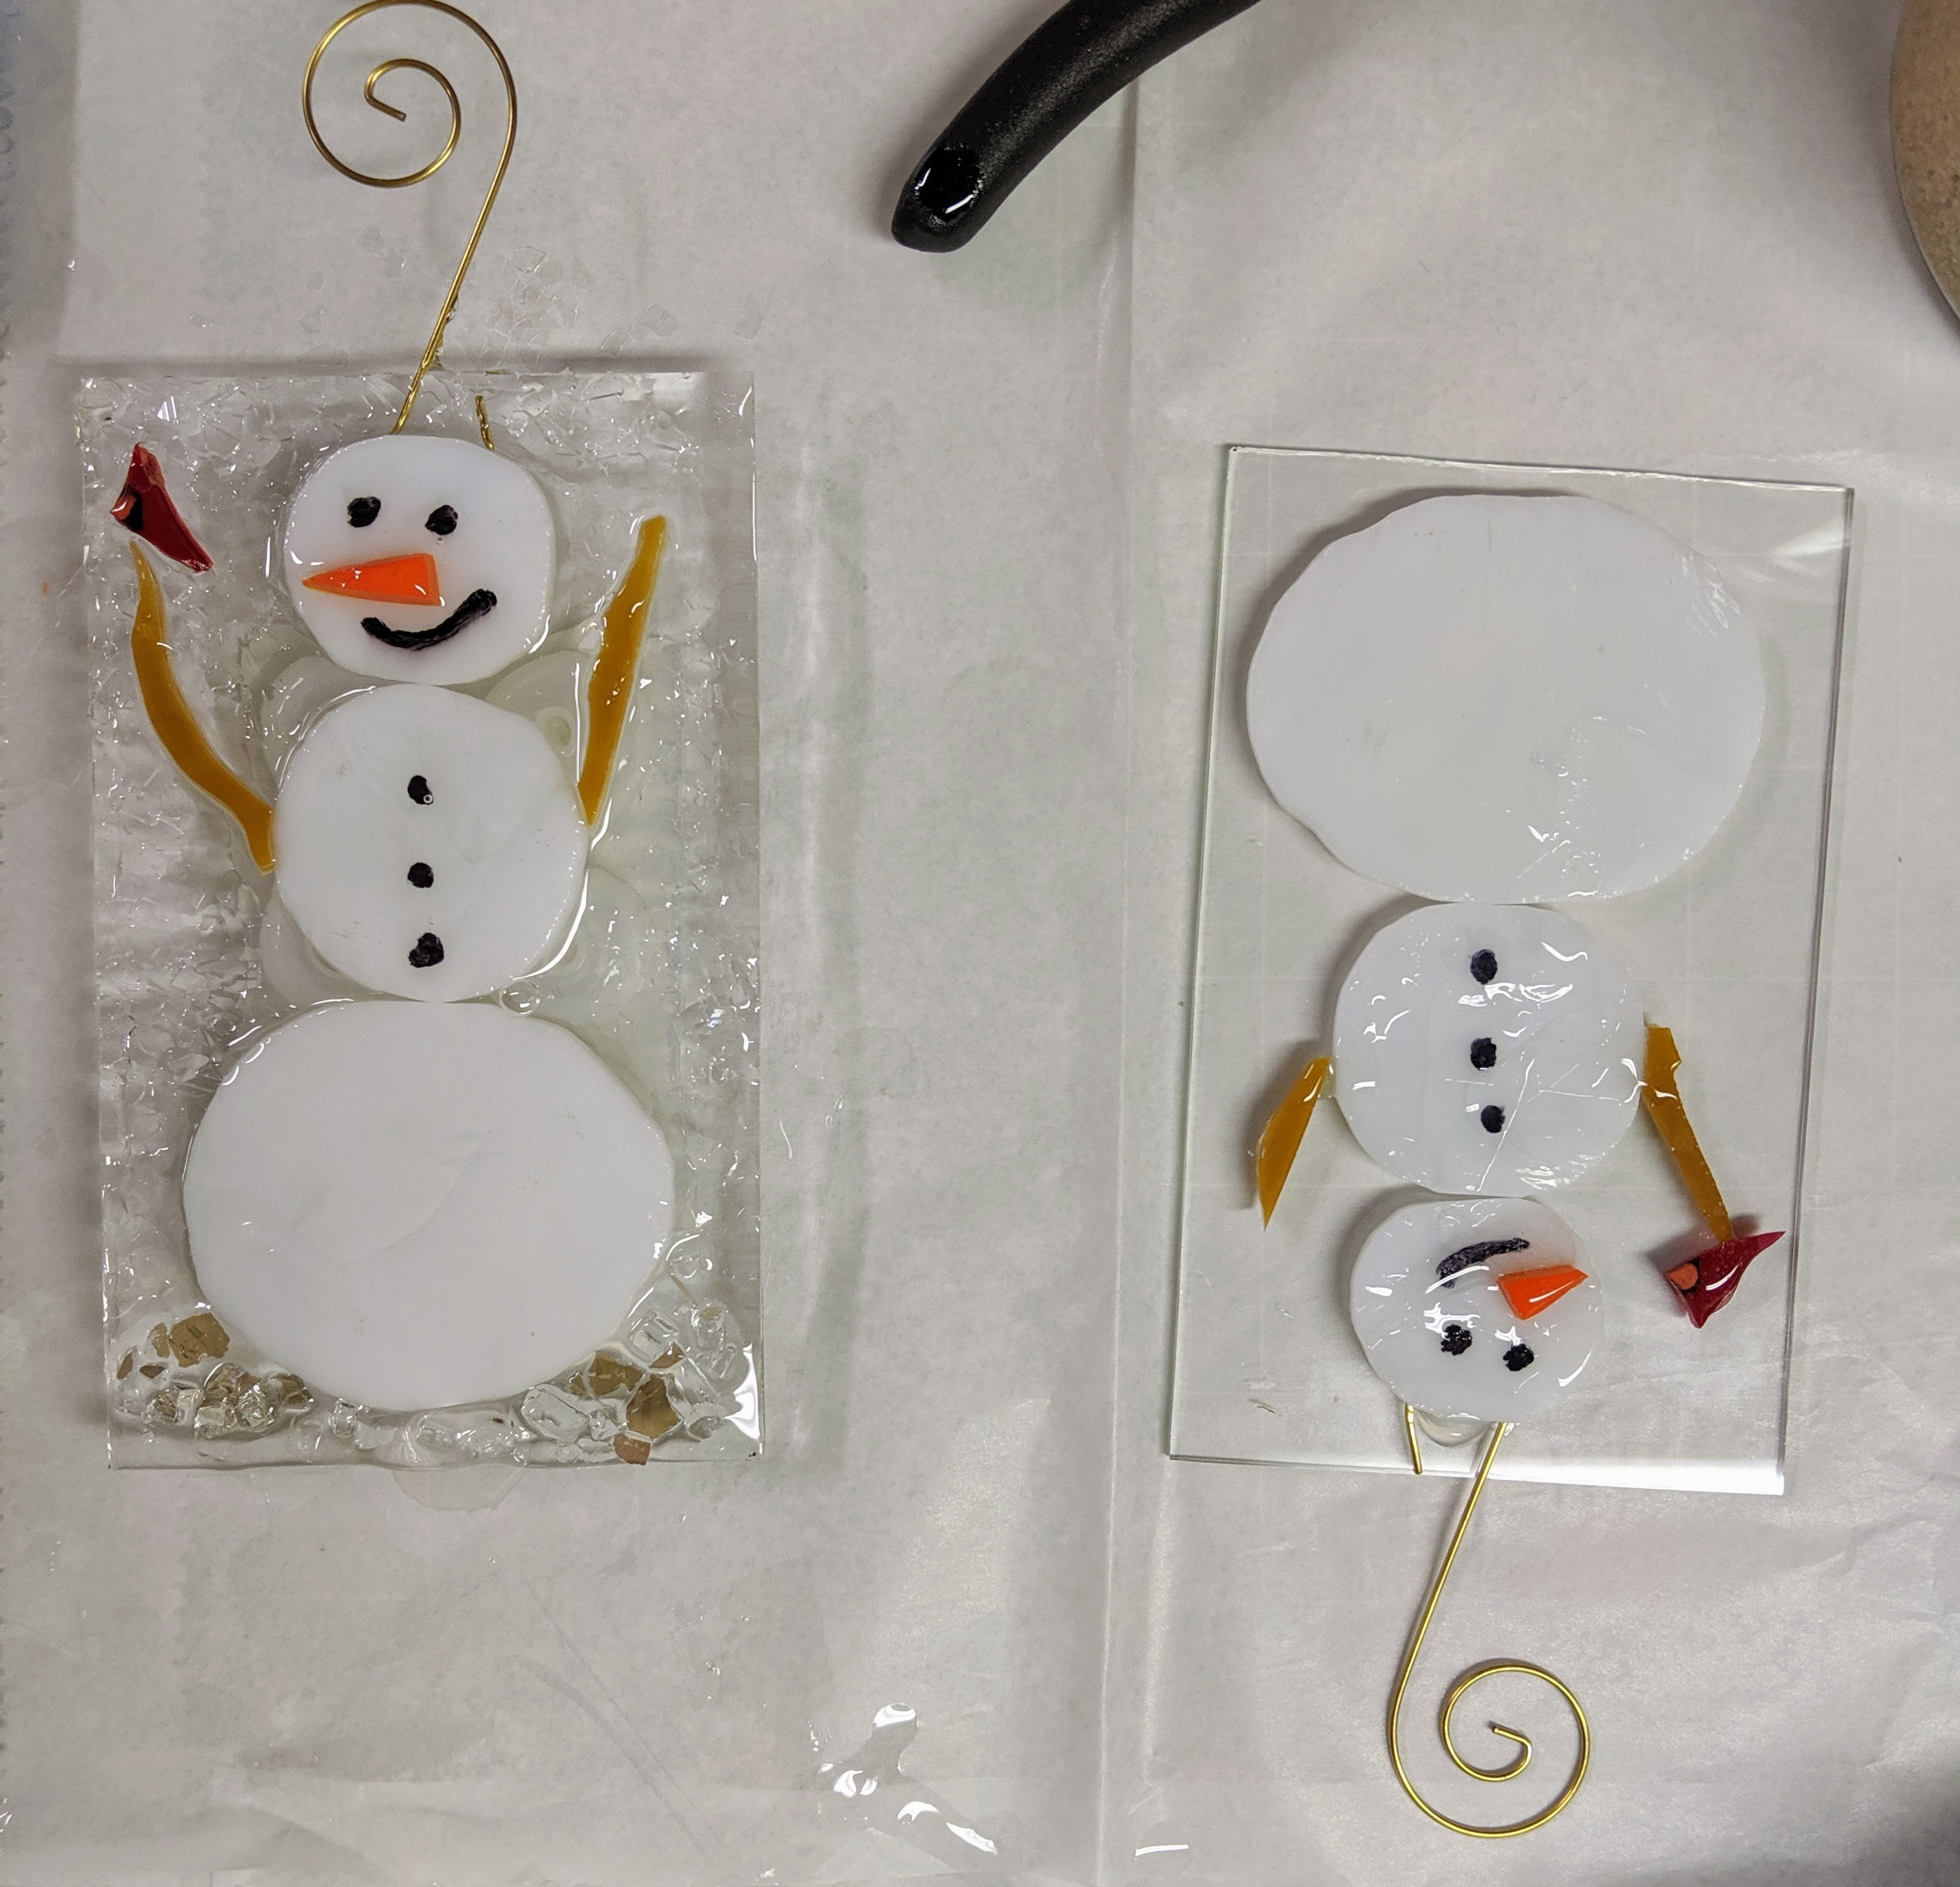

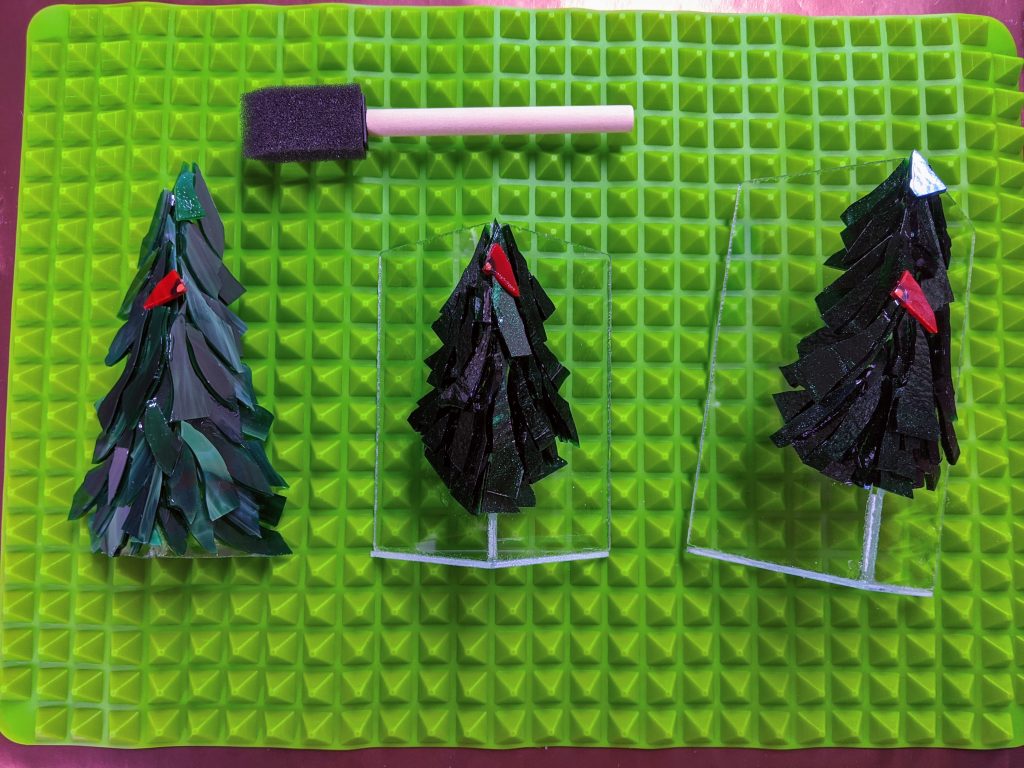
I spent the past few days mulling over how best to pour the resin on these projects, and came to the conclusion that it would have to be in stages. Today is the first stage, which is an experiment. My plan is to coat the trees with a thin coat of resin and possibly decorate one side of each of the rectangular trees. The second stage will be (for the rectangular trees) to pour another coat on just the undecorated side and decorate. The second stage for the stand alone tree will be to pour and decorate the base that will serve as the candle stand as well as provide stability.
It’s cold out today and my work area is only 60 degrees F. My resin likes it to be a minimum of 70 degrees, so I used my heat gun to warm each part of the 2 part resin prior to mixing it.

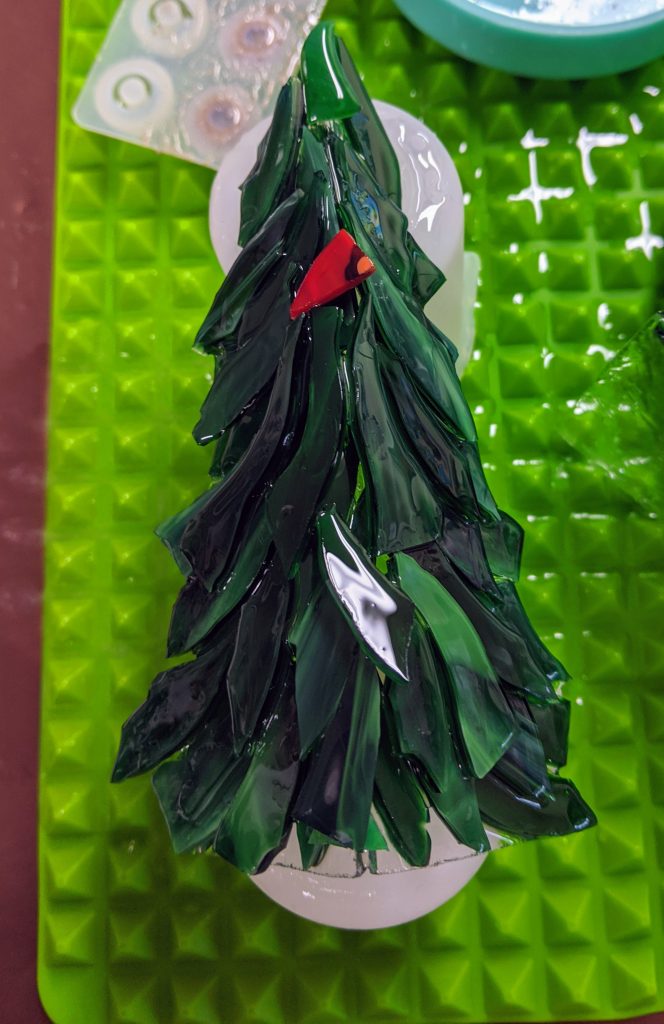
I ended up elevating this one higher off the mat on top of a couple of silicone measuring containers to help me manage the drips on the edges.
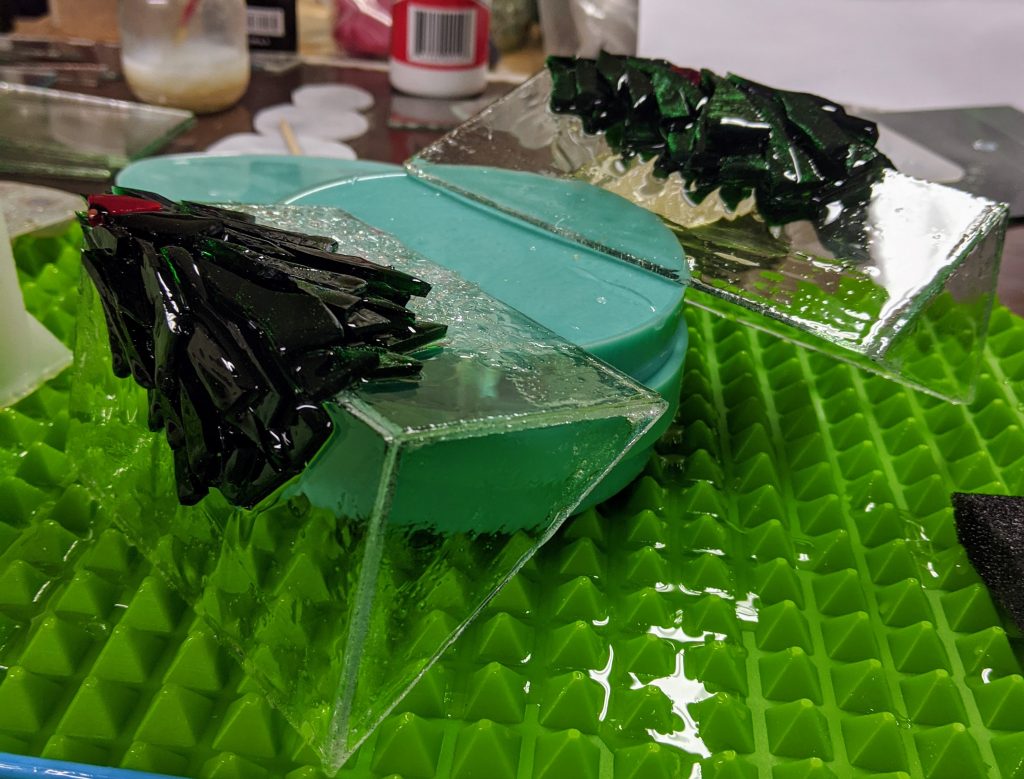
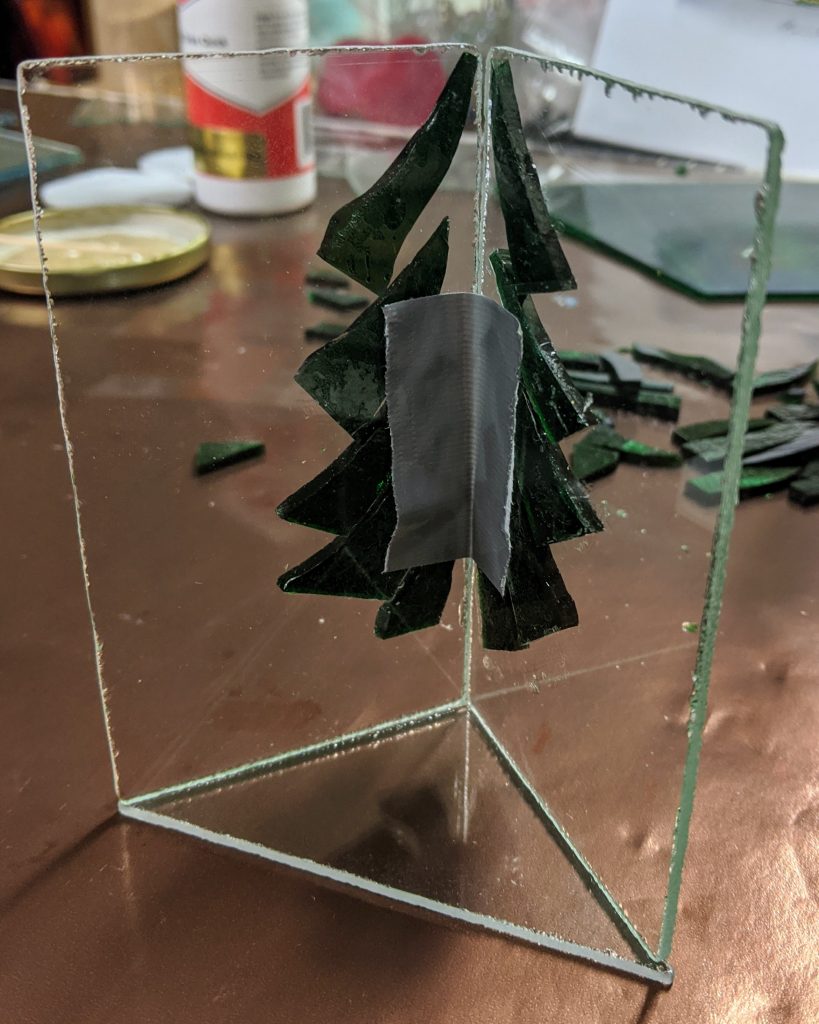
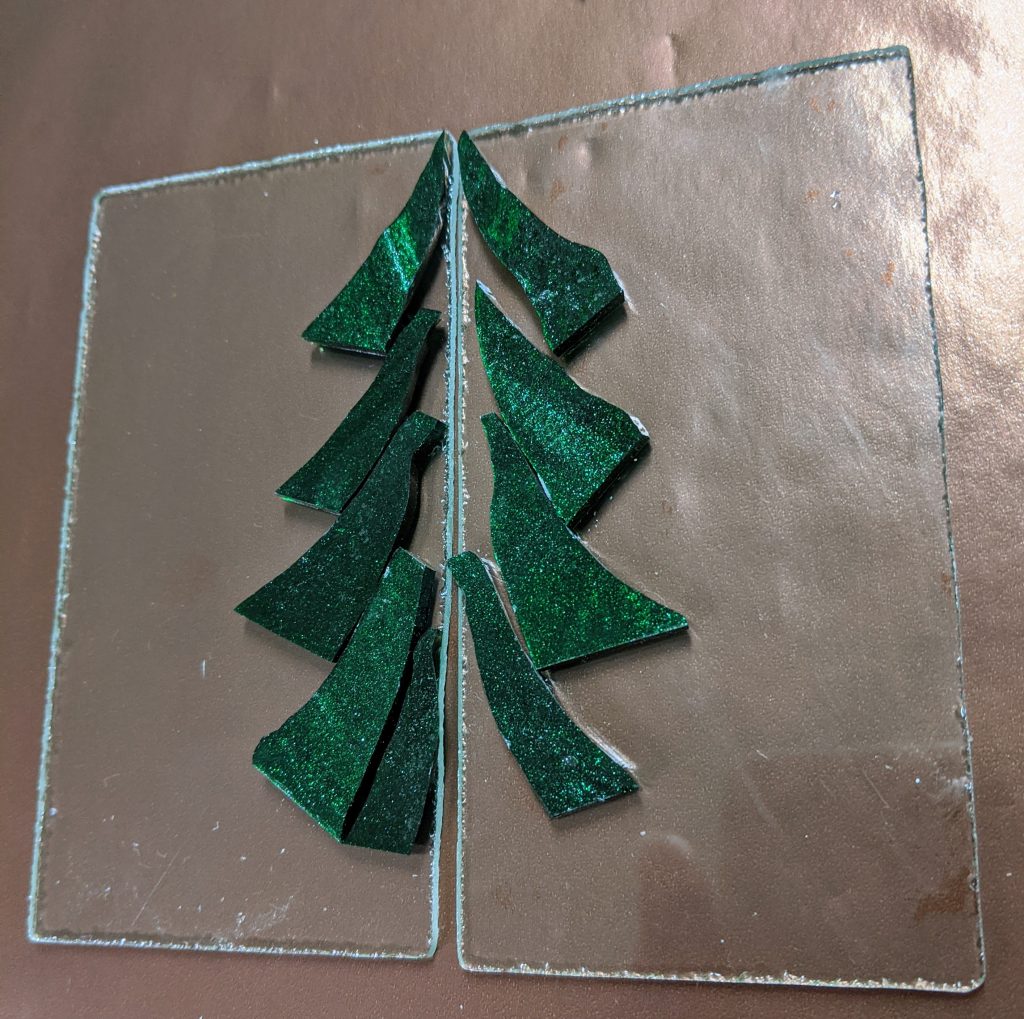
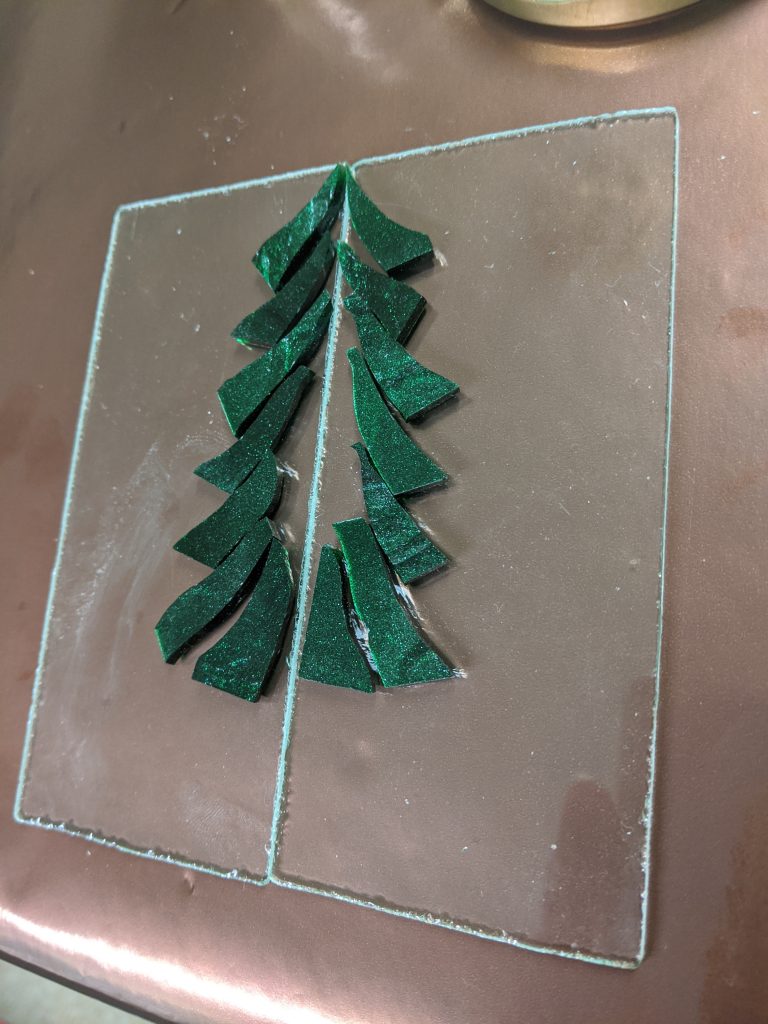
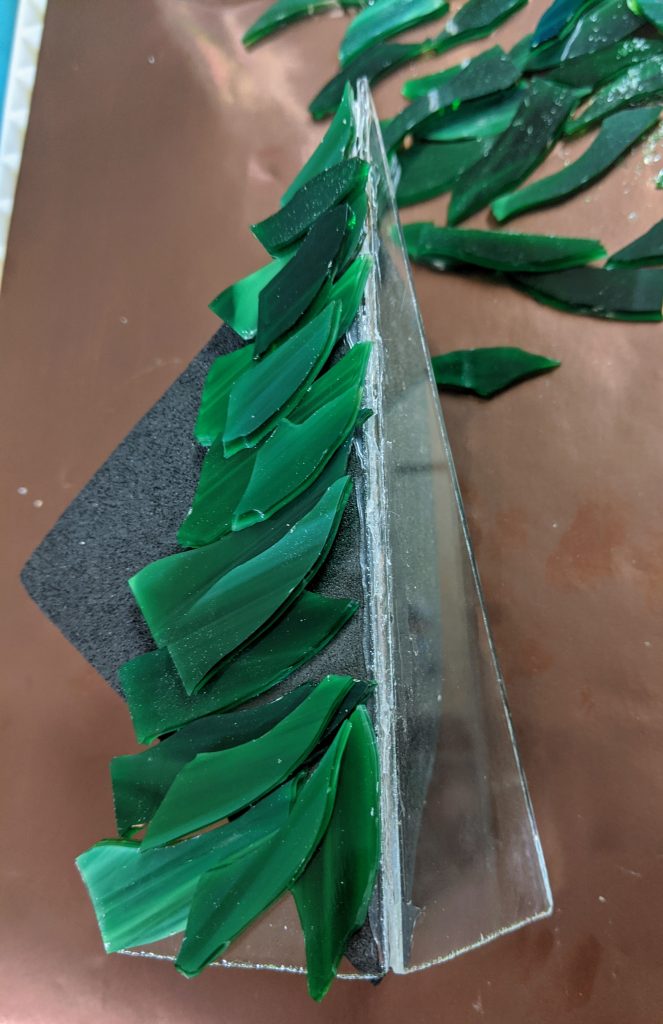
I continued trying to touch up bare spots and wipe off drips with my sponge on a stick. I repositioned these two and sprinkled the glass chips / chunks I am using to decorate the background and base of the tree. Above you can see the glass chips in place on the left hand piece.
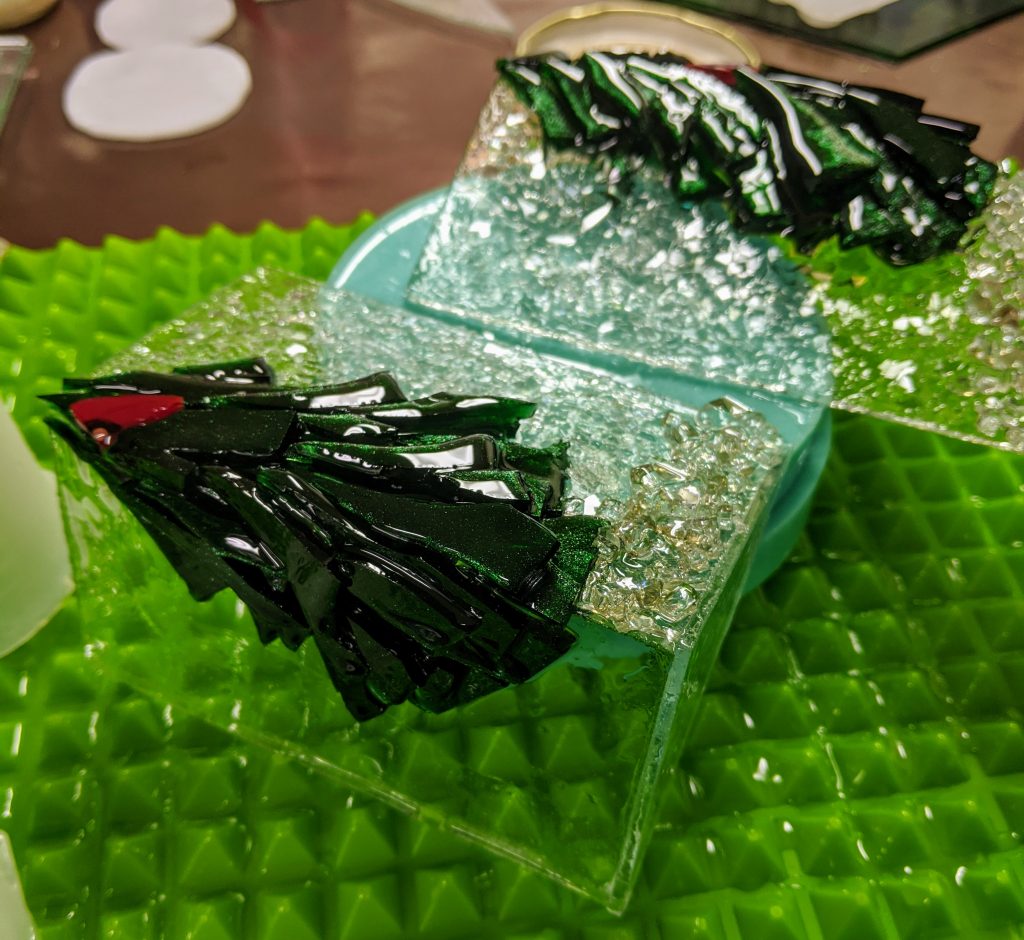
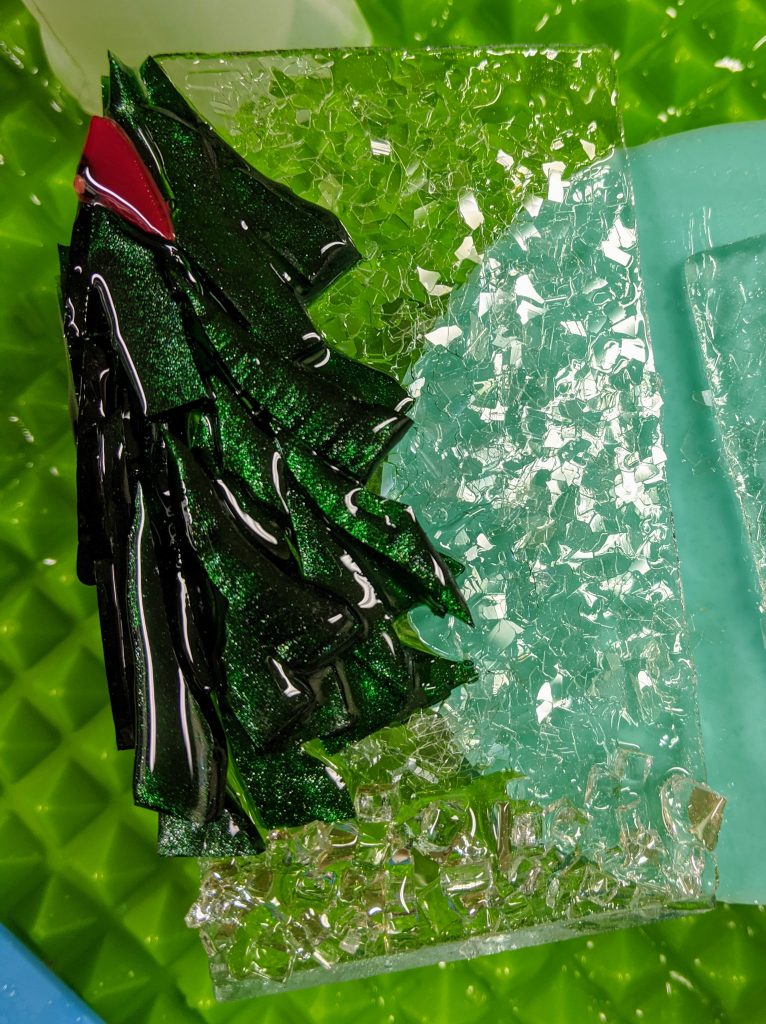
Close up of the left hand piece 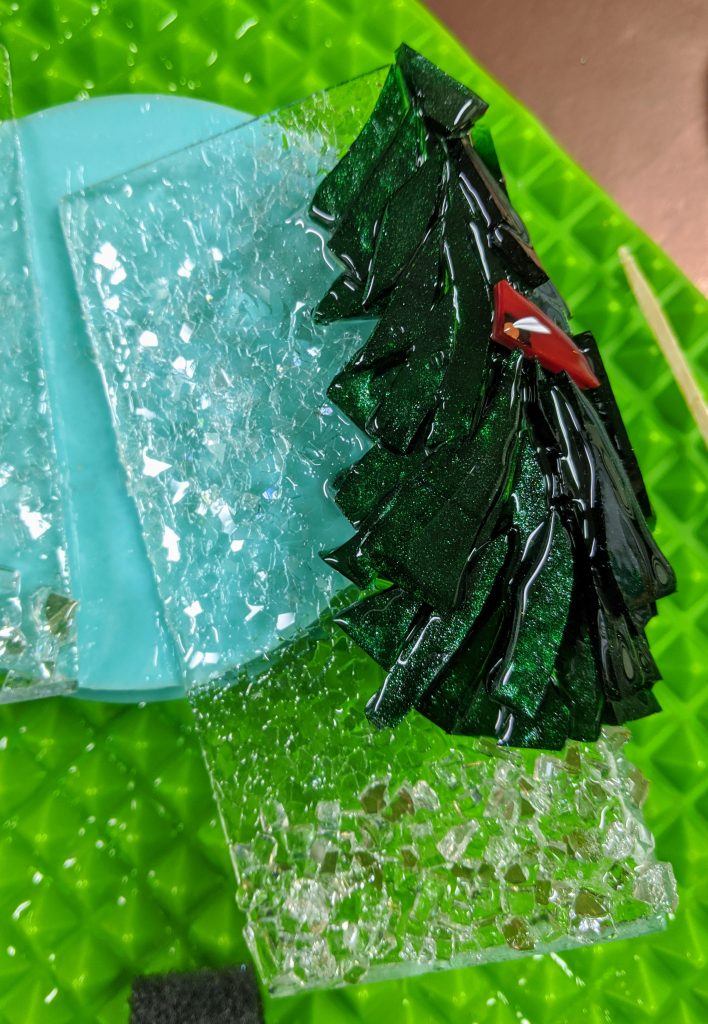
Close up of the right hand piece 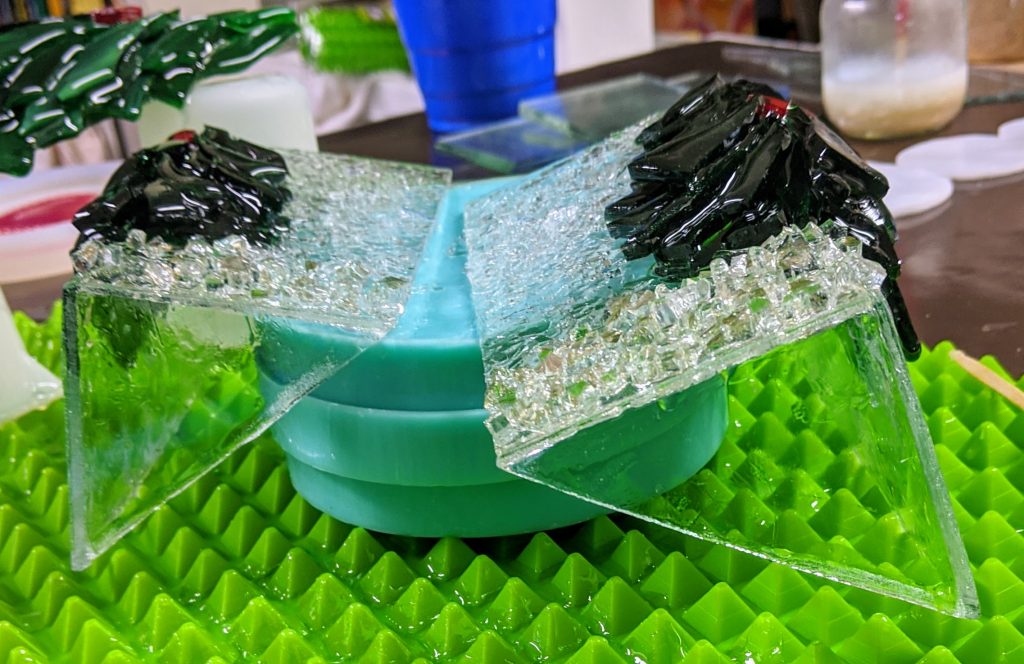
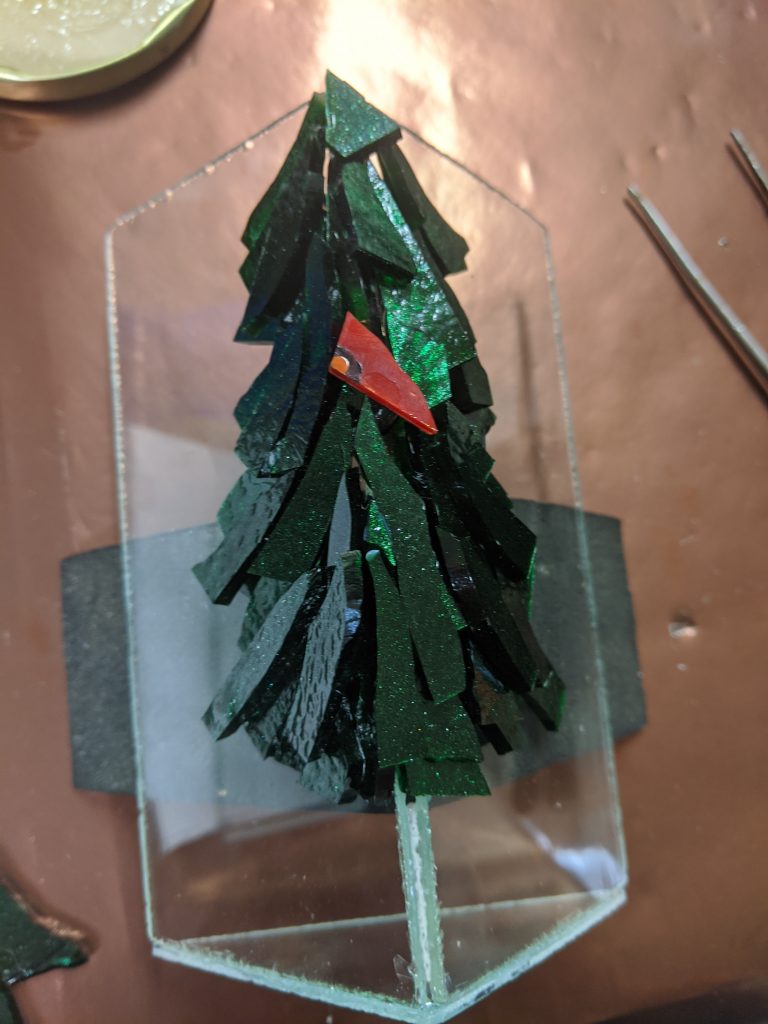
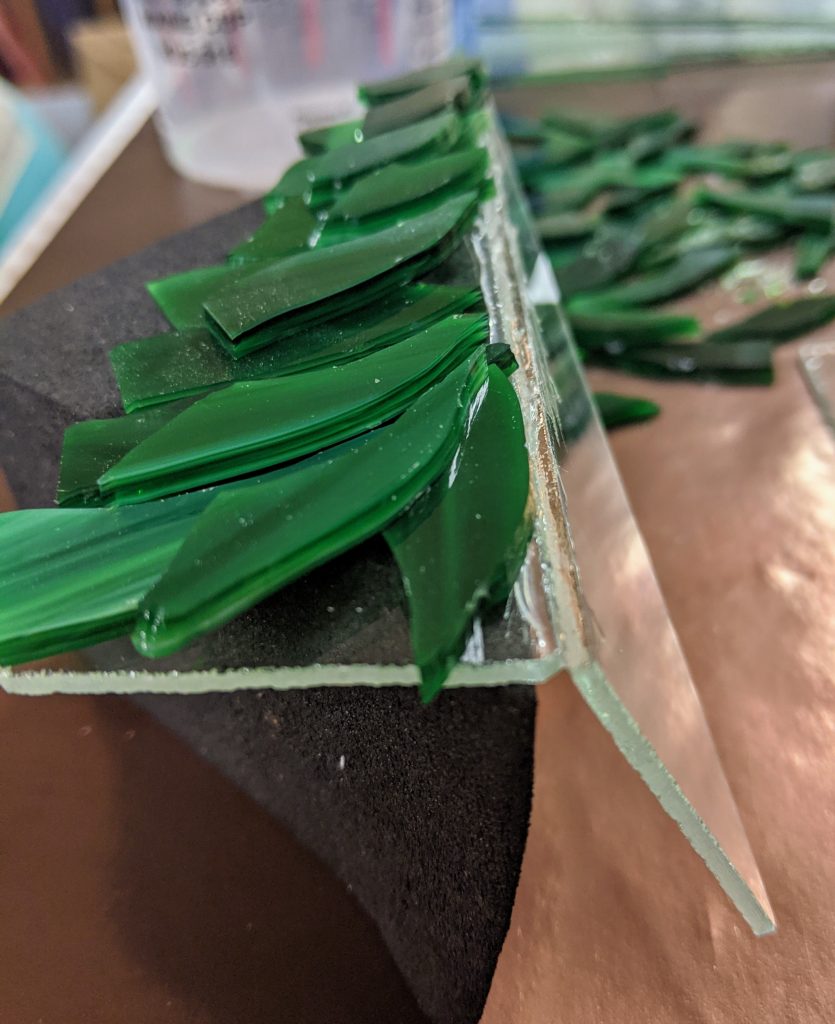
View from the bottom edge – propped up to keep the glass chips from drifting. 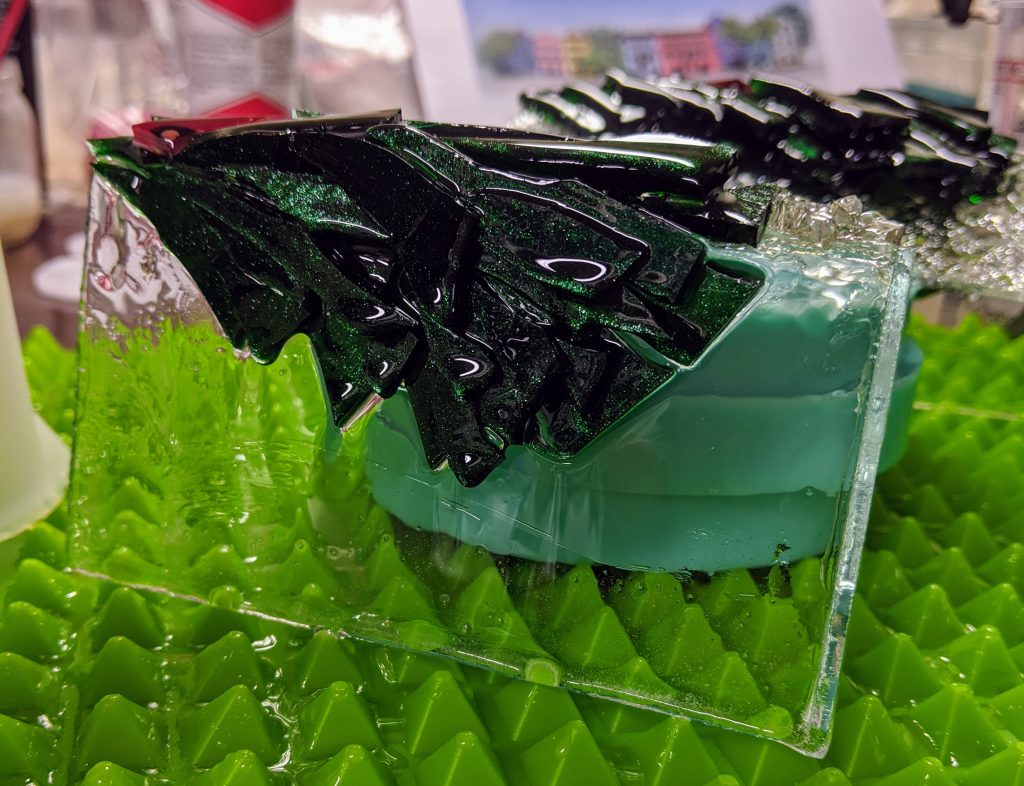
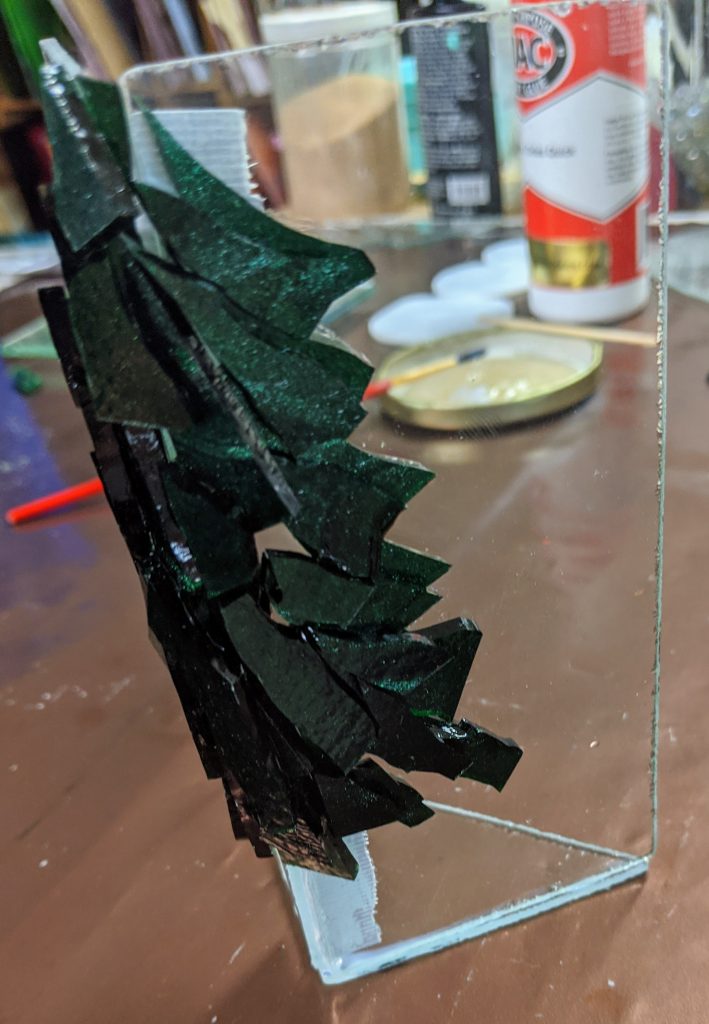
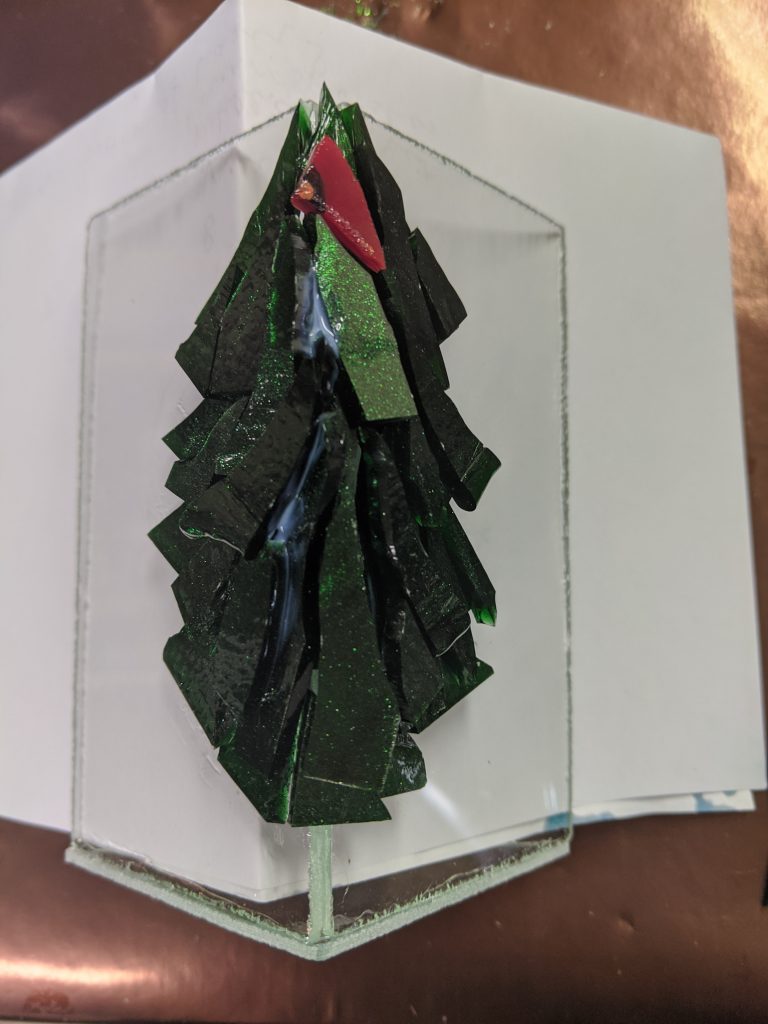
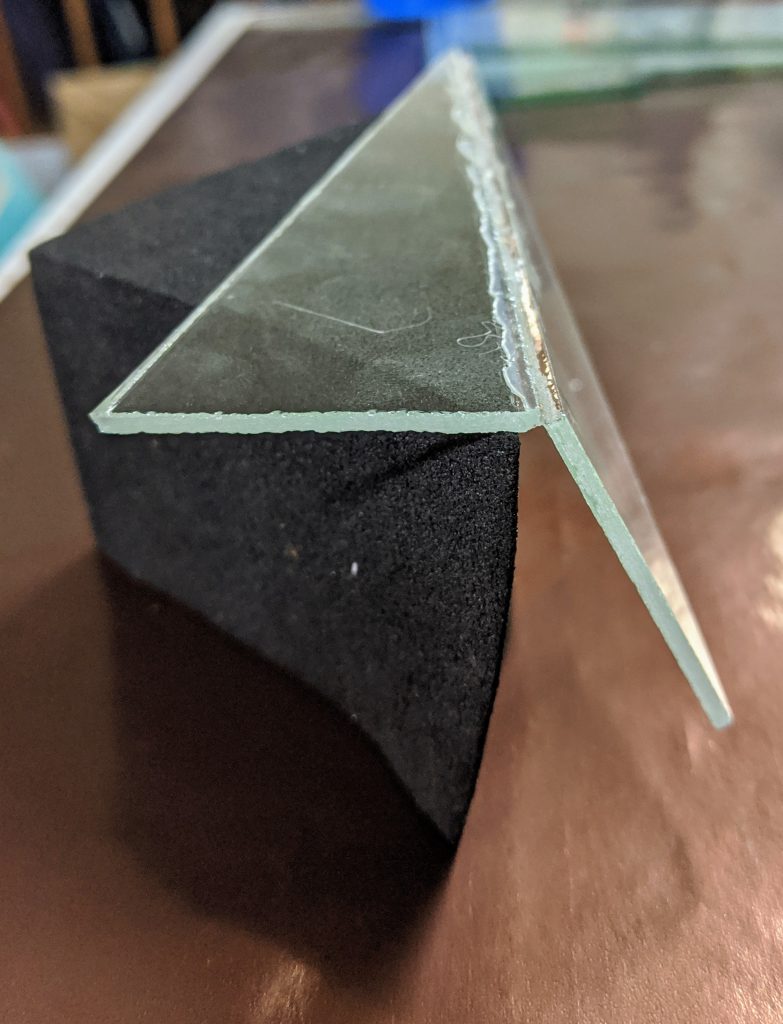
Side view
I had enough resin left over to make some memory beads for our beloved cat, Neo, who passed away in November. I’m also trying some cat shaped mementos with his ashes.
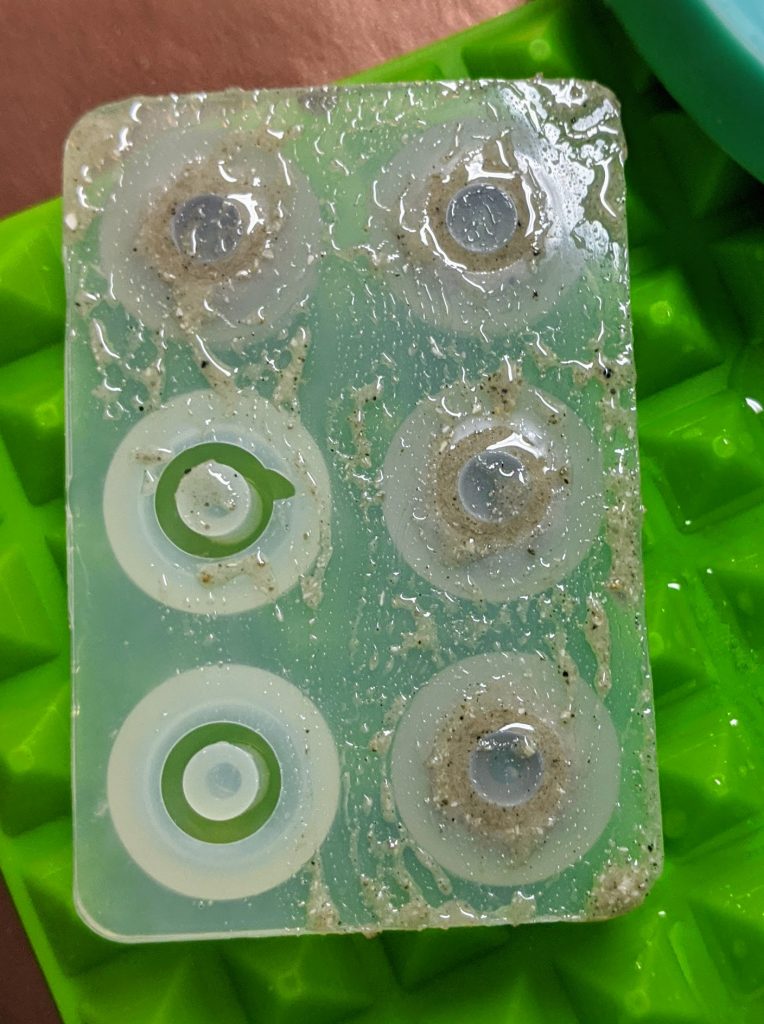
Neo’s memory beads 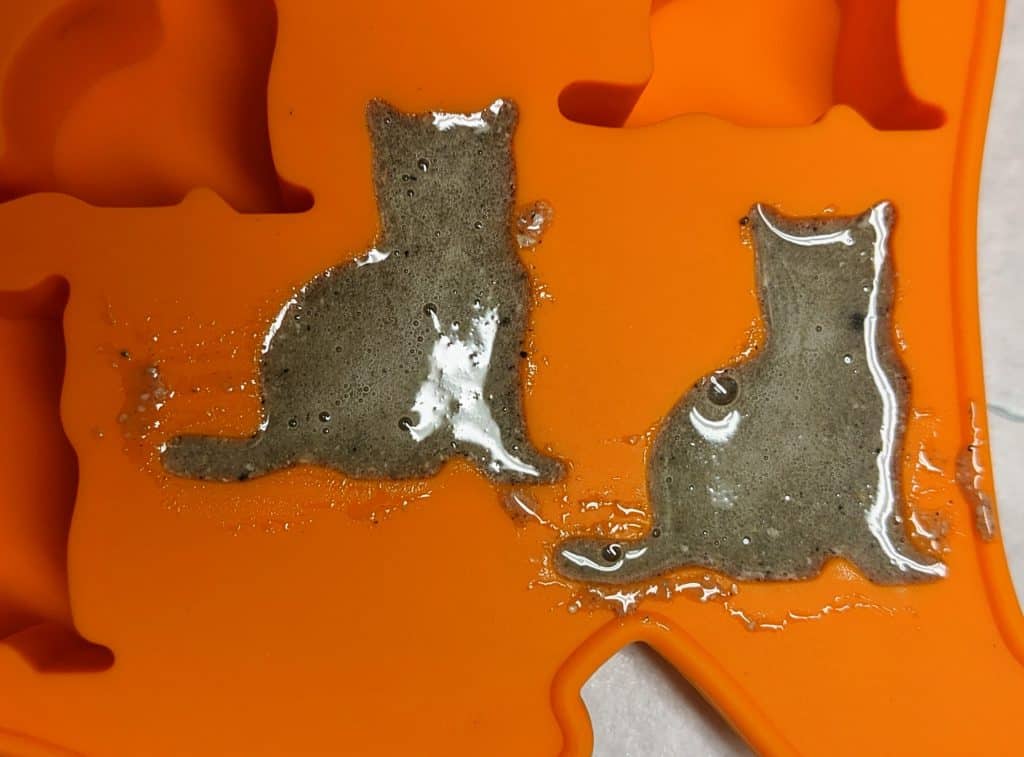
Cat shaped mementos
In addition to scraping the drips, I periodically blew all of the above pieces with my heat gun to remove bubbles and also to warm the resin, as my working area is only 60 degrees F today!