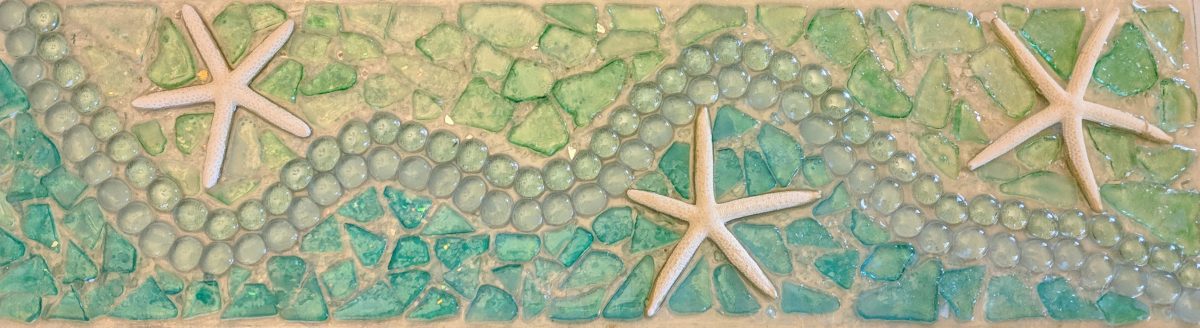
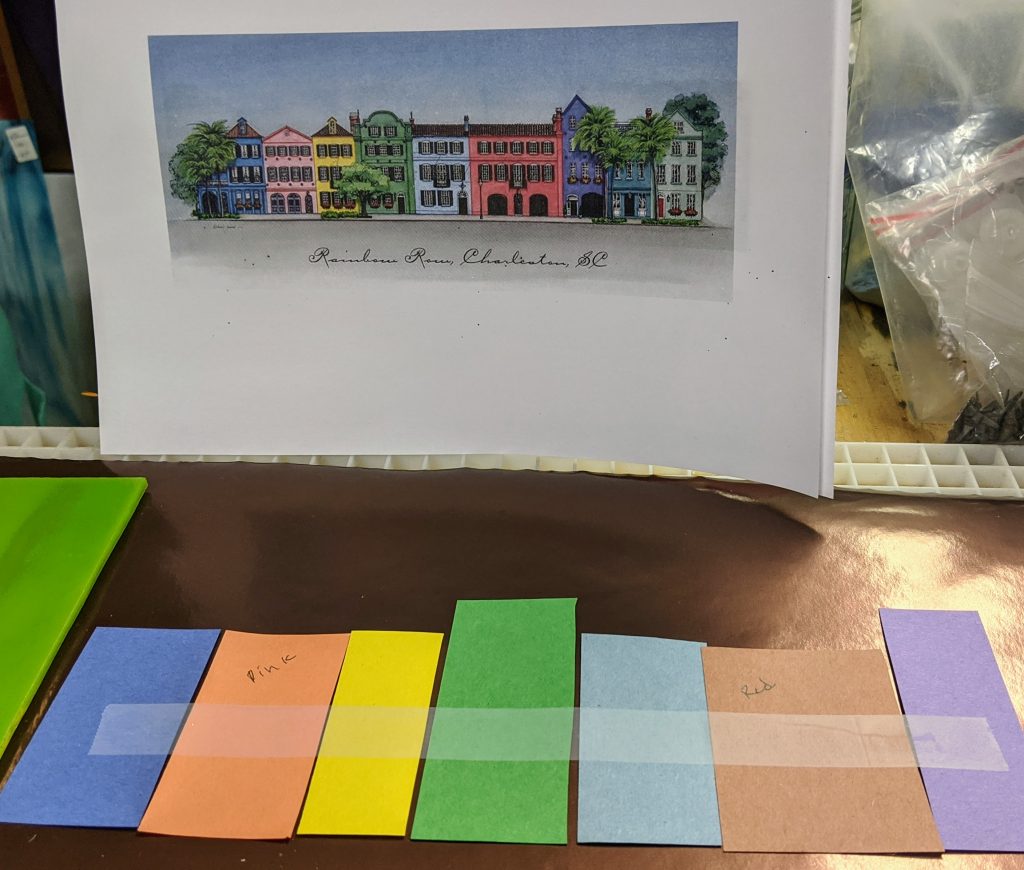
Today I started a project I’ve been thinking about doing for awhile. I started with a photograph of Rainbow Row, which is a notable row of colorful homes in downtown Charleston, SC. Yesterday I cut out the clear backer glass for these panels, so today I started planning the houses themselves. I cut rectangles out of construction paper to help me determine the sizes of the glass I would need in each color.
Rainbow Row photo and my construction paper rectangles.
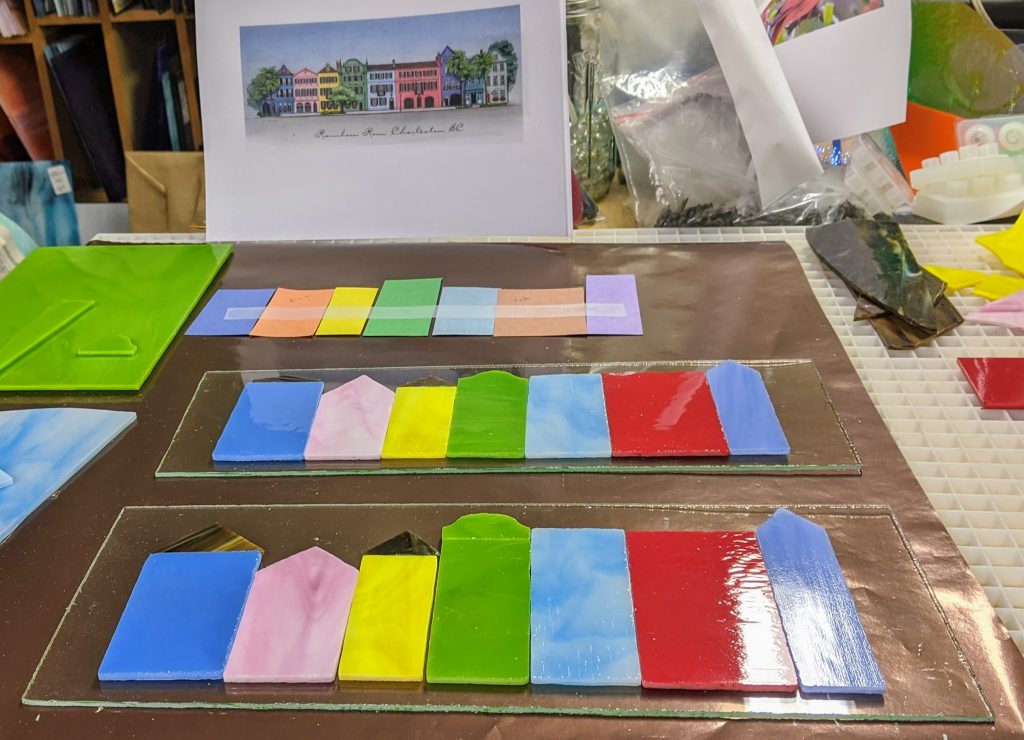
Yesterday I set aside some glass that I thought would work well for the various colors of the houses. I don’t seem to have quite enough room to fit all of them on my rectangle bases, so I left the last two houses off for now.
Glass rectangles / roofs laid out on the clear backer glass.
Now I have to think about how much detail to add to the fronts of the houses. I’m not sure if I will paint the windows / doors / roofs or if I will leave them as is. I do plan on adding some trees, however. I’m not very good at painting, so that also factors into my decision. I might try it on the smaller panel and see how it goes.
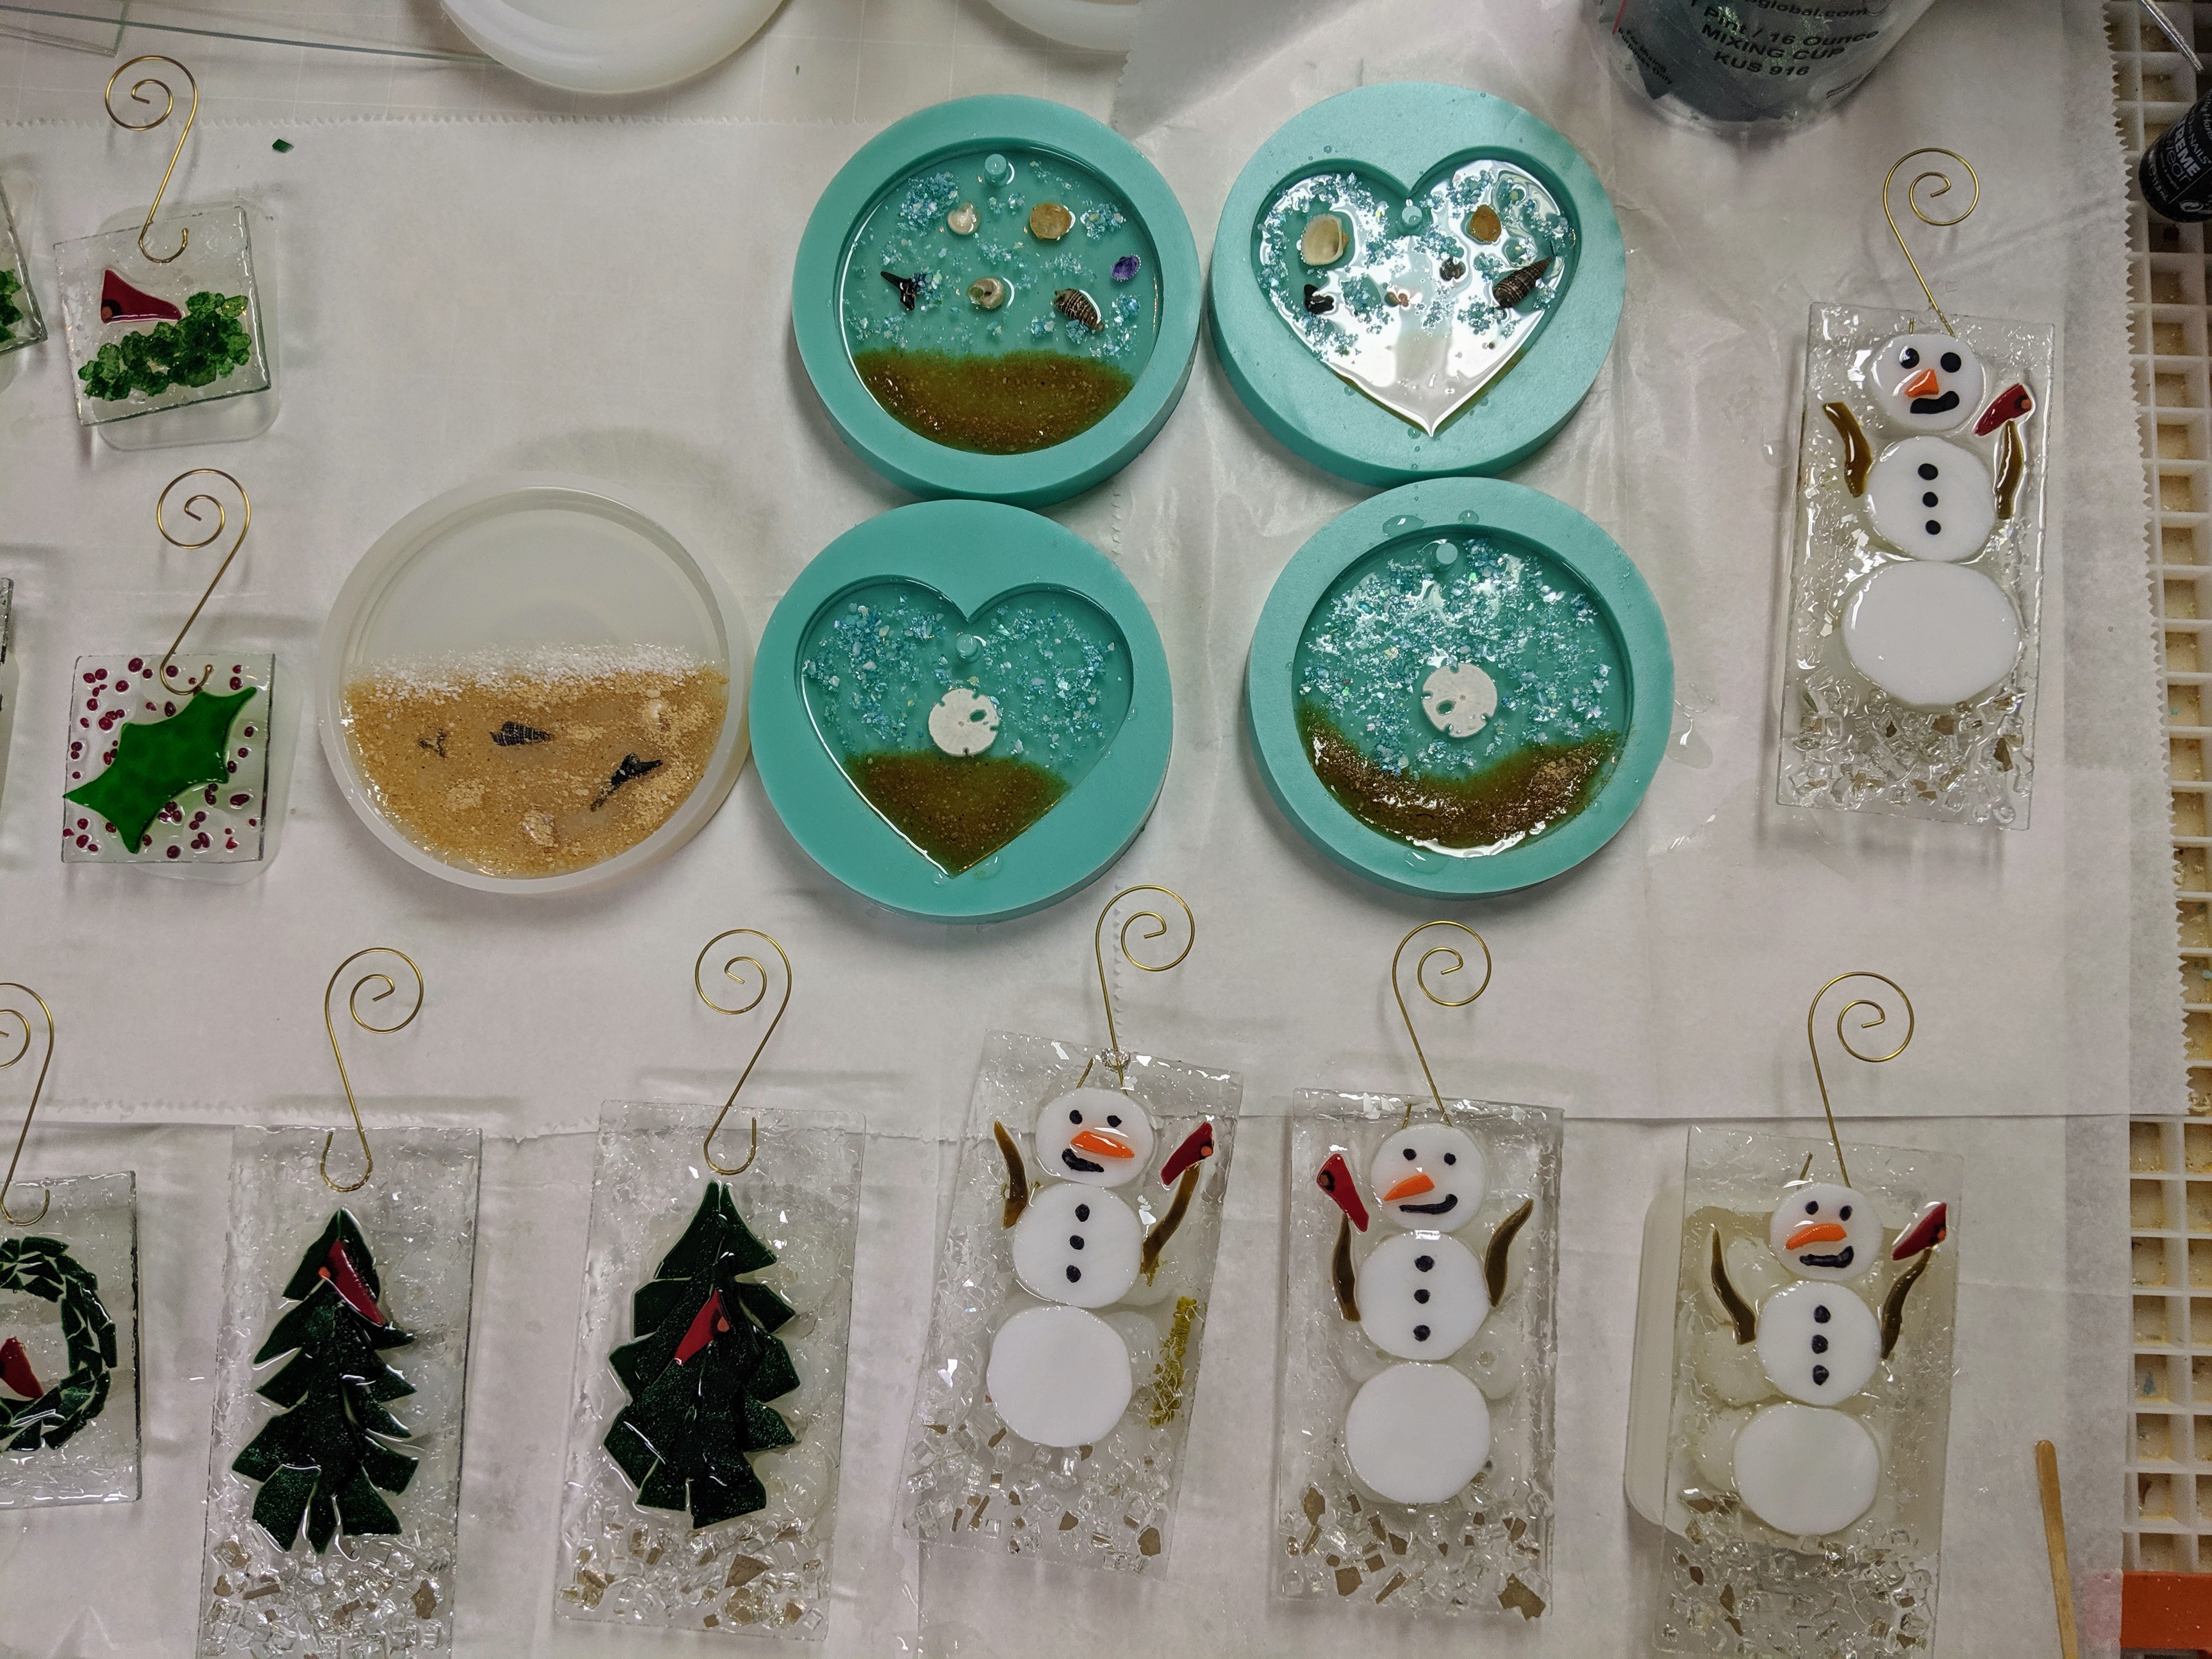
I’ve had a lot going on the past couple of weeks and I haven’t been able to make as many new small items as I expected for the Charleston Holiday Market that is starting on Friday. It’s a pretty big event, much larger than any I’ve ever done before, so it should be a learning experience! If you click on the link, you can get advance tickets for $2 off, or a coupon for $1 off admission. I was able to finally pour the resin on several new ornaments as well as the second layer of resin on a few resin ornaments and a coaster today, though.
I was able to cut, grind and glue these yesterday.
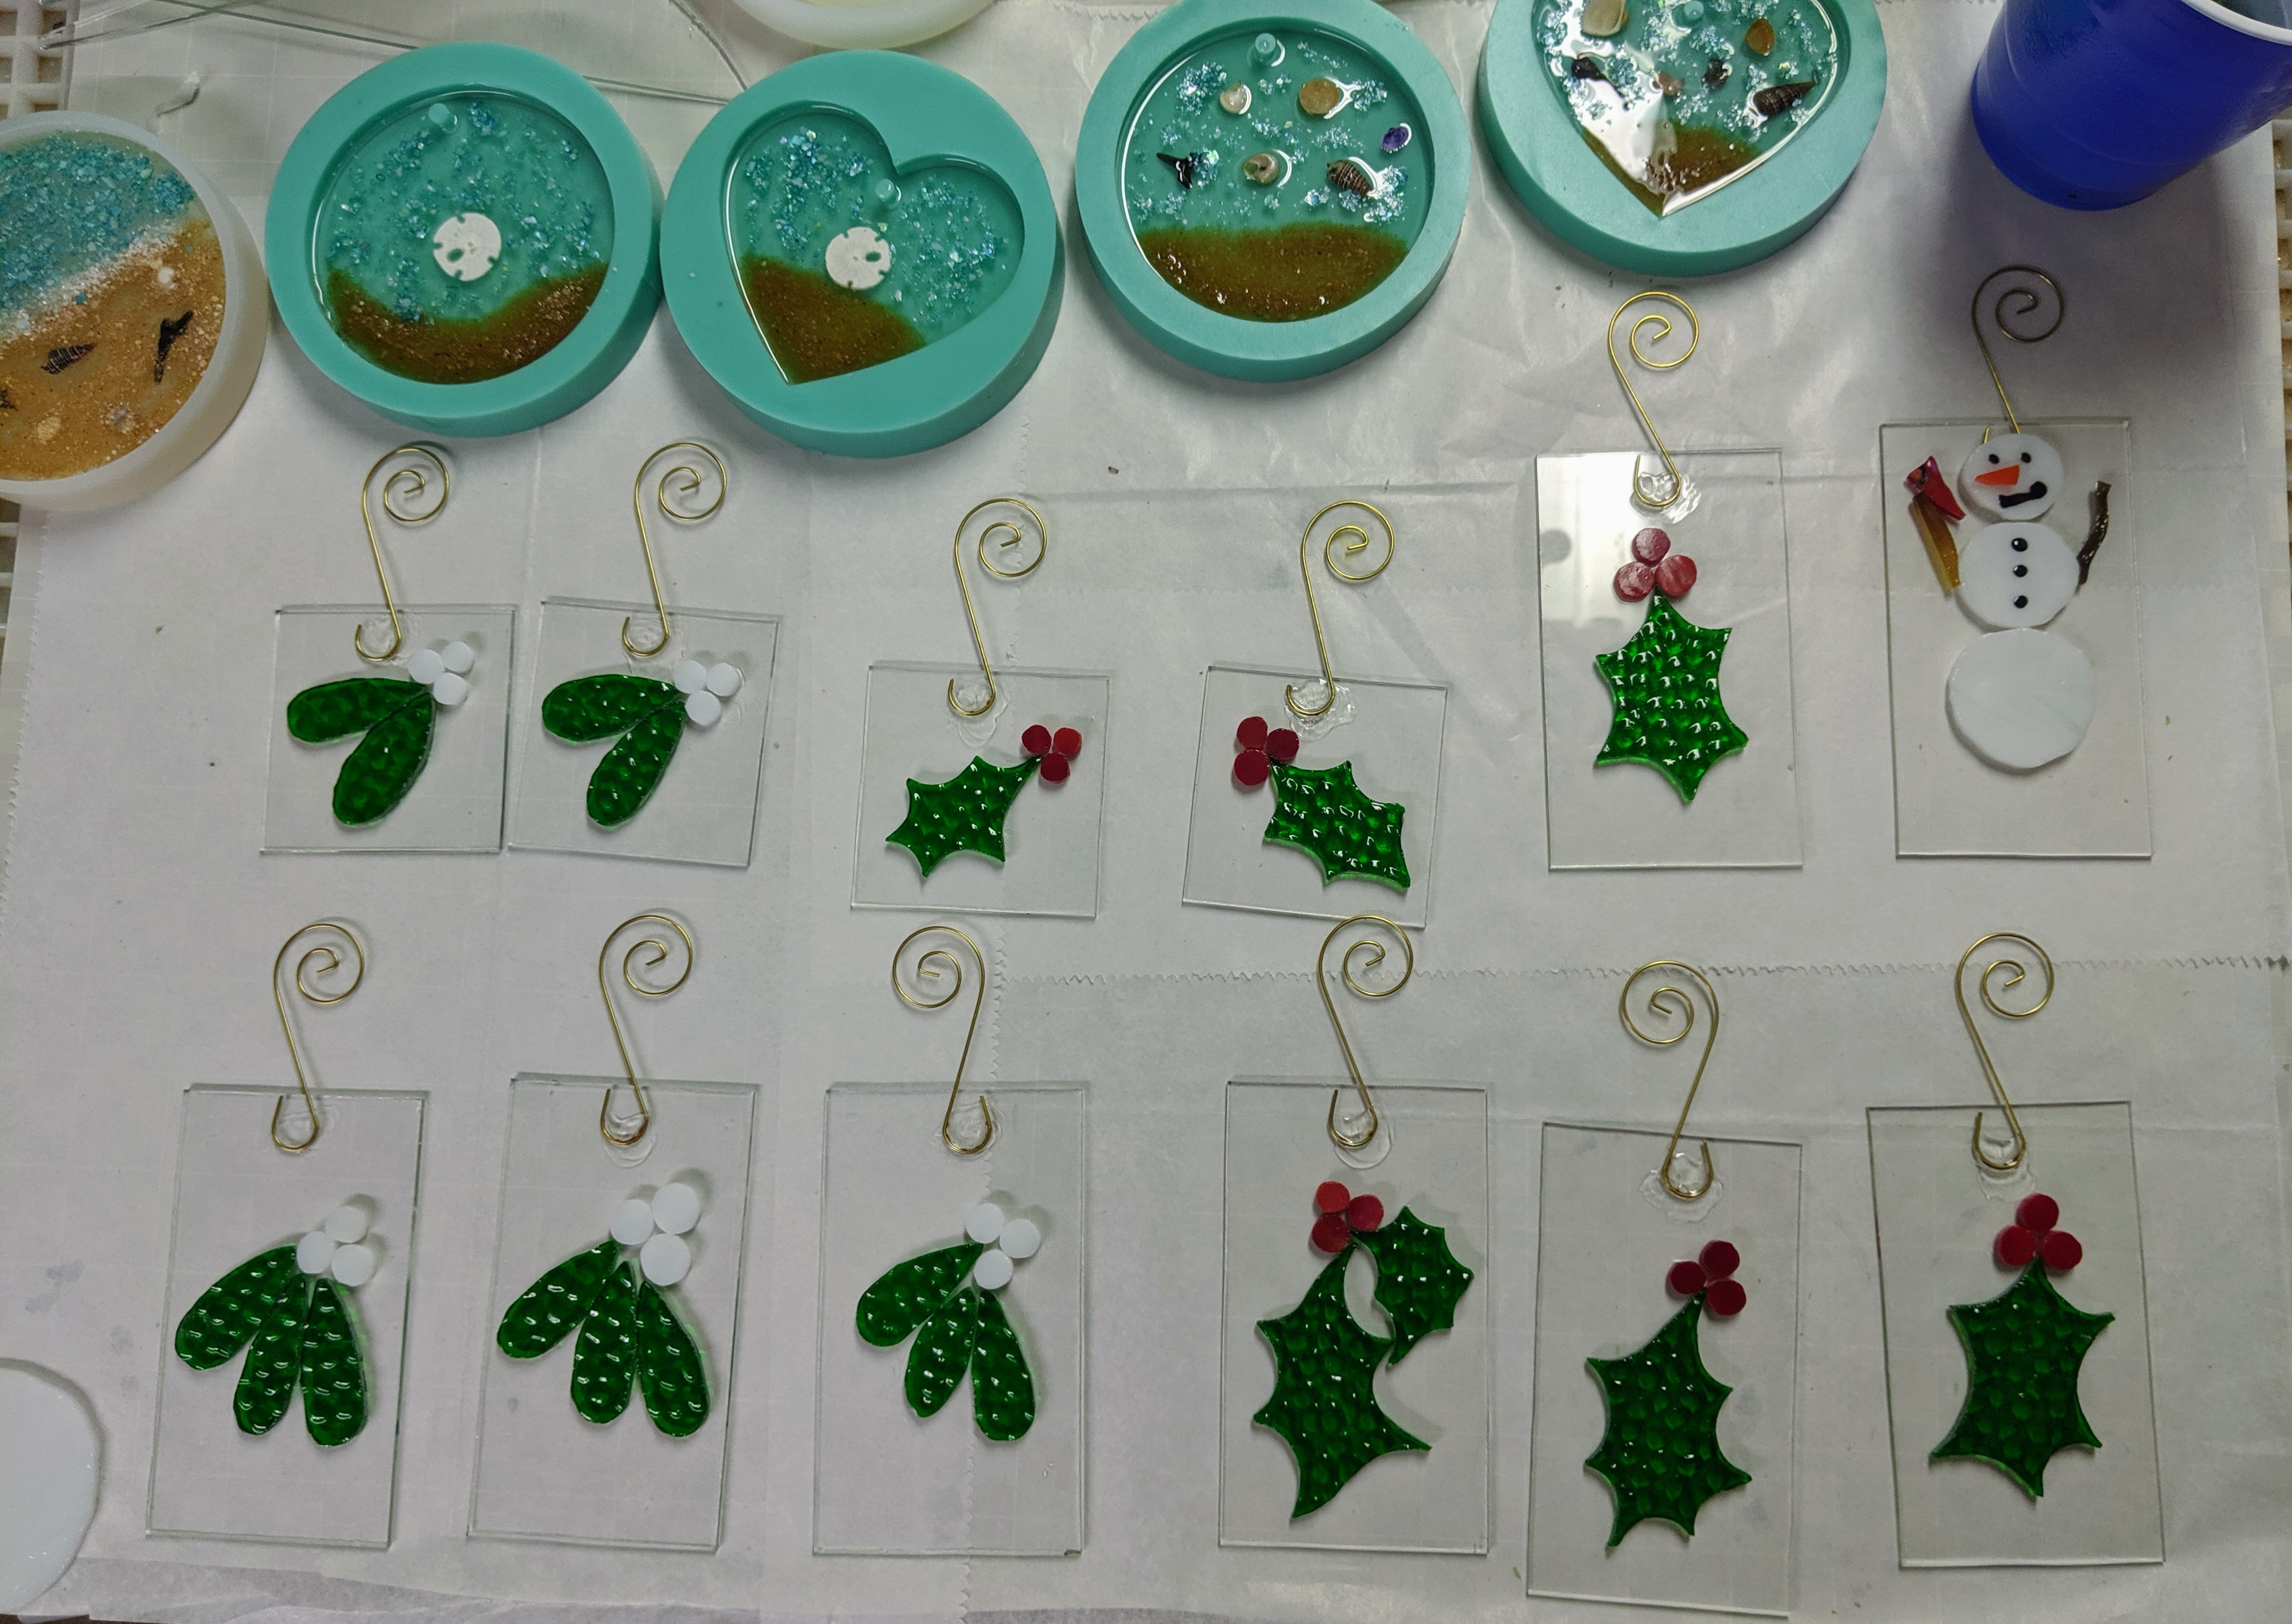
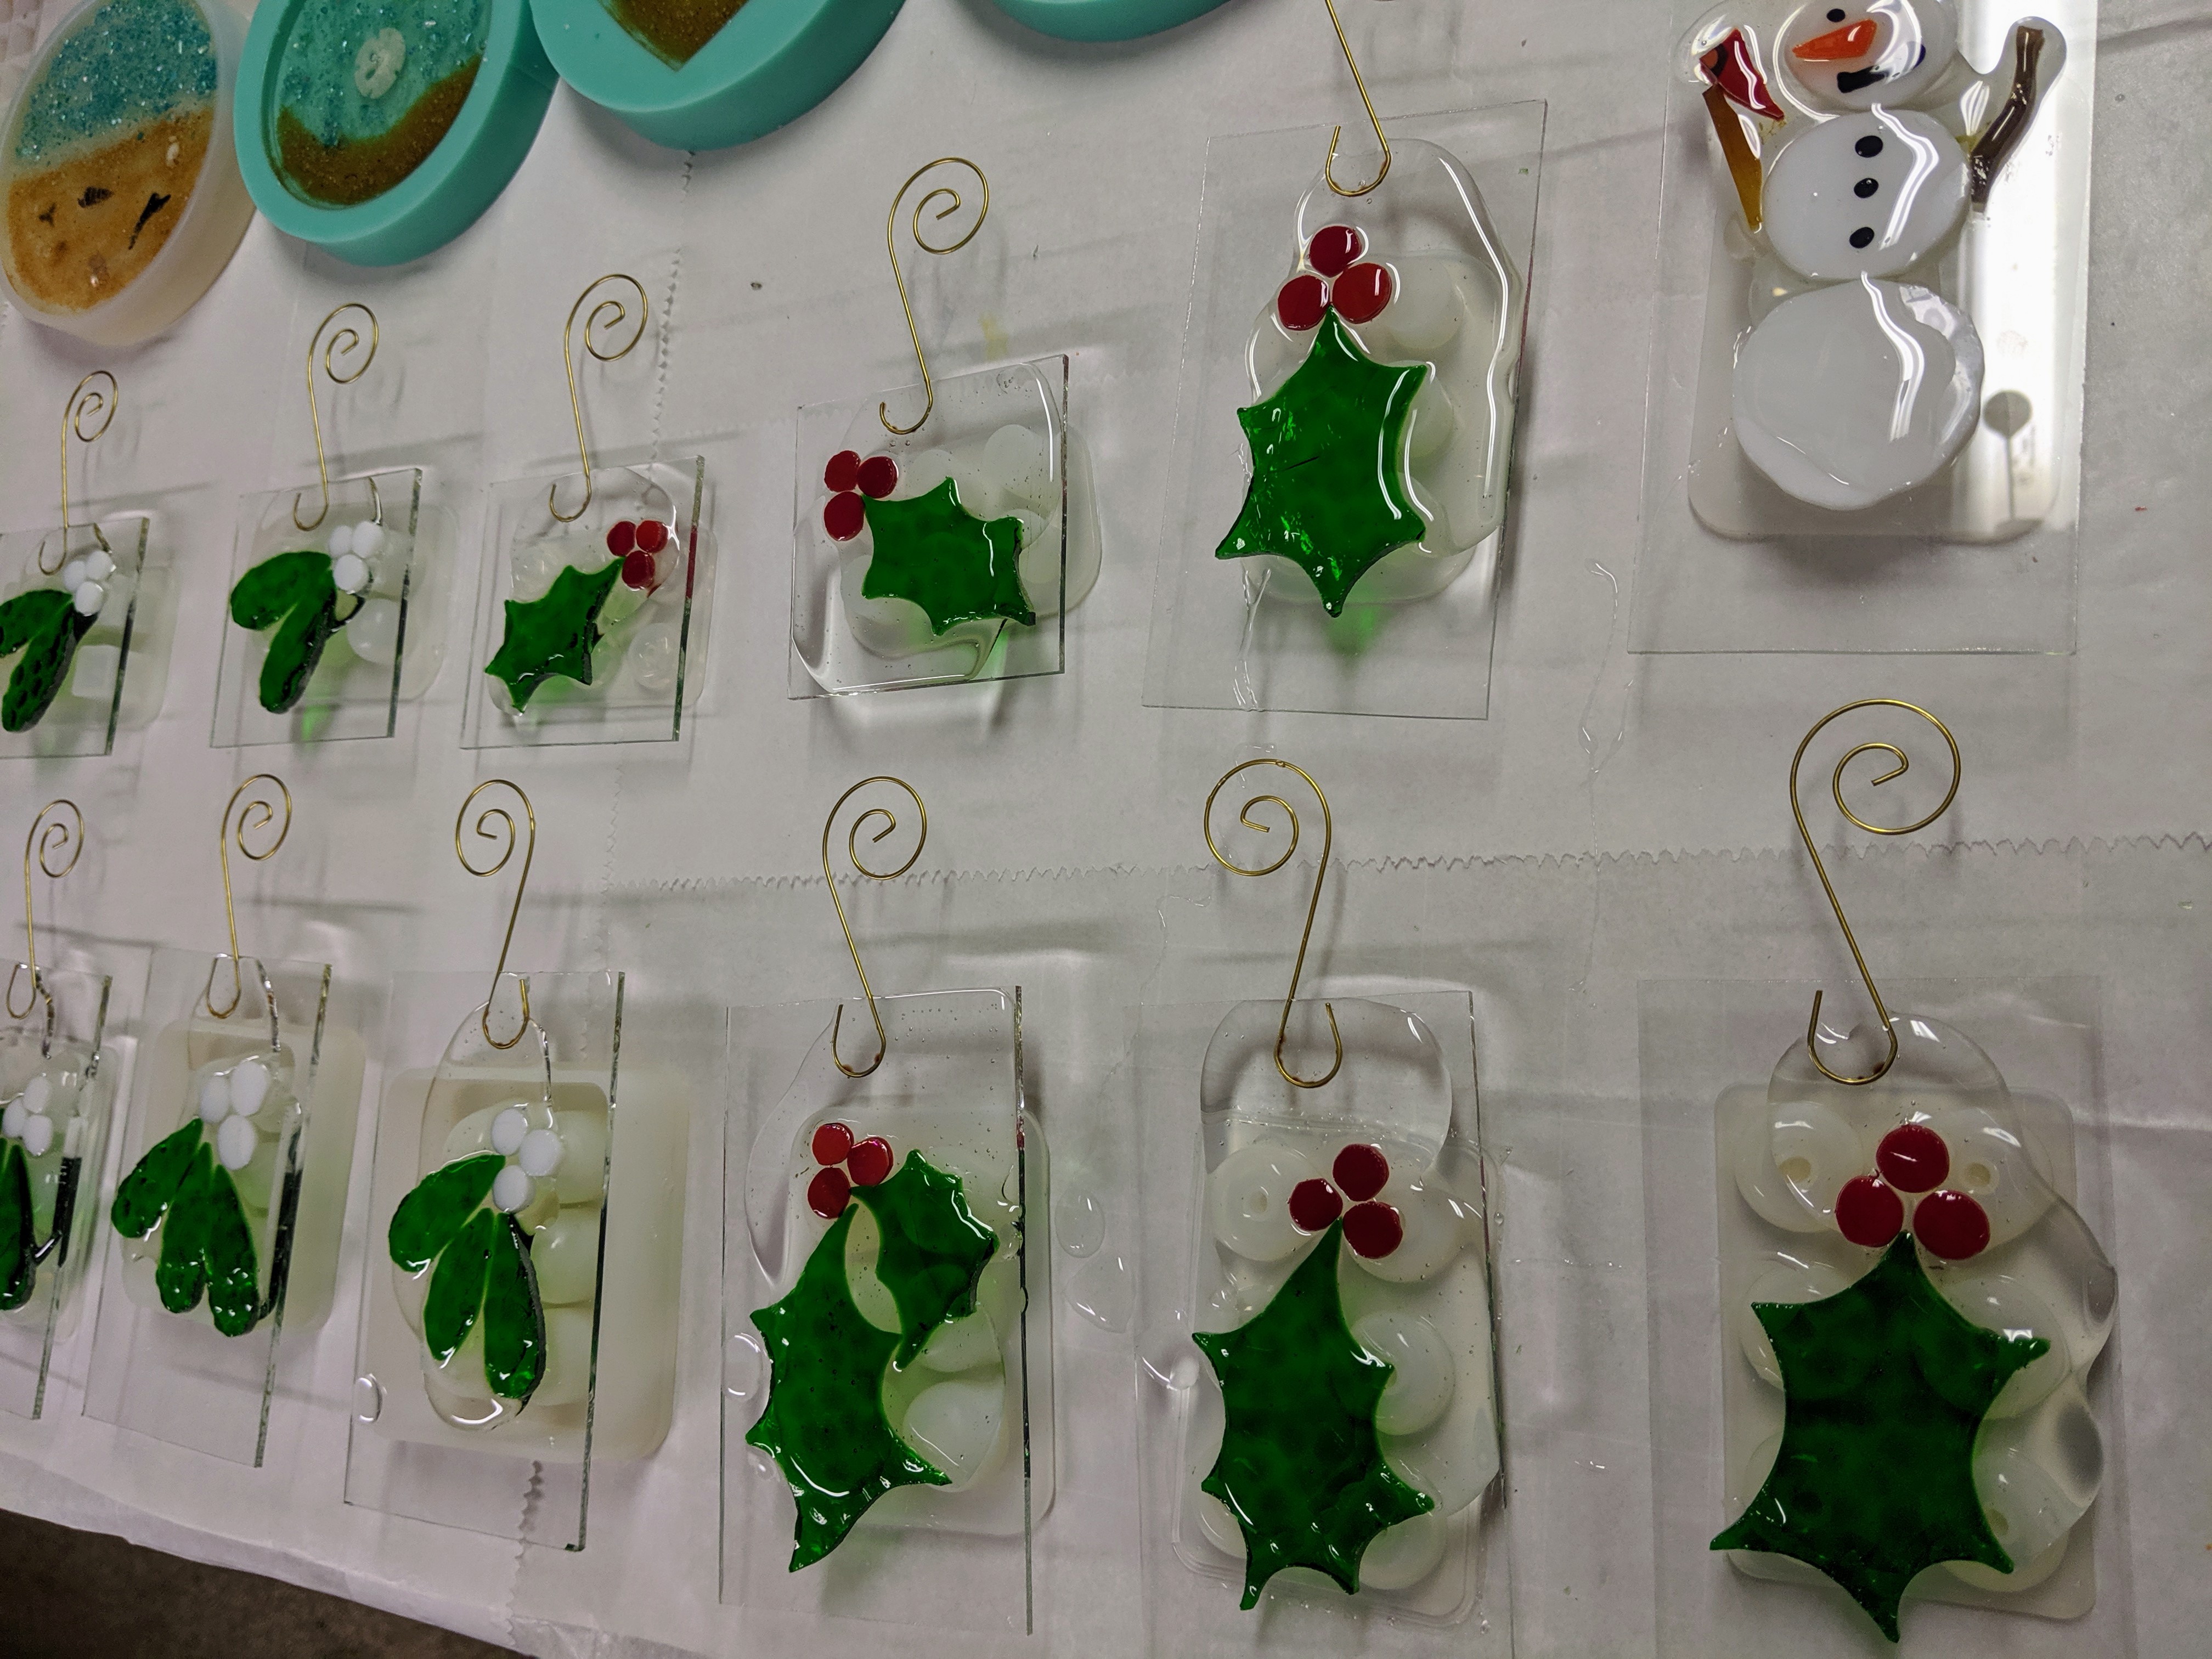
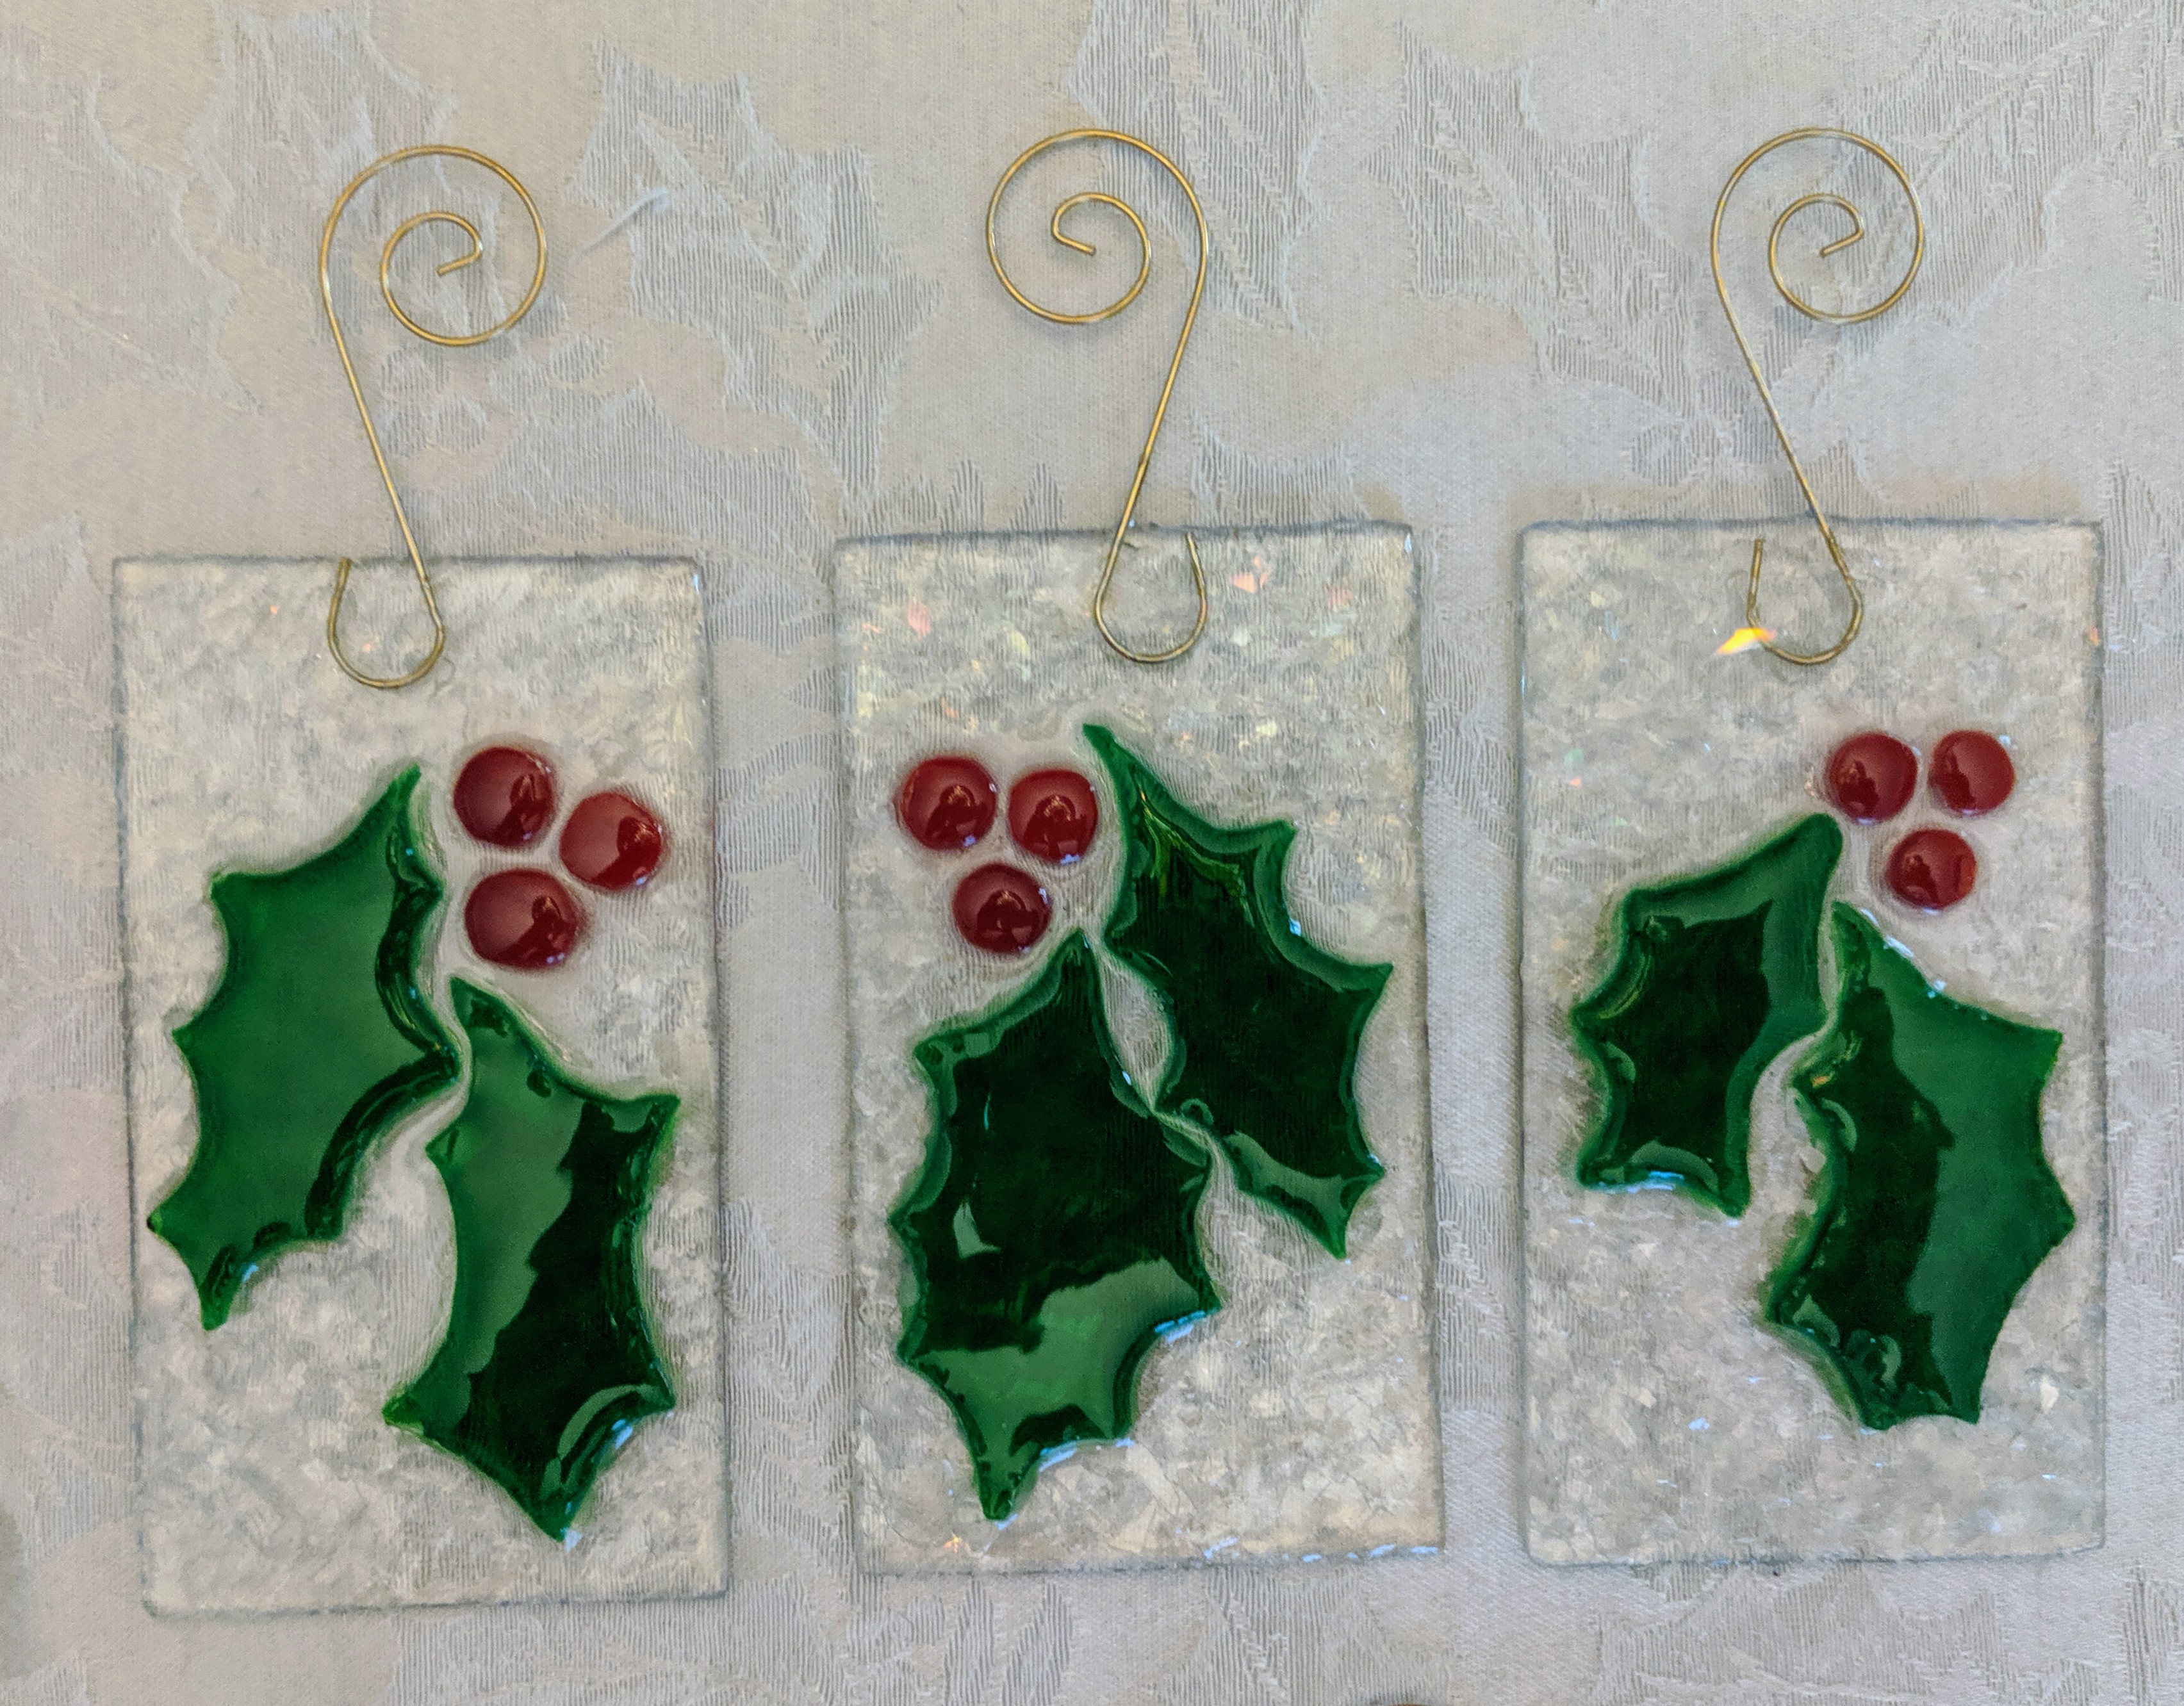
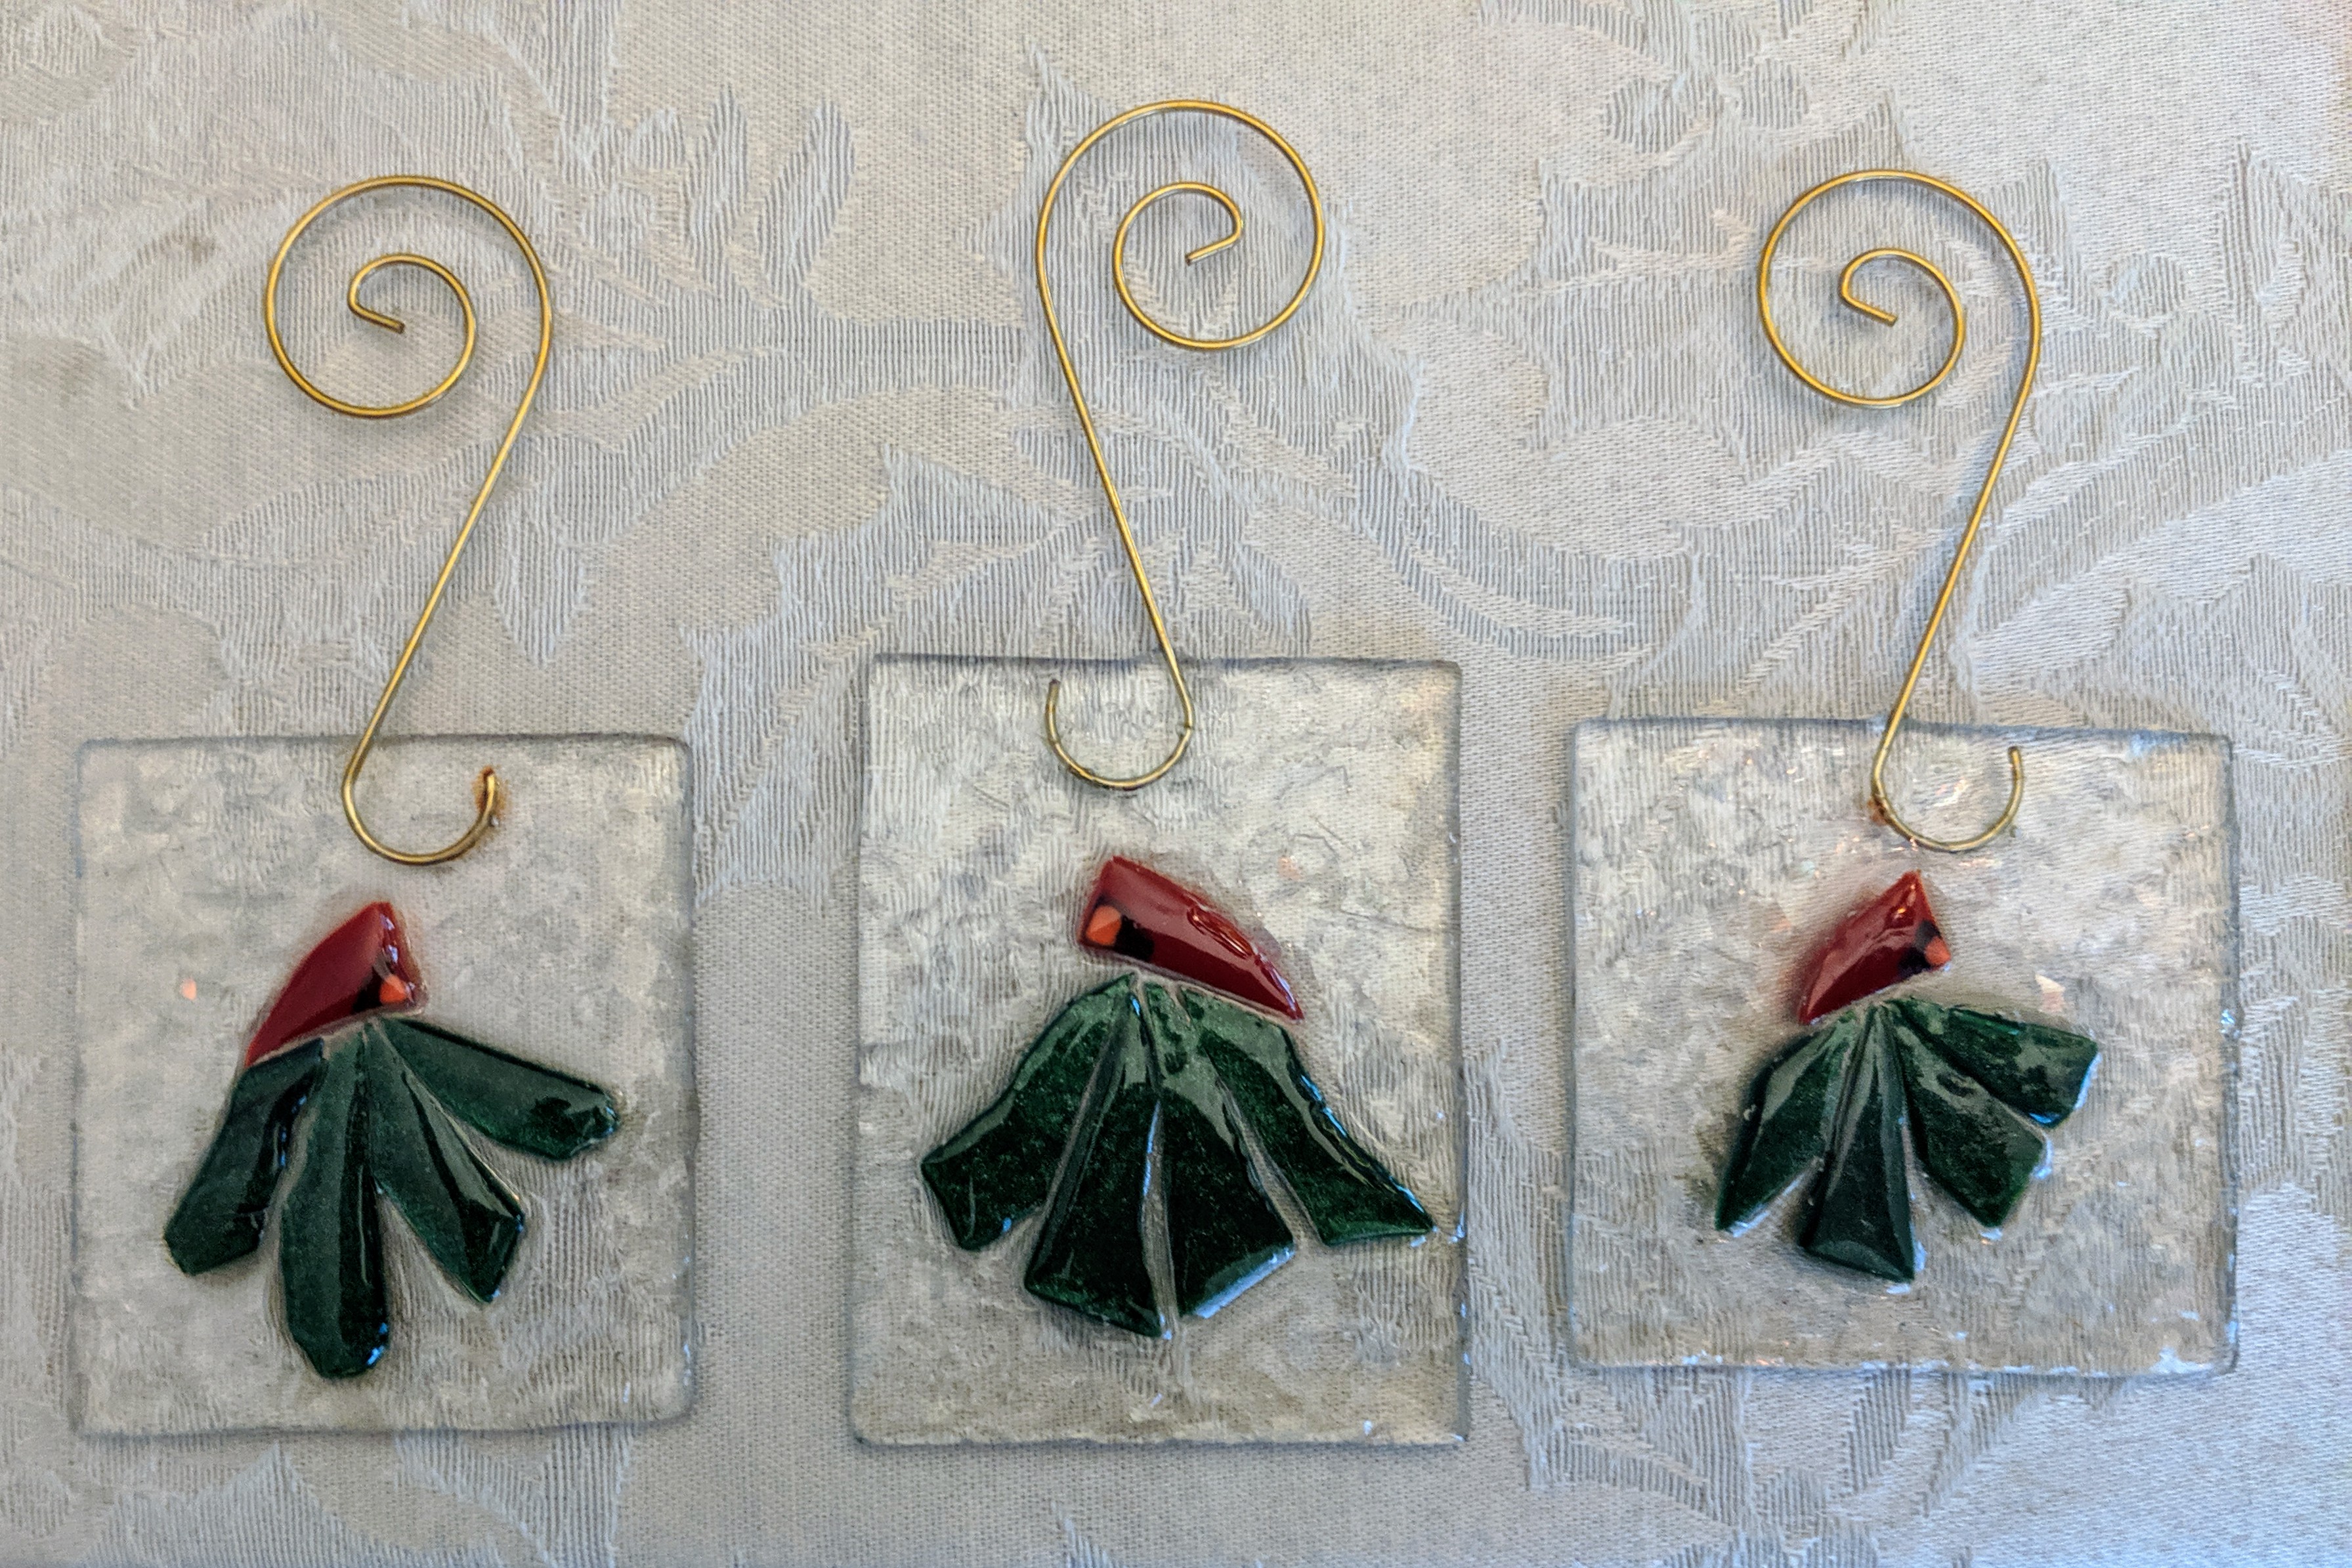
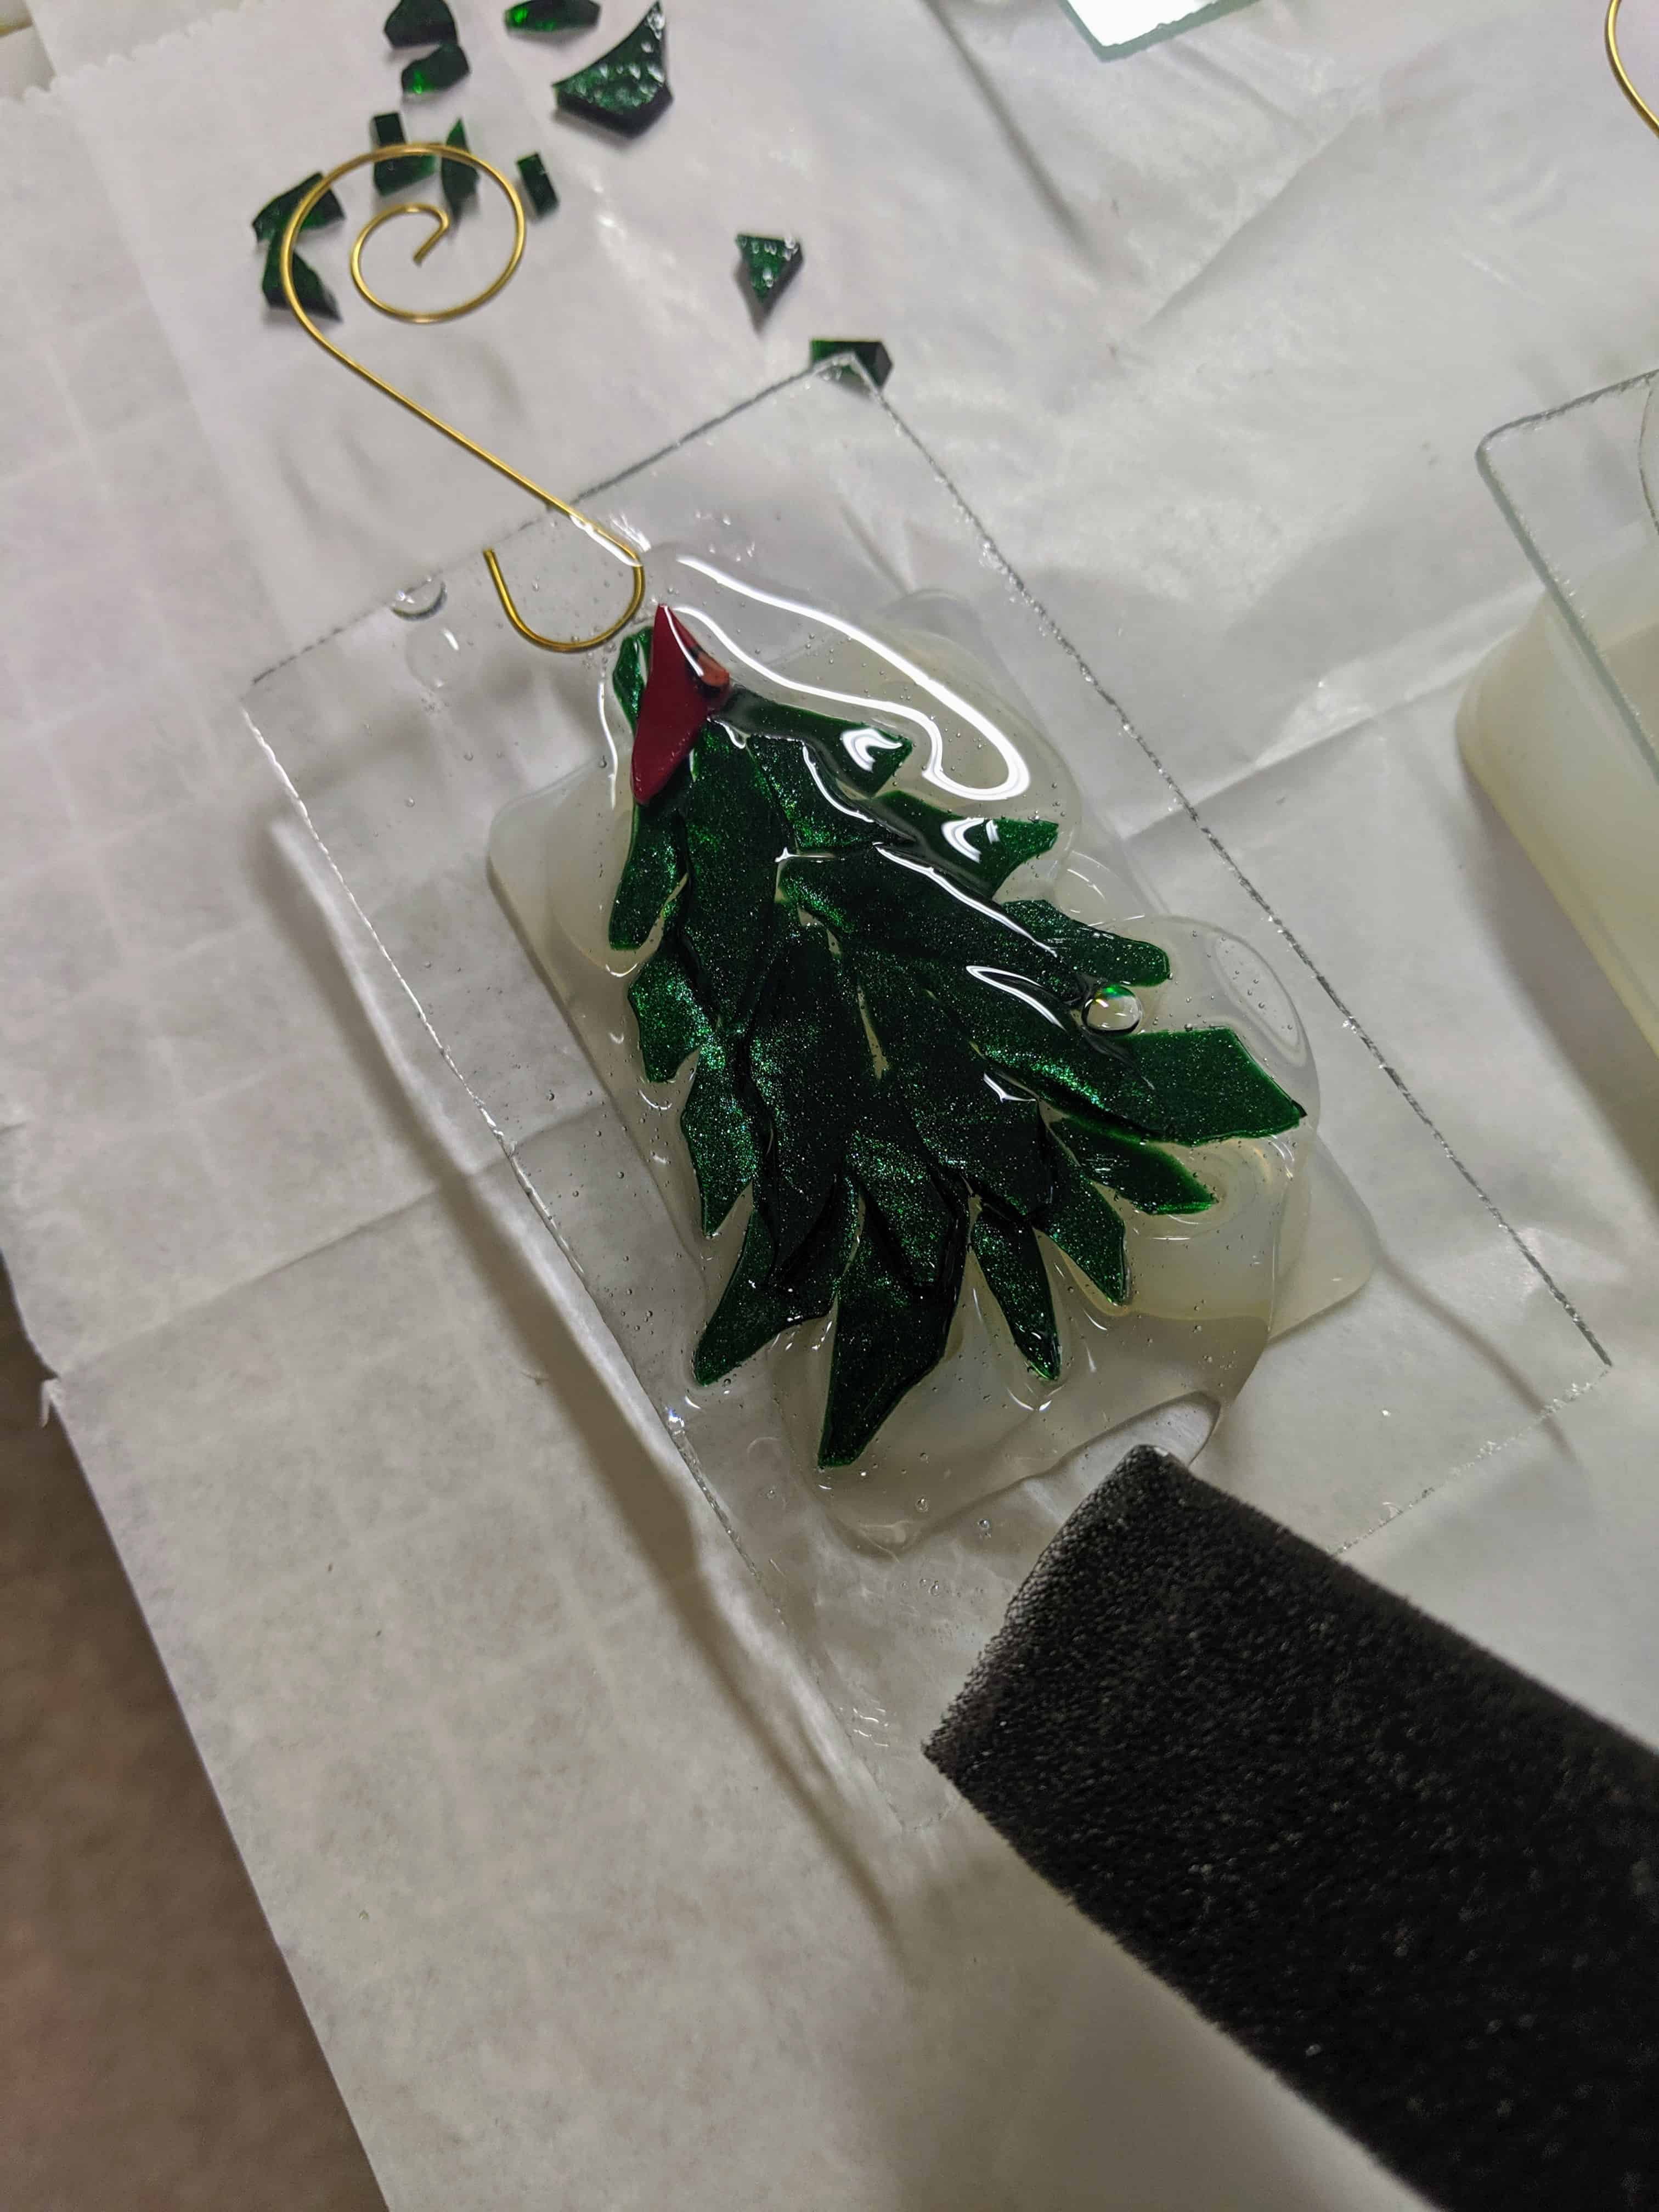
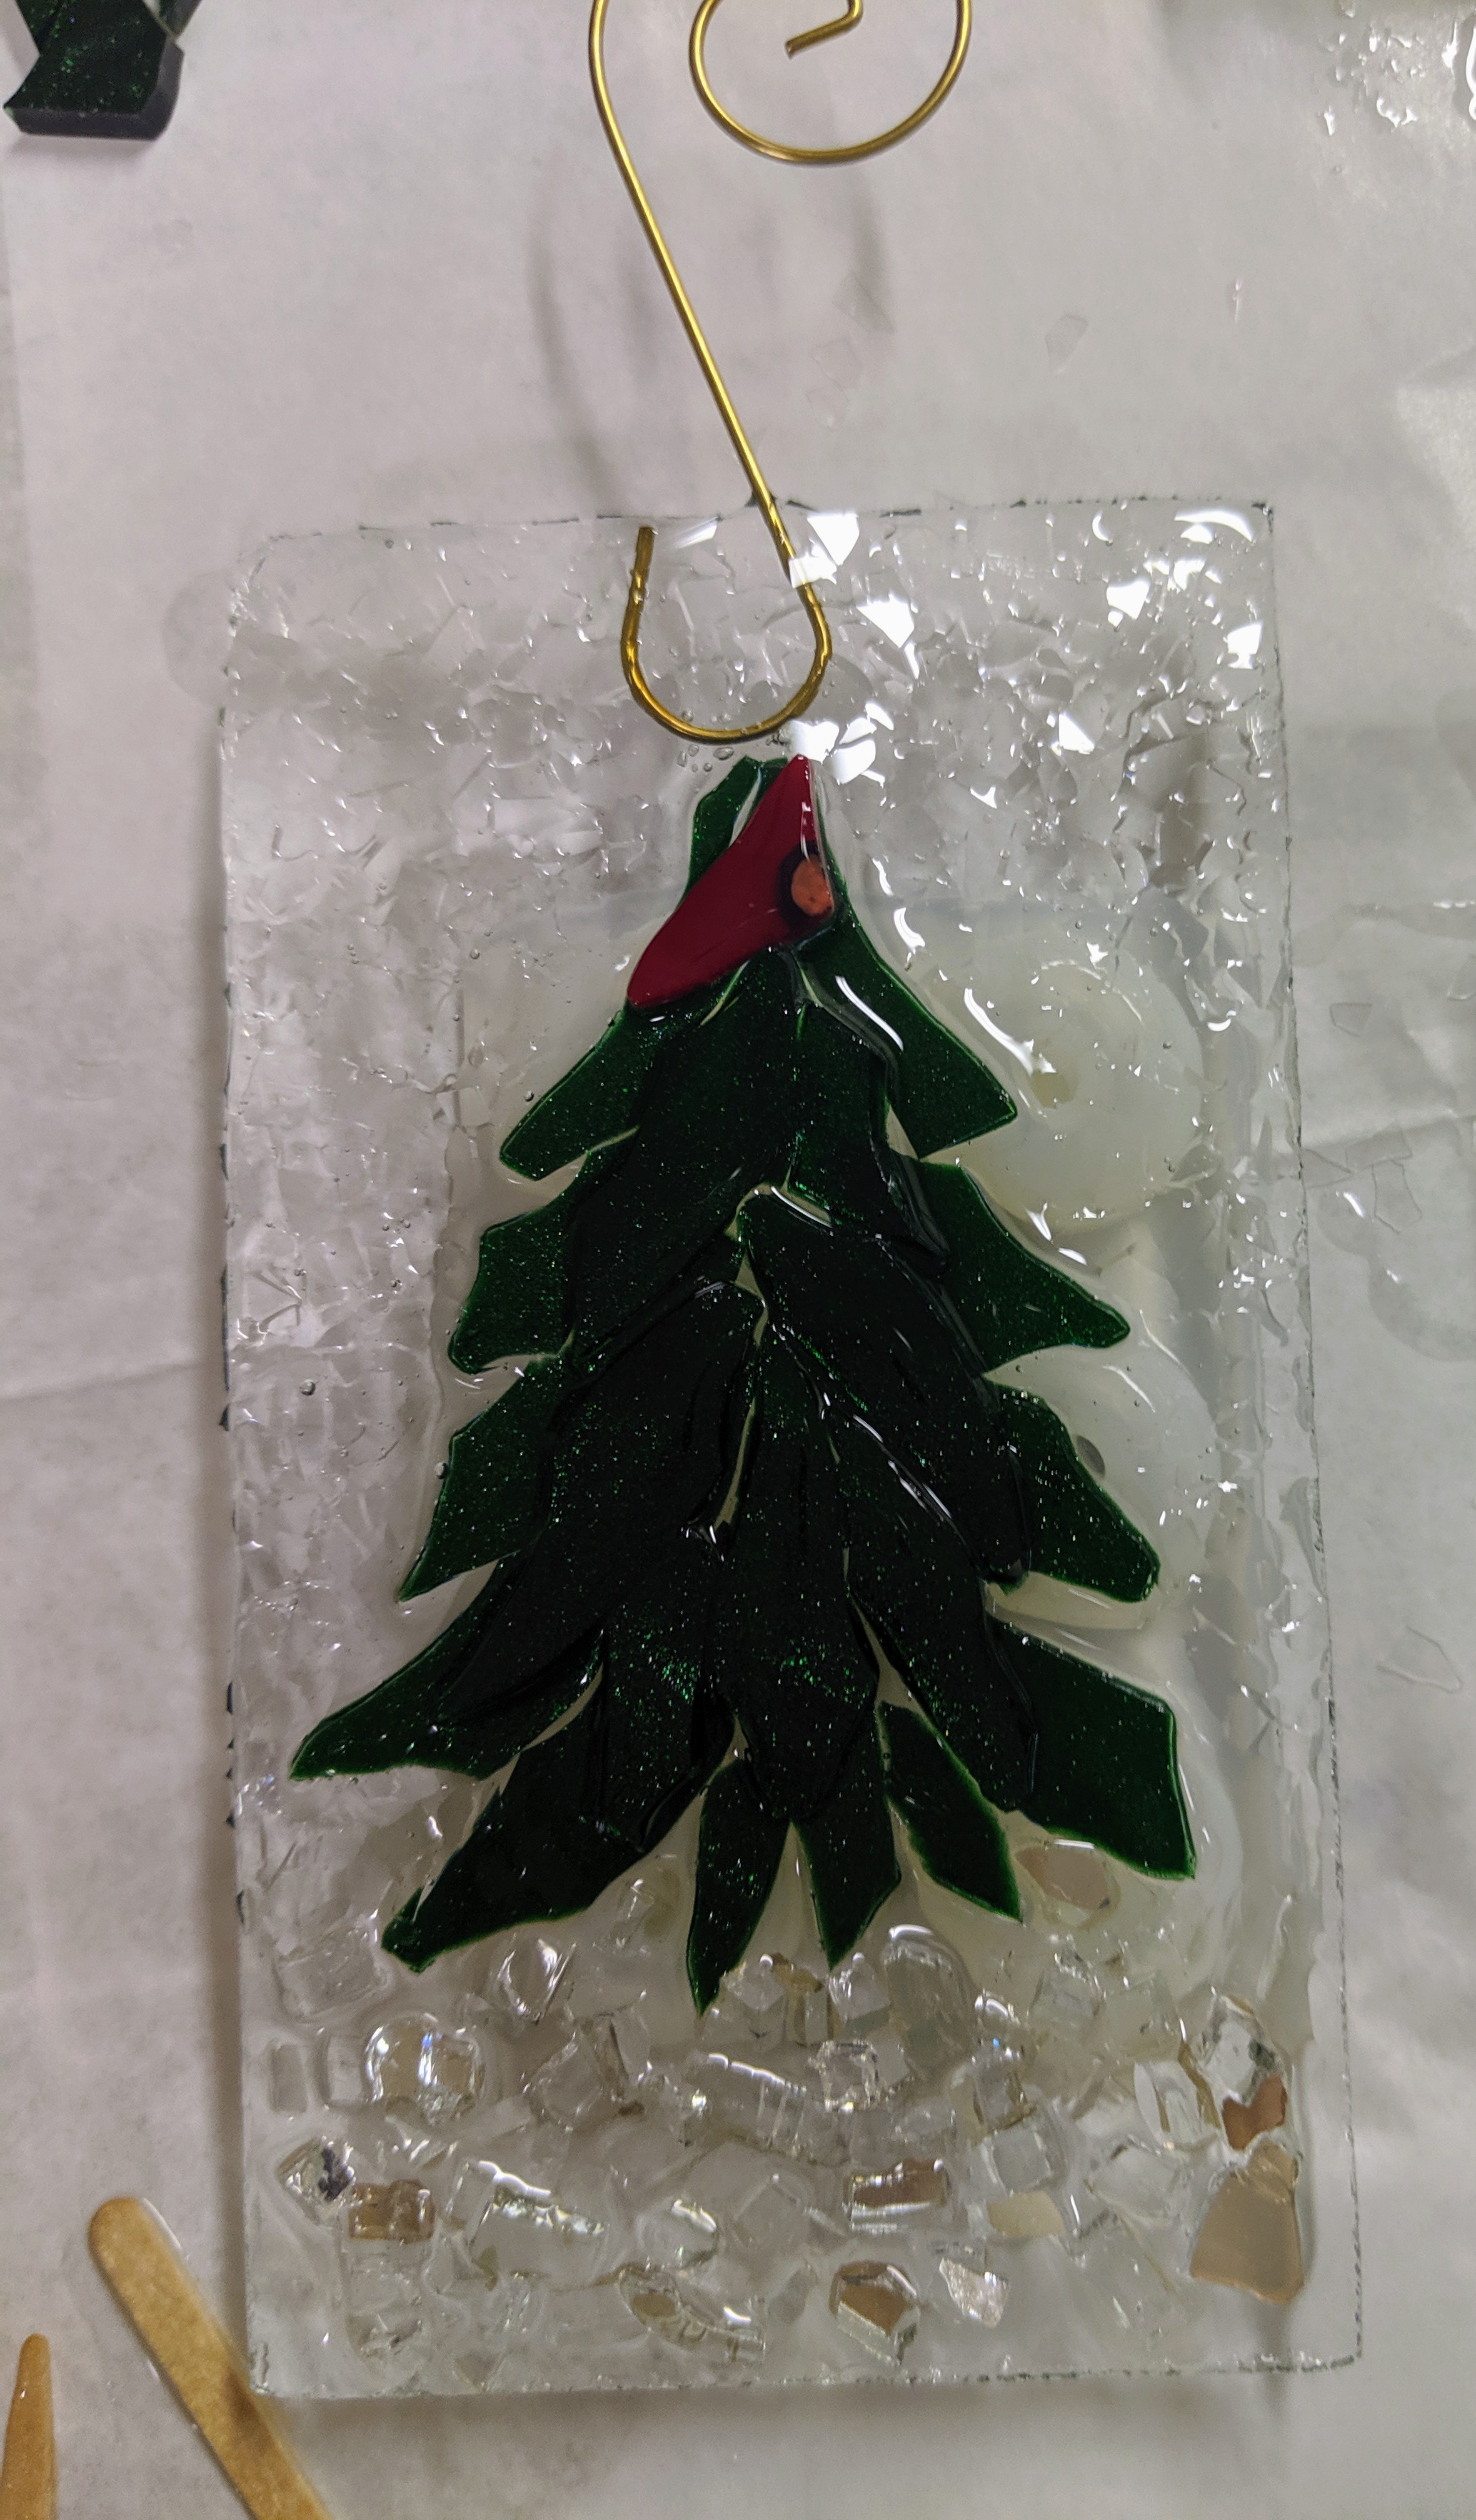
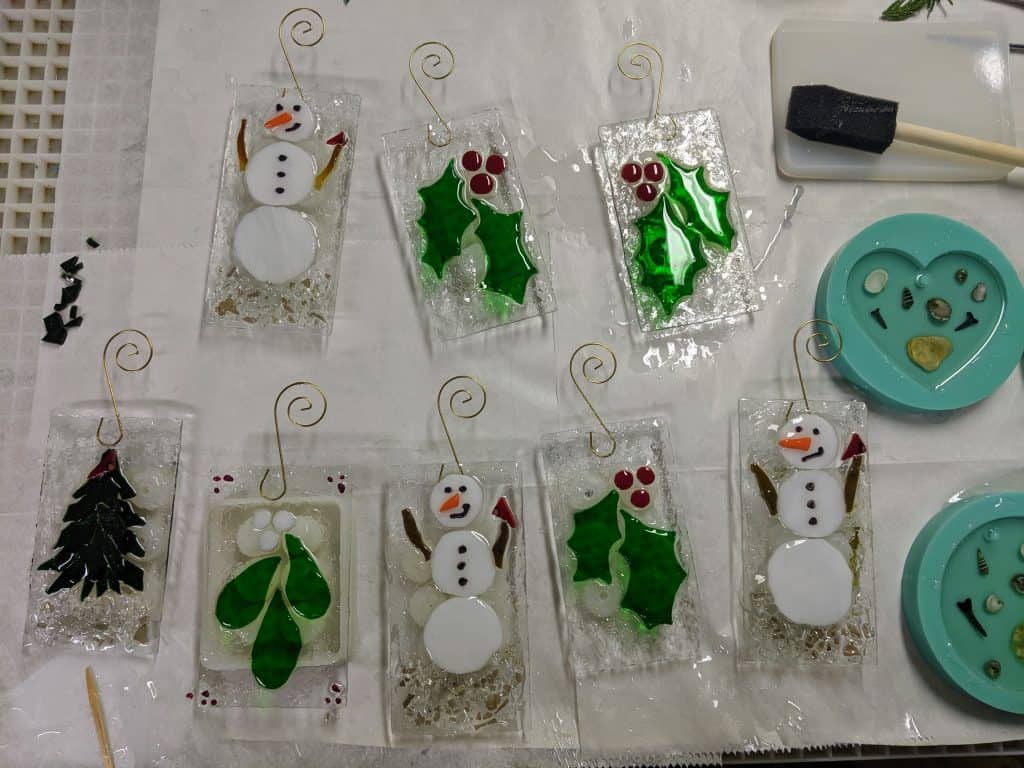
I use stained glass for the leaves, berries and snowman and clear glass that is recycled from old windows to make these festive ornaments. I cut the glass for these ornaments and glued it down yesterday, so today it was time for the resin layer. After mixing, I pour a blob of resin on each ornament. A little goes a long way, and too much makes for more difficulty with drips, so it’s better to use too little and then add more later. I went a bit overboard with a few of these and had to wipe away a lot of drips. That also causes some of the resin to form on the underside in such a way that I have to scrape it off with a razor blade later, which is tedious and a little dangerous if you’re clumsy like I am.
After mixing, I pour some resin blobs on each ornament.
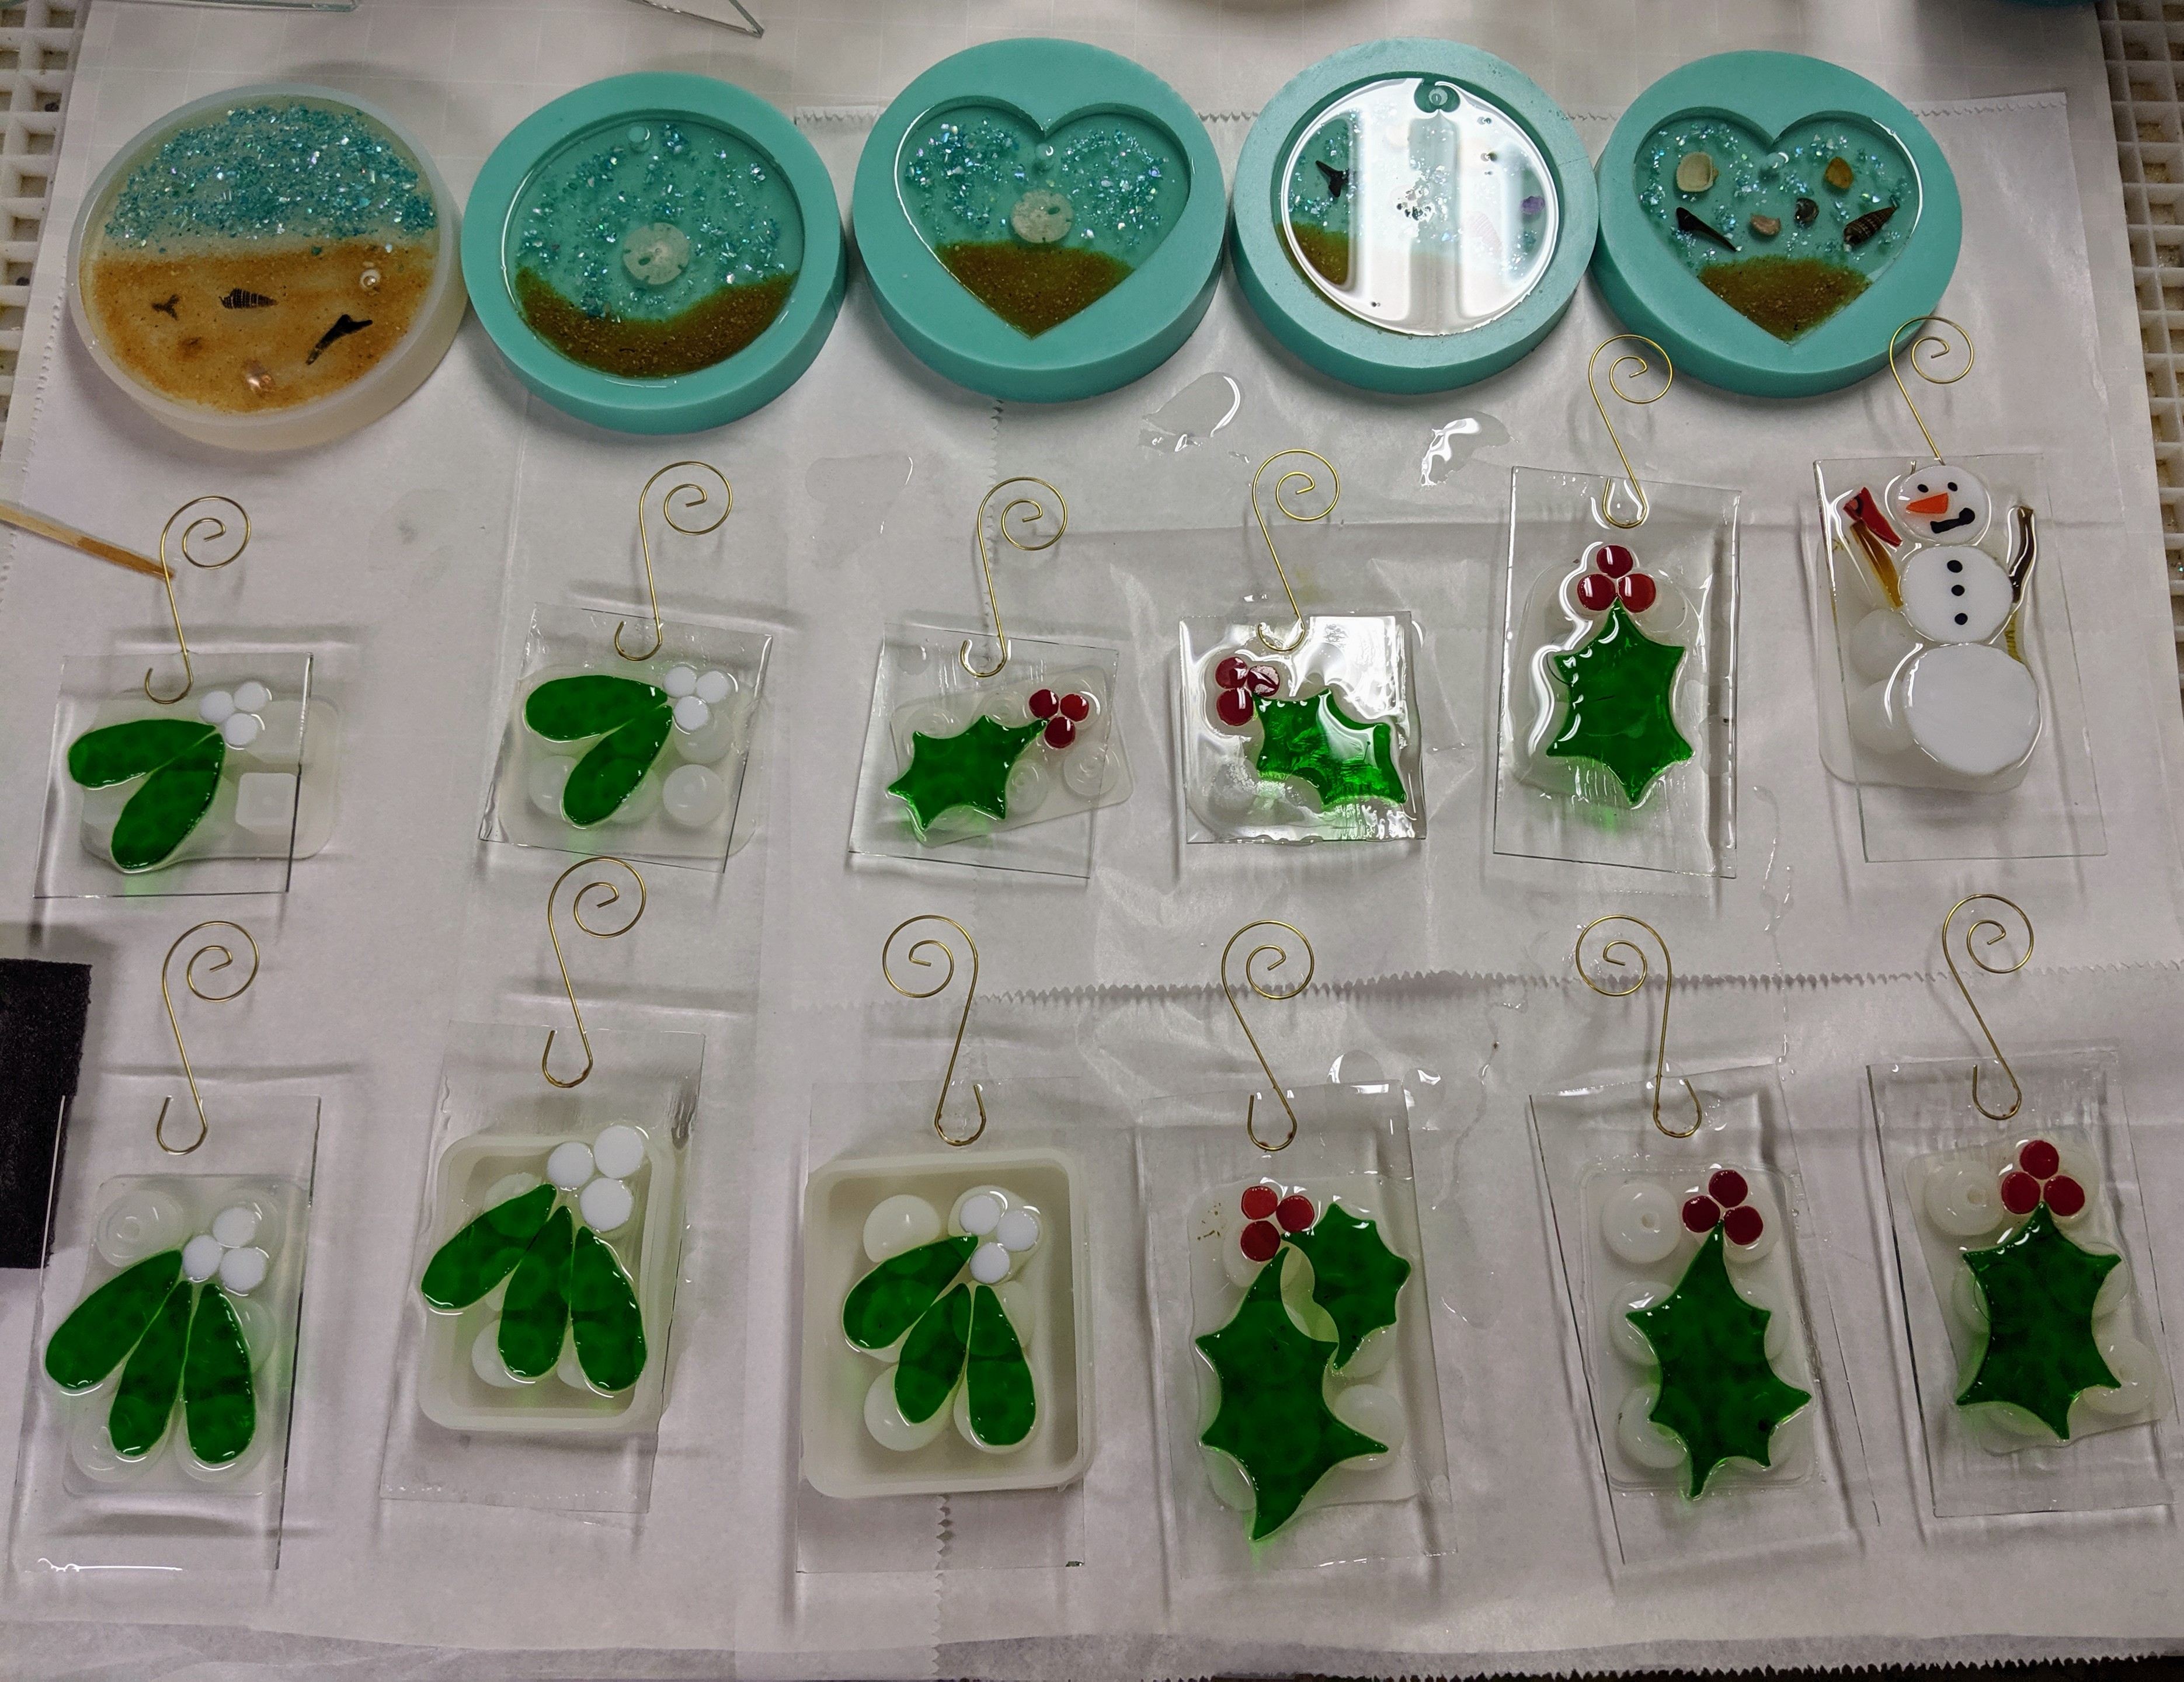
I used a sponge on a stick to spread the resin around so it covers all of the top surface of the ornaments. The resin will settle itself down and look smooth once it cures, so I don’t worry about the streaks left by the sponge. I do have to use a heat gun a few times during this stage to remove bubbles. They are worse in the deep molds for the beach themed resin ornaments and coasters than the thin layer on the stained / recycled glass ornaments, though.
Resin spread all over the tops of the ornaments.Done decorating and now just waiting for them to cure.
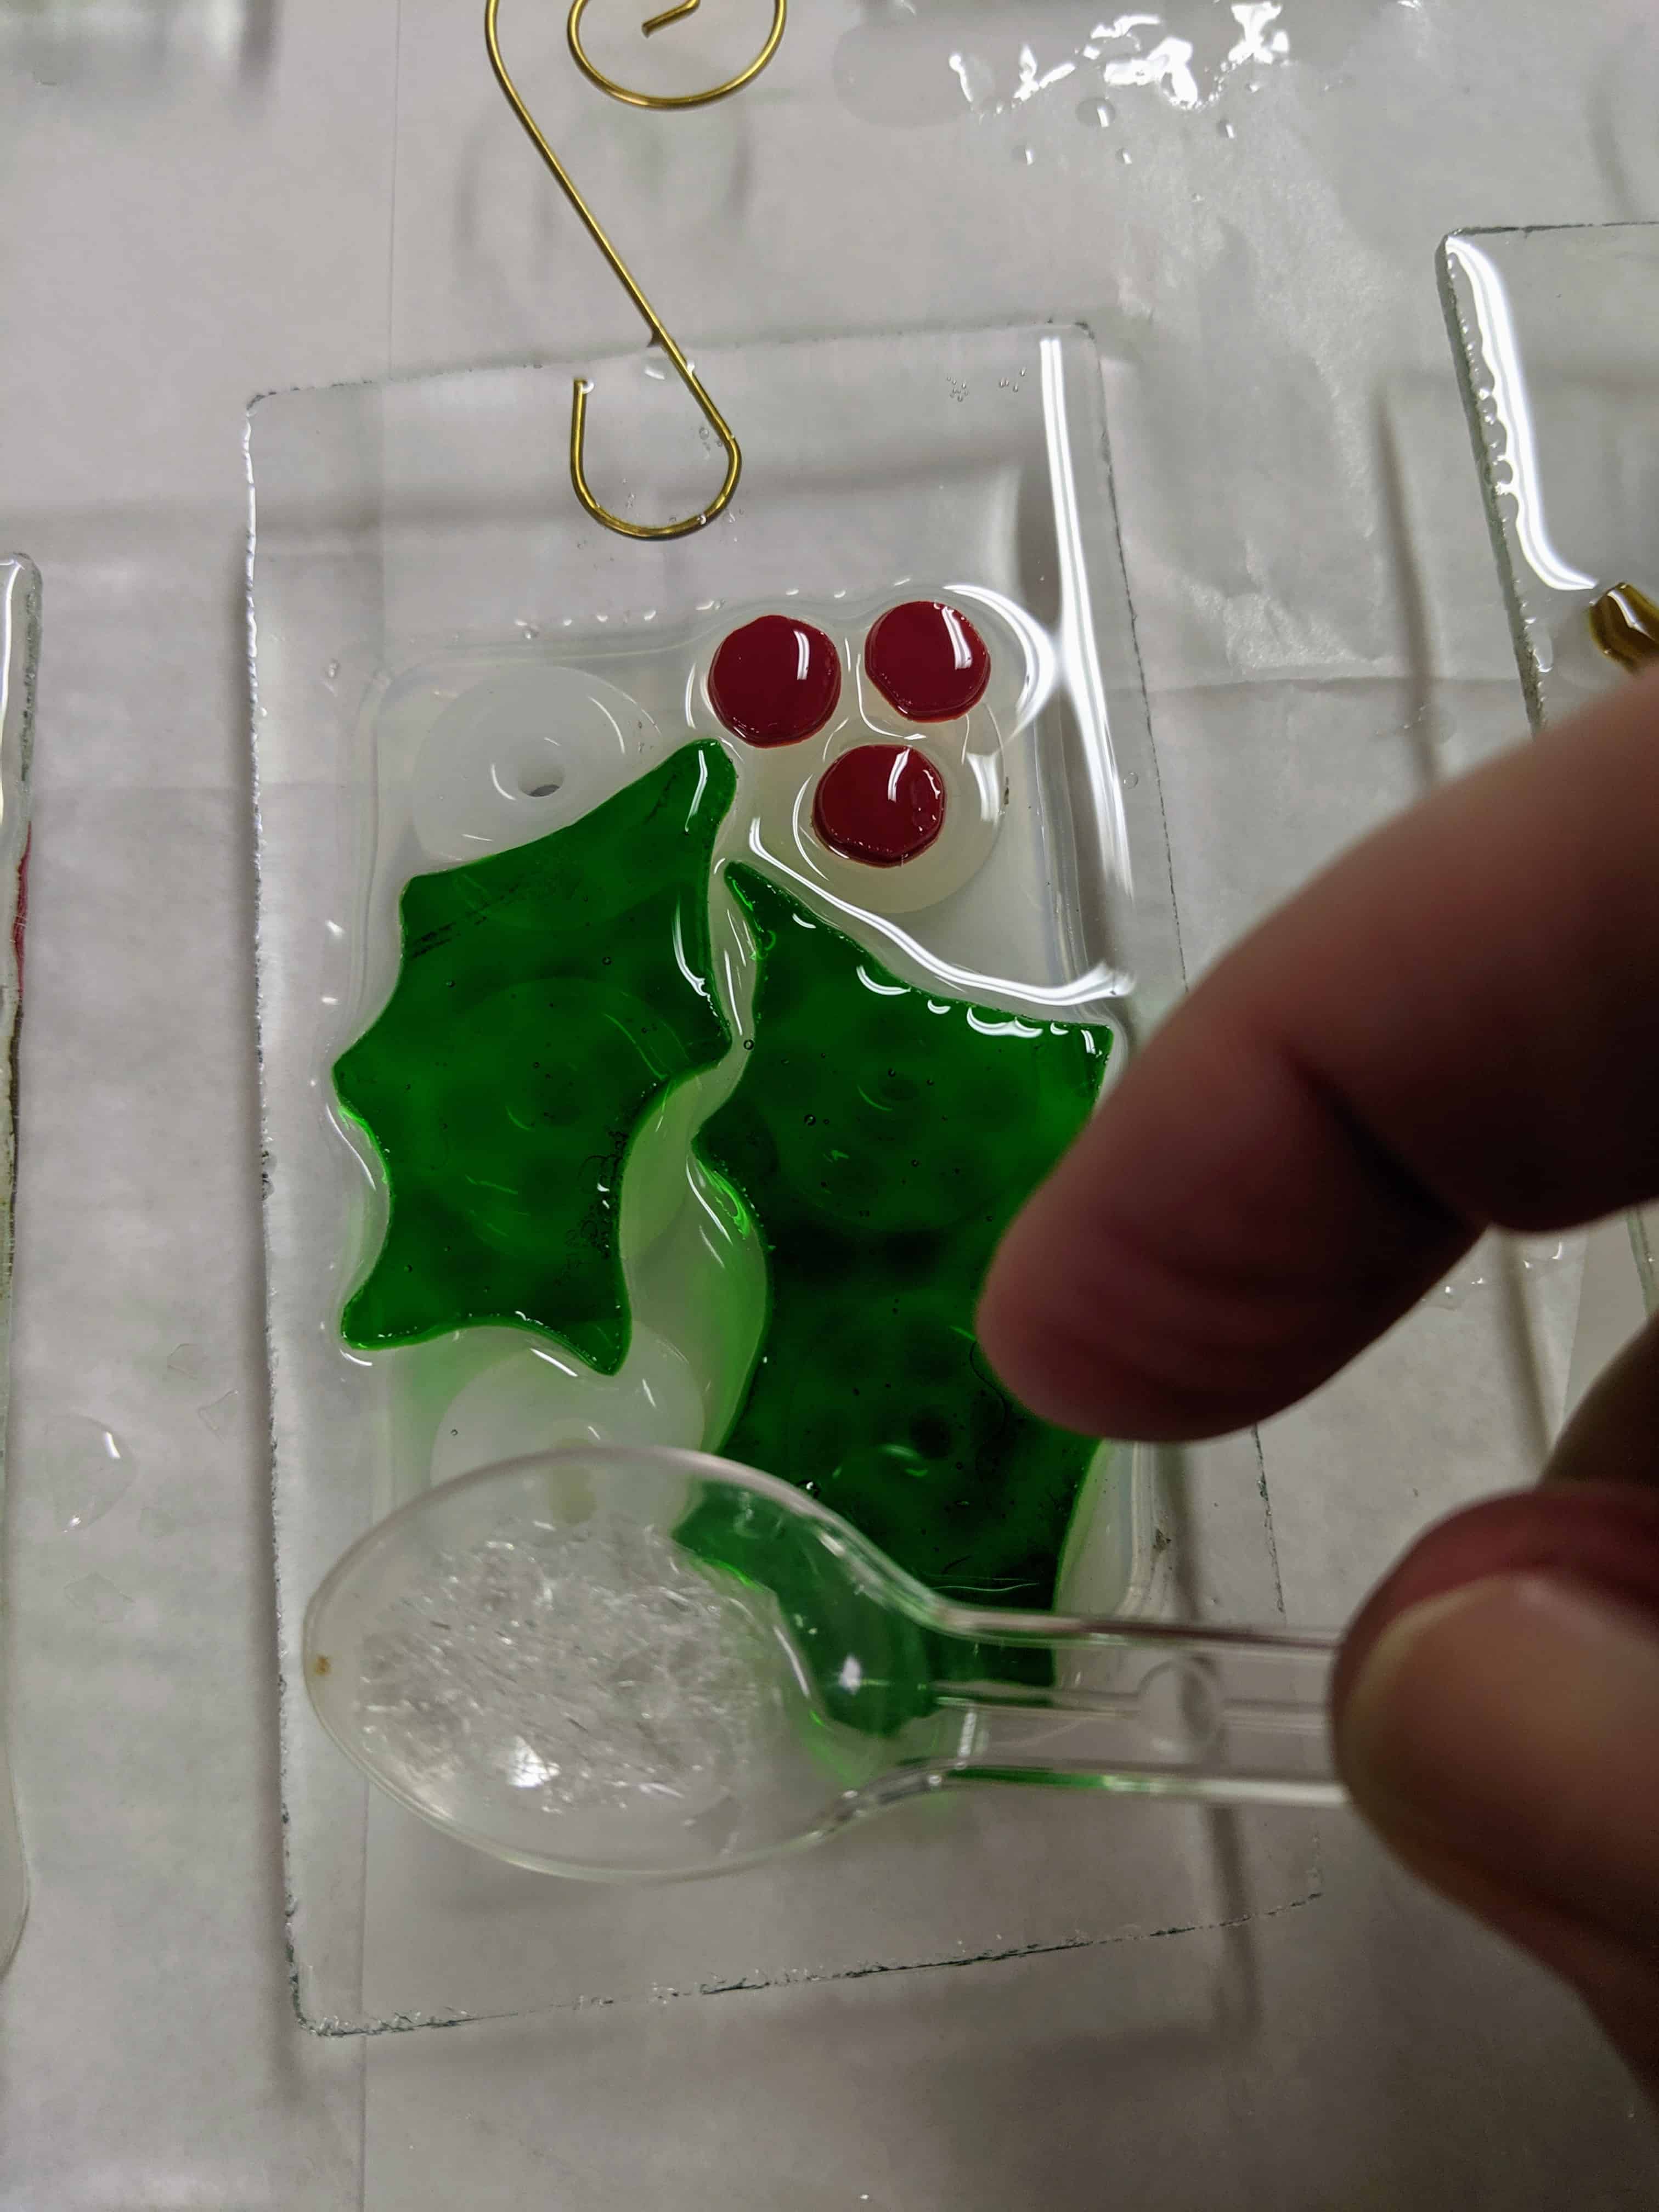
After the resin is spread, I place the glass blobs, chunks and chips I like to use for decoration in the resin. I also poured a little leftover resin into three new coaster molds that I decorated for the first layer of some more coasters.
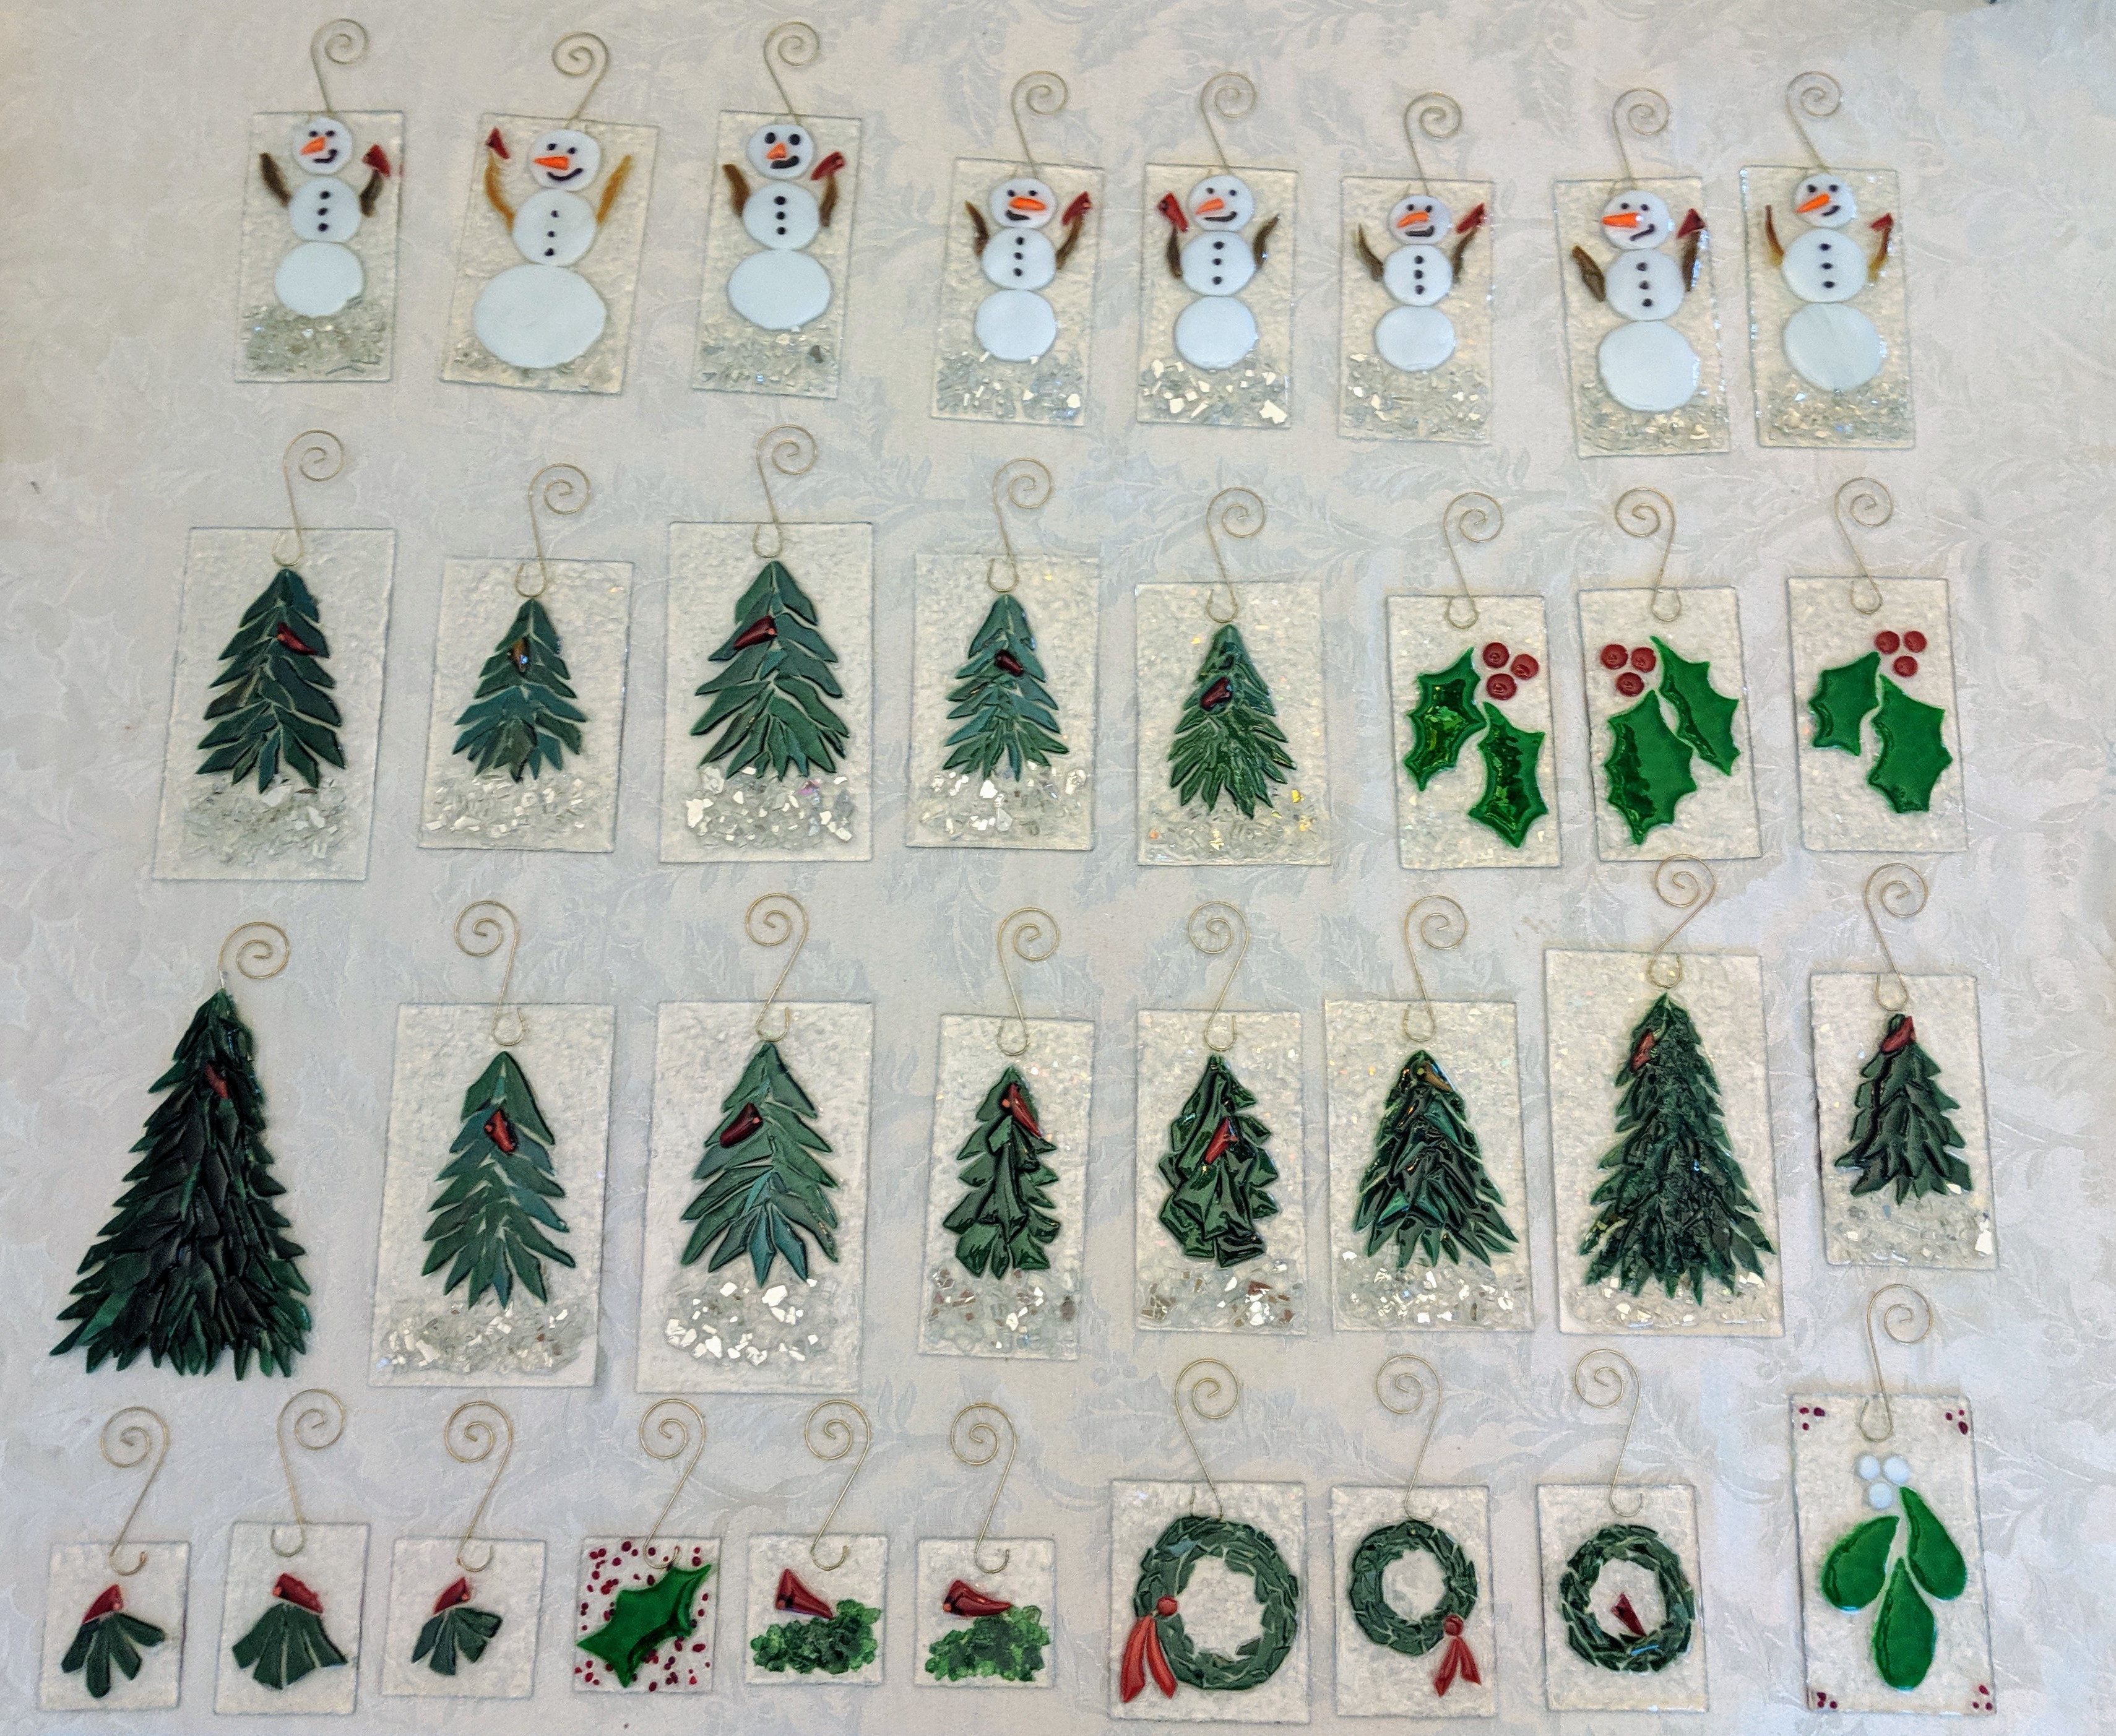
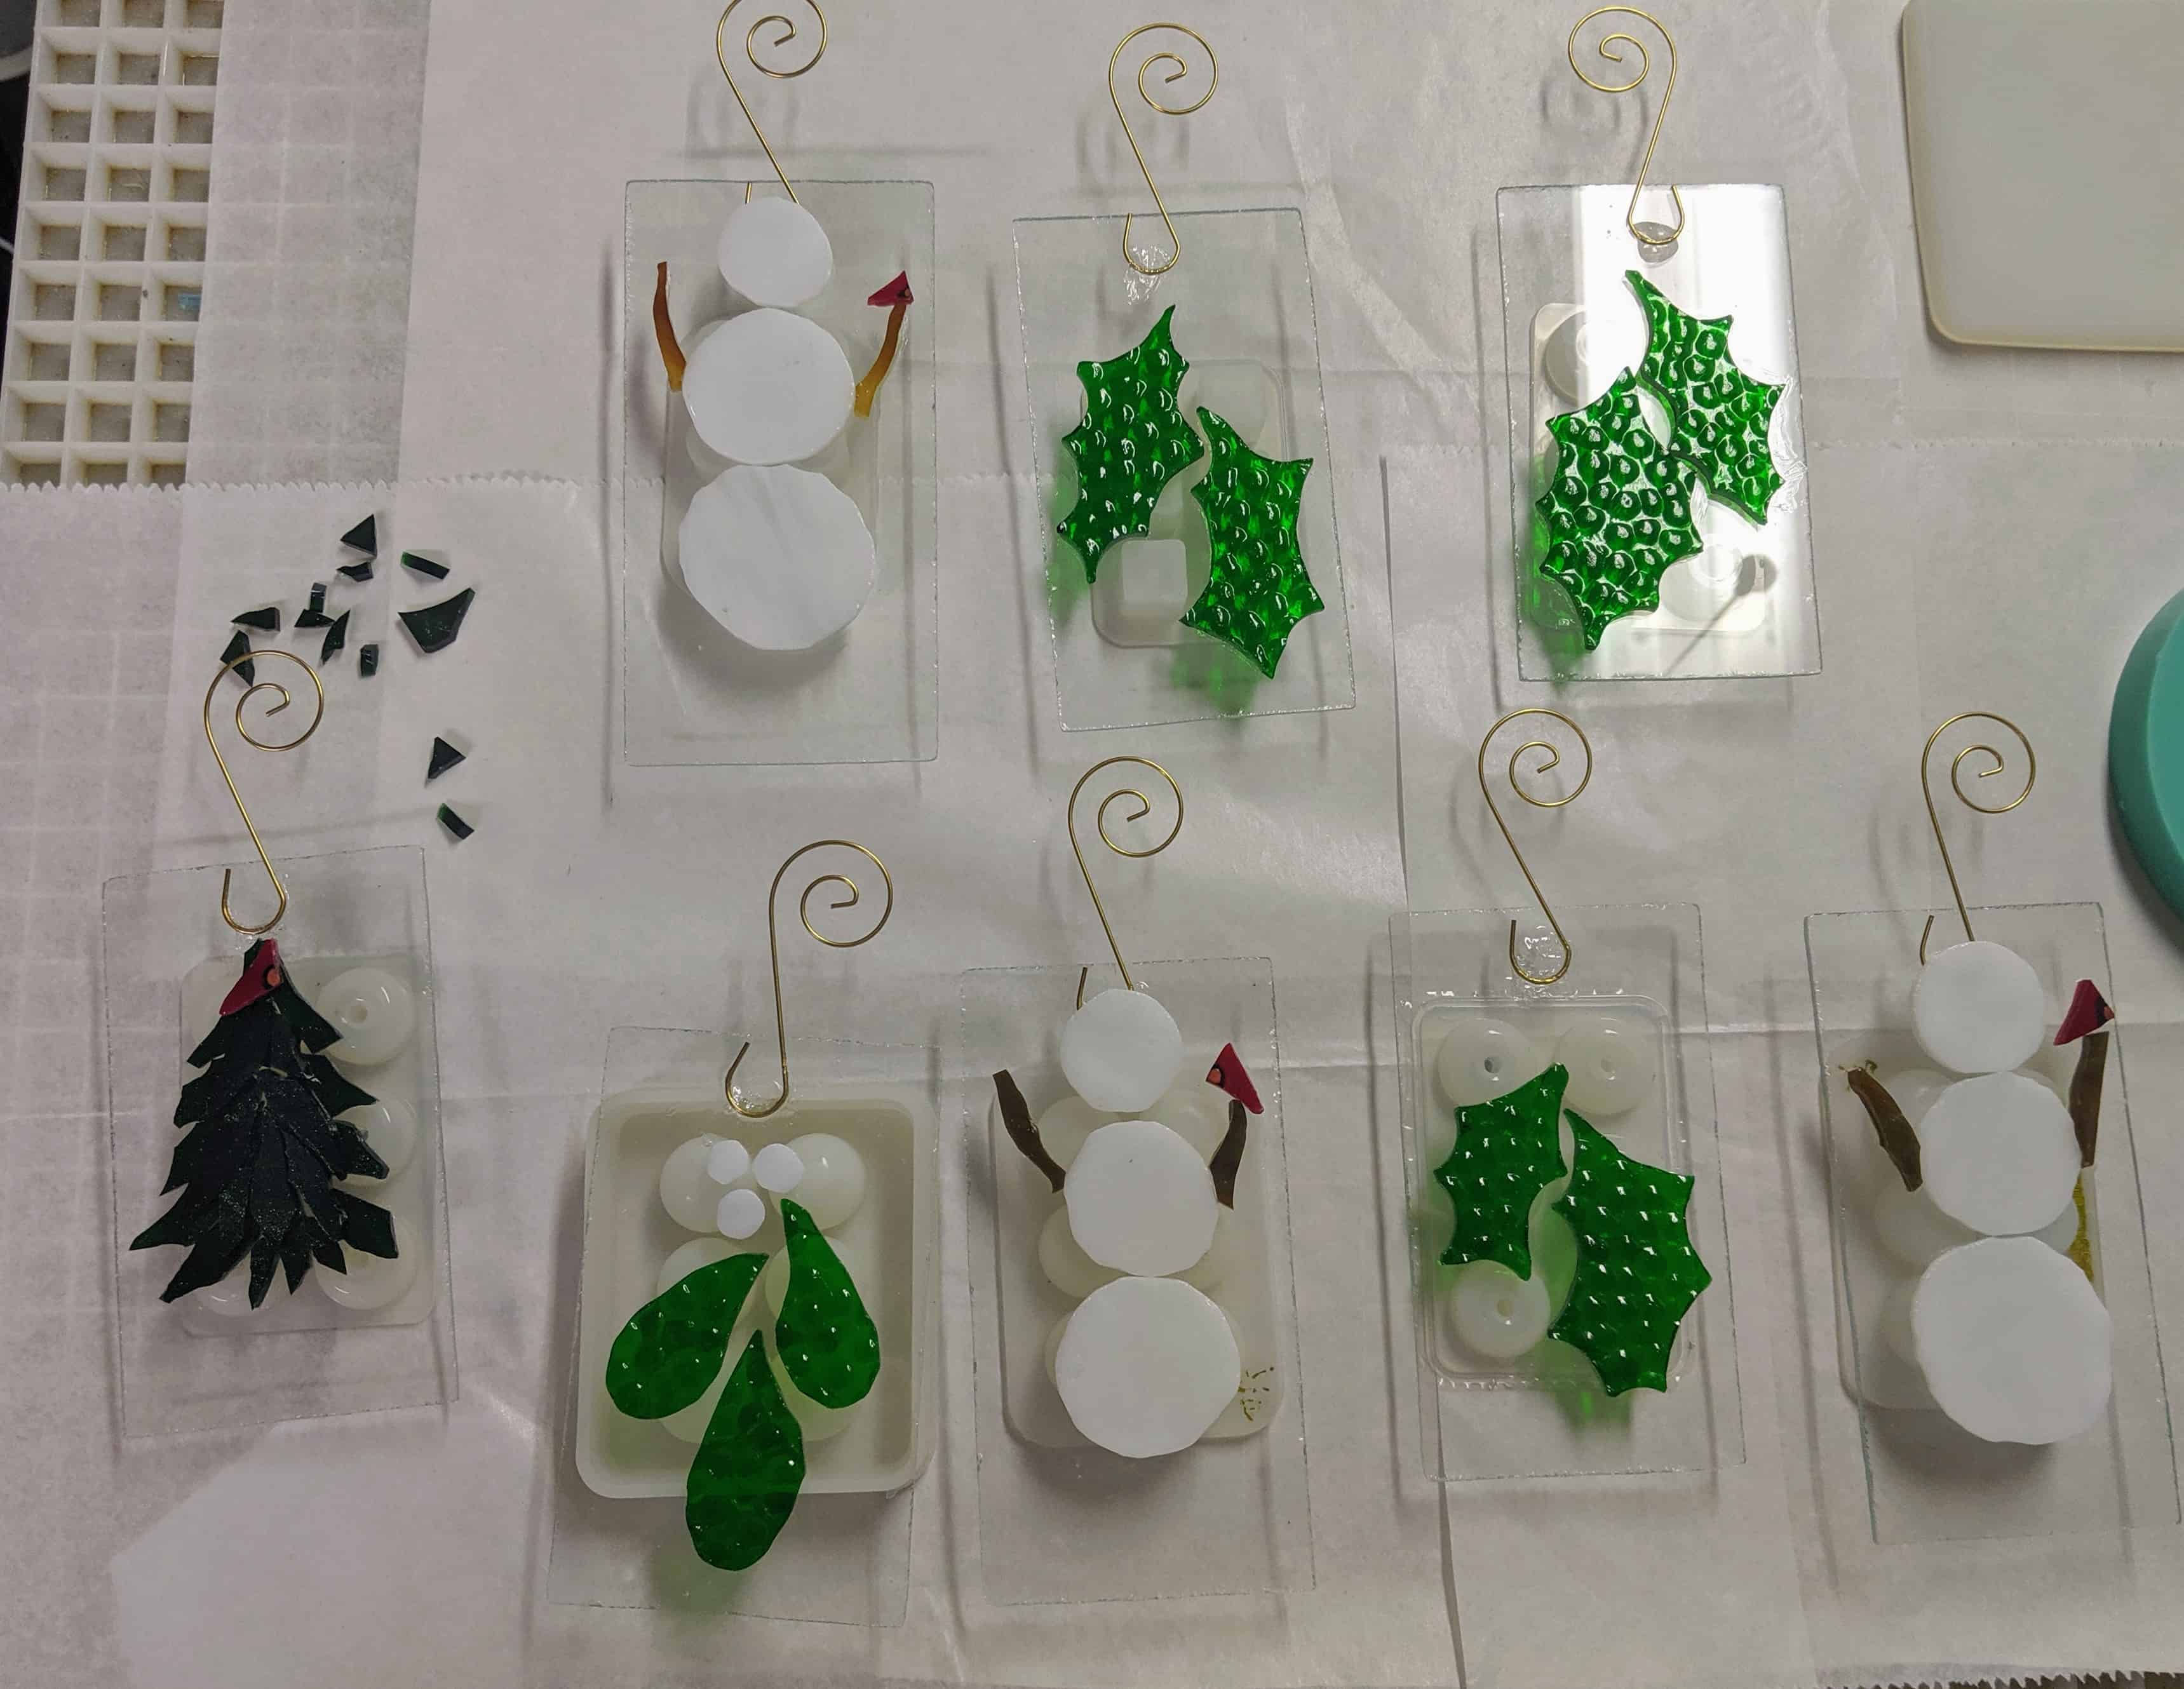
This post is just photos of the glass ornaments I’ve finished over the past few weeks. Enjoy! I will have these at the N. Charleston Farmers Market this Thursday (Halloween!) and at the Charleston Holiday Market at the N. Charleston Convention Center November 8-10.
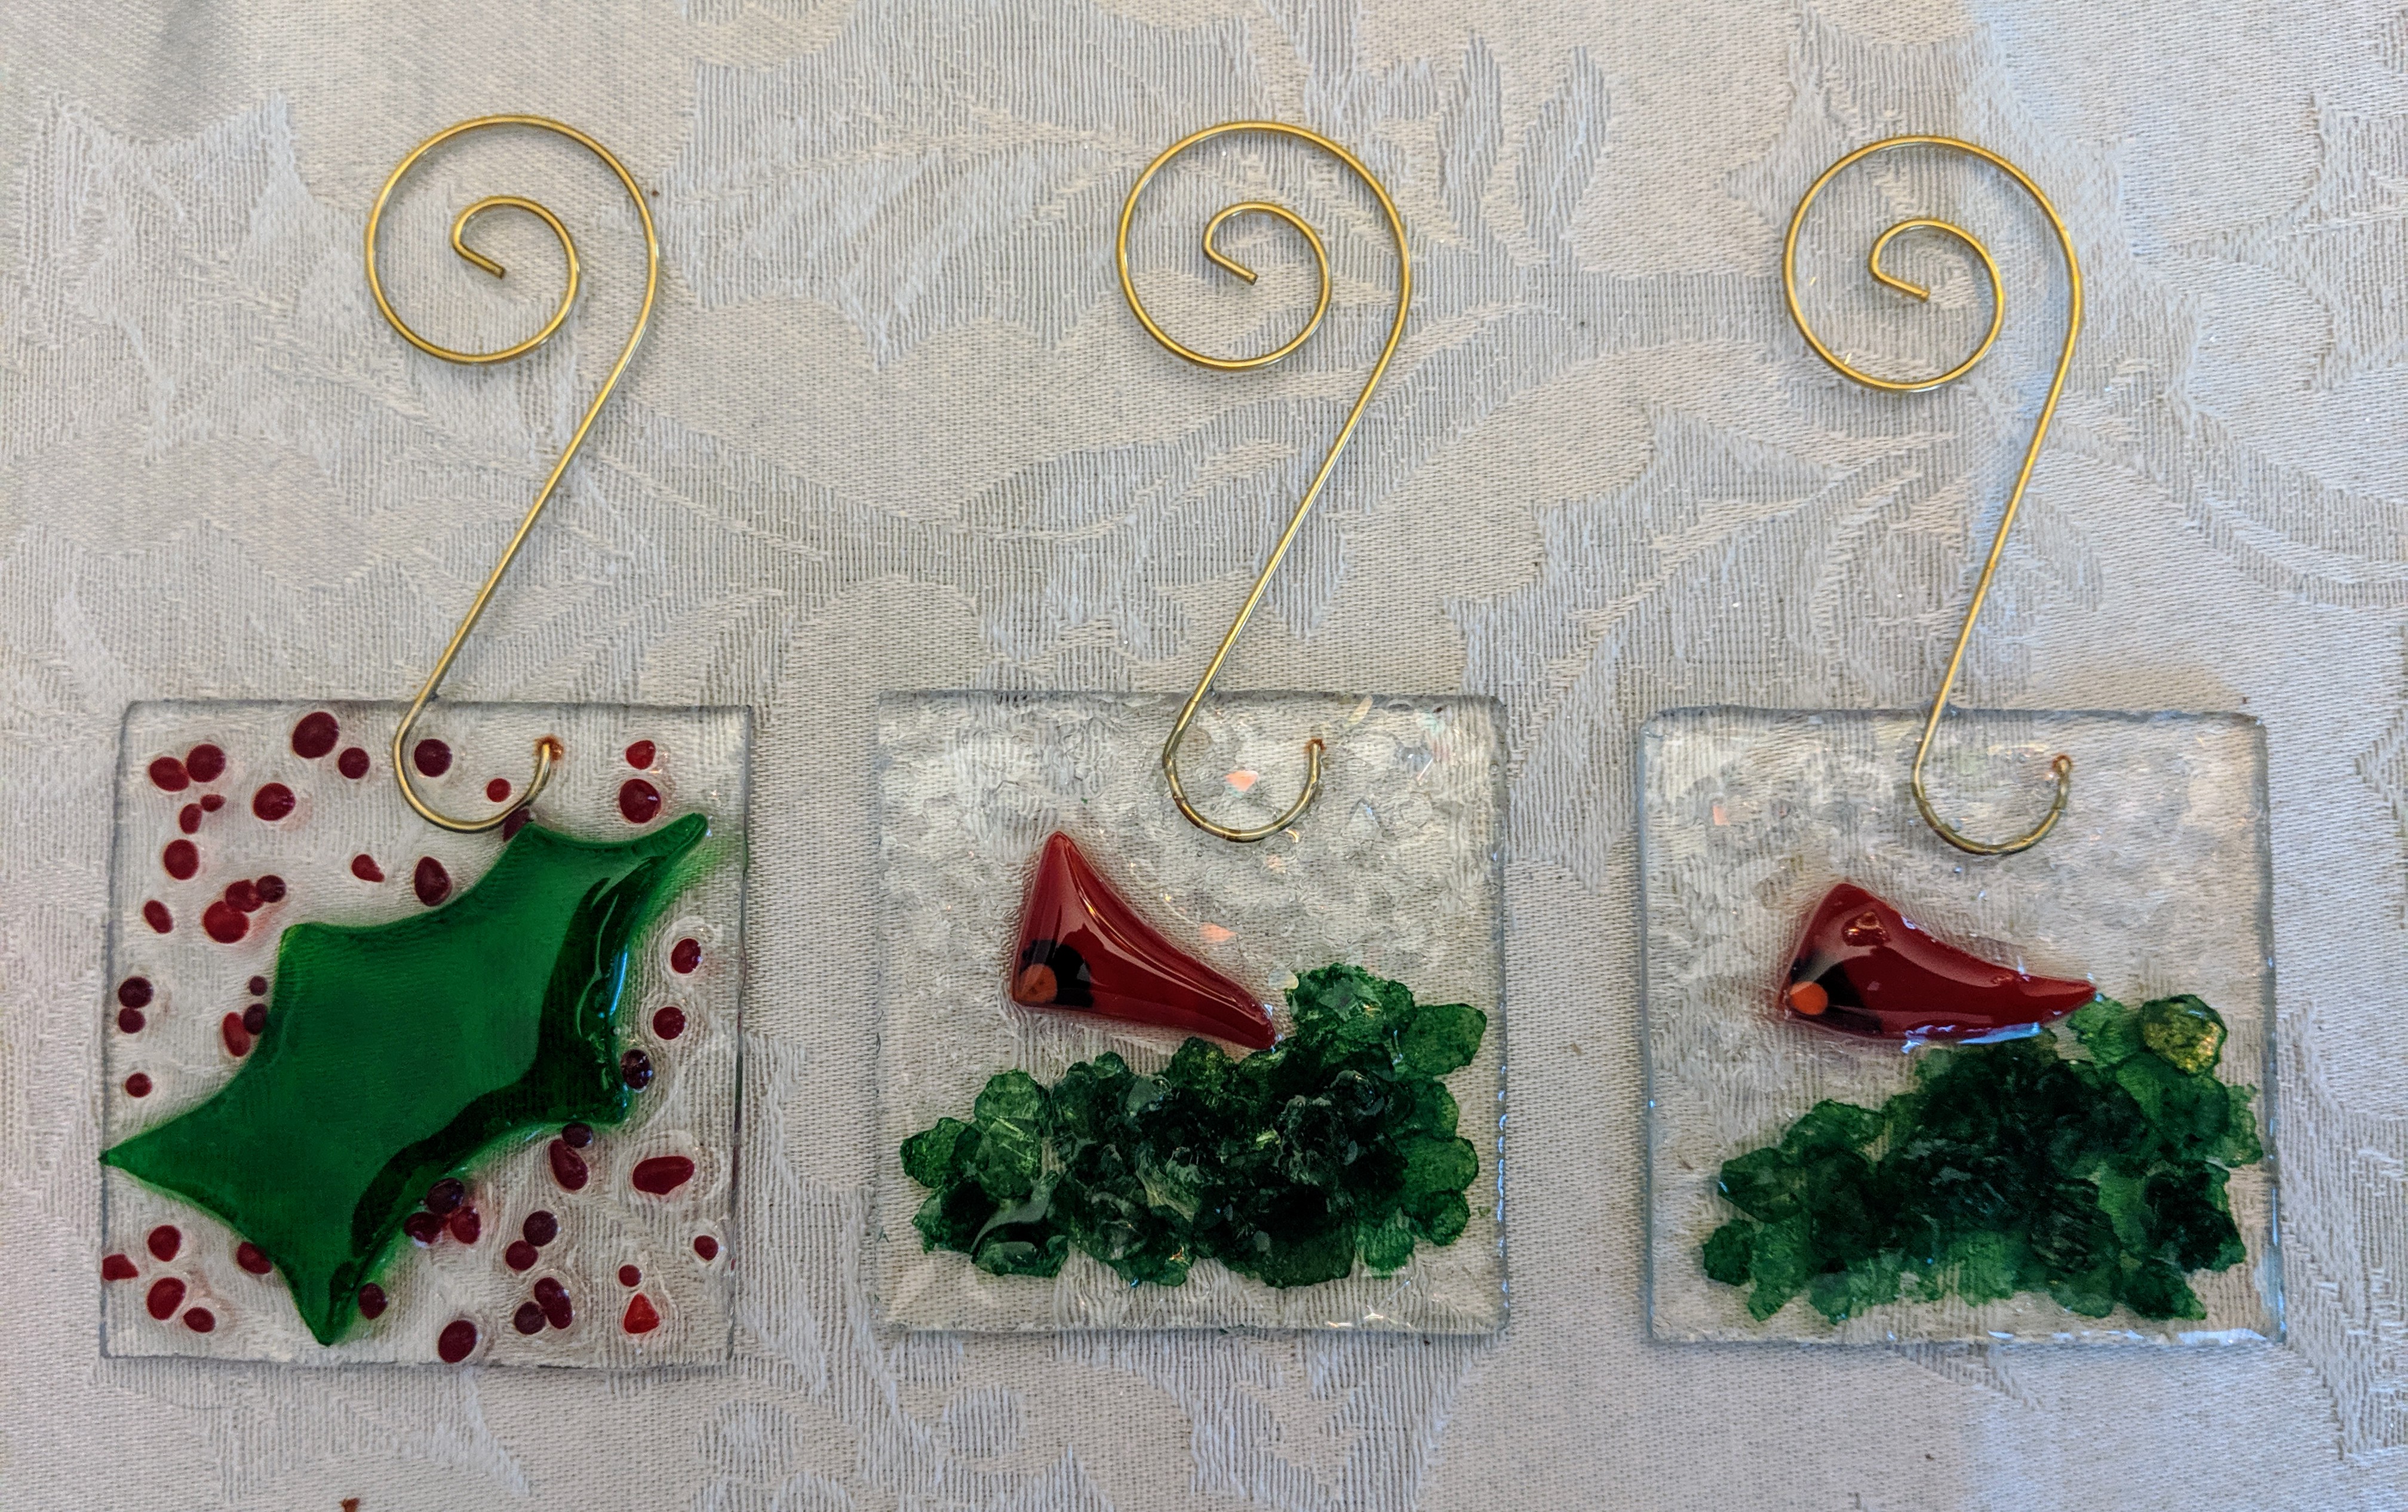
The whole lot of them!WreathsMistletoeLittle birds with green mica and a small Holly leaf.HollyVarious evergreen treesMore treesMore trees!It’s getting to be a forest!SnowmenMore snowmen!Little red birds.
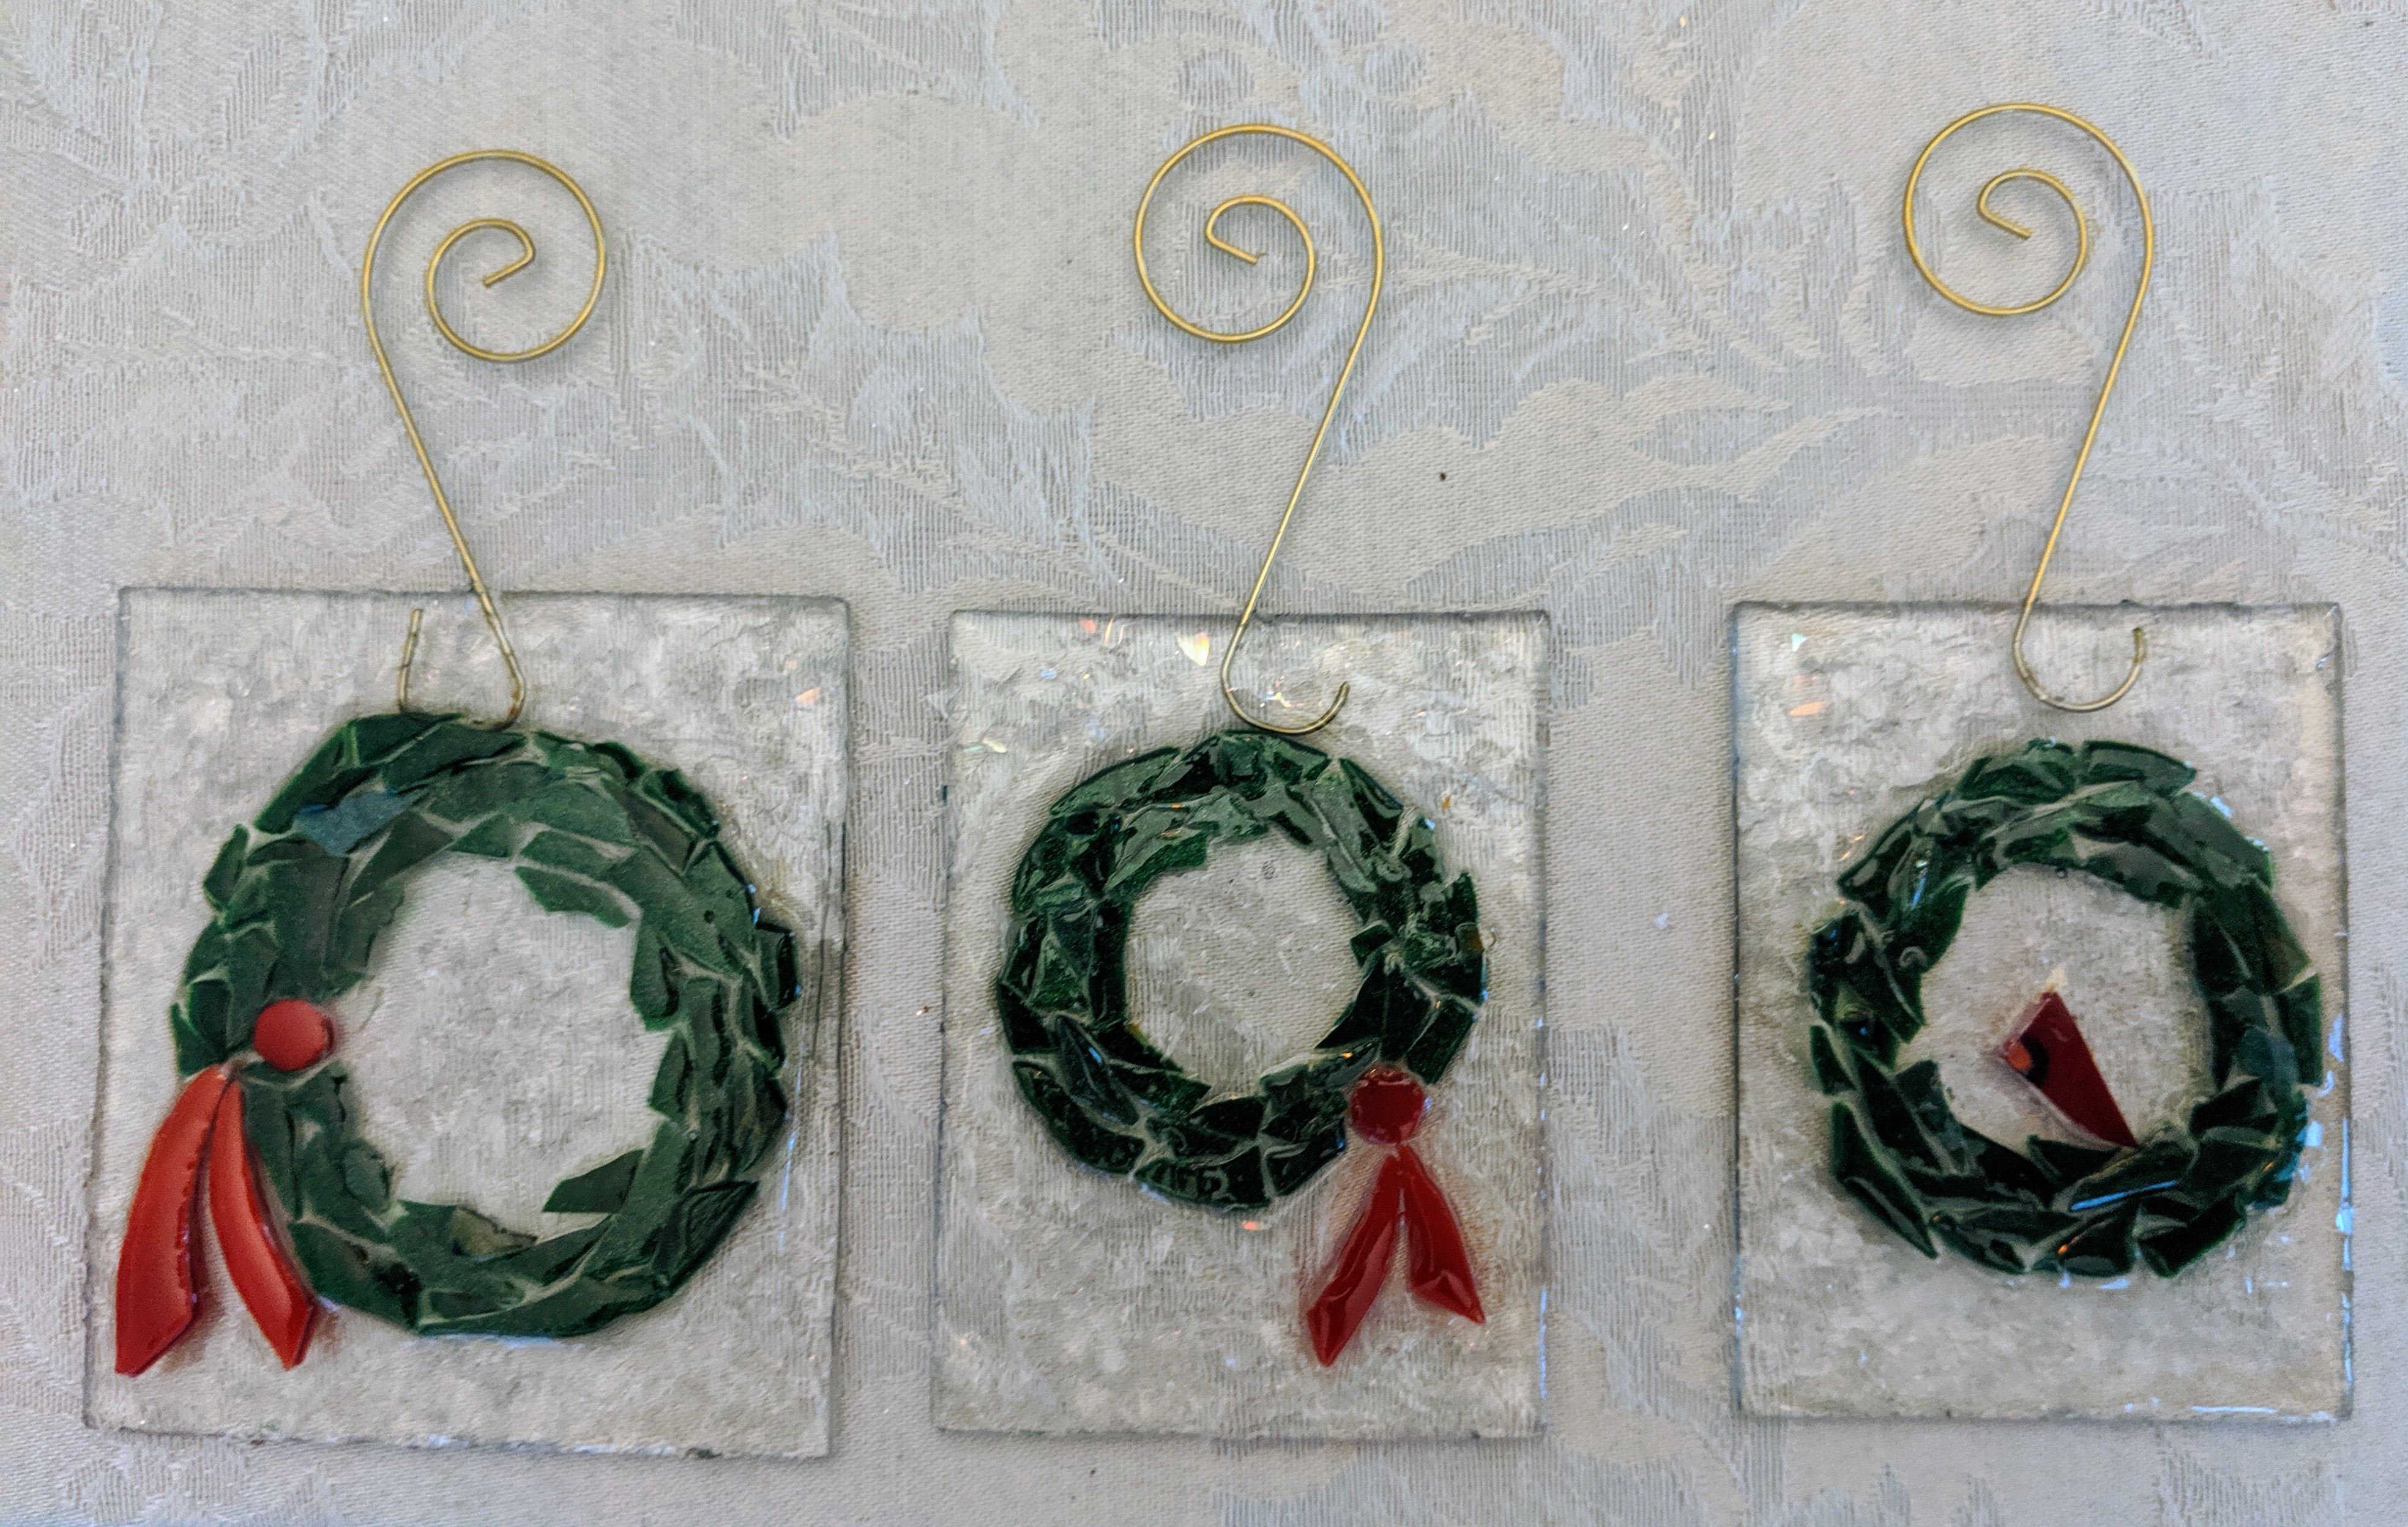
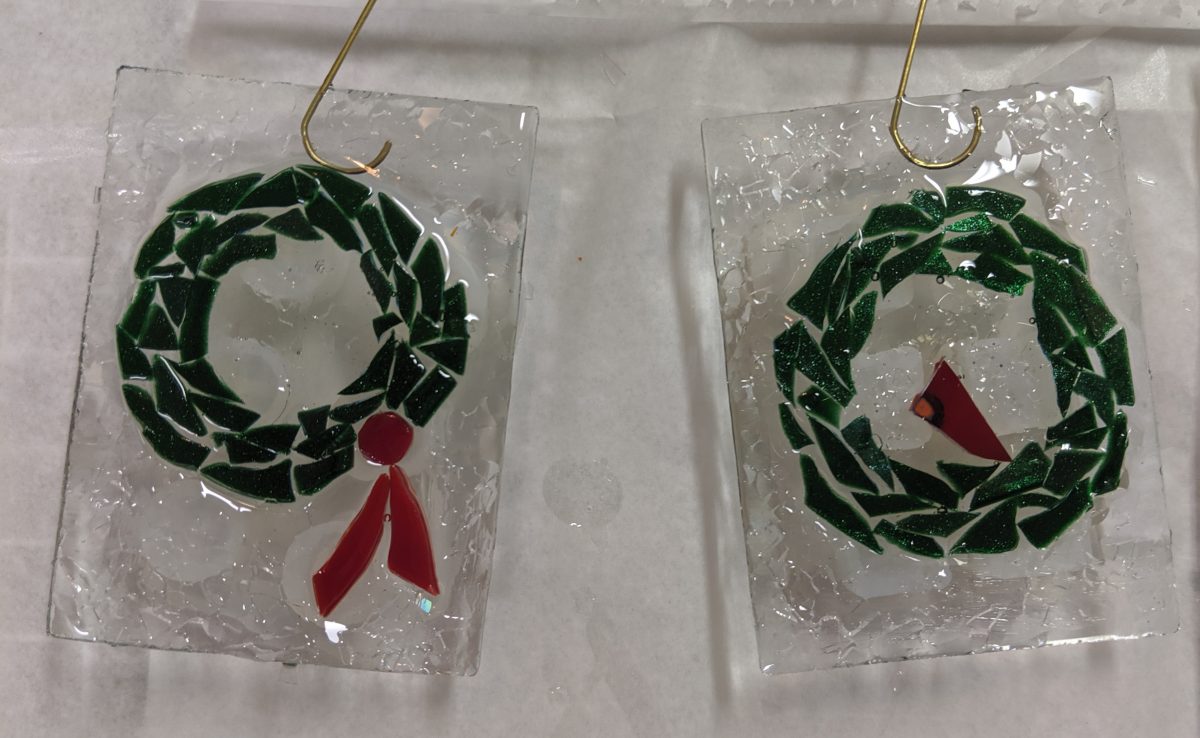
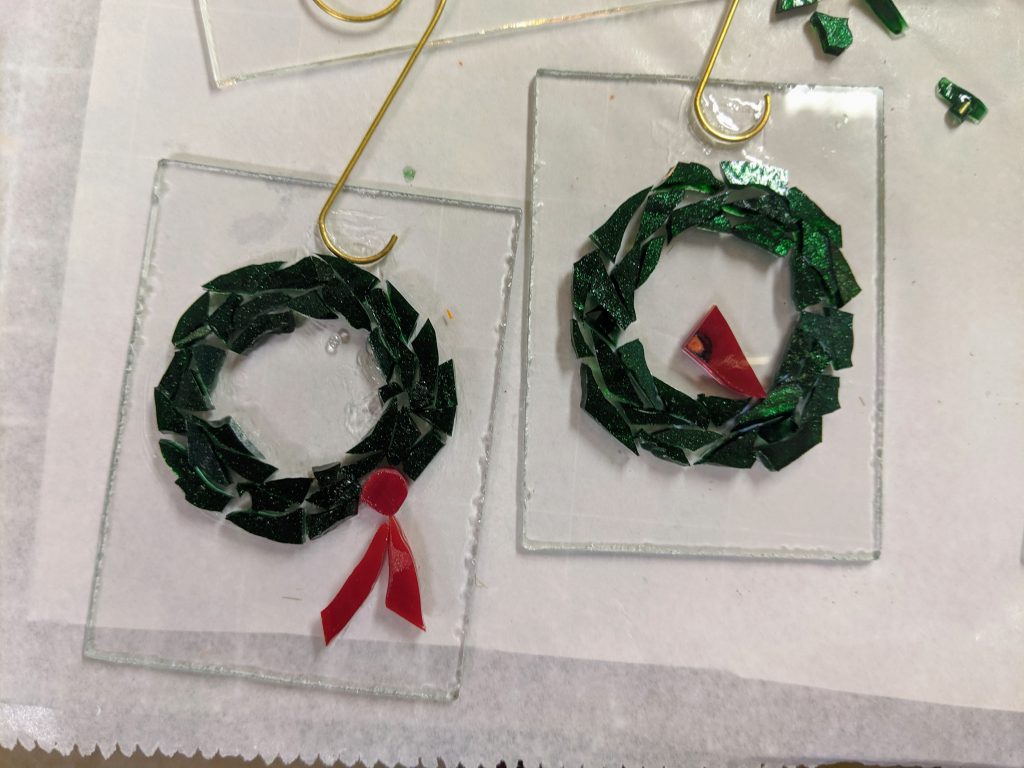
I’m on a roll with the ornaments. Yesterday I spent all day cutting and gluing these together and had every intention of pouring the resin, as well, but I got the idea to make tiny wreath ornaments and all the tiny pieces took an extremely long time to cut and place, so I gave up and poured the resin today.
Wreaths glued in place (though I did keep tinkering after this photo was taken).Ready for resin. Small ornaments ready for resin.
I really like these tiny ornaments, I think they are between 1-2″ (have not measured yet). I am using mica chips for the first time under the little cardinals. Can’t wait to see how they turn out!
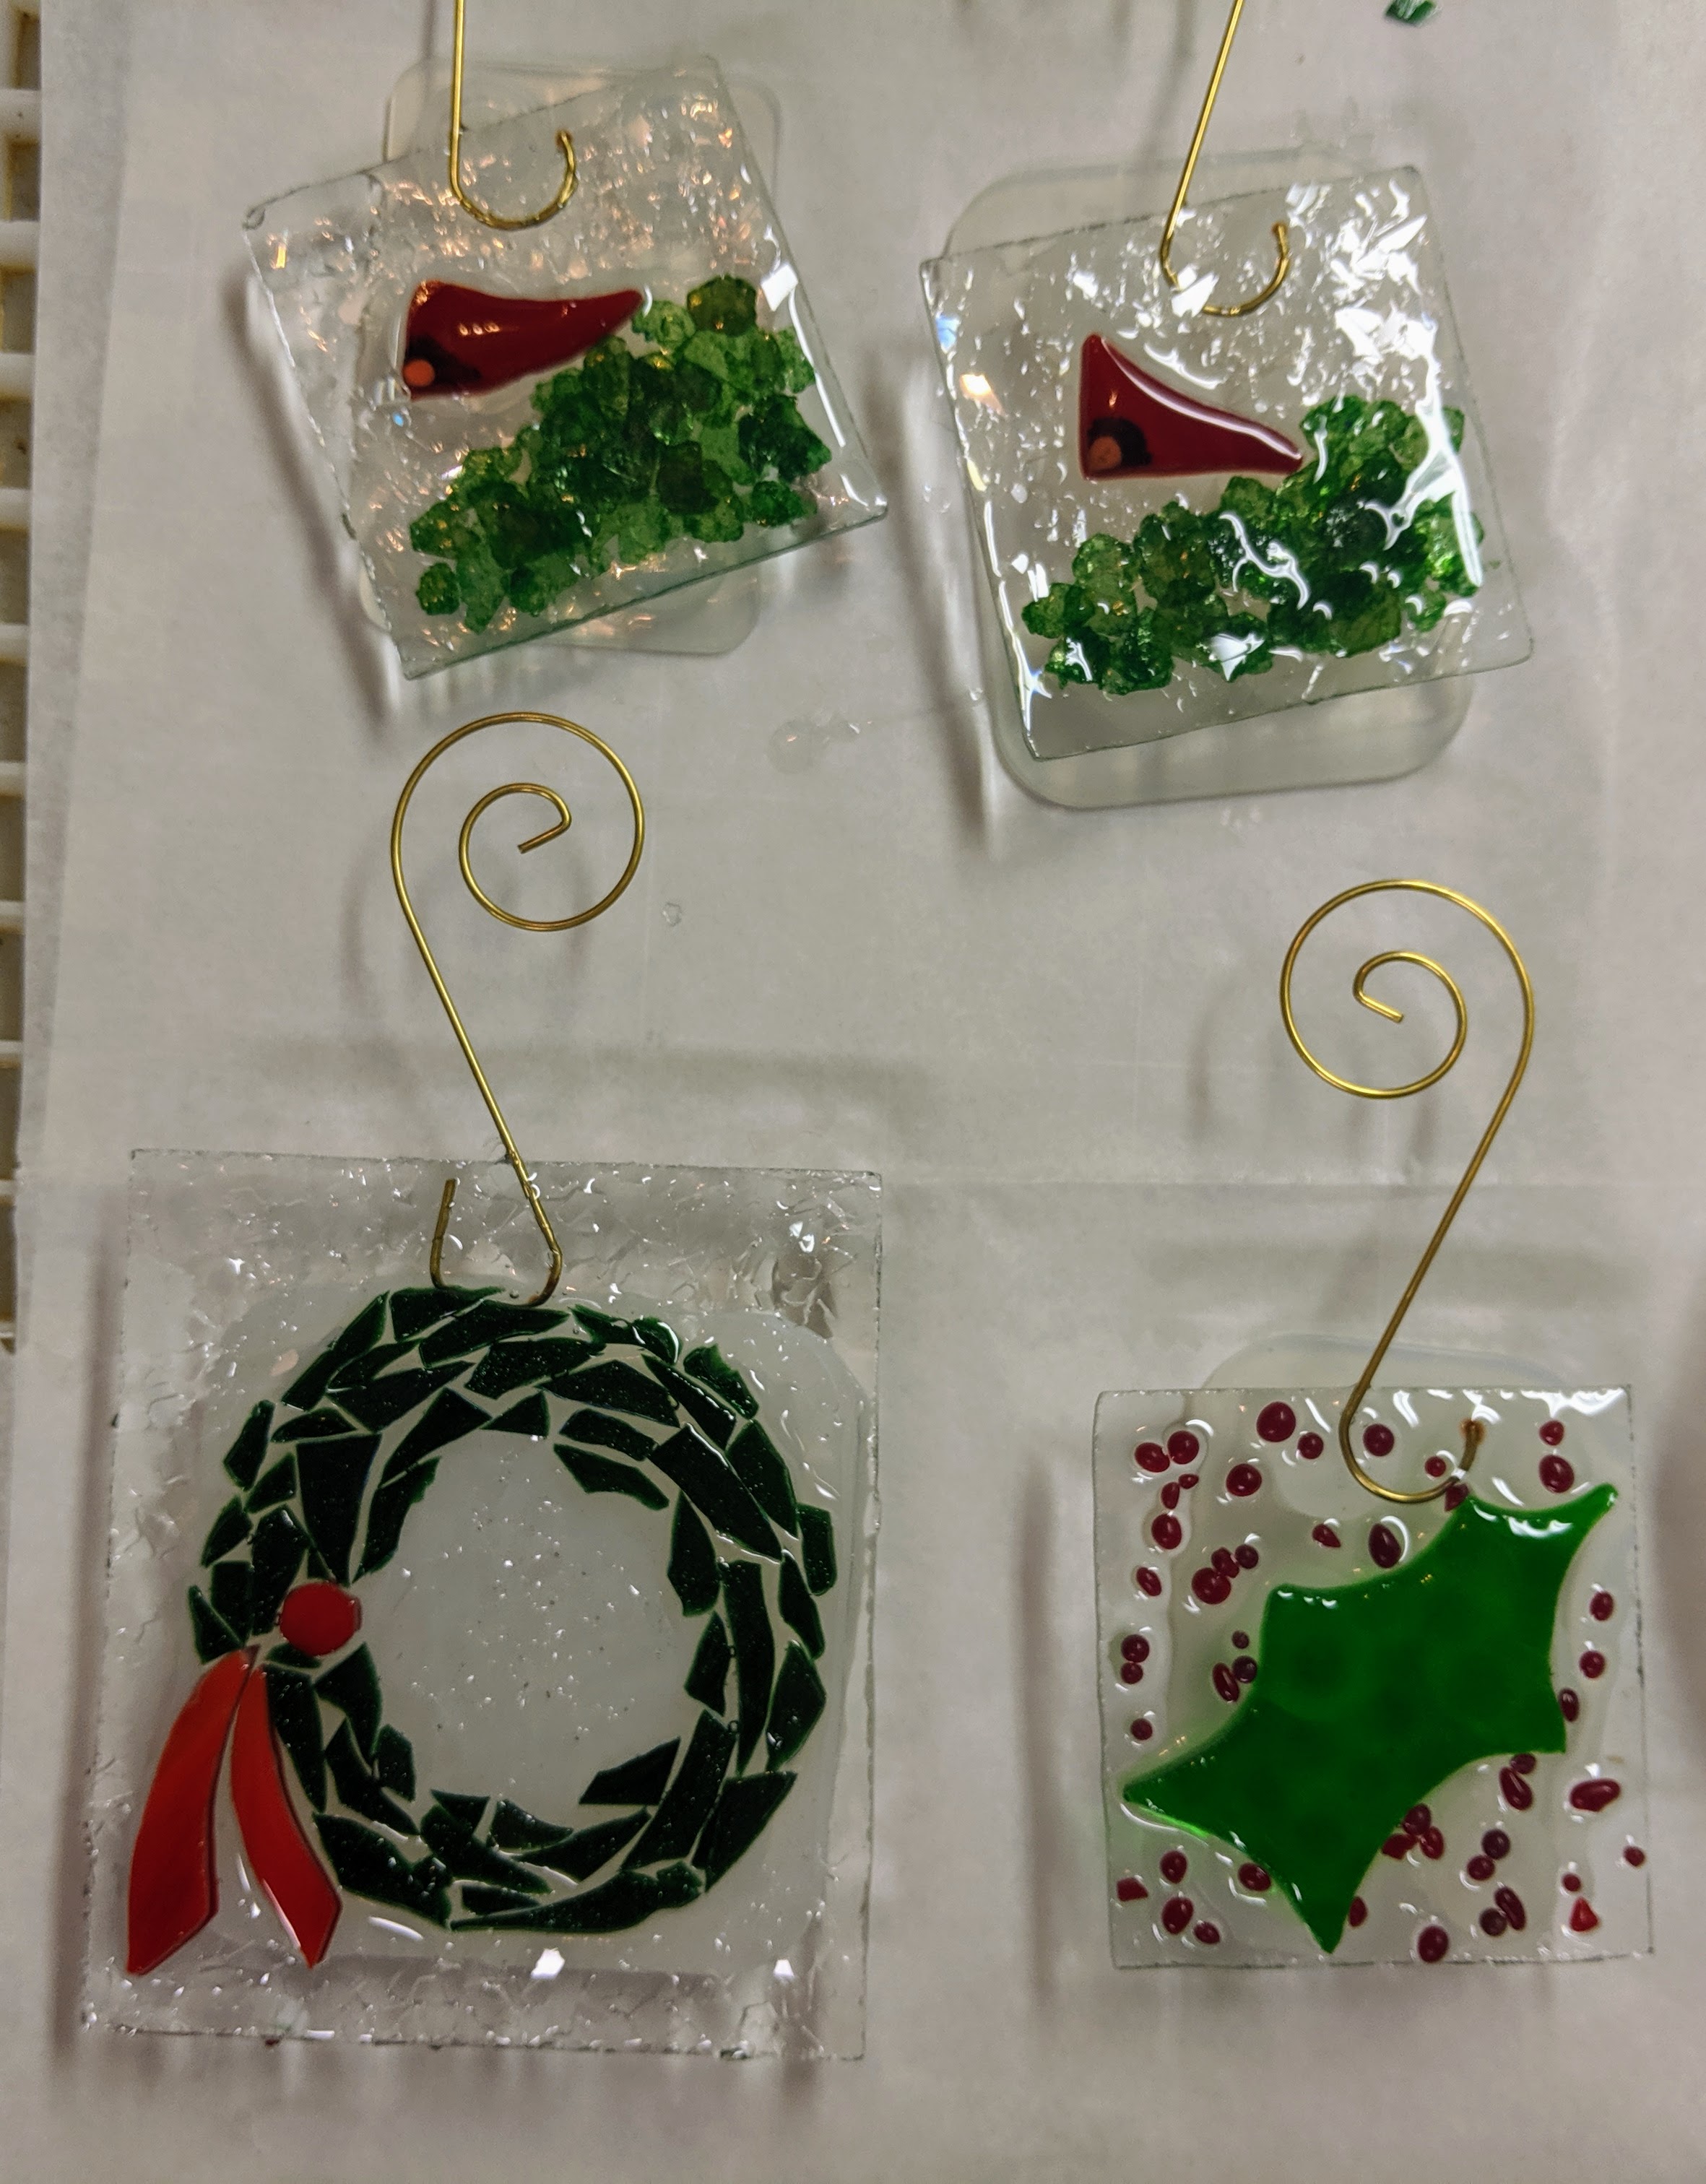
Resin poured and decorated (still wet).Here is everything from yesterday and today, poured and ready to cure.
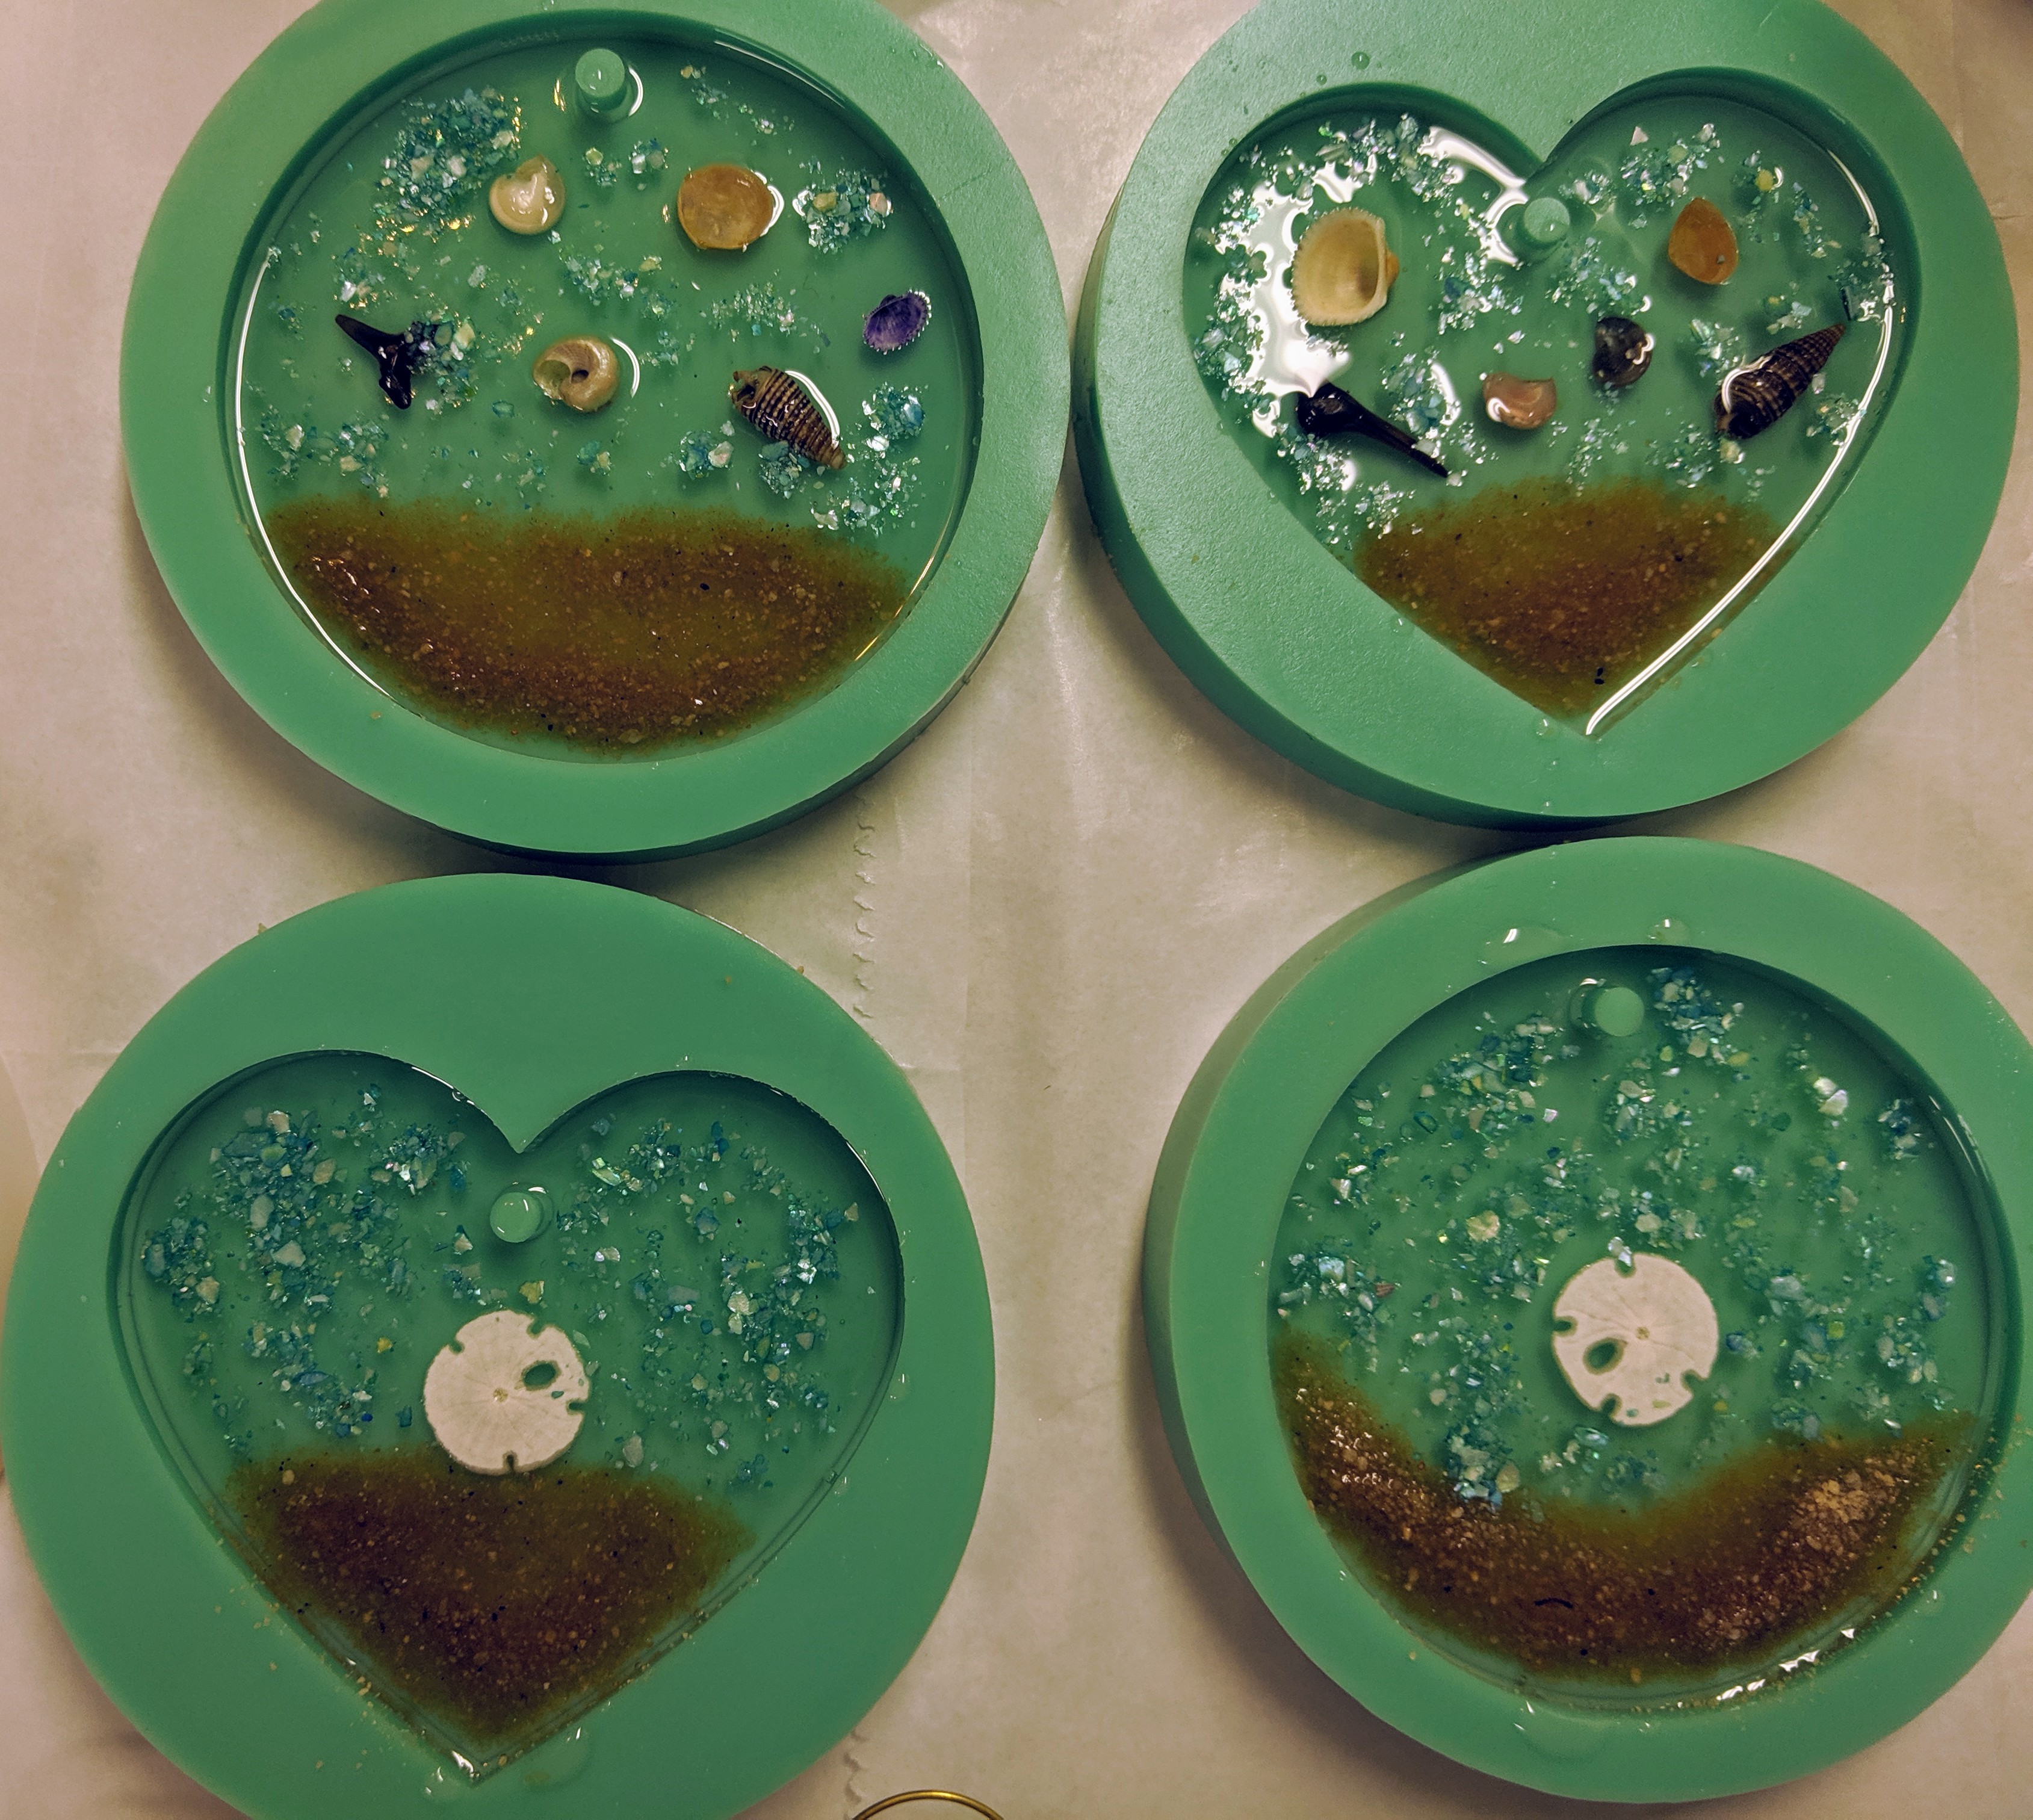
I used 200 ccs of resin for this batch, which was enough to add one extra coaster to the day’s work. I might have had just enough for the first half of one more coaster, but I wasn’t confident in the amount and didn’t try for two. I will have to pour another layer of resin on both the circle and heart shaped ornaments as well as the coaster.
The wreaths took a long time, but they are cute!I’m trying out some variations on my past designs for these resin ornaments.Two more cute winter trees, resin poured and ready to cure.One extra coaster.
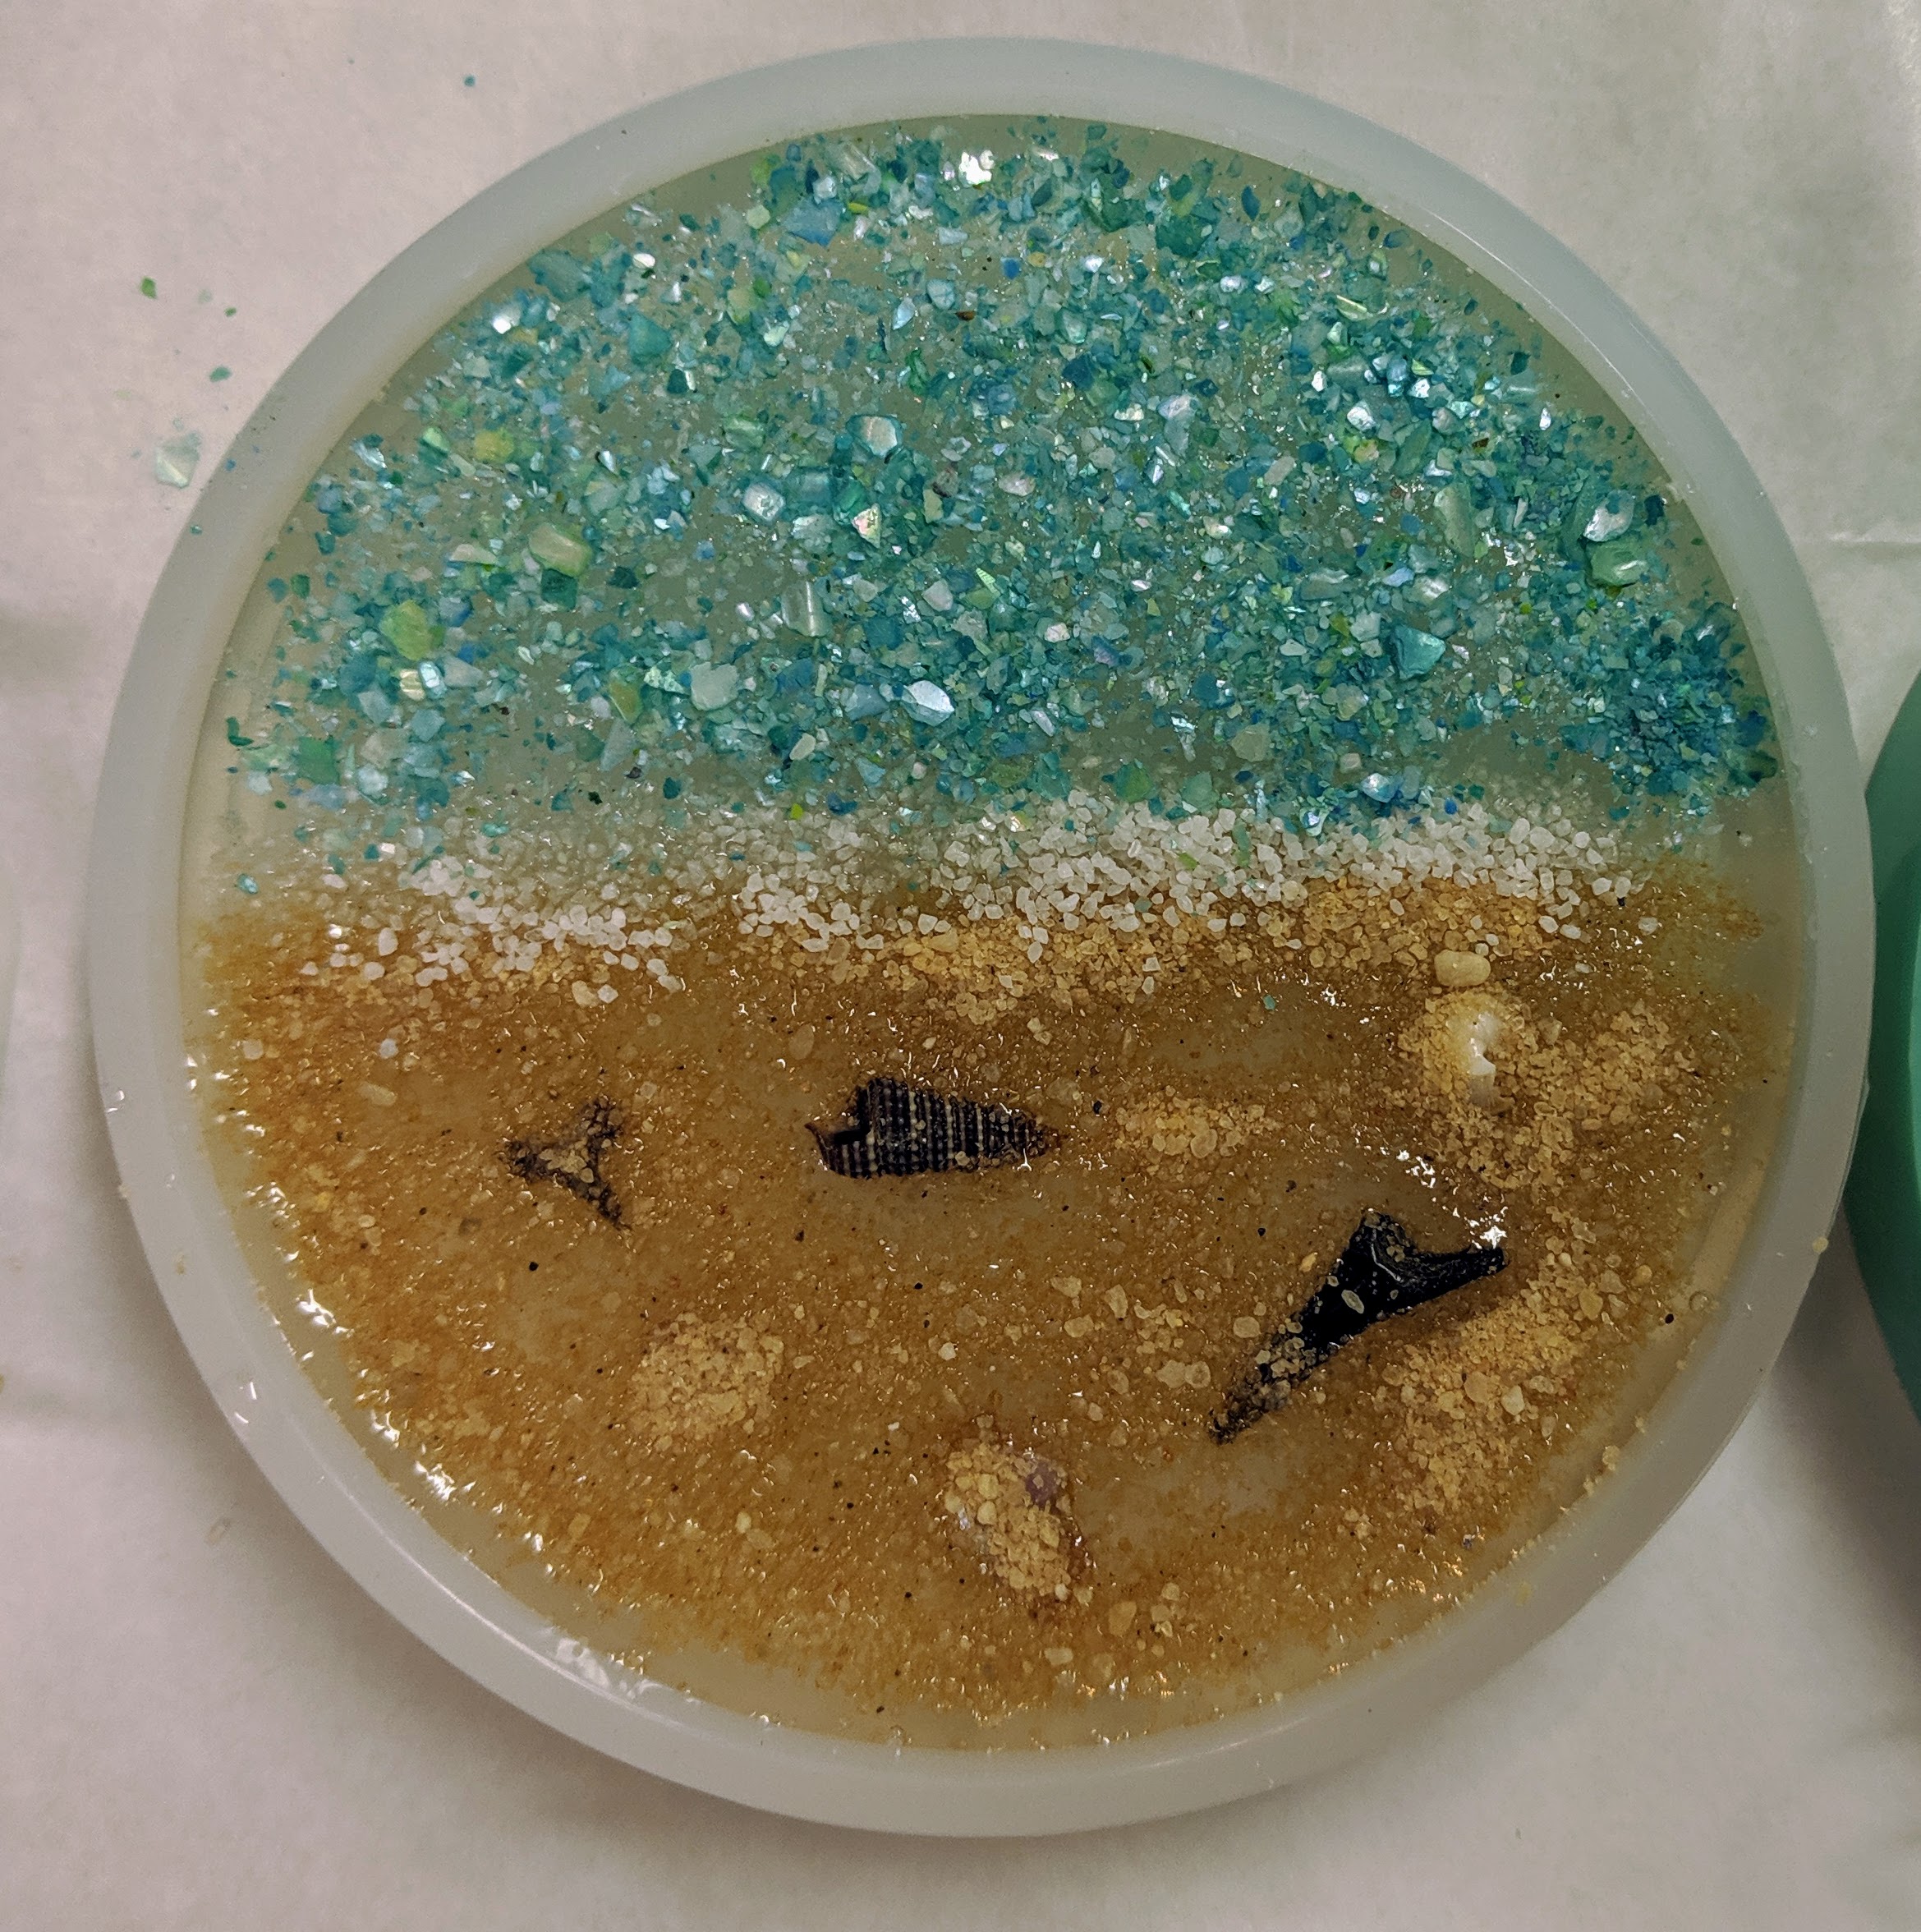
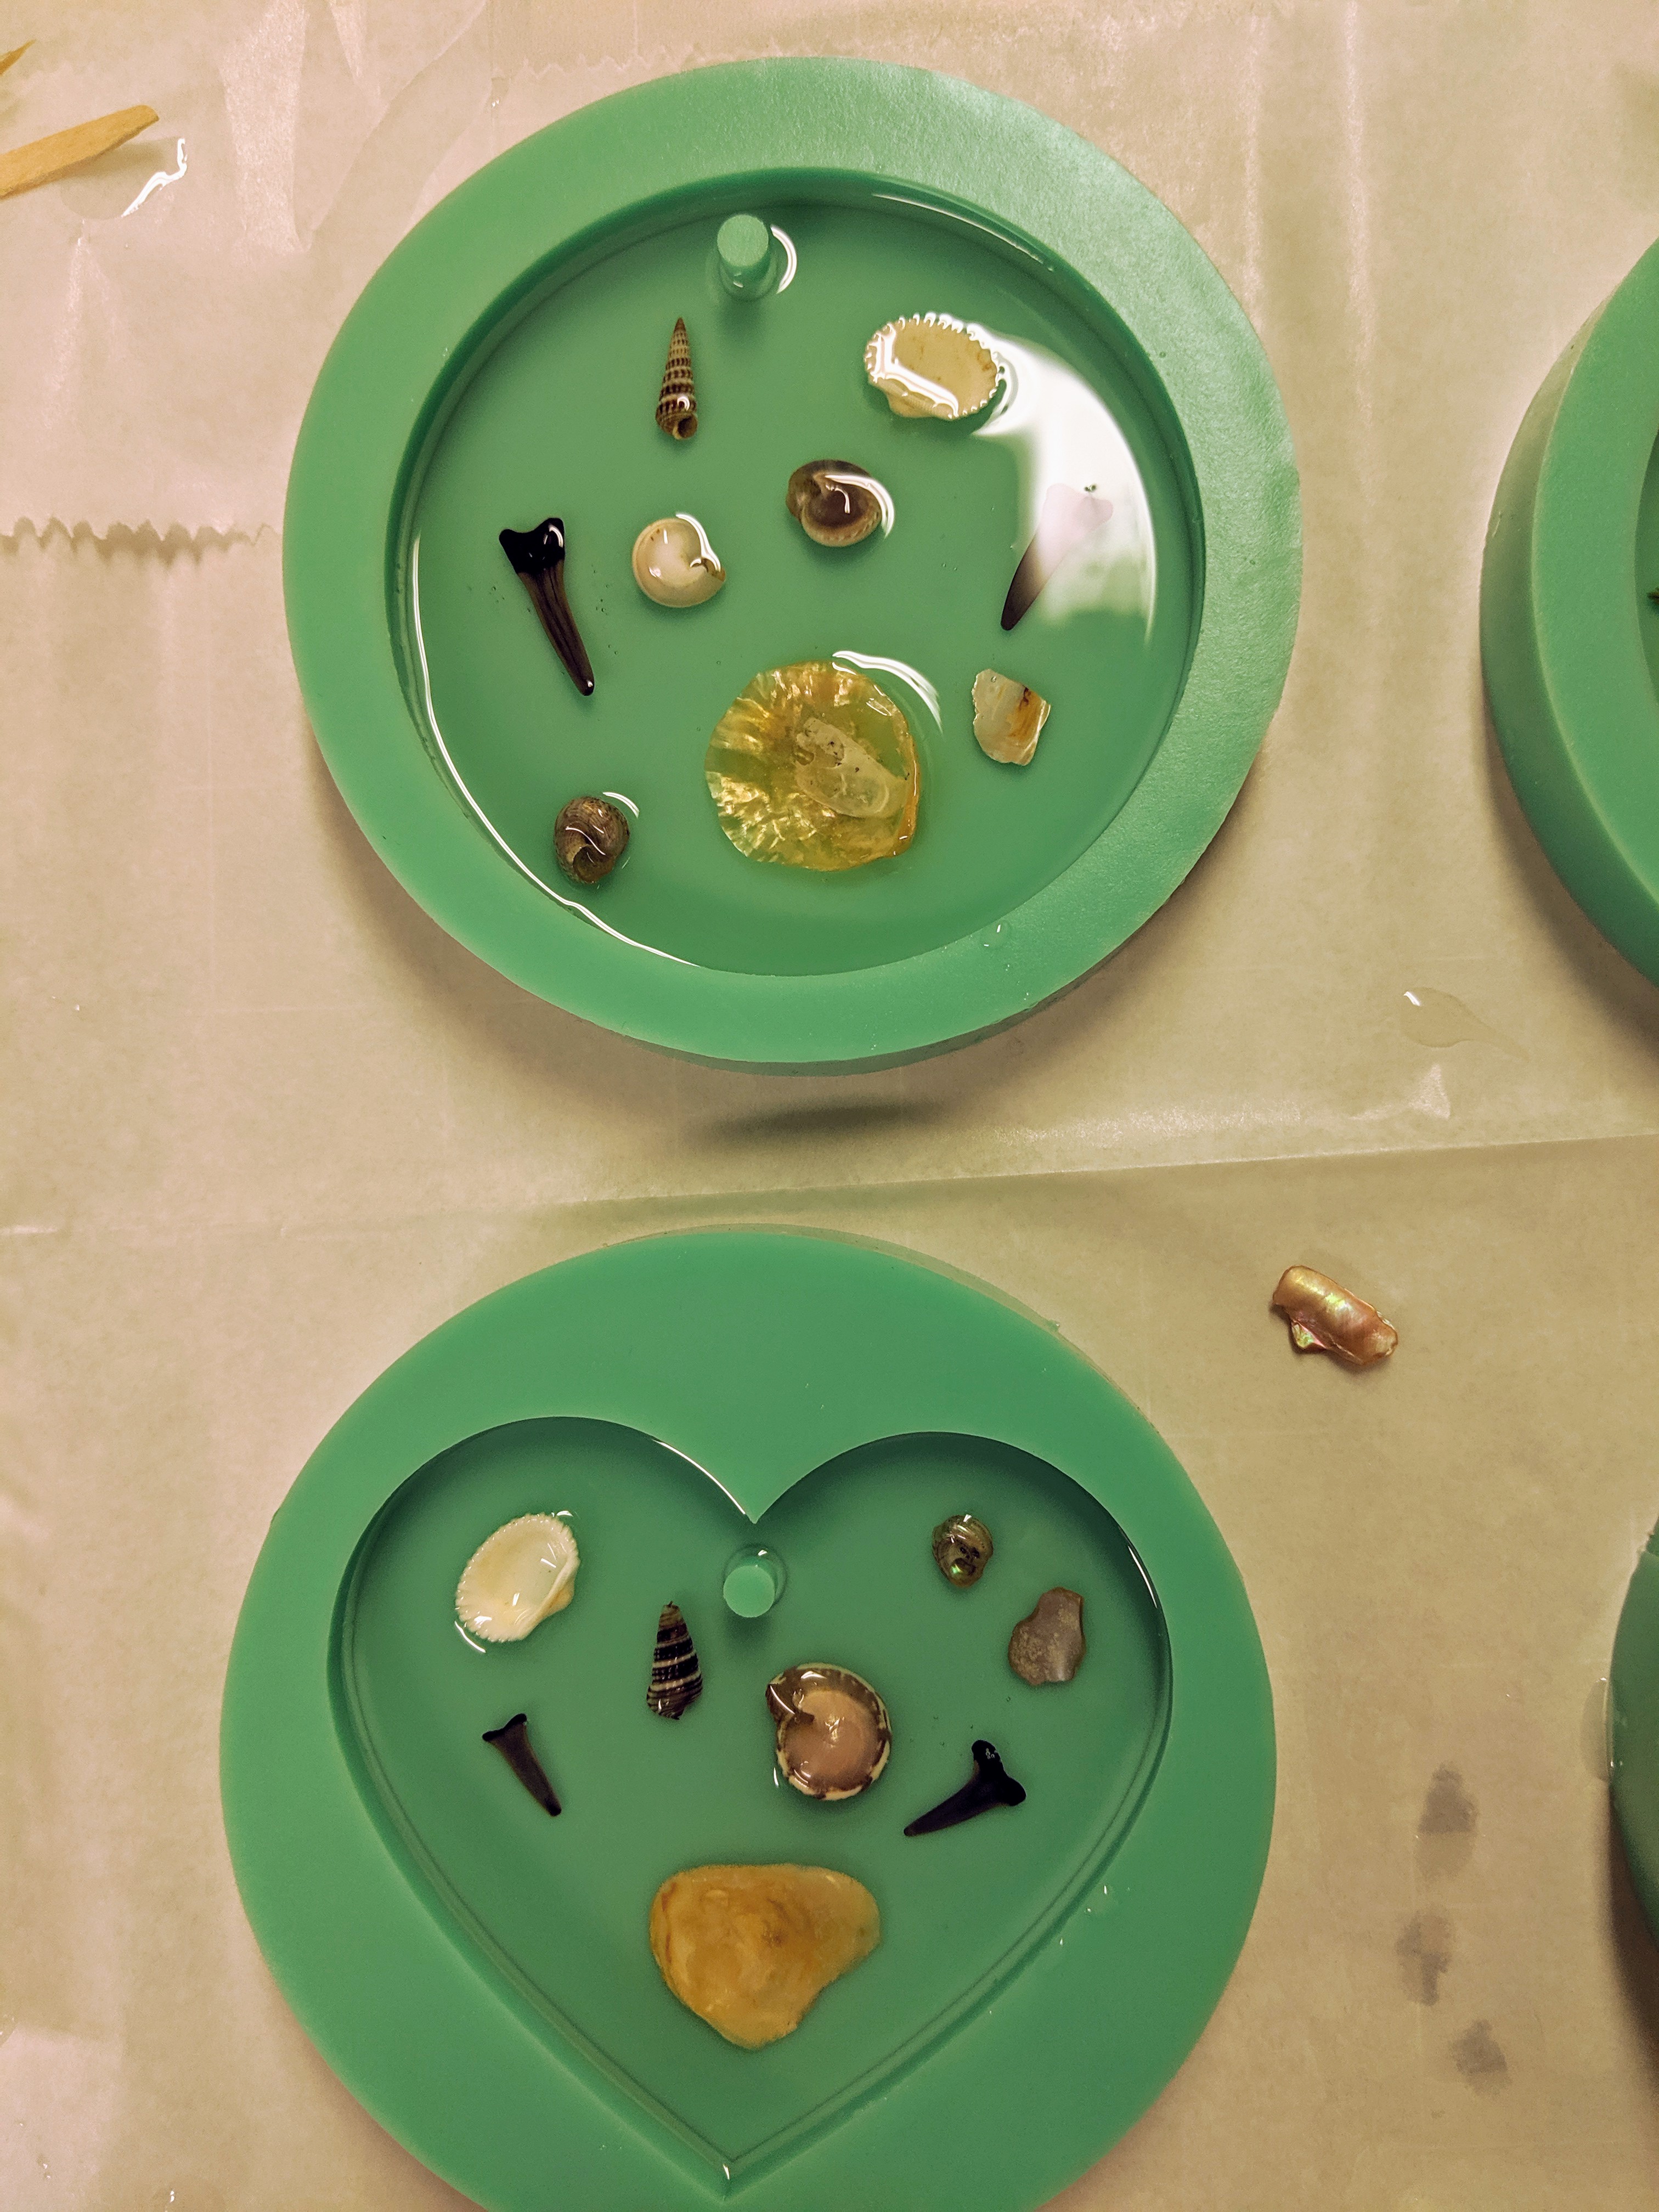
I decided to try adding all the layers to this coaster in the first half, though there was a time lag between the heavy shells / shark teeth, then the sand and lastly the water layer of blue shell chips, which were last and the resin was pretty thick by then.
Today I finally got enough time to pour the resin on my next batch of ornaments. I prepped several a few days ago, but it takes a couple of uninterrupted hours to do the resin stage properly, and today was the day.
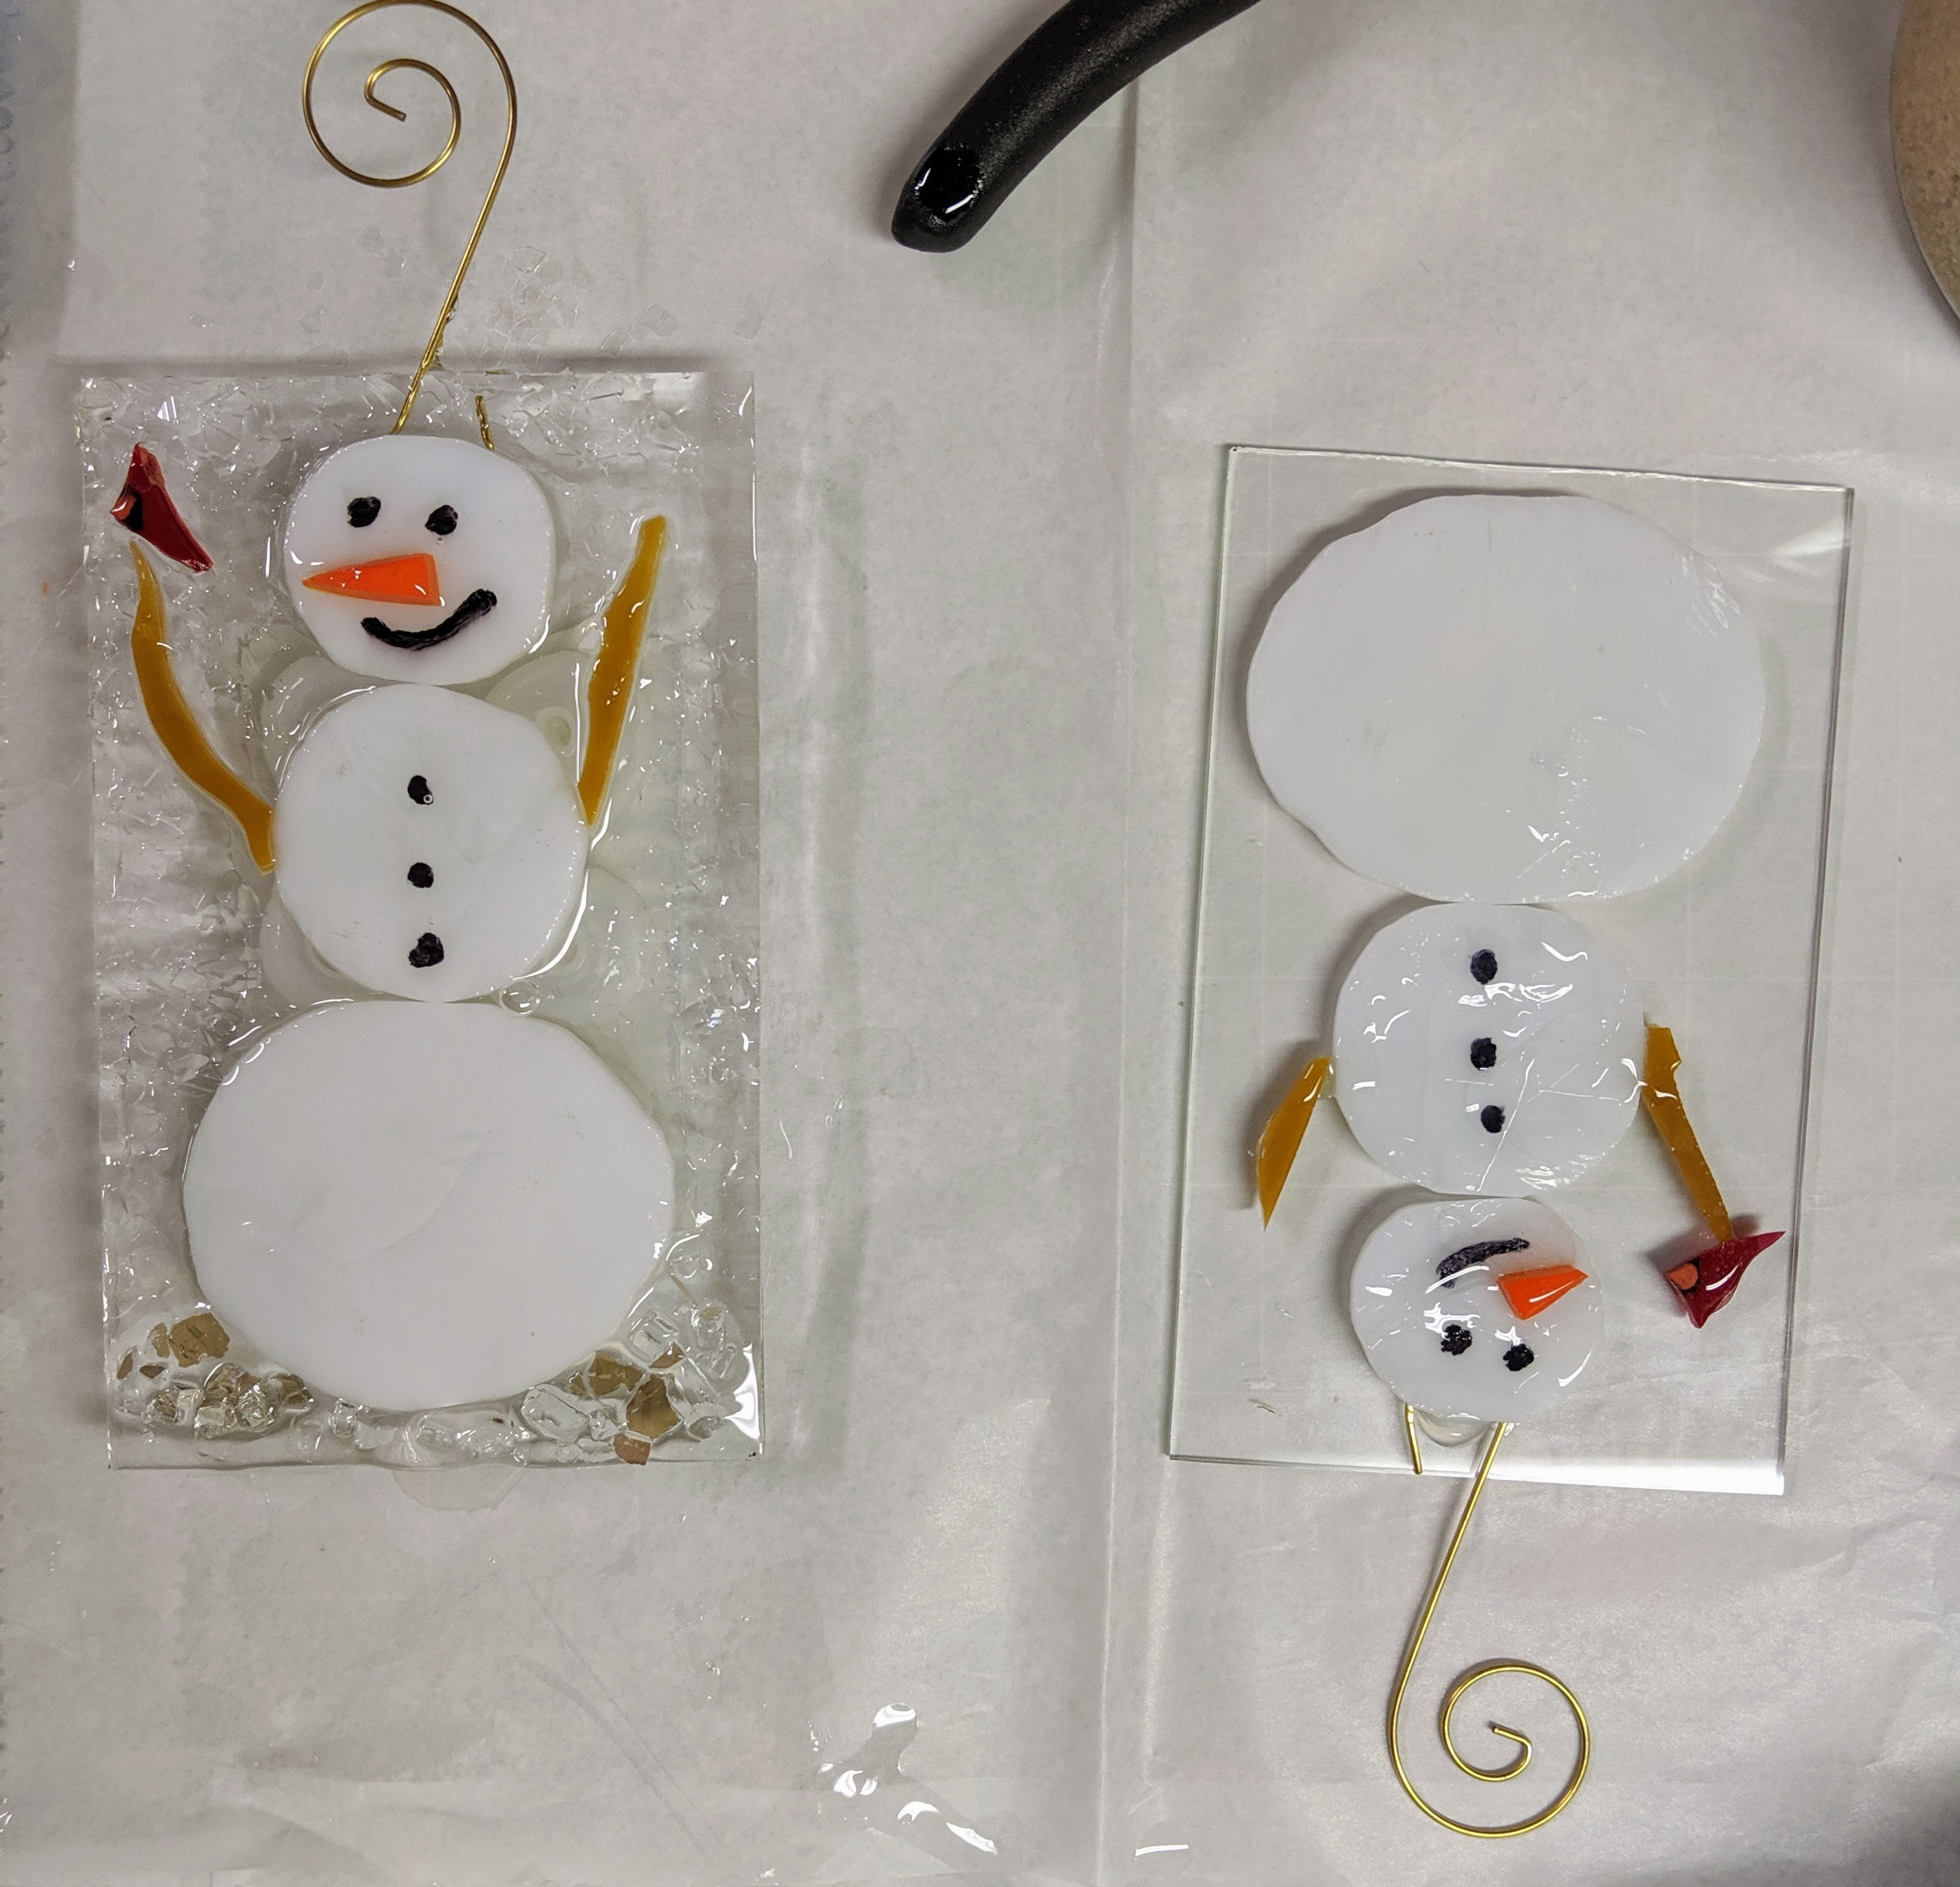
Ready for decoration / resin.
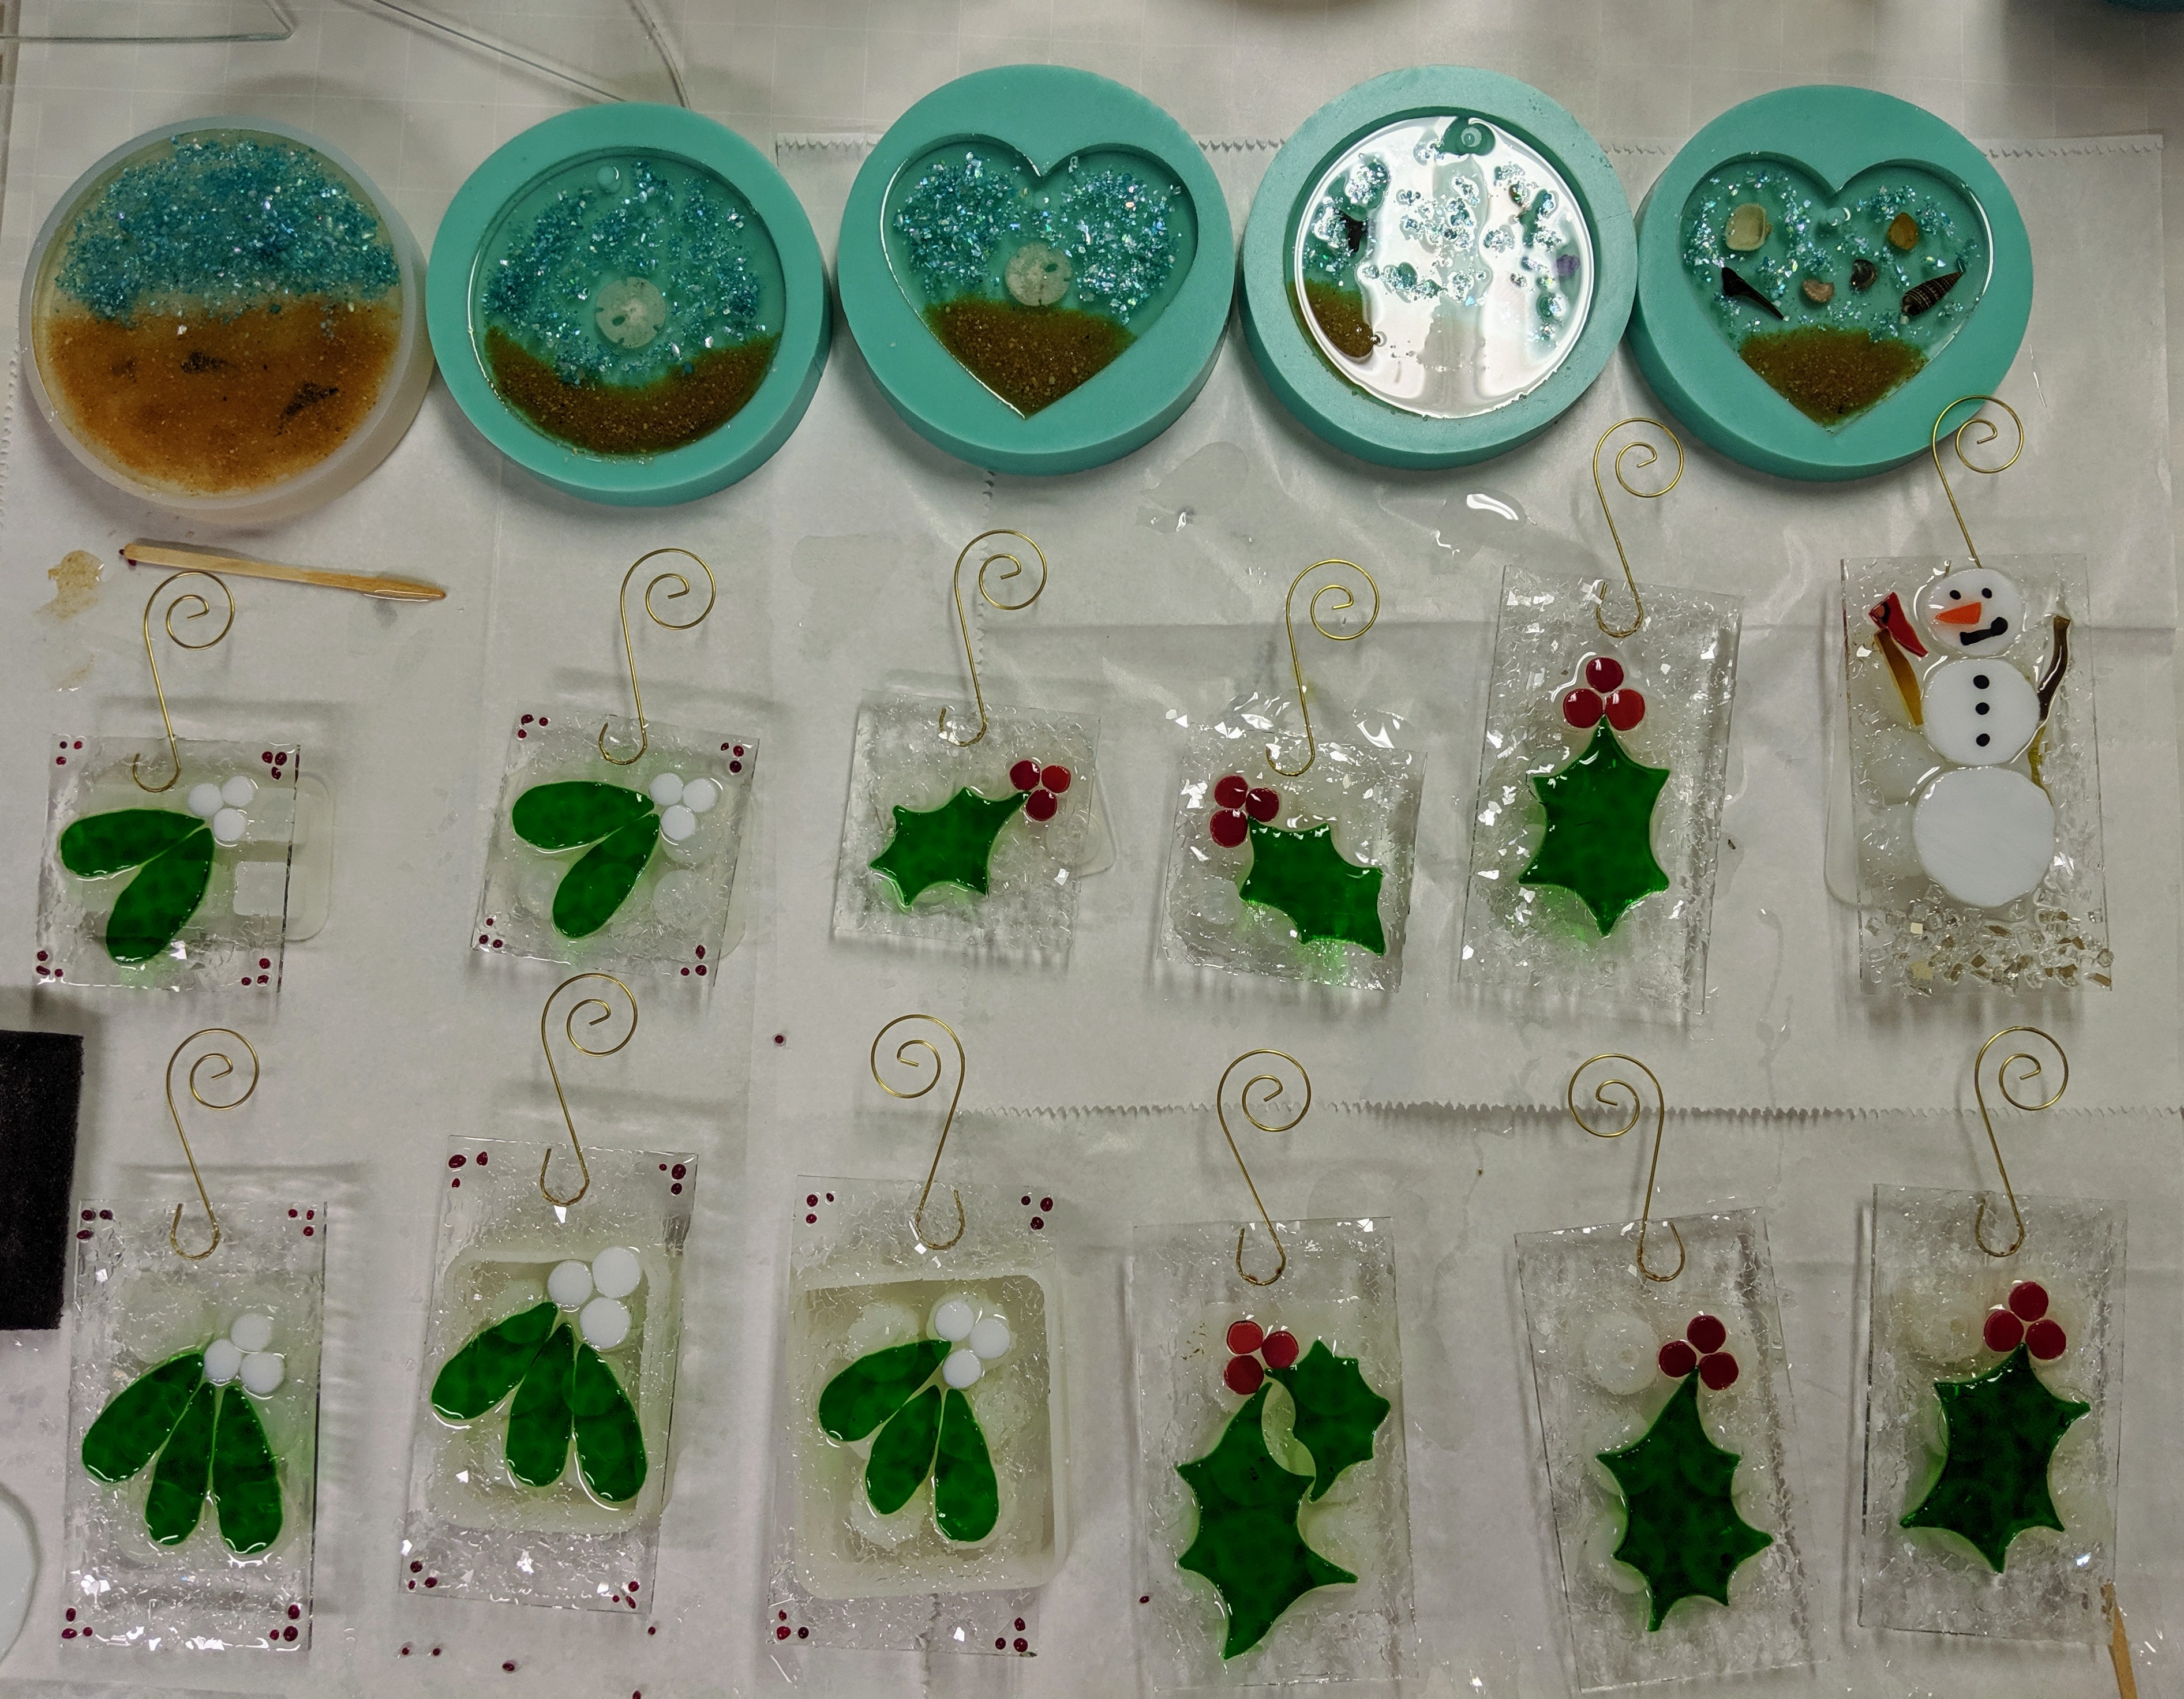
I had to cut and grind a few more pieces of glass for the red berries and the carrots for the snowmens’ noses. After that I was ready to pour the resin. It’s really more of a drizzle than a pour, then I spread it across the surface of the ornament with a sponge on a stick. After that, there is a lot of scraping of drips off of the backs of the glass. Any drips that I miss will require some sanding after the resin cures, but I really prefer to take a proactive approach and just remove the drips as the form whenever possible. I also use a heat gun at this point to remove bubbles.
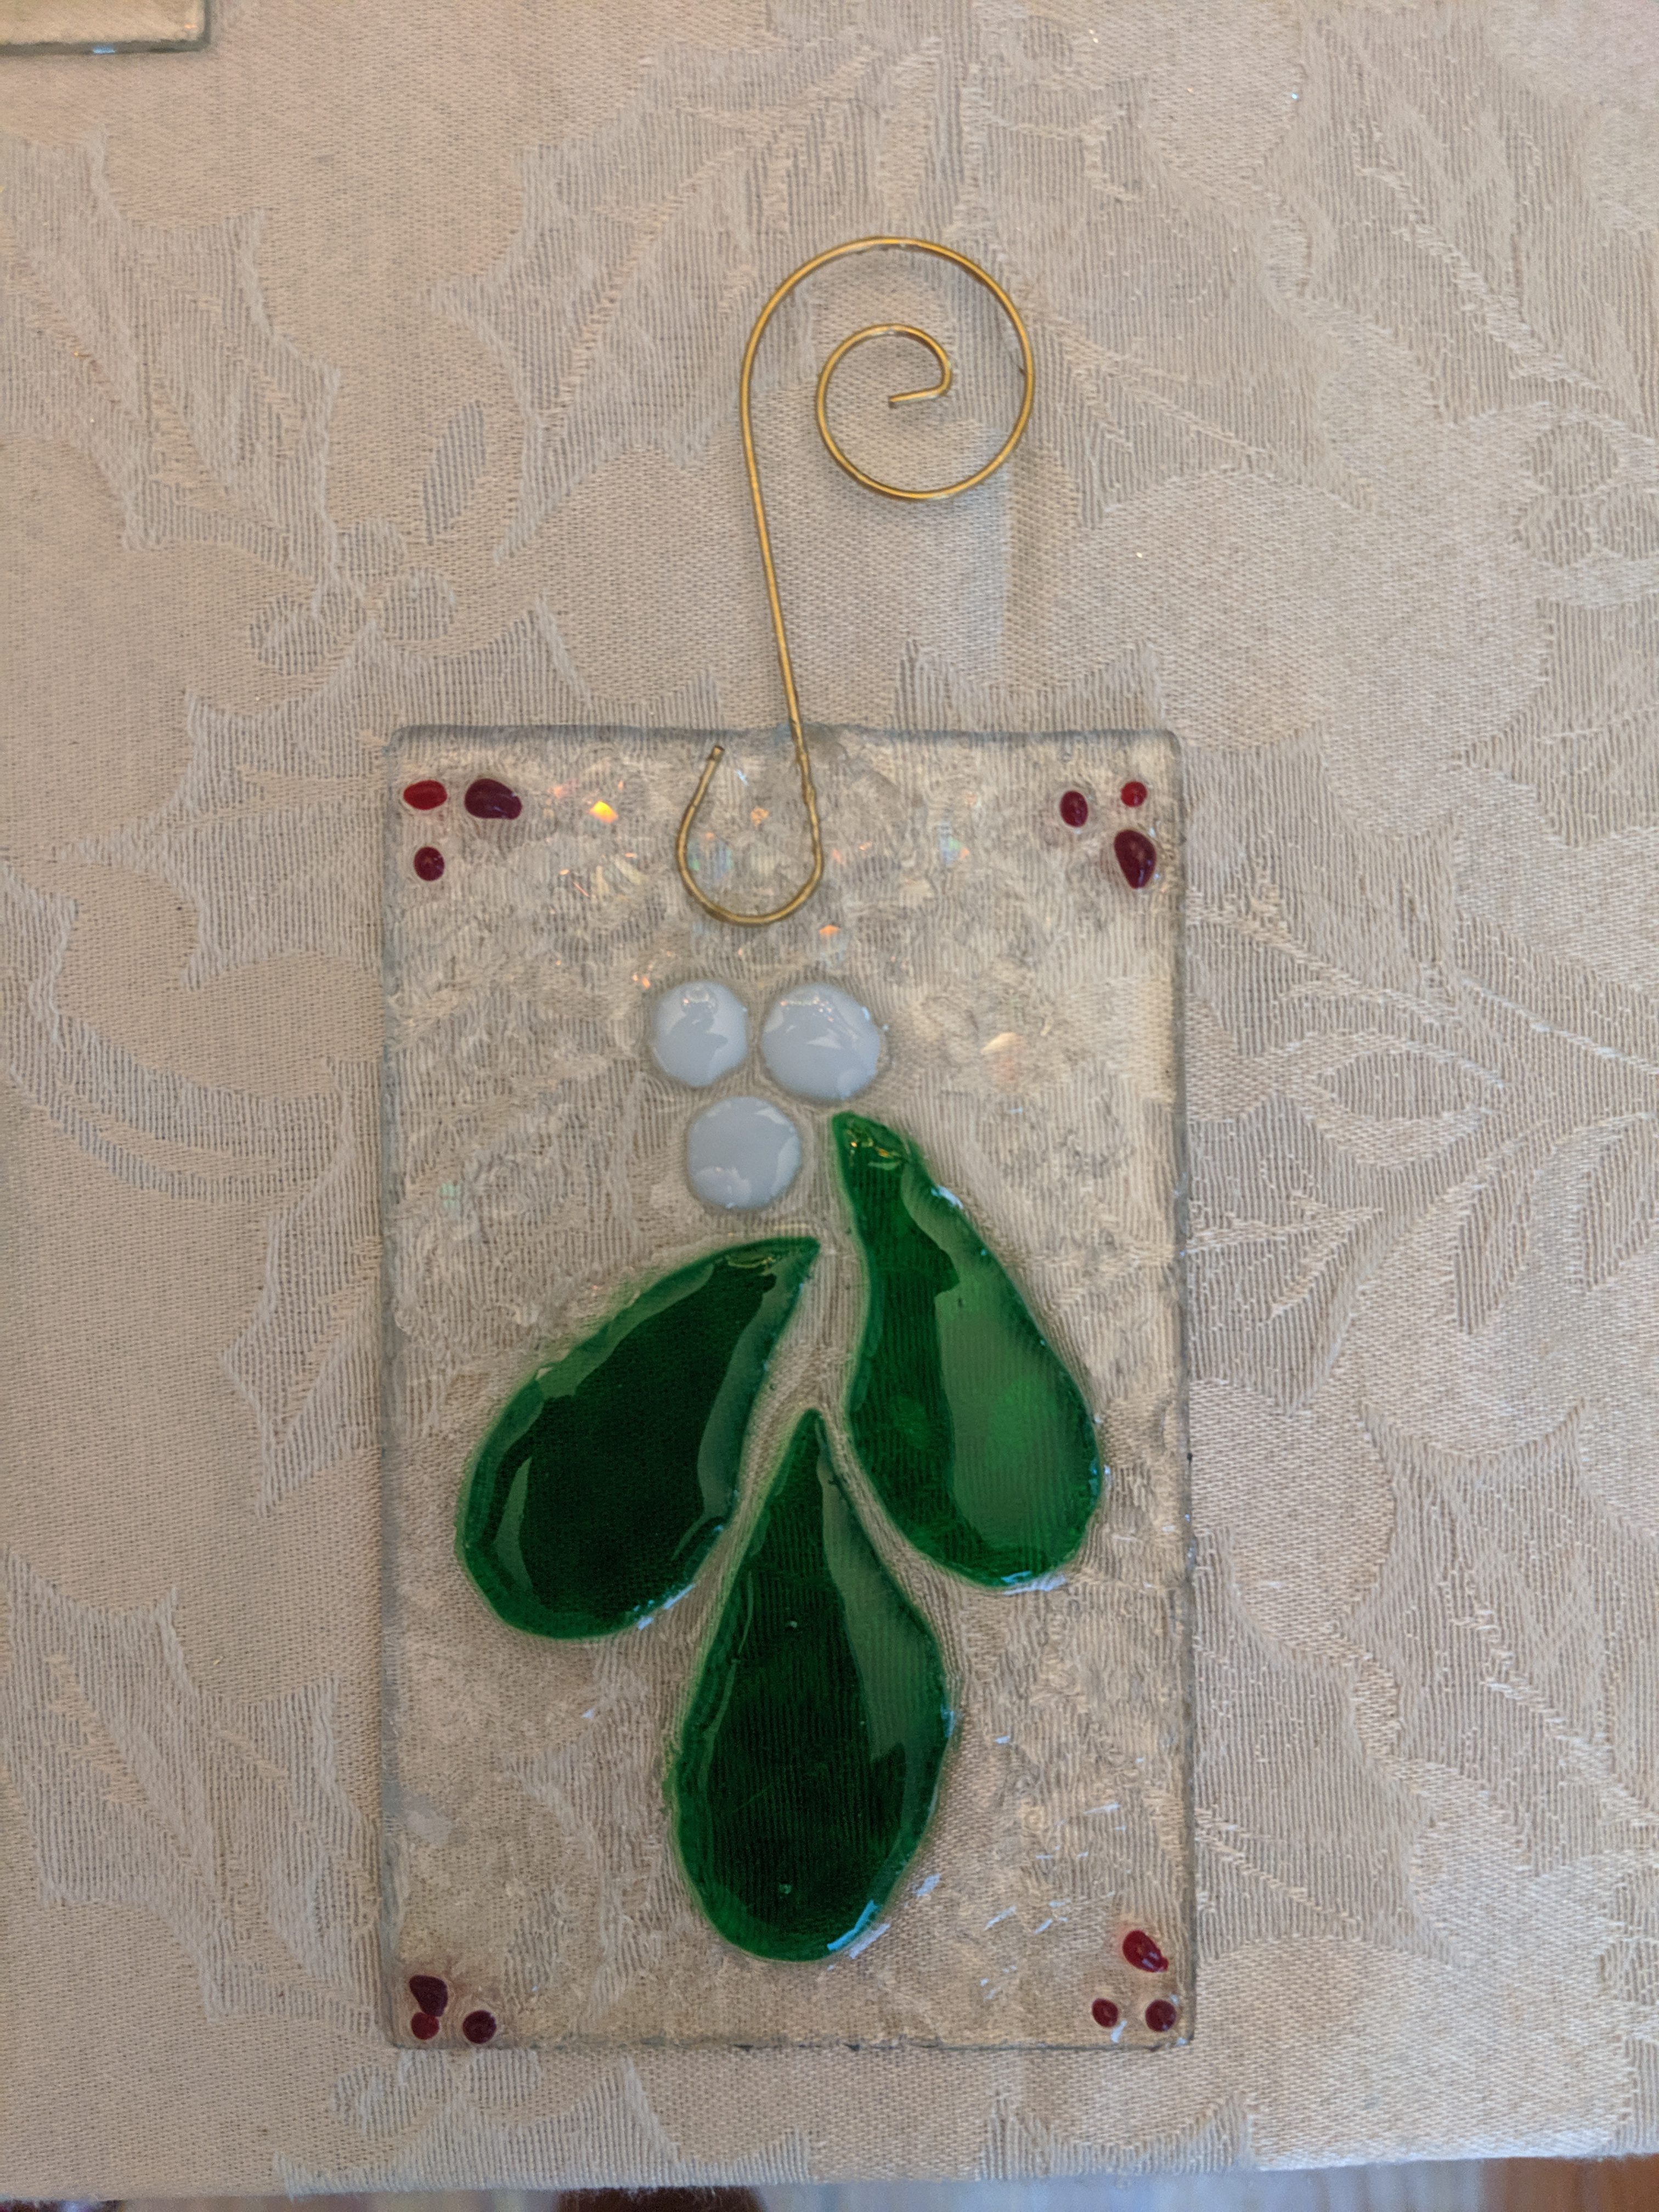
Spreading the resin with a sponge.How it looks when the resin is poured and spread.Adding glass flakes for sparkle on the background.Glass flakes on the bottom left corner. Decorated and curing, still gooey.Decorated and curing, still gooey.Decorated and curing, still gooey.Mistletoe decorated and curing, still gooey.Tomorrow evening I should be able to get some better pictures of these!
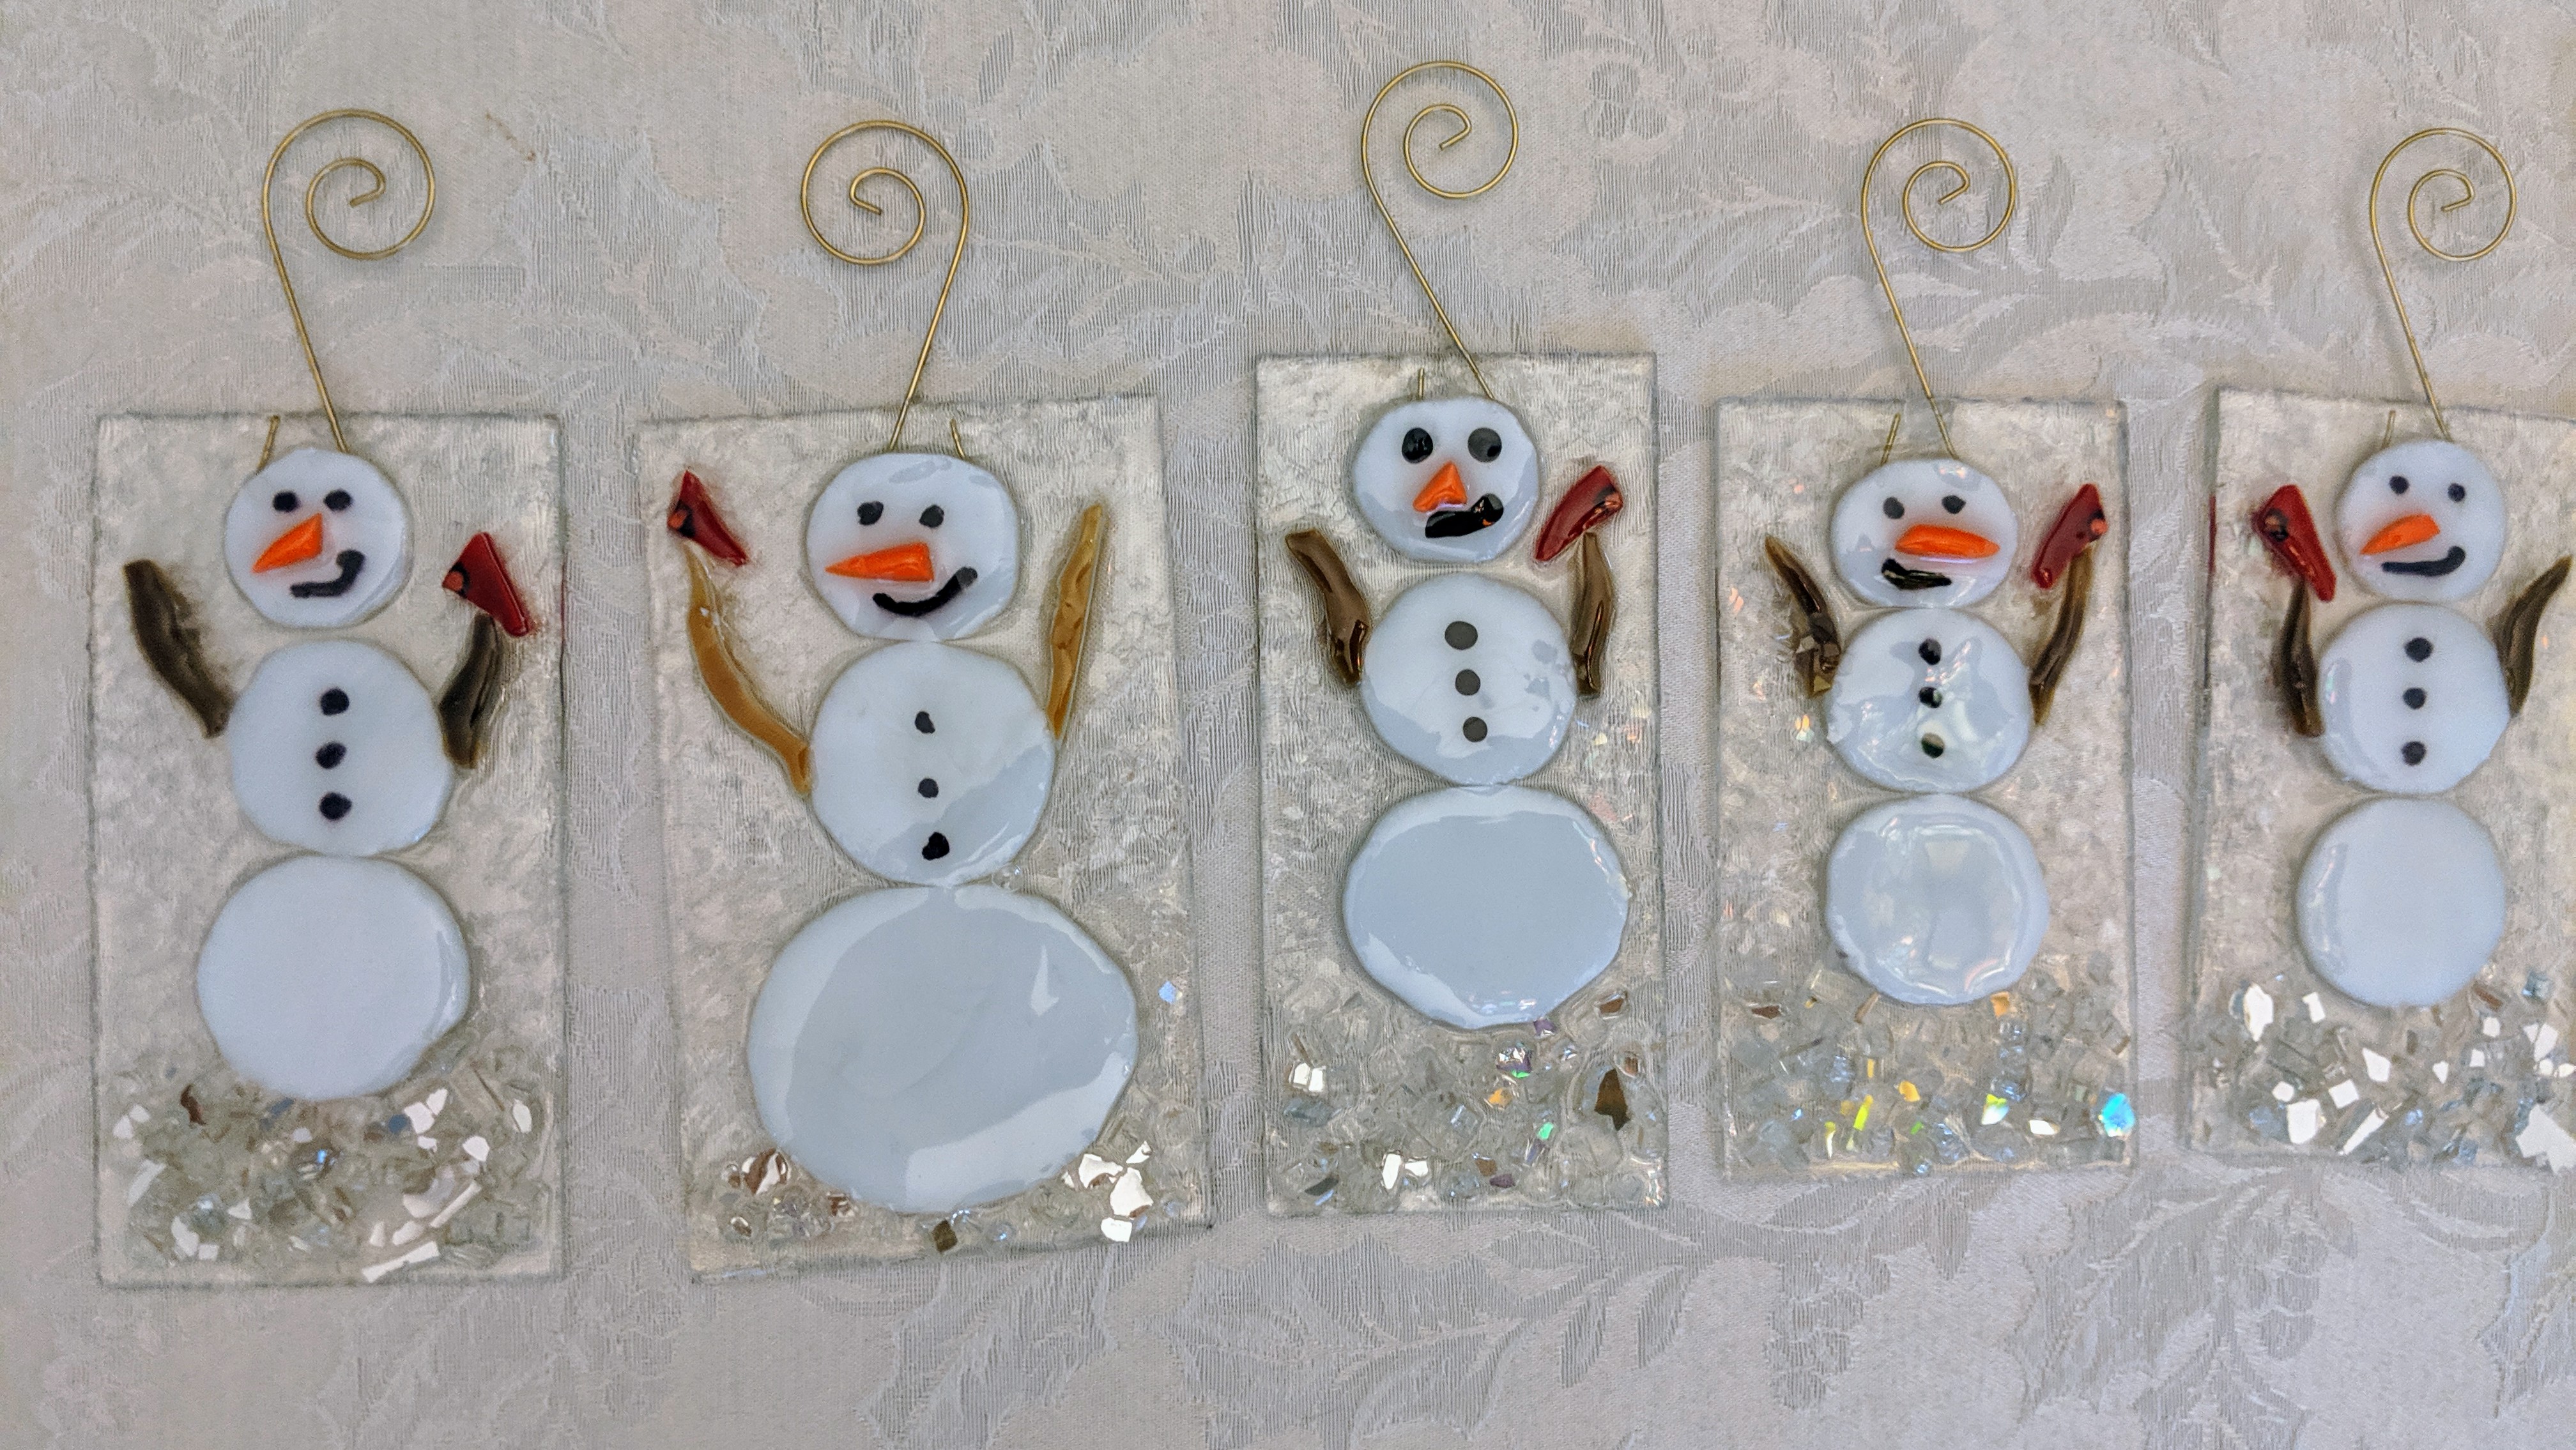
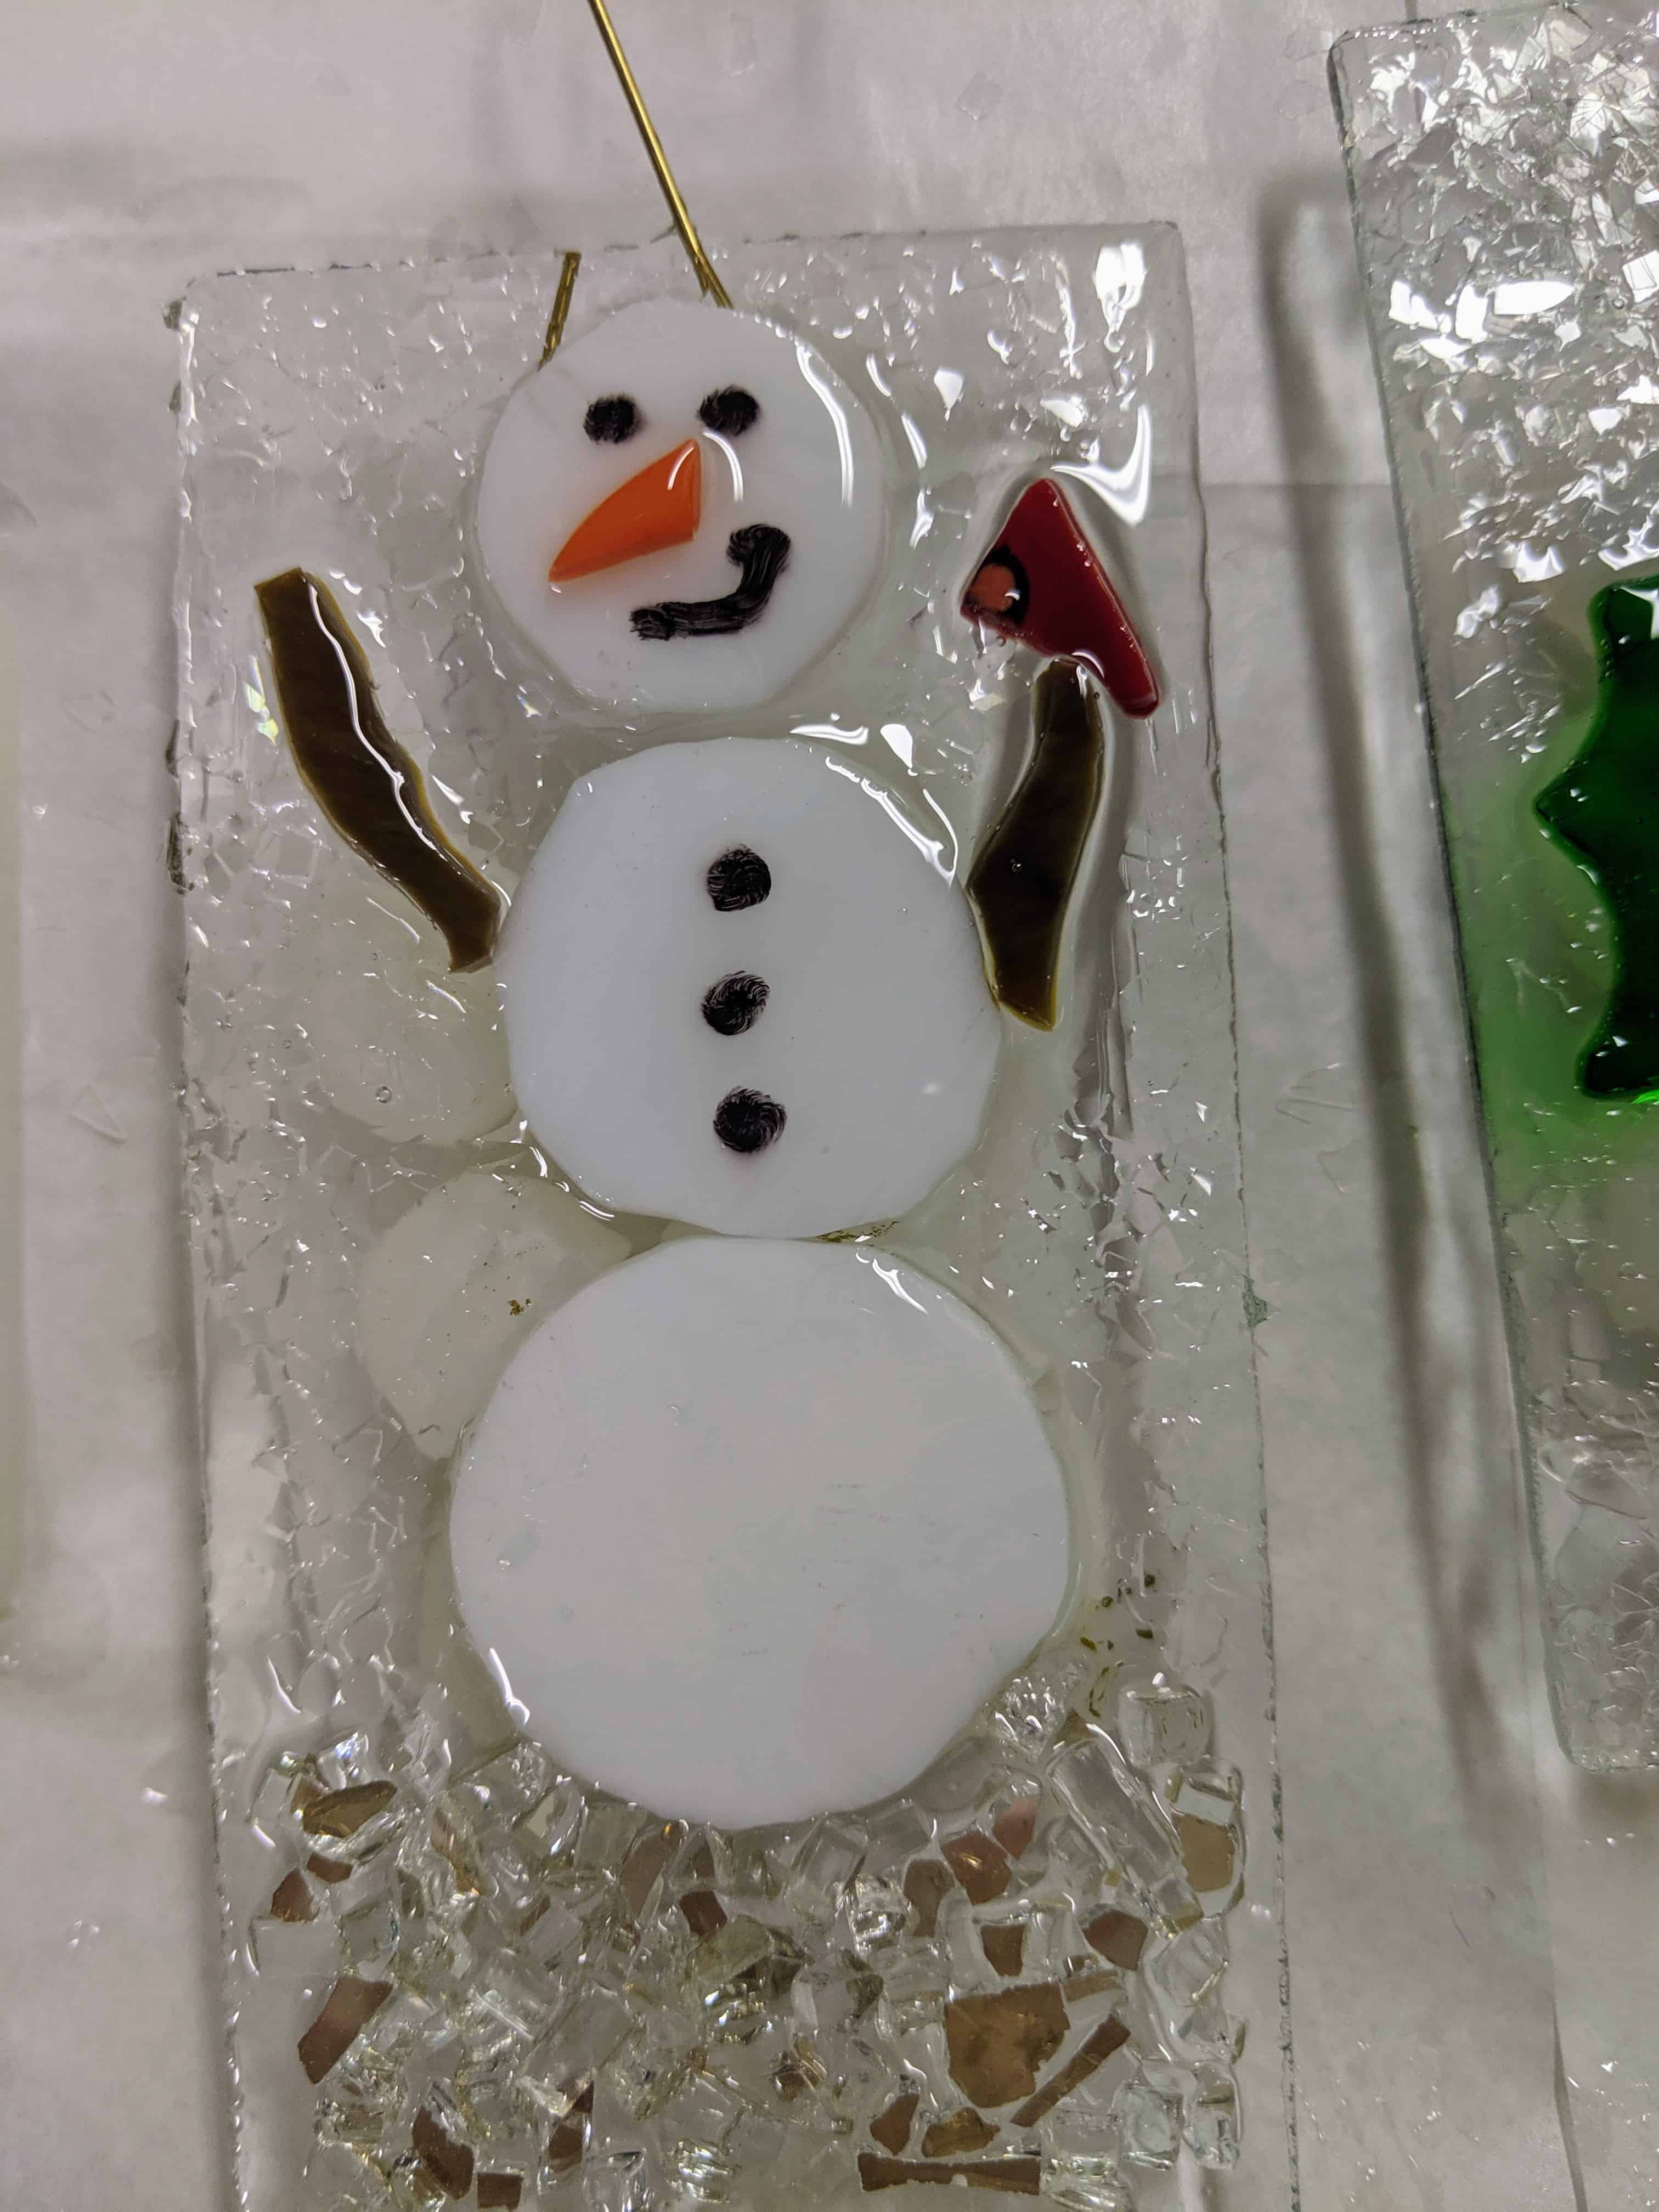
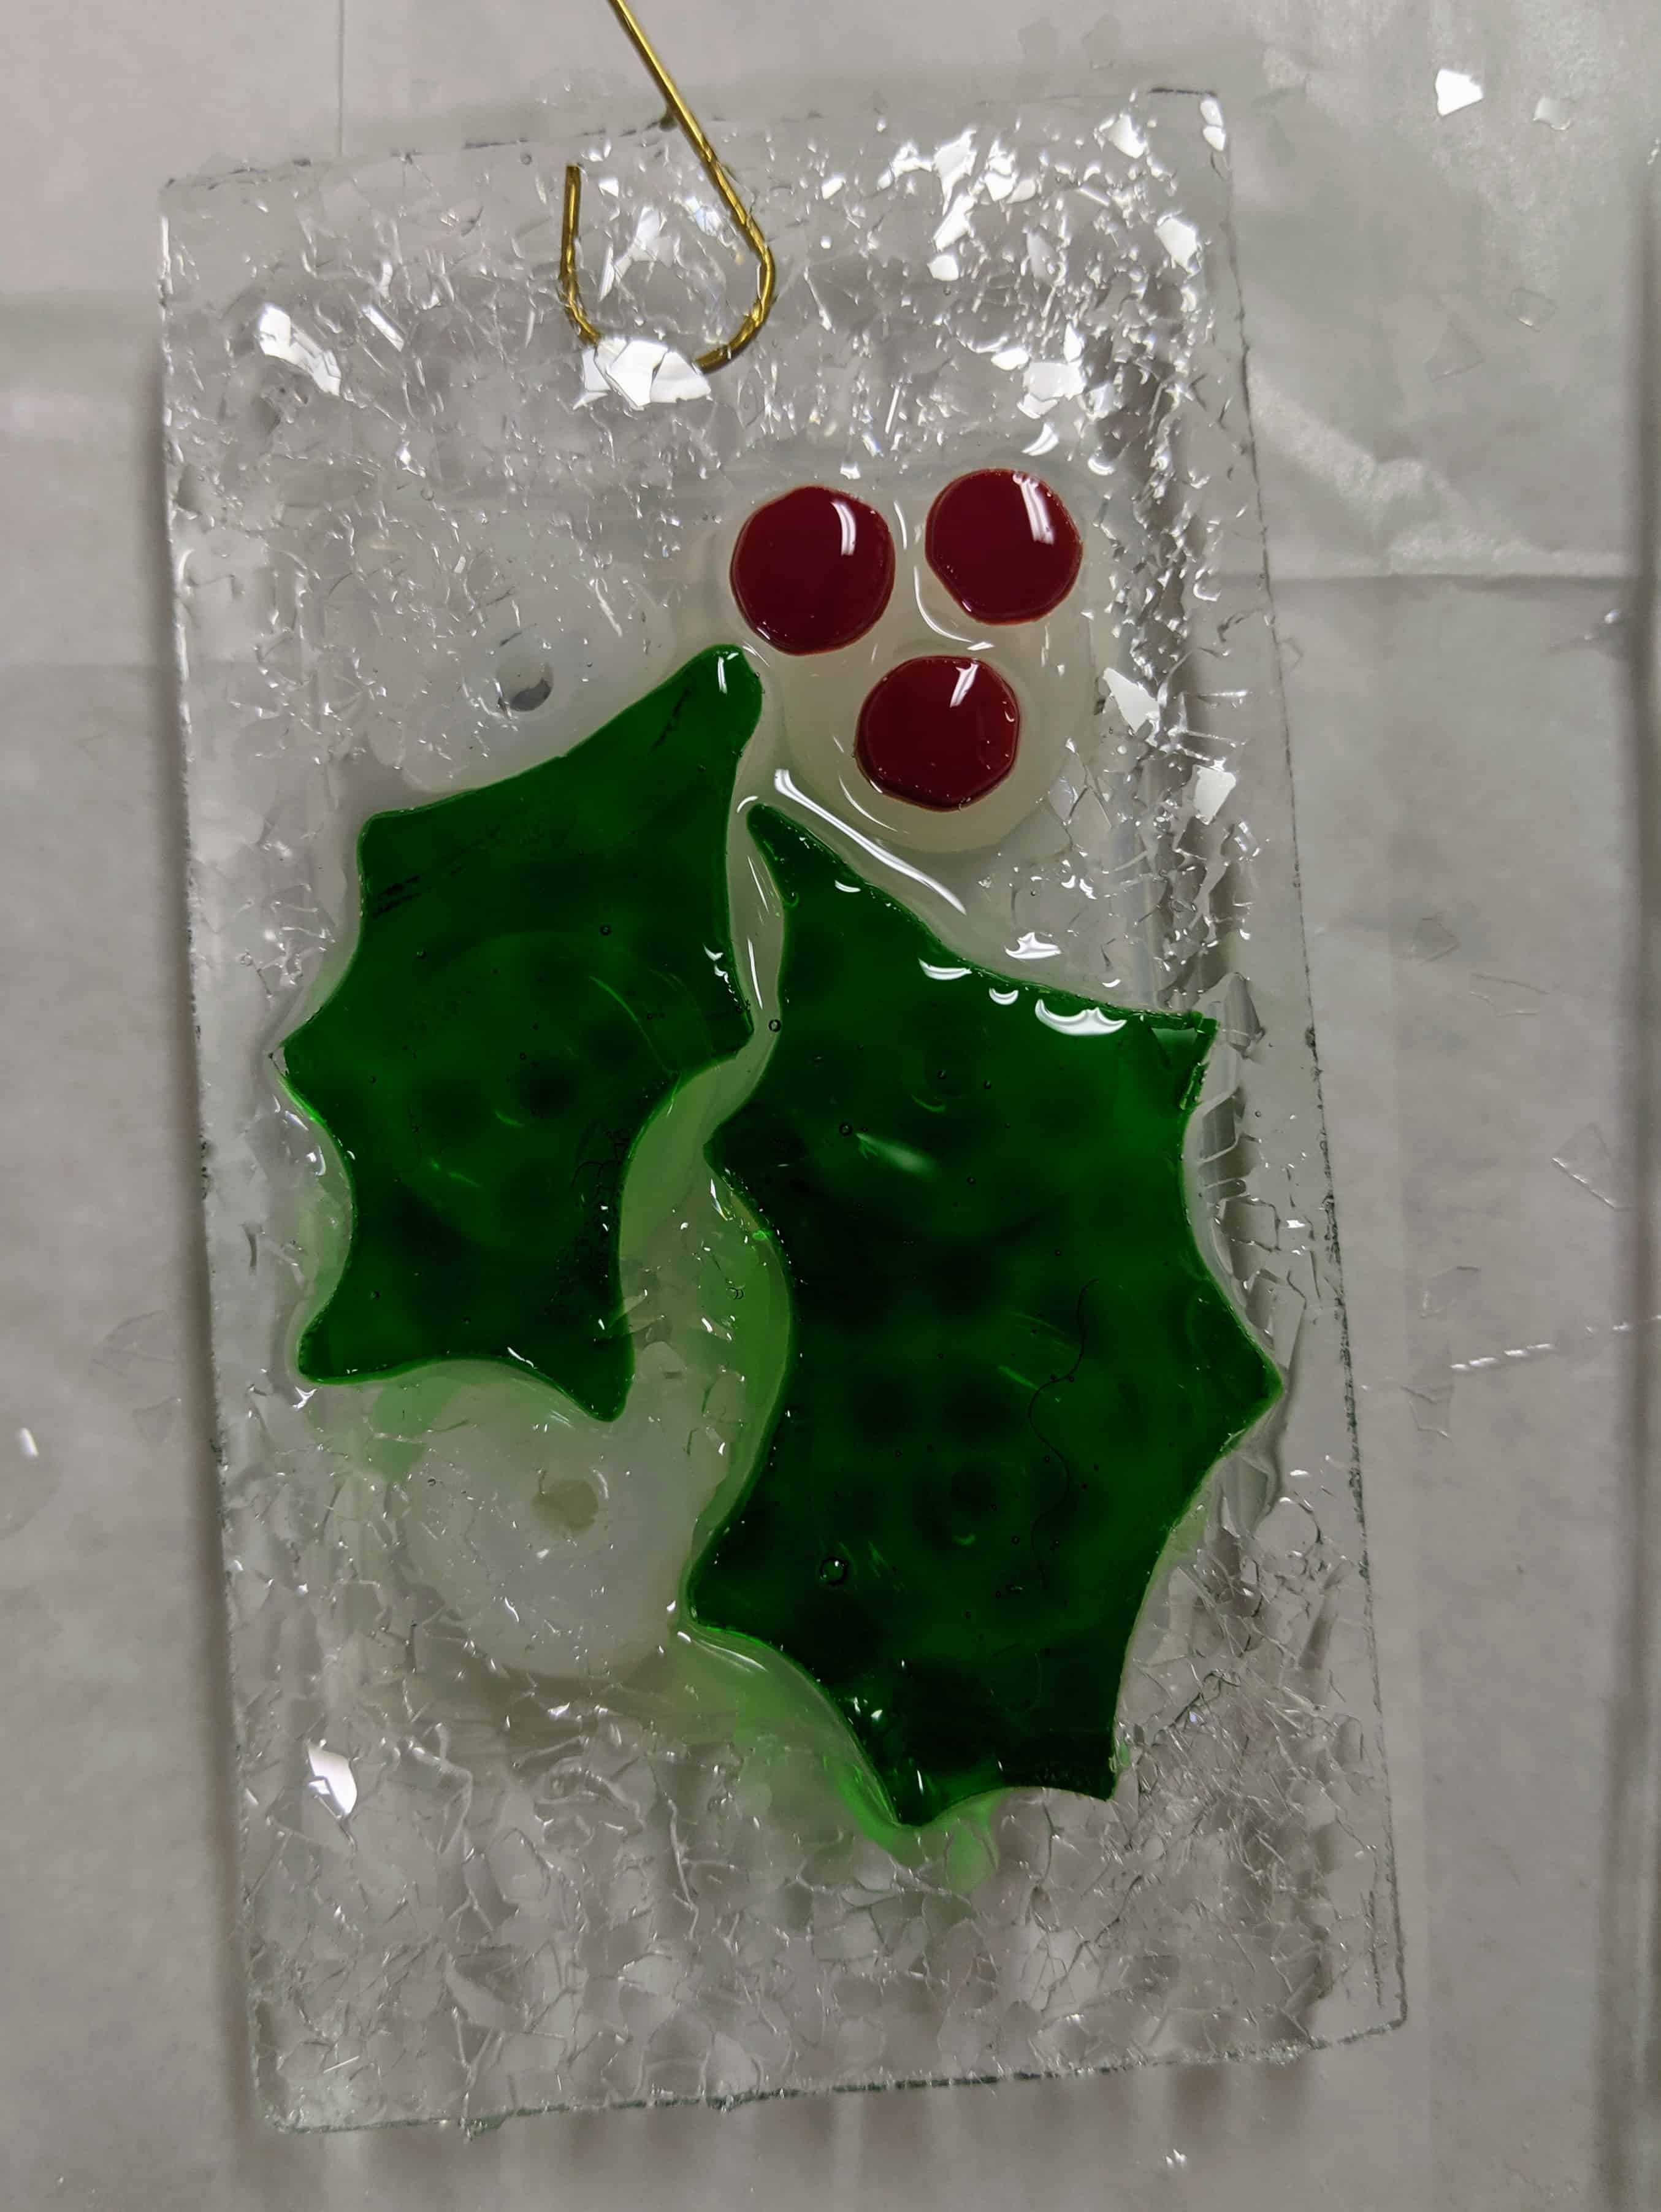
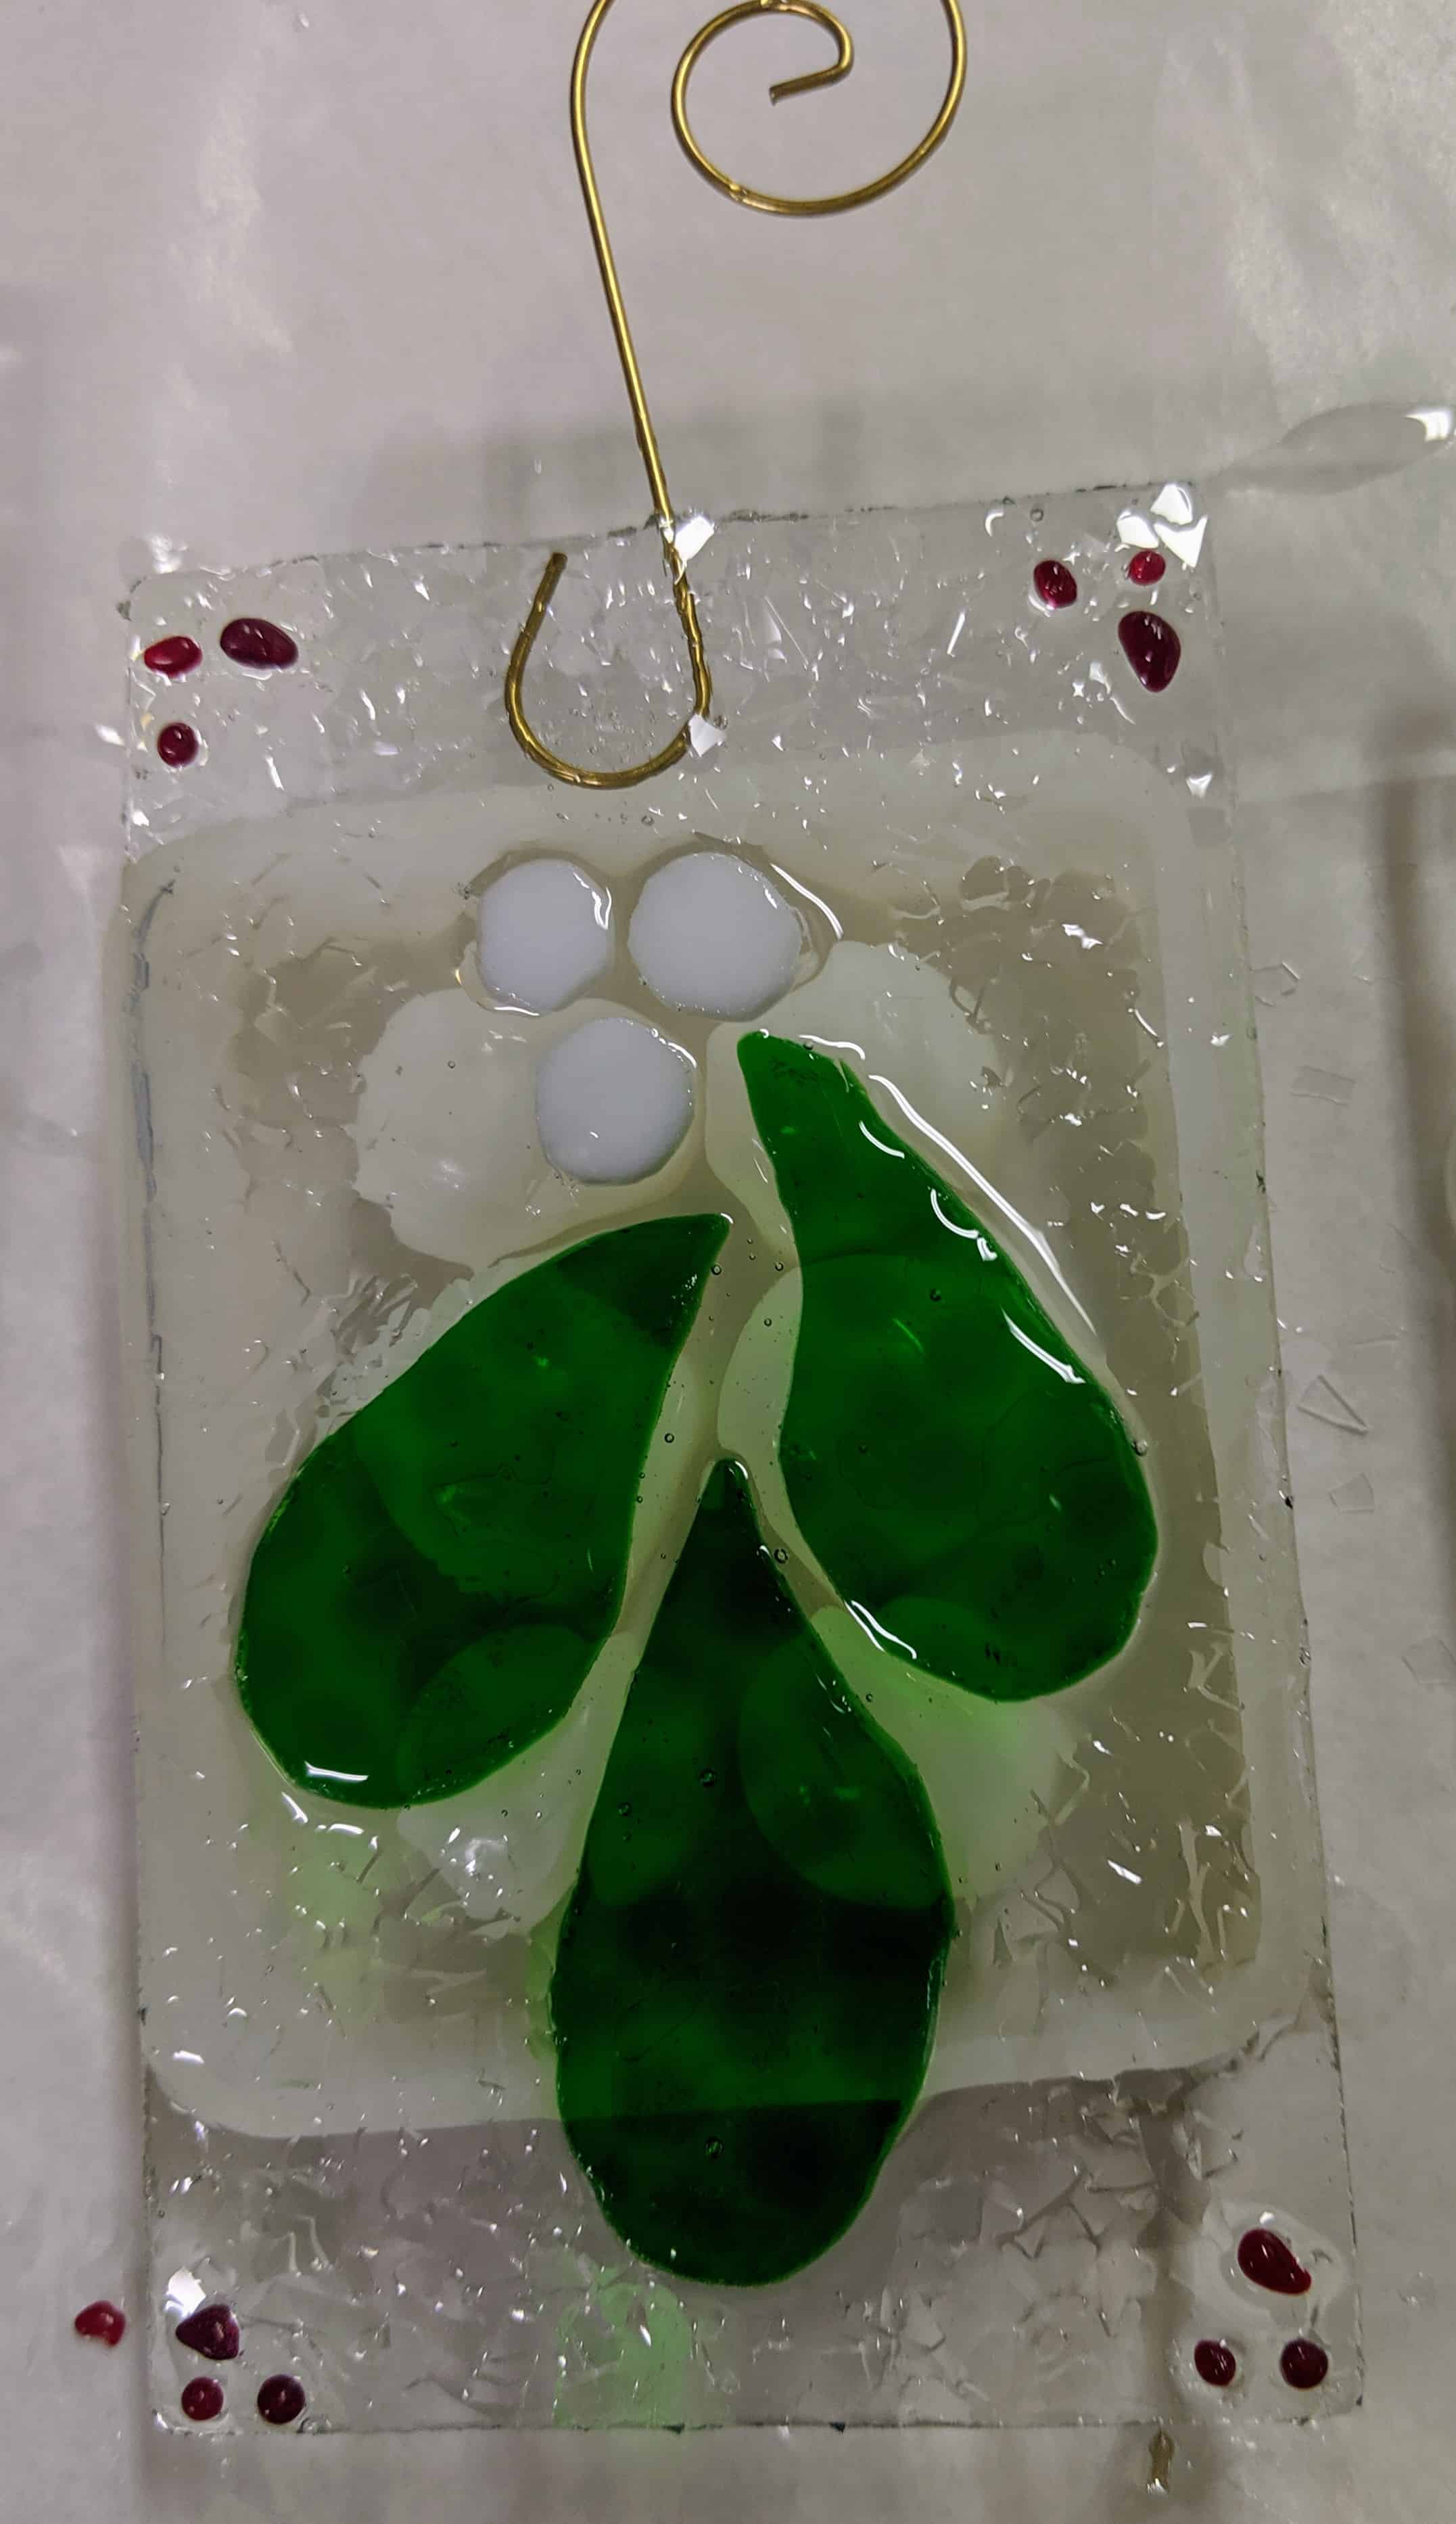
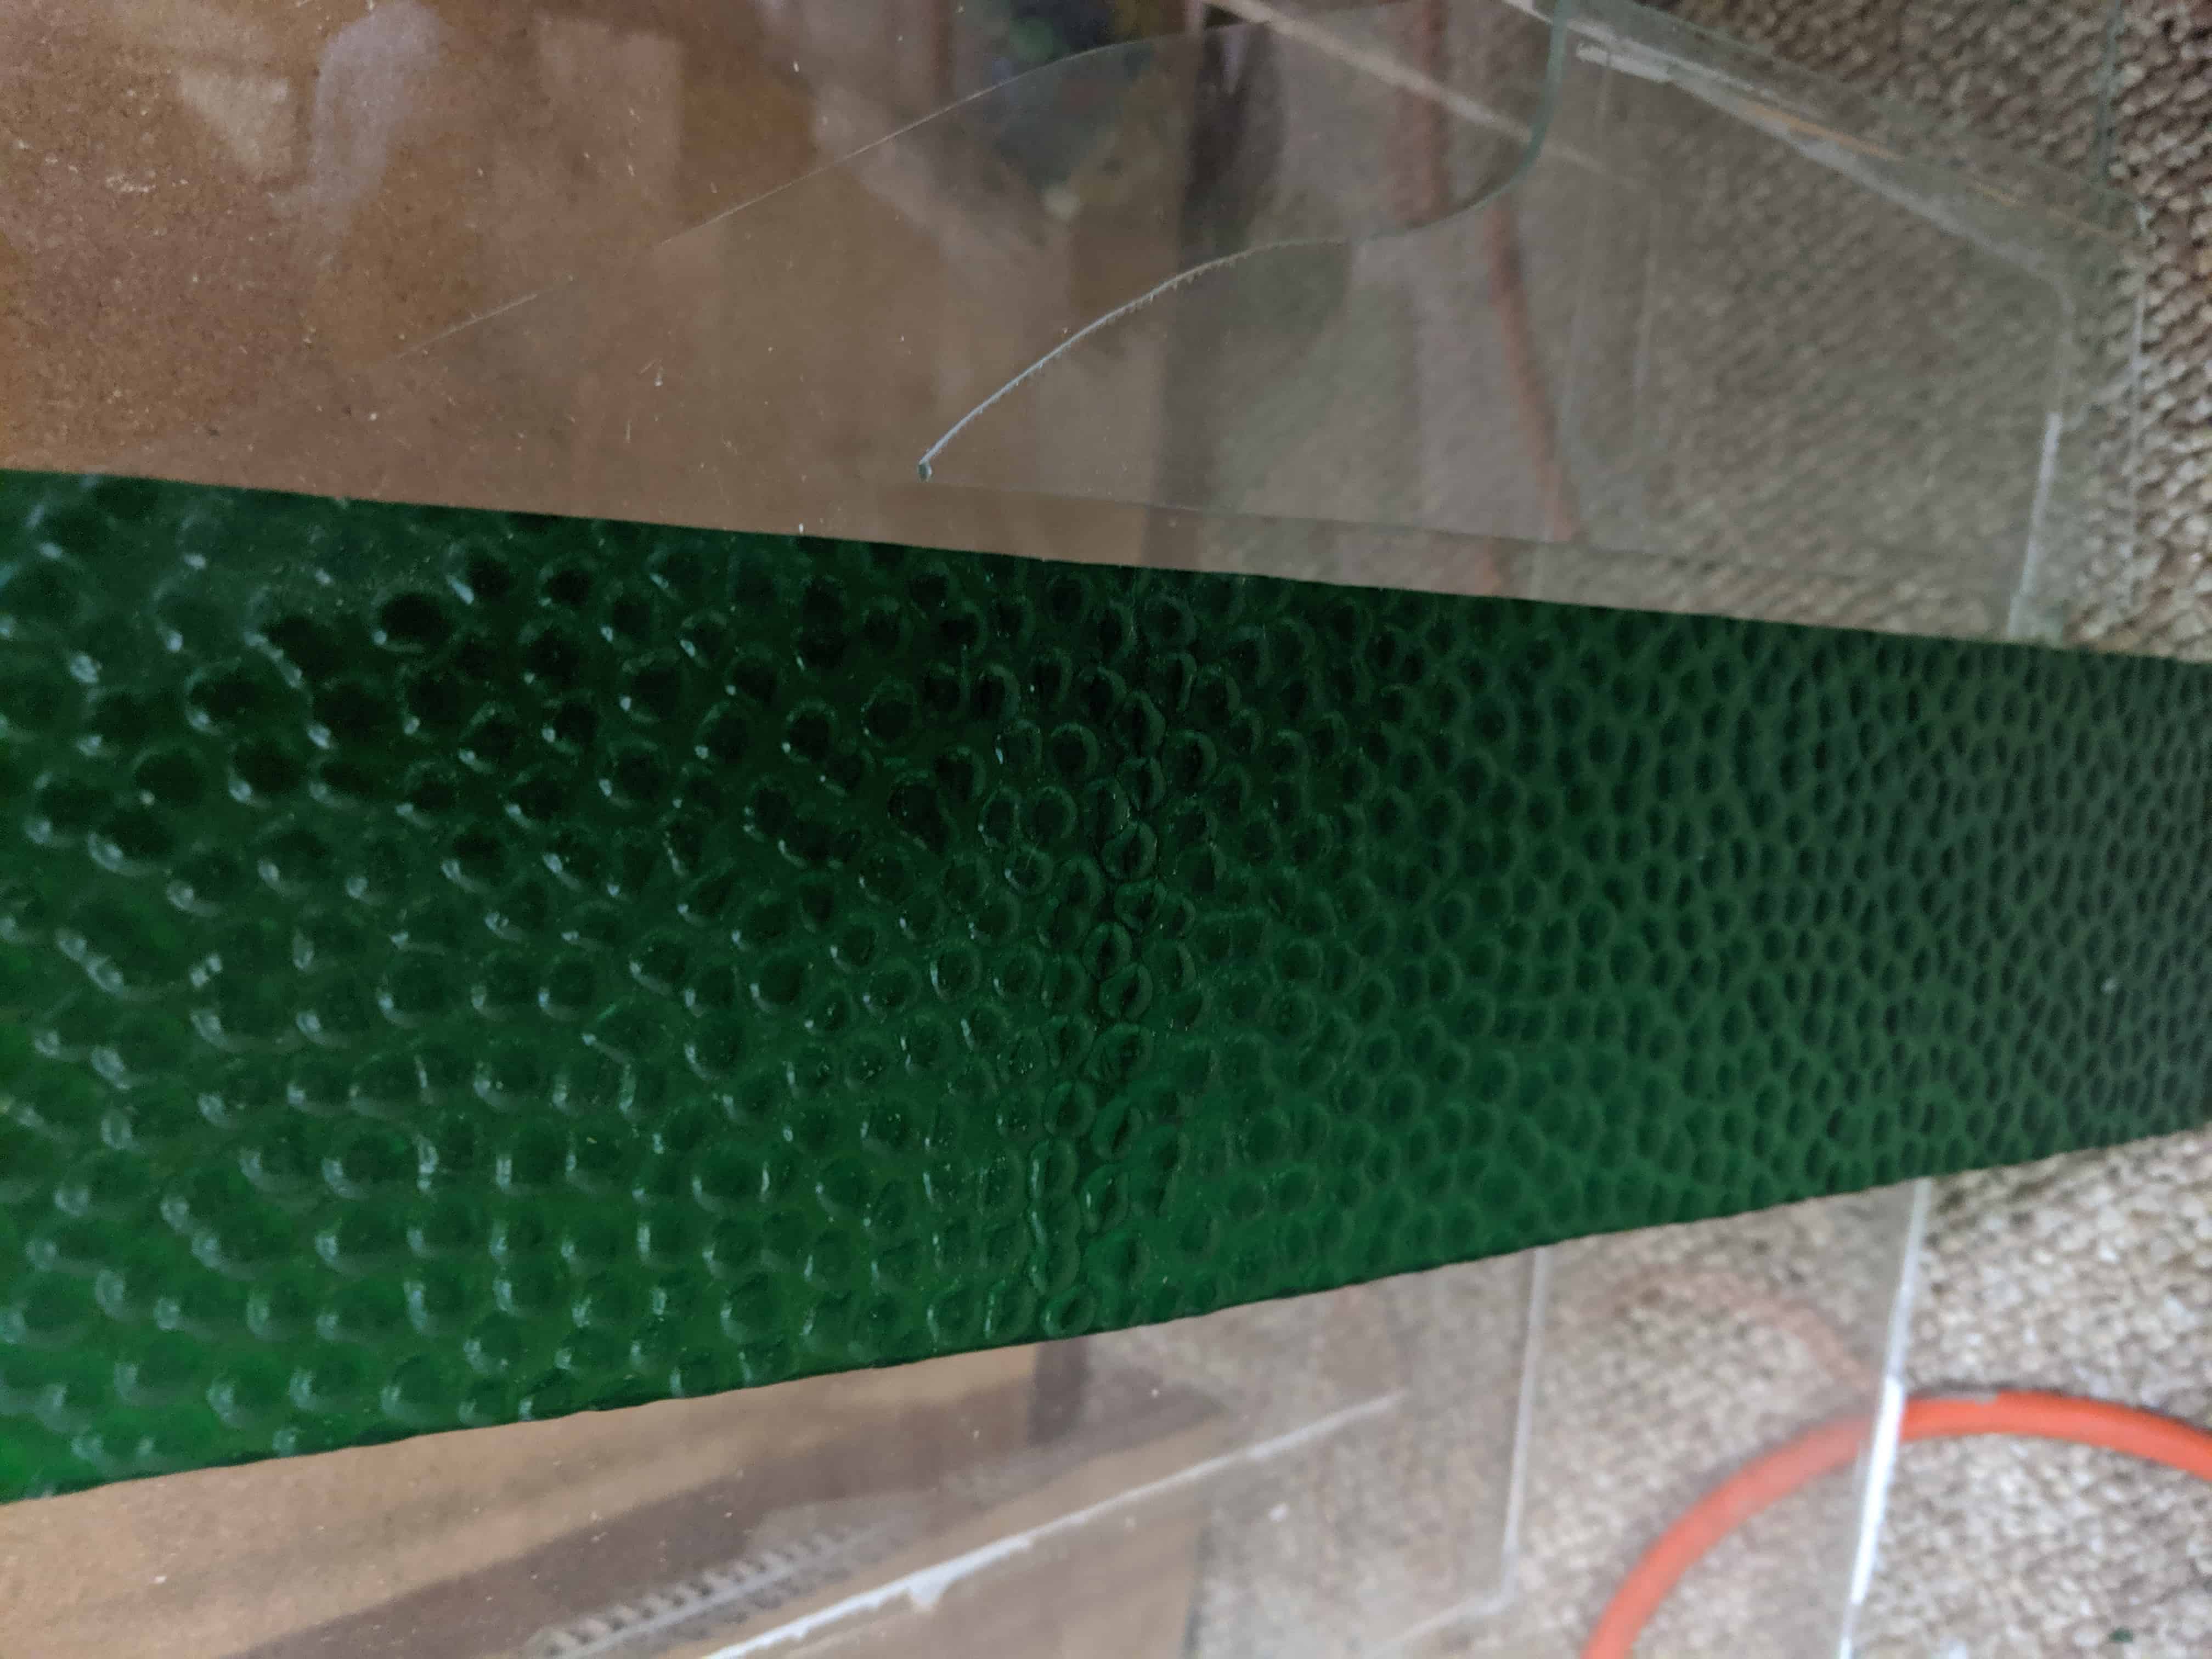
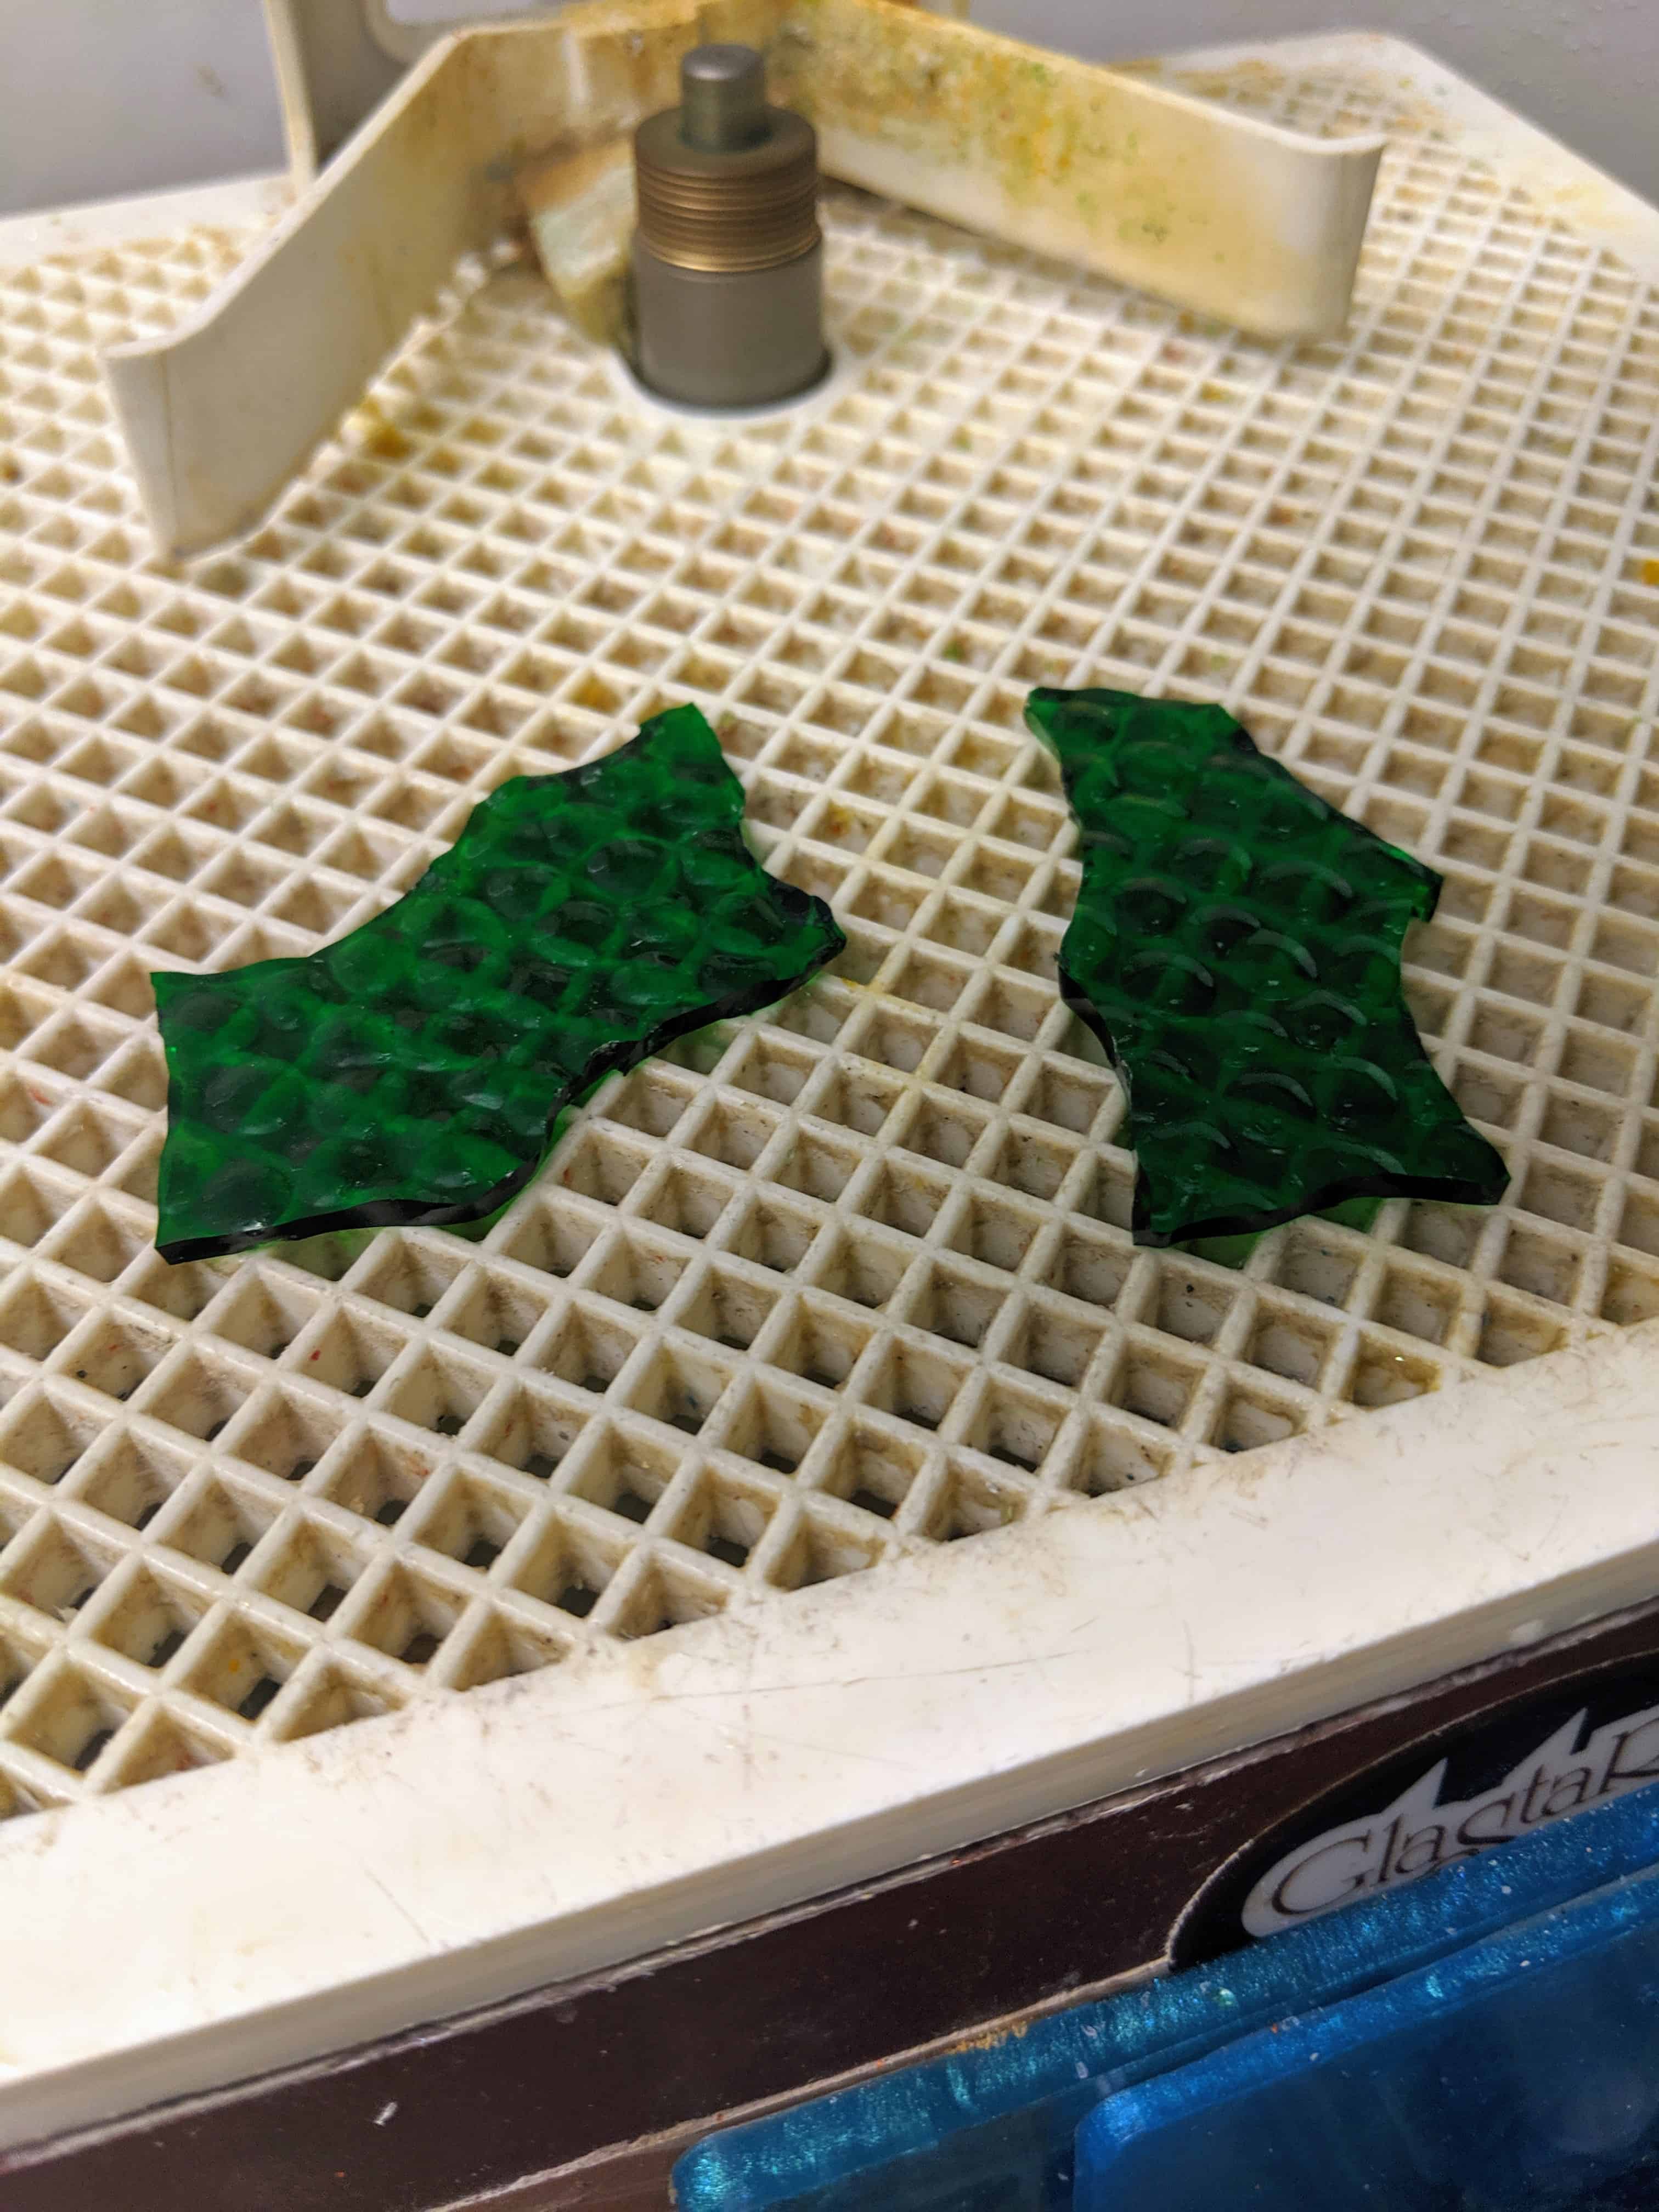
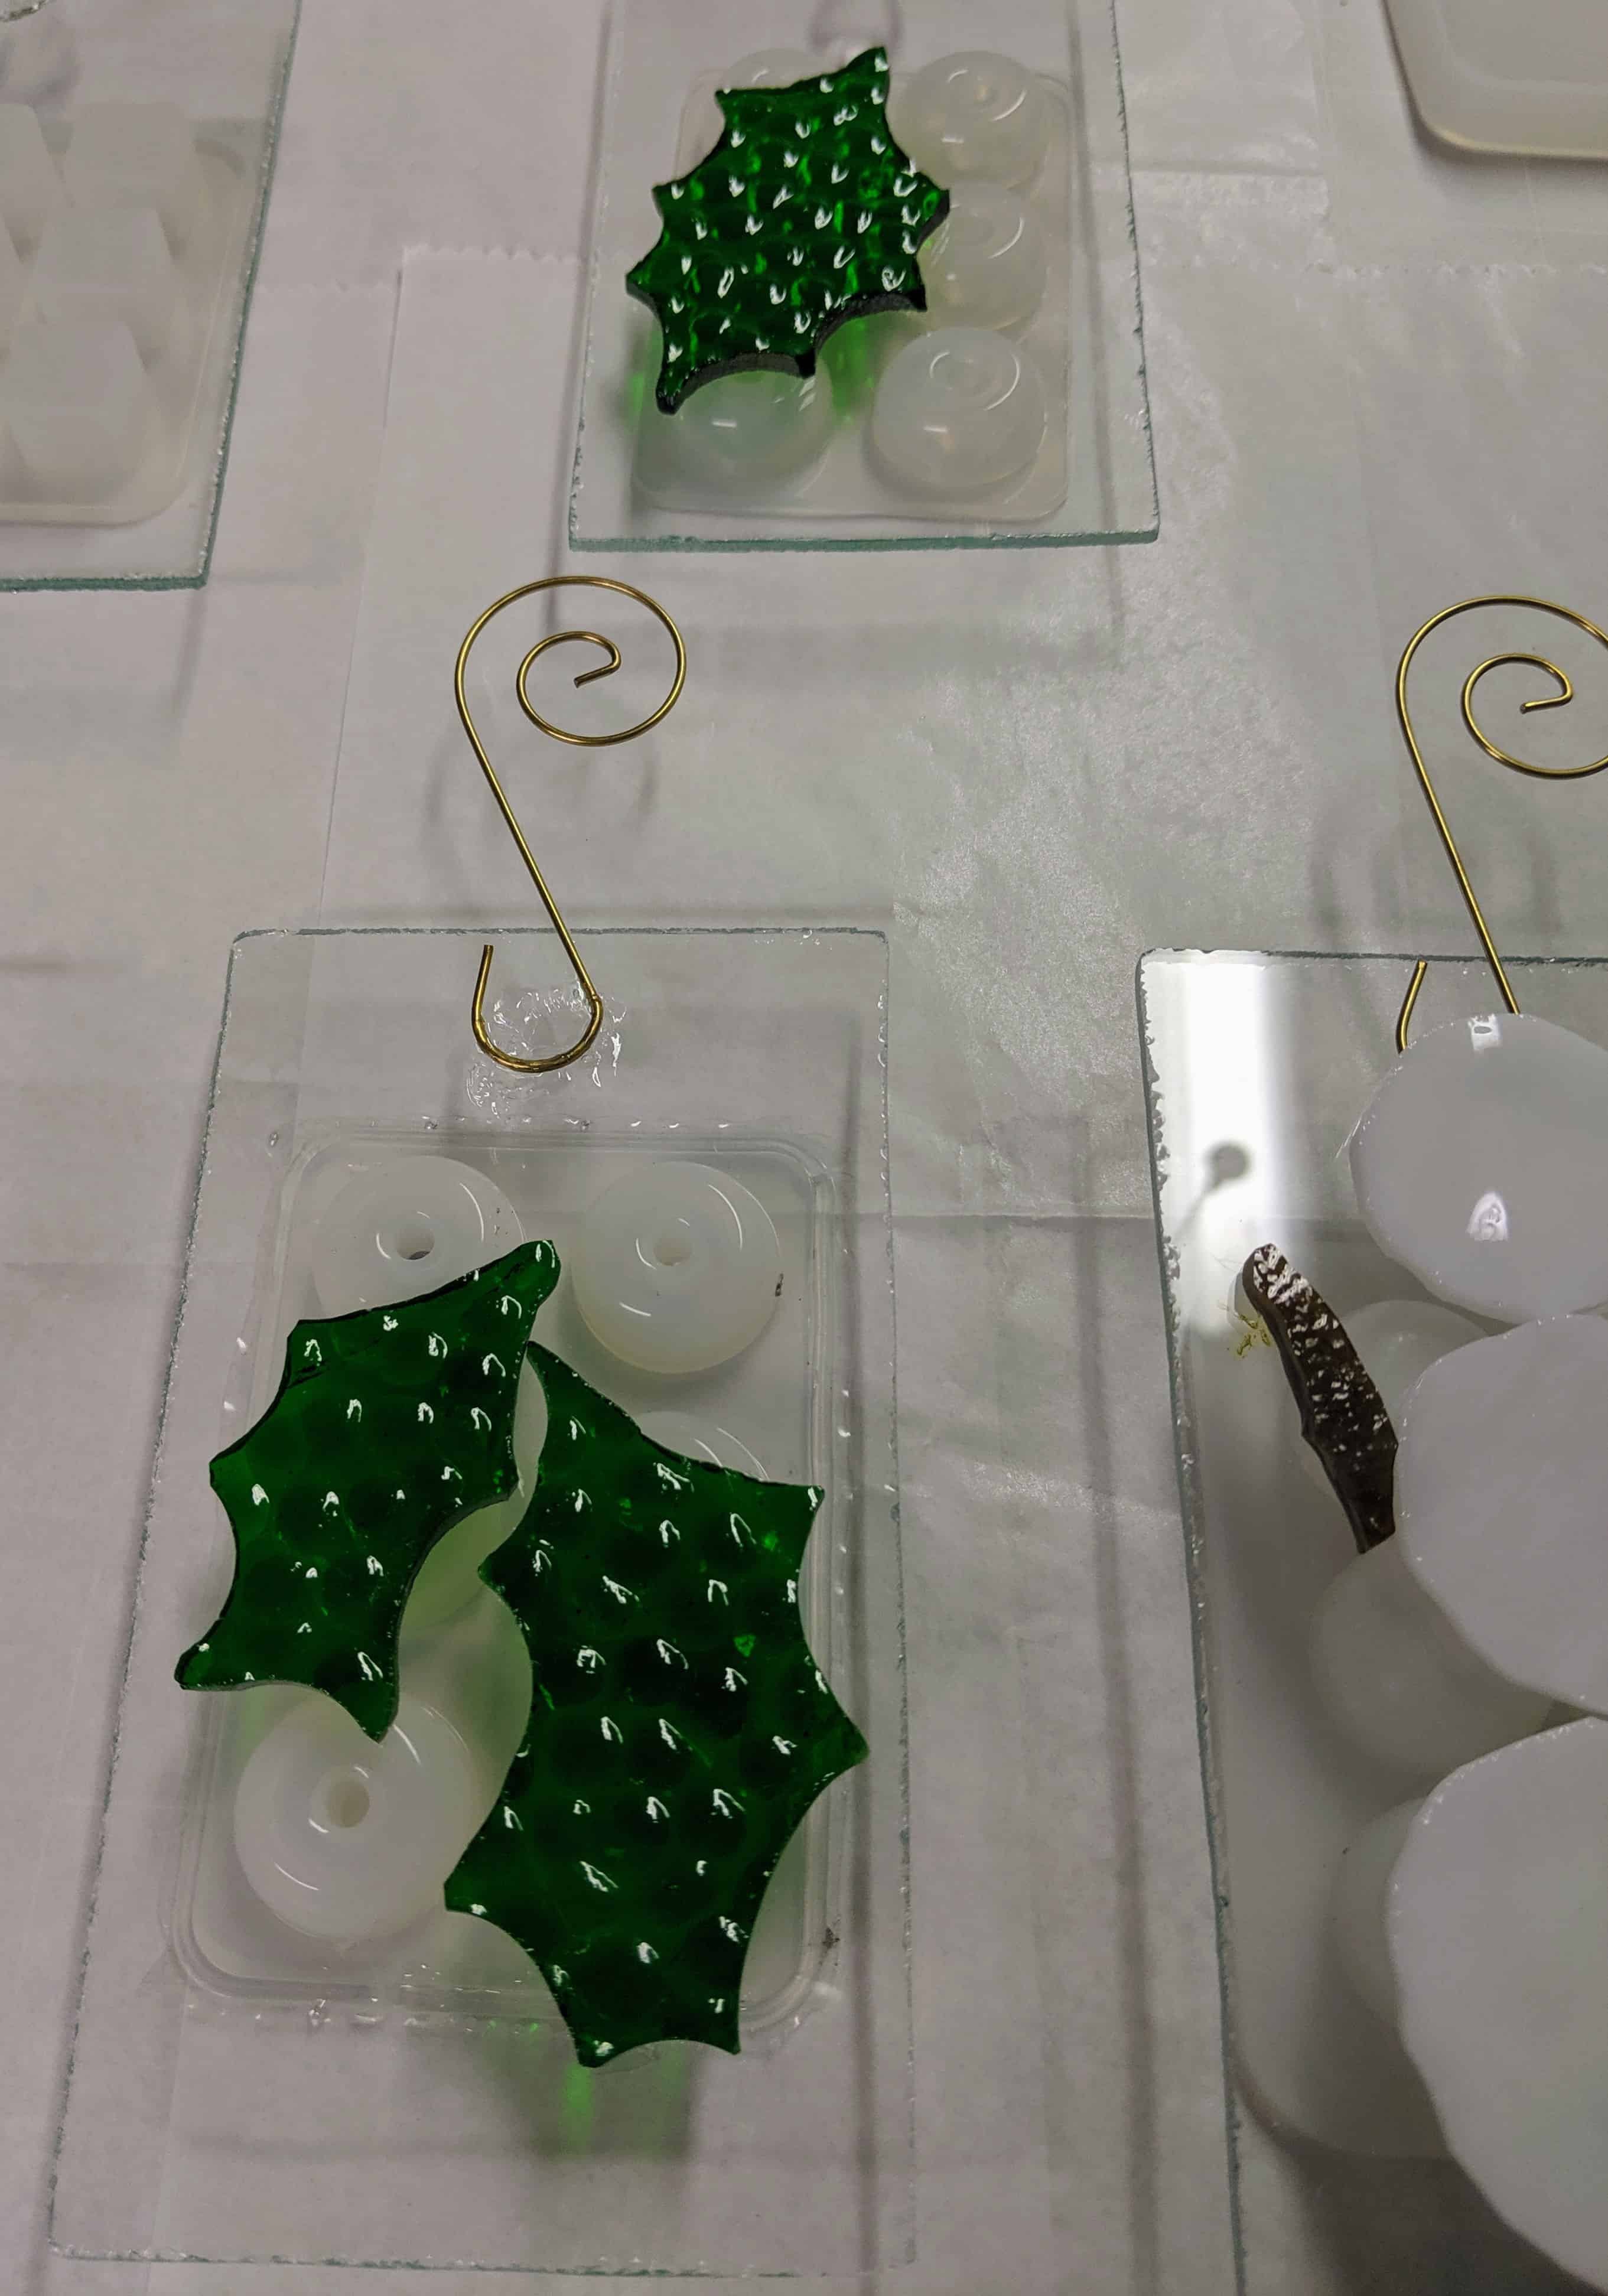
To make these snowman, tree and leafy ornaments, I start with white and green glass and cut it down until it is close to the shape I want. I then grind the pieces to smooth them and make them look more like the desired item (snowball, holly, mistletoe). It will be interesting to see how the texture of the green glass looks after I pour the resin. Past experience has shown me that the texture will be mostly lost once the resin is applied, but I haven’t tried it with this glass yet.
I like this green glass for evergreen leaves.
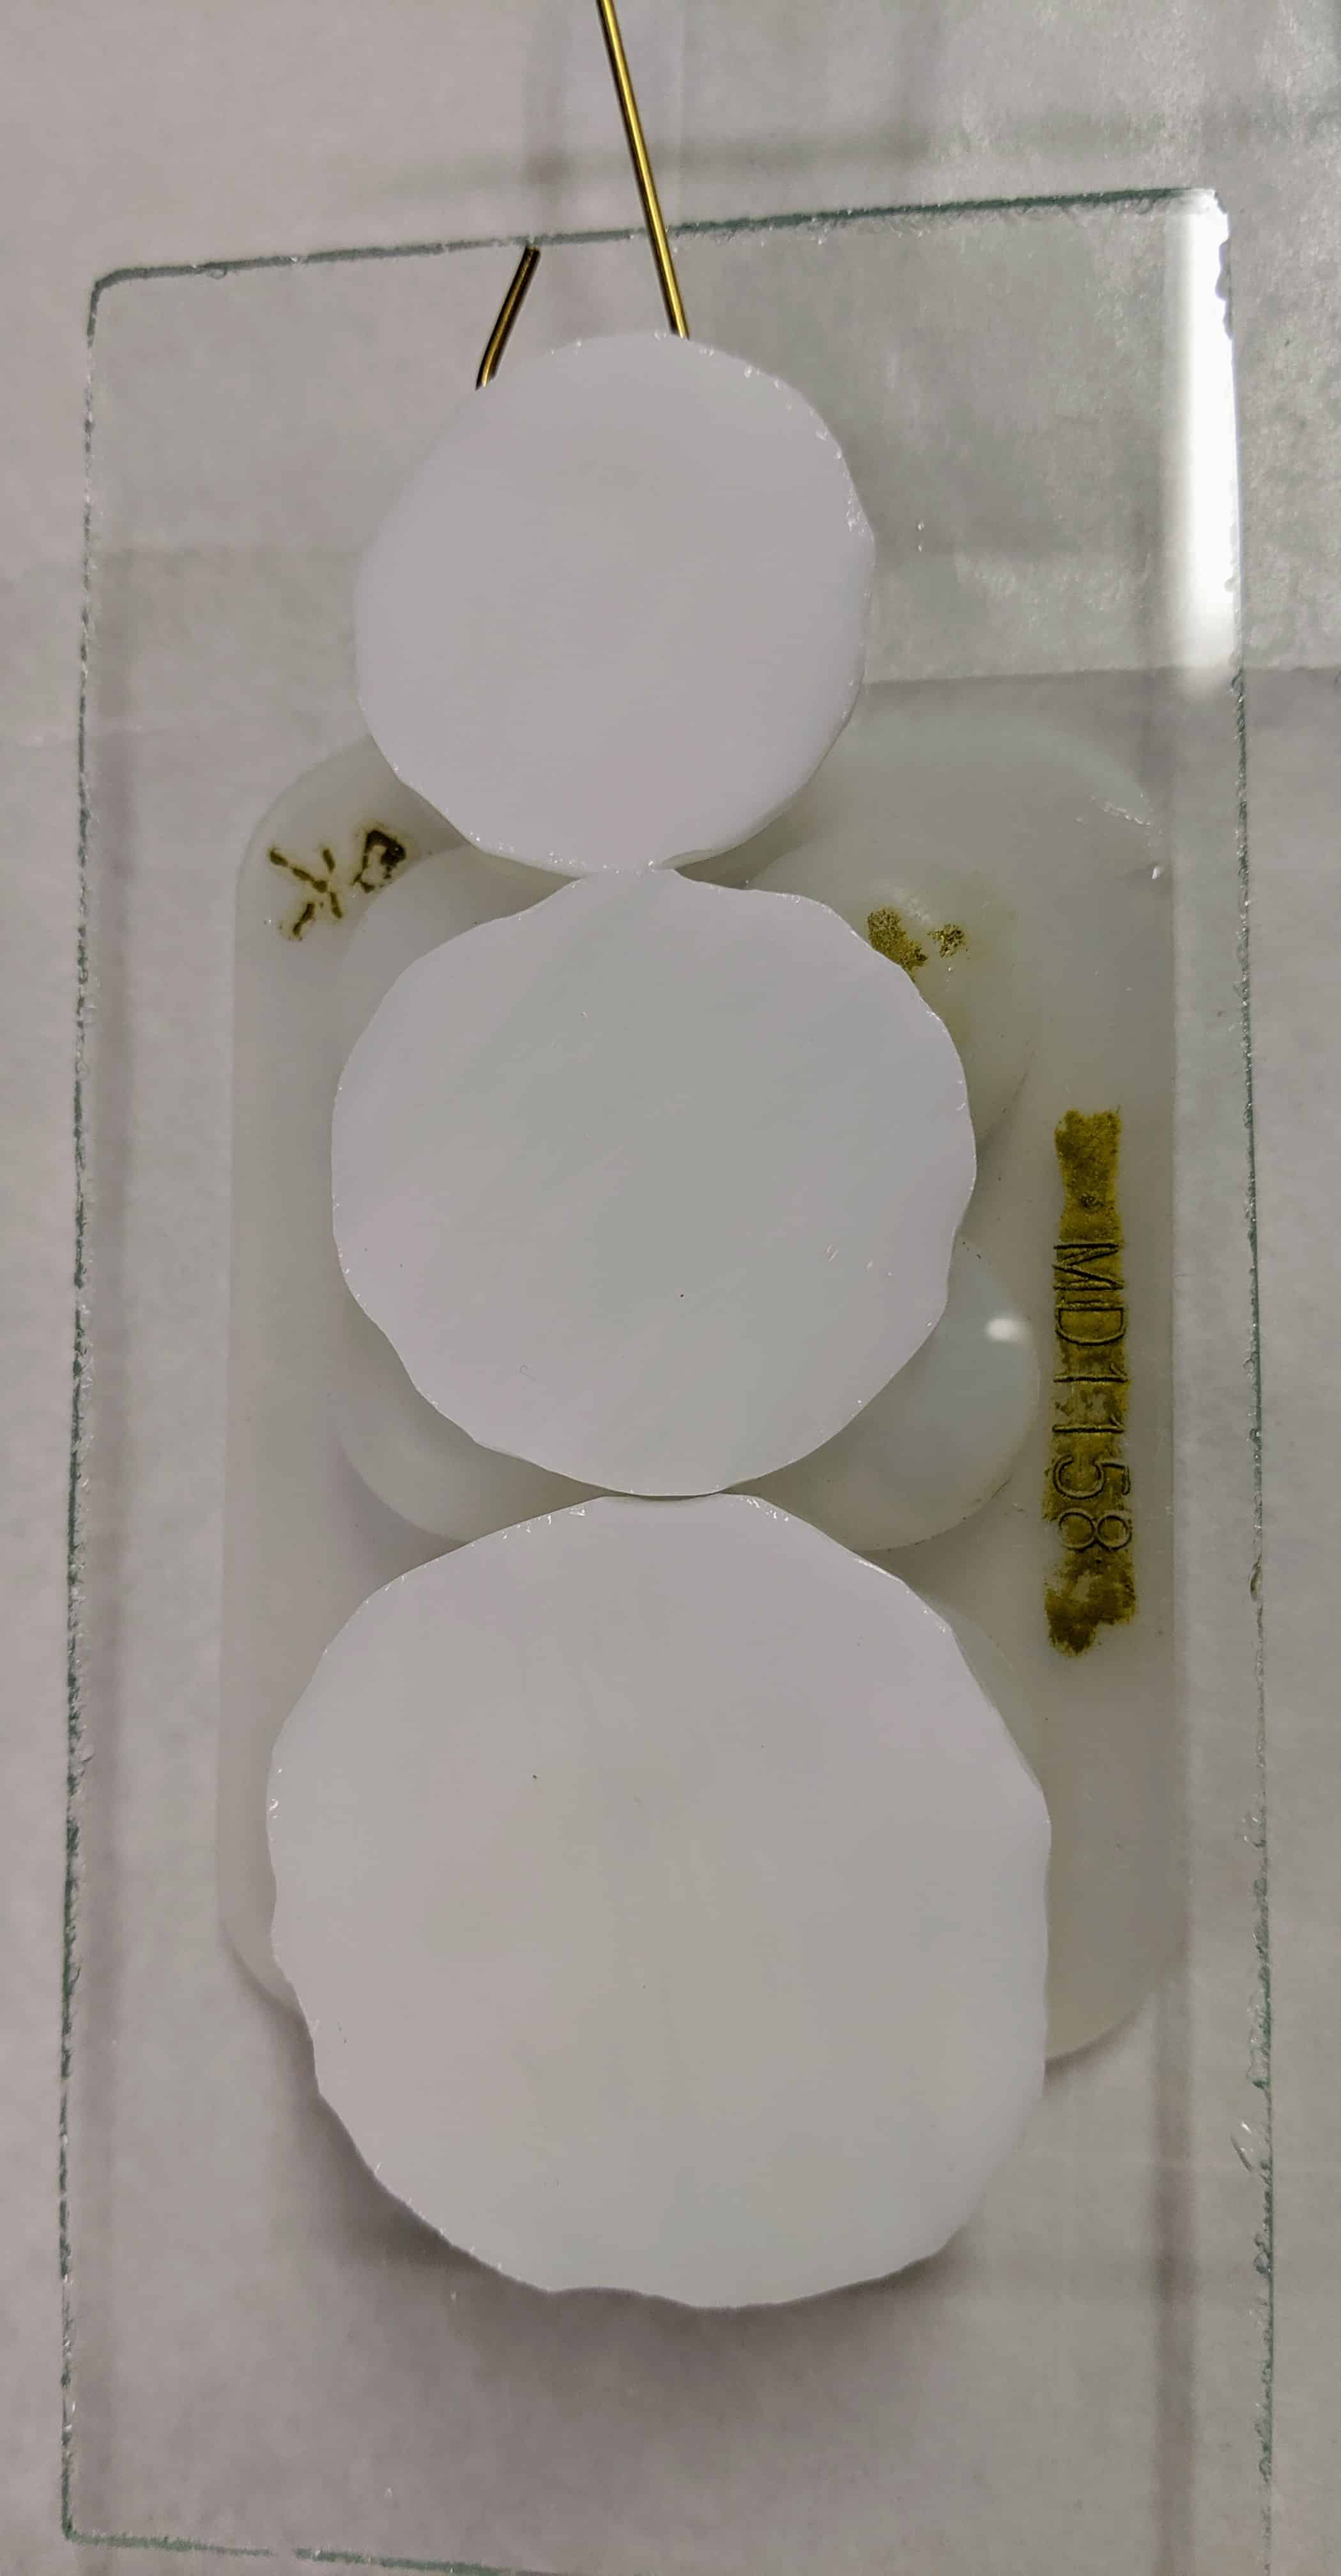
Here is a snowball in the making on my glass grinder. Yes, I do slice my fingertips while I grind the glass – I try to do a quick once around all the edges to minimize the damage to my fingers, but they still get a bit of wear and tear.
Birth of a snowman.Rough Holly leaves before they have visited the grinder.
Laying out / gluing pieces for a snowman.Laying out / gluing holly leaves.
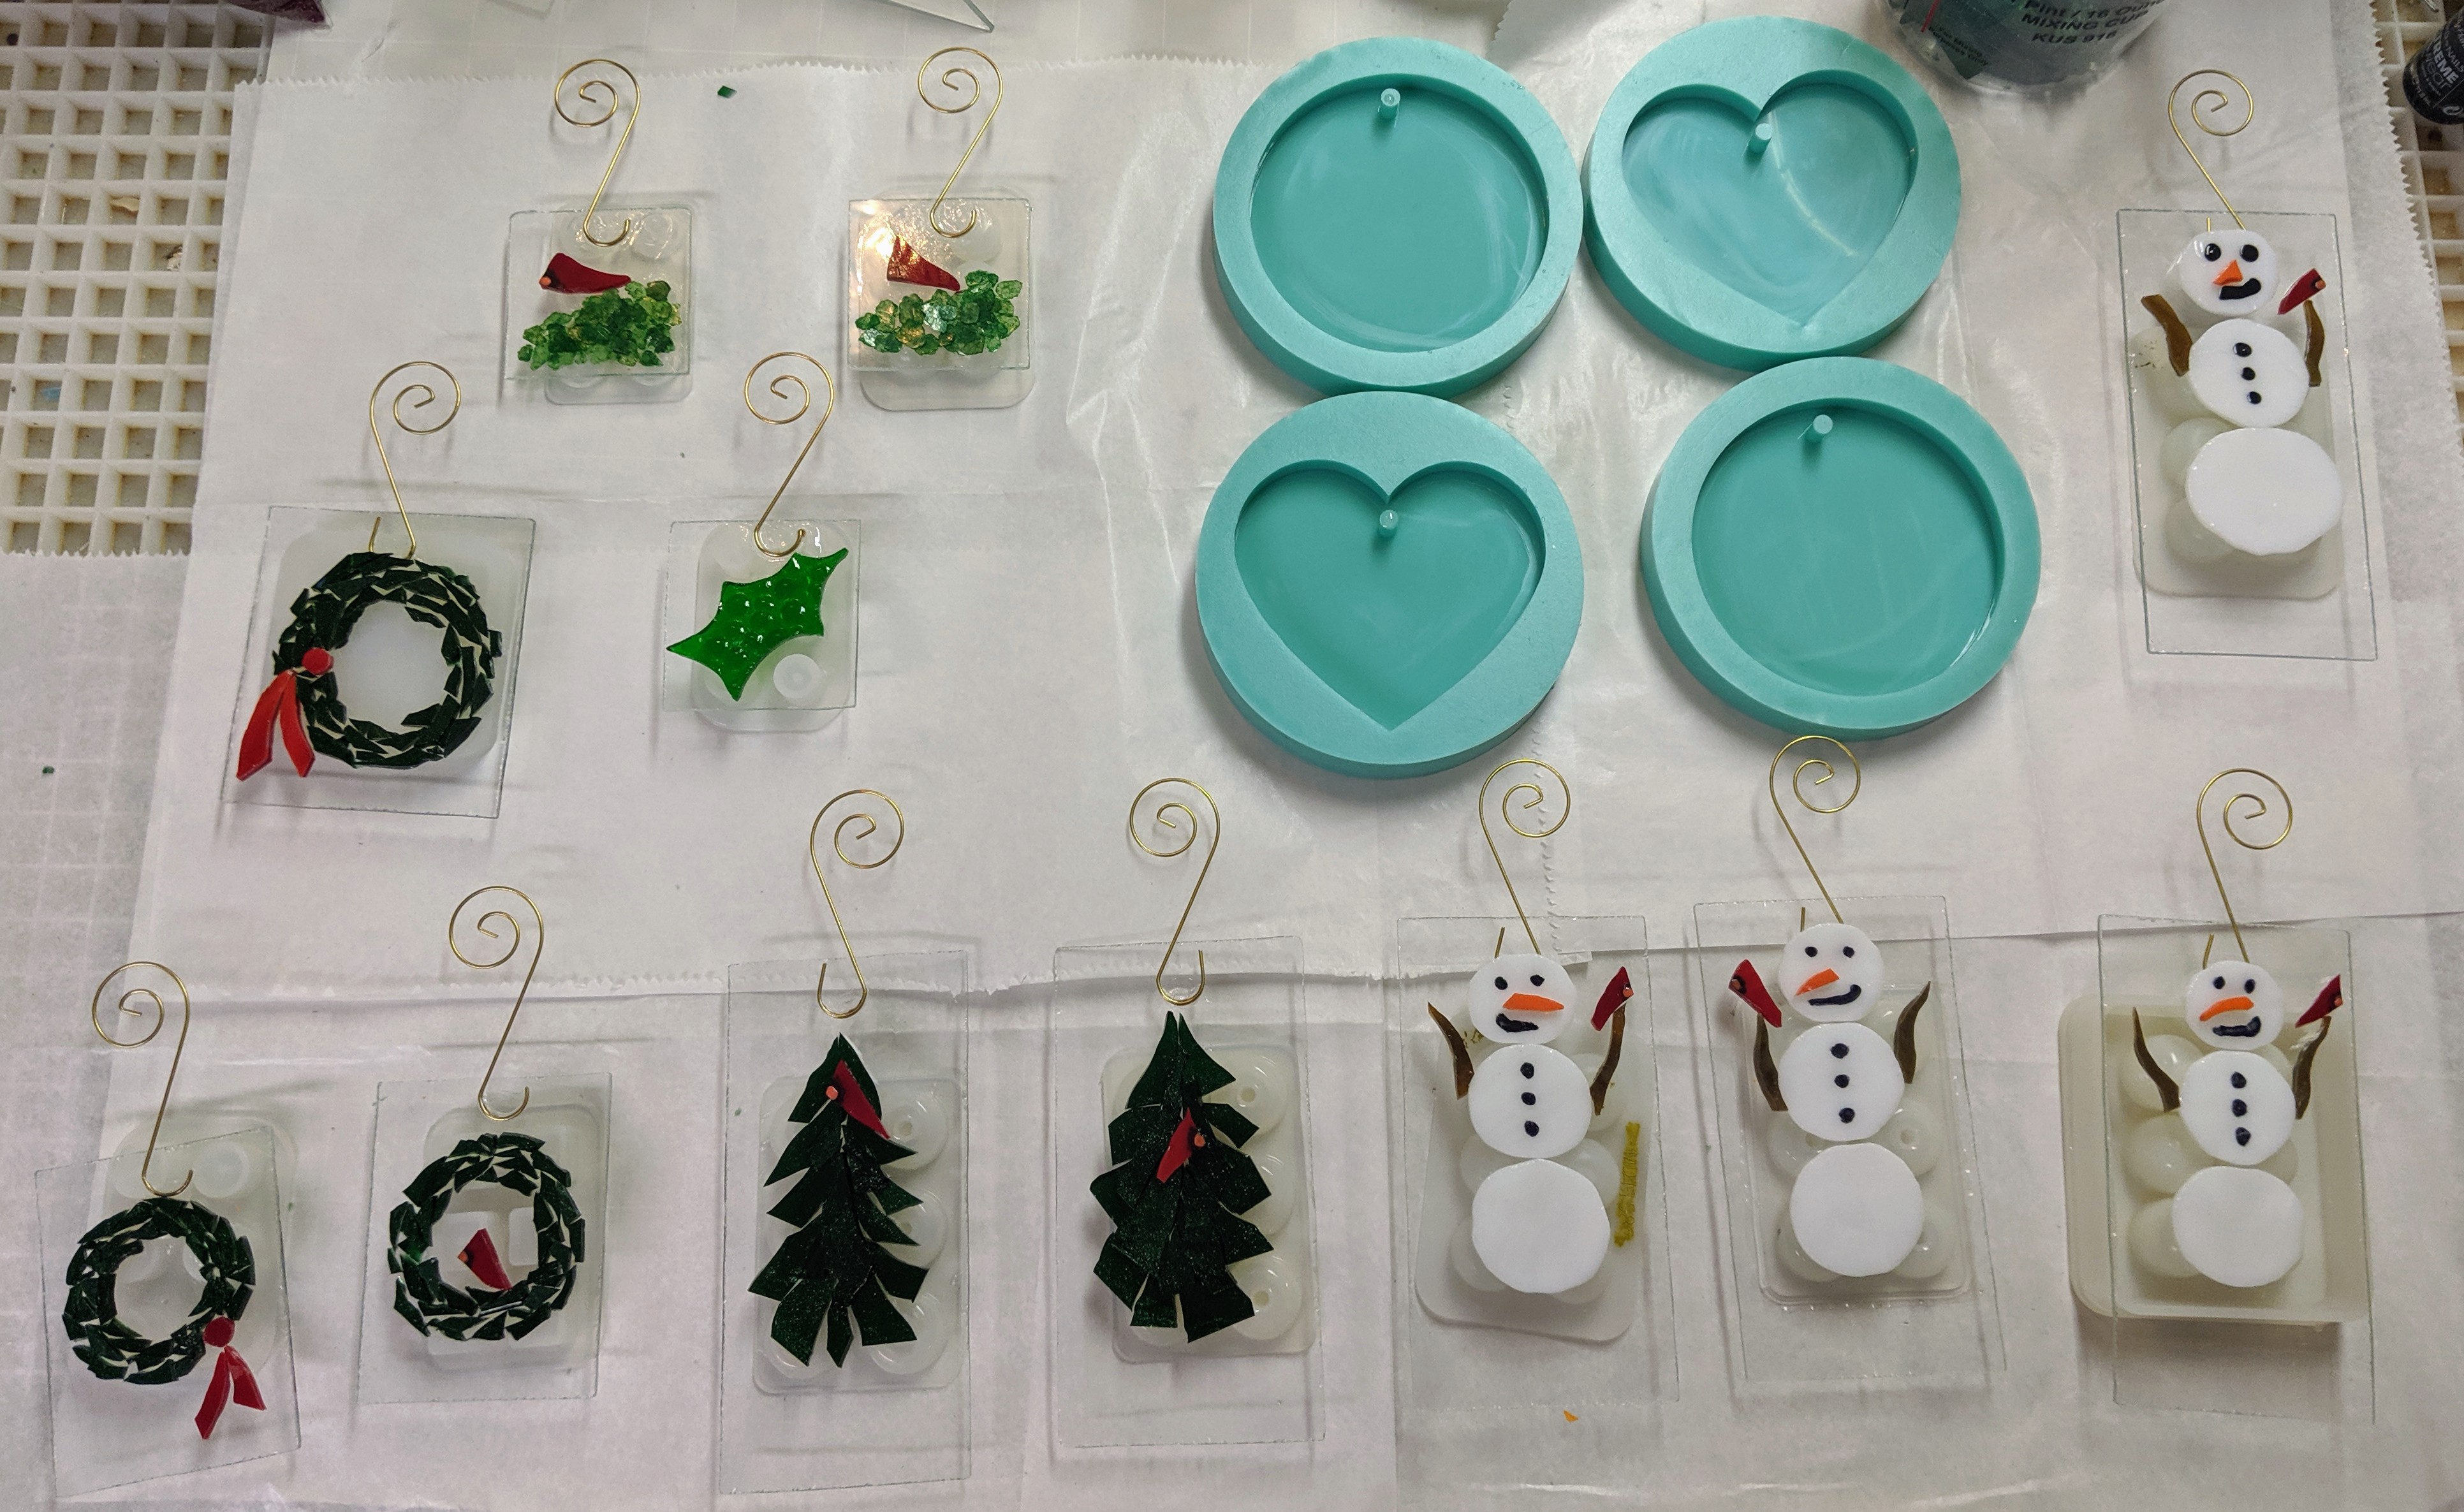
Once I have the larger pieces of glass ready, I glue them to the clear glass ornament bases. I glued the ornament hooks on the bases yesterday.
Glued down – tree, snowmen, holly and mistletoe. .
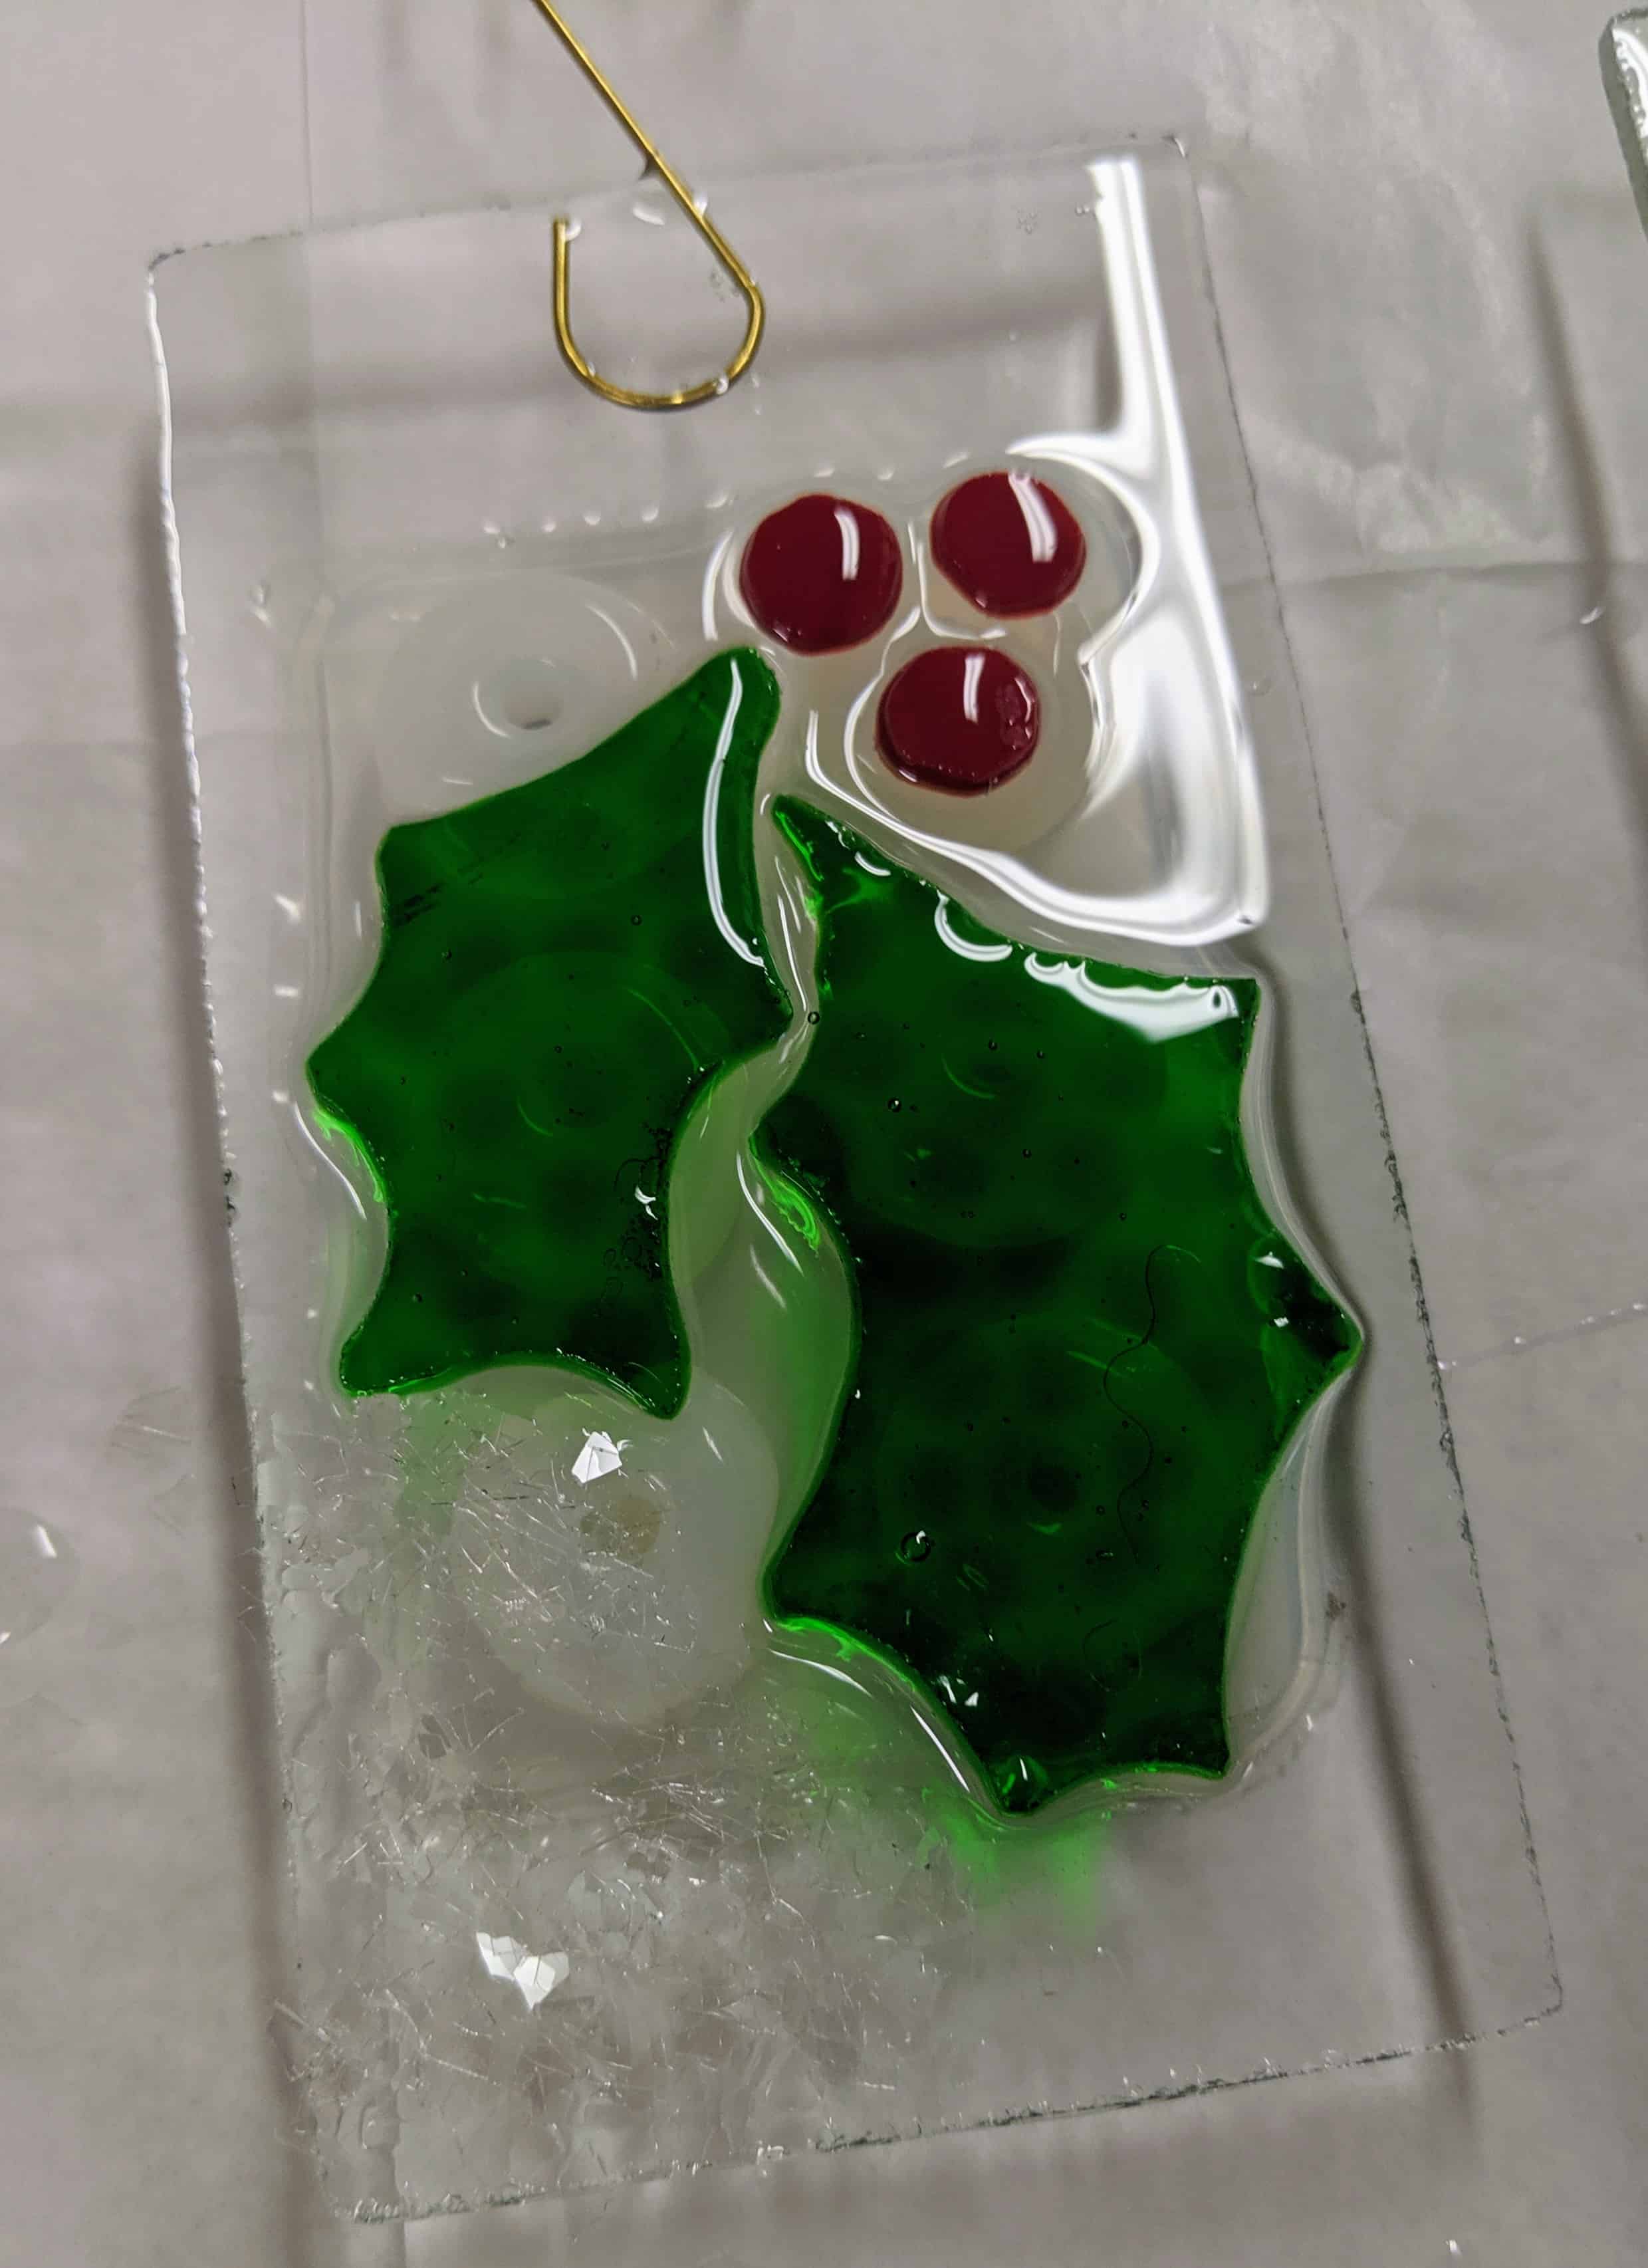
I will pour the resin and add the detailed accents and some more small glass pieces for red berries at the same time. I like to add crushed glass “snow” under the snowmen and trees, and clear glass flakes to the backgrounds. I might cut some red berries for the holly from glass (like I did for the mistletoe), as the red balls of glass I have might be too small in proportion to the leaves I cut. I was hoping to pour the resin for these today, but I just ran out of time.
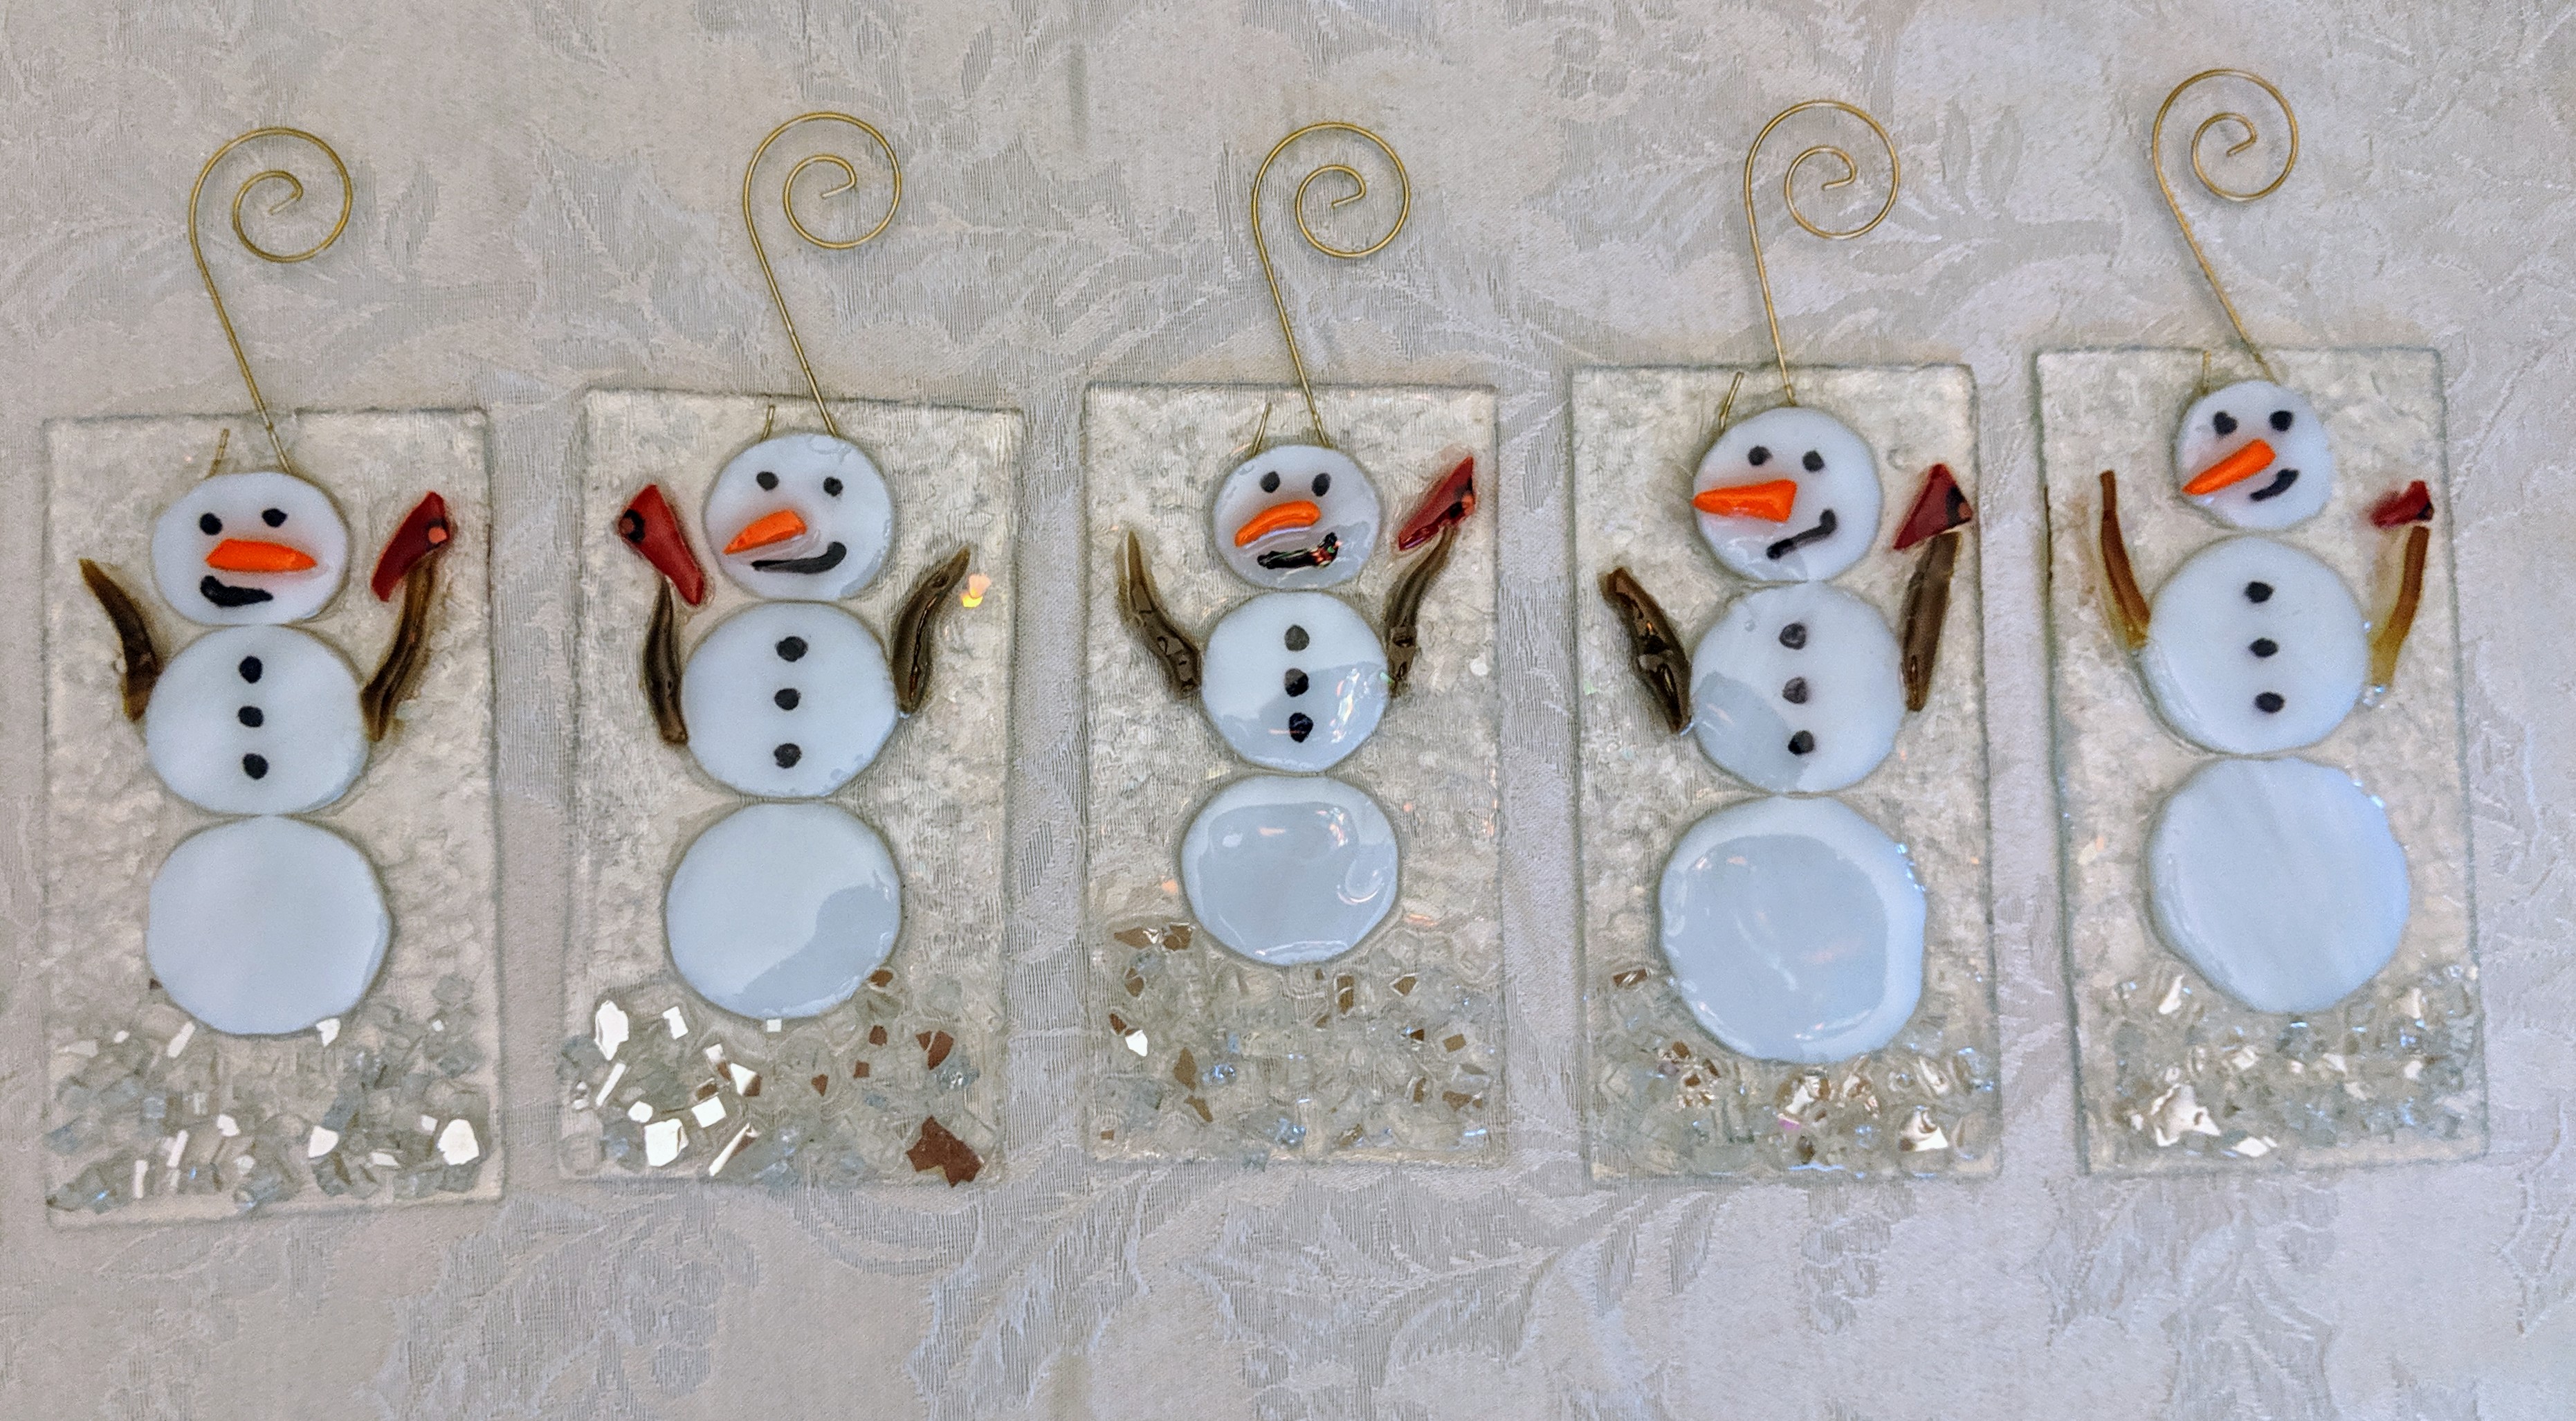
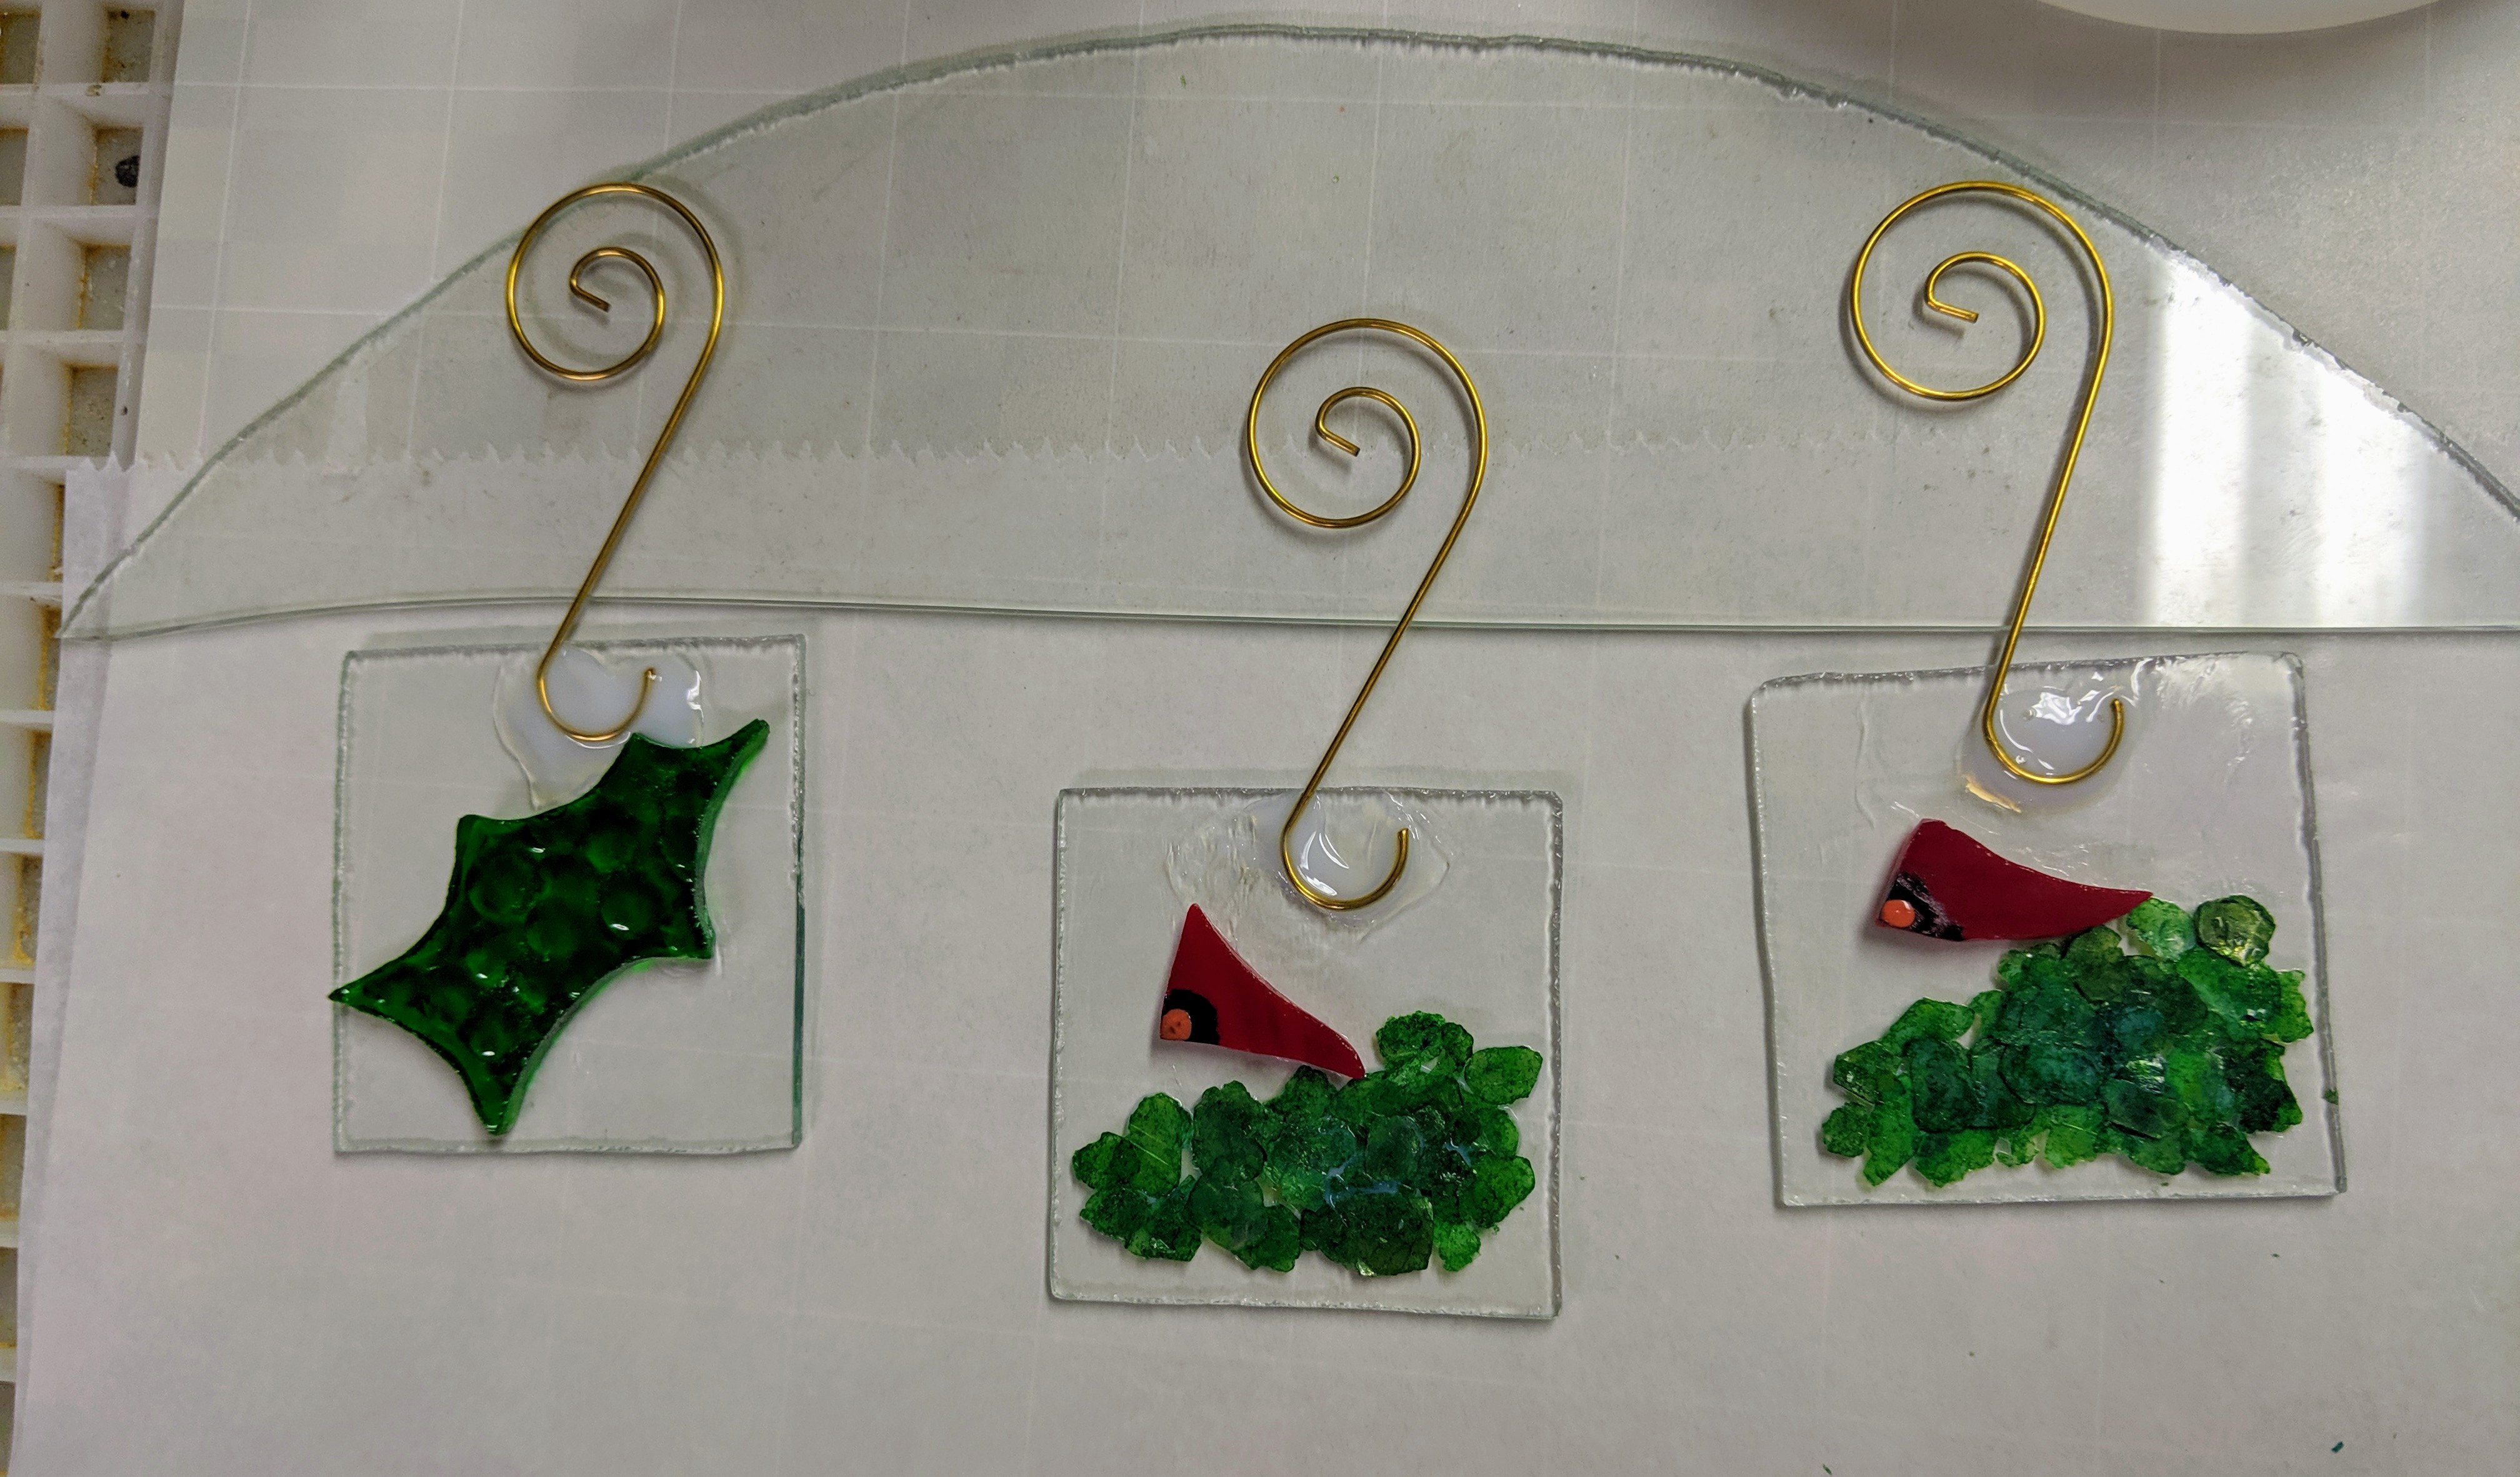
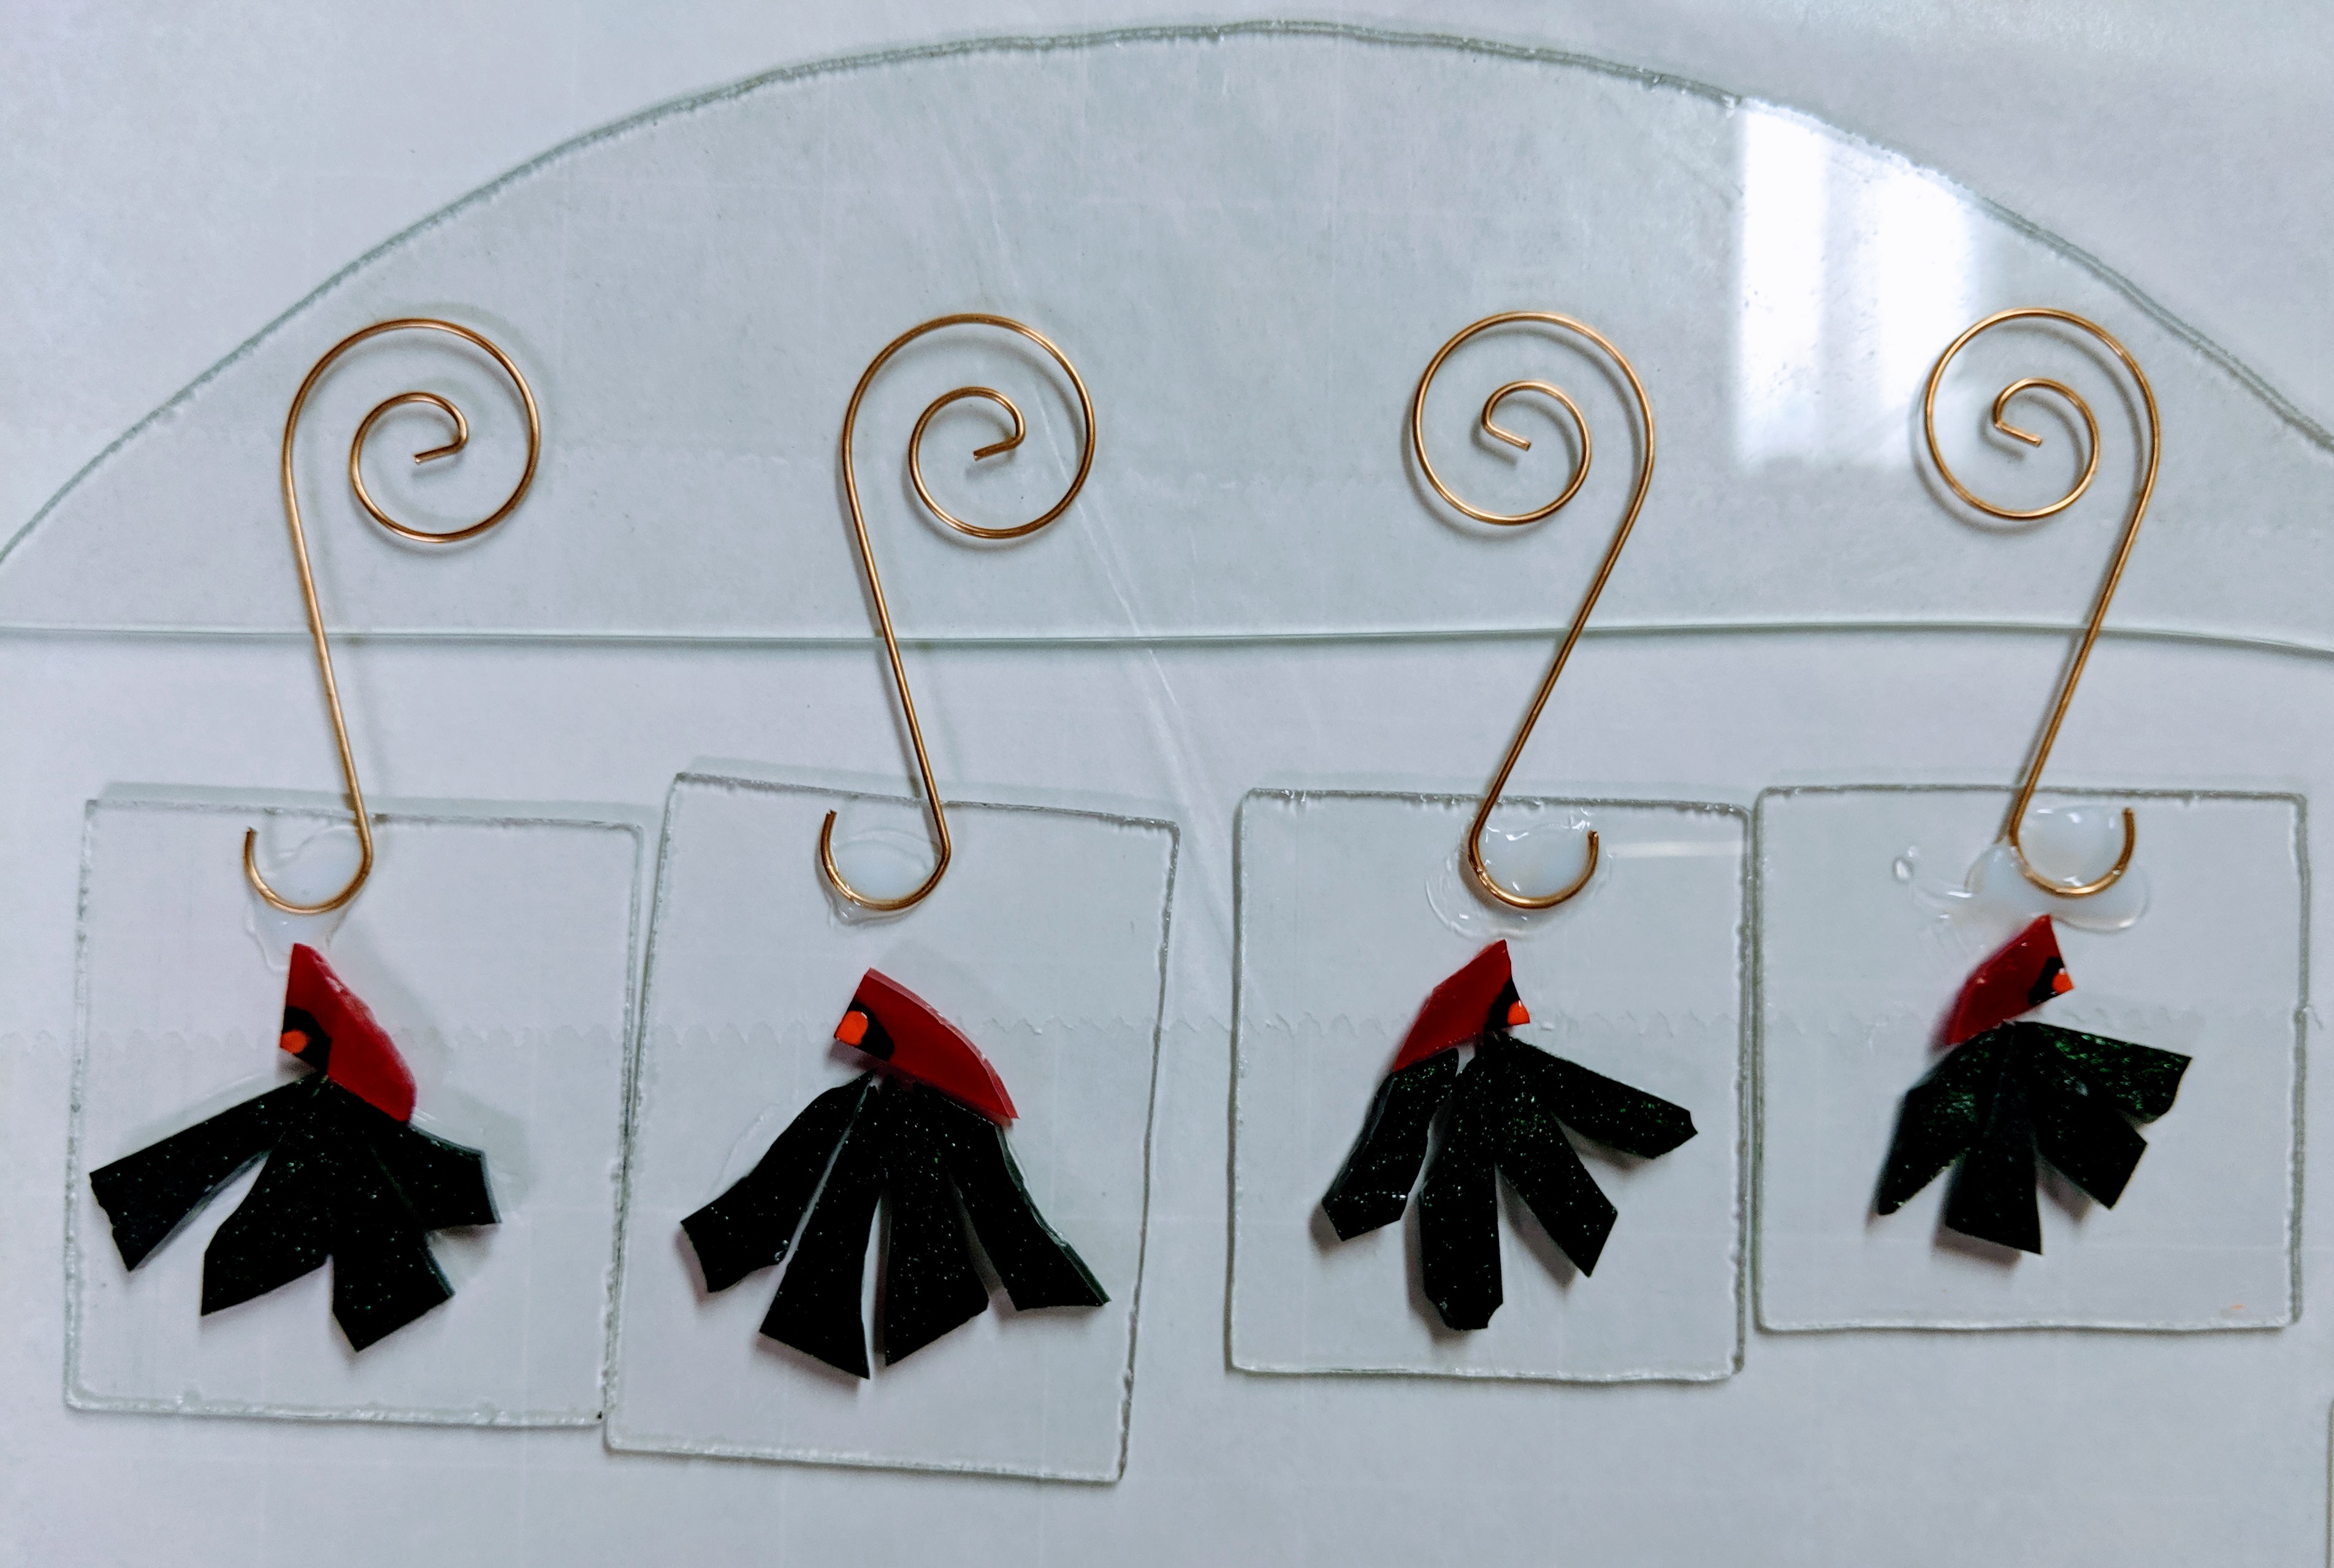
I needed to finish the second snowman ornament I started yesterday and use up some leftover glass, so today I made some smaller ornaments with Cardinals and some greenery, plus a few resin ornaments.
Laying out the glass piecesNext I glued the hangers onto the base of the ornament.
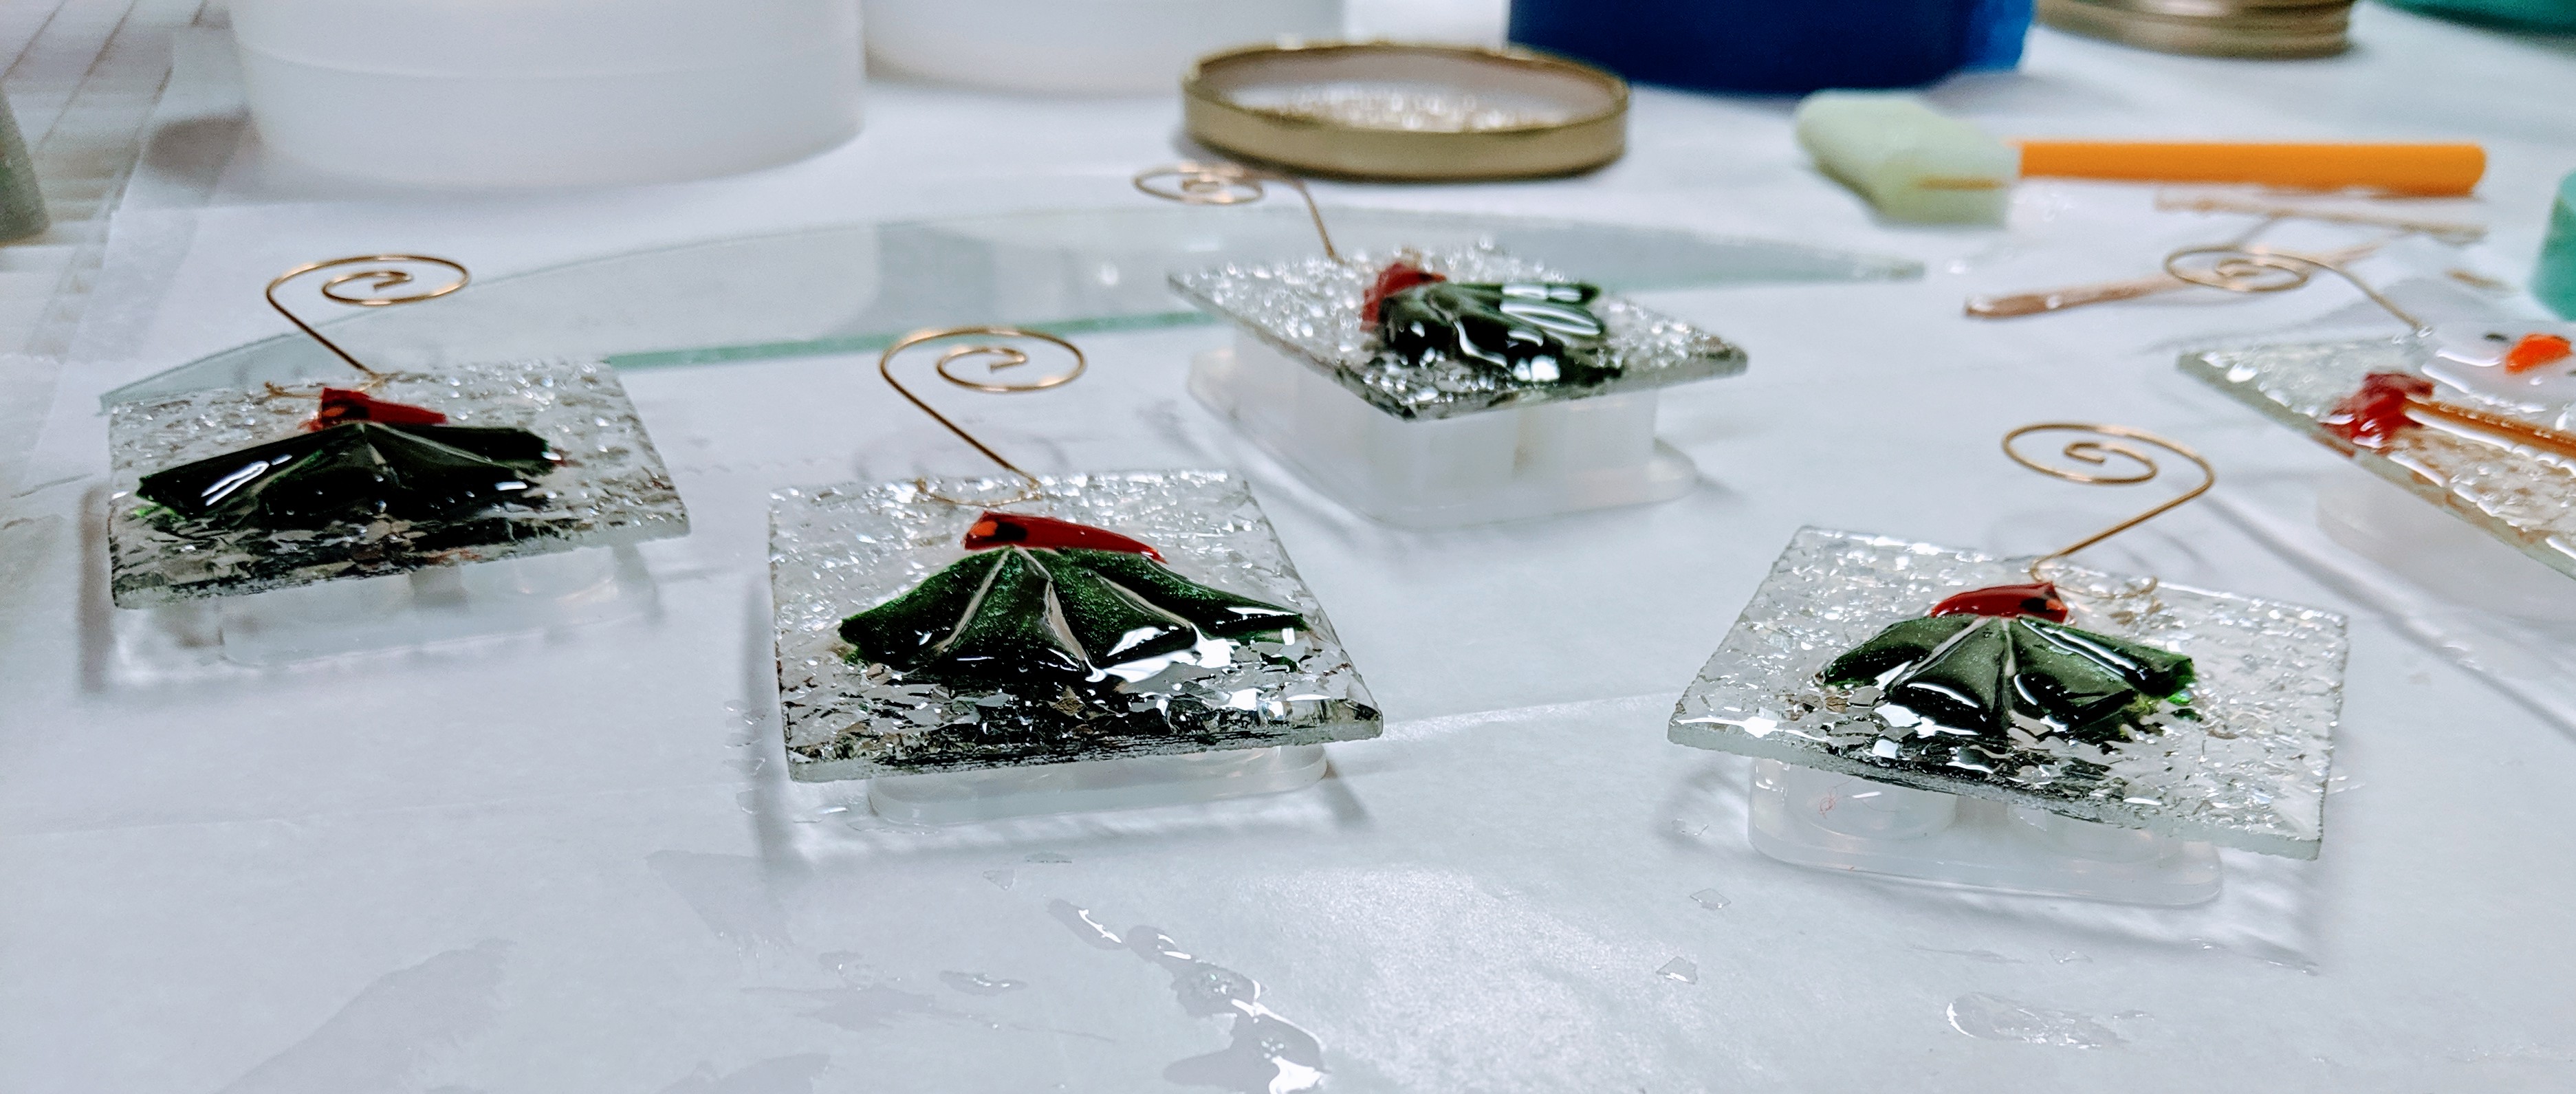
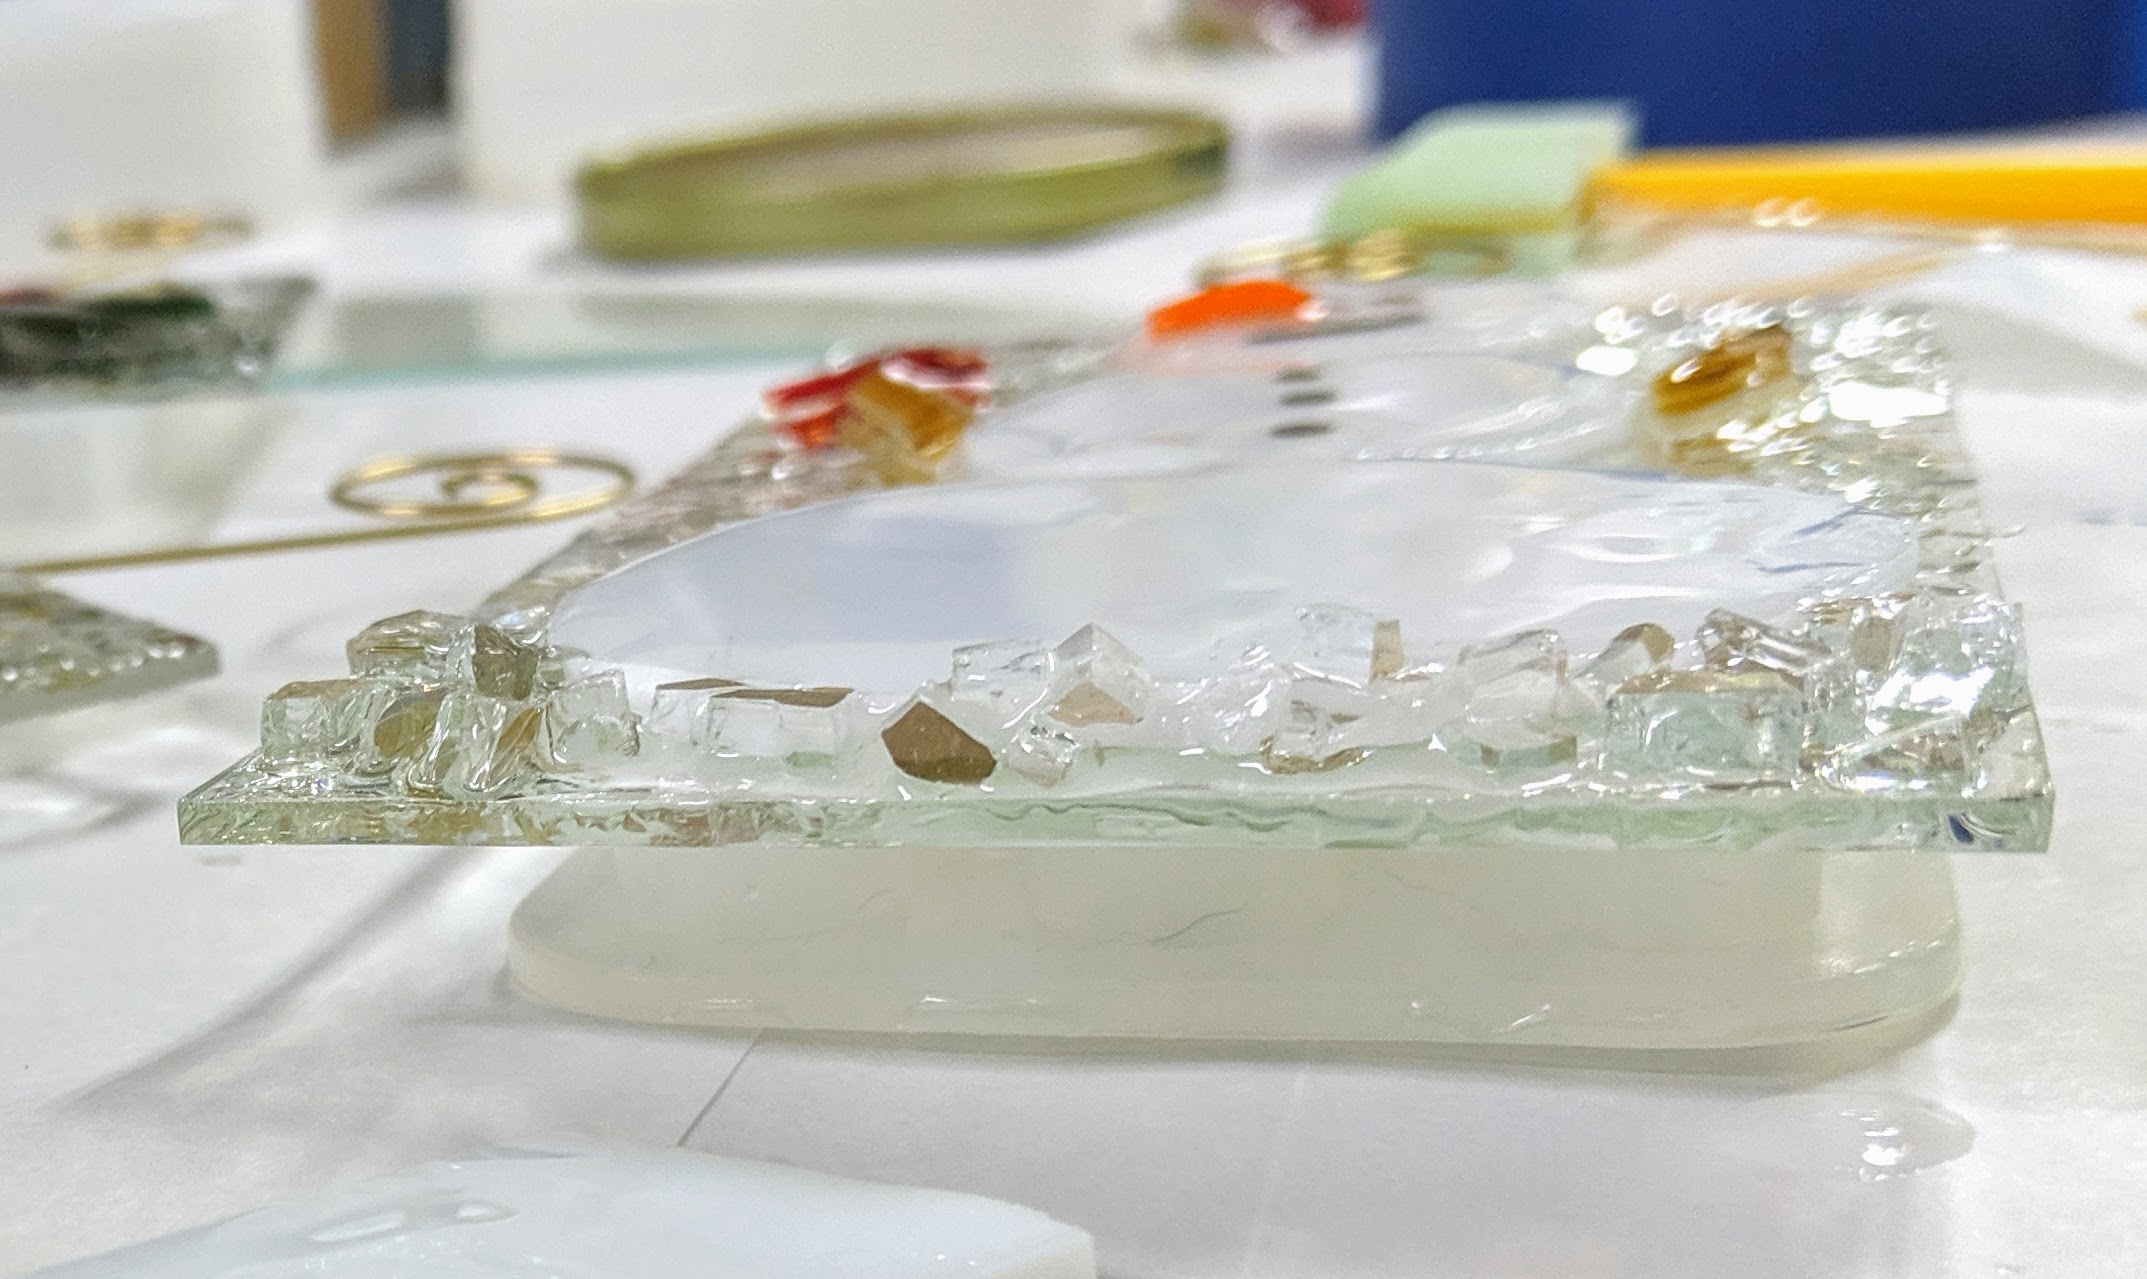
Next I poured the resin, then added the glass chips and chunks for the snowy effect in the background. I always elevate the pieces on a silicone mold so I can wipe off drops while the resin cures. I have tried using painters tape around the edges of the back side, but it’s more trouble to me than doing this and I get better results.
Ornaments raised a bit off the work surface.Close up view of the snowman ornament to show that it is raised off of the work surface.
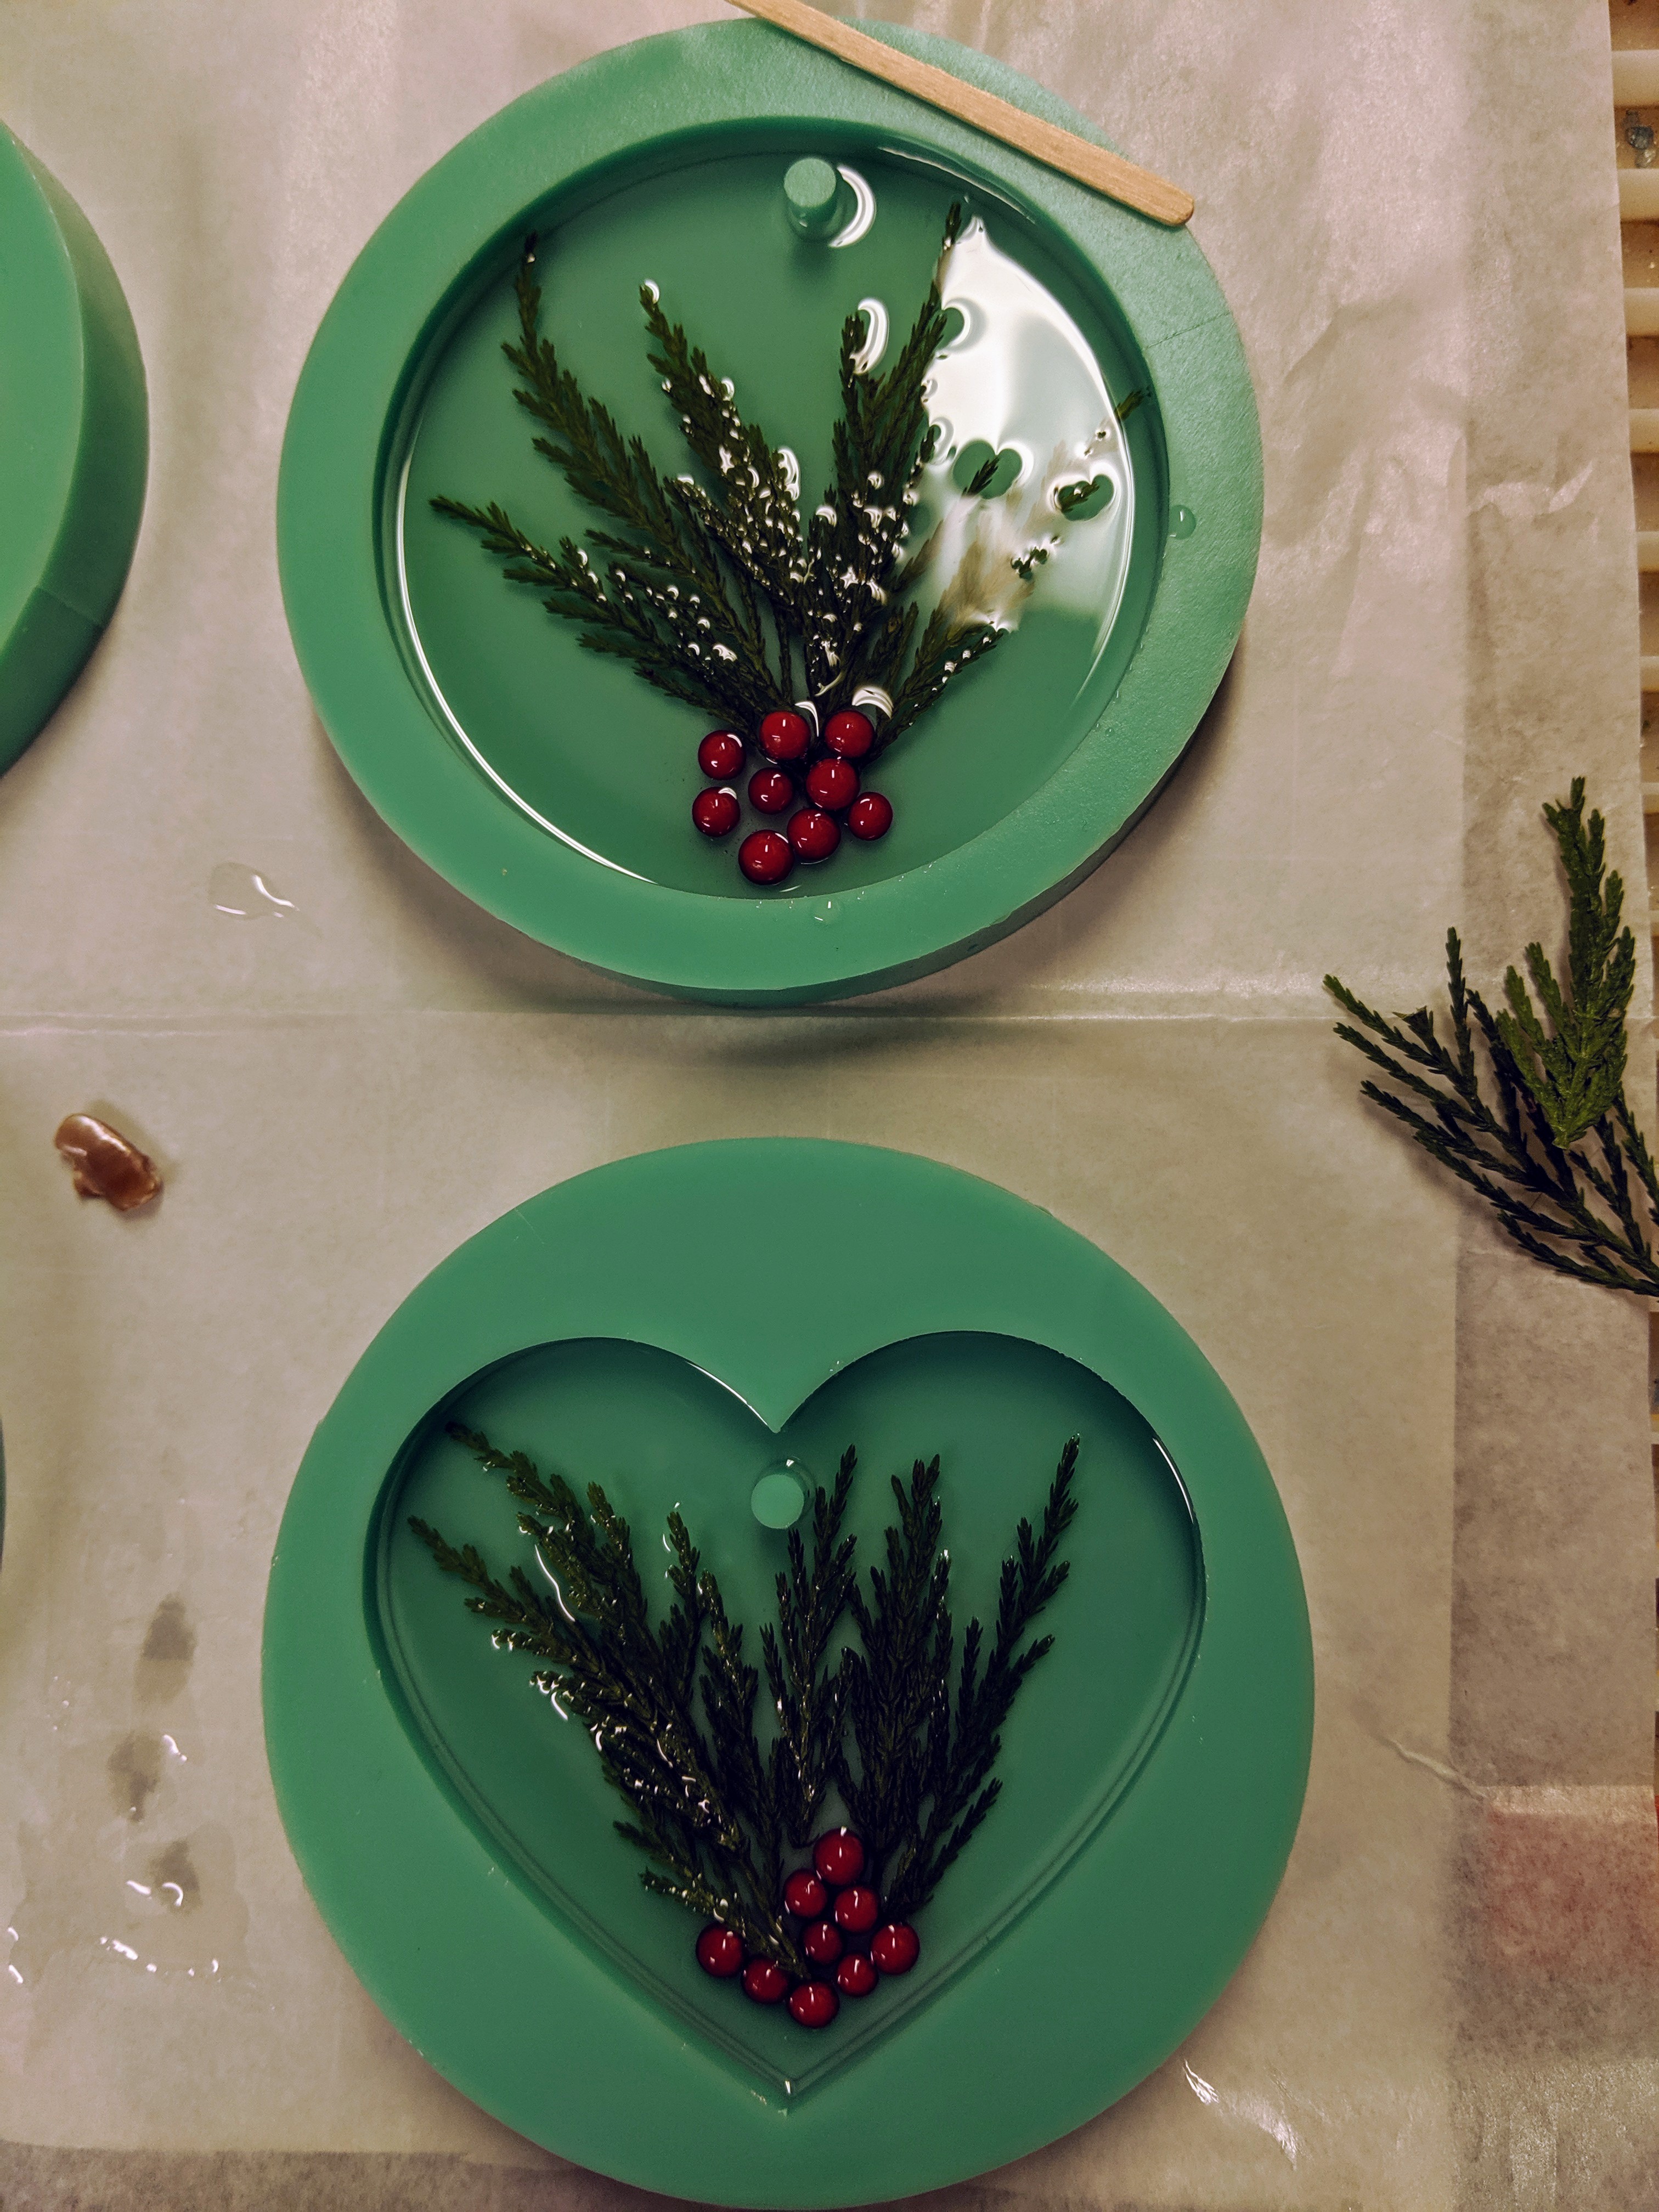
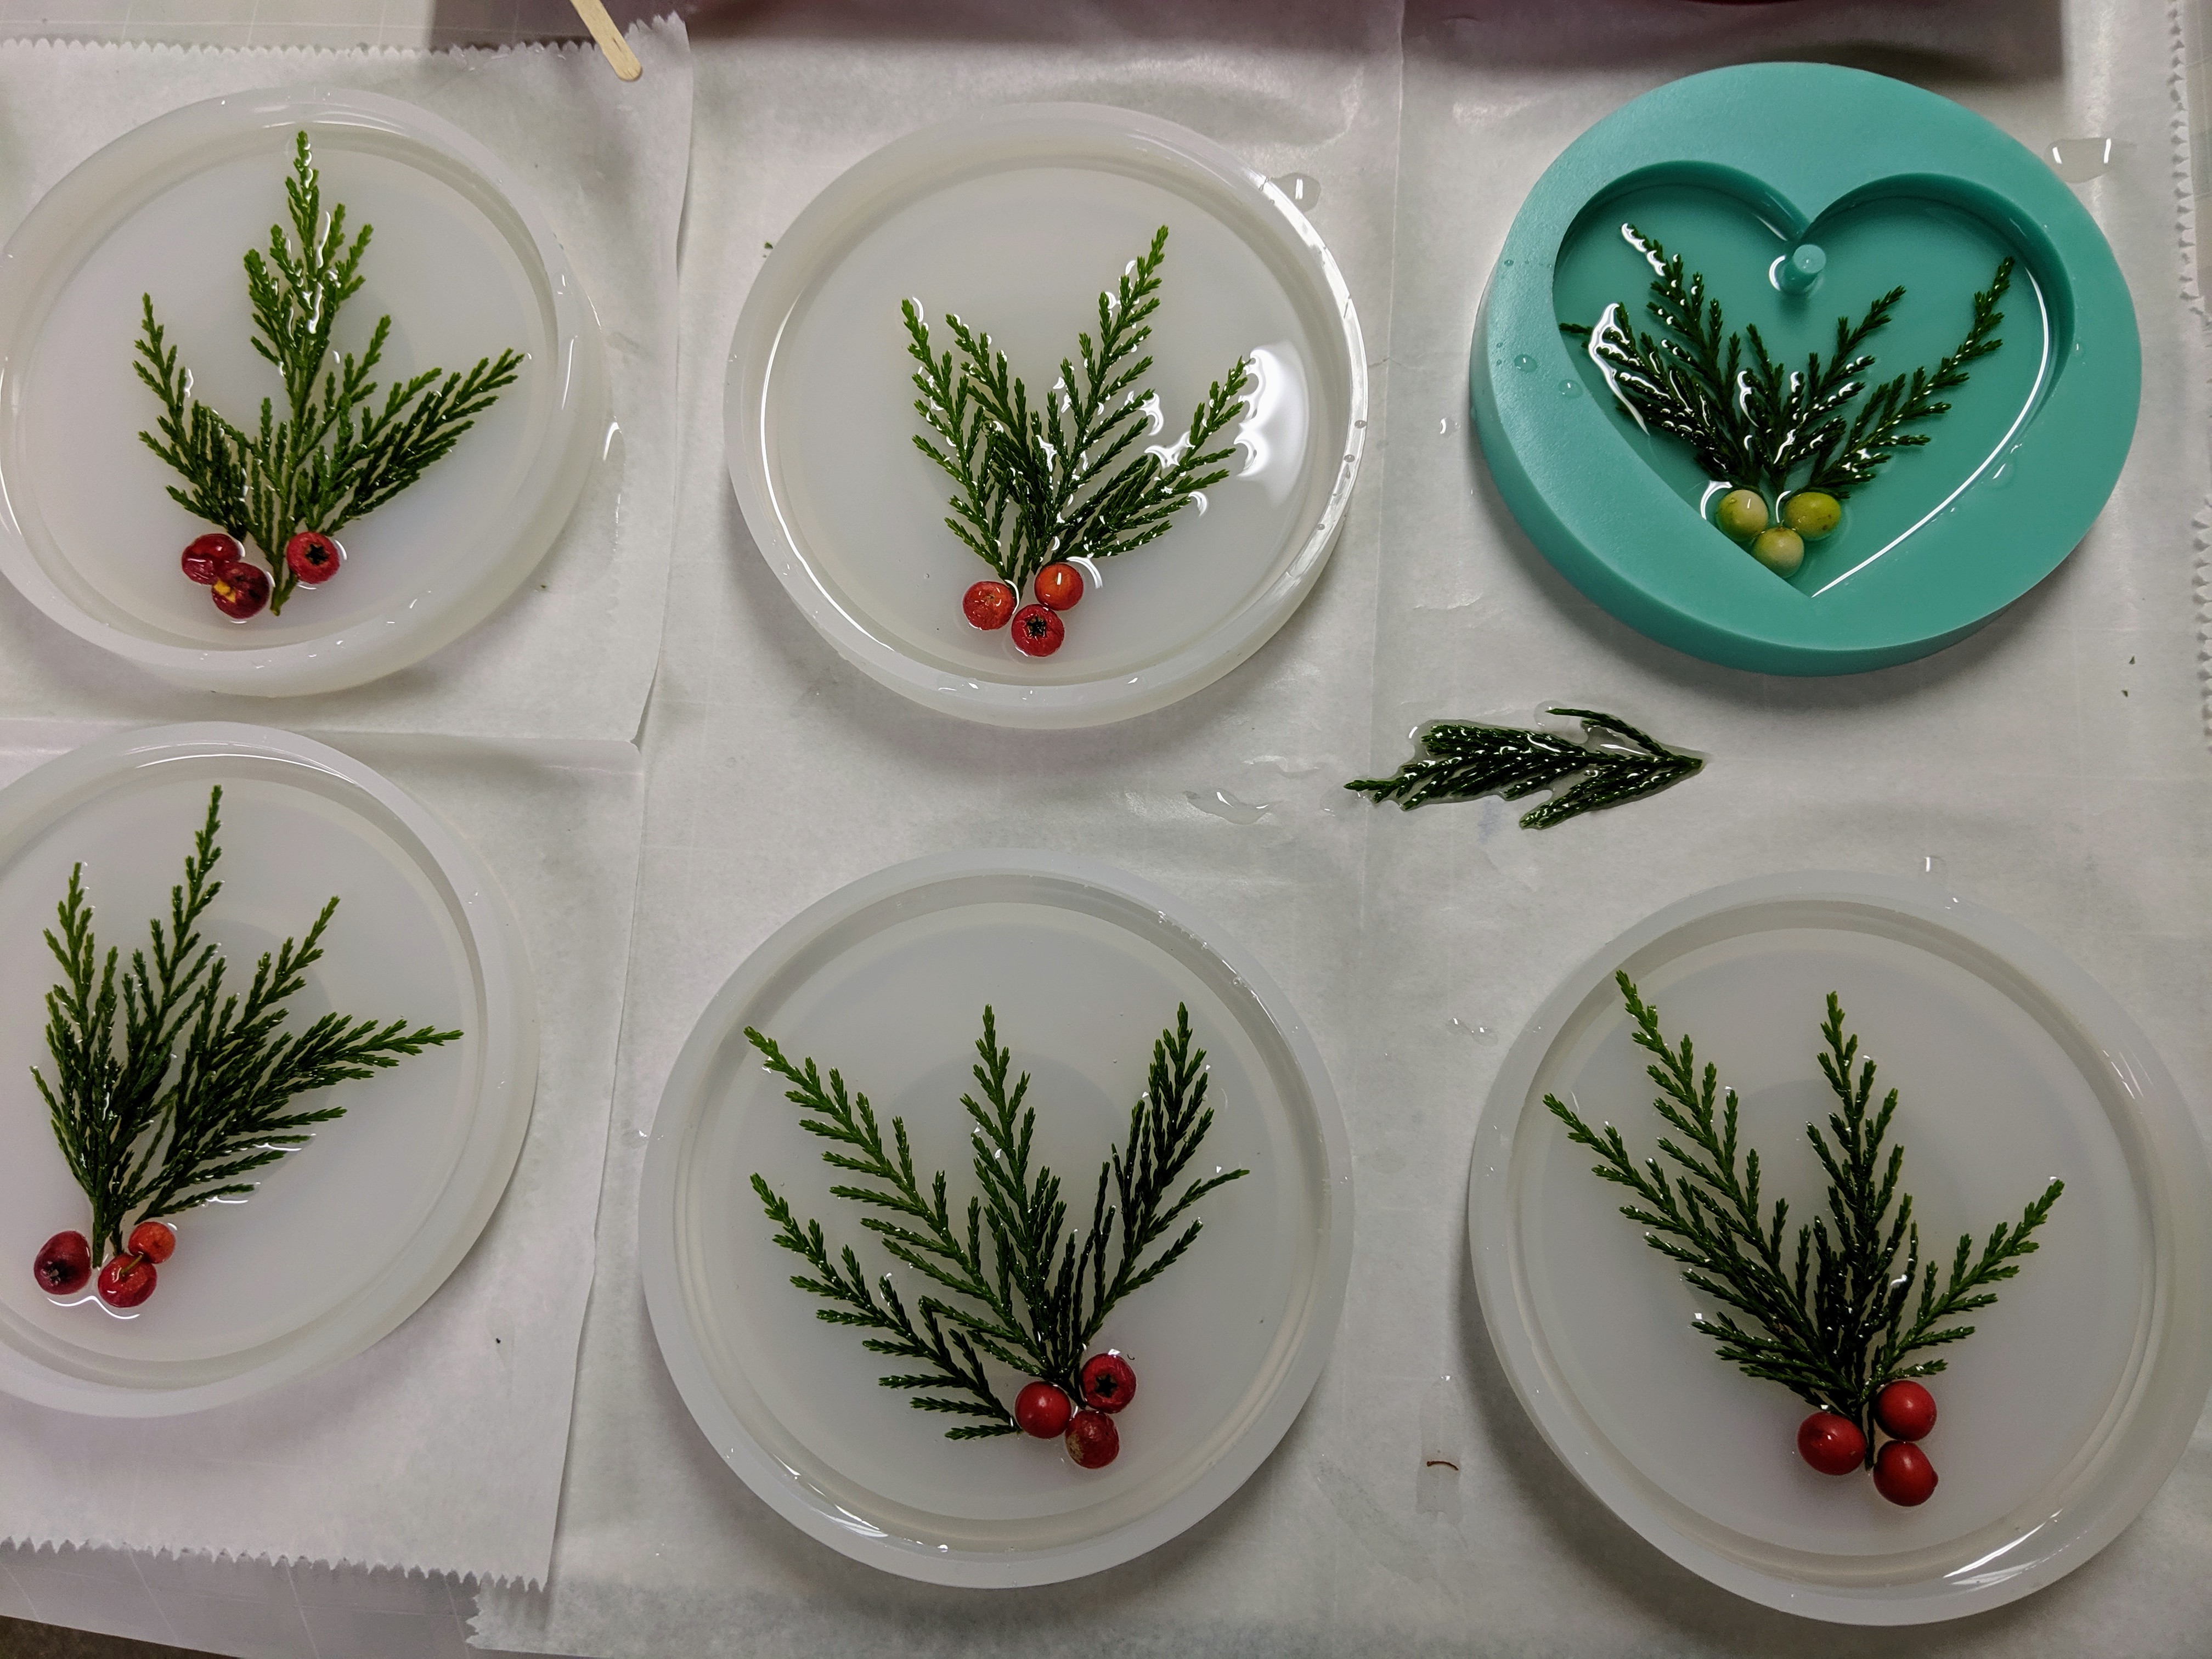
I also poured the first layer and decorated a few more resin ornaments. I am using greenery from my yard and some store bought berries, as the ones from my yard don’t look as nice in the resin. Also some shells and beachy items.
First layer poured and decorated.First layer poured for two beach-y ornaments.
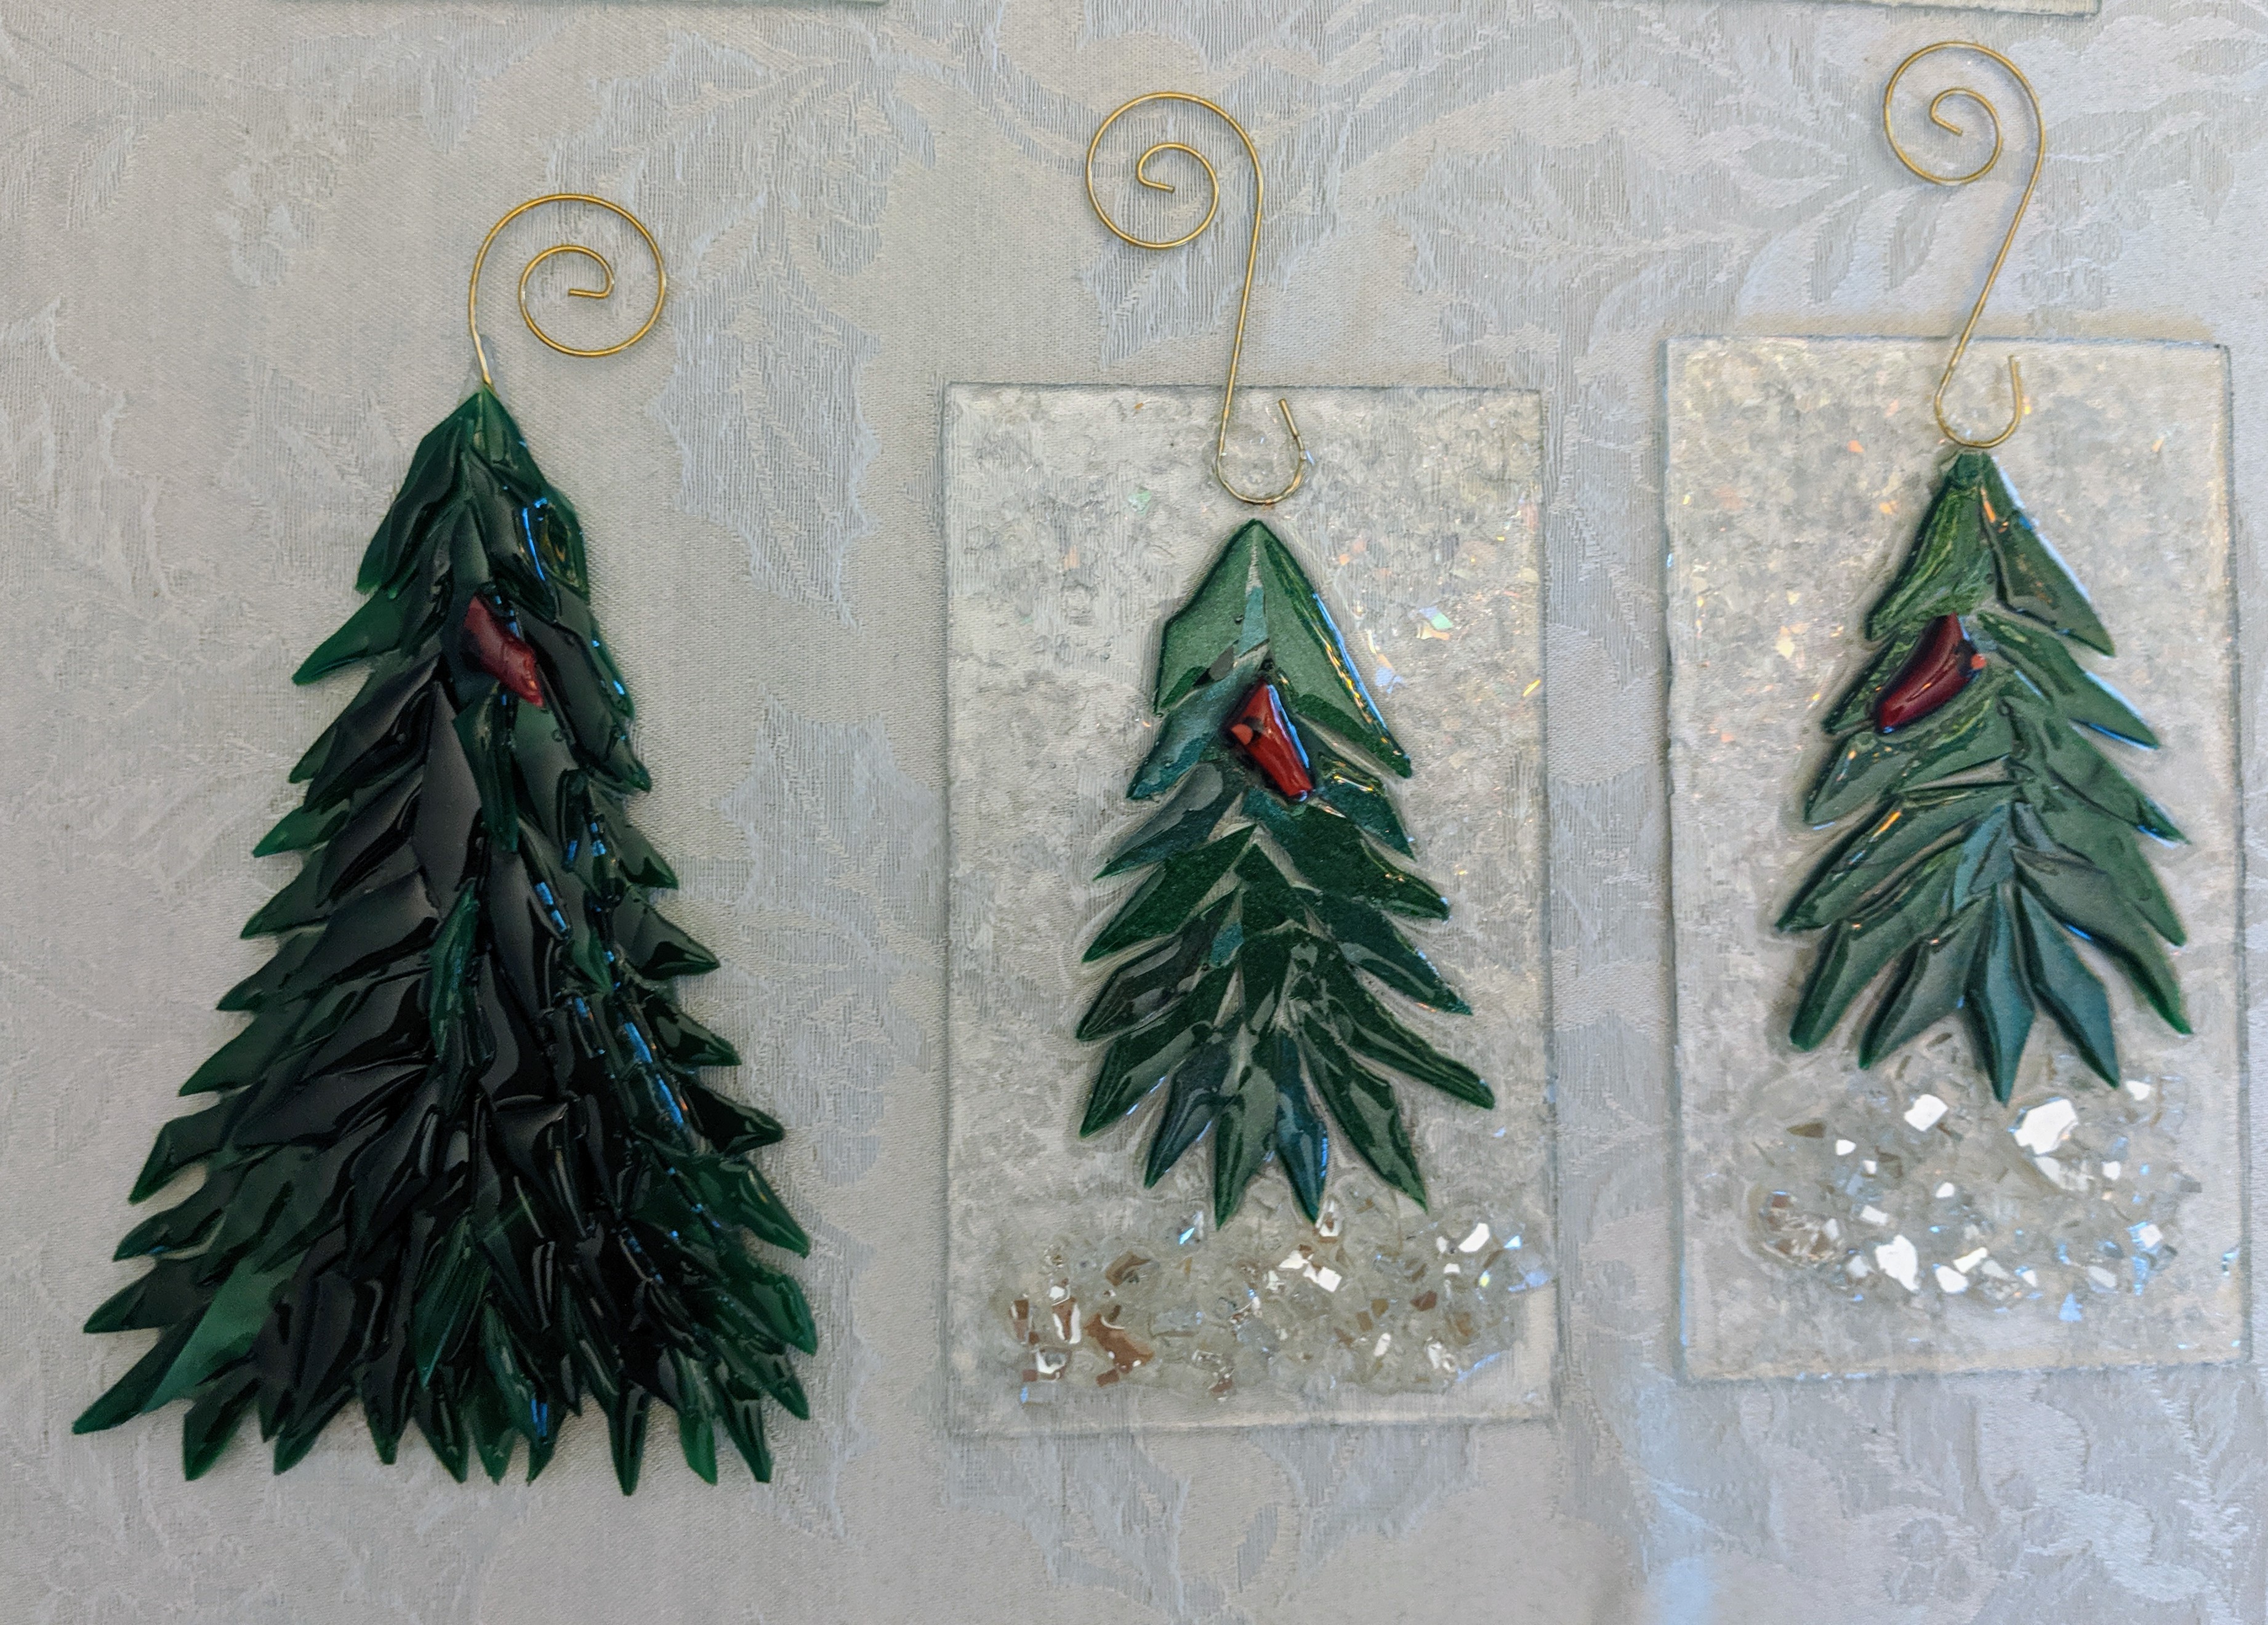
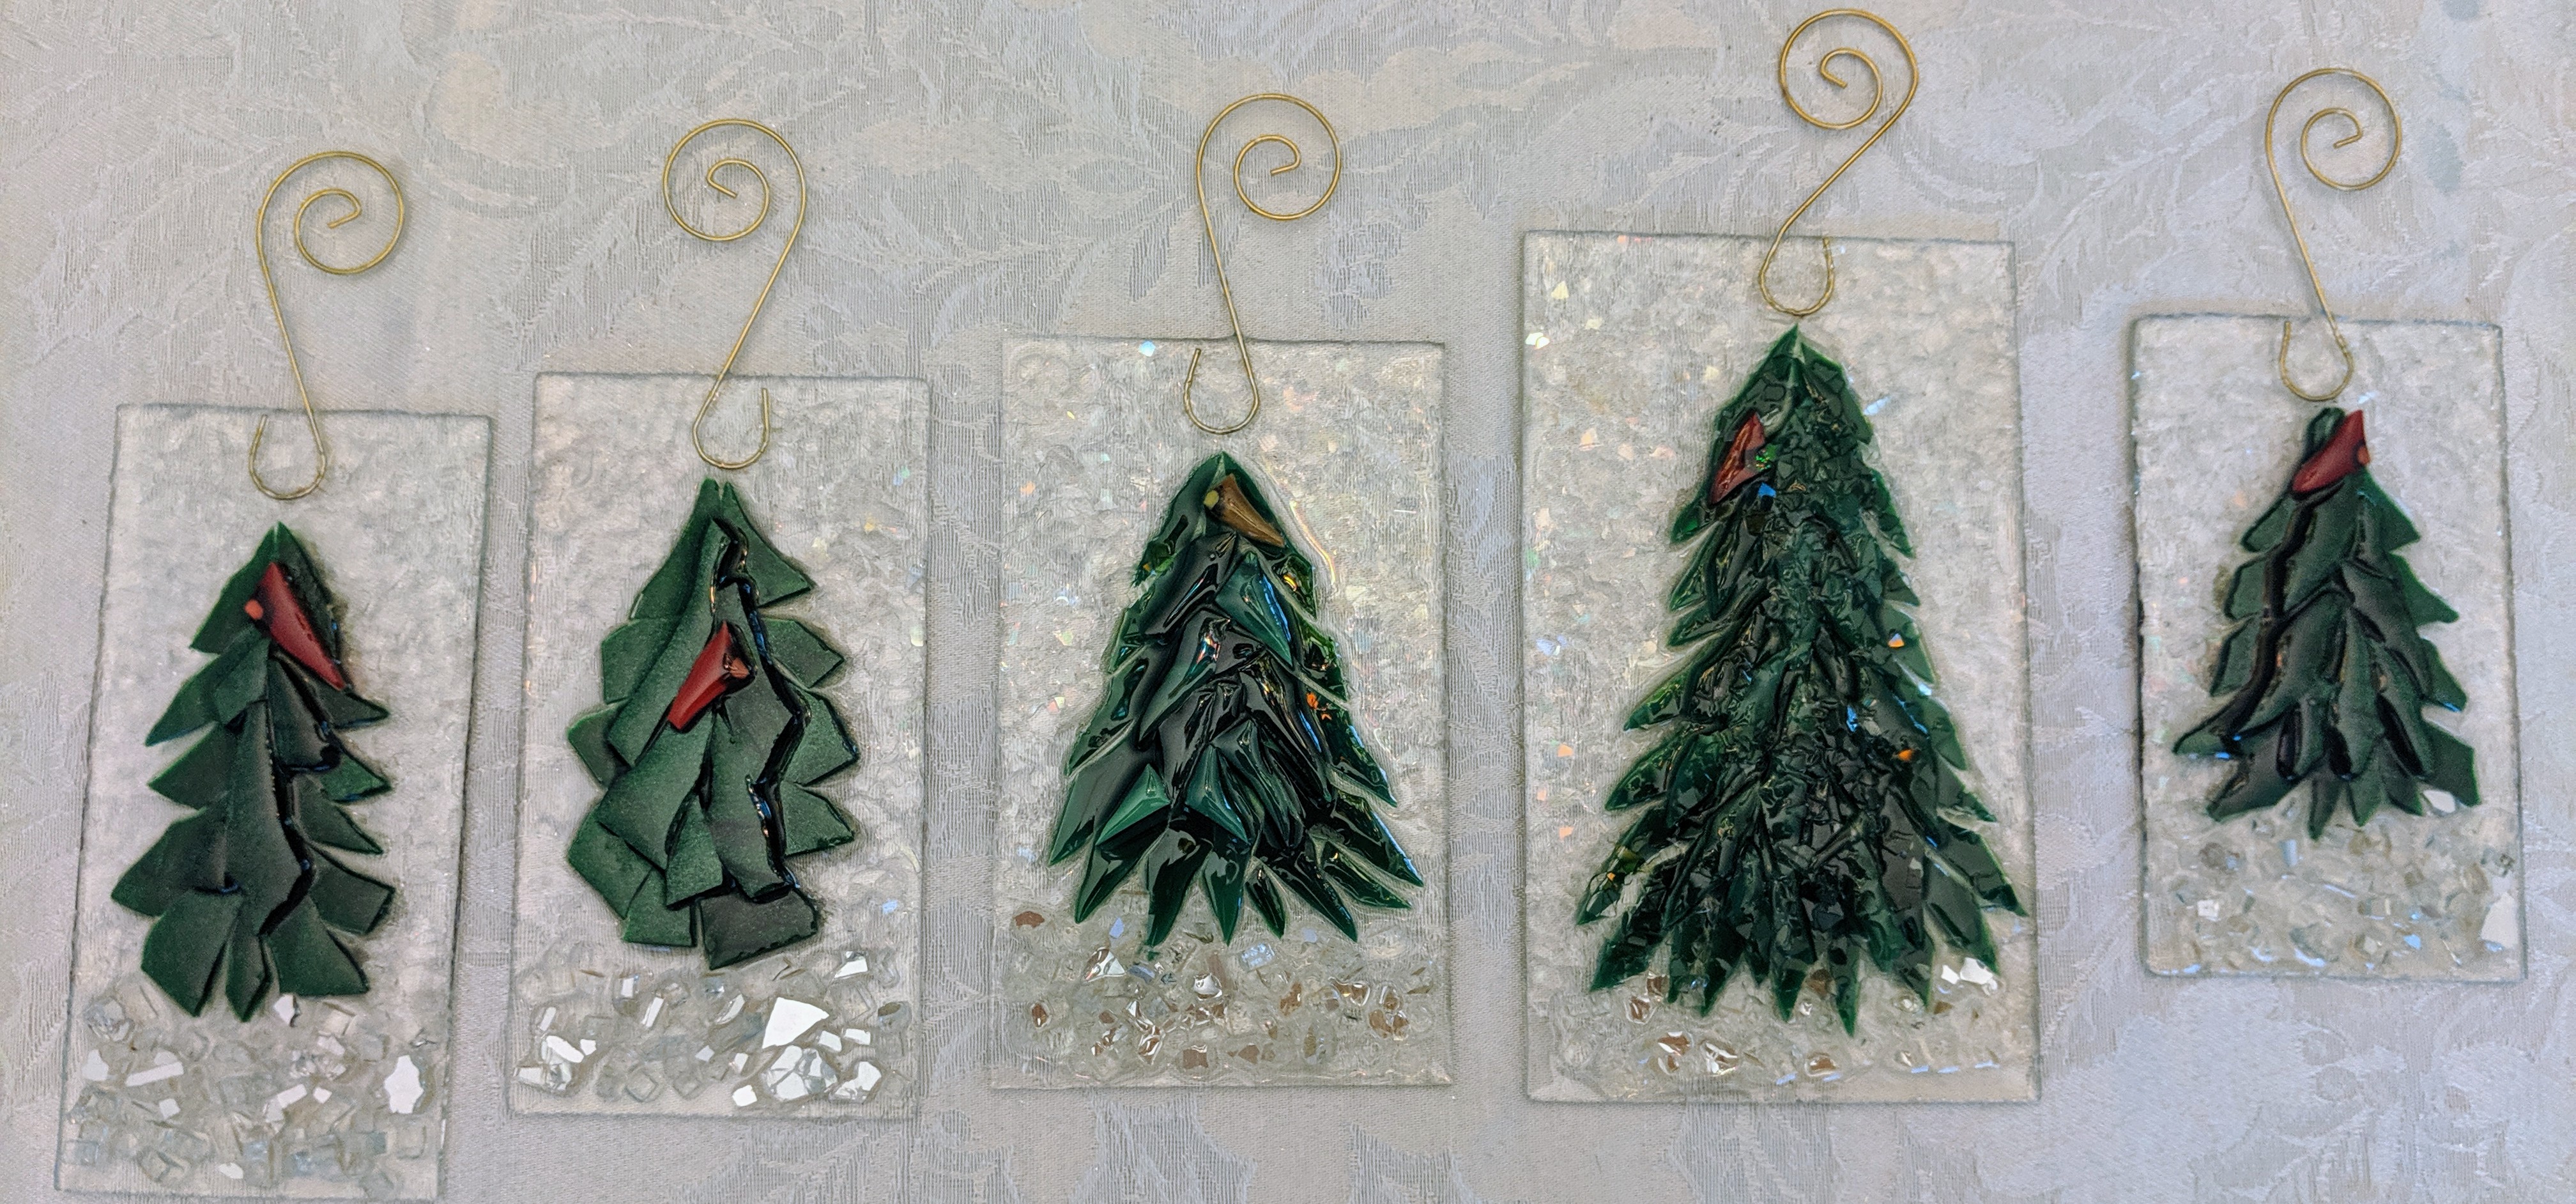
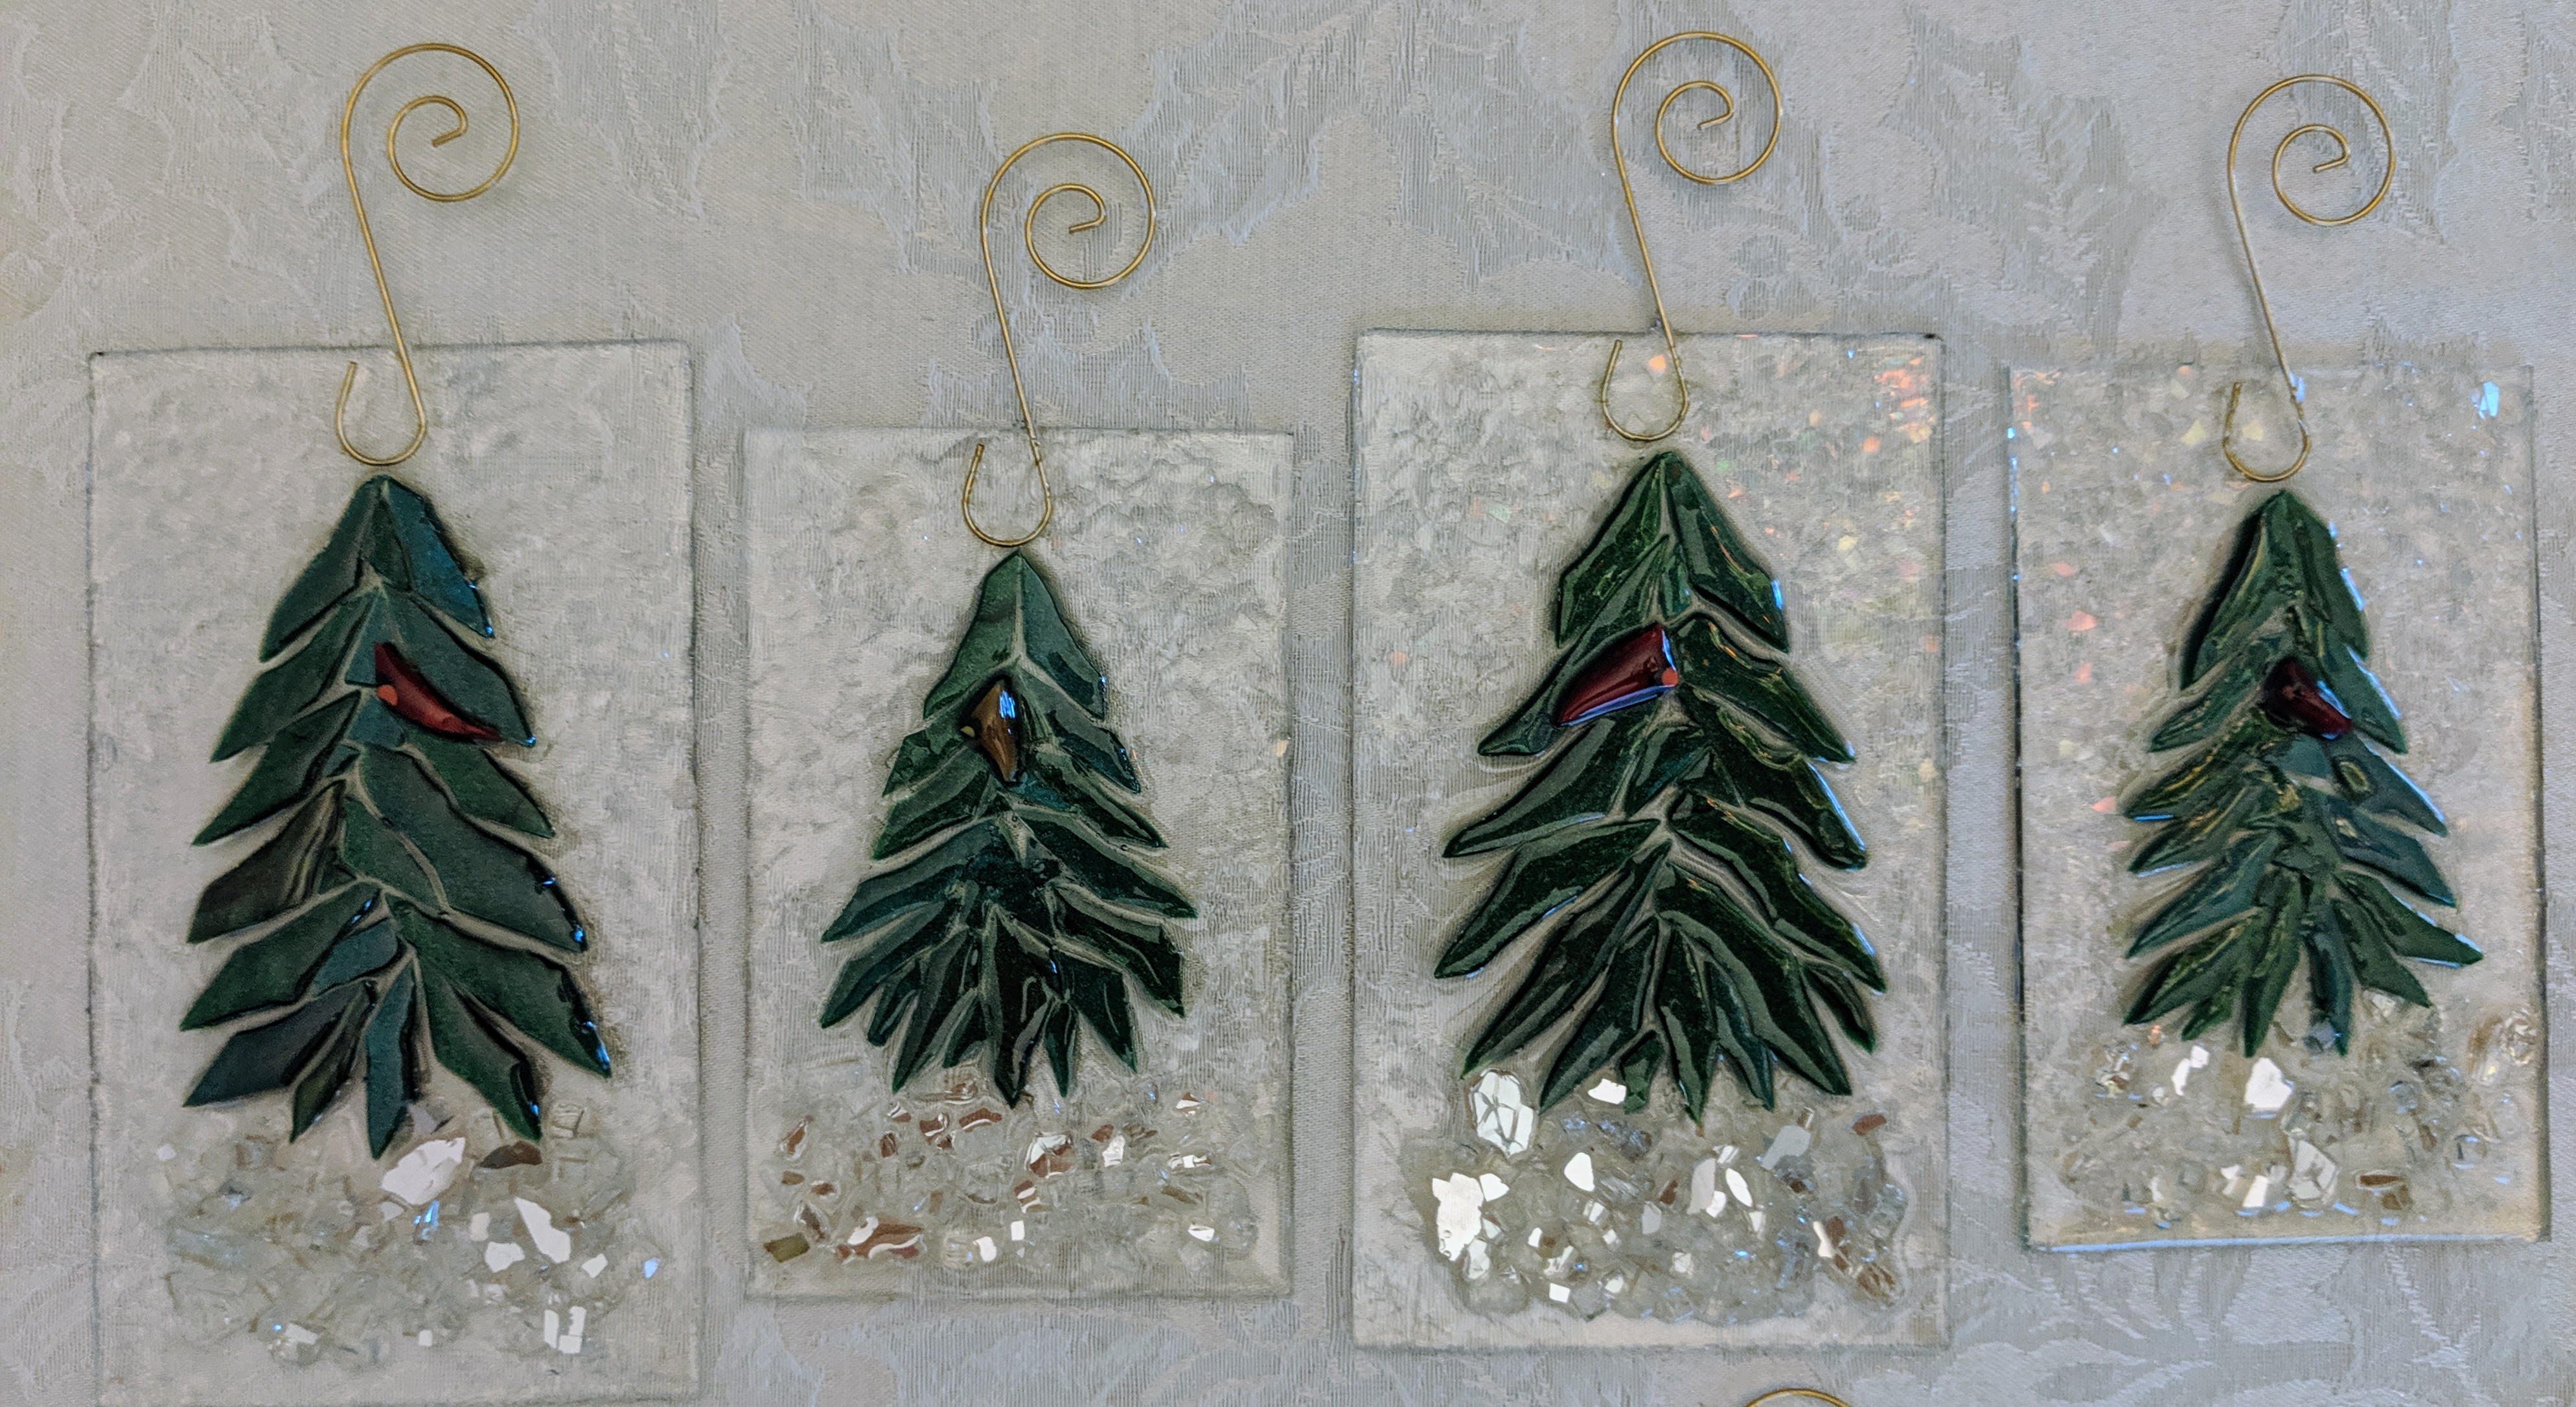
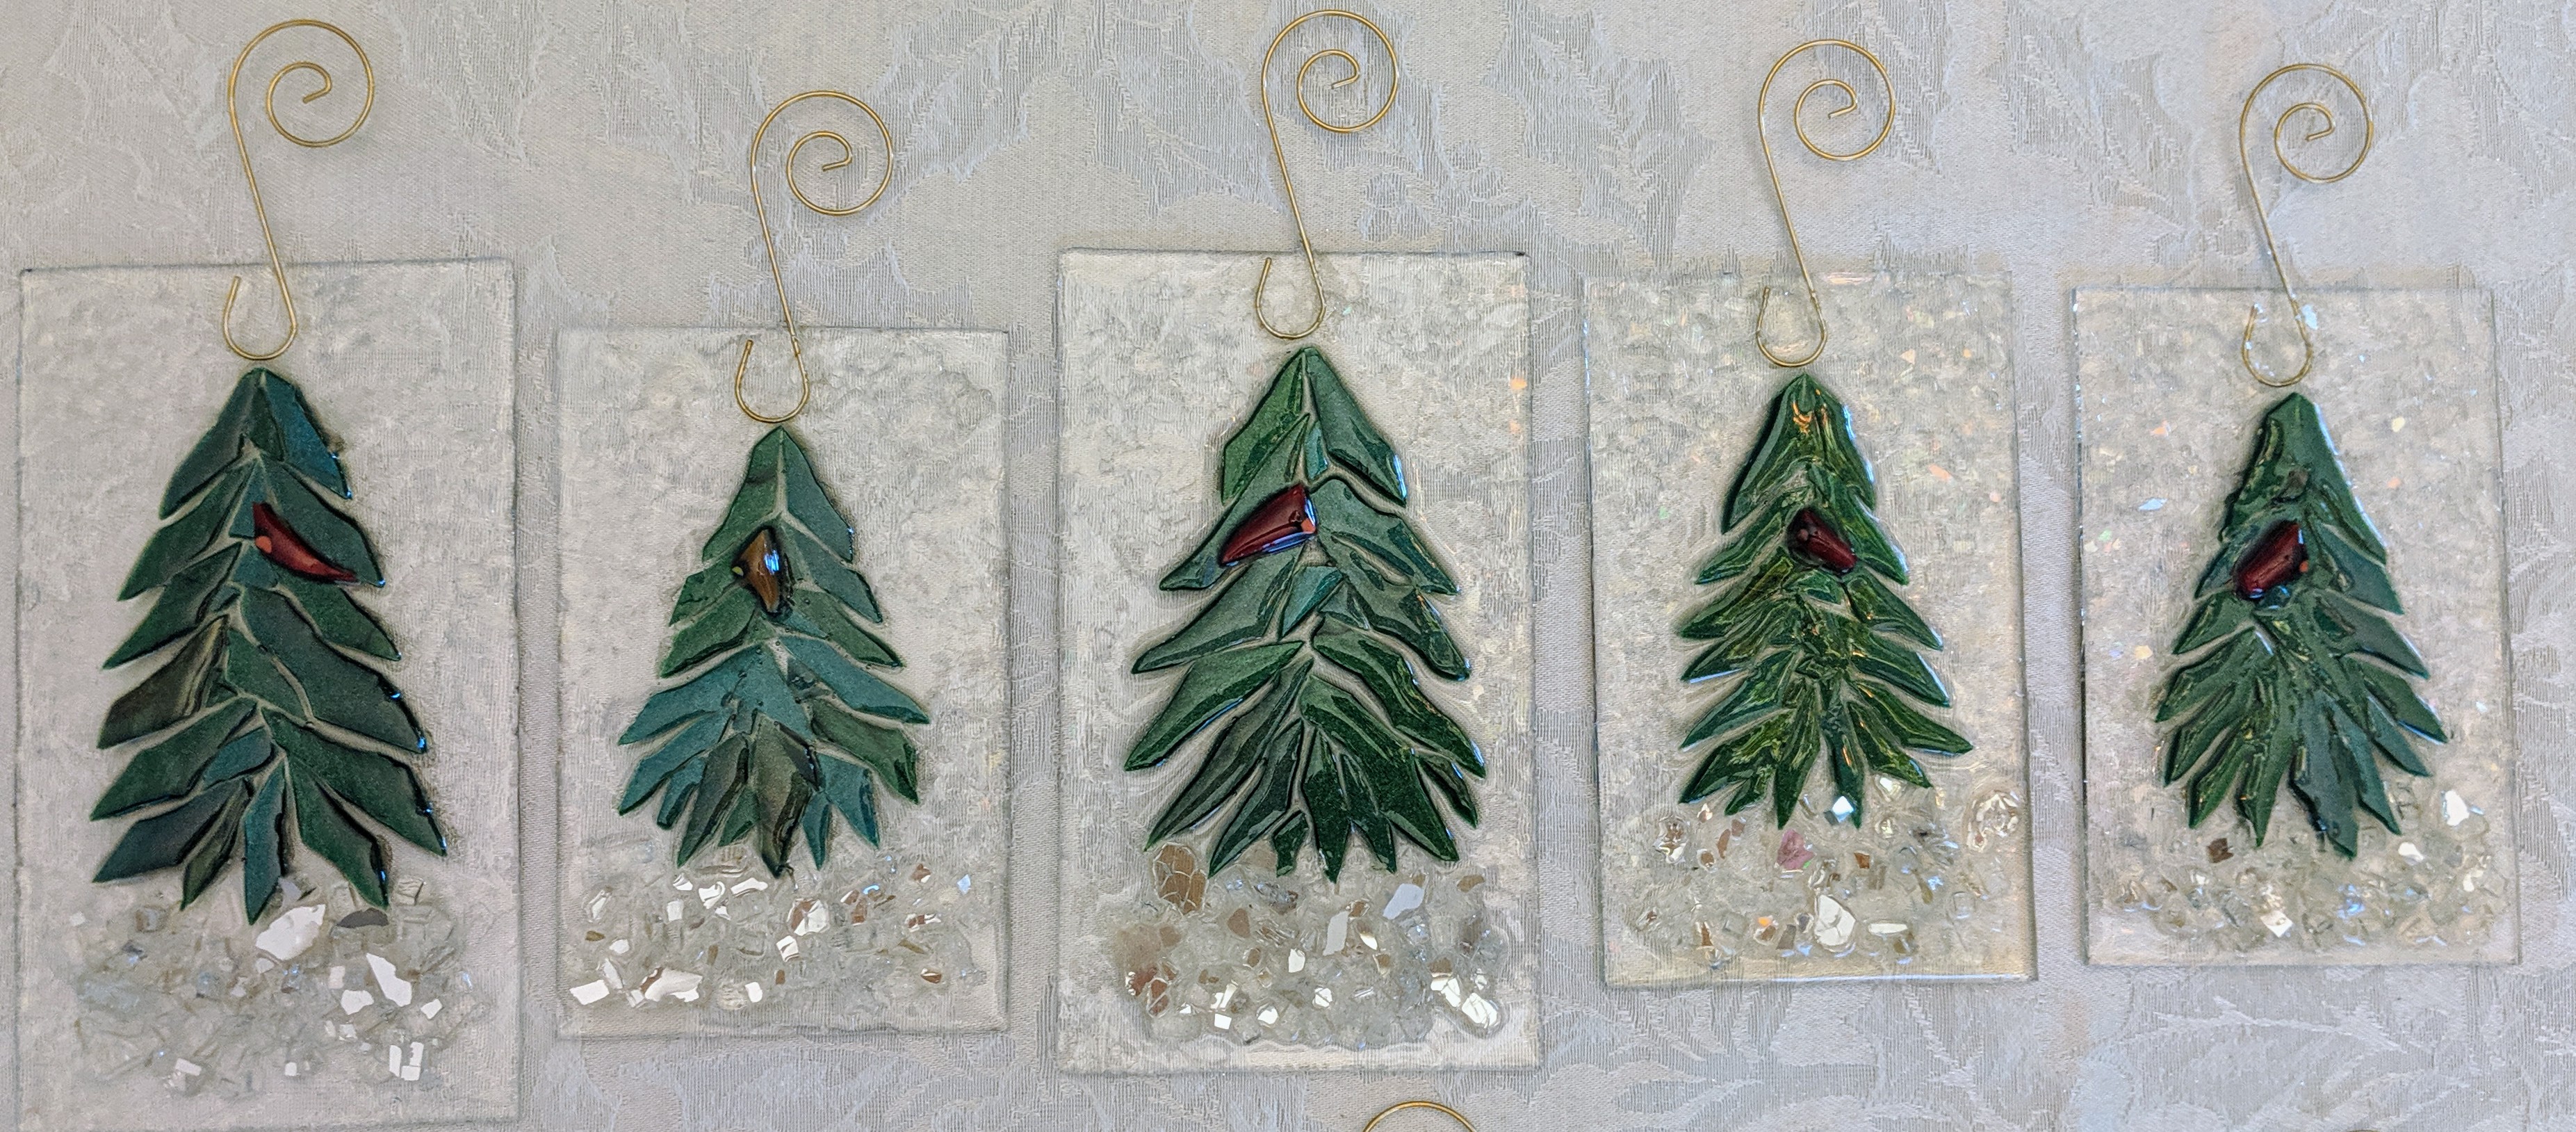
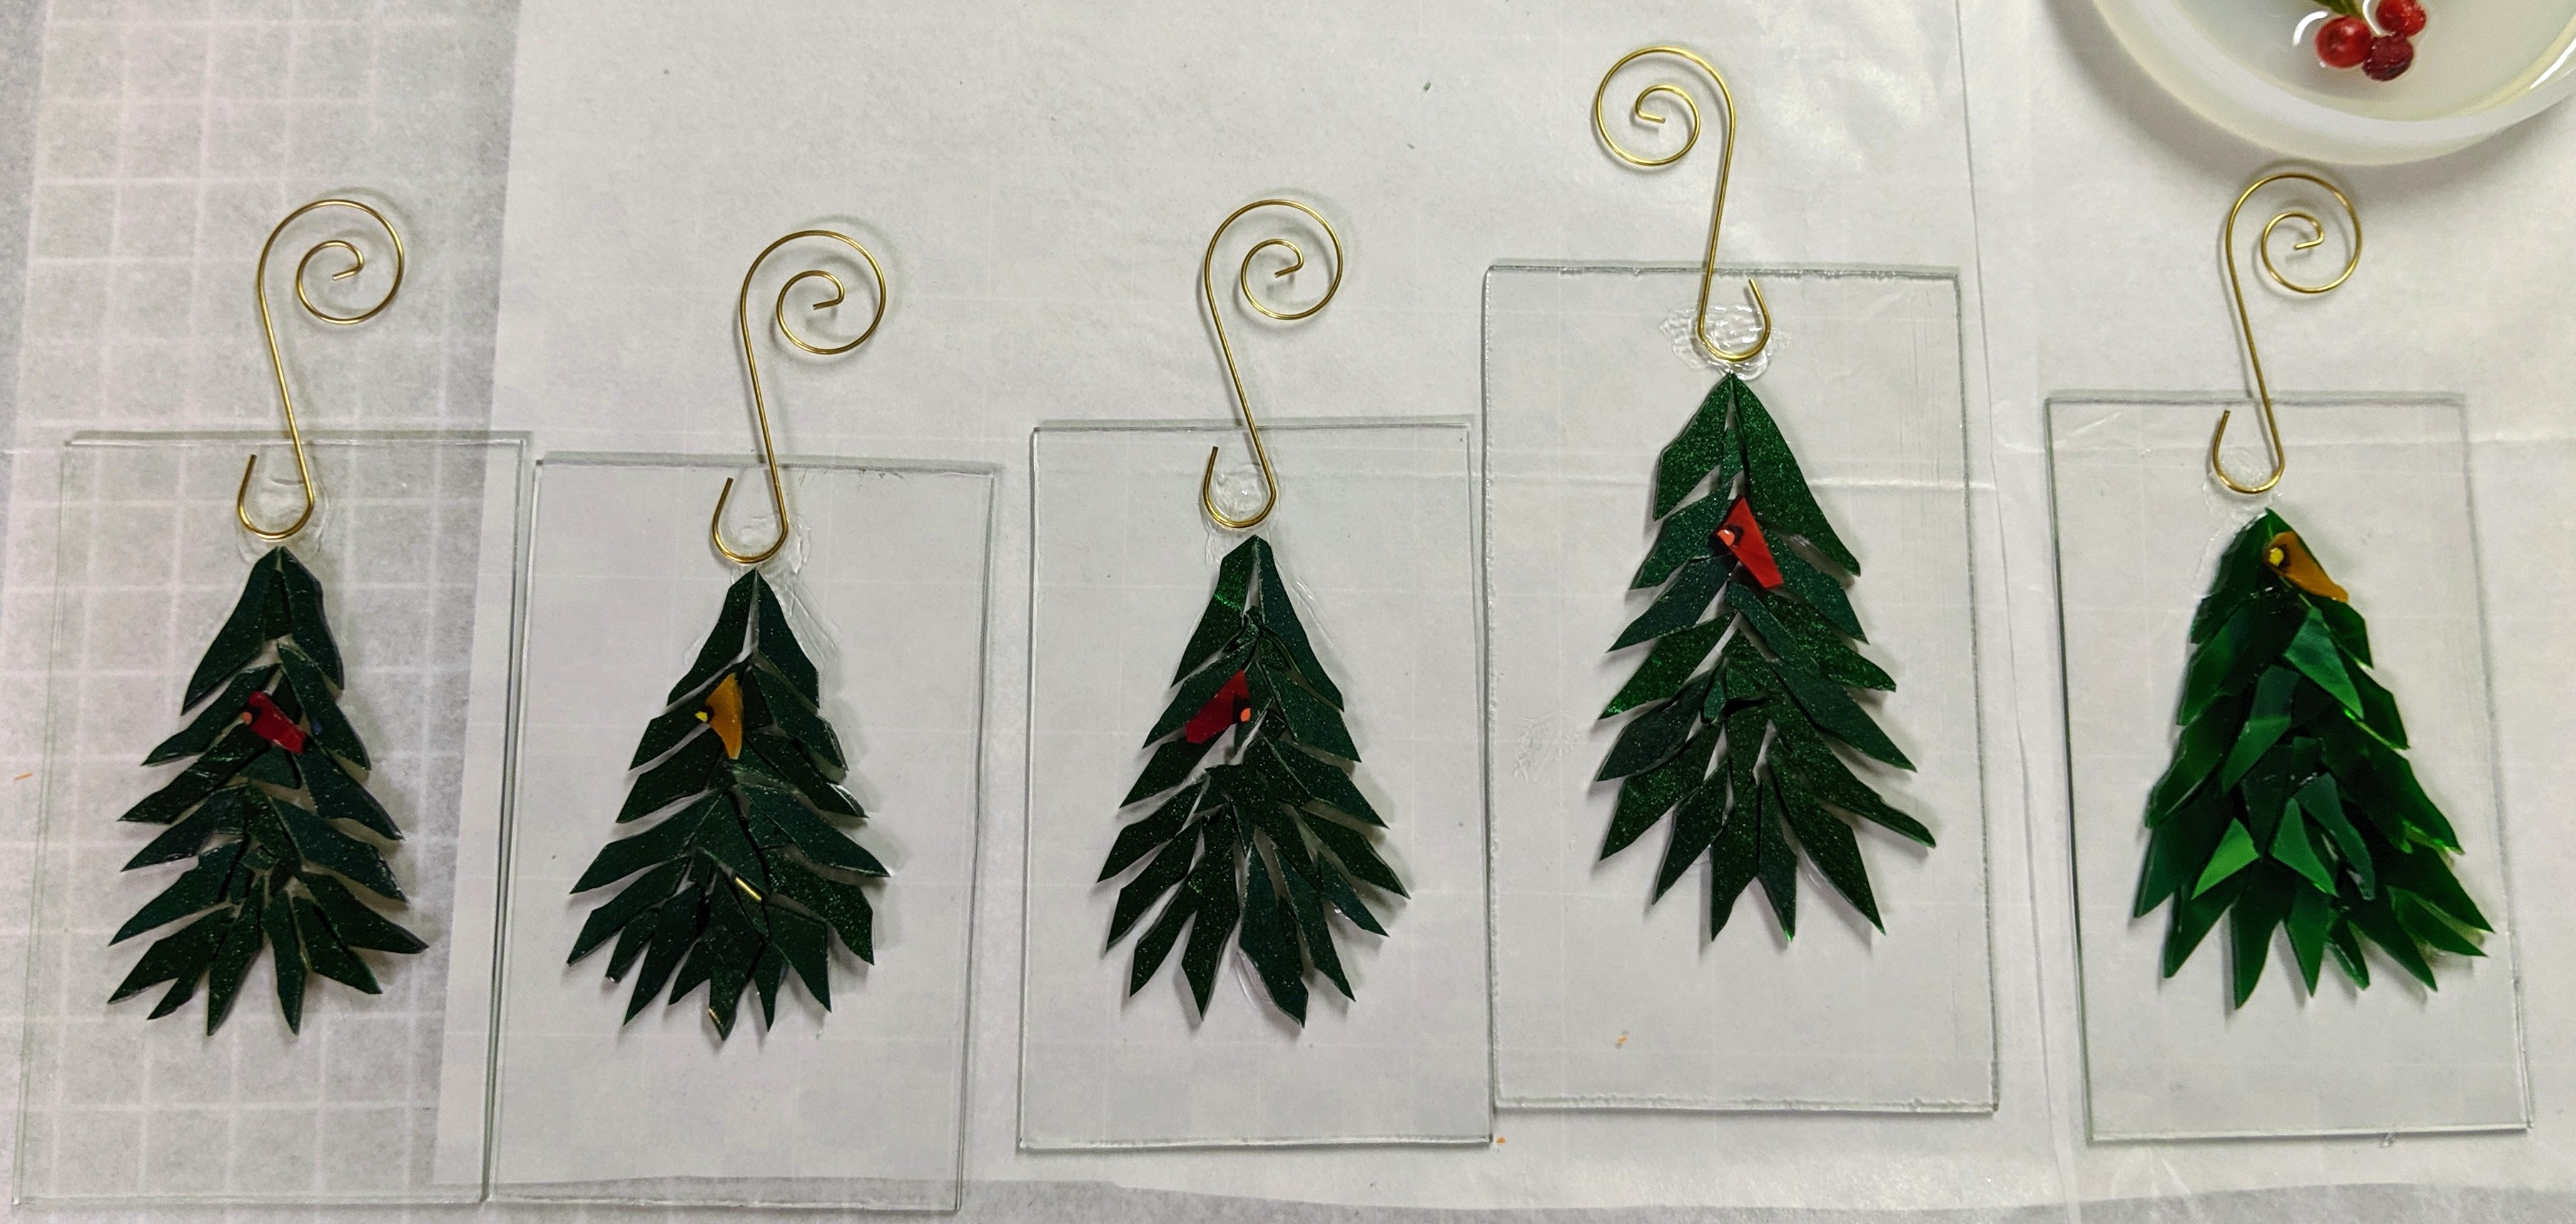
I’m trying to stock up on ornaments for my booth at the Charleston Holiday Market, which will be held at the North Charleston Convention Center November 8-10, 2019. I glued these winter scene glass ornaments yesterday and plan on pouring the resin and finishing the details today.
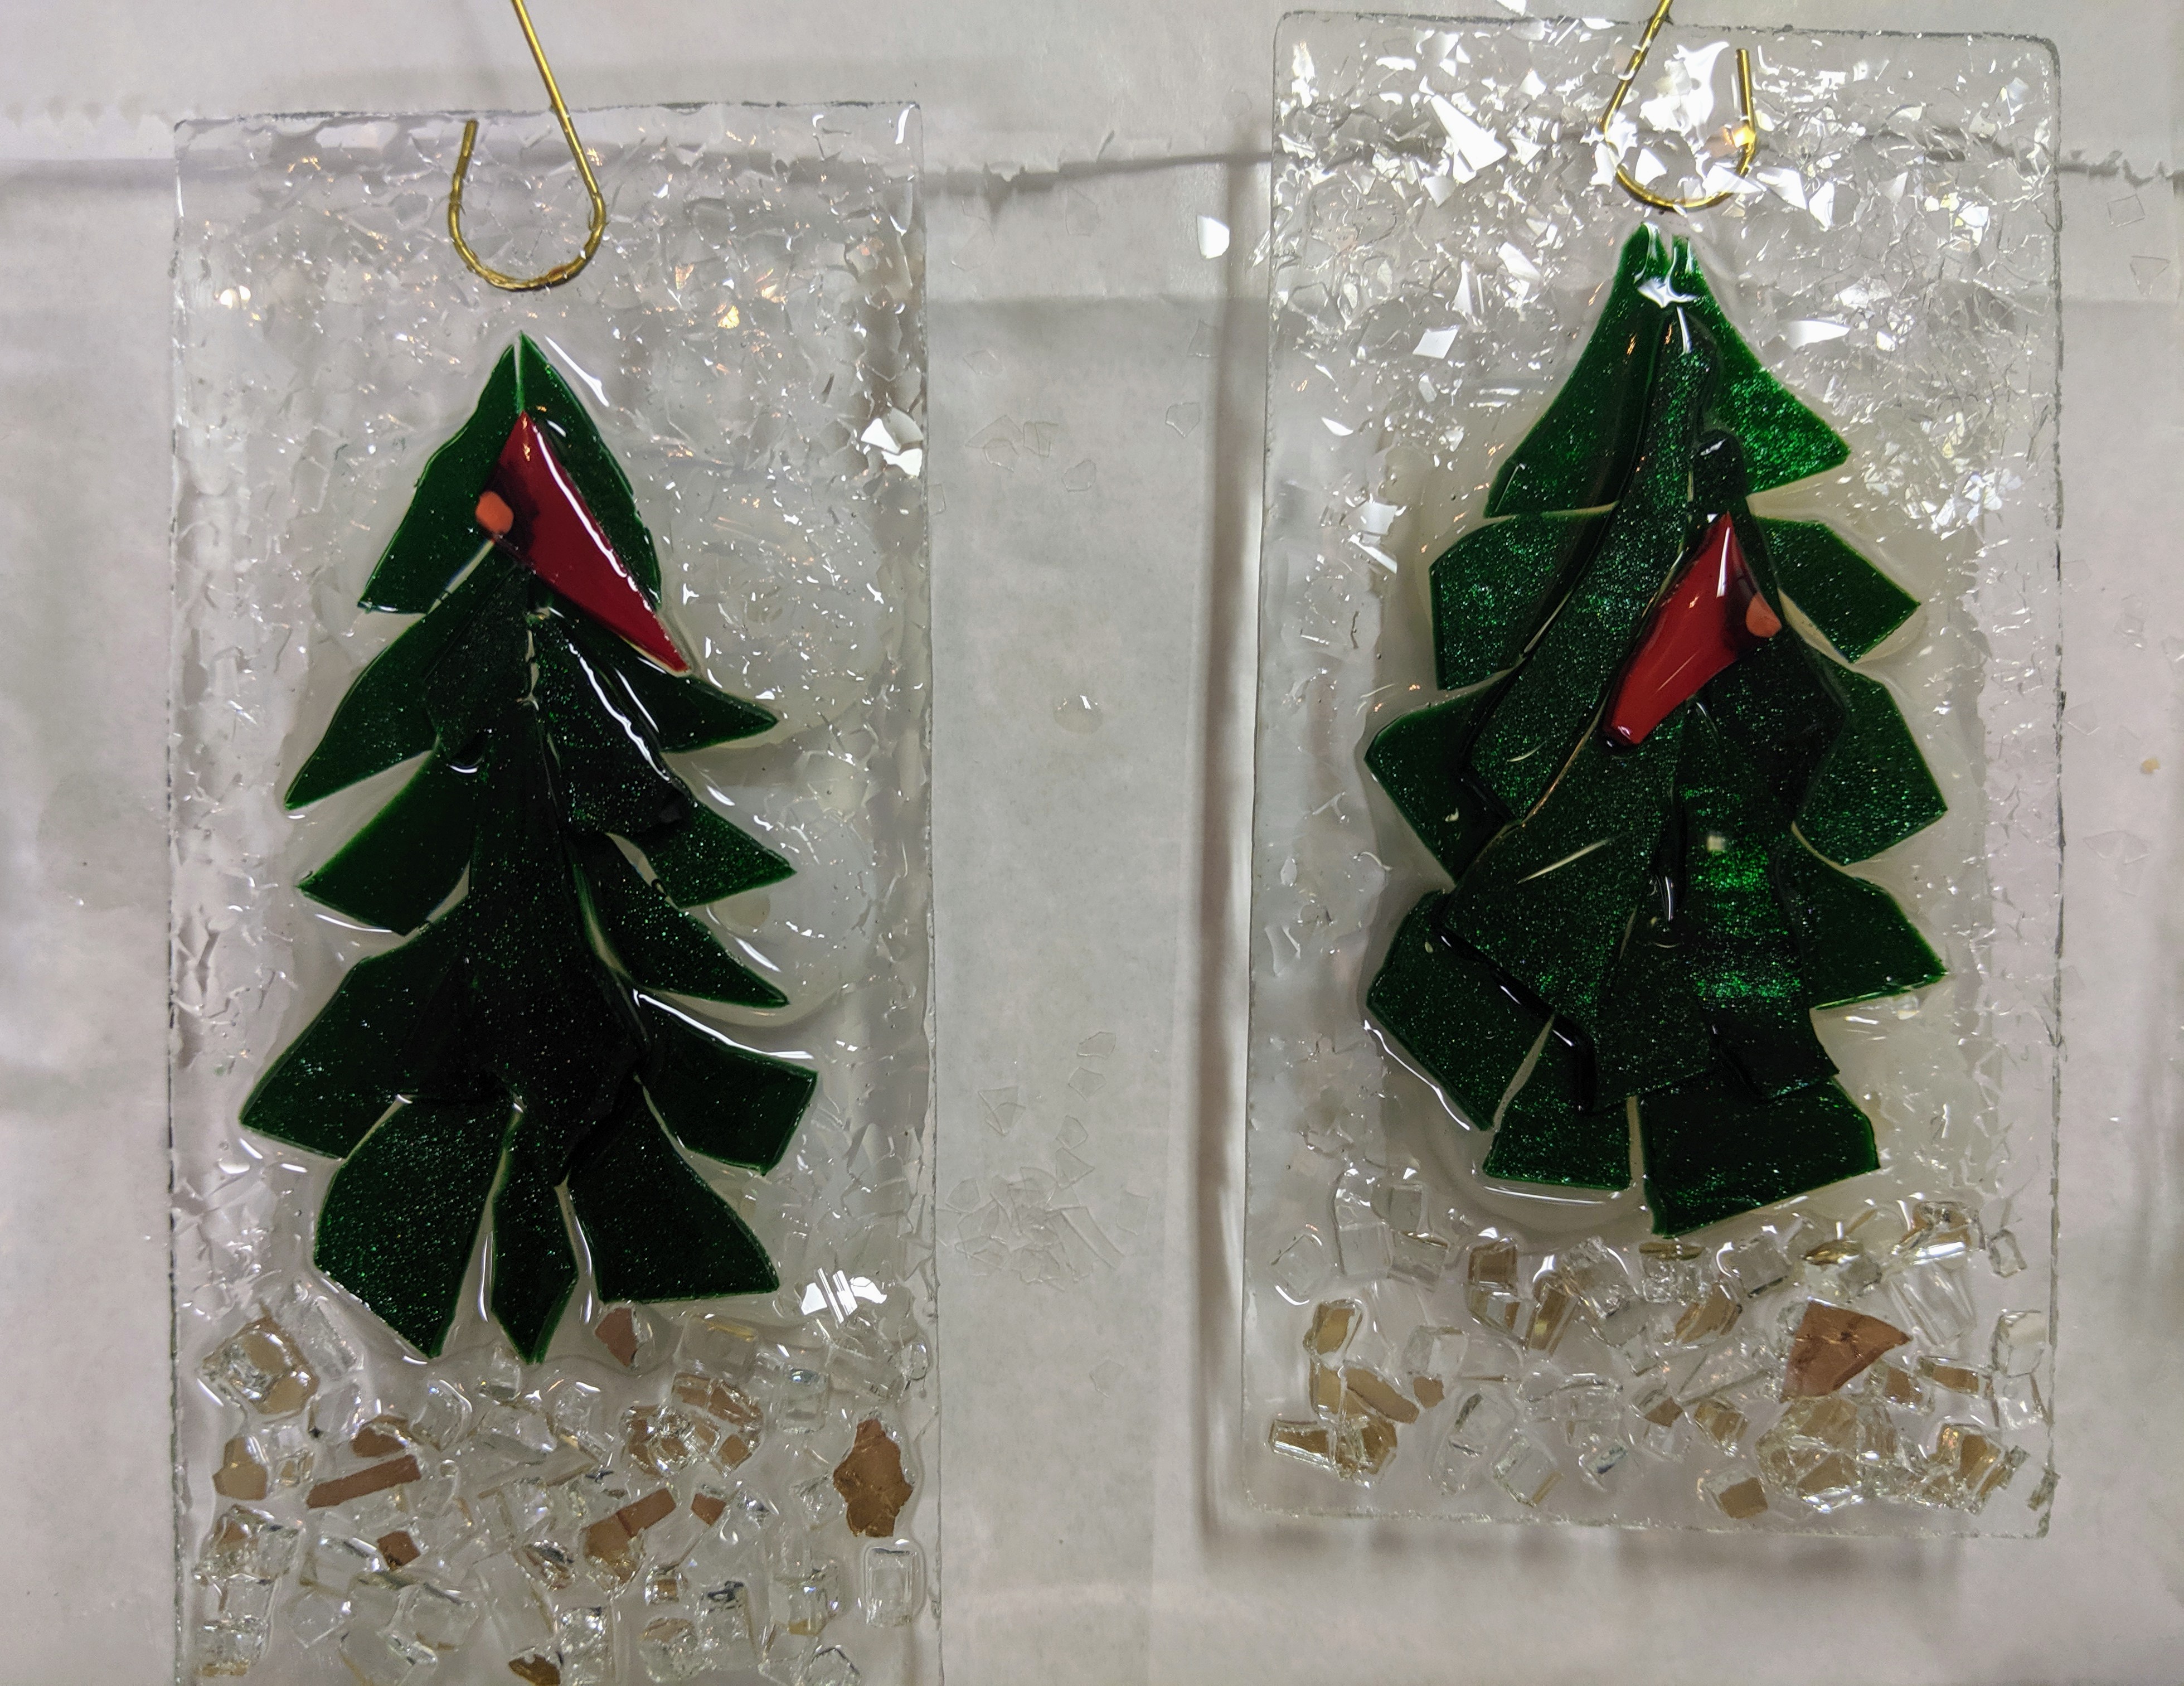
Winter Scene Trees about half complete.
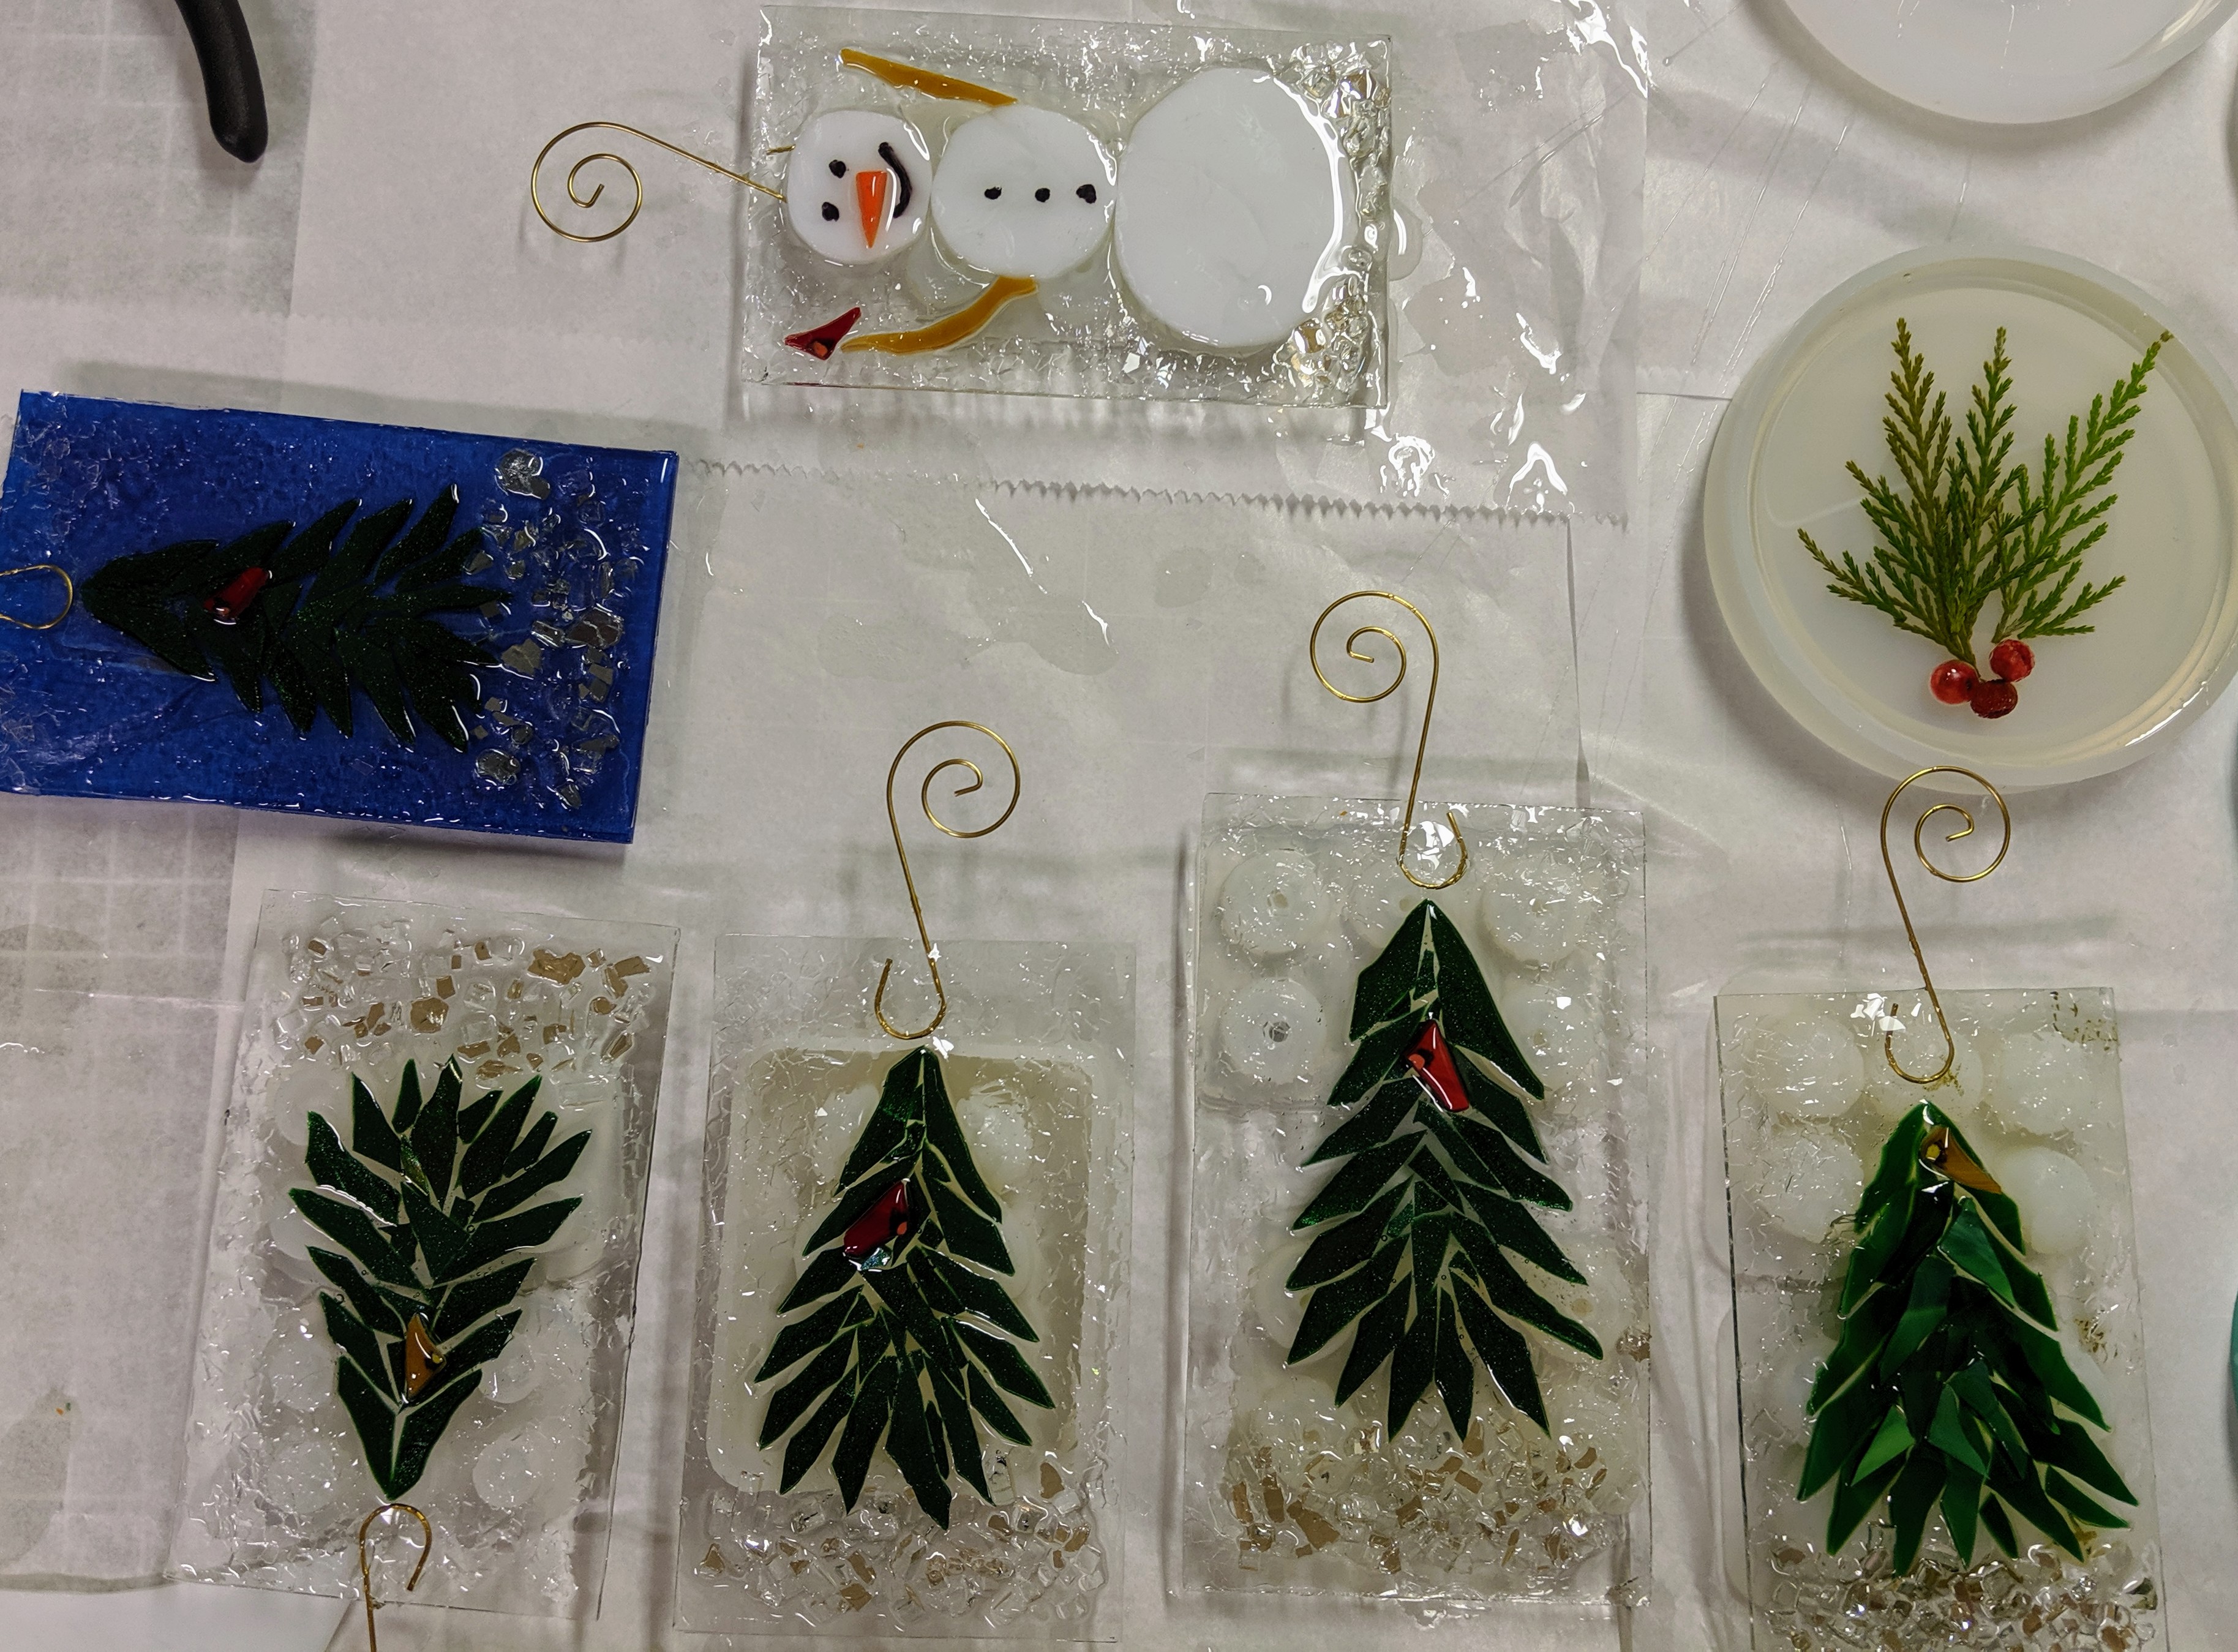
Here are a couple of snapshots after the resin was poured and decorated, but not yet cured. I have been making these with the rectangular background instead of the free shaped tree ornaments because the tree branches are pretty sharp. The rectangle keeps you from having to hold the pointy part of the tree glass. The one ornament with the blue background is an experiment – I’m trying to see if putting painters tape on the back is helpful in keeping the resin drips off the back. All of the others I have to keep wiping down the underside to keep drips from forming, and this is a very time consuming, sticky undertaking. I tried the tape once before and didn’t have much luck, but I thought I’d try again.
Two to three days’ worth of ornaments.
I also decided to make a couple of snowmen ornaments. I really love the trees, but variety is the spice of life, right?
Glass snowman ornaments.
The one on the left has its resin coating and glass chip decorations. The one on the right has to wait another day for its resin, as the glue that holds the hook in place is still drying.
I haven’t been posting much, mostly because the dichroic window I’ve been working on has now been rethought as a sunset and it’s taking me some time to plan it. At the same time, I haven’t been doing much that is new and different, until this weekend. I decided to sign up for the Charleston Holiday Market at the N. Charleston Convention Center. It’s a big three day craft fair, held November 8-10. I usually do most of my holiday shopping at this event. This year, I’ll be a vendor!
Holiday Market Info
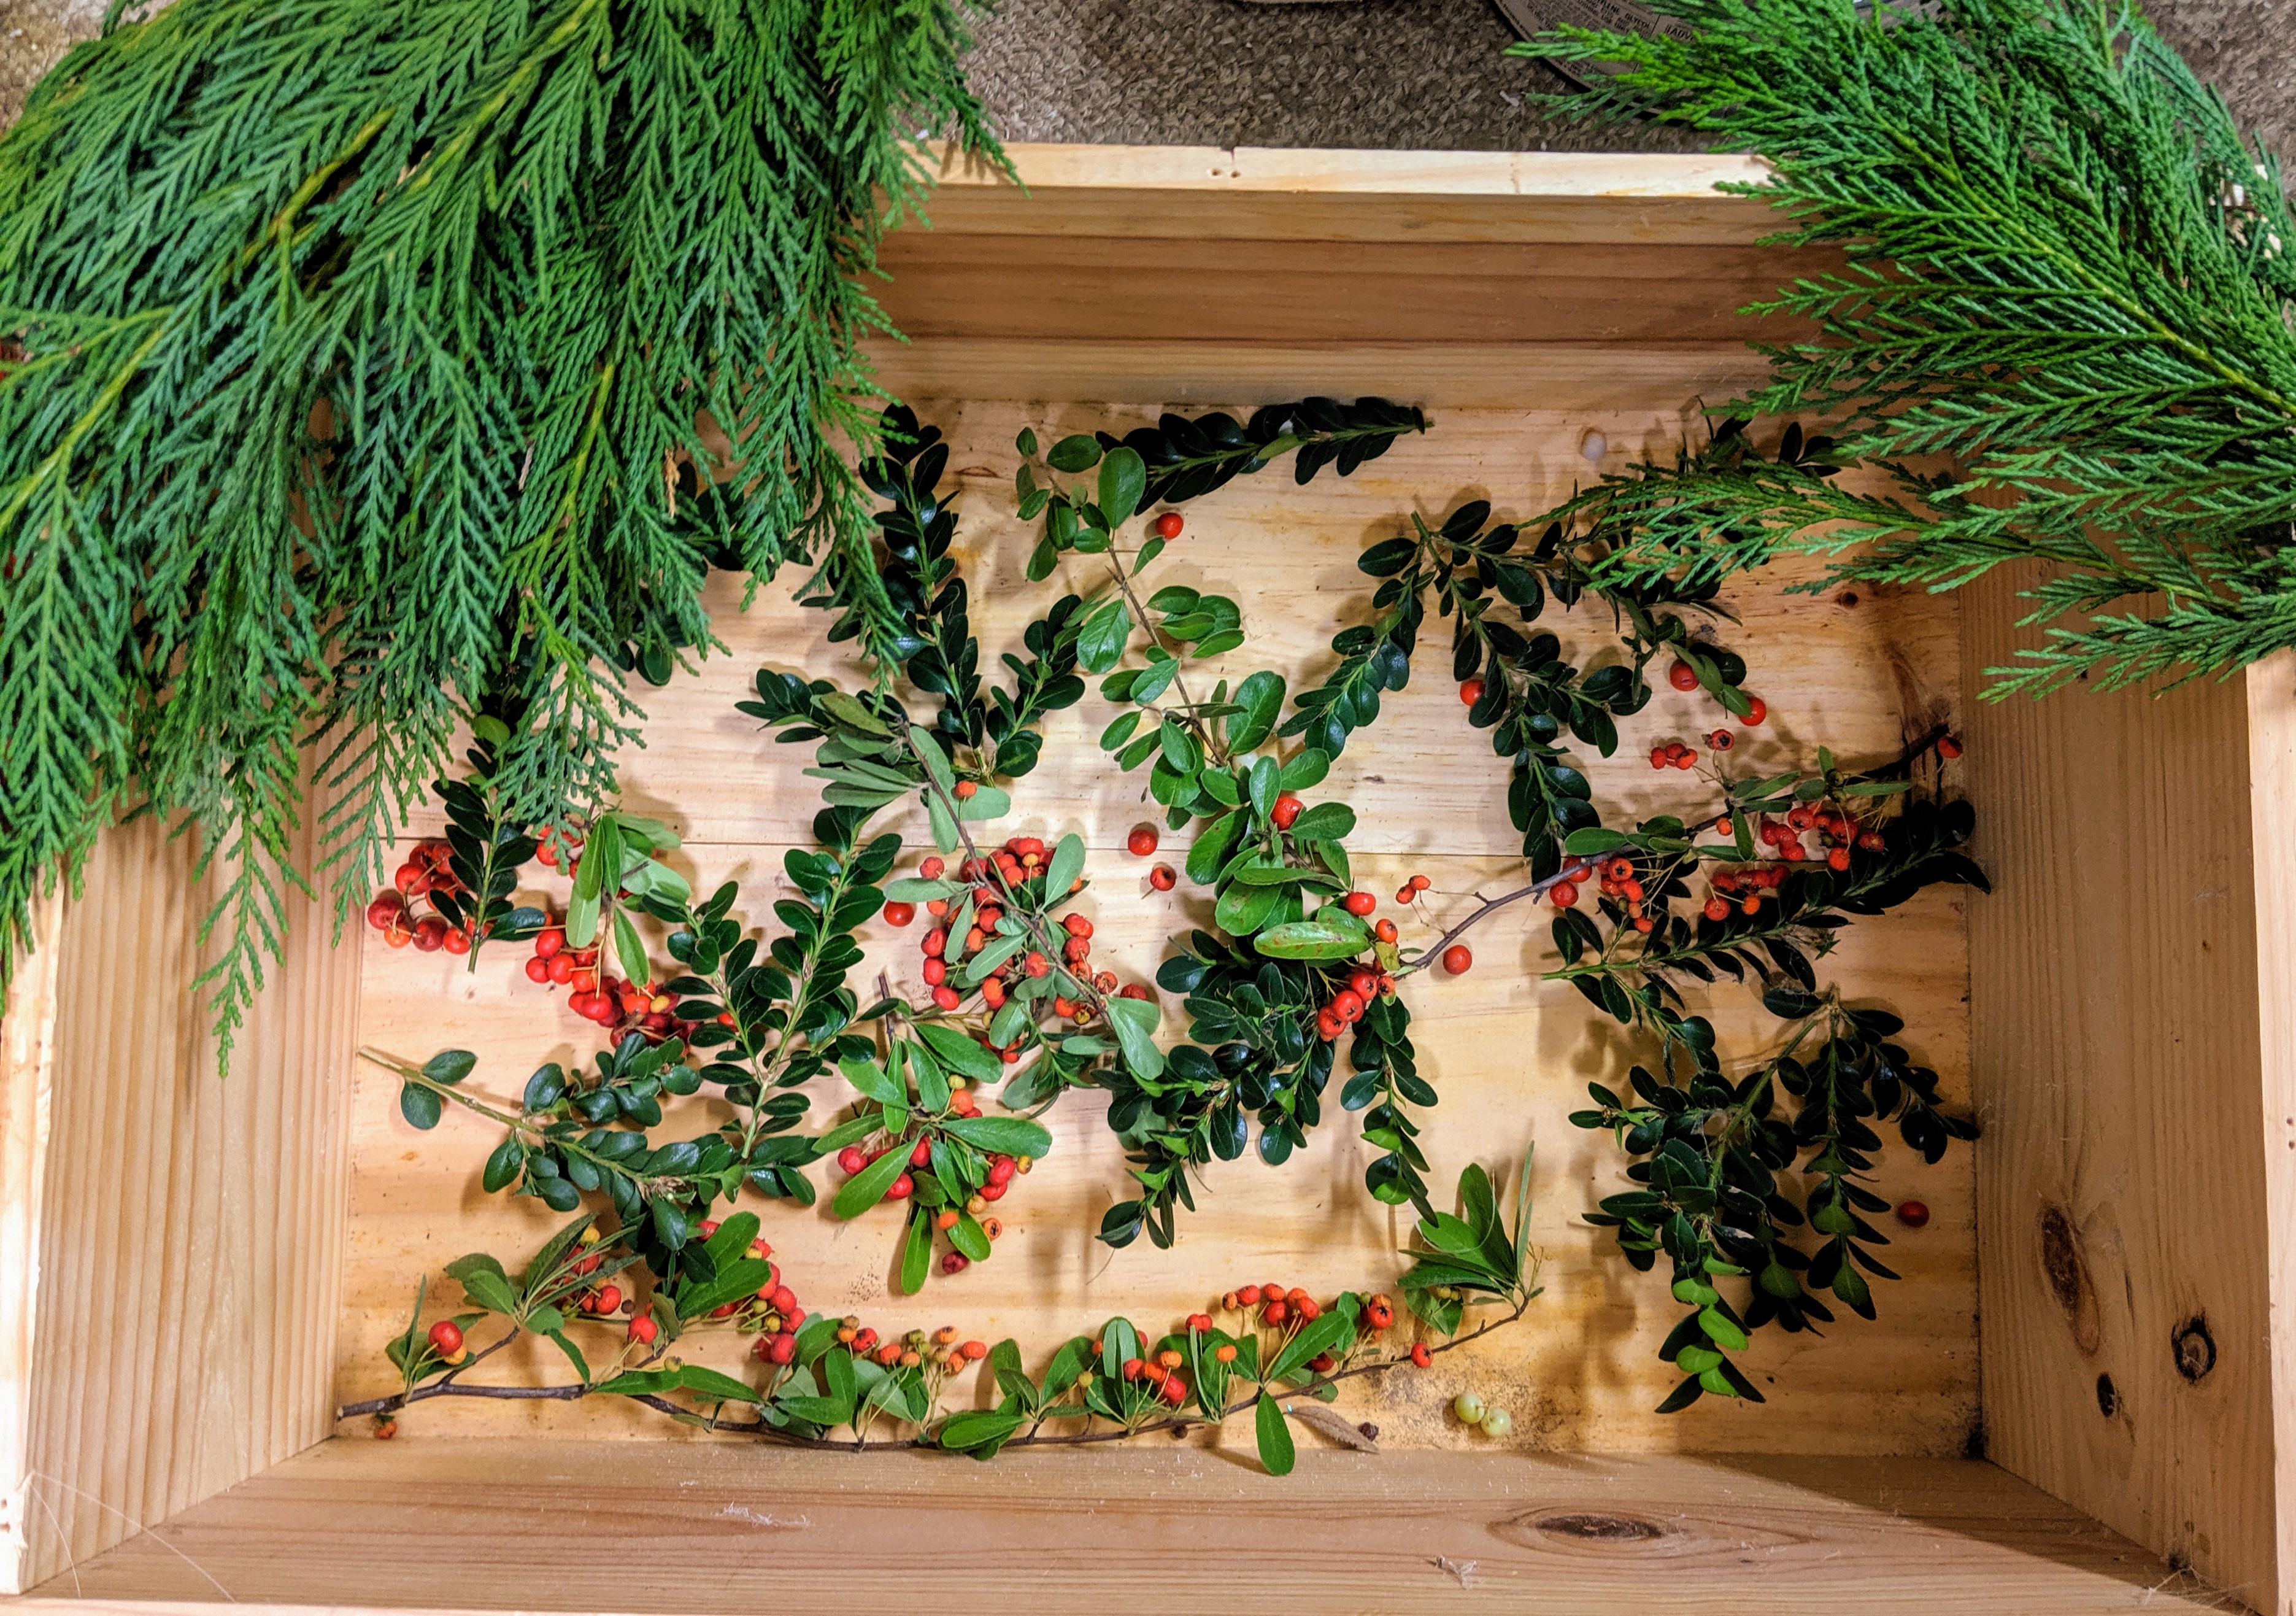
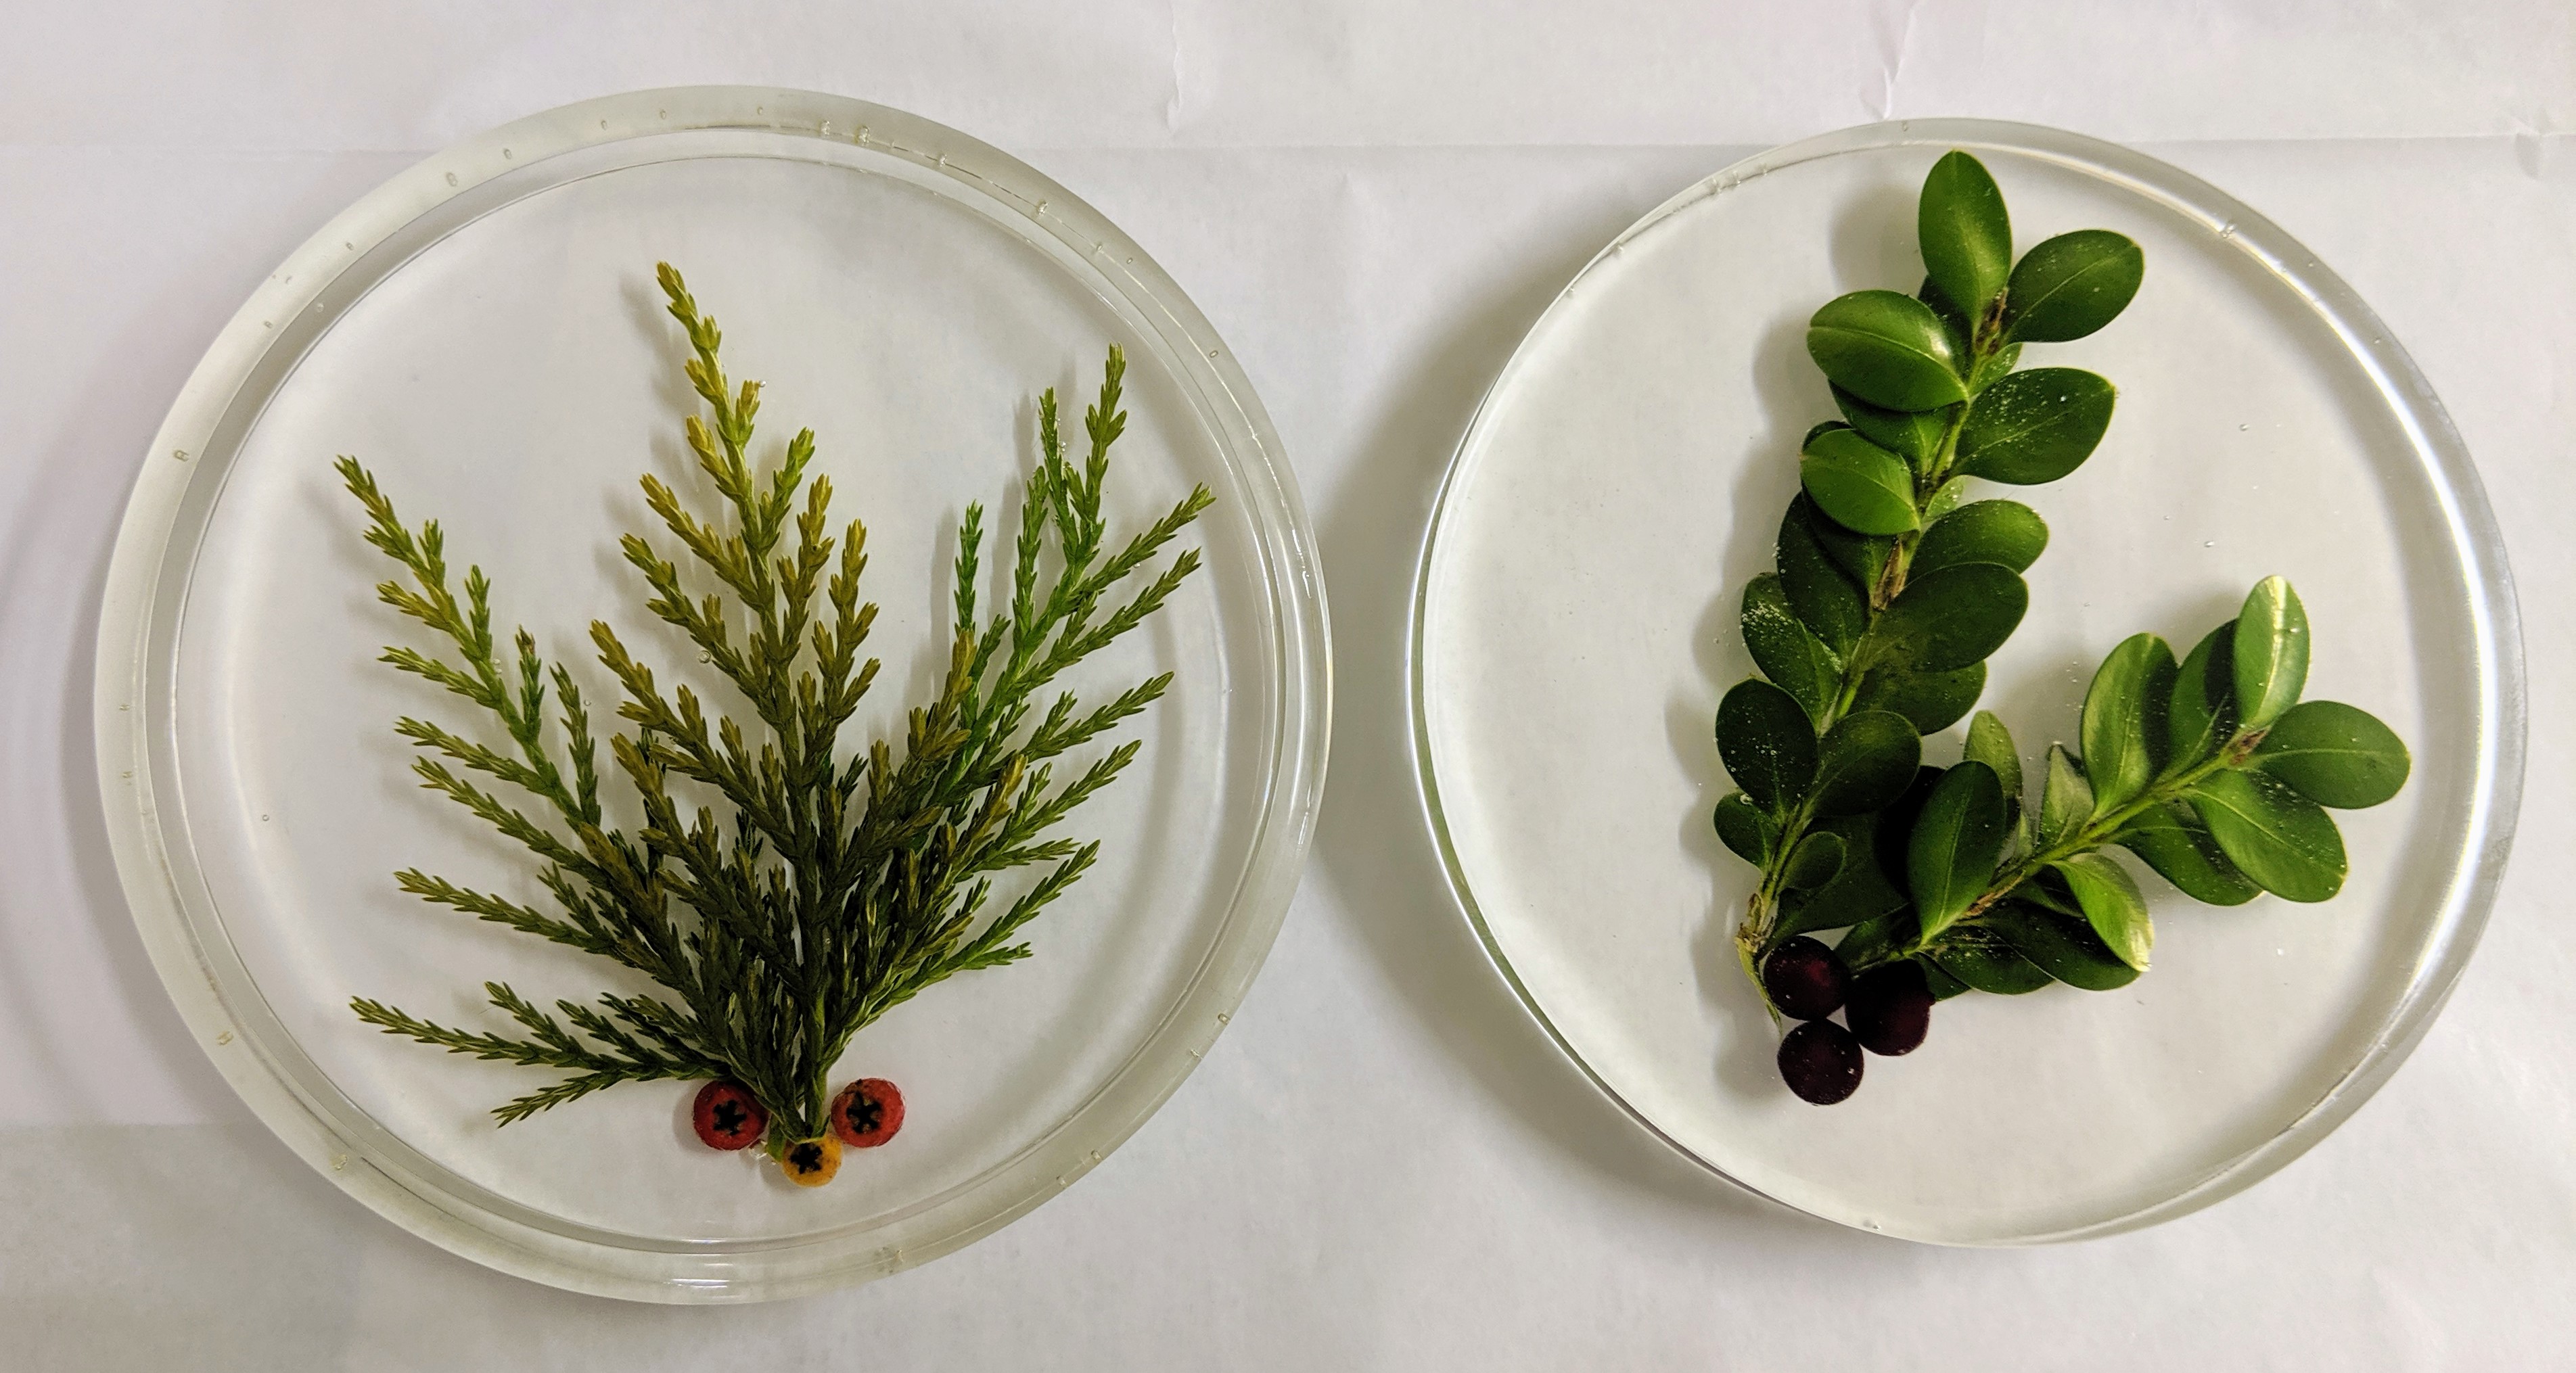
When I was talking with another vendor at the N. Charleston Farmers Market about it last week, she suggested that I make some seasonal coasters for the event. So I decided to see what I can do. I haven’t used any really perishable / organic materials other than shells and beachy things, so plants are an expansion of my repertoire. I headed out into my yard and snipped some cheerful berries and greenery from my plants, then coated them with resin spray.
Festive greenery and berries
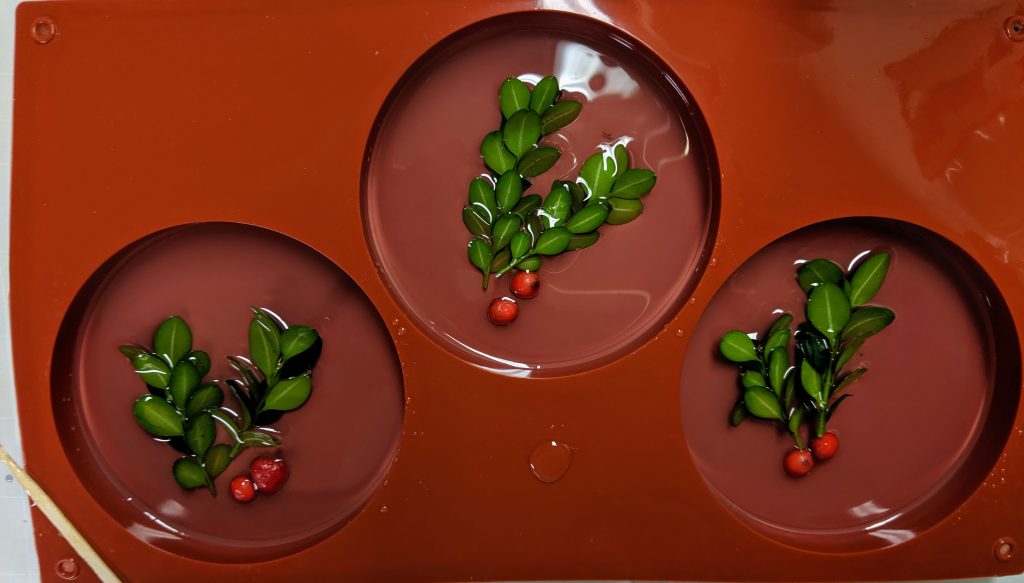
I then set about inserting my harvest into some coaster molds with resin. Hopefully they will turn out well – I read a few stories online of others’ experiences with plant based embedding and there were a lot of woeful tales of things turning brown. Fingers crossed that the resin spray helps deter that from happening. I even read that some folks use plain old hair spray instead of resin spray, which I may try when my supply of resin spray is depleted. I have two types of berries on hand, one from I believe a Pyracantha and some others from some Asparagus Fern in my yard.
Boxwood and berriesLeyland cypress and berriesHere are a couple of the first batch I made yesterday.
I like how the Boxwood looks, but it is very thick and difficult to keep small enough for the mold. I used some extra resin spray on the cypress greenery in the batches I did today to see if they hold their color any better.
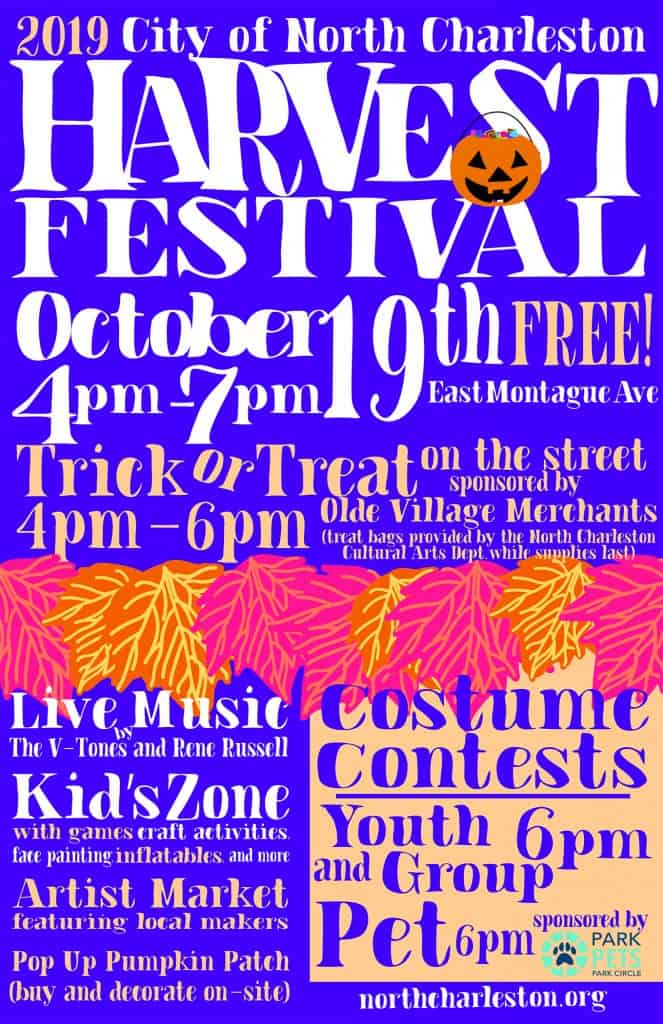
I will have a booth at the North Charleston Harvest Festival on Saturday, October 19th from 4-7pm. Come check it out!
The
City of North Charleston announces the 7th Annual Harvest Festival featuring
live musical performances, an artist market, costume contests, trick-or-treat
on the street, a pop-up pumpkin patch, children’s activities, and more.
The fall festivities will take place in the Olde Village of North Charleston,
located on East Montague Avenue near Park Circle, on Saturday, October 19, 2019,
from 4:00-7:00pm. Admission and parking are free. East Montague
Avenue will close to vehicular traffic from Jenkins Avenue to
Virginia Avenue at 2:00pm and remain closed
for the duration of the event.
The celebration includes live music by the
delightfully eclectic V-Tones of Charleston and singer-songwriter Rene Russell.
The Kid’s Zone offers a craft activity led by the City’s artist-in-residence Katherine
Hester, carnival games, face painting, drumming with RBM African Drum and Dance,
and a variety of inflatables. An artist market featuring local artists,
crafters, and makers will line two blocks of East Montague Avenue, along with a
few festive treat vendors. In addition, many of the restaurants in the Olde
Village will offer food and drink specials.
Other highlights include trick-or-treating on the
street with free treat bags for kids age 12 and under (4:00-6:00pm, while
supplies last); a pop-up pumpkin patch with on-site decorating stations (cash
only – prices of pumpkins vary); a mechanical bull, photo booths, and costume
contests with categories for youth, groups, and pets. The contests are free to
enter and prizes will be furnished by the City of North Charleston Recreation
Department, merchants of the North Charleston Olde Village, and Park Pets.
Participants for all contests should be prepared to line up for judging at 5:45pm
for the contests to begin at 6:00pm.
The annual Harvest Festival
is a rain or shine event produced by the City of North Charleston in
collaboration with the North Charleston Olde Village merchants. For information
on additional programs and events, visit the Arts & Culture section of the
City’s website at www.northcharleston.org.