Making Waves

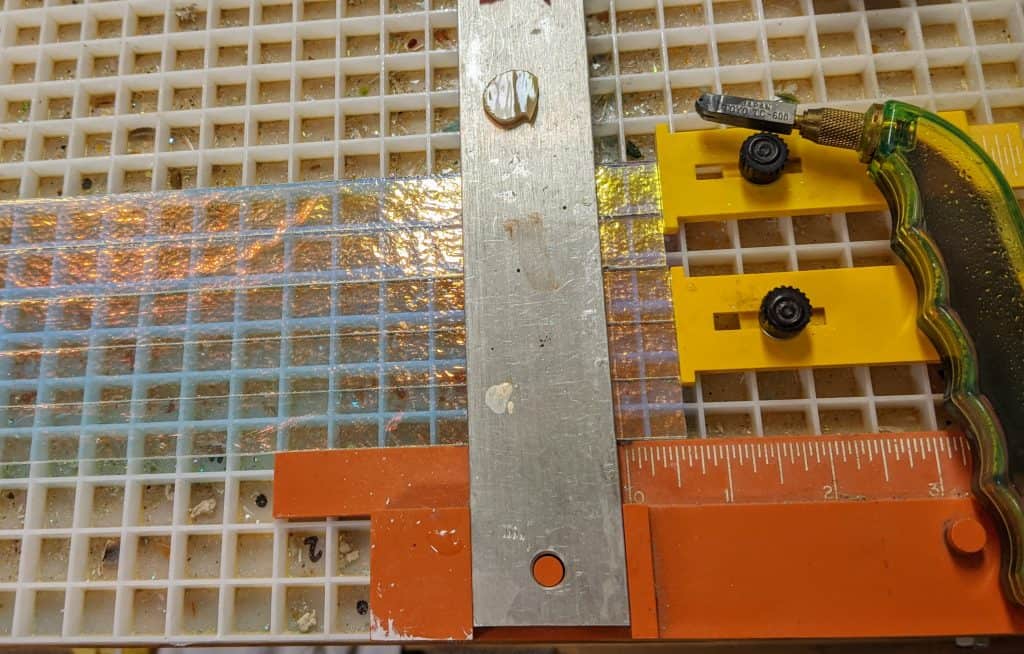
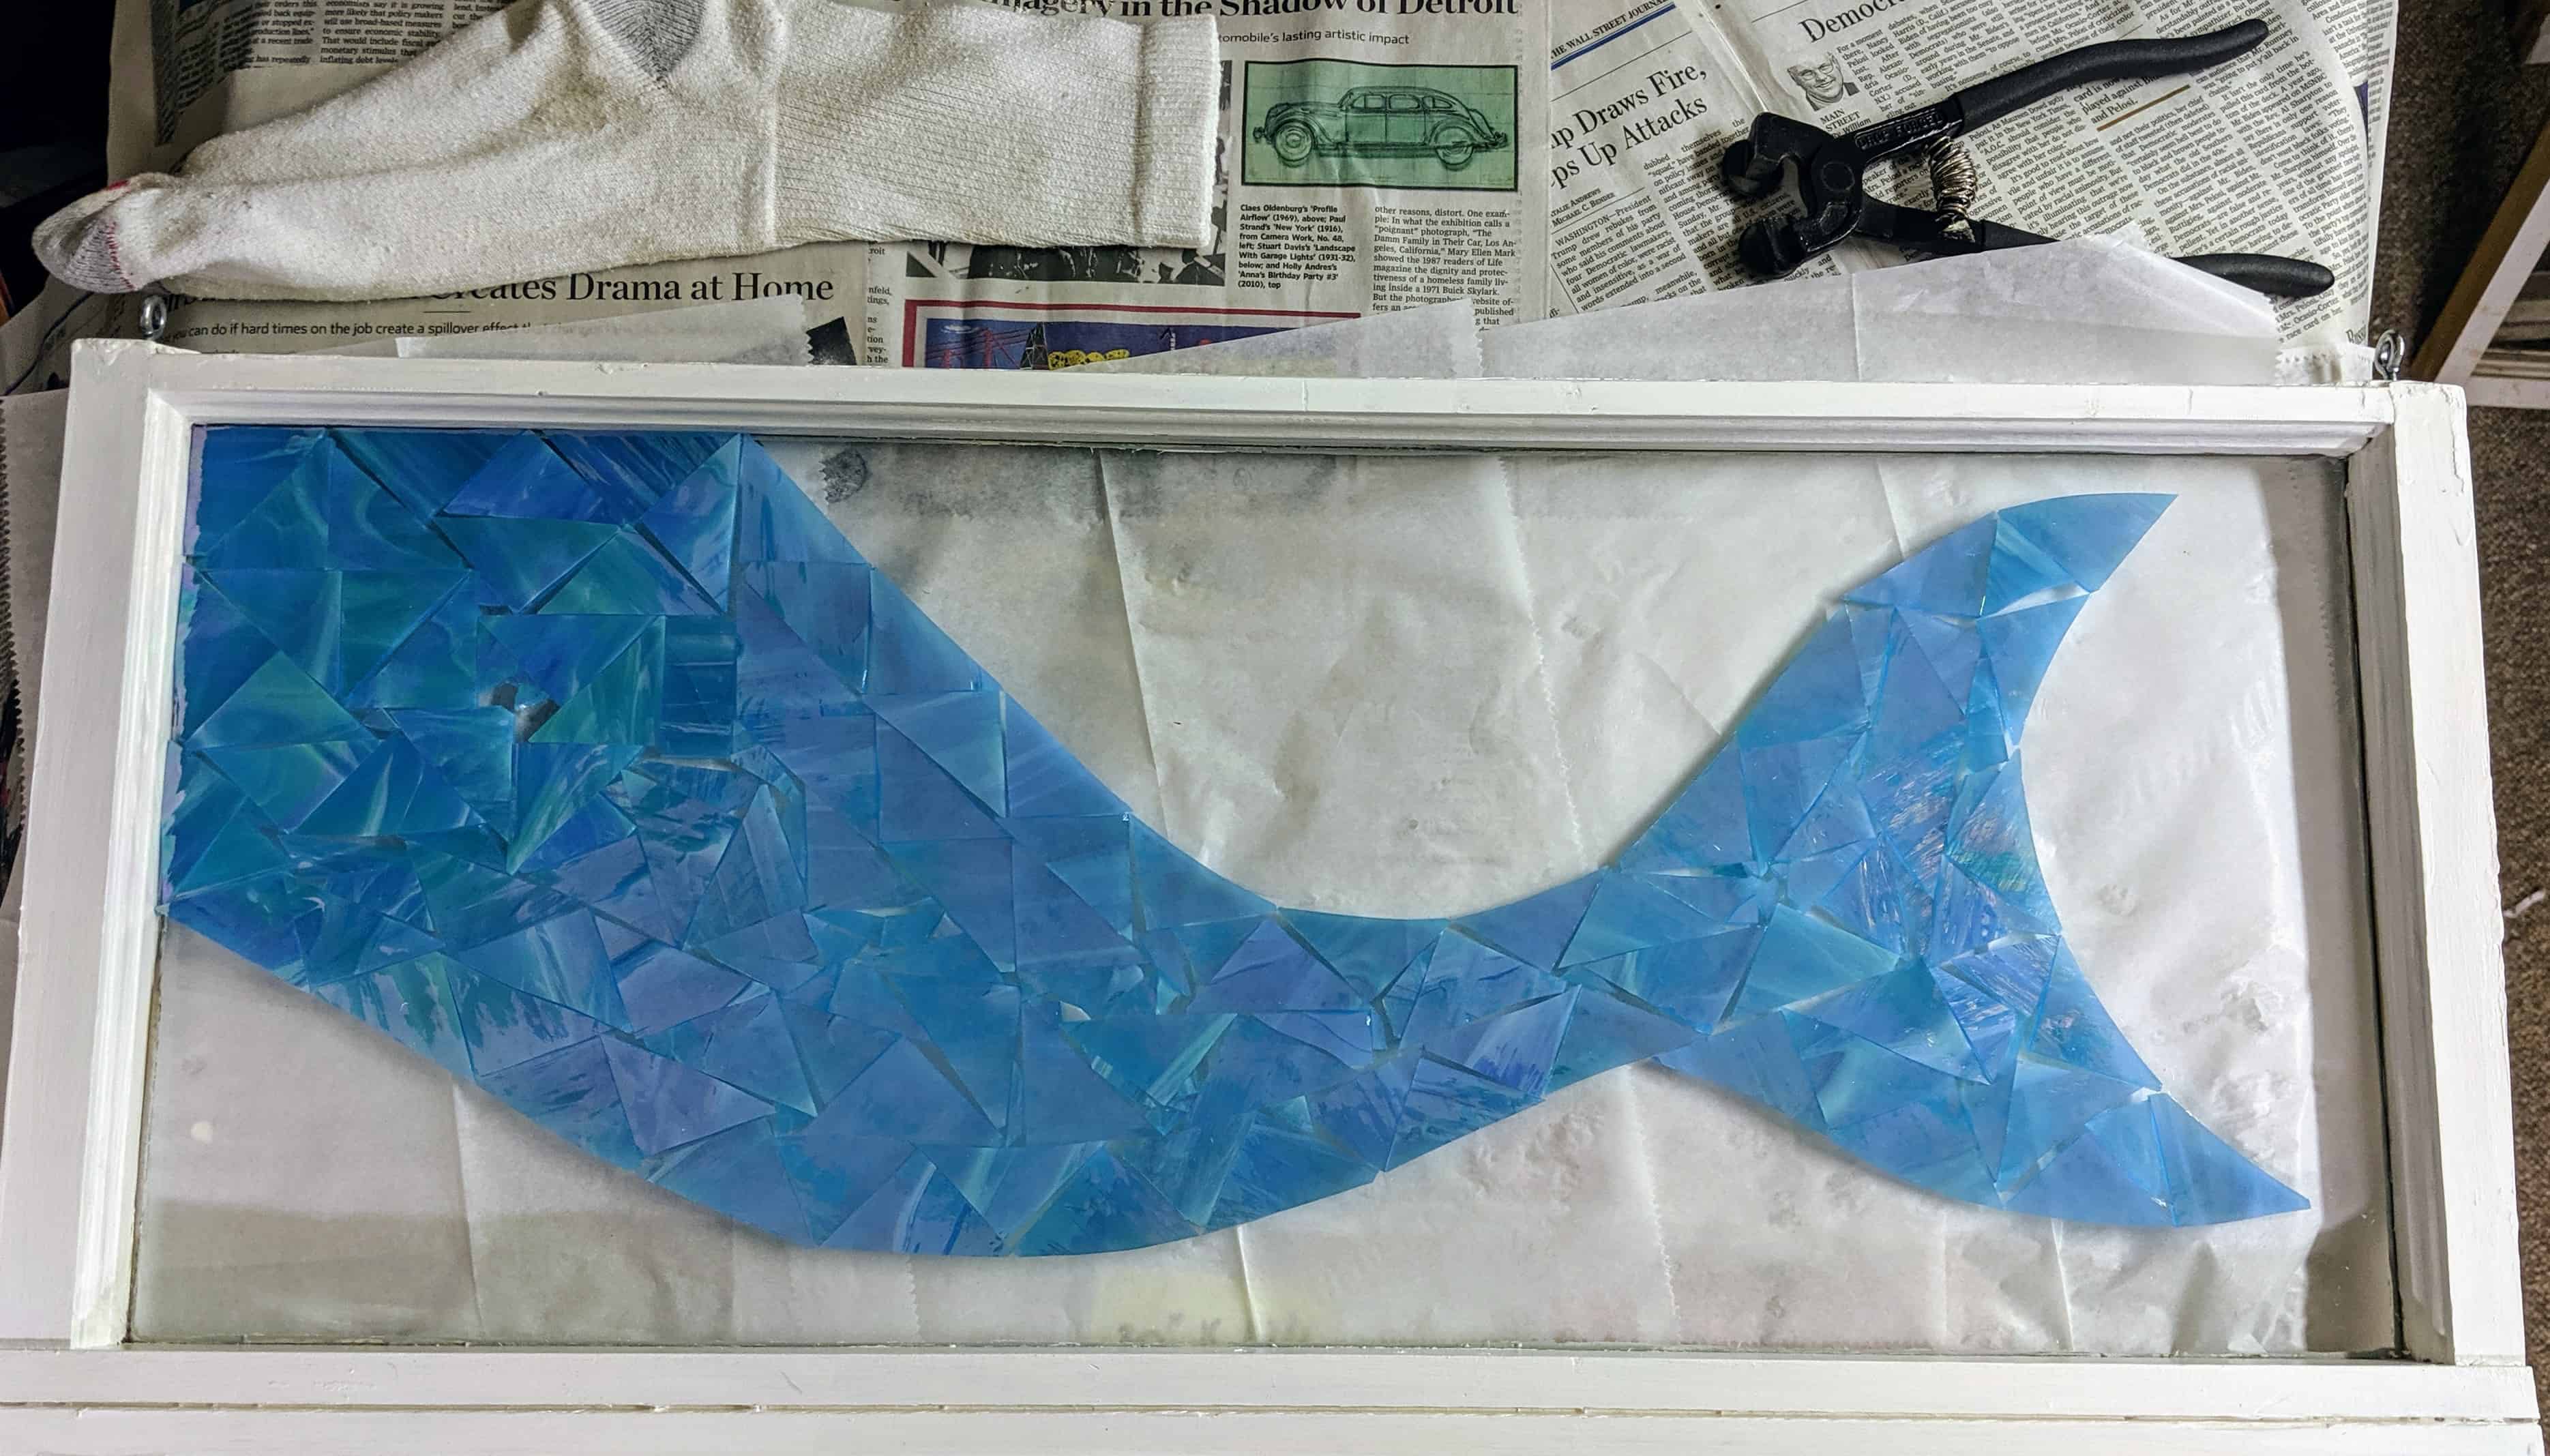
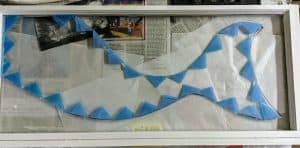
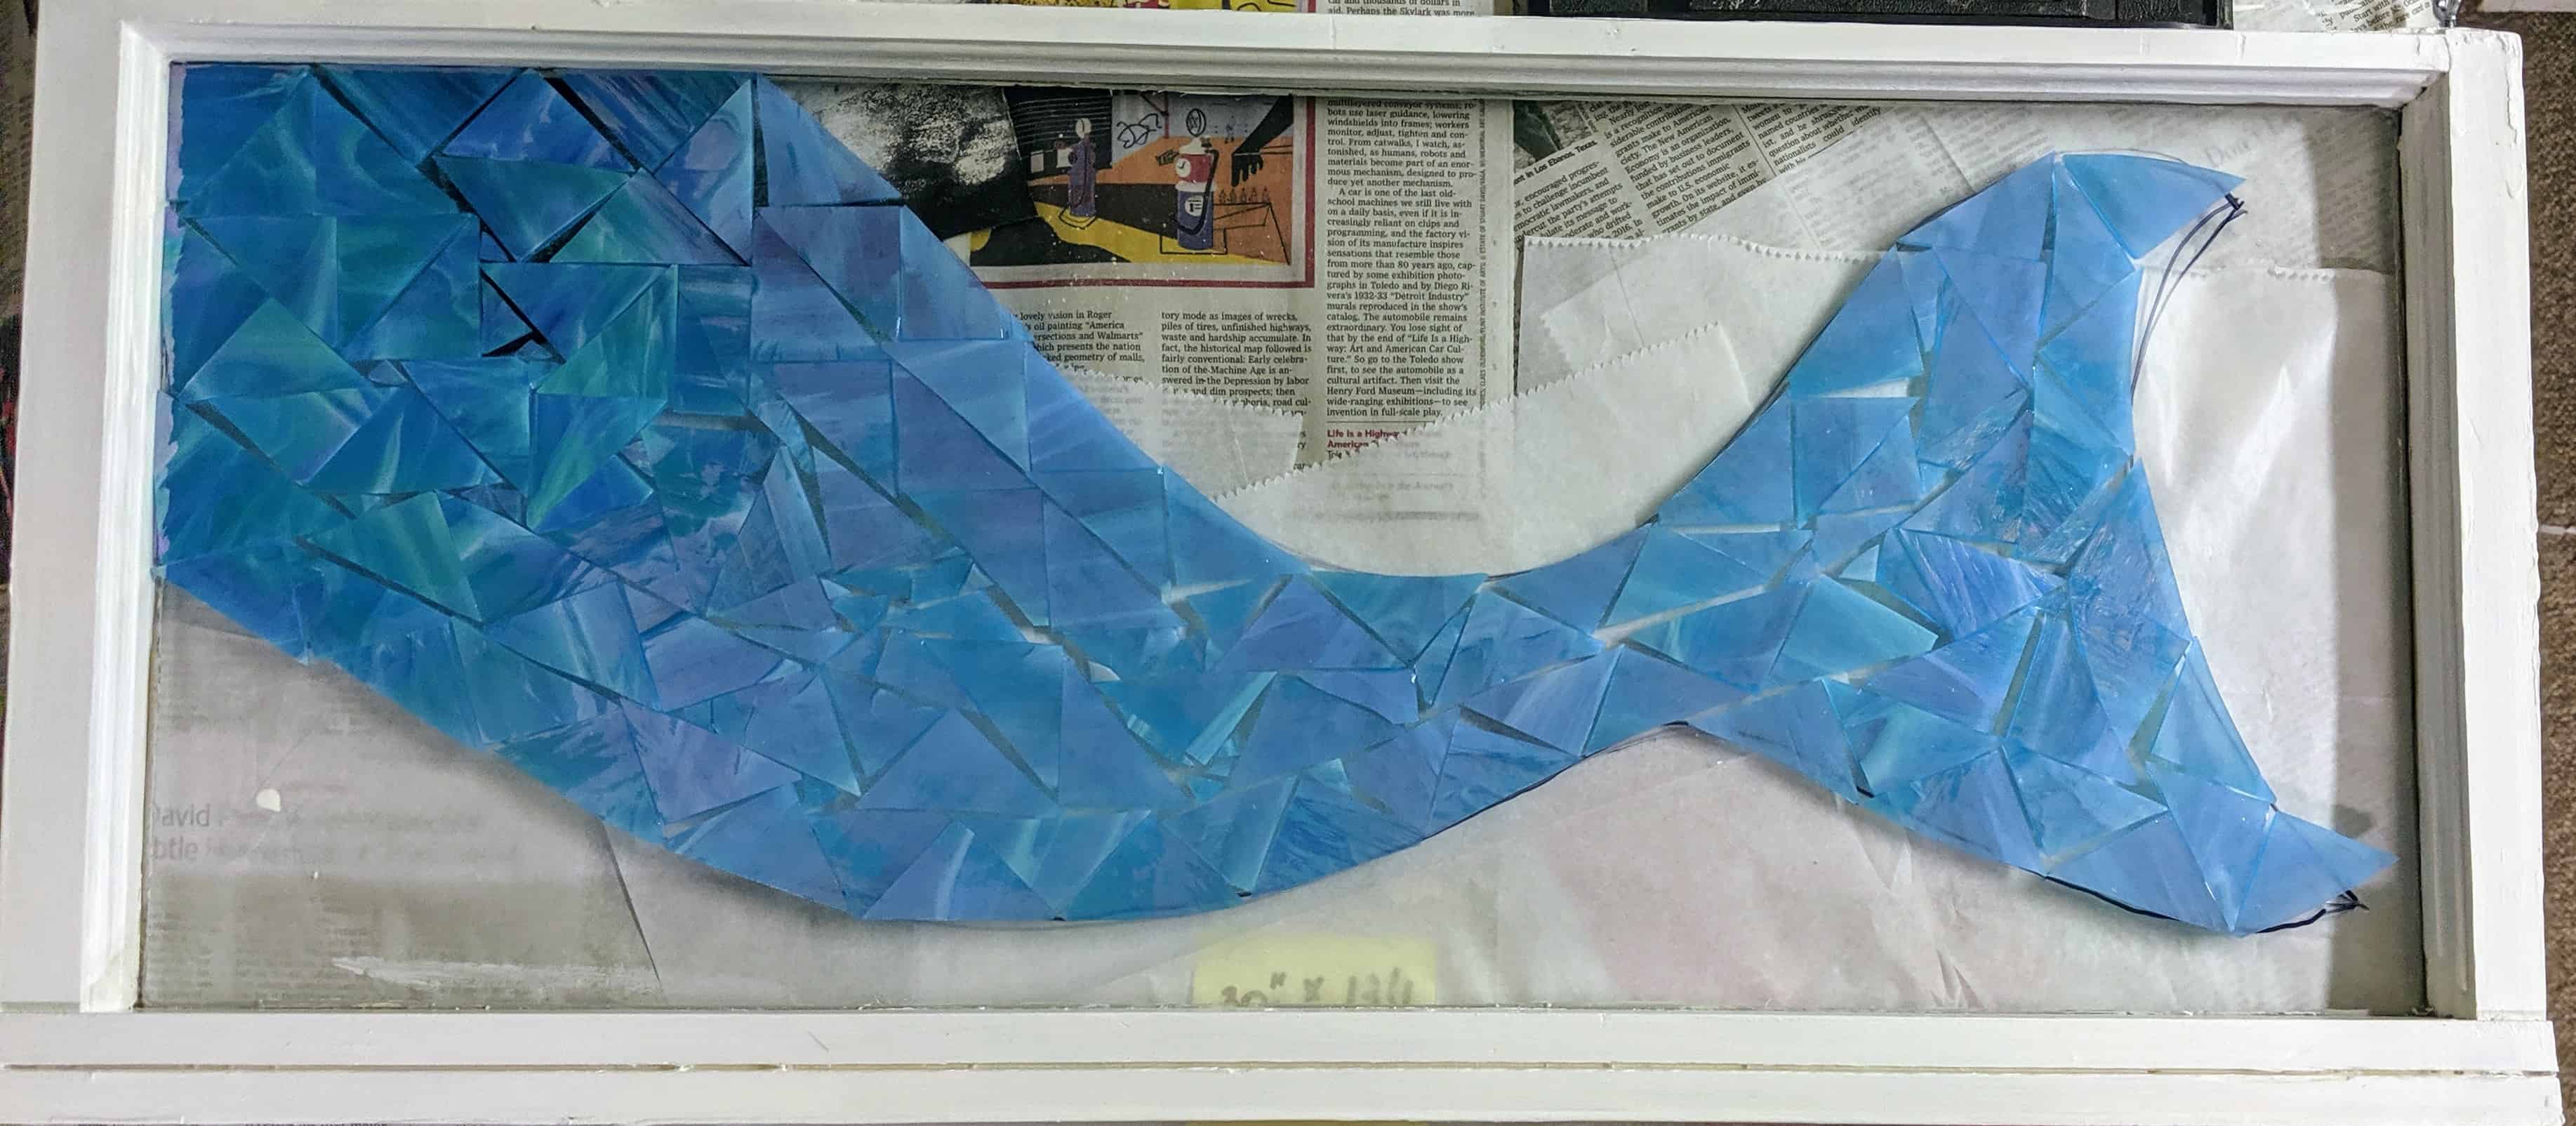
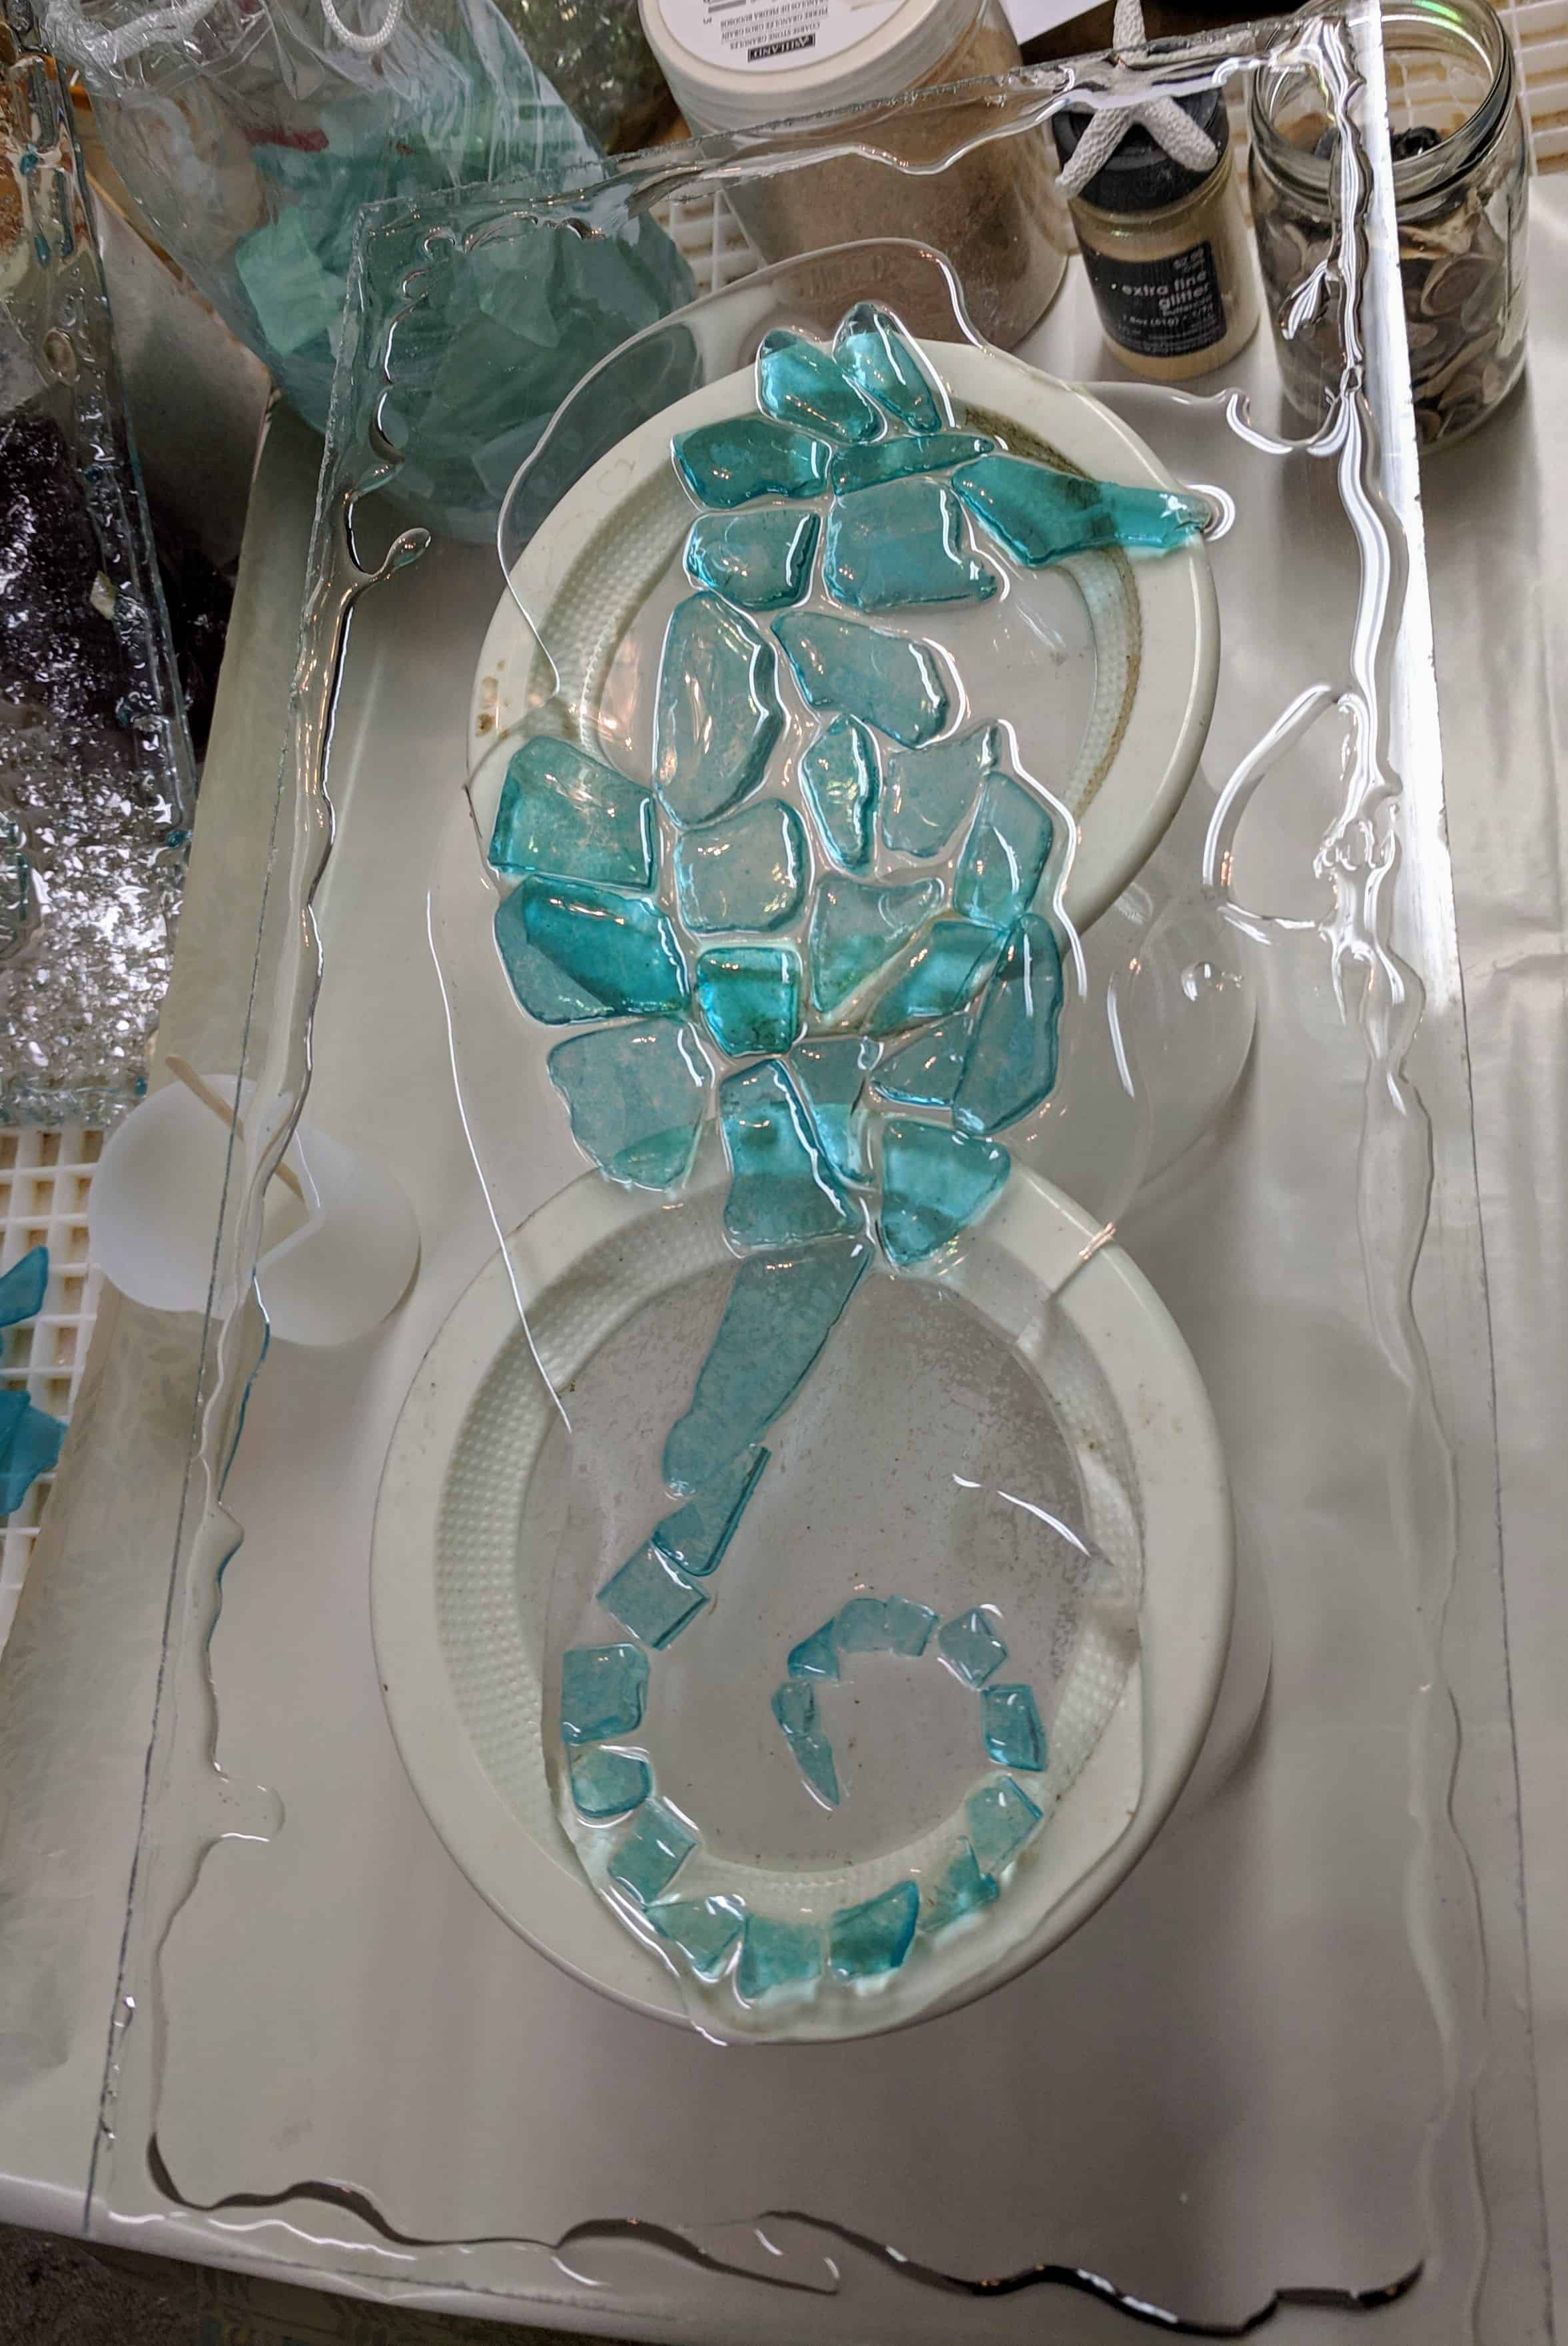
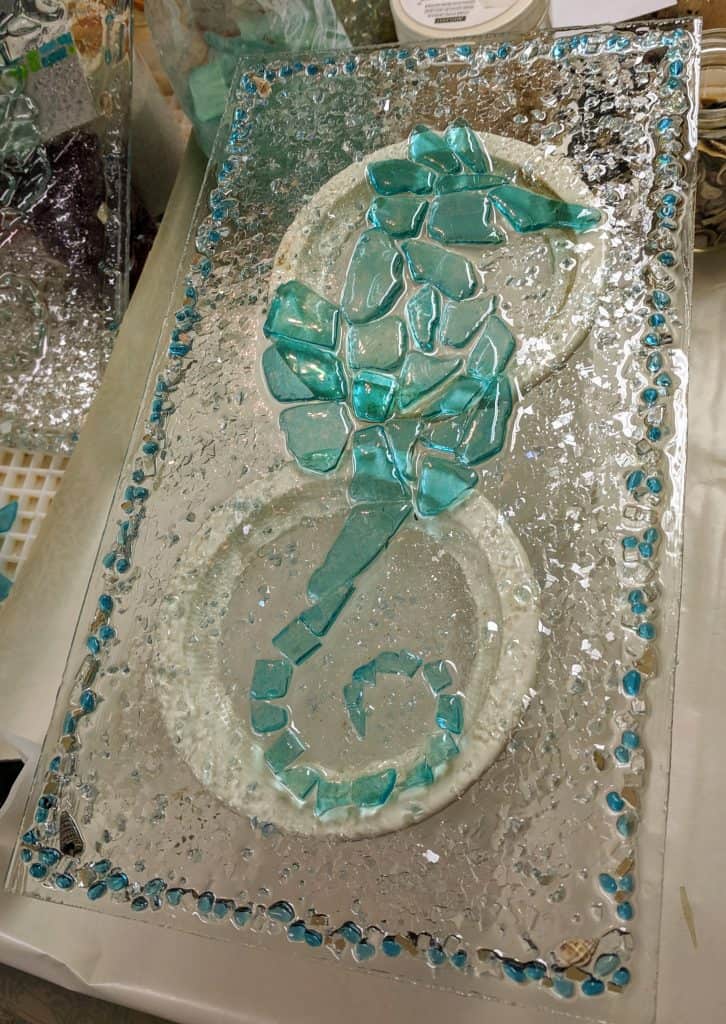
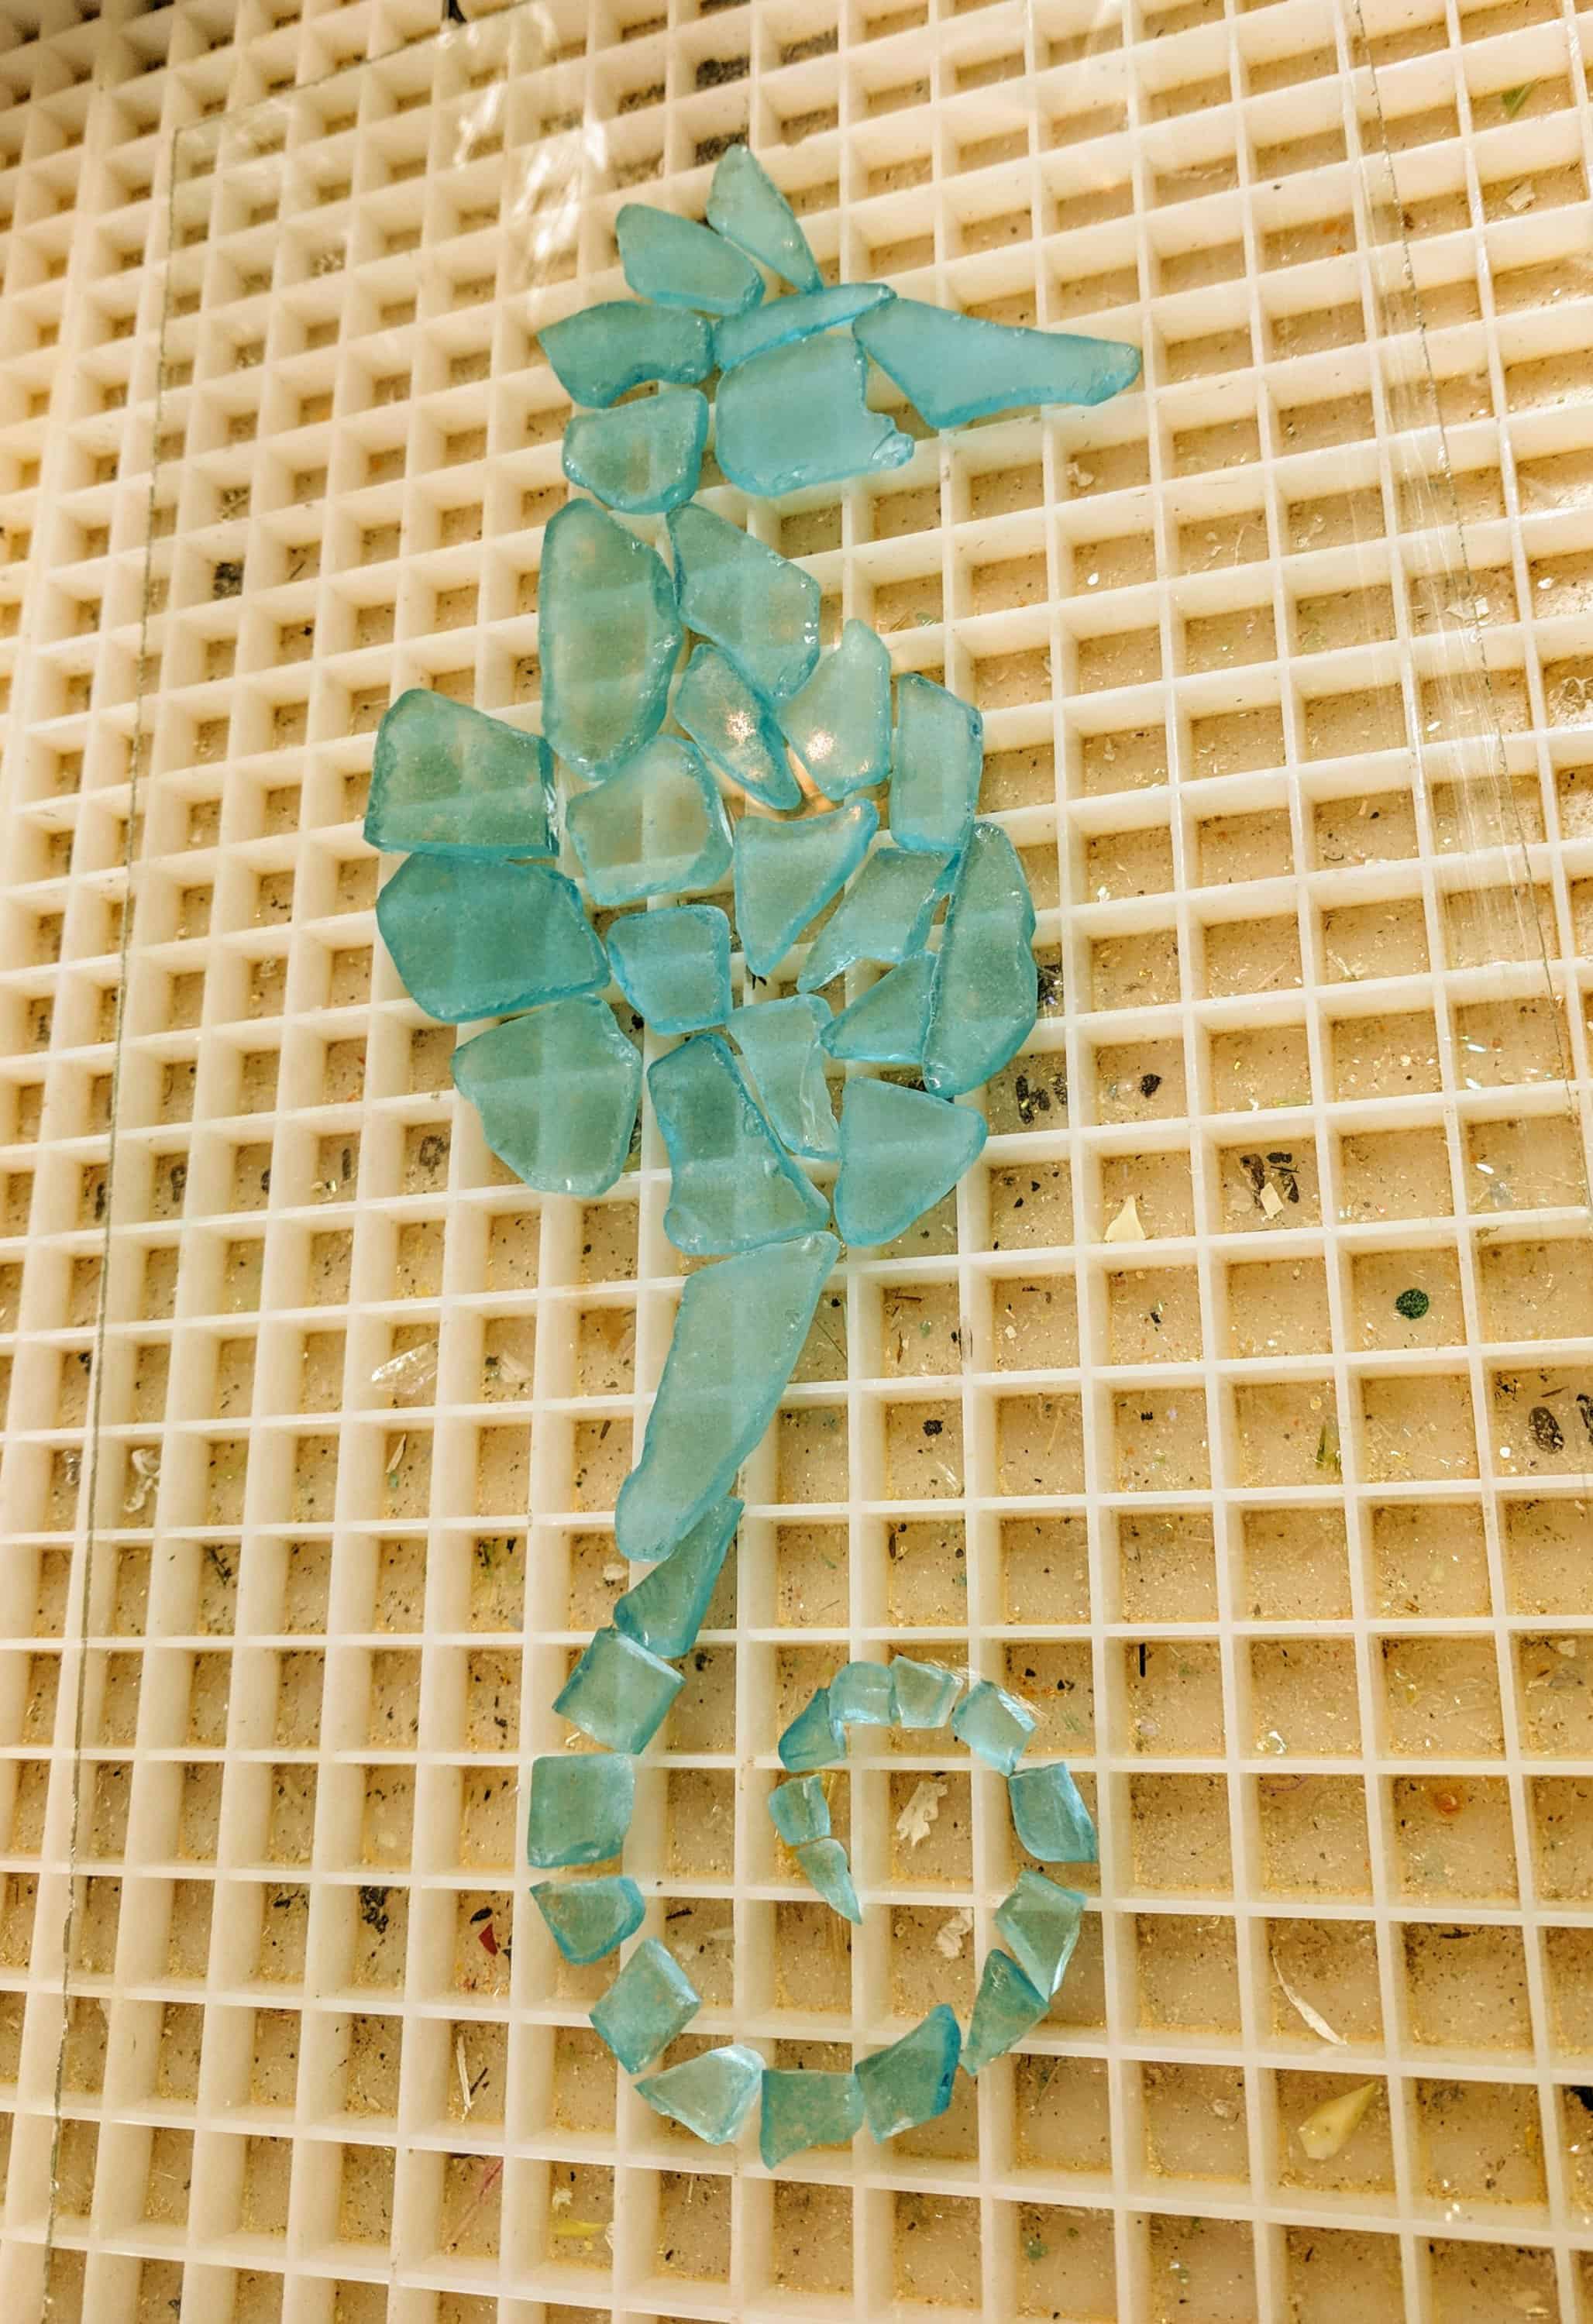
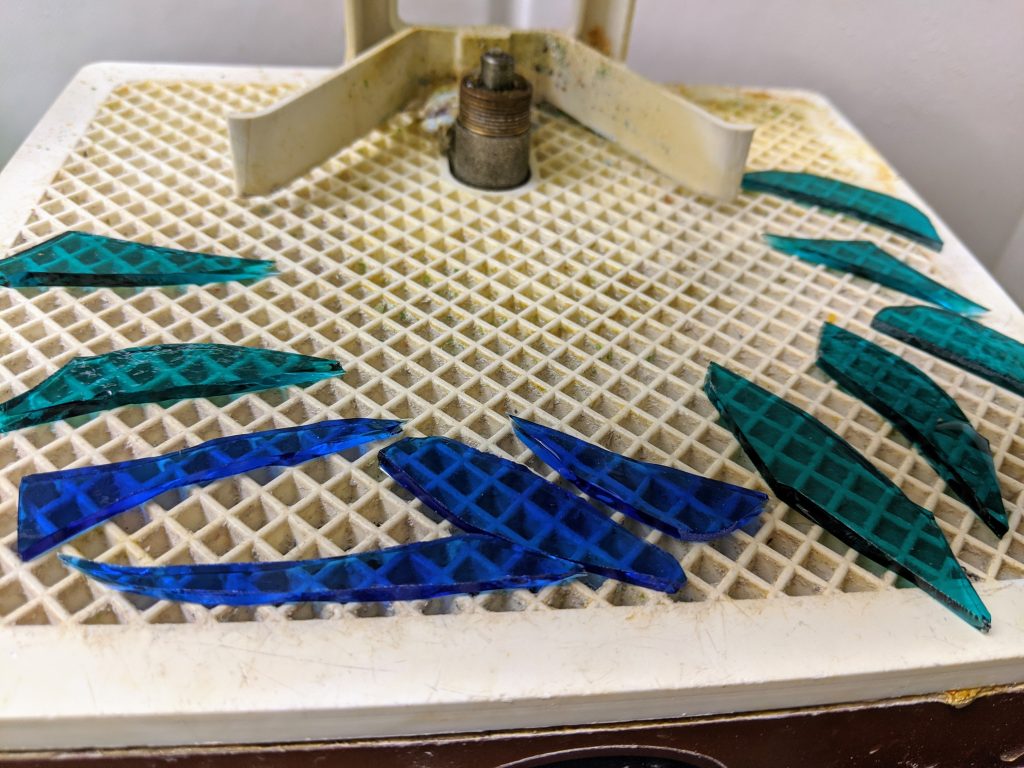
I spent most of the day Monday working on gluing down the pieces I had already cut for the rays of the sun, and making waves to start layering the ocean below the sun. First I rough cut some waves, then used my grinder to shape and smooth the edges.

Ready to grind the glass pieces for the 2nd layer of waves

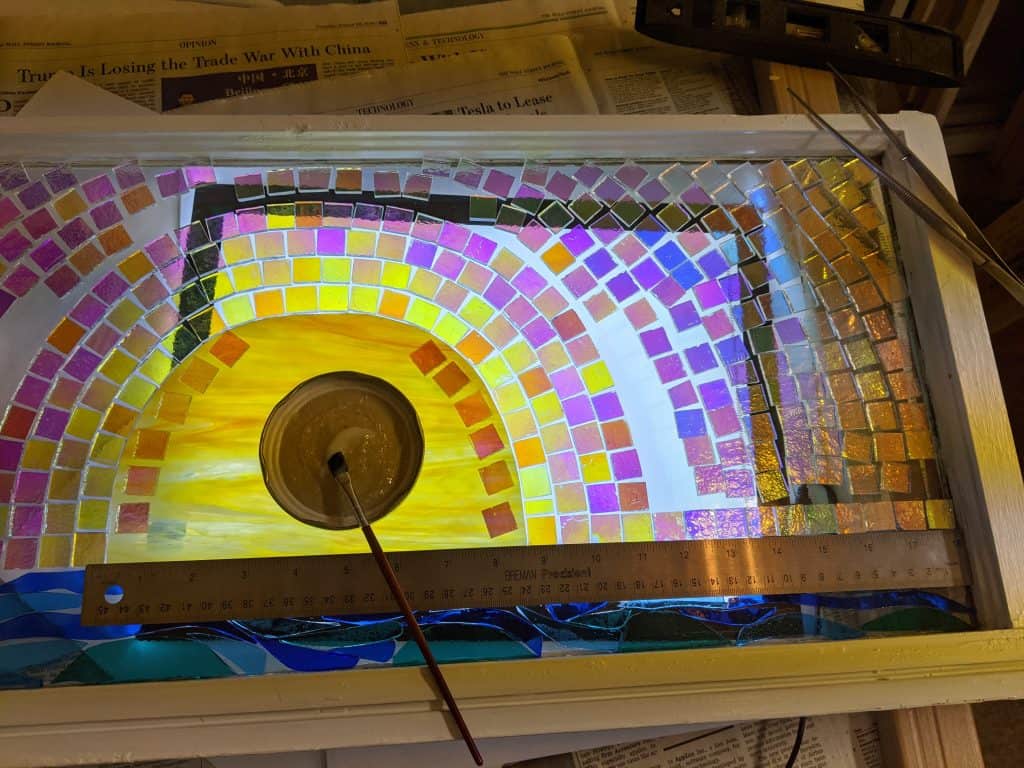
After I got the above pieces ready, I realized that I would need to glue the dichroic glass I had cut and laid out for the suns rays before I started working on the layering for the waves, so I set out to do that.

How the waves / rays looked when I started the day’s work

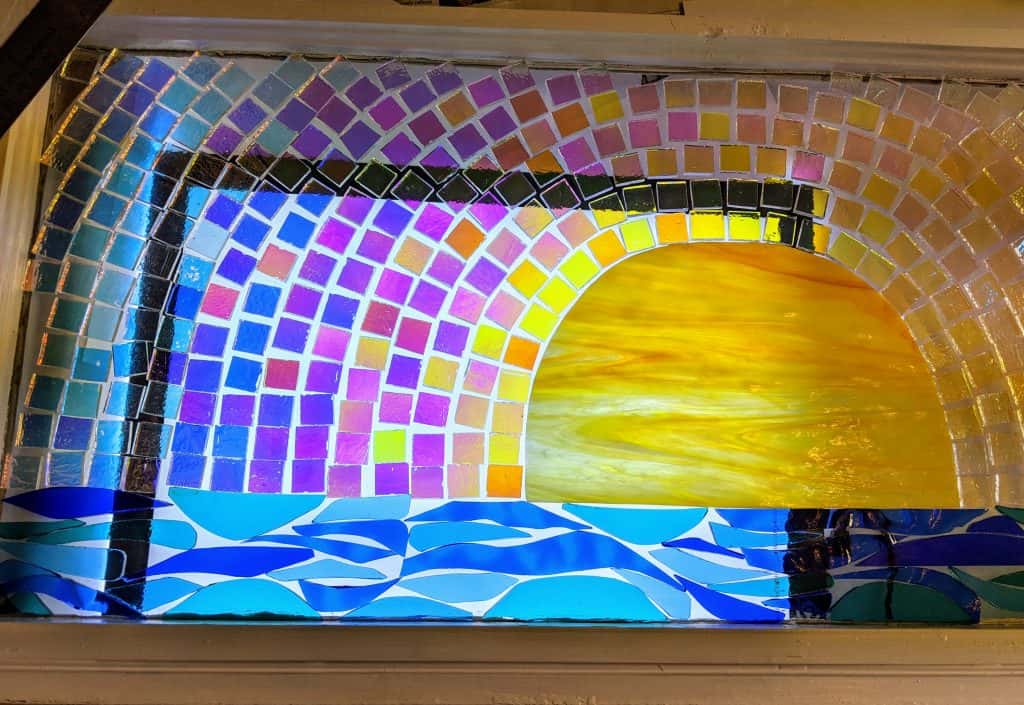
Using Mac mosaic adhesive and a small paint brush, I spread a thin layer of adhesive onto each piece and then position it where I want it. I already did this step for the main ball of the sun and the first layer of waves last week.

Gluing the rays around the sun

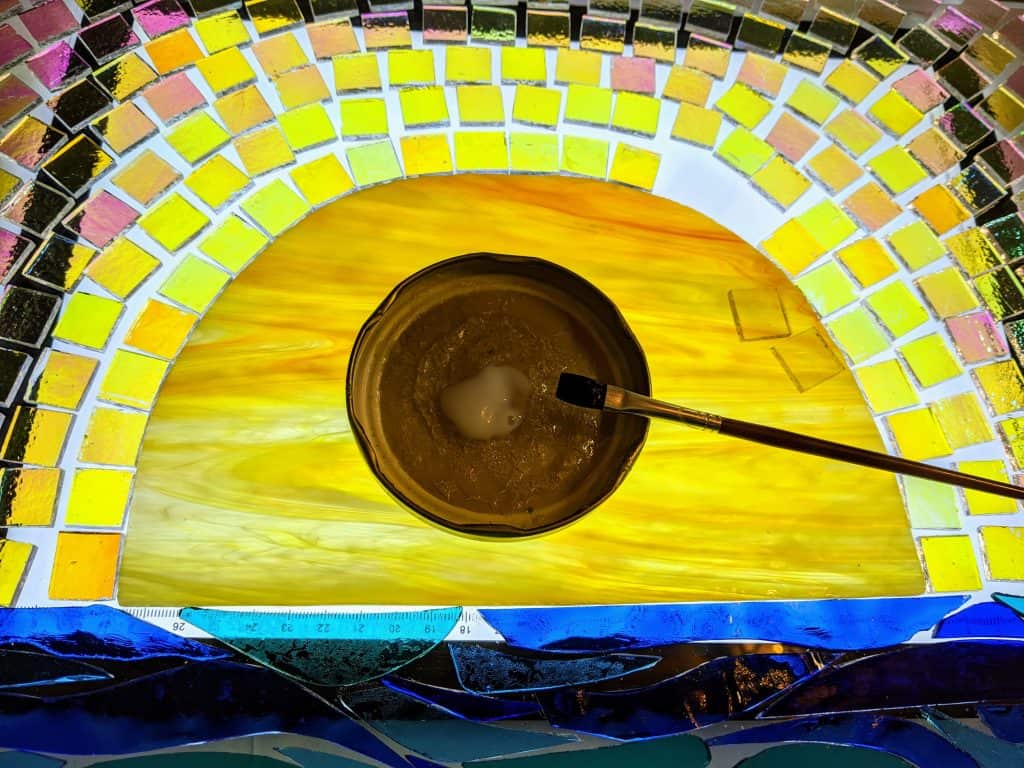
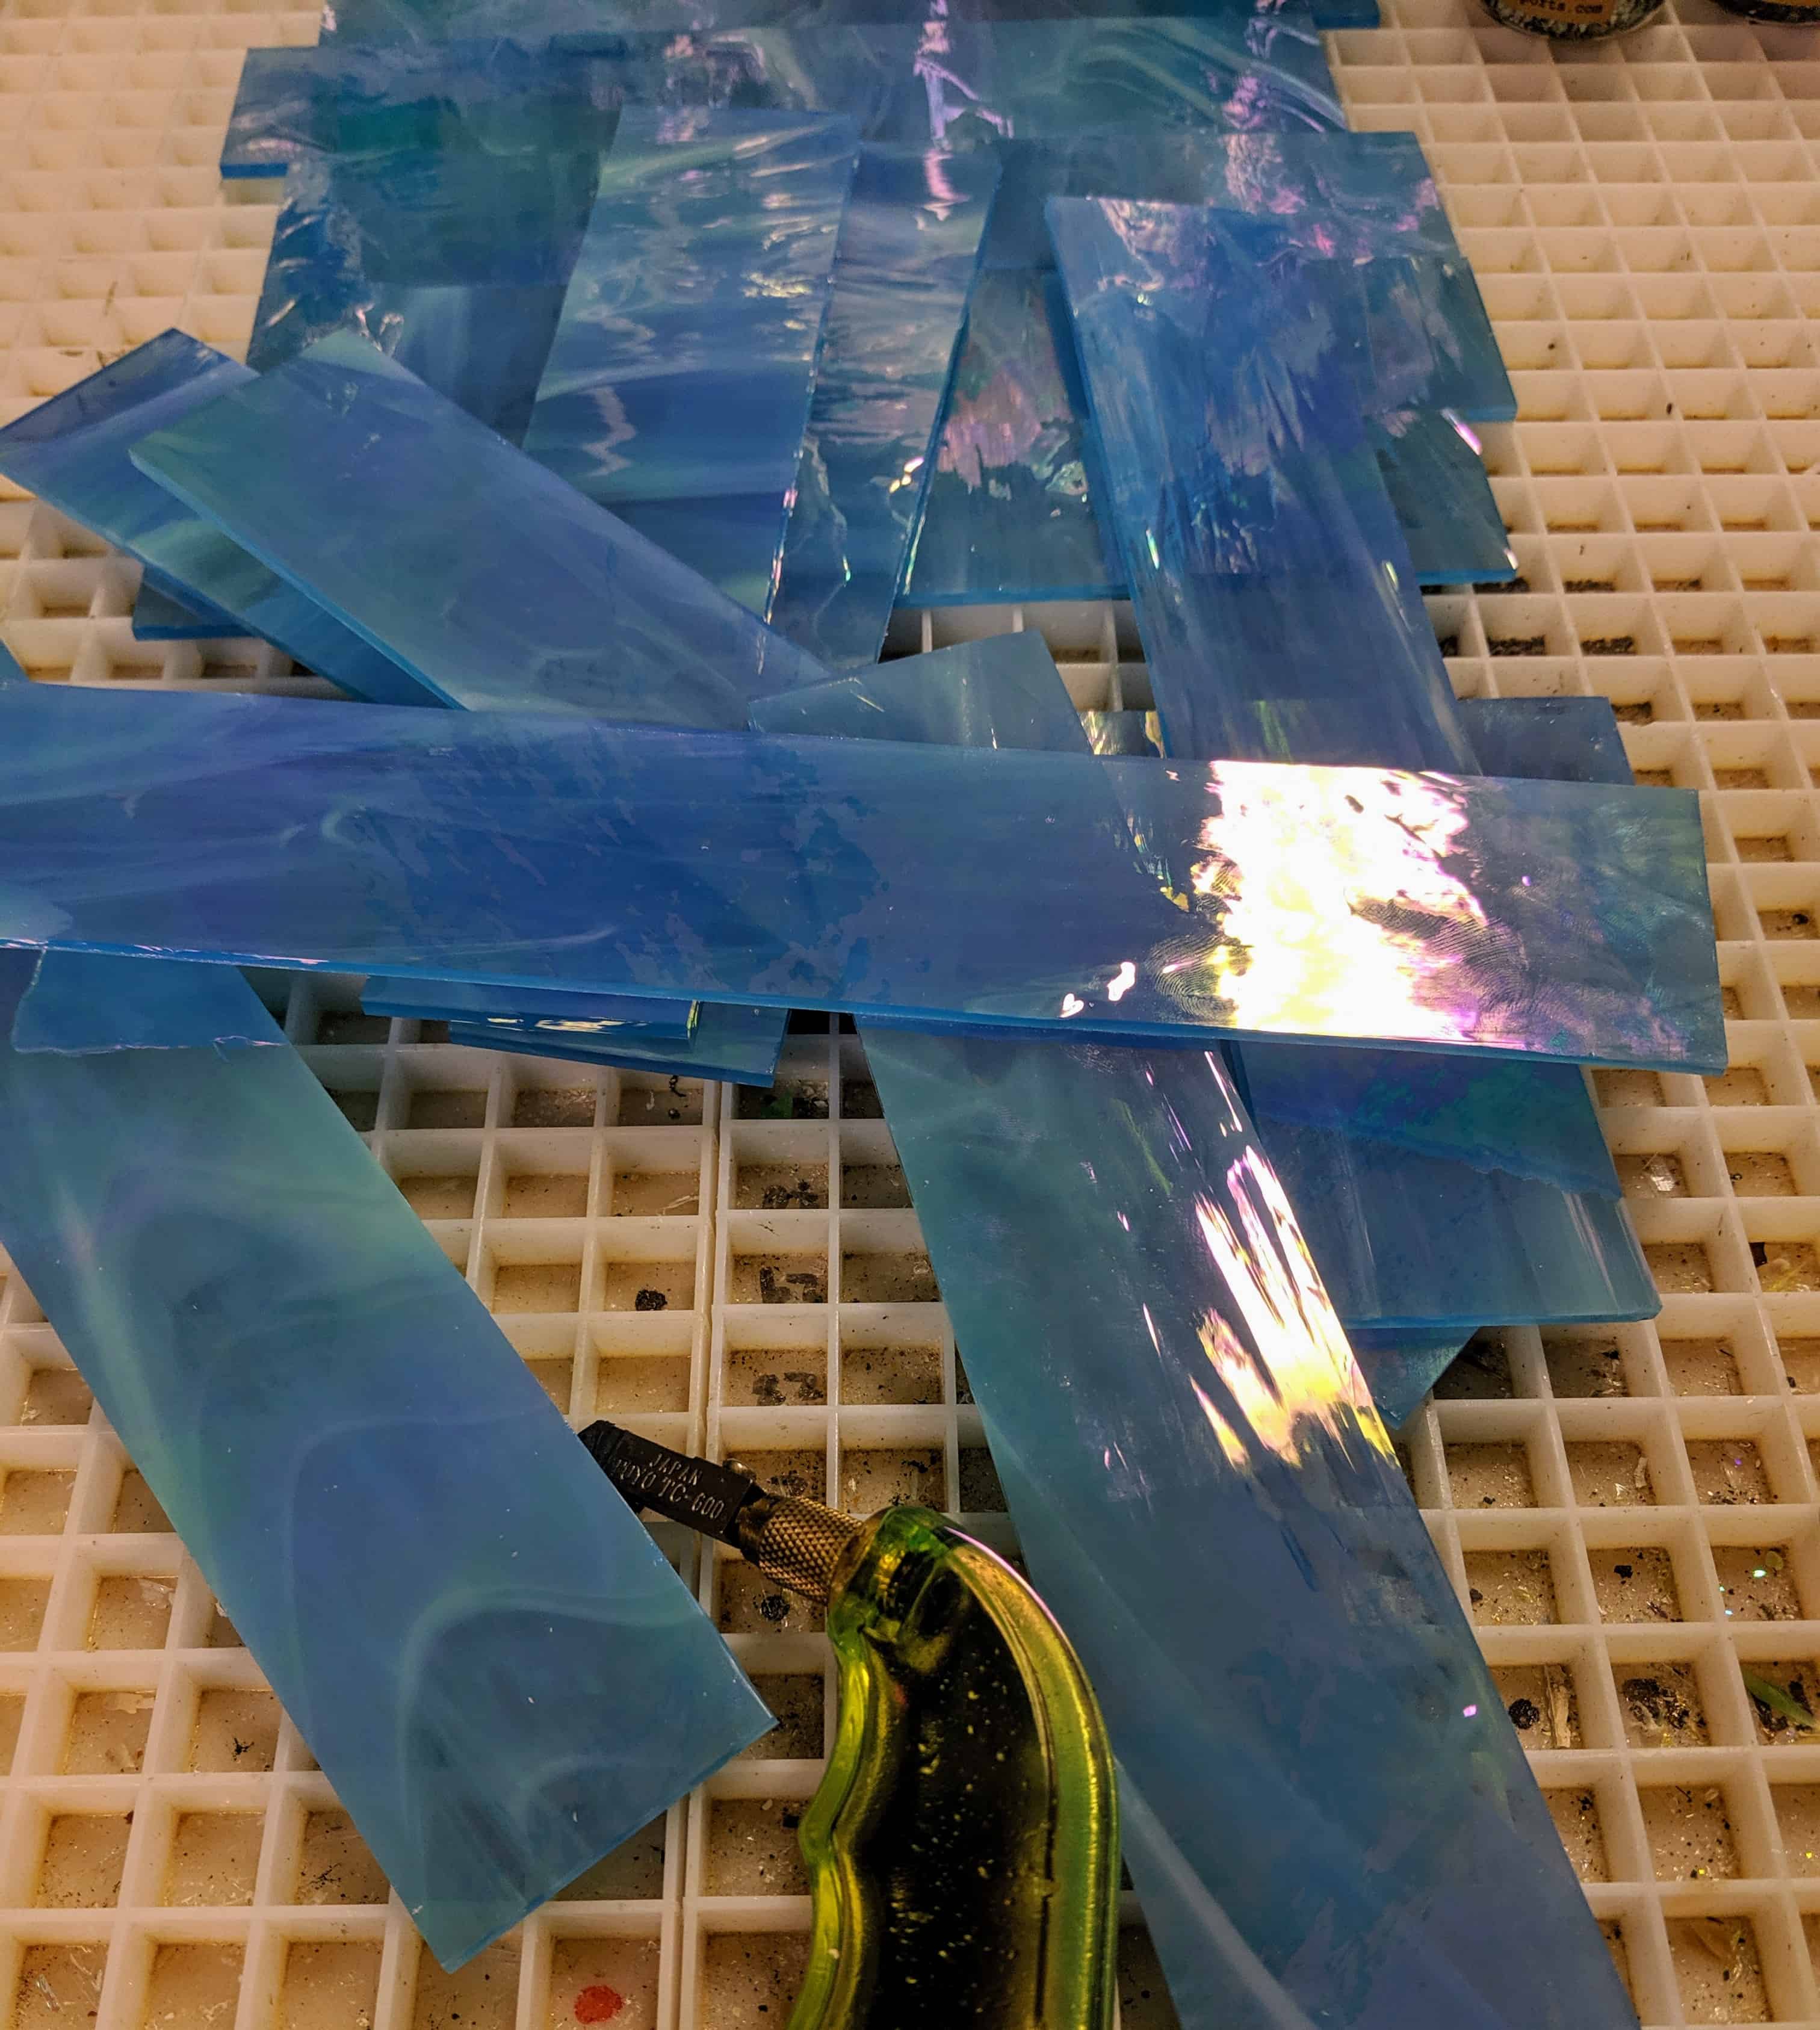
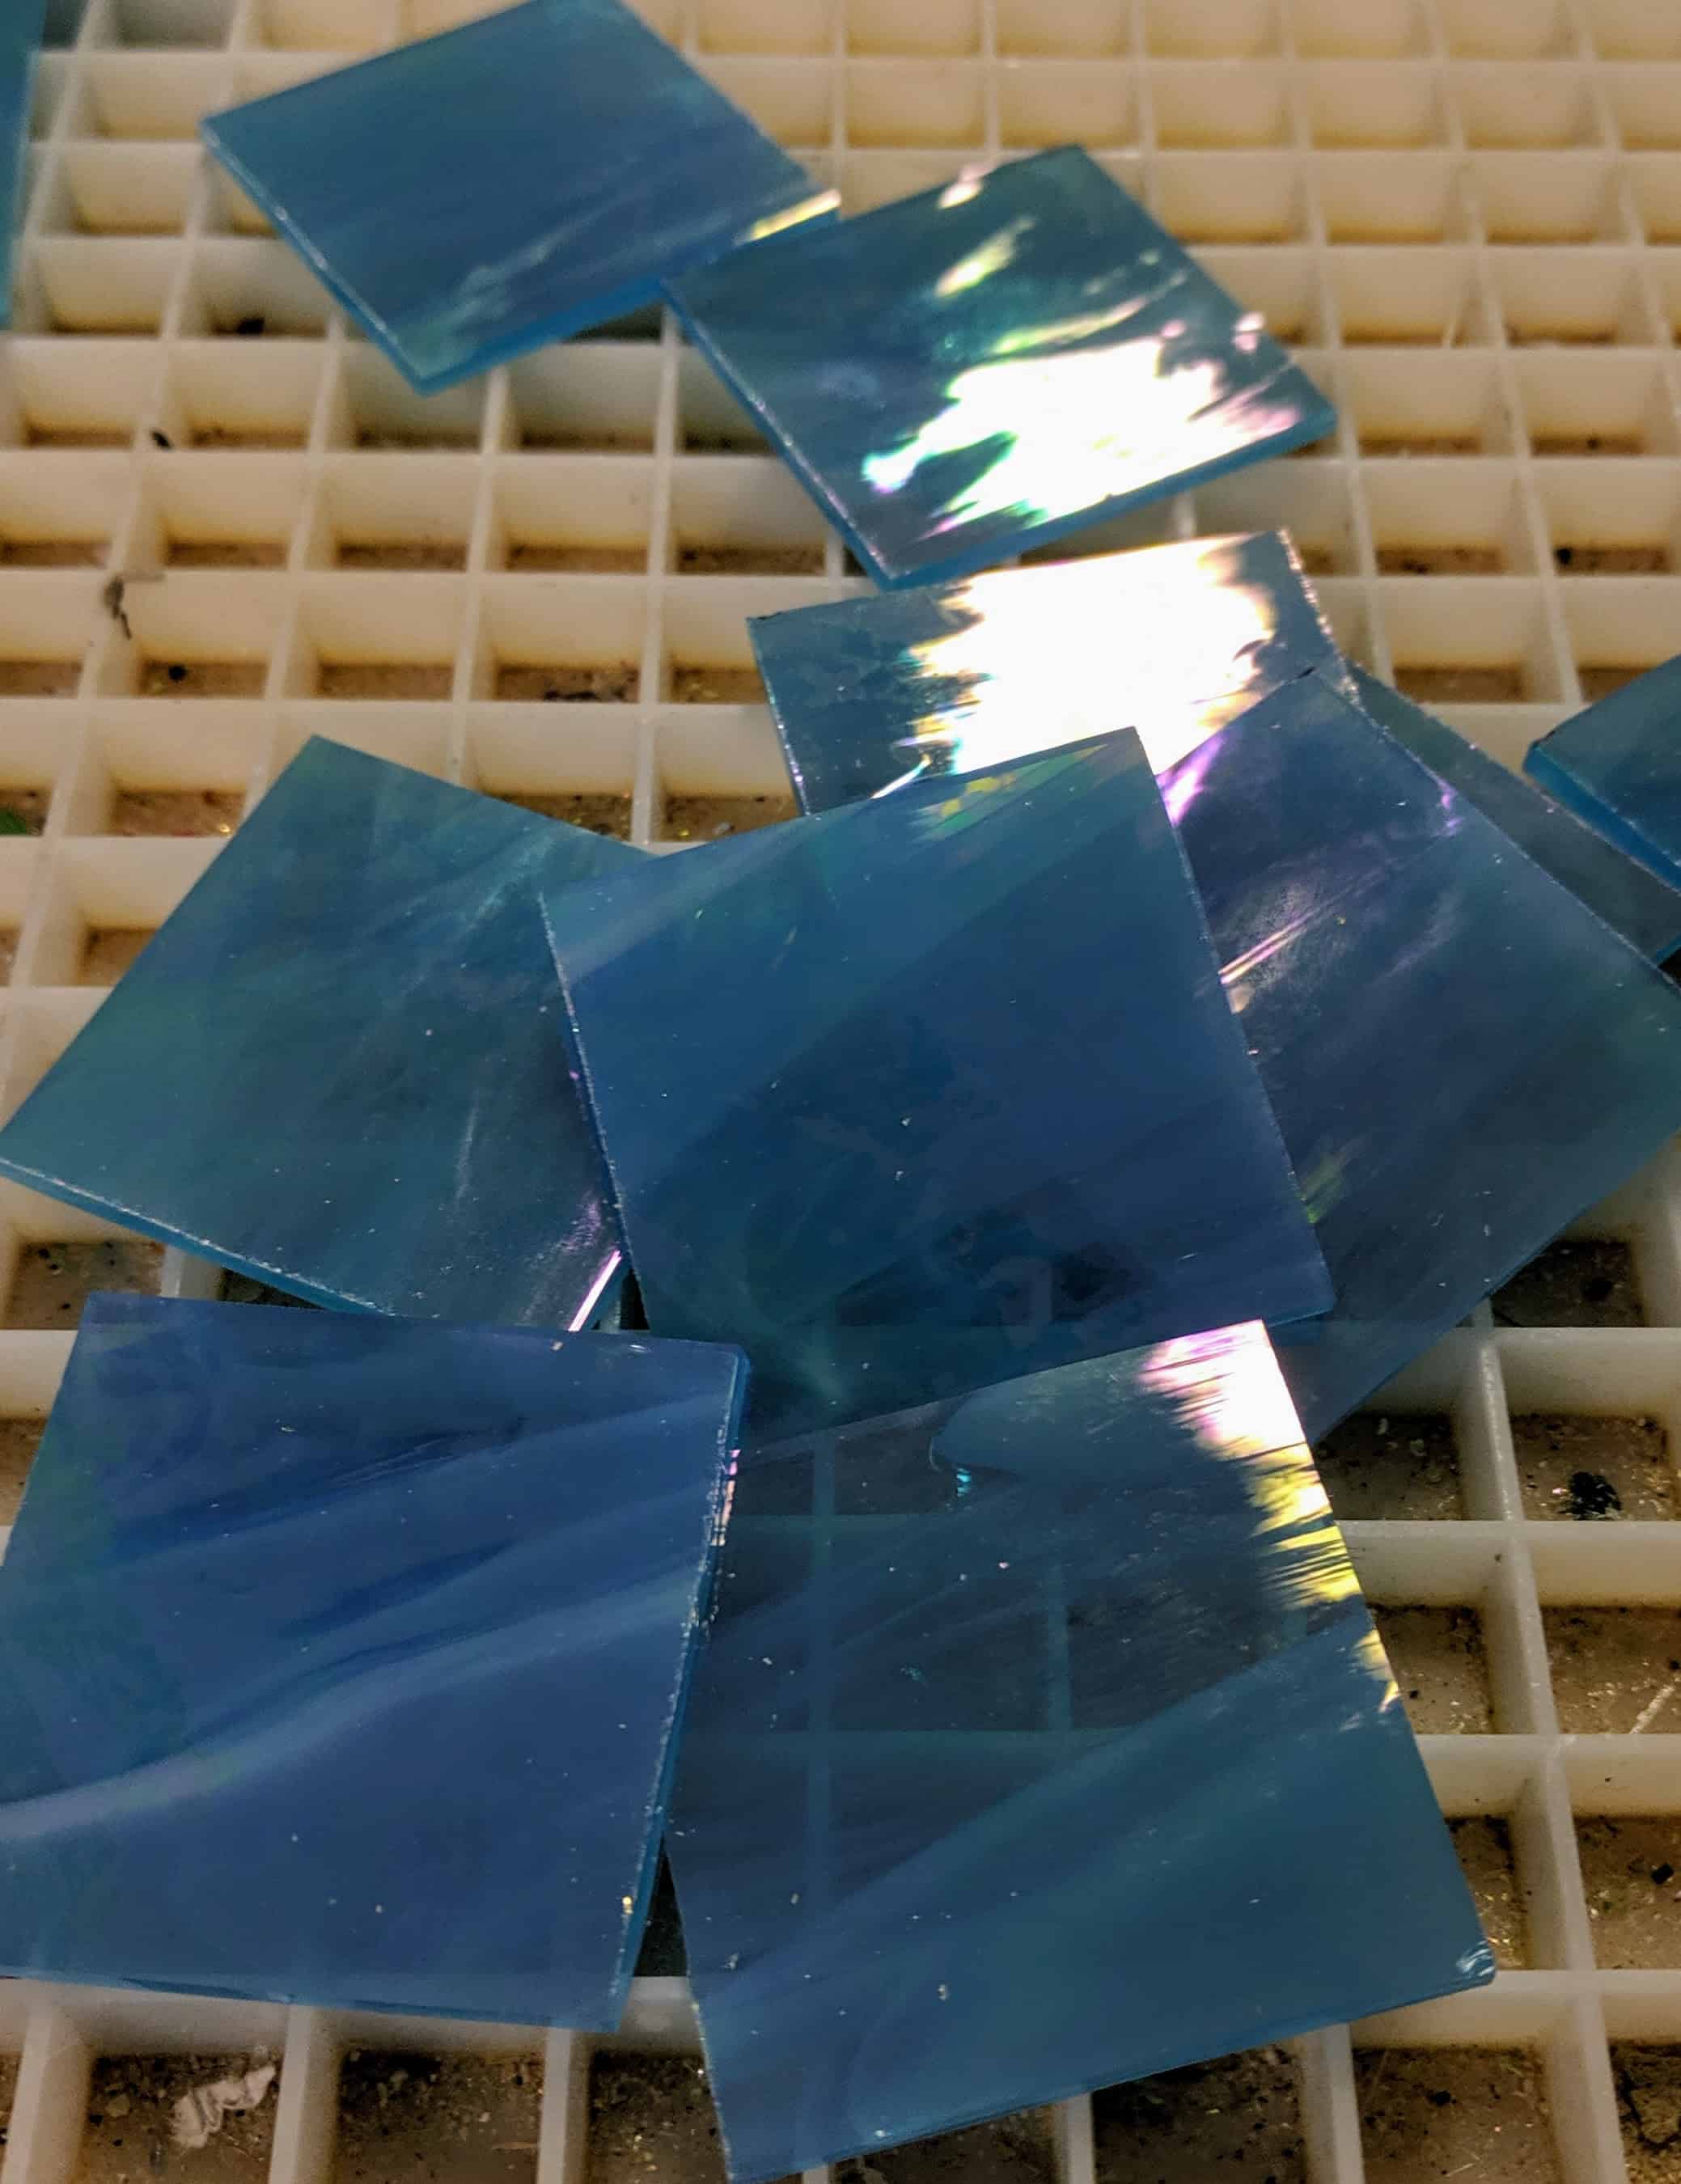
Using a light tray to help me see what I was doing, I worked one row at a time from the inner row to the outer edges. I decided to place the pieces a bit closer together than I previously had them laid out, so I had to rearrange some and also cut quite a few more squares.

Gluing the rays

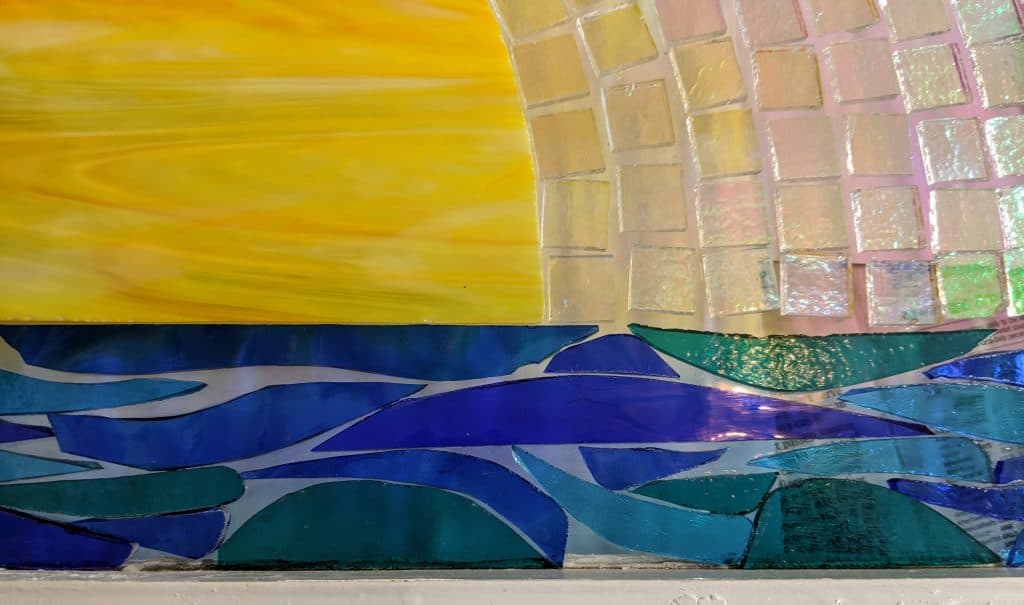
Once I had all of the rays glued down, including the smaller filler pieces at the edges, I started gluing the second layer of waves in place.

Layering the waves

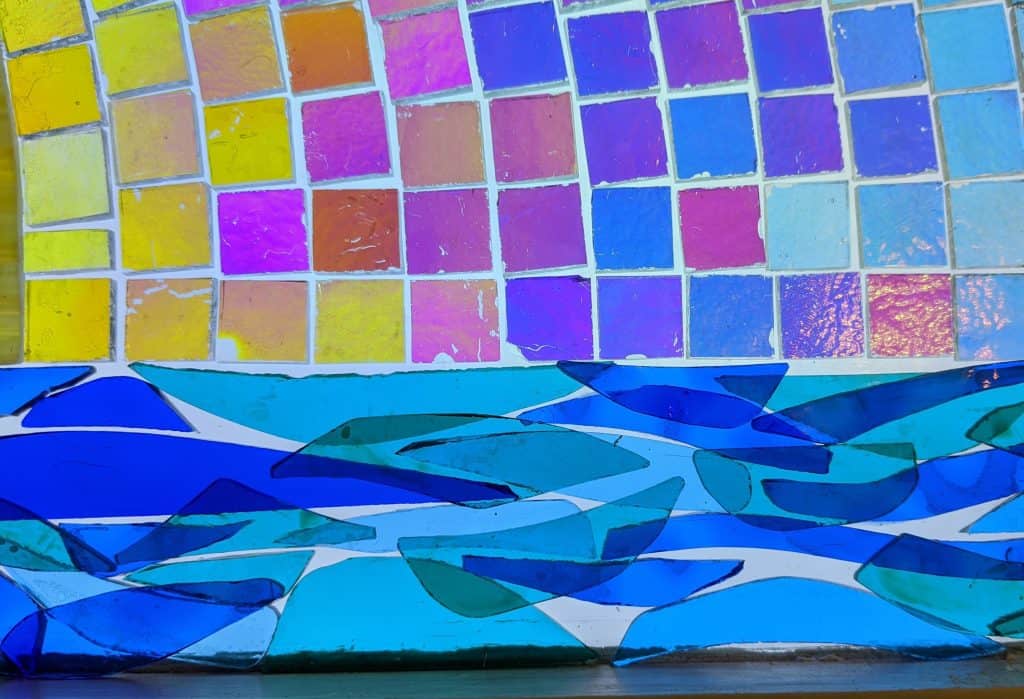
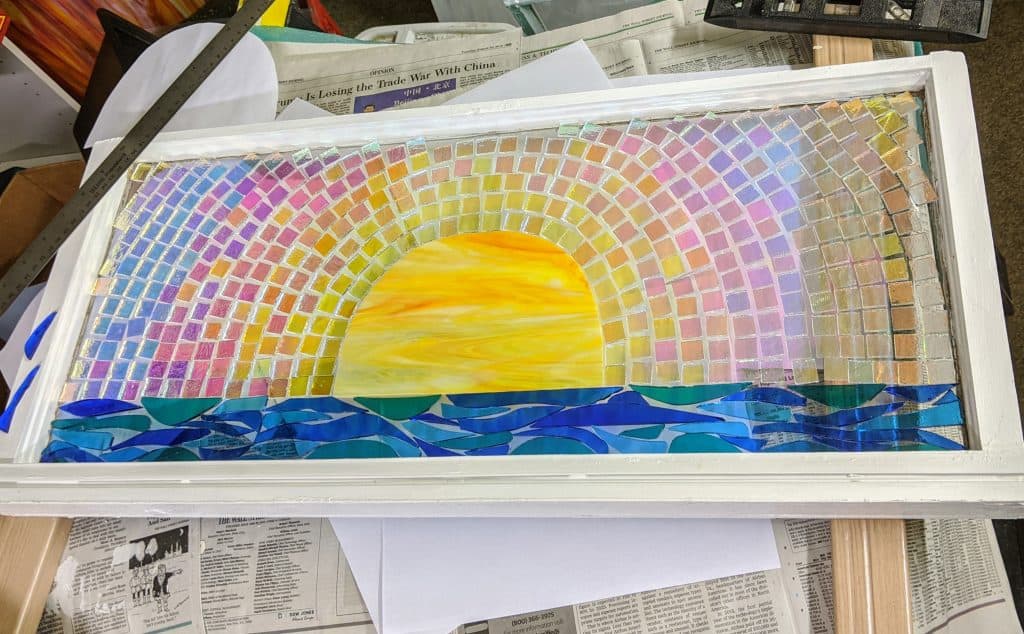
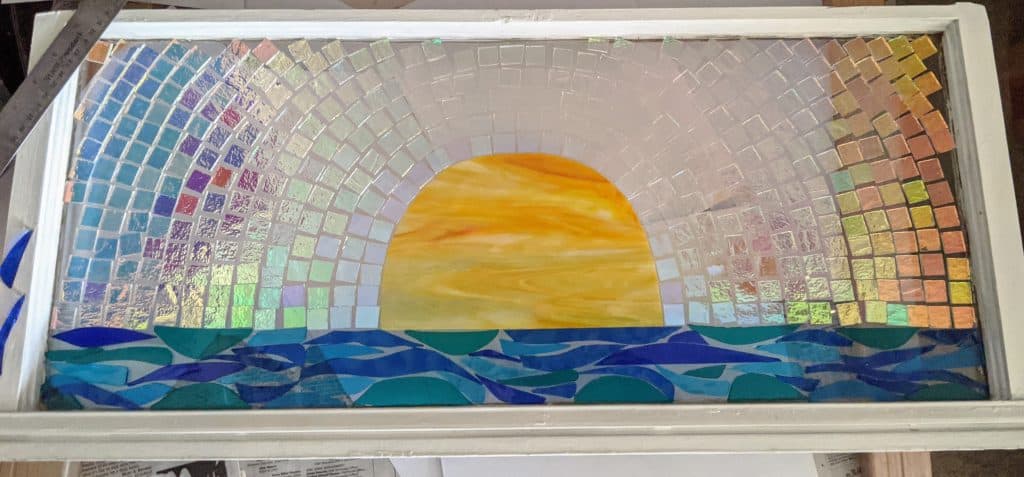
I will need to make quite a few more waves, but I at least got a start on them today. Gluing the rays in place took most of the day. I really want the mosaic adhesive on the rays to have plenty of time to cure before I pour the resin, otherwise they will be cloudy.

How everything looked at the end of today (light tray powered off)
Snapshot with the flash on my camera (phone)
One last snapshot with reflective light

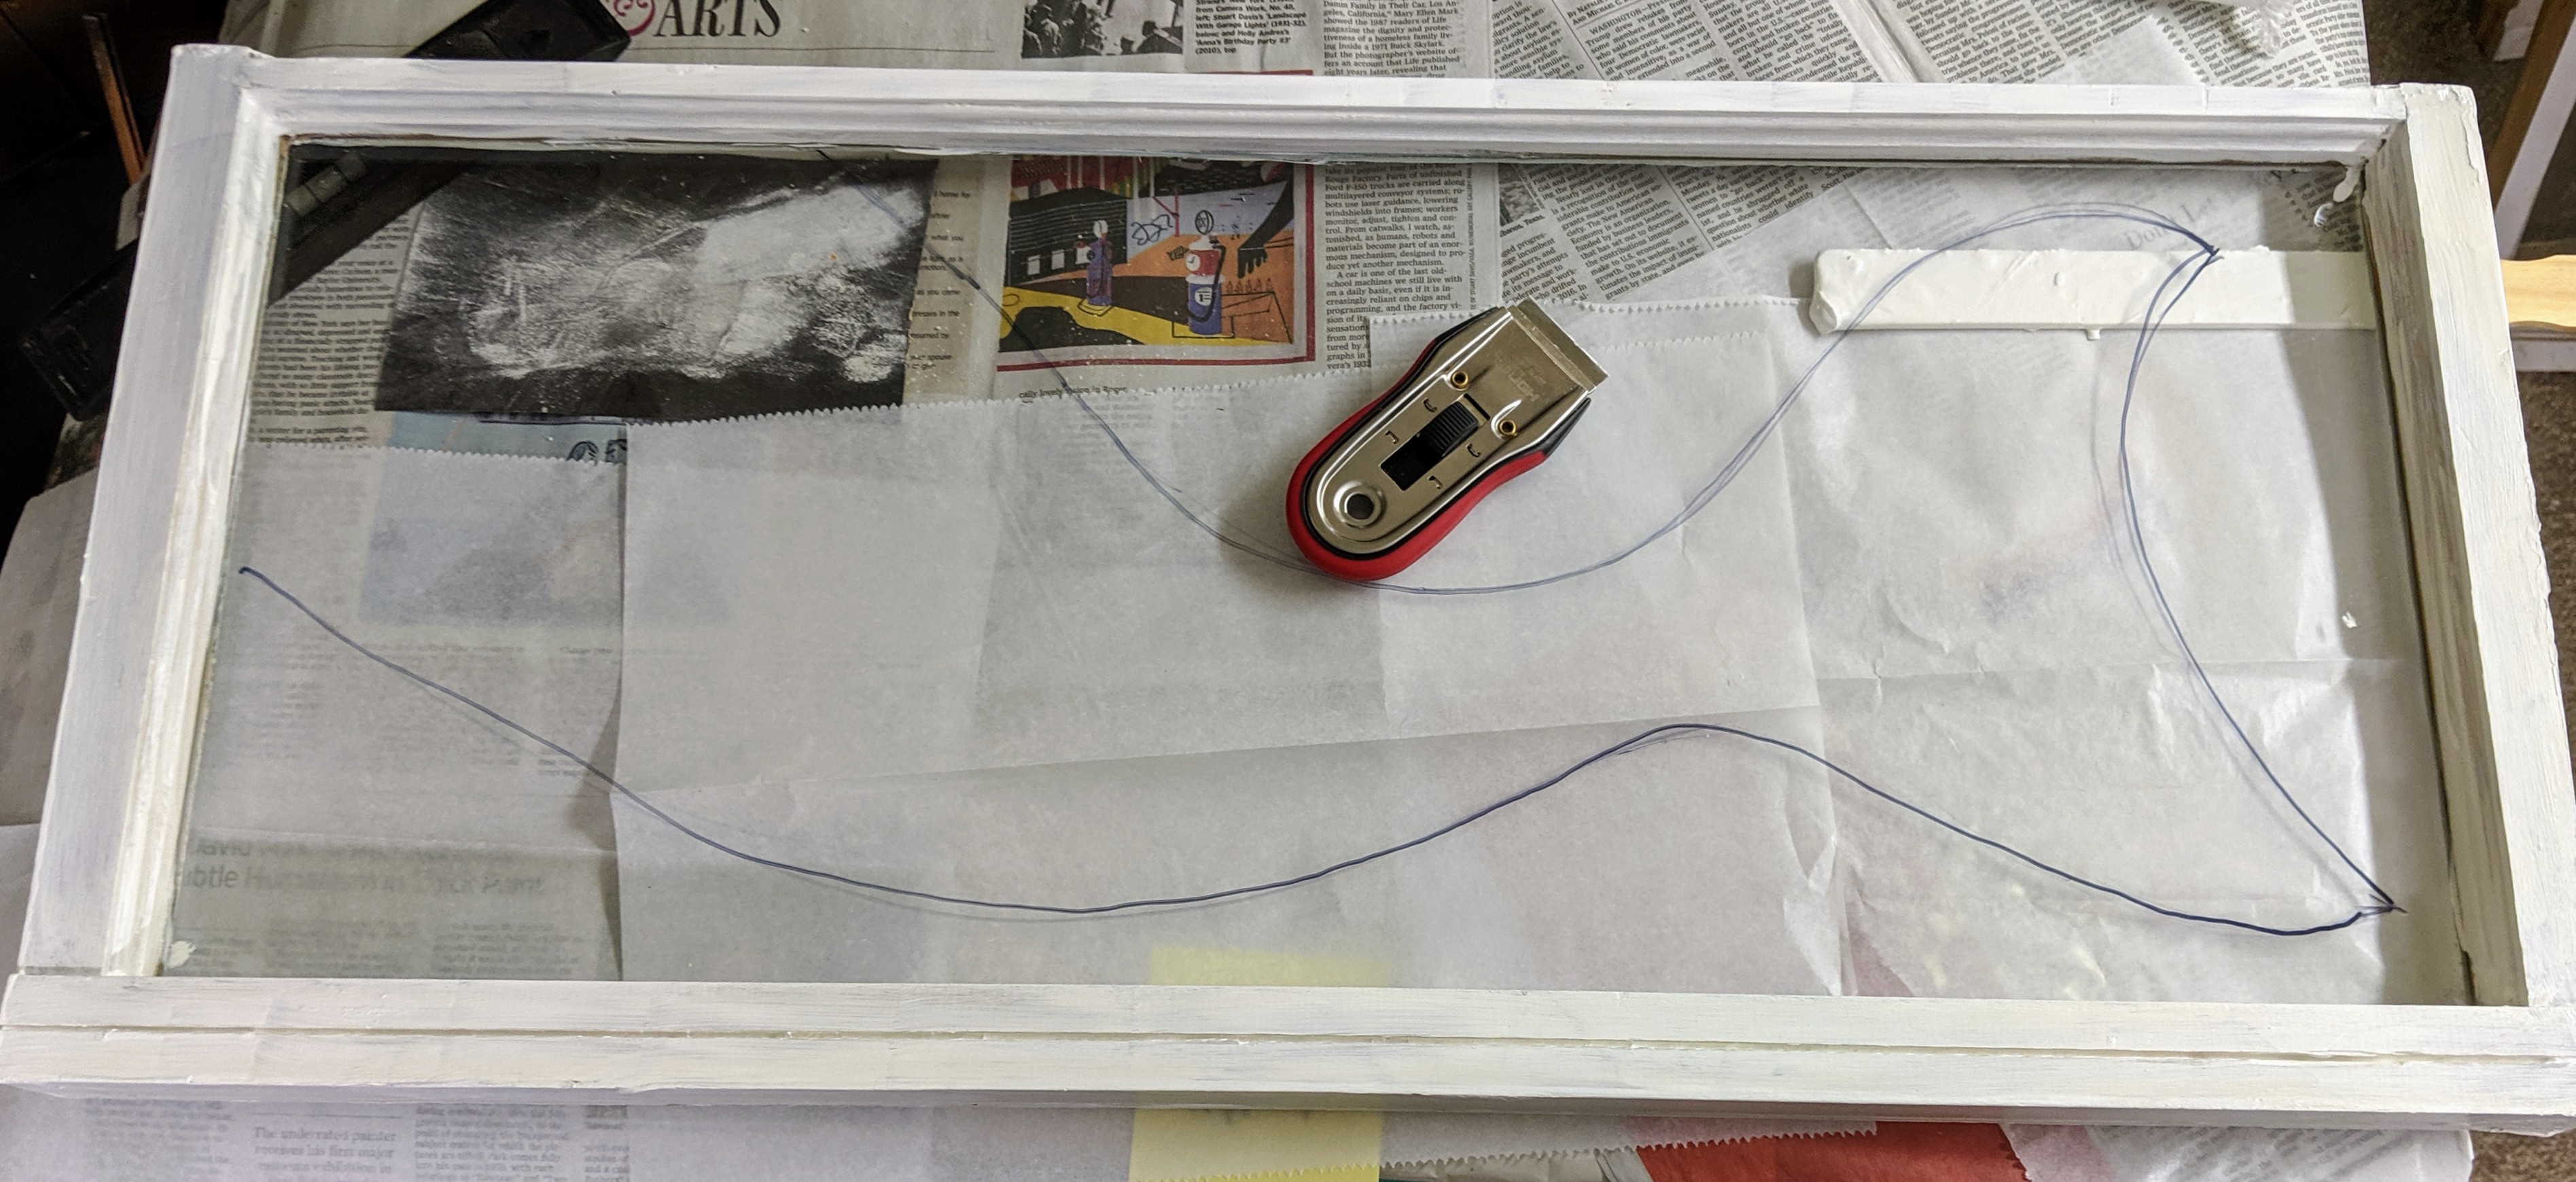
Hopefully I’ll have time on Tuesday to put some additional waves in place. I also need to plan how / if I will embellish the resin when I pour it. I think I would like to do something at least around the edges of the frame.

Sunset and water

I needed to cut some more dichroic squares to fill in the rest of the background on the sunset window, and I got some time this afternoon, so I worked on that.

Cutting squares of light blue / red metallic dichroic glass.

I filled in as I cut, leaving the smaller pieces I will need to cut to fill in the very edges for later. I have been having second thoughts about the overall look of this the past several days, so I haven’t glued anything in place yet. I also worked on the water / waves underneath the sun. So far I’m pretty pleased with the look of the waves. Now the challenge will be gluing the waves in place without jostling the rest of the pieces around too much.

Filling in the edges using a light table.

The colors of this glass when the light table is underneath the window are surprisingly bright. I love working with this dichro glass. I am hoping the look of the blue squares I added on the edges today will have the effect I’m going for, as the reflecting color of the dichroic coating is metallic red on these pieces as opposed to silver / gold on the rest of the sunset’s rays.

Closeup of the area above the light table

I tried to get some photos with the light table off and a bit more reflective light, but it’s pretty challenging to do with my phone in this lighting. Later on I’ll get my husband to help with the photos, as he’s got better equipment and a lot more experience taking photos.

Ambient light in the room.
More reflective angle.

I still need to glue down these pieces, then start cutting smaller pieces to fill in the gaps, especially around the edges and between the waves. I might try using some decorative flakes in the resin when I pour it, but I’m several days away from getting to that point right now. At least my confidence is up quite a bit now that I have most of the window filled in. I was procrastinating because I was afraid it would look too simplistic, but the progress I made today has made me more satisfied with the overall look. I will probably layer the waves to give them more texture, so they will have more depth (no pun intended).

Park Circle Farmers Market

I’ll be at the N. Charleston Farmers Market every Thursday in September and October (weather permitting). Come check out my booth!

Done with the tail

It’s not the best photo (I’m really not good at photographing these), but here is the finished Mermaid Tail Mosaic. Time to clean up a couple more old windows to recycle into the next artwork!

Mermaid Tail – stained glass, glass chips / flakes / globs, etc. set in resin, in a recycled window. Approximately 13.5″ x 30″

Tale of a Tail

I was having a bit of a mental block with the mermaid tail mosaic, but today I forged ahead and got it pretty much ready to pour the resin after the glue dries, maybe tomorrow.

Tail with slight shape adjustments

After I reshaped the tail slightly, I started trying out some different options for decorating.

Some glass balls on the edge?
Some seaweed?
Some small seaweed and bubbles?

I finally decided I liked the small seaweed and bubbles. I added some swirls and plan to add a variety of glass chips when I pour the resin.

Just waiting for the glue to dry now.

Starting a New Mosaic

I’ve been pretty busy making beads (petmemorybeads.com) the past couple of weeks, but today I took some time to start another mosaic. I started with a huge sheet of Spectrum light blue iridized glass that I have been holding onto for a long time. I cut a good sized chunk of it off so it would fit on my work space and started to make pieces for the mosaic.

What was left after I cut some off for the mosaic.

Next I cut the smaller piece of glass into strips, and then into squares, and again into triangles and started arranging them on the window where I drew a mermaid’s tail a week or two ago.

Strips of glass
Squares of glass


First I laid out the outline of her tail, then started filling in the gaps.

Laying out the edges first

I haven’t glued anything down yet, just getting a feel for how it looks. I need to eyeball it for awhile to make sure I like where it is going before I commit with glue. I plan on filling in some more and then decorating with some glass embellishments after I pour the resin. I also need to decide how I want to decorate the background areas – will there be shells and seaweed? Maybe some swirls and bubbles? Still need to figure that out.

Most of the basic shape complete

Seahorse #2 Poured

So it took a lot longer than I planned to pour the background for this cute guy, but it’s finally ready to cure. I used approximately 40 ml of resin, and had planned to do it in stages so I could tape the edges, but I decided to try another approach. I think I am getting the hang of containing the resin a bit better. Next time I should tape the glass before I start the mosaic.

Poured the resin – now to wait for it to cure

Seahorse #2 on its way

The upside to redoing a piece you cracked is you can improve the things you weren’t satisfied with the first time around. This little guy hasn’t been glued yet, but he will be – hopefully over the next few days. I used a darker color of beach glass because the resin coating really cut down on the color of the first seahorse and I didn’t feel like it stood out as much as I had anticipated. I also noticed that the resin seemed to add a lot of “bulk” to the first seahorse, where I was going for a leaner line. I might have let the pieces float a bit when I poured the resin (will have to make sure that doesn’t happen this time around), but I also elongated this little guy a bit to compensate. I will likely rethink the background / border a bit, as well, though I haven’t figured out where I’m going with those yet.