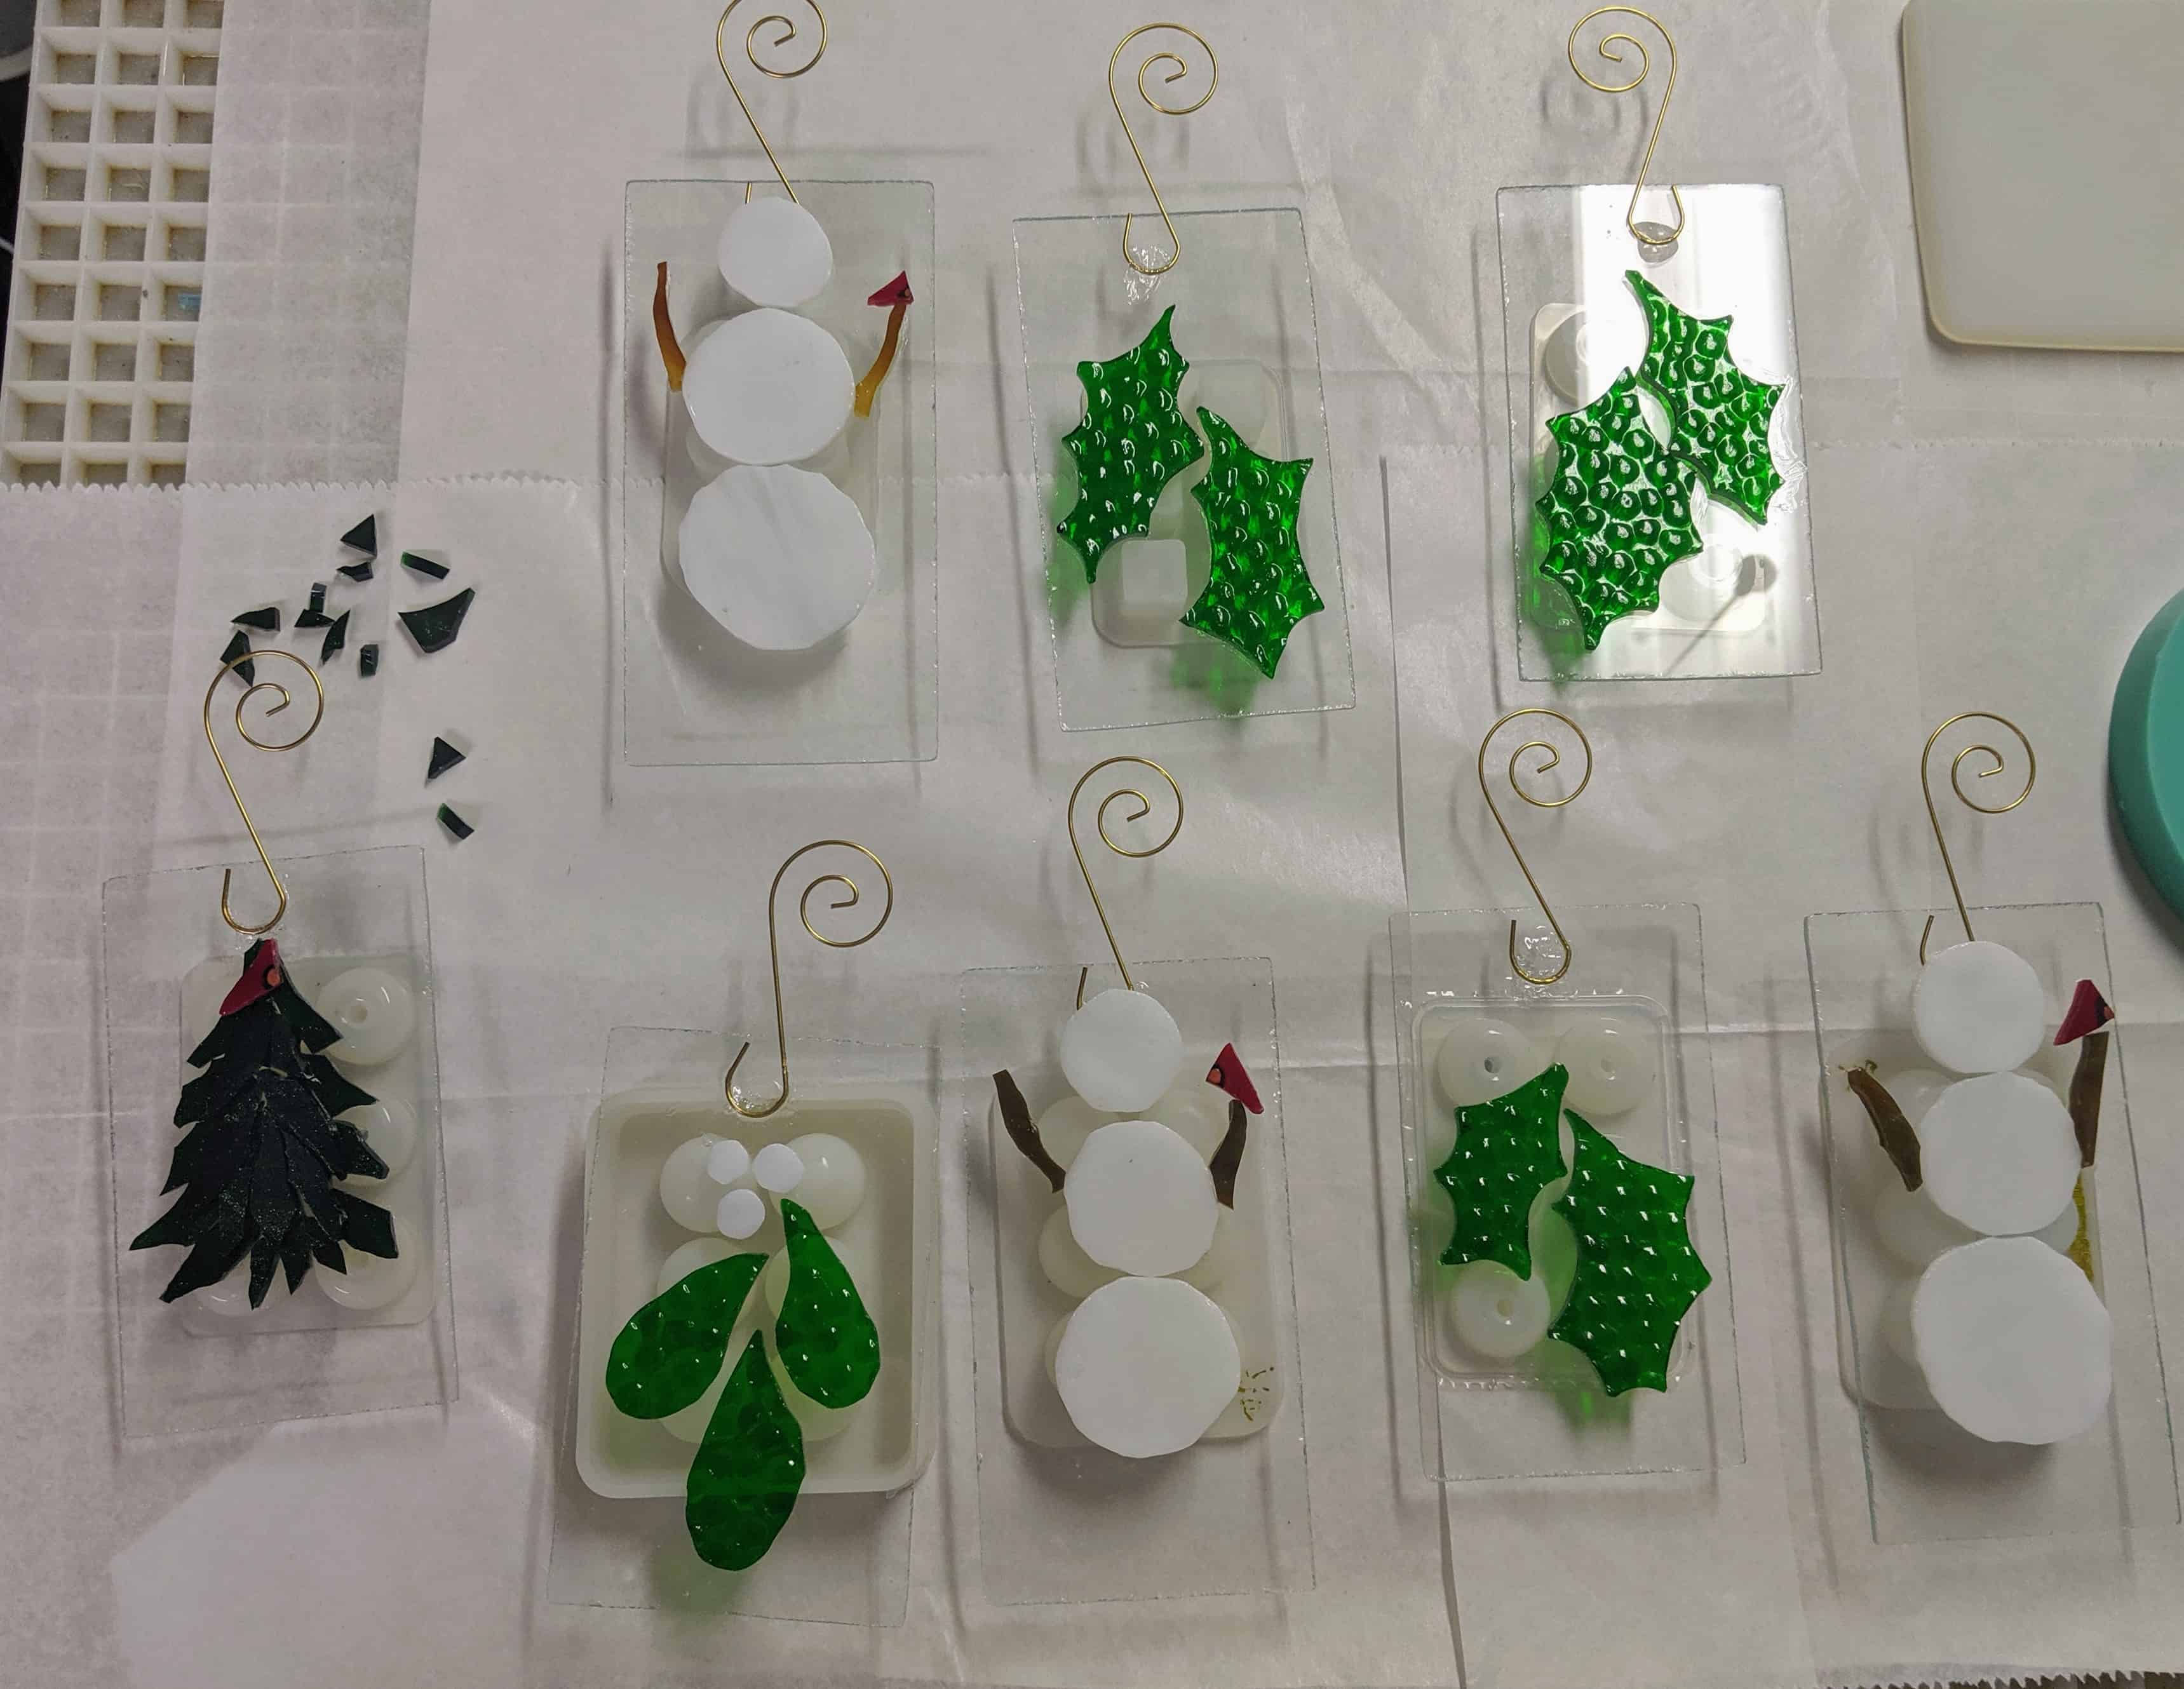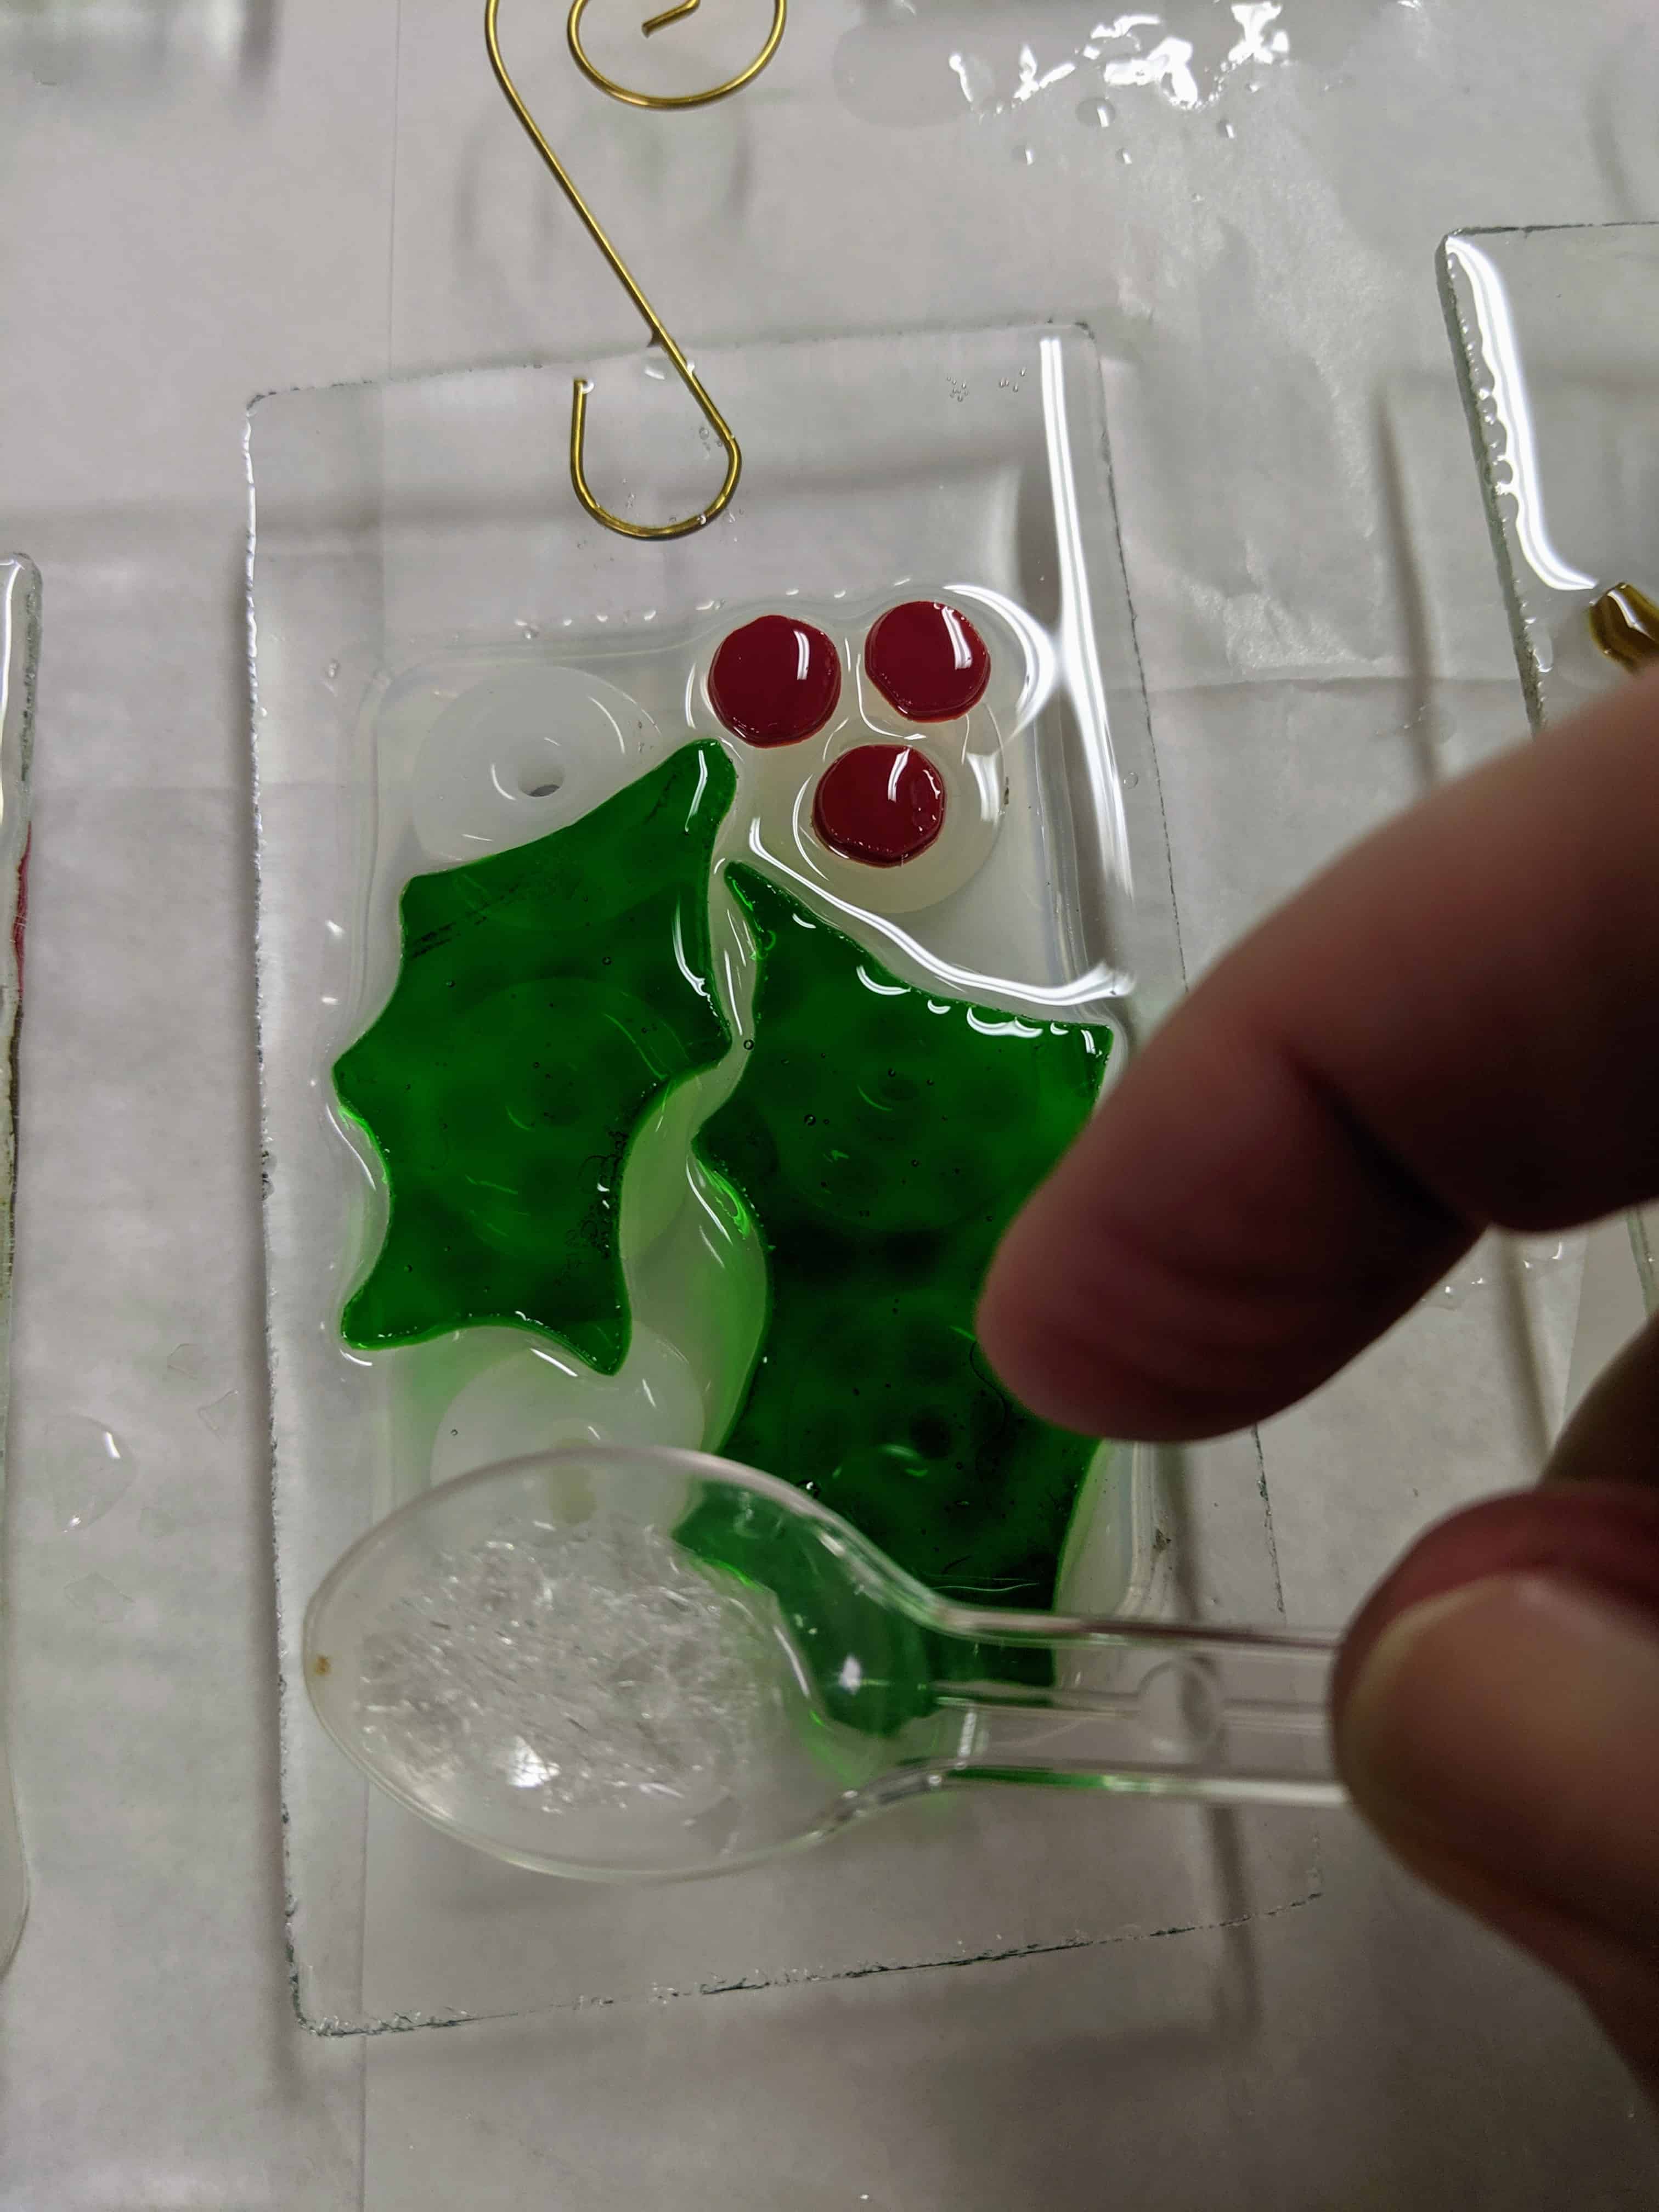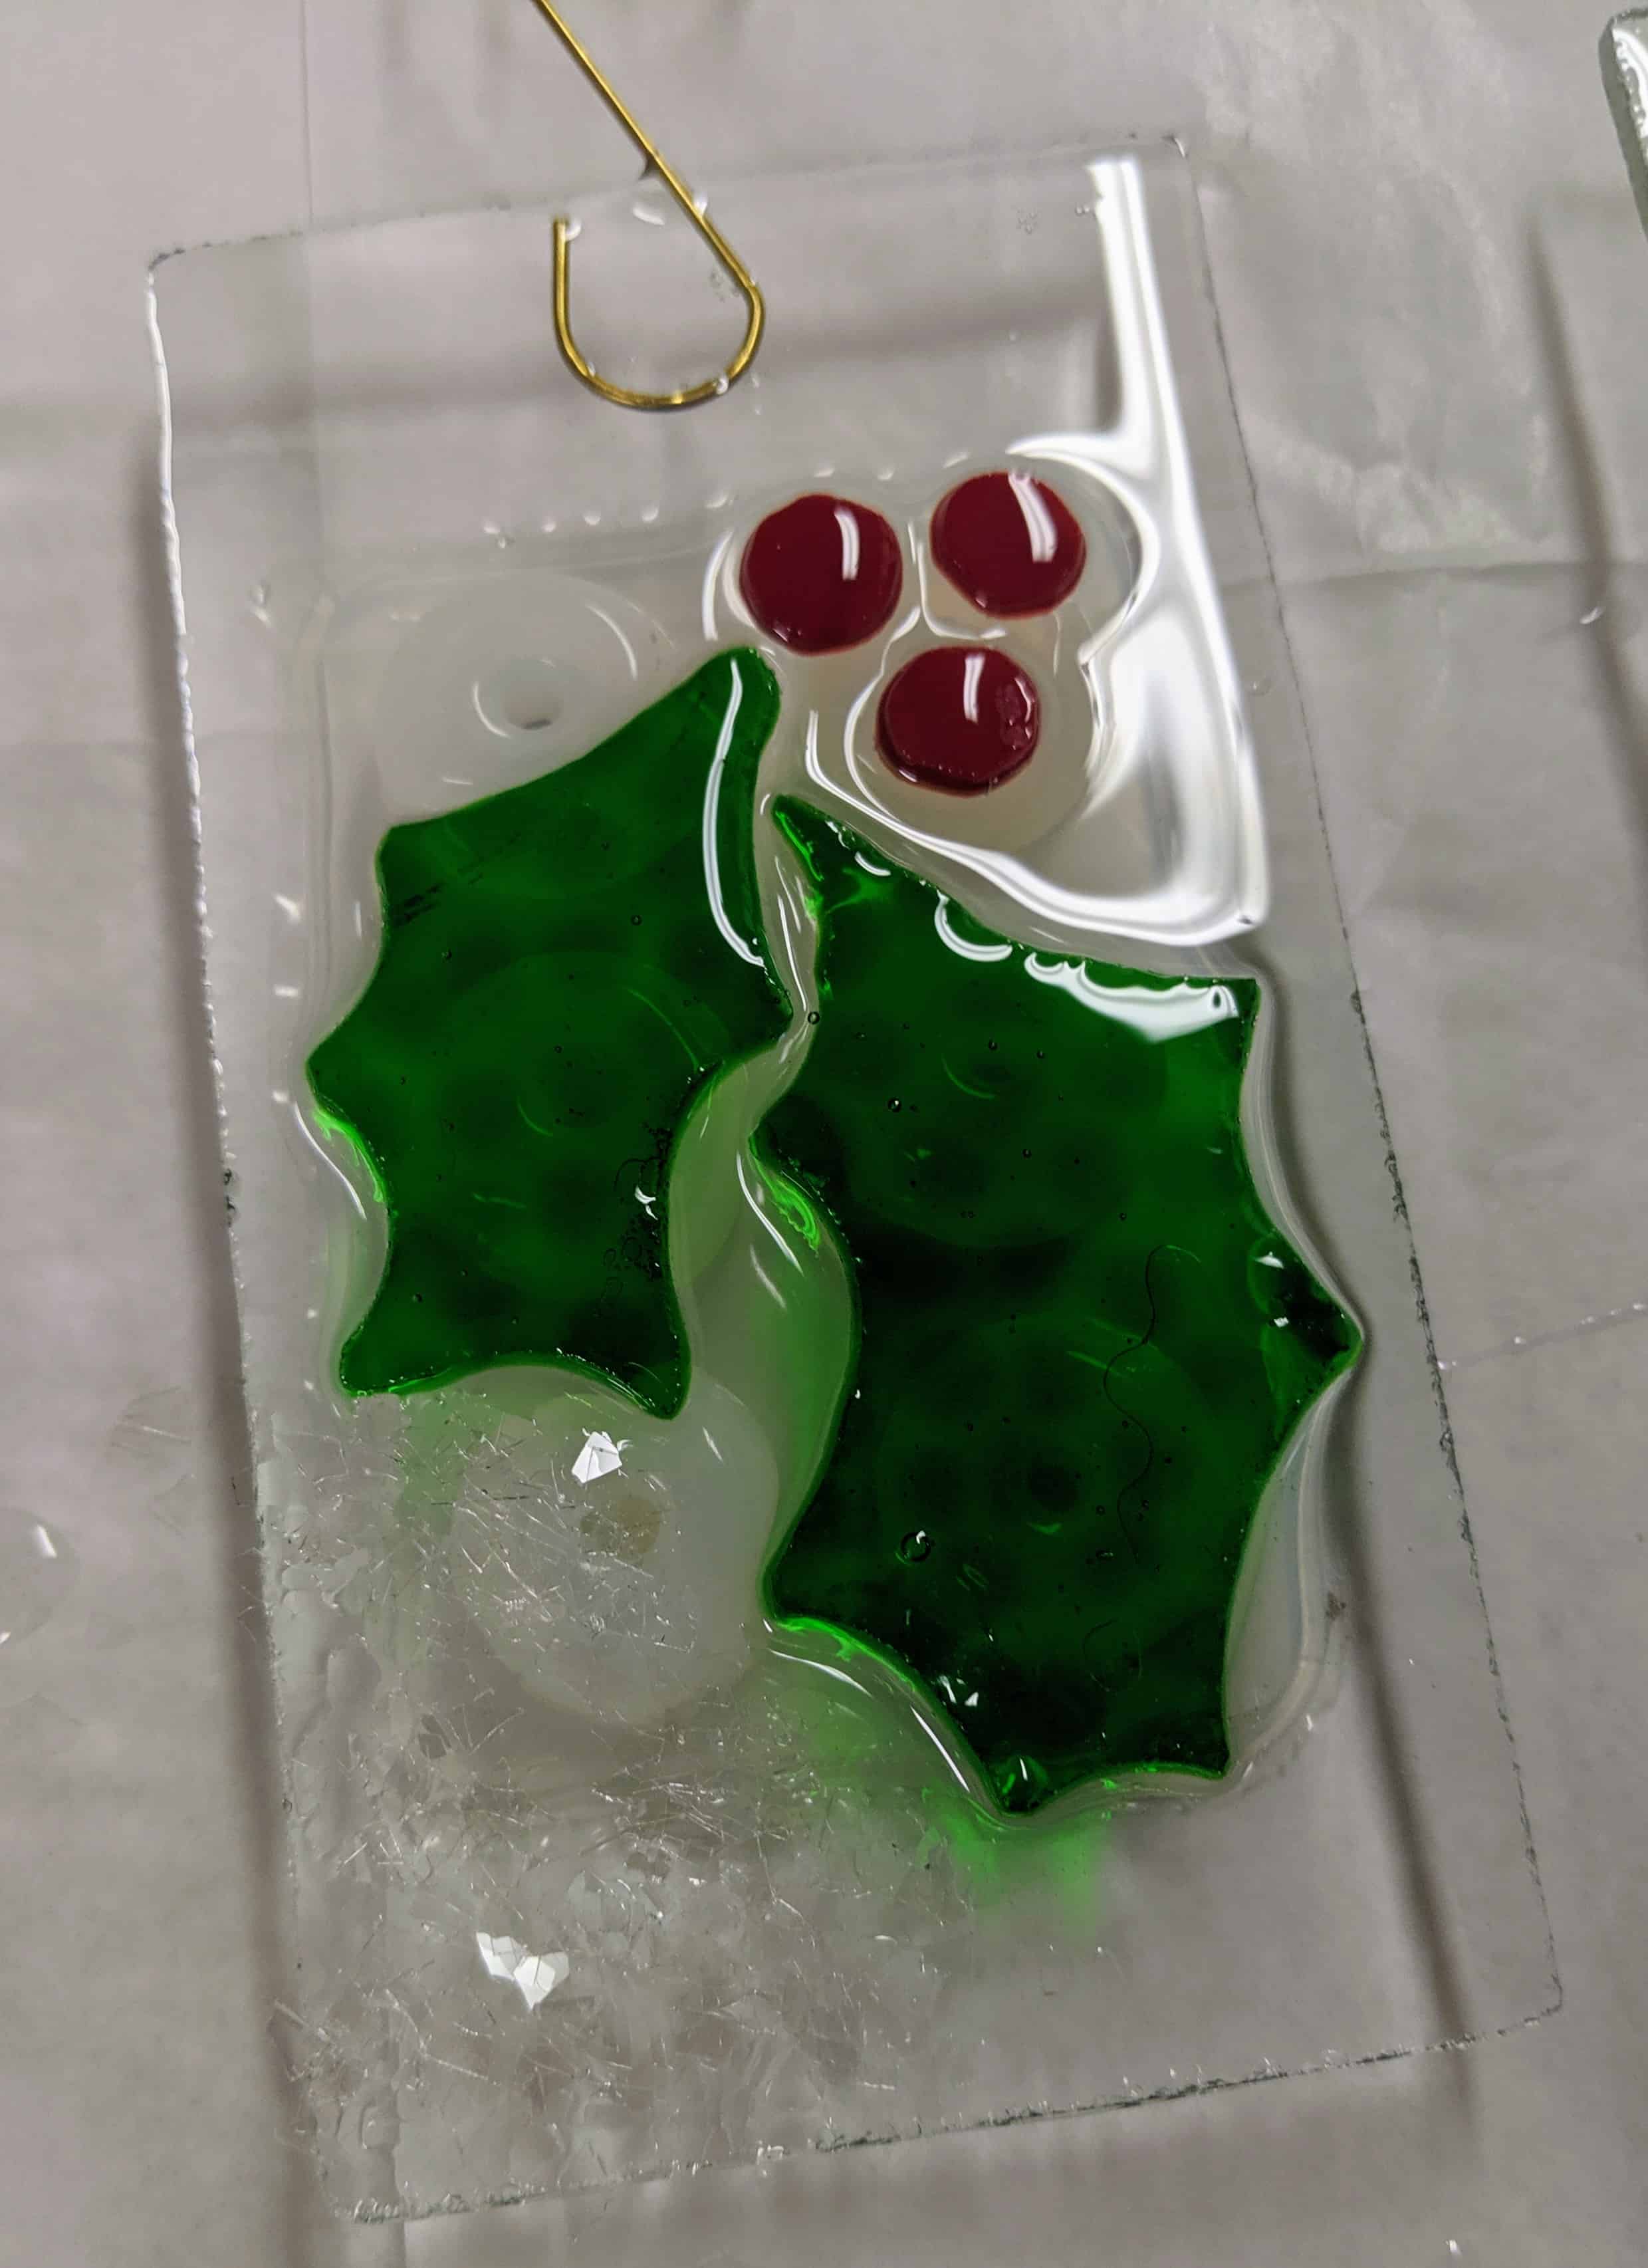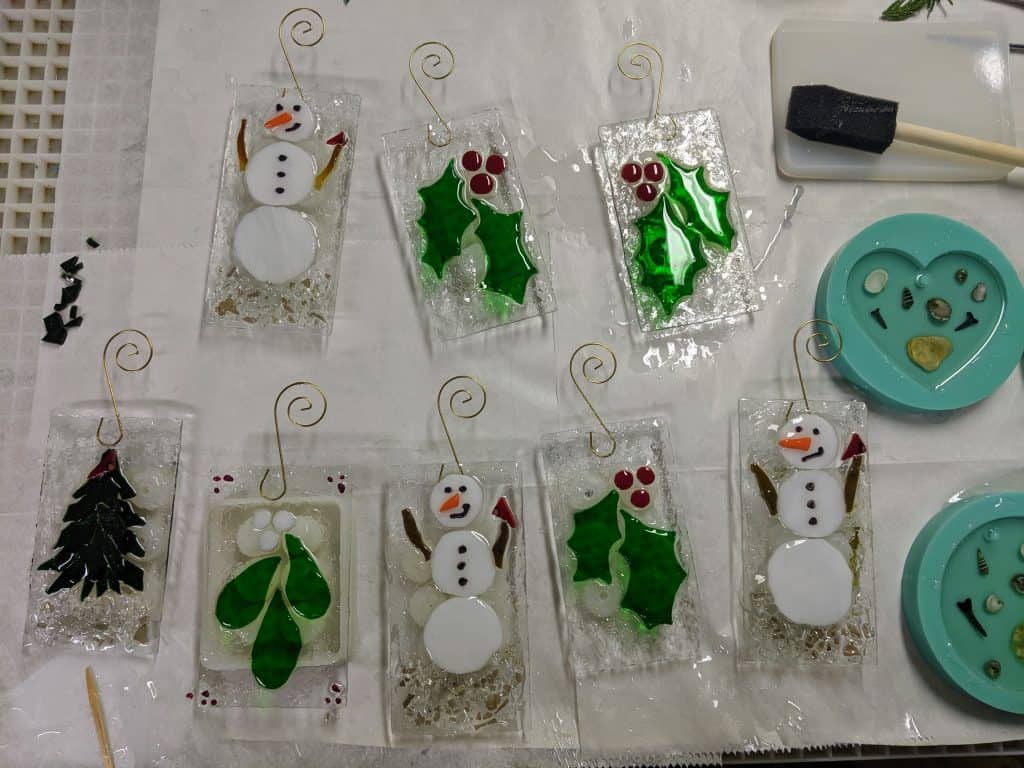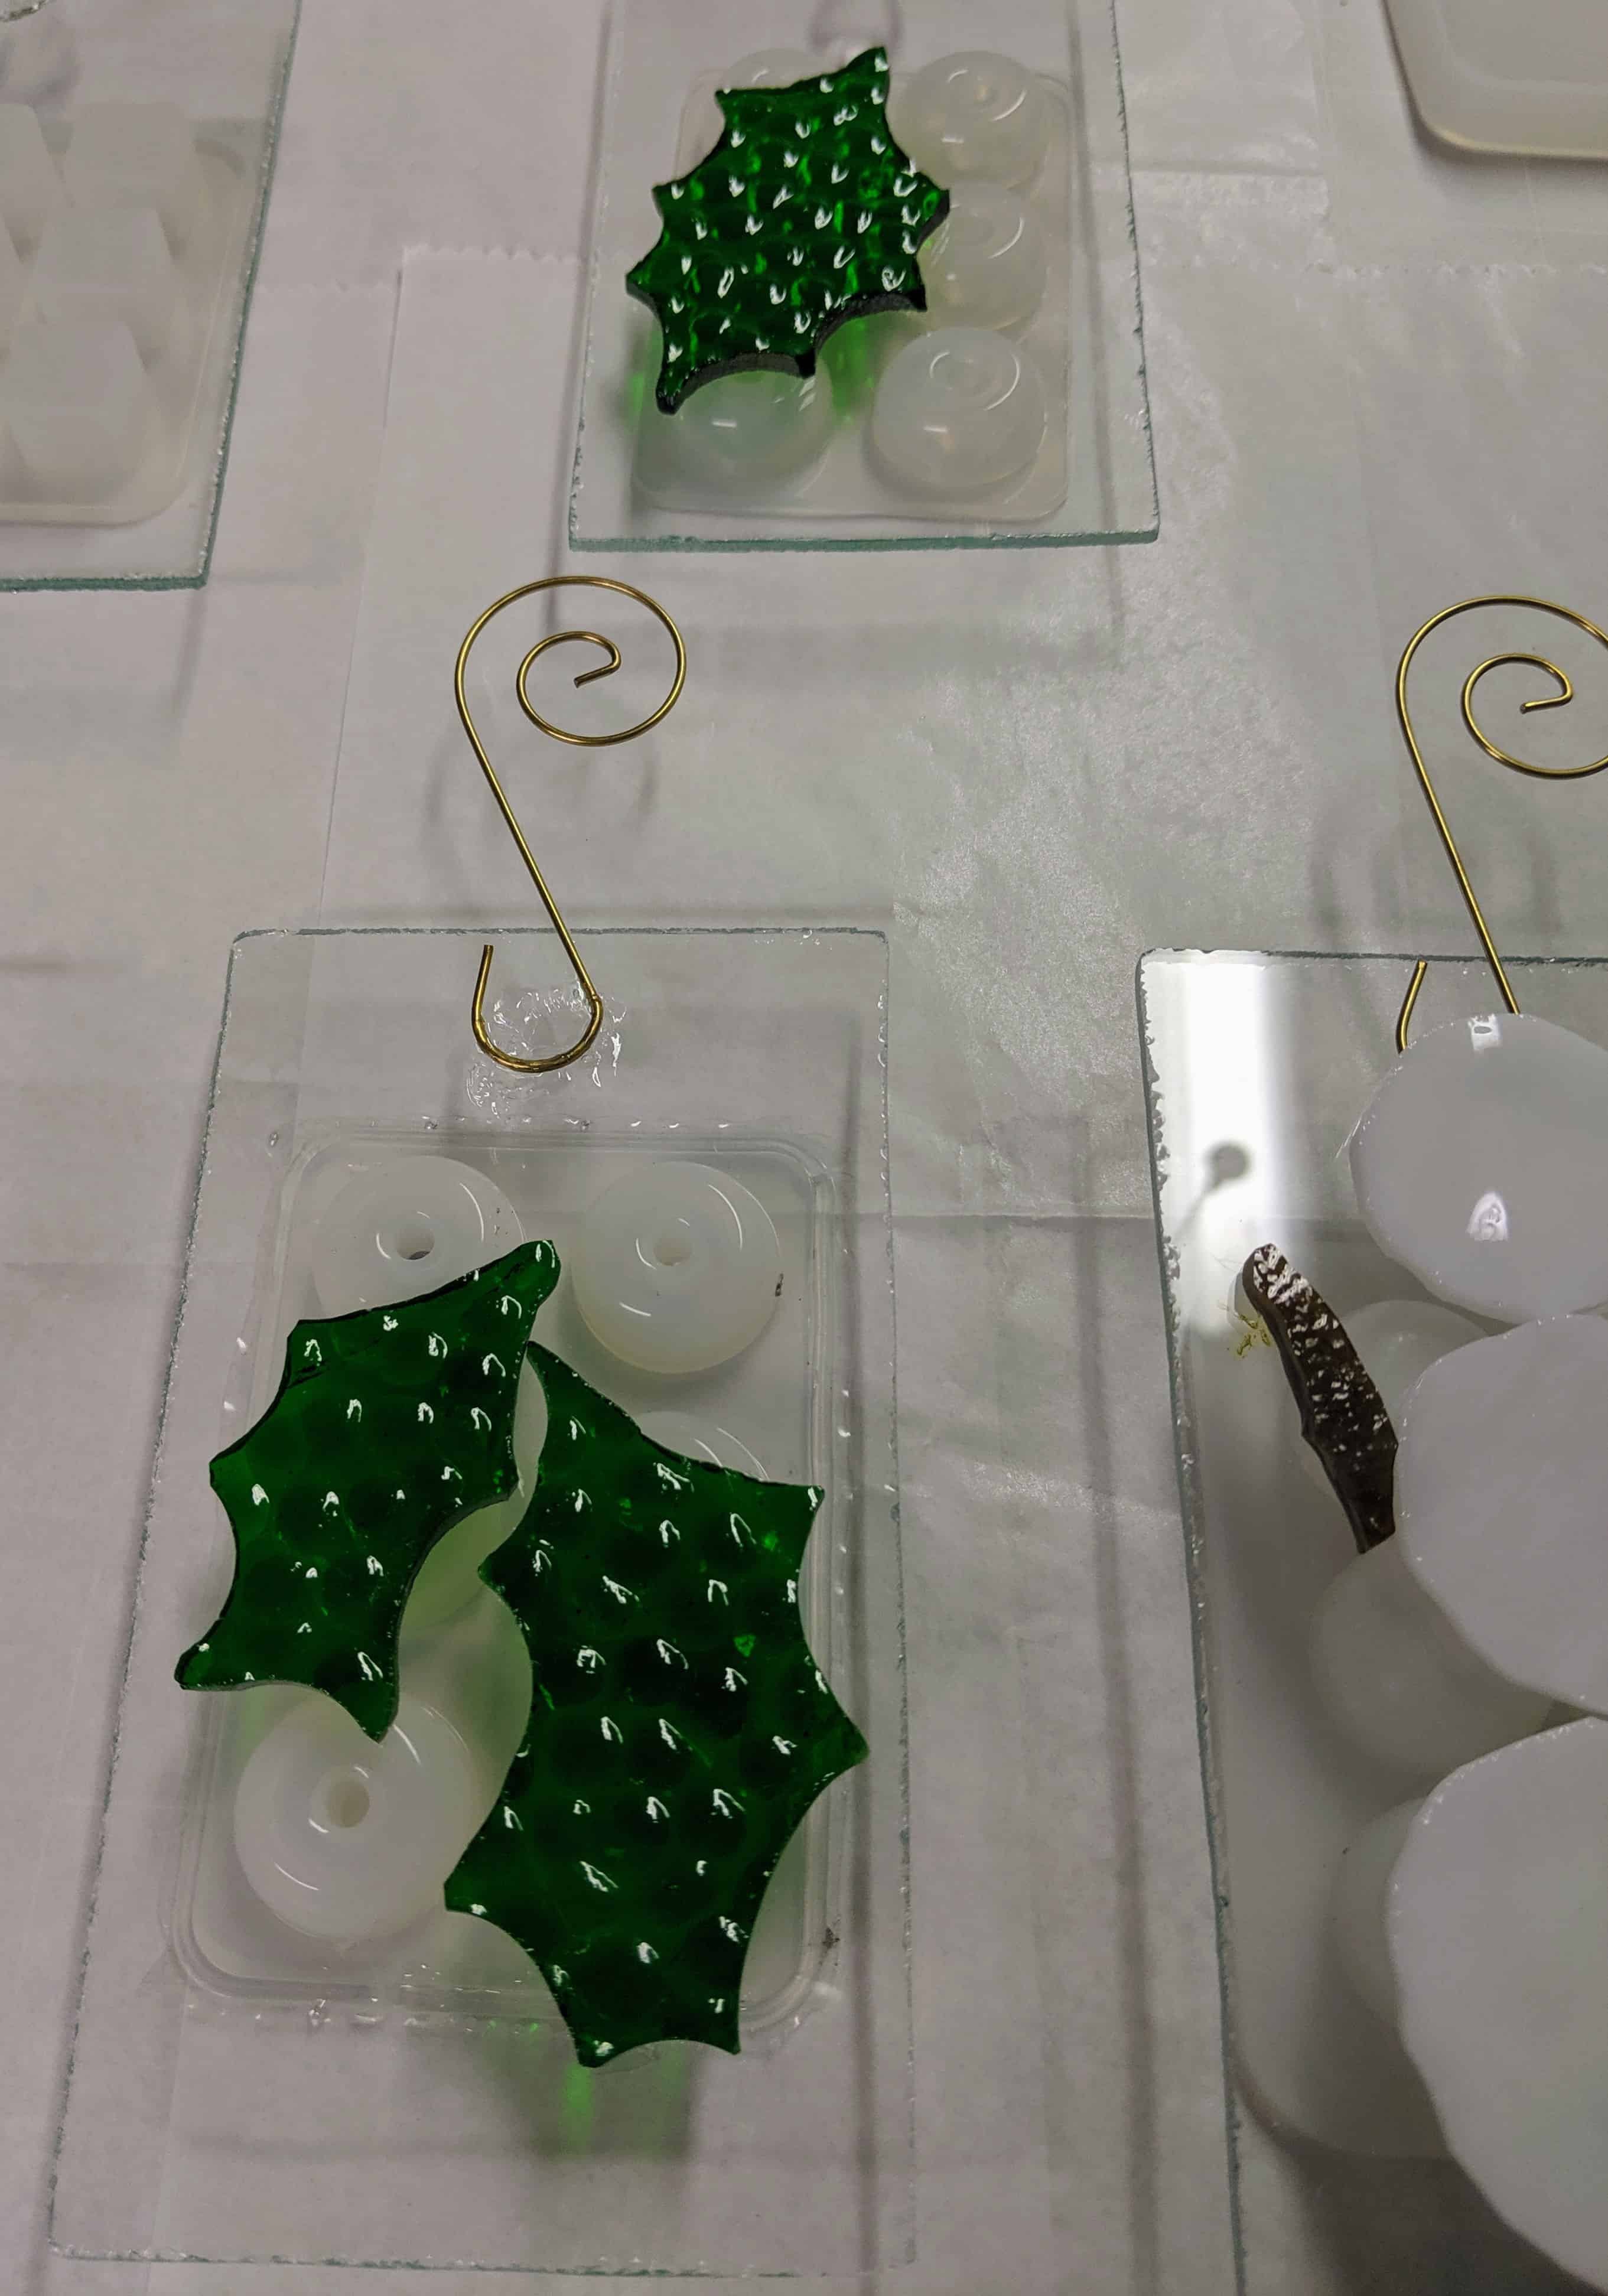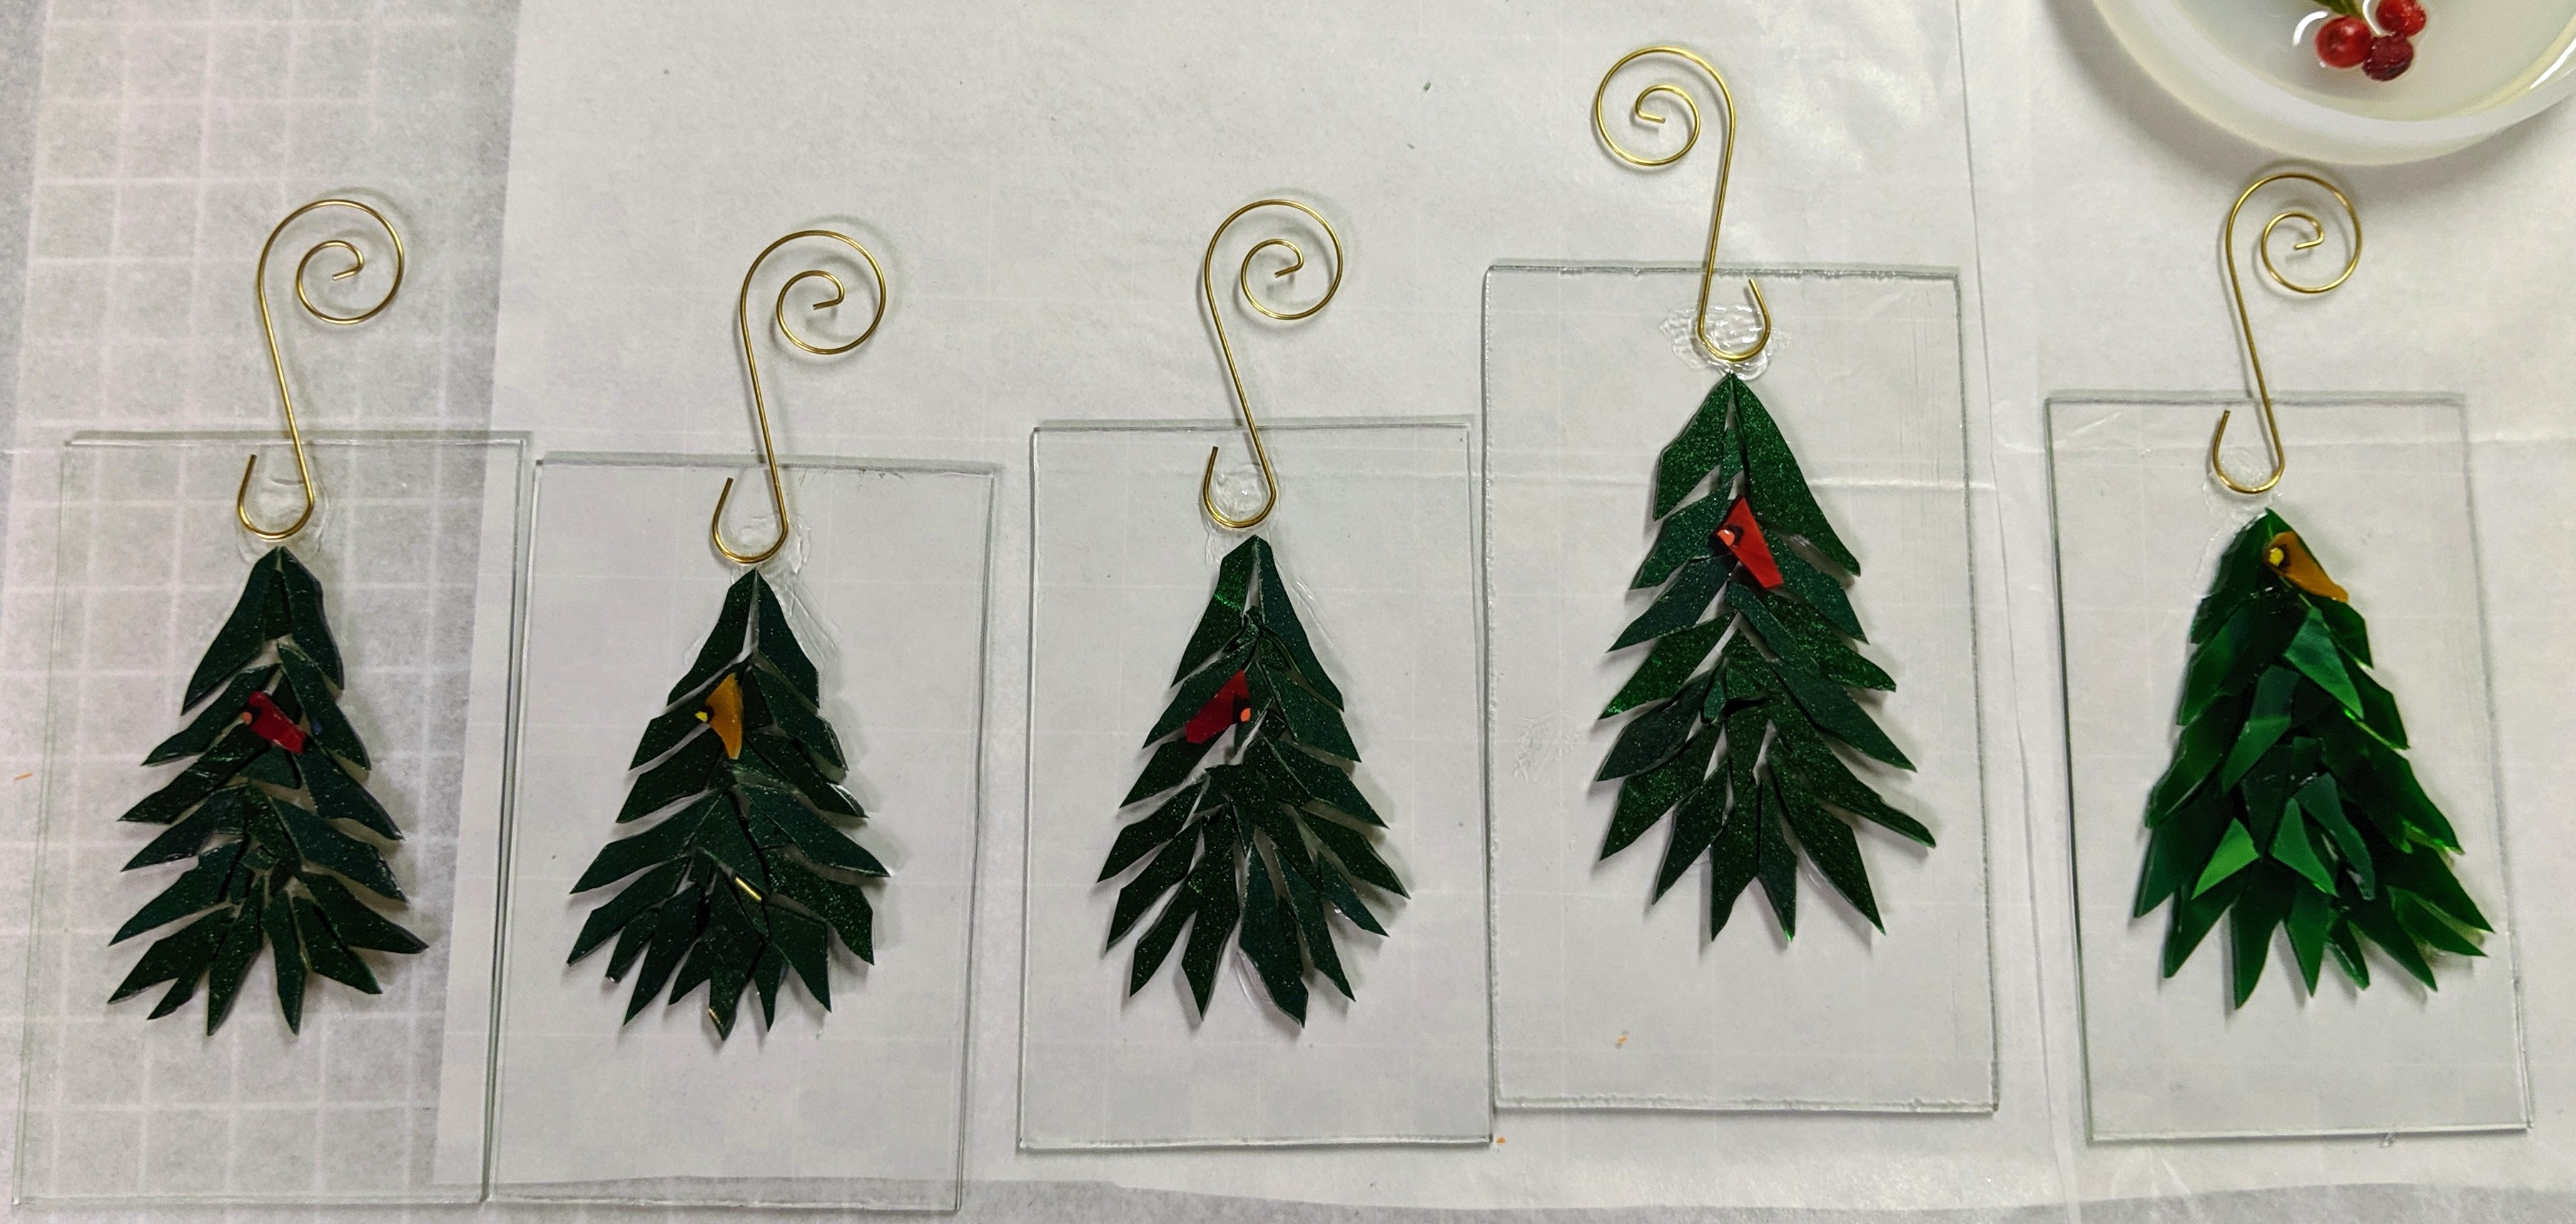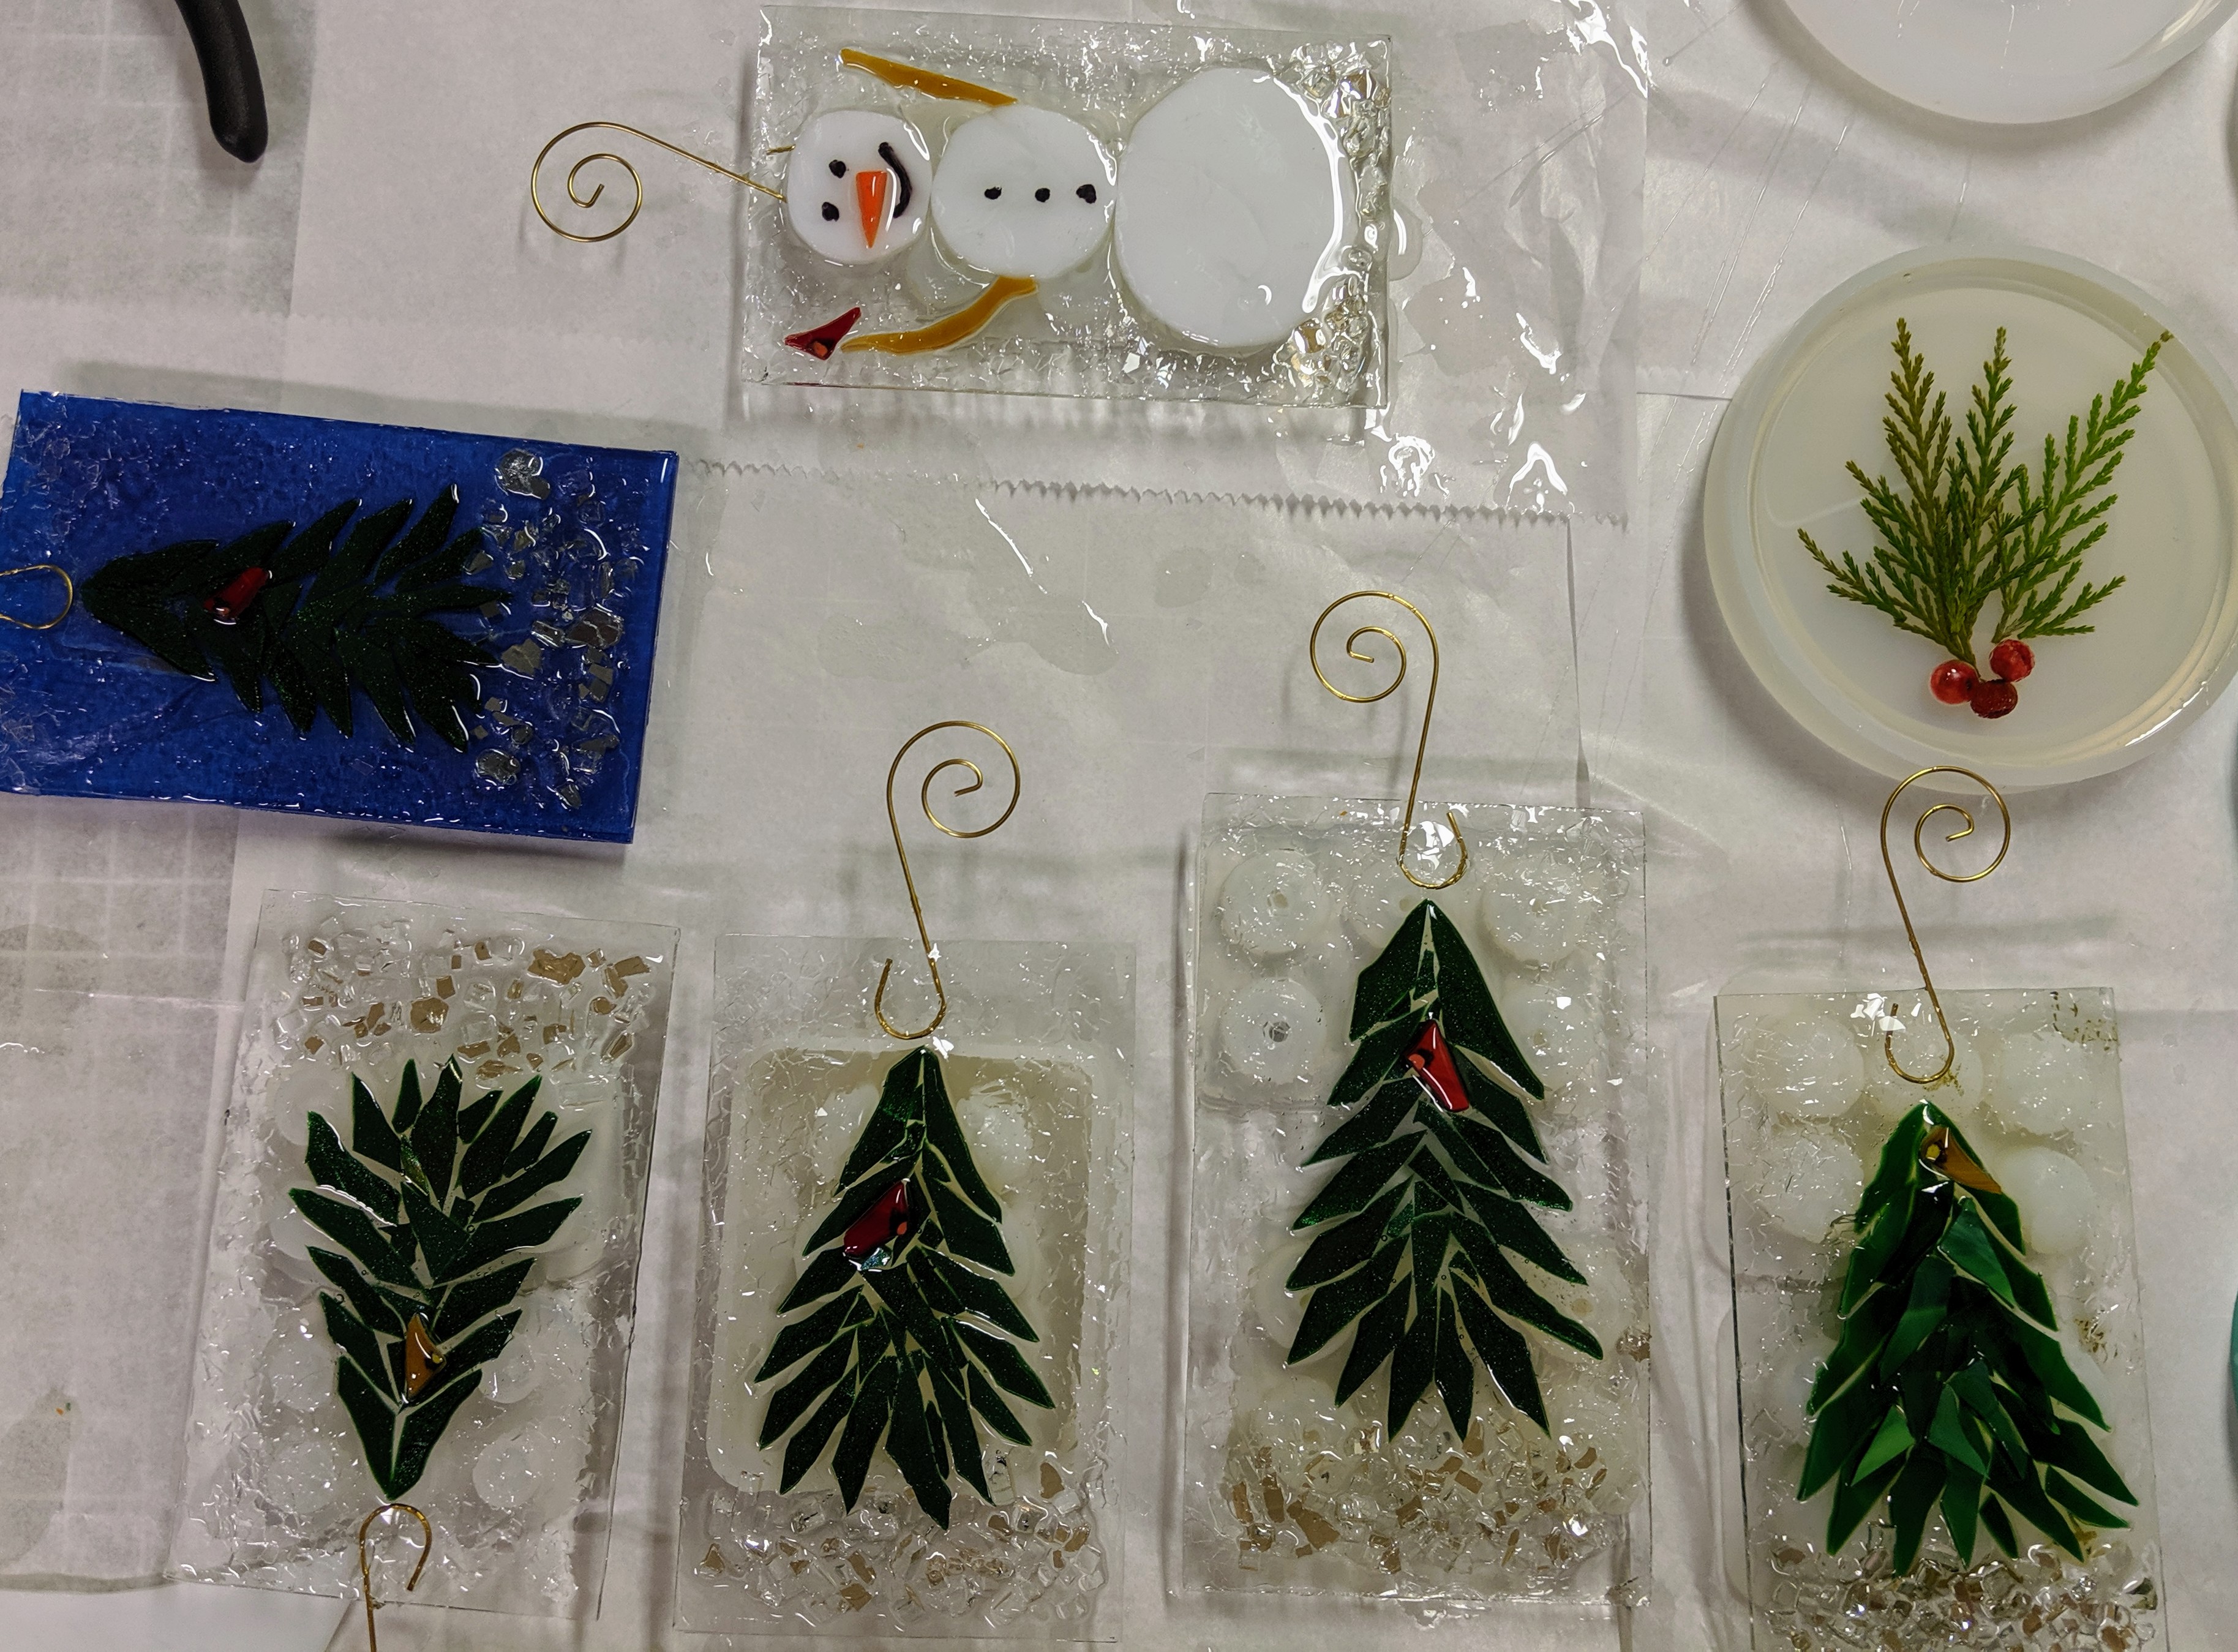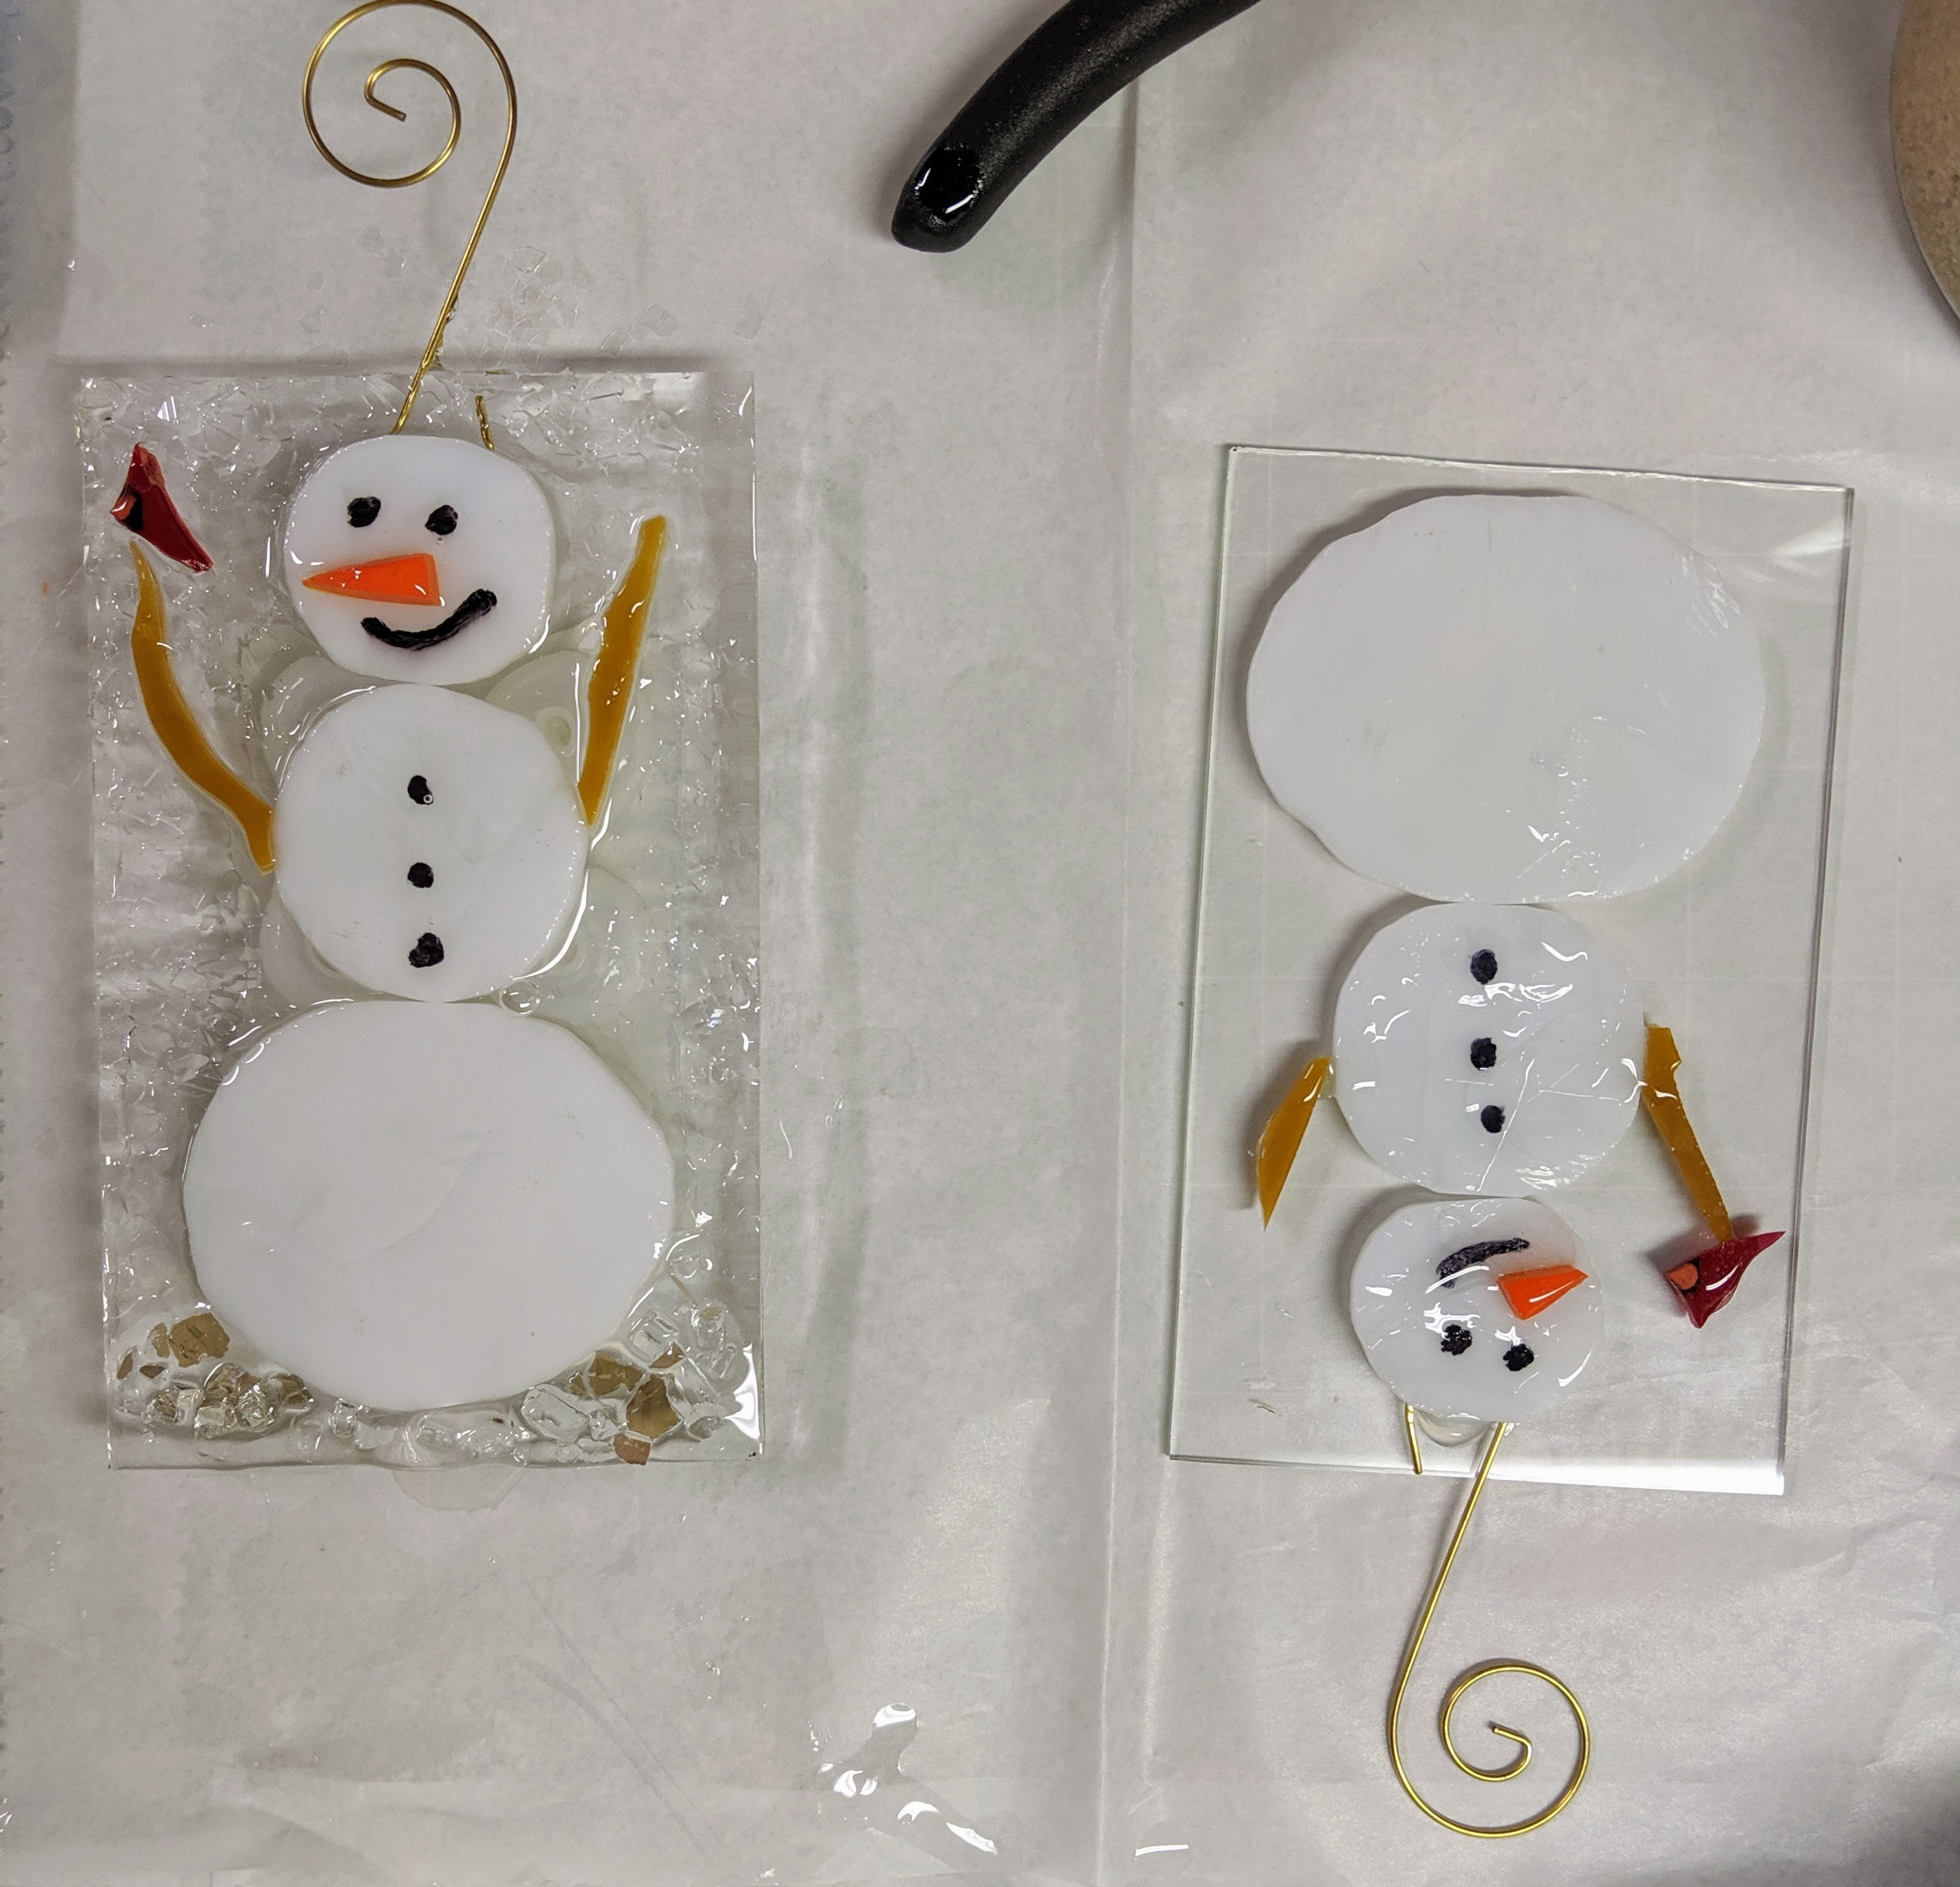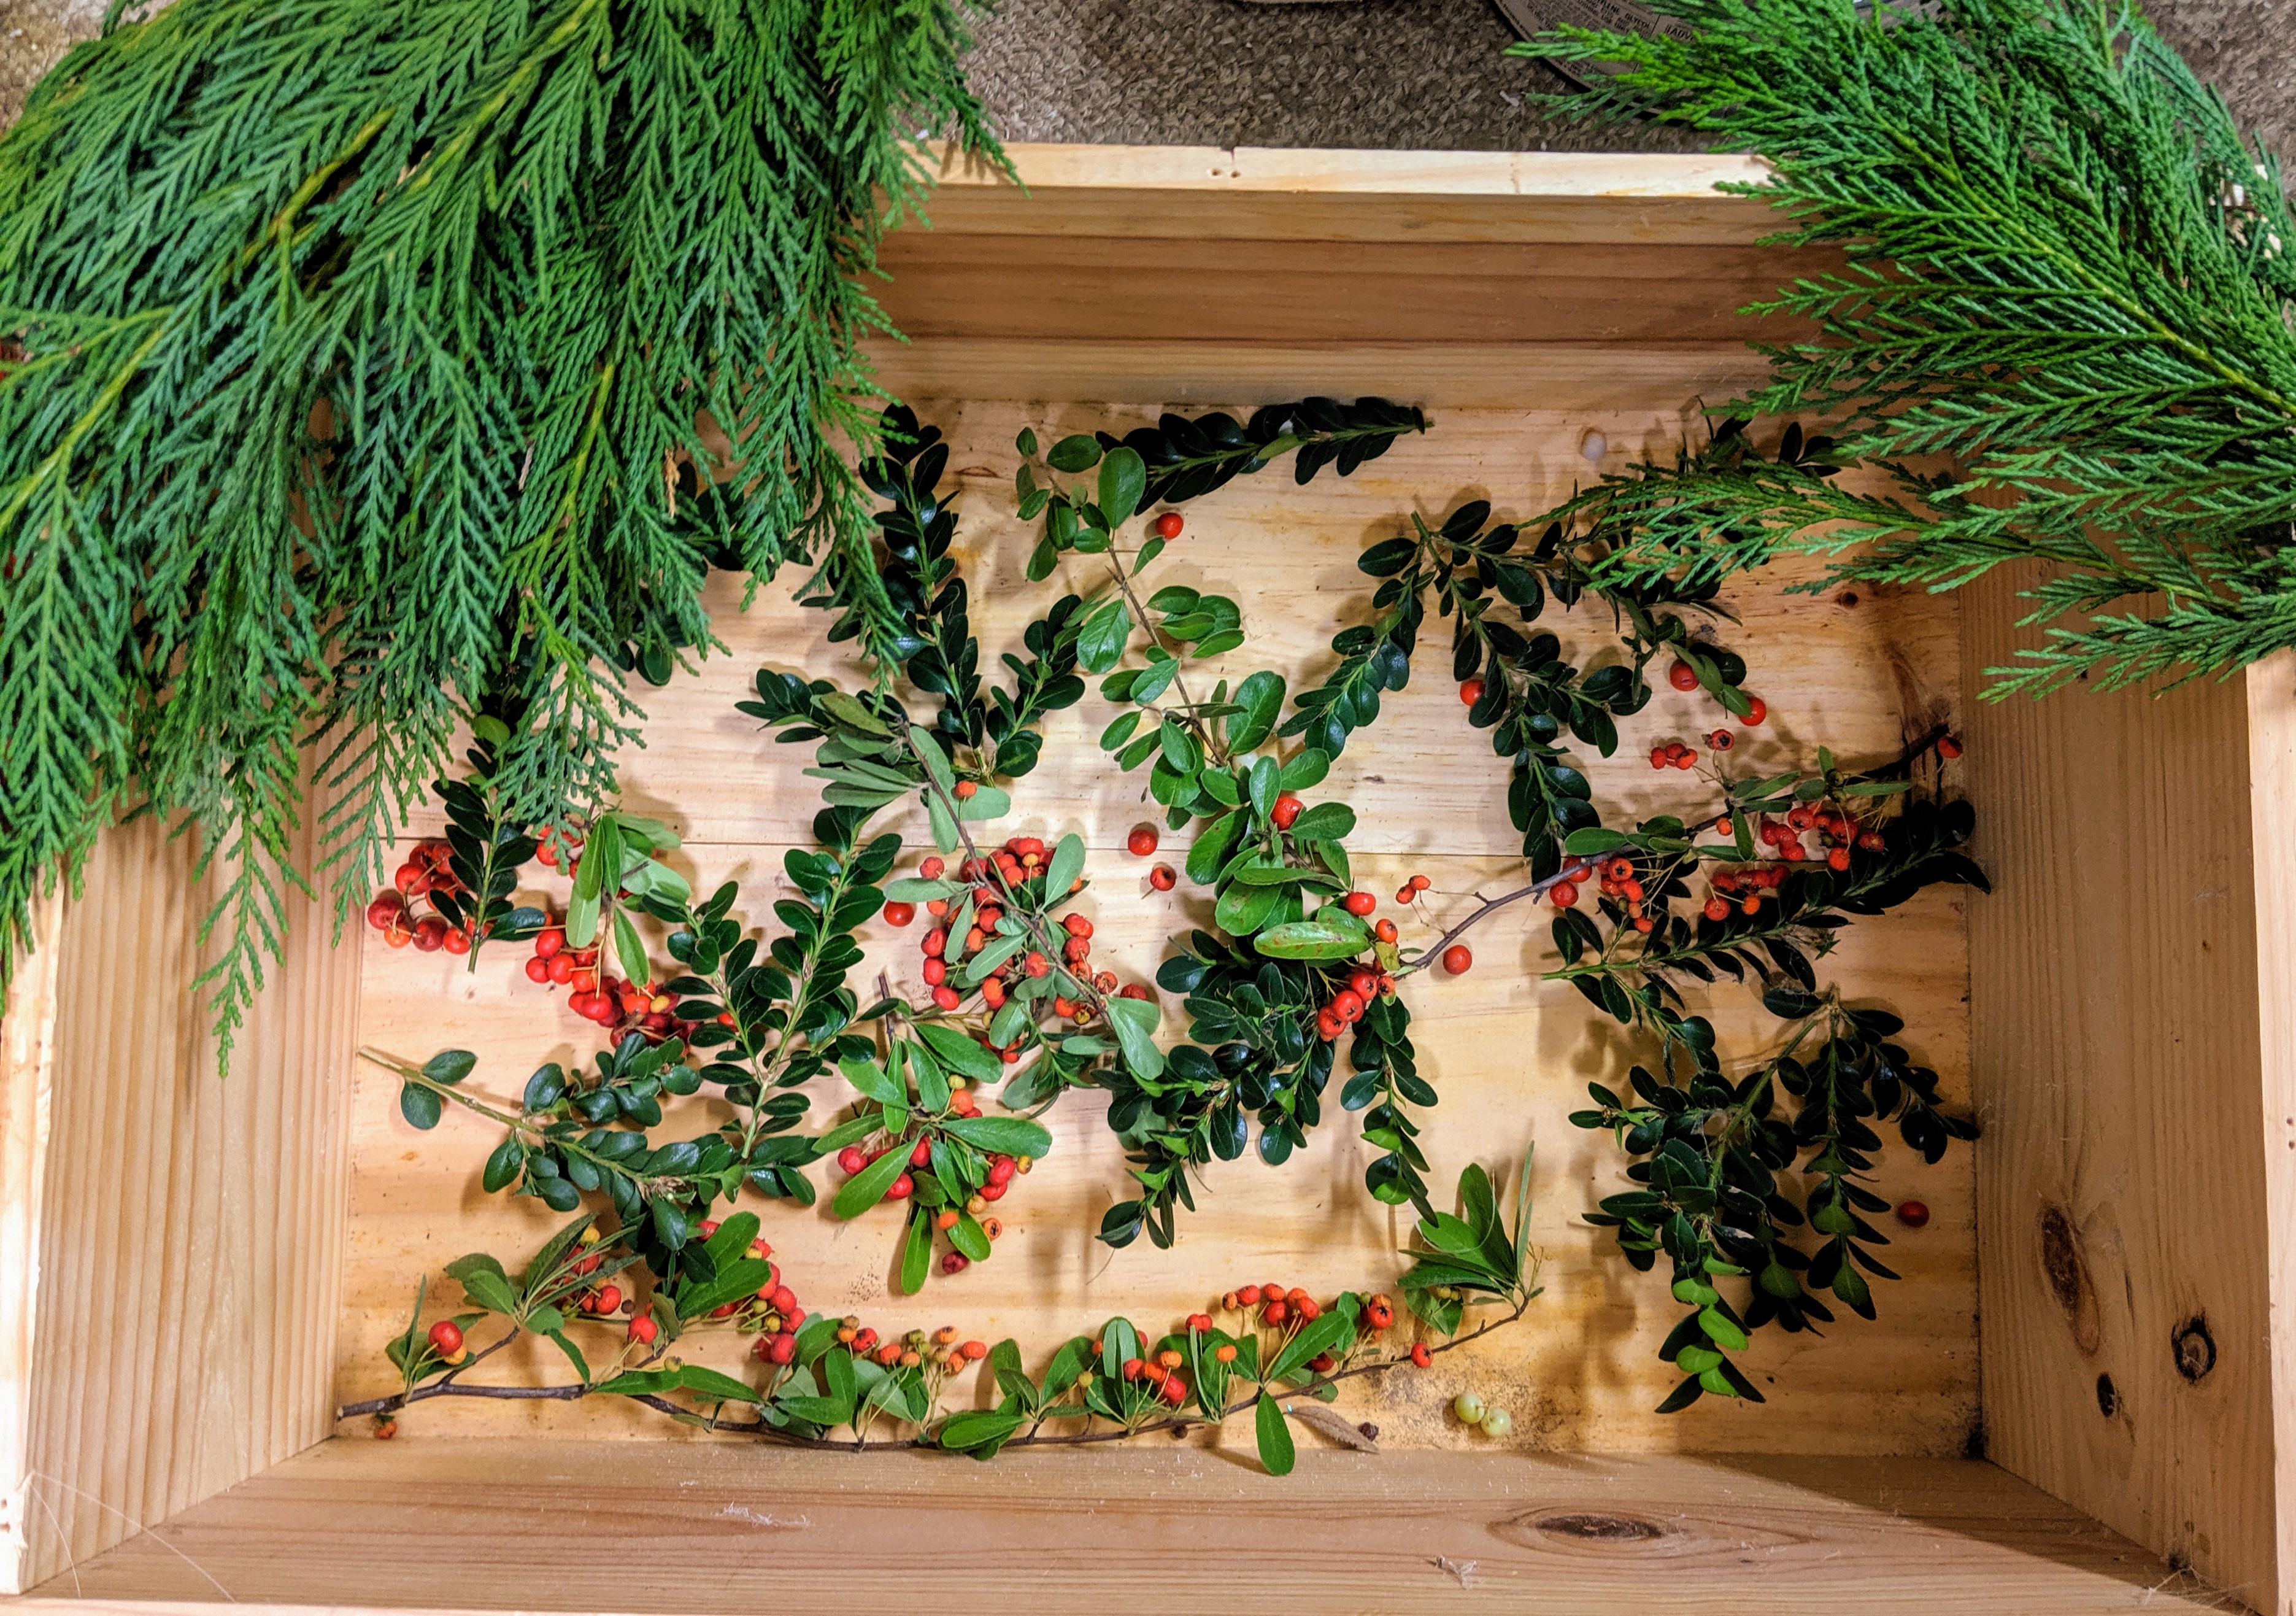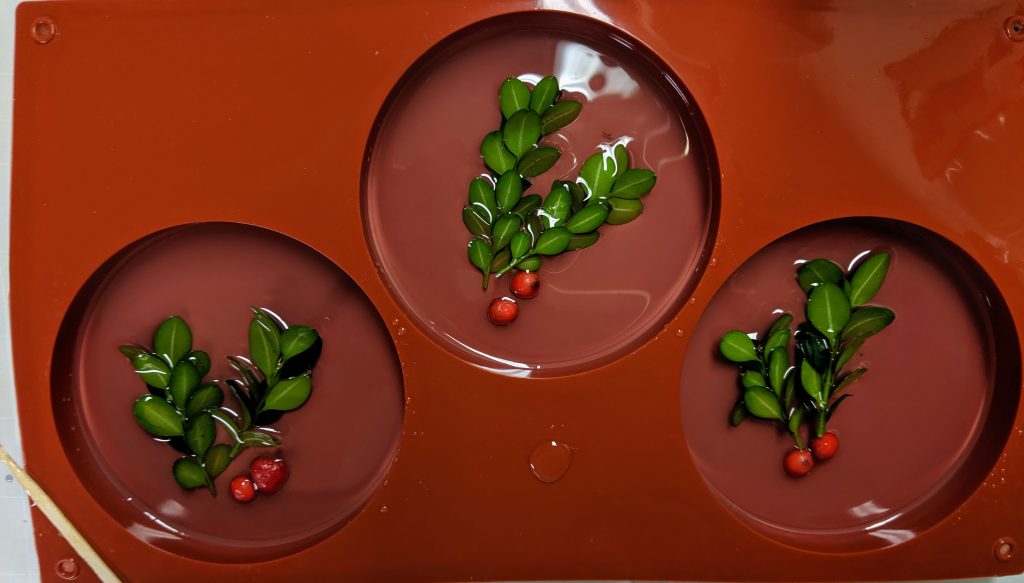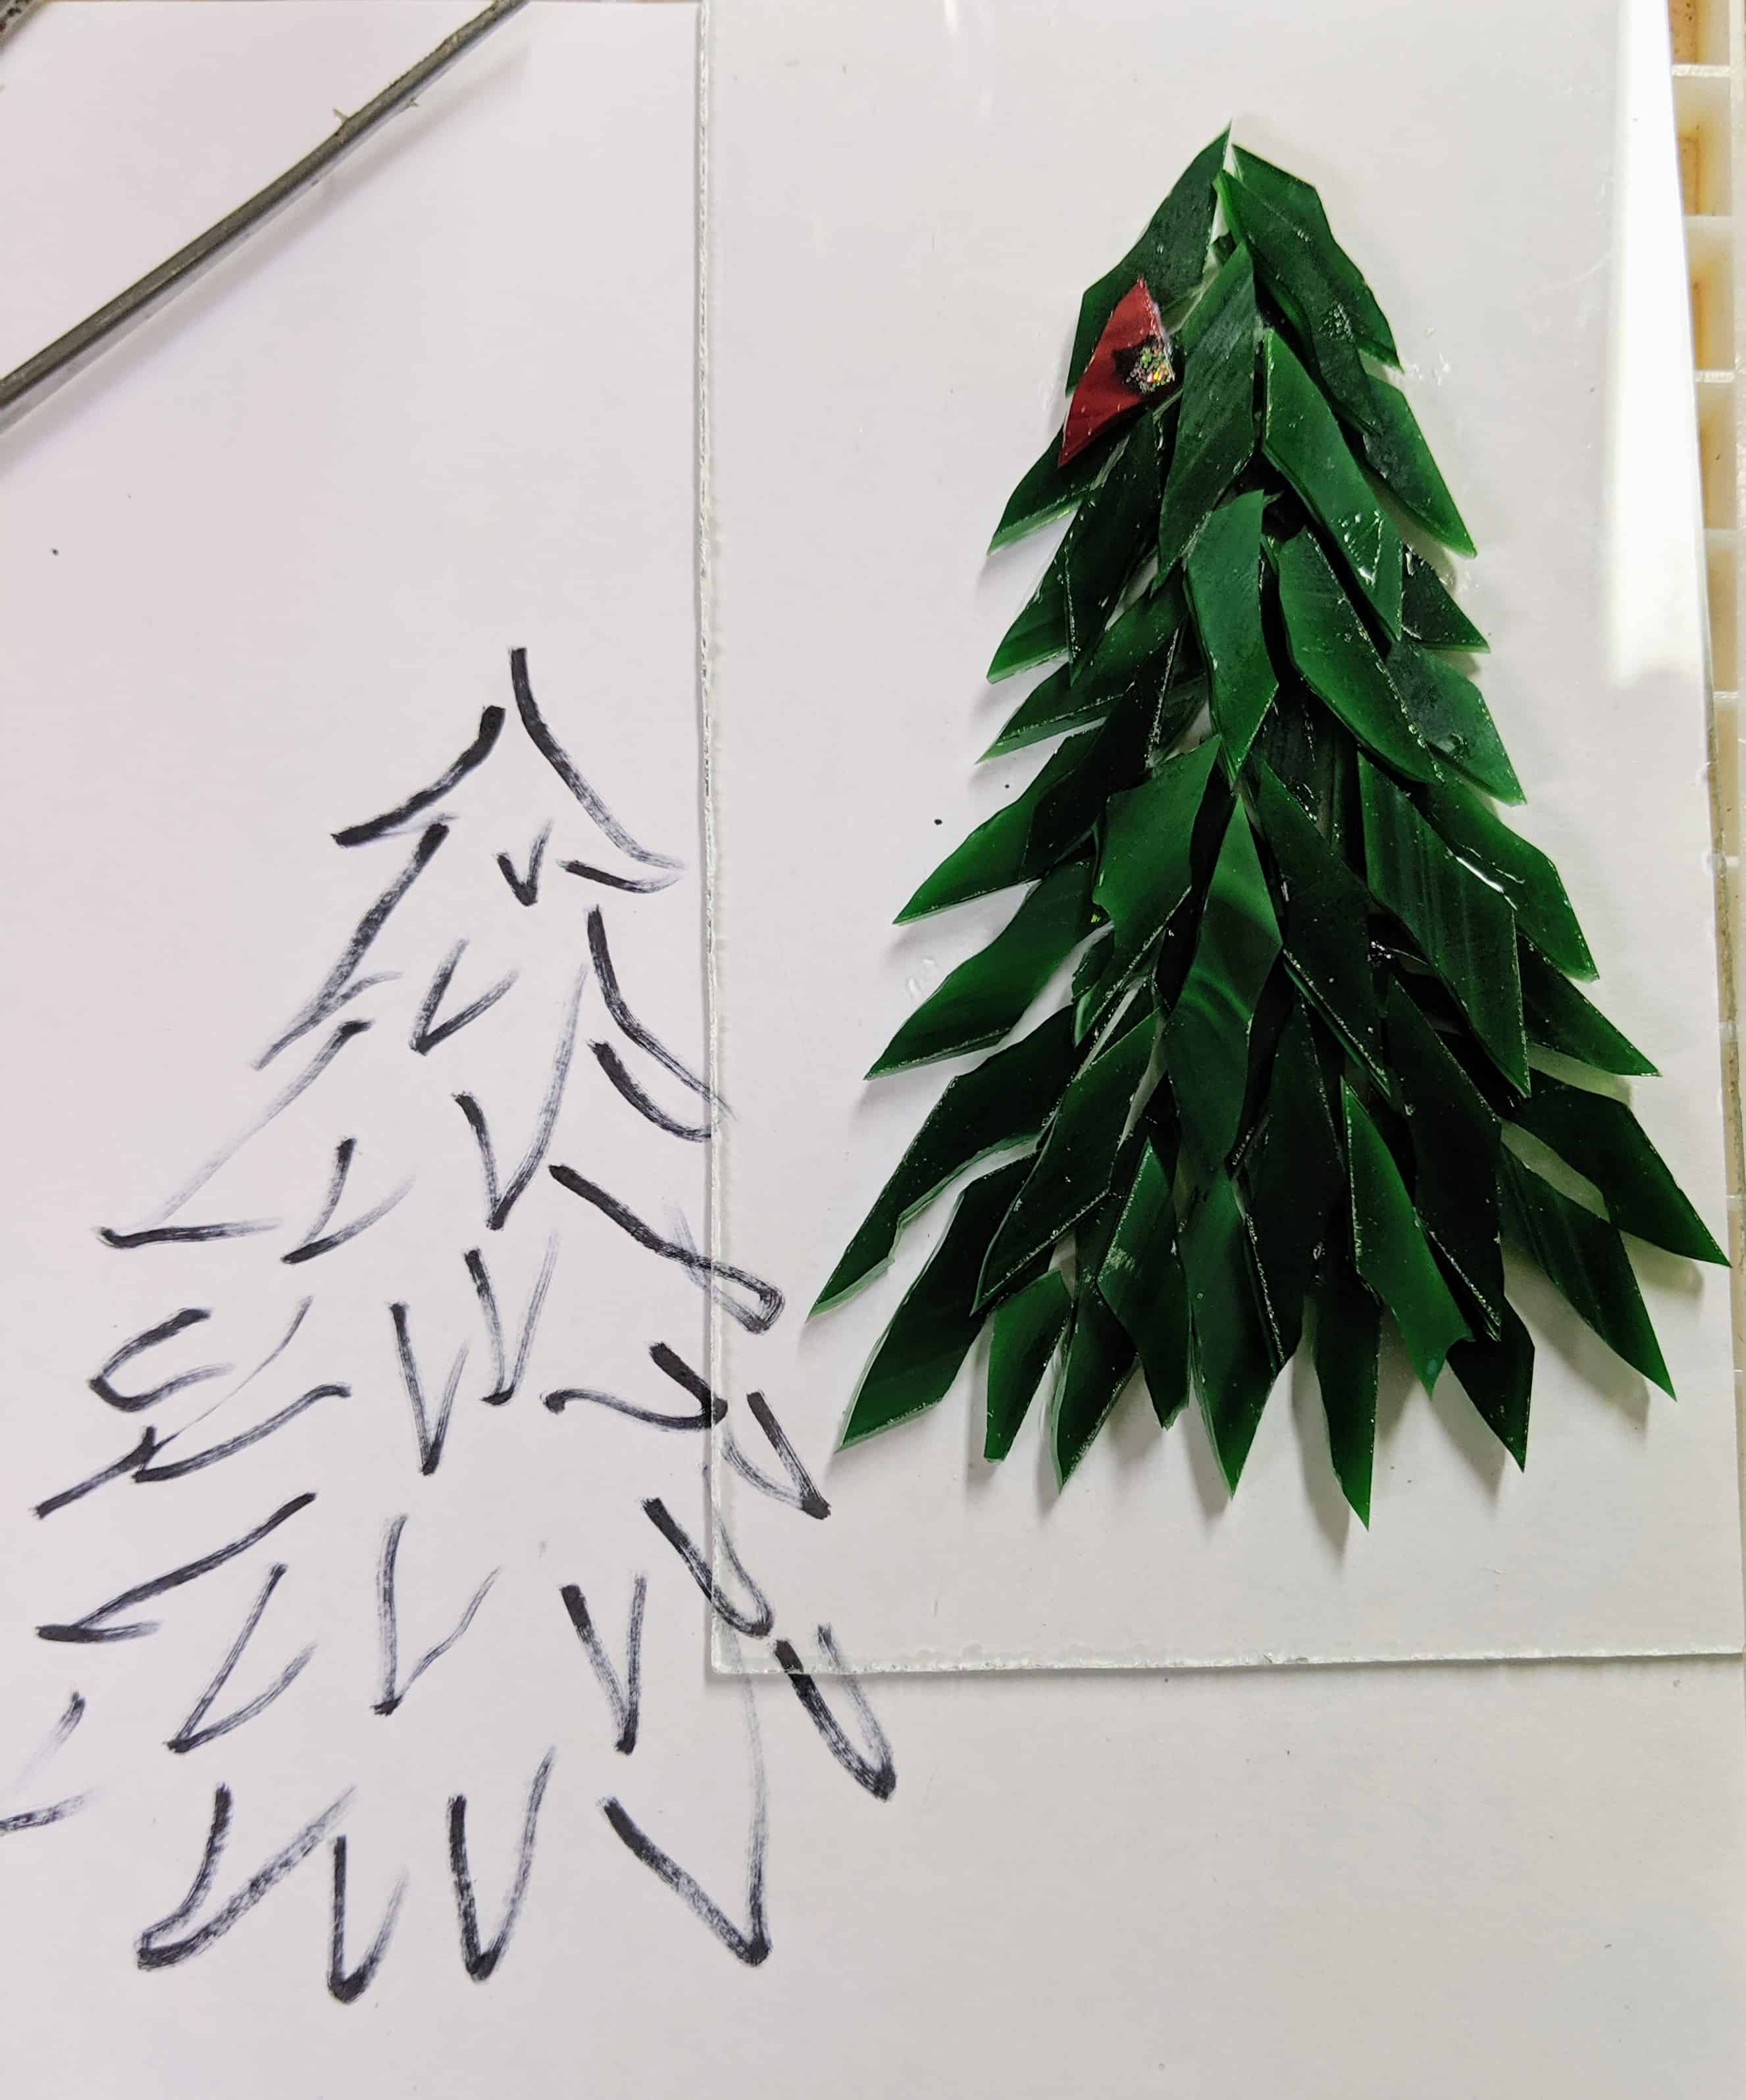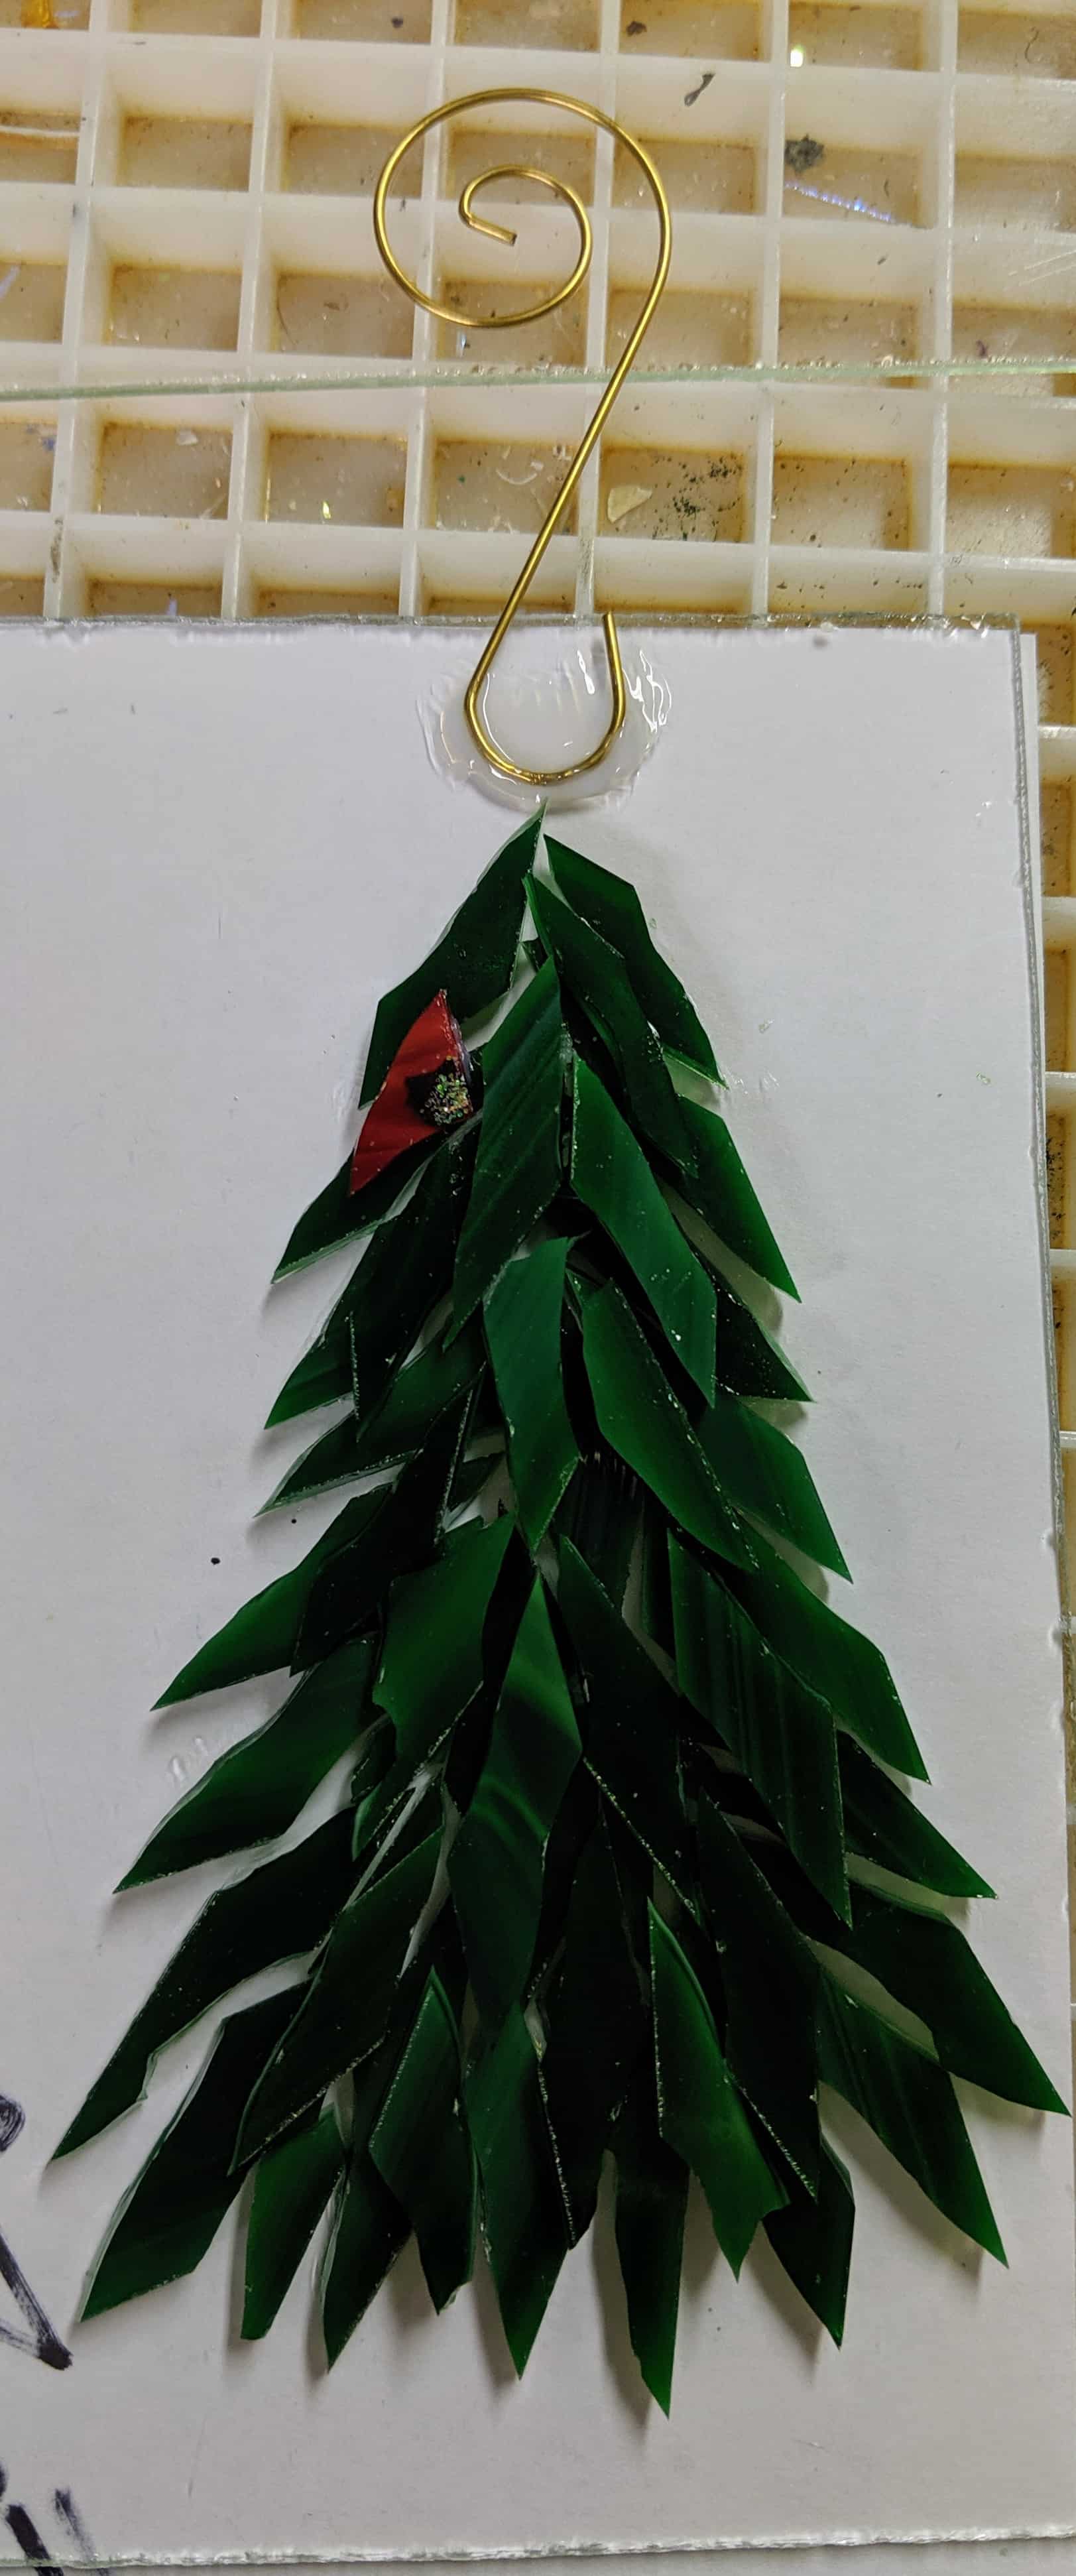
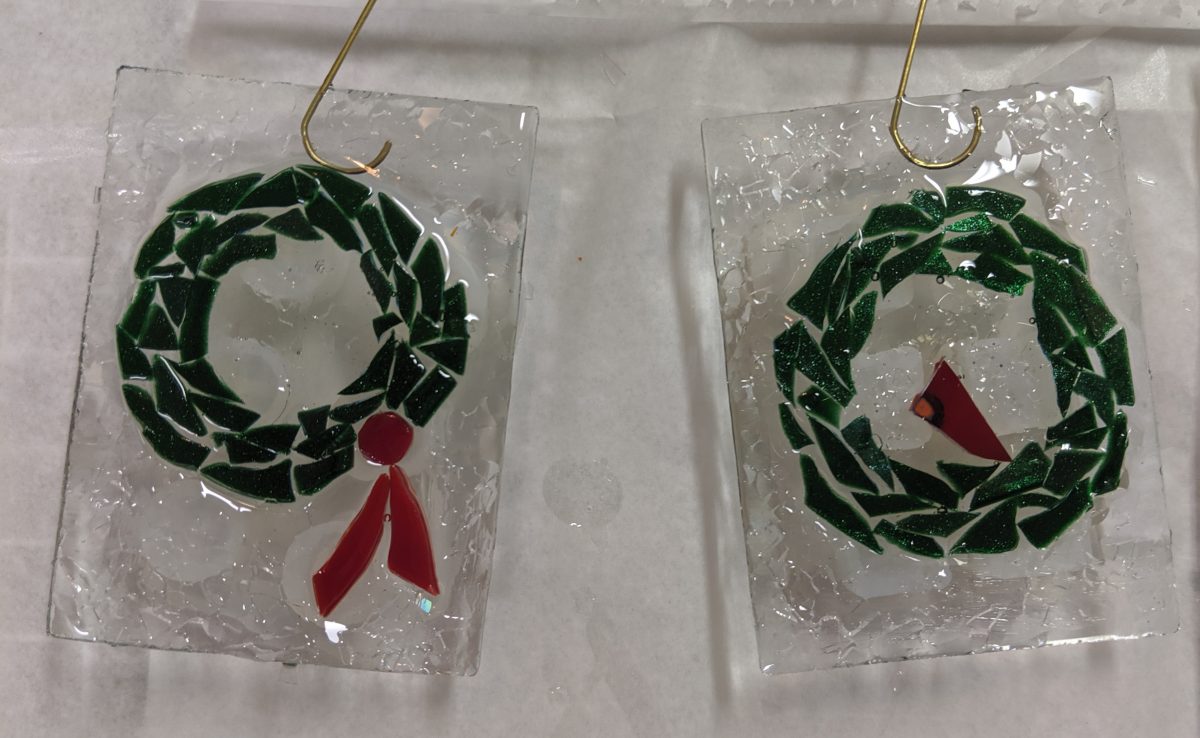
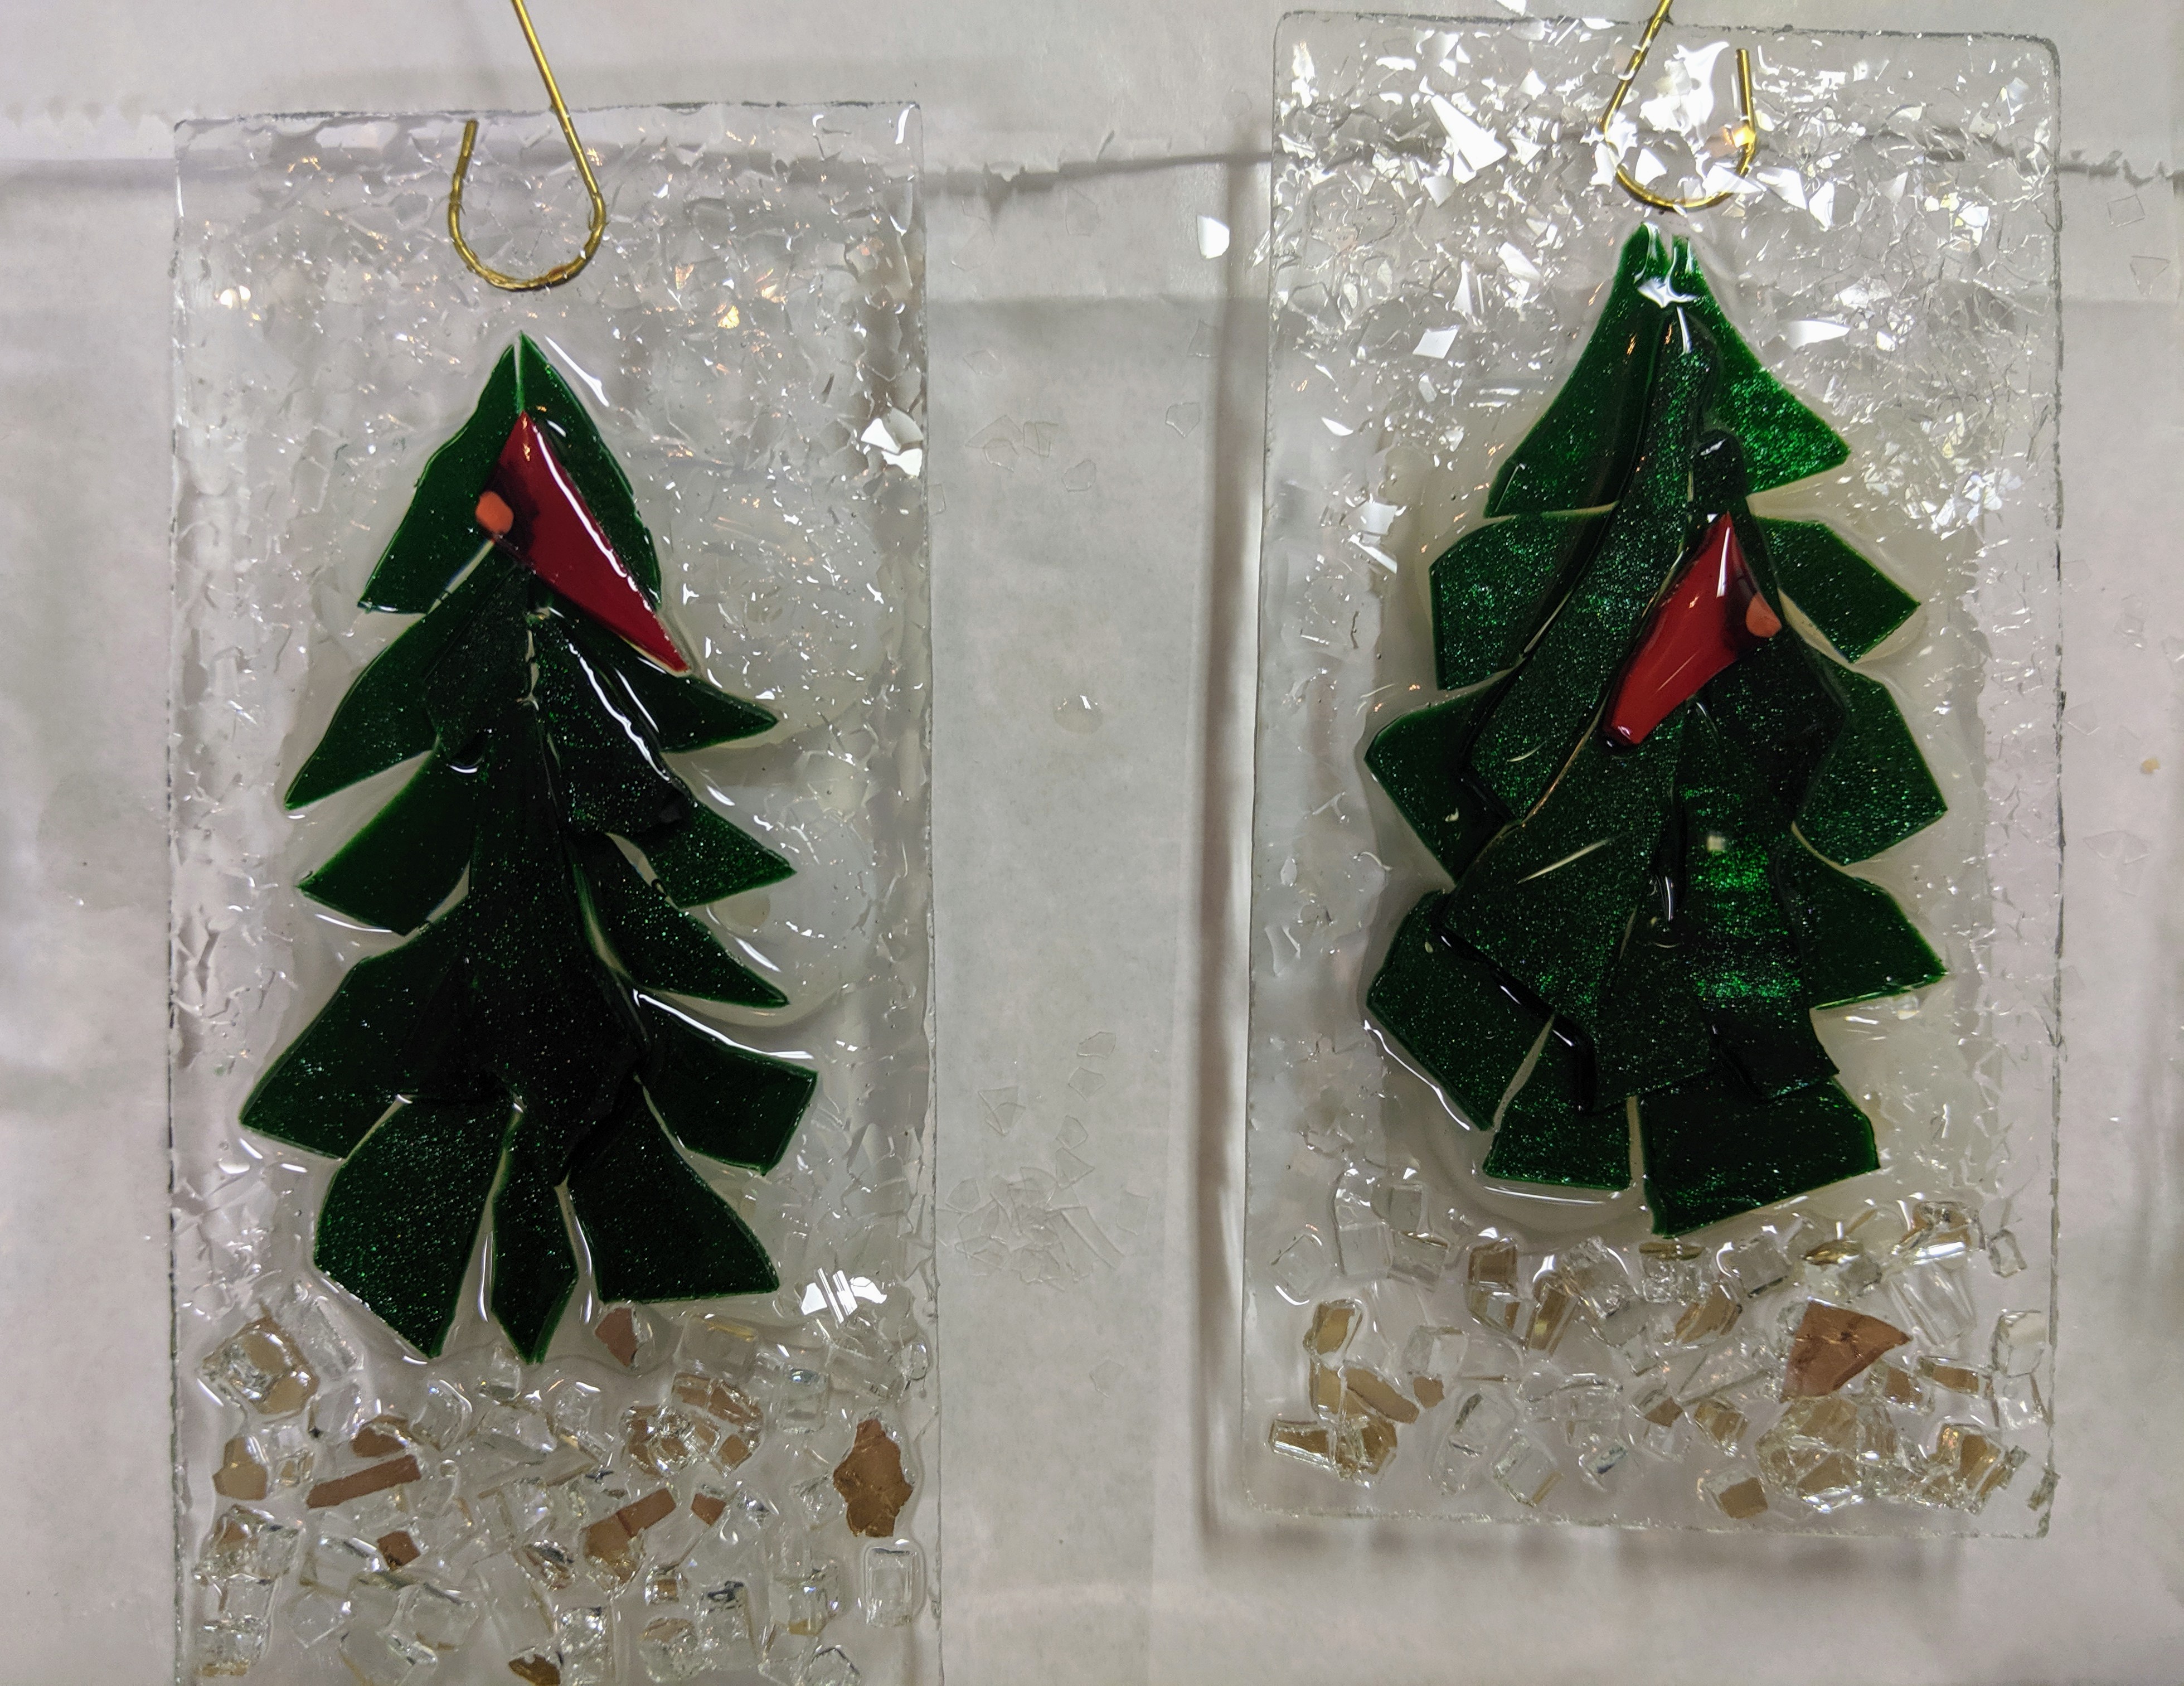
I’m on a roll with the ornaments. Yesterday I spent all day cutting and gluing these together and had every intention of pouring the resin, as well, but I got the idea to make tiny wreath ornaments and all the tiny pieces took an extremely long time to cut and place, so I gave up and poured the resin today.
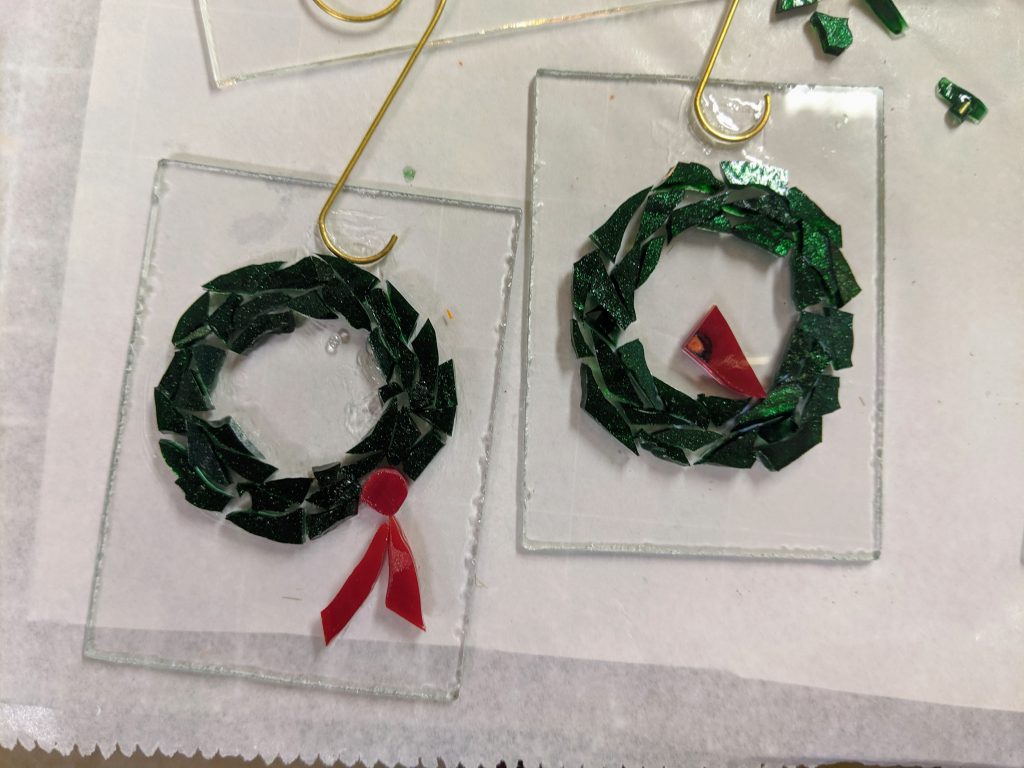
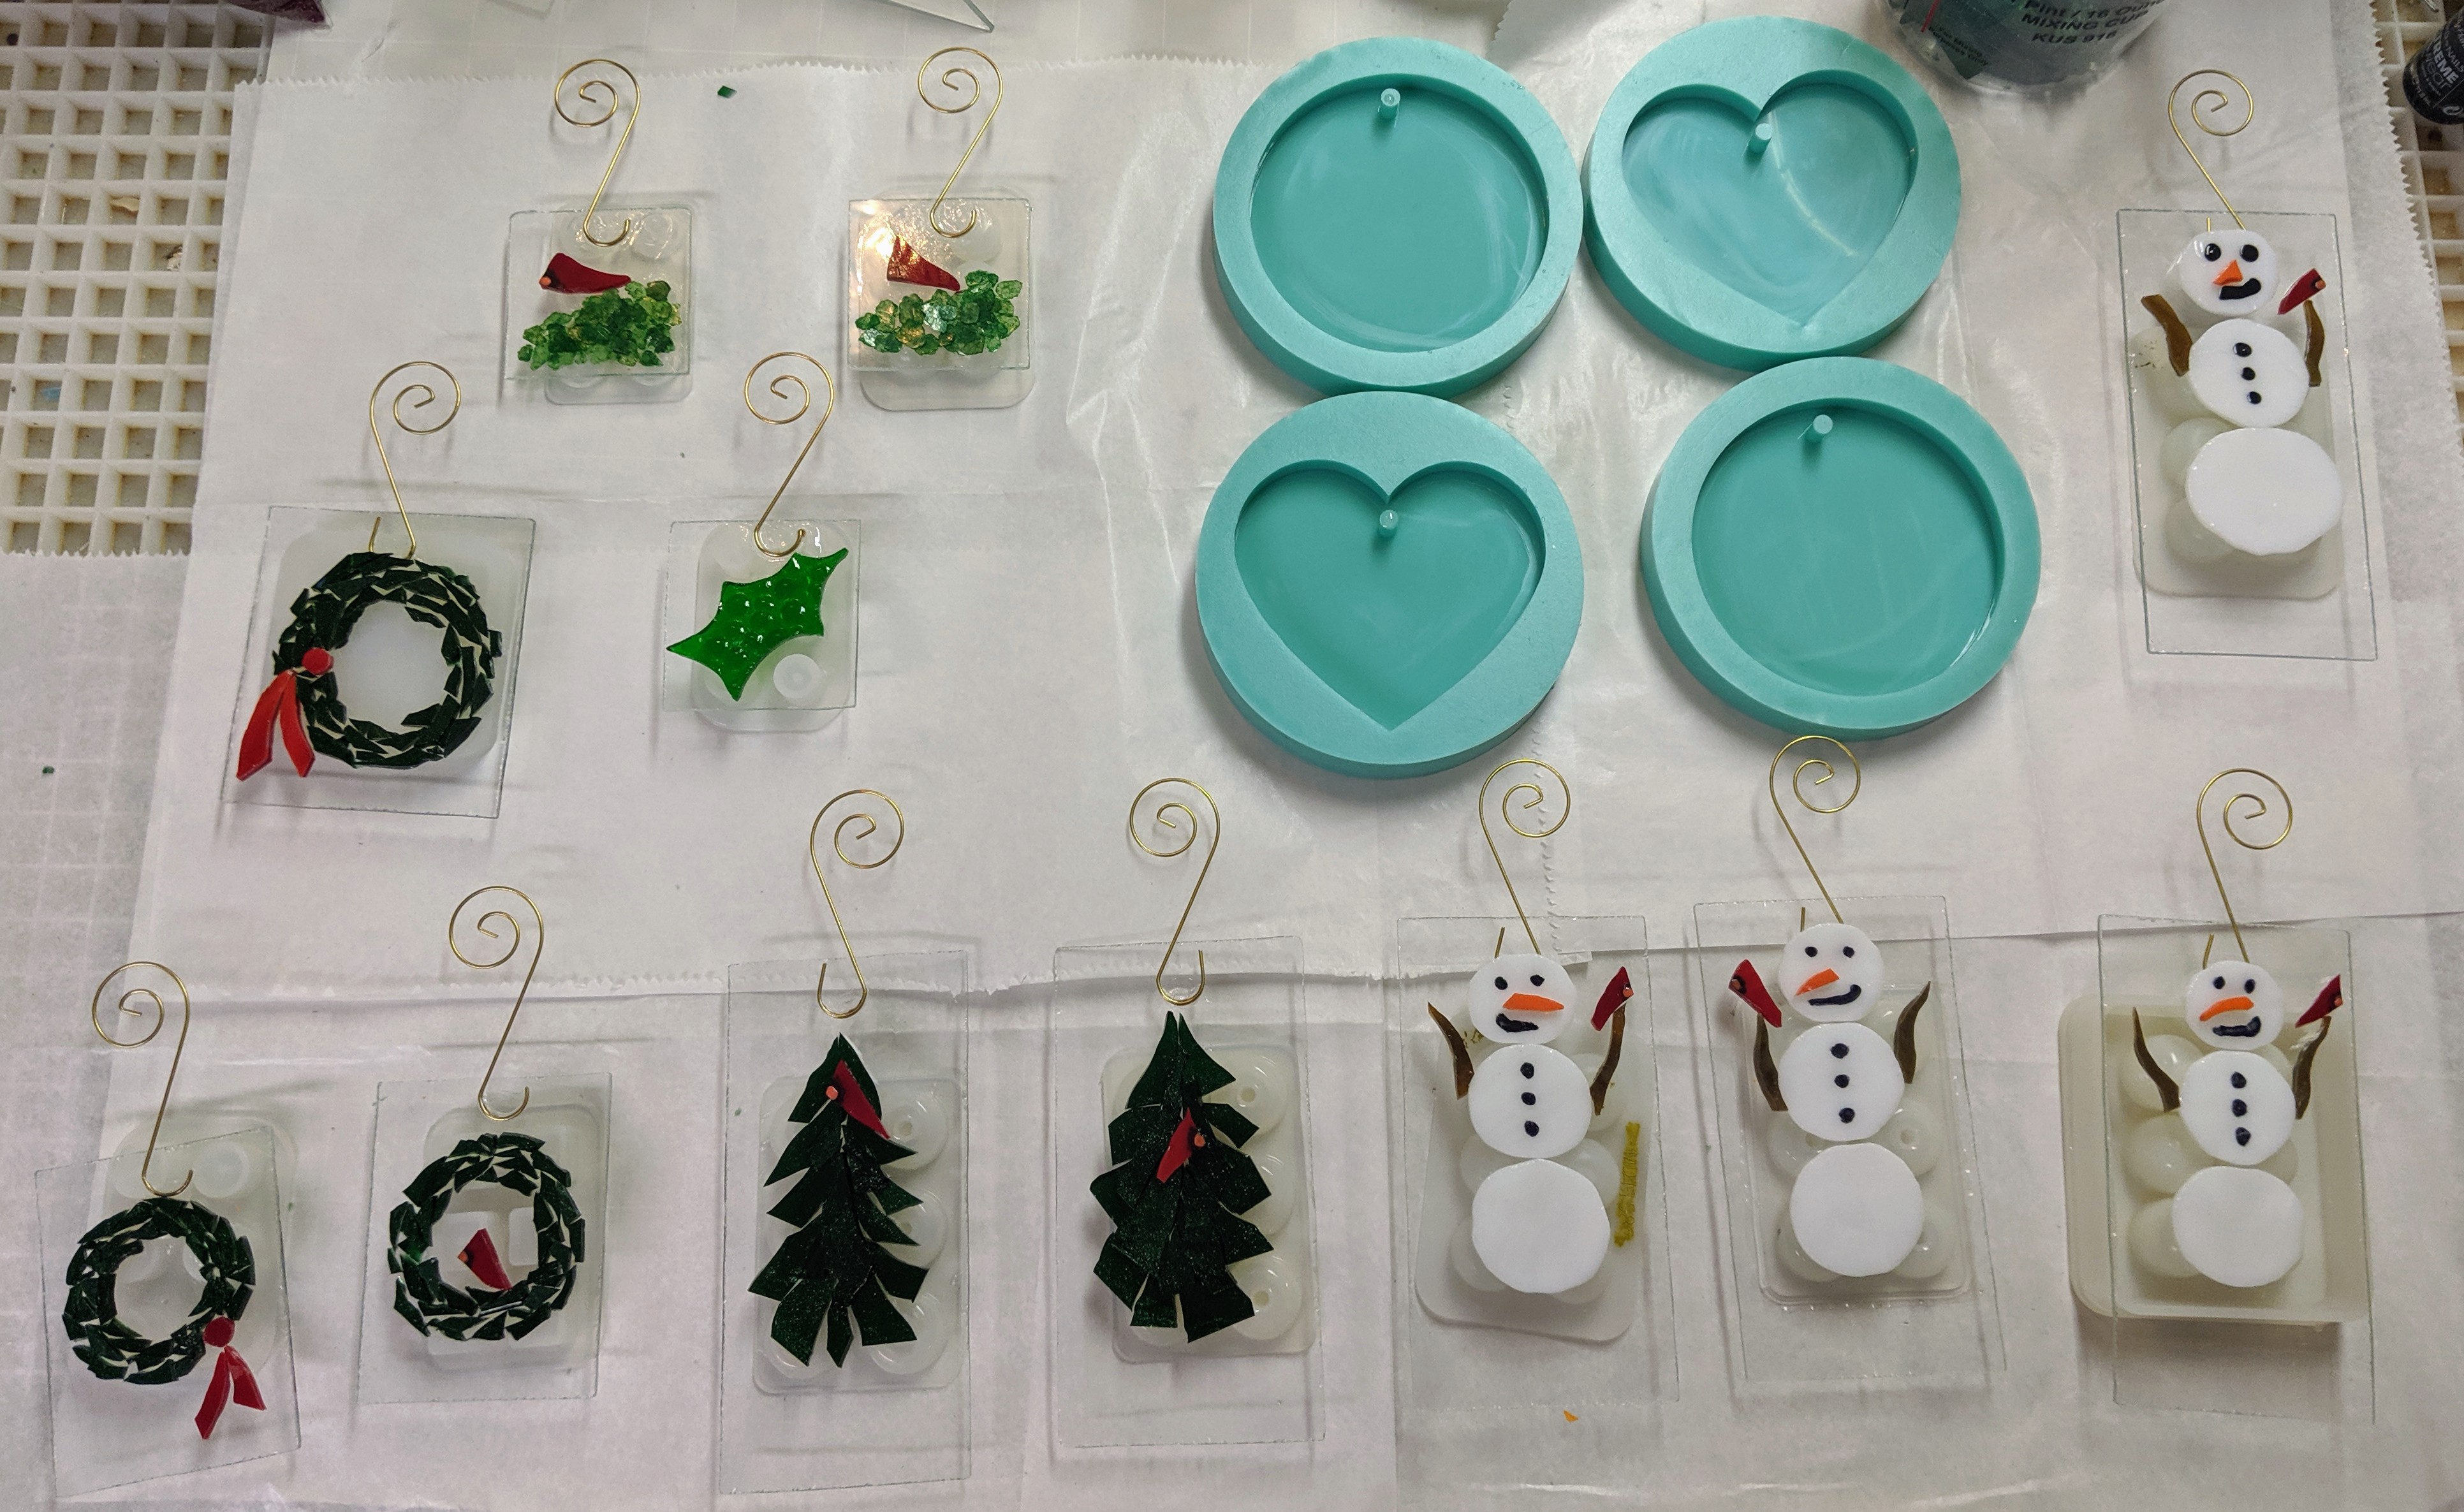
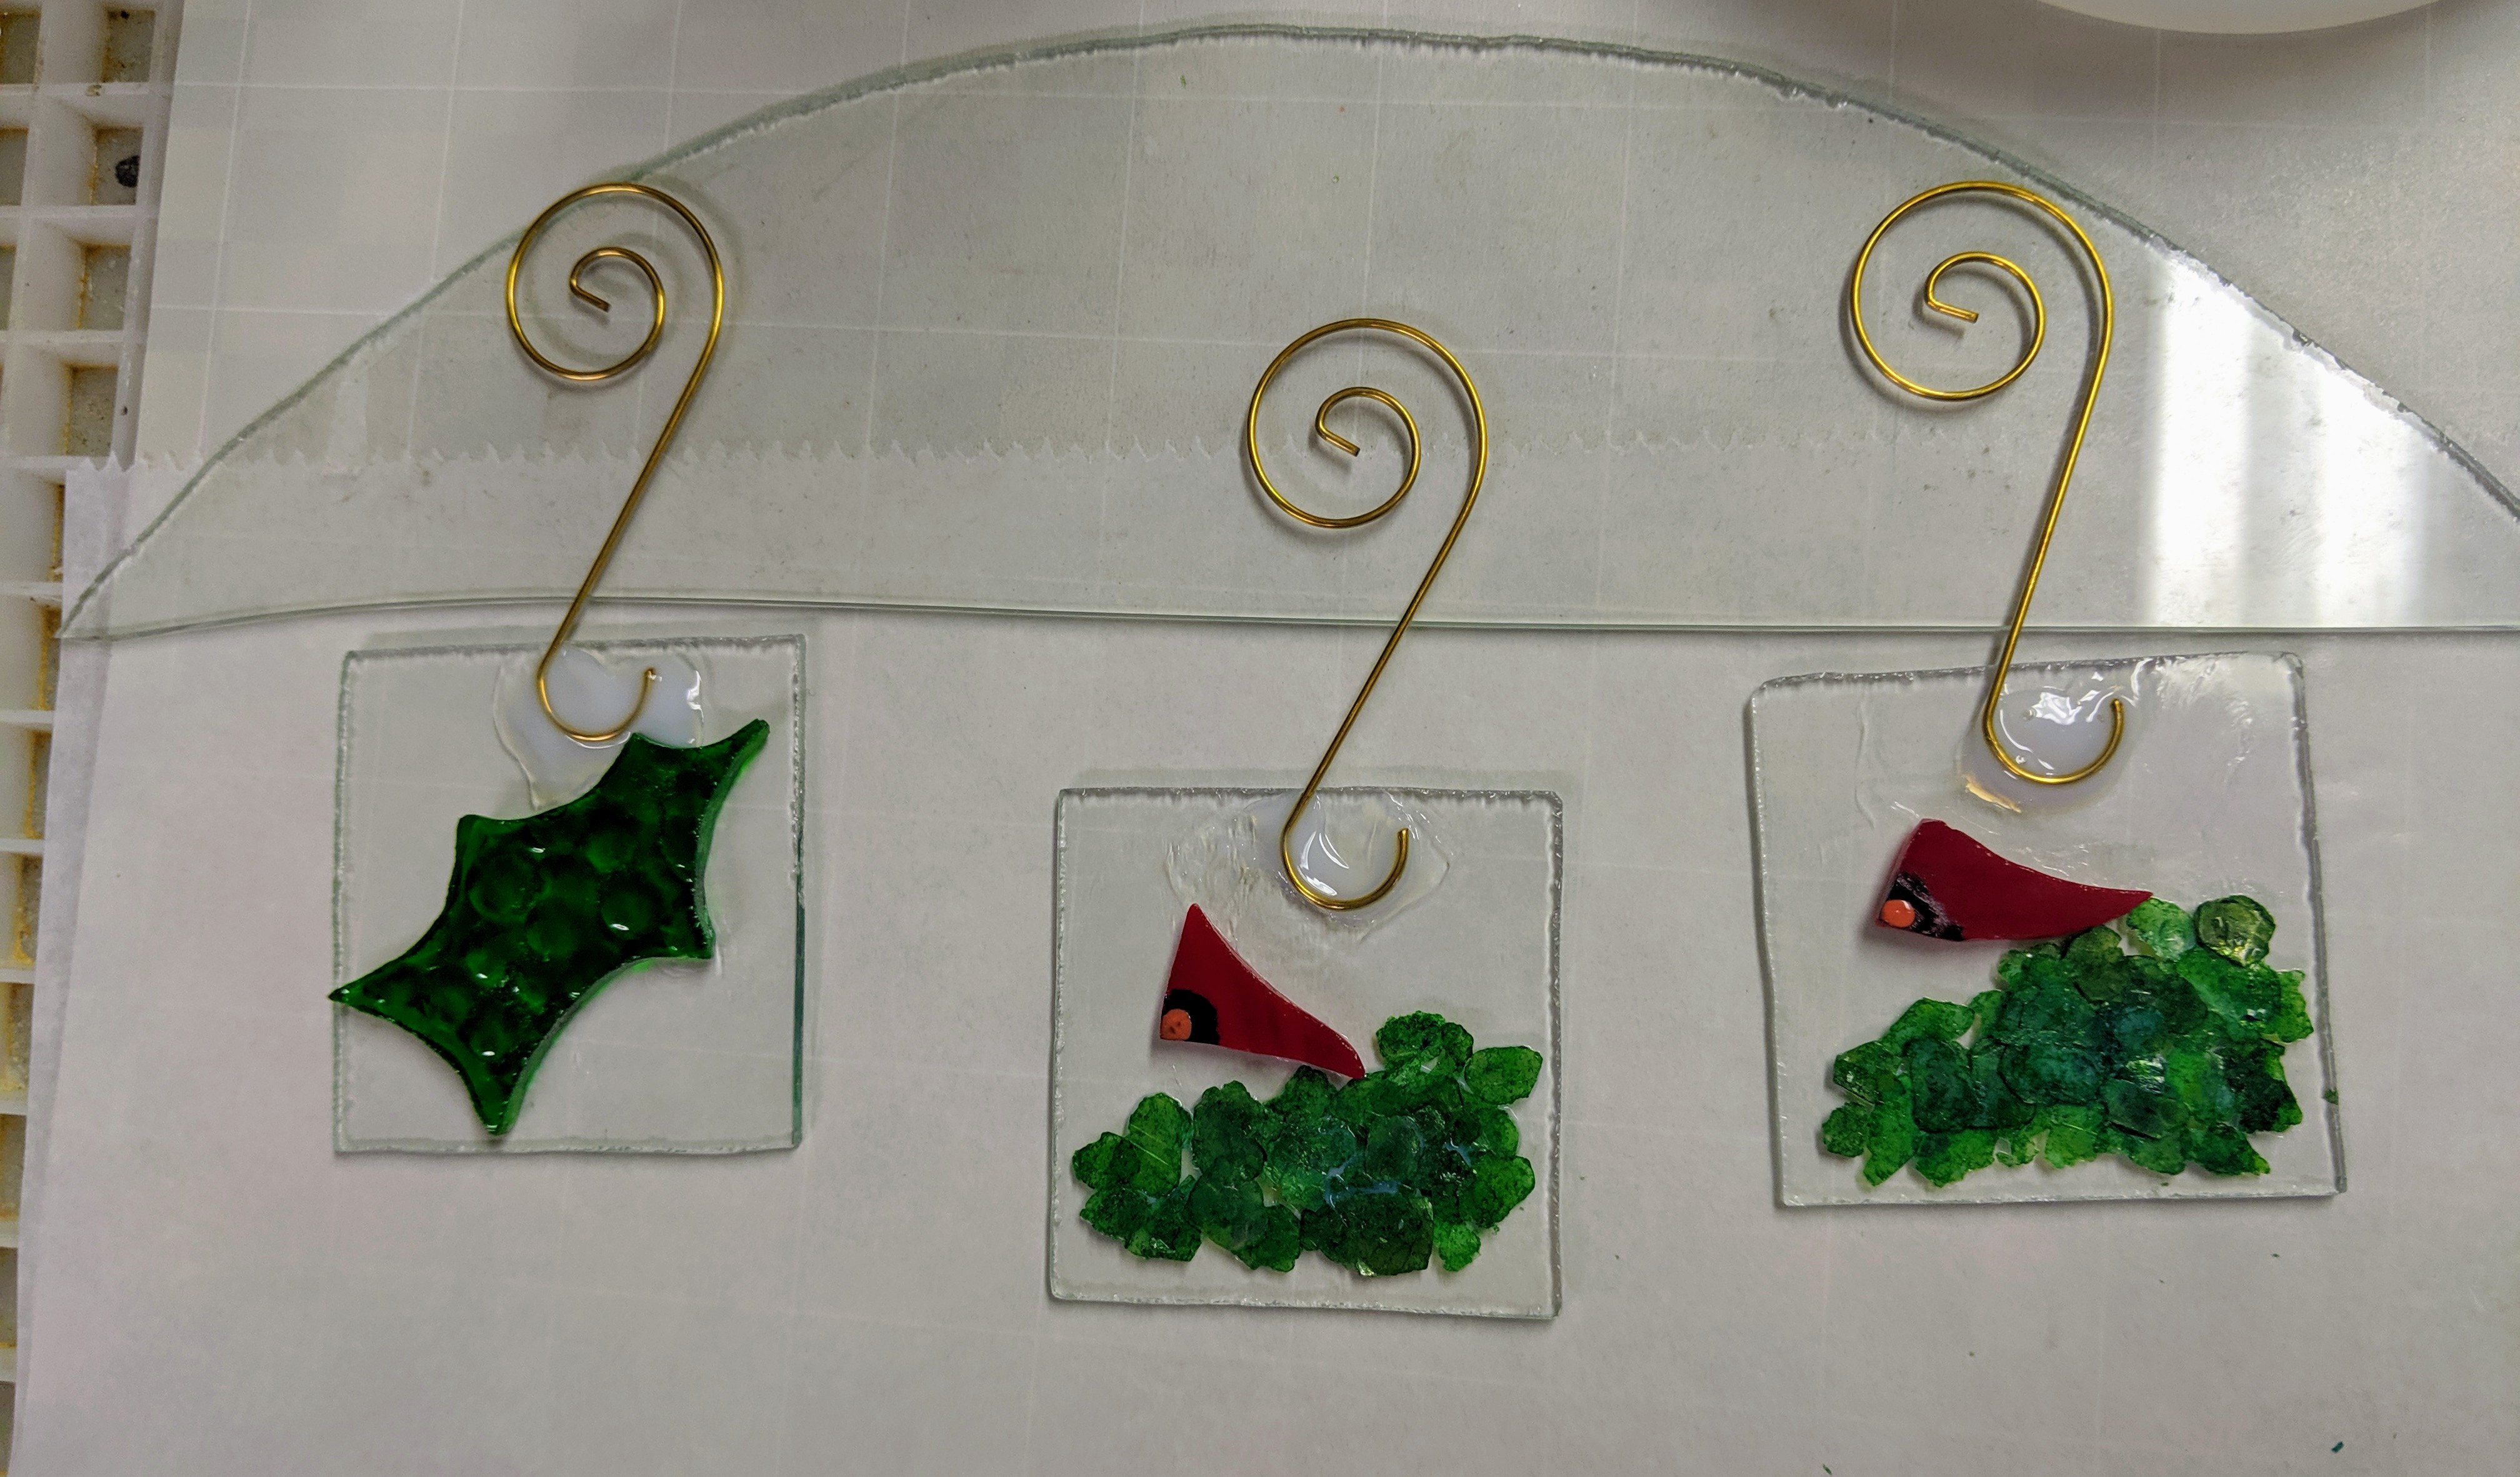
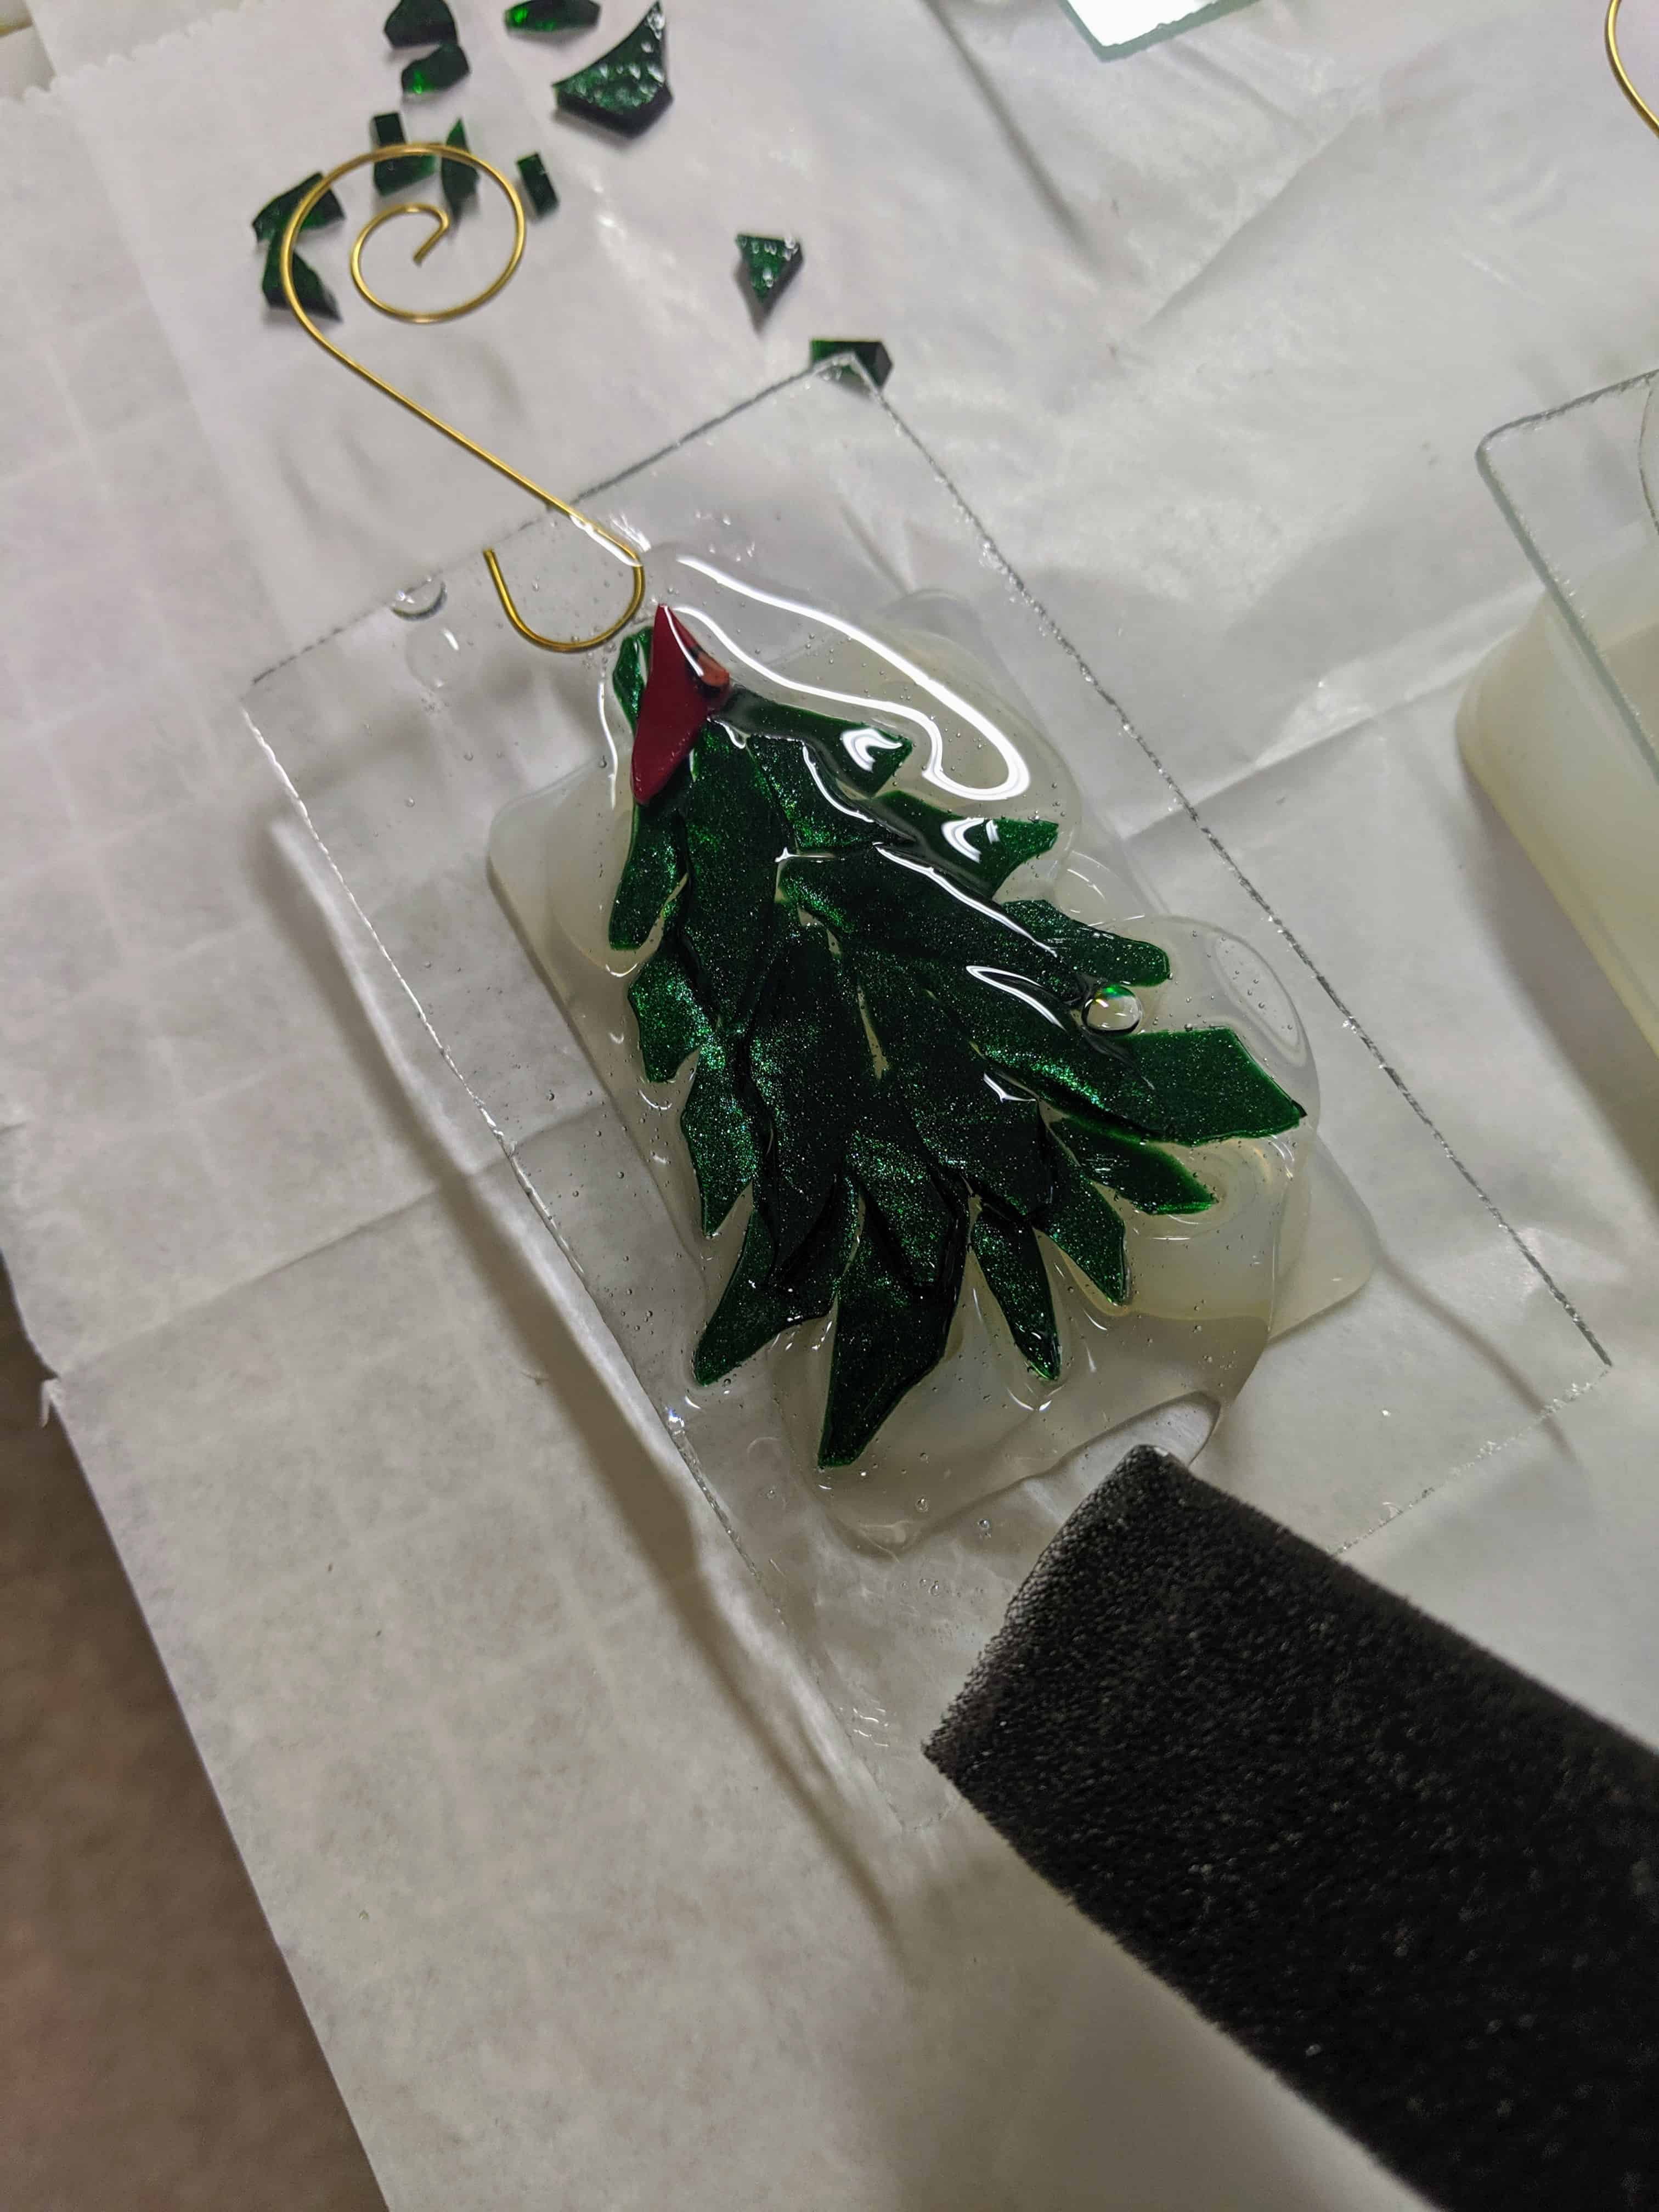
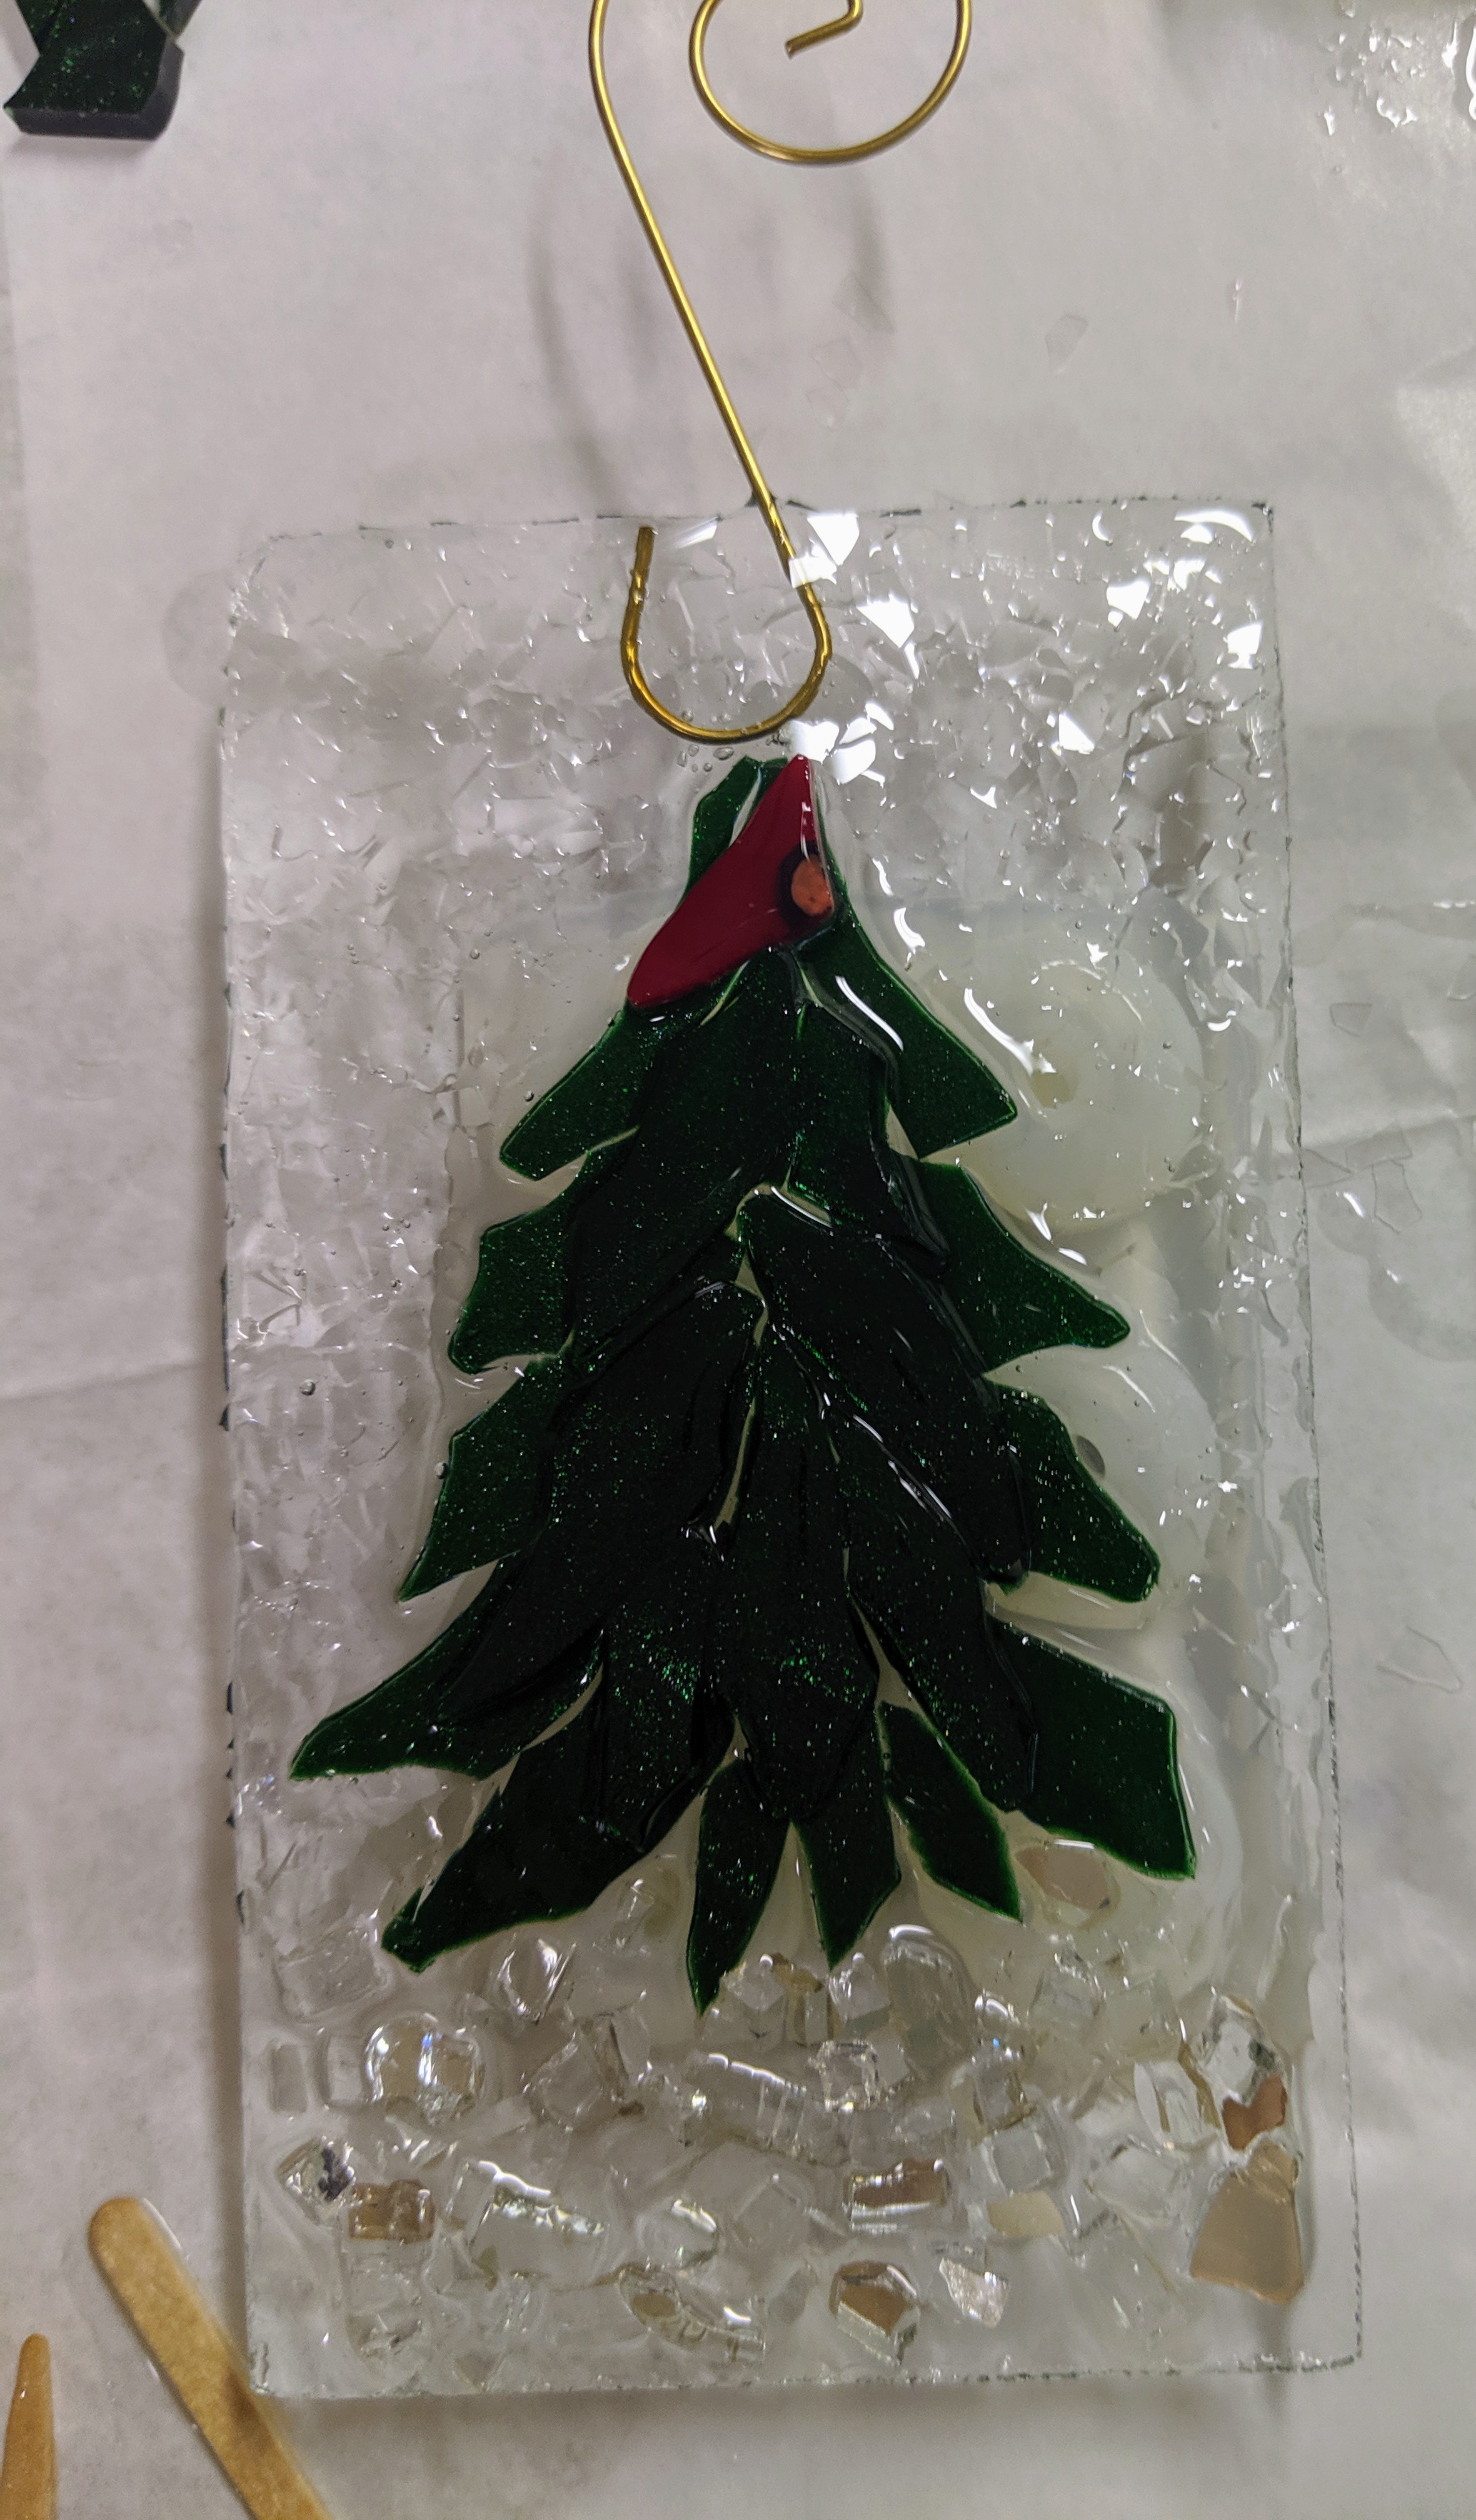
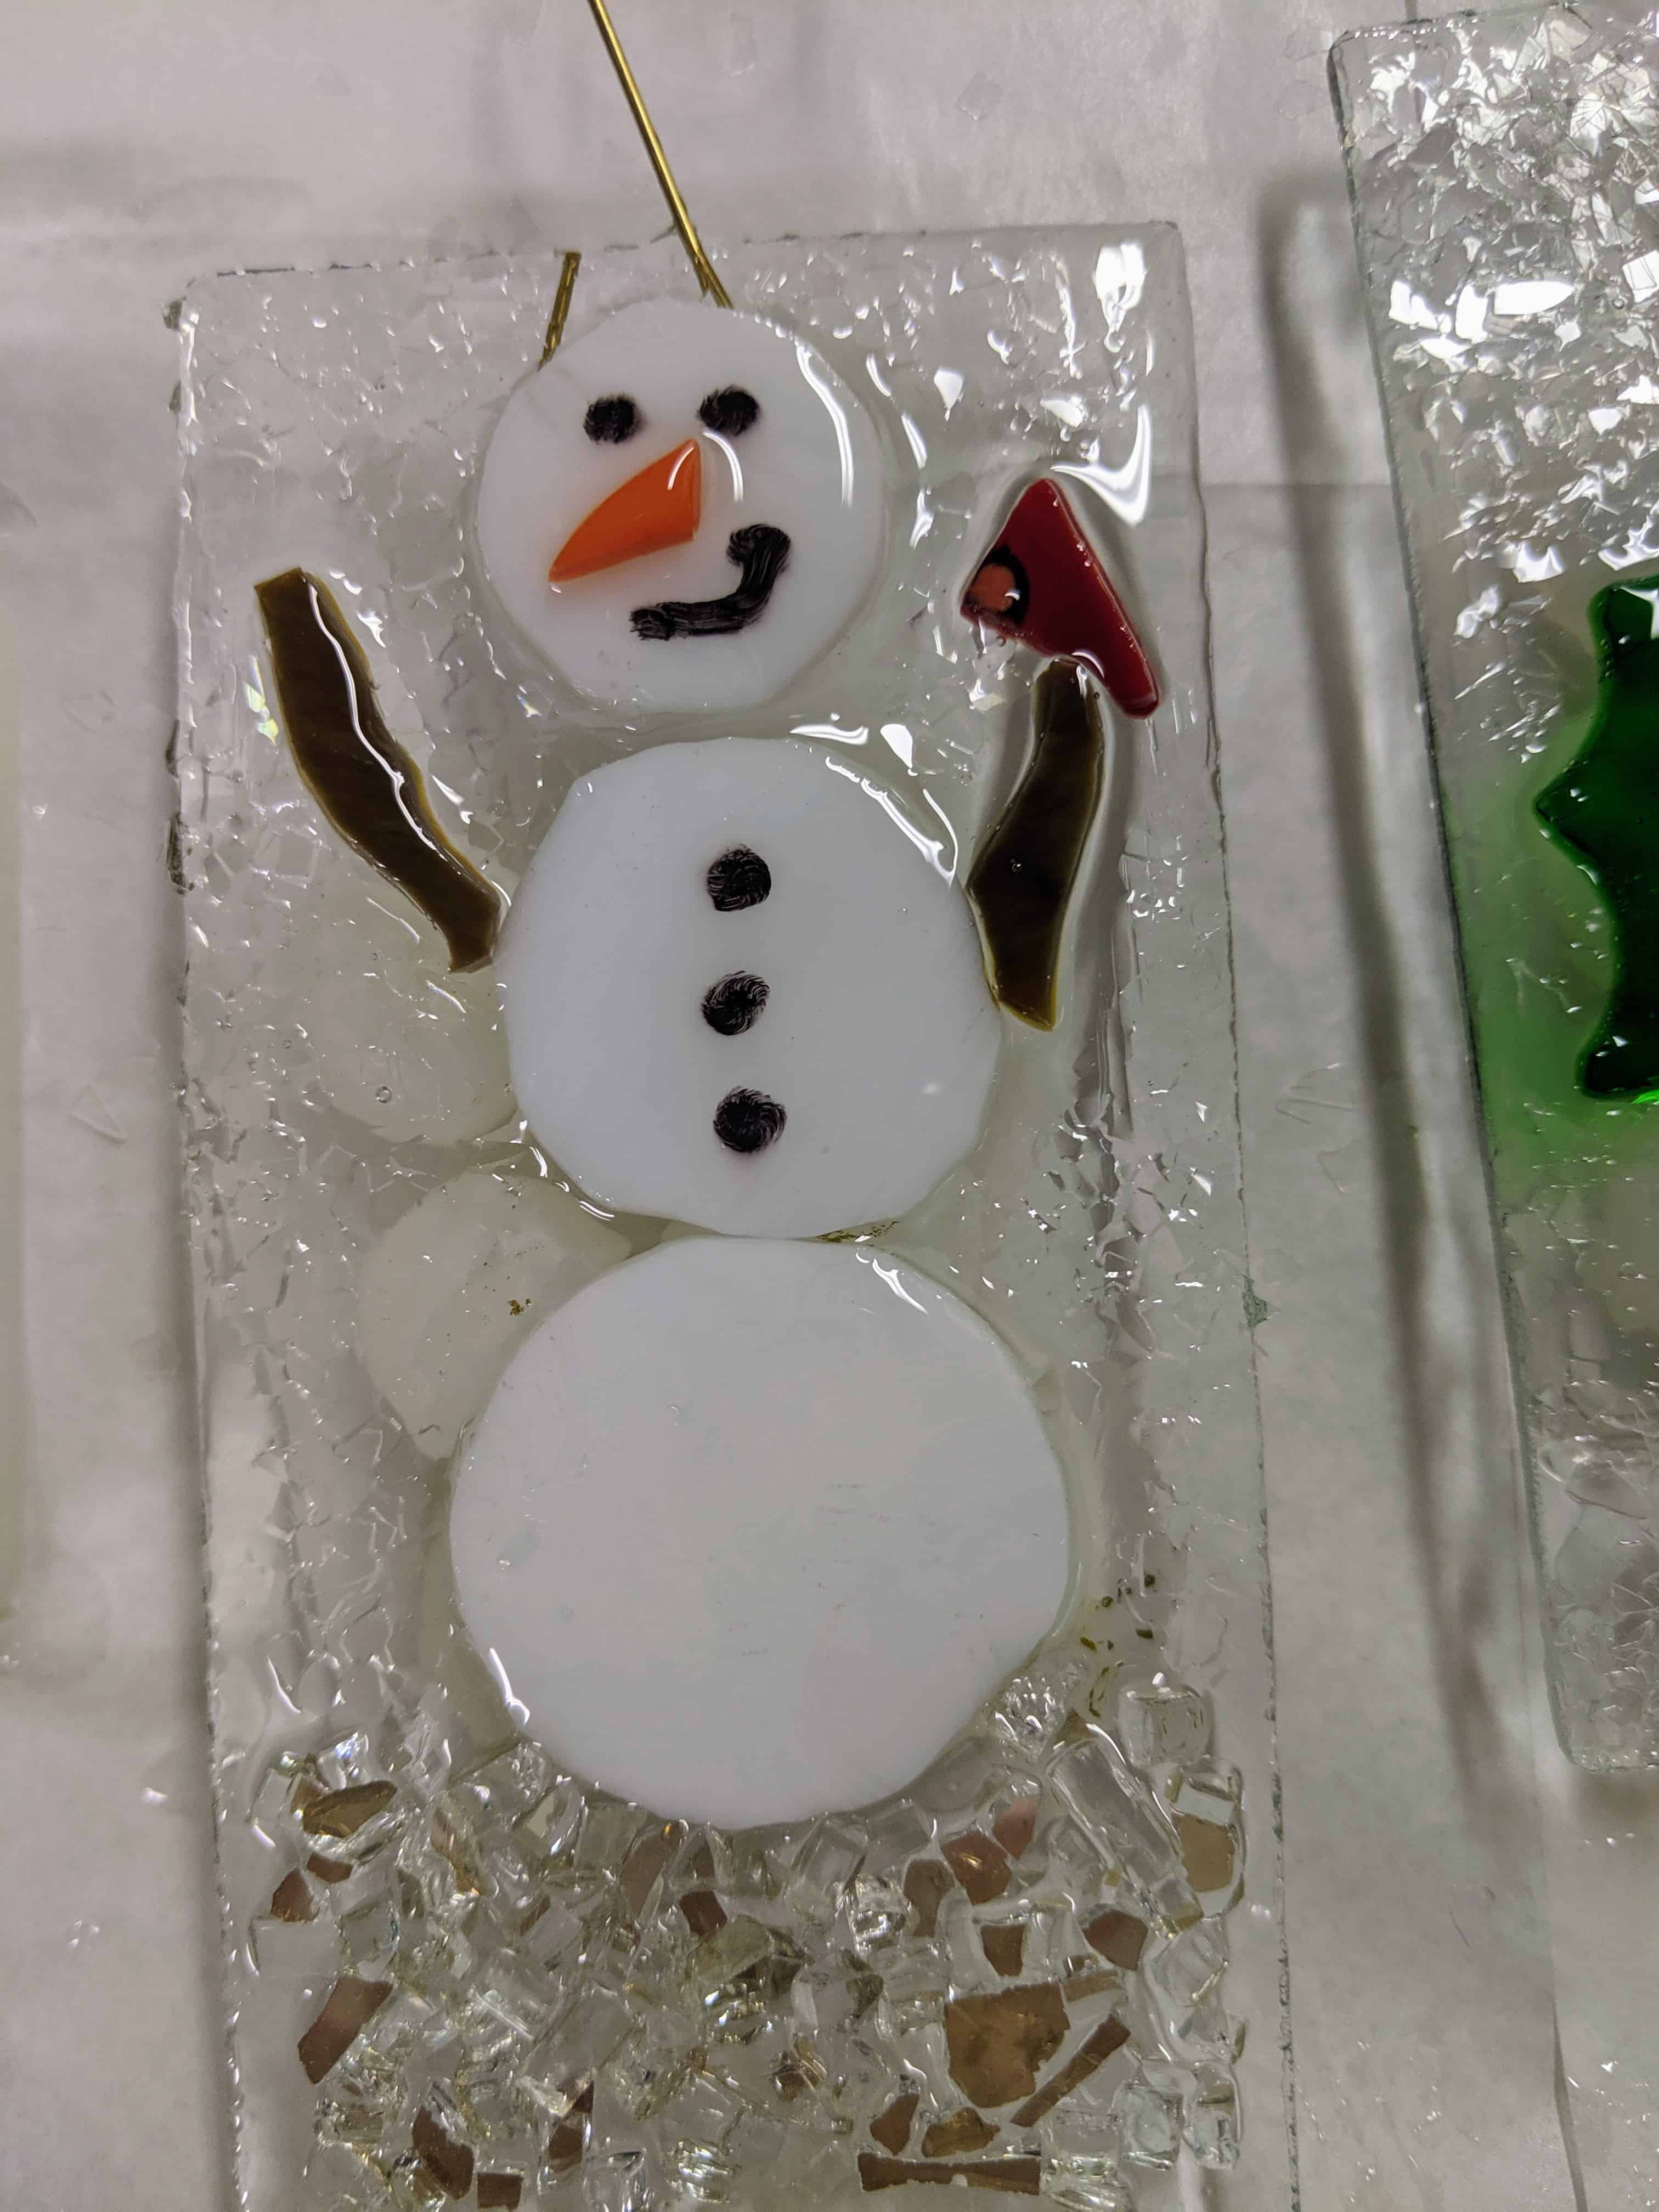
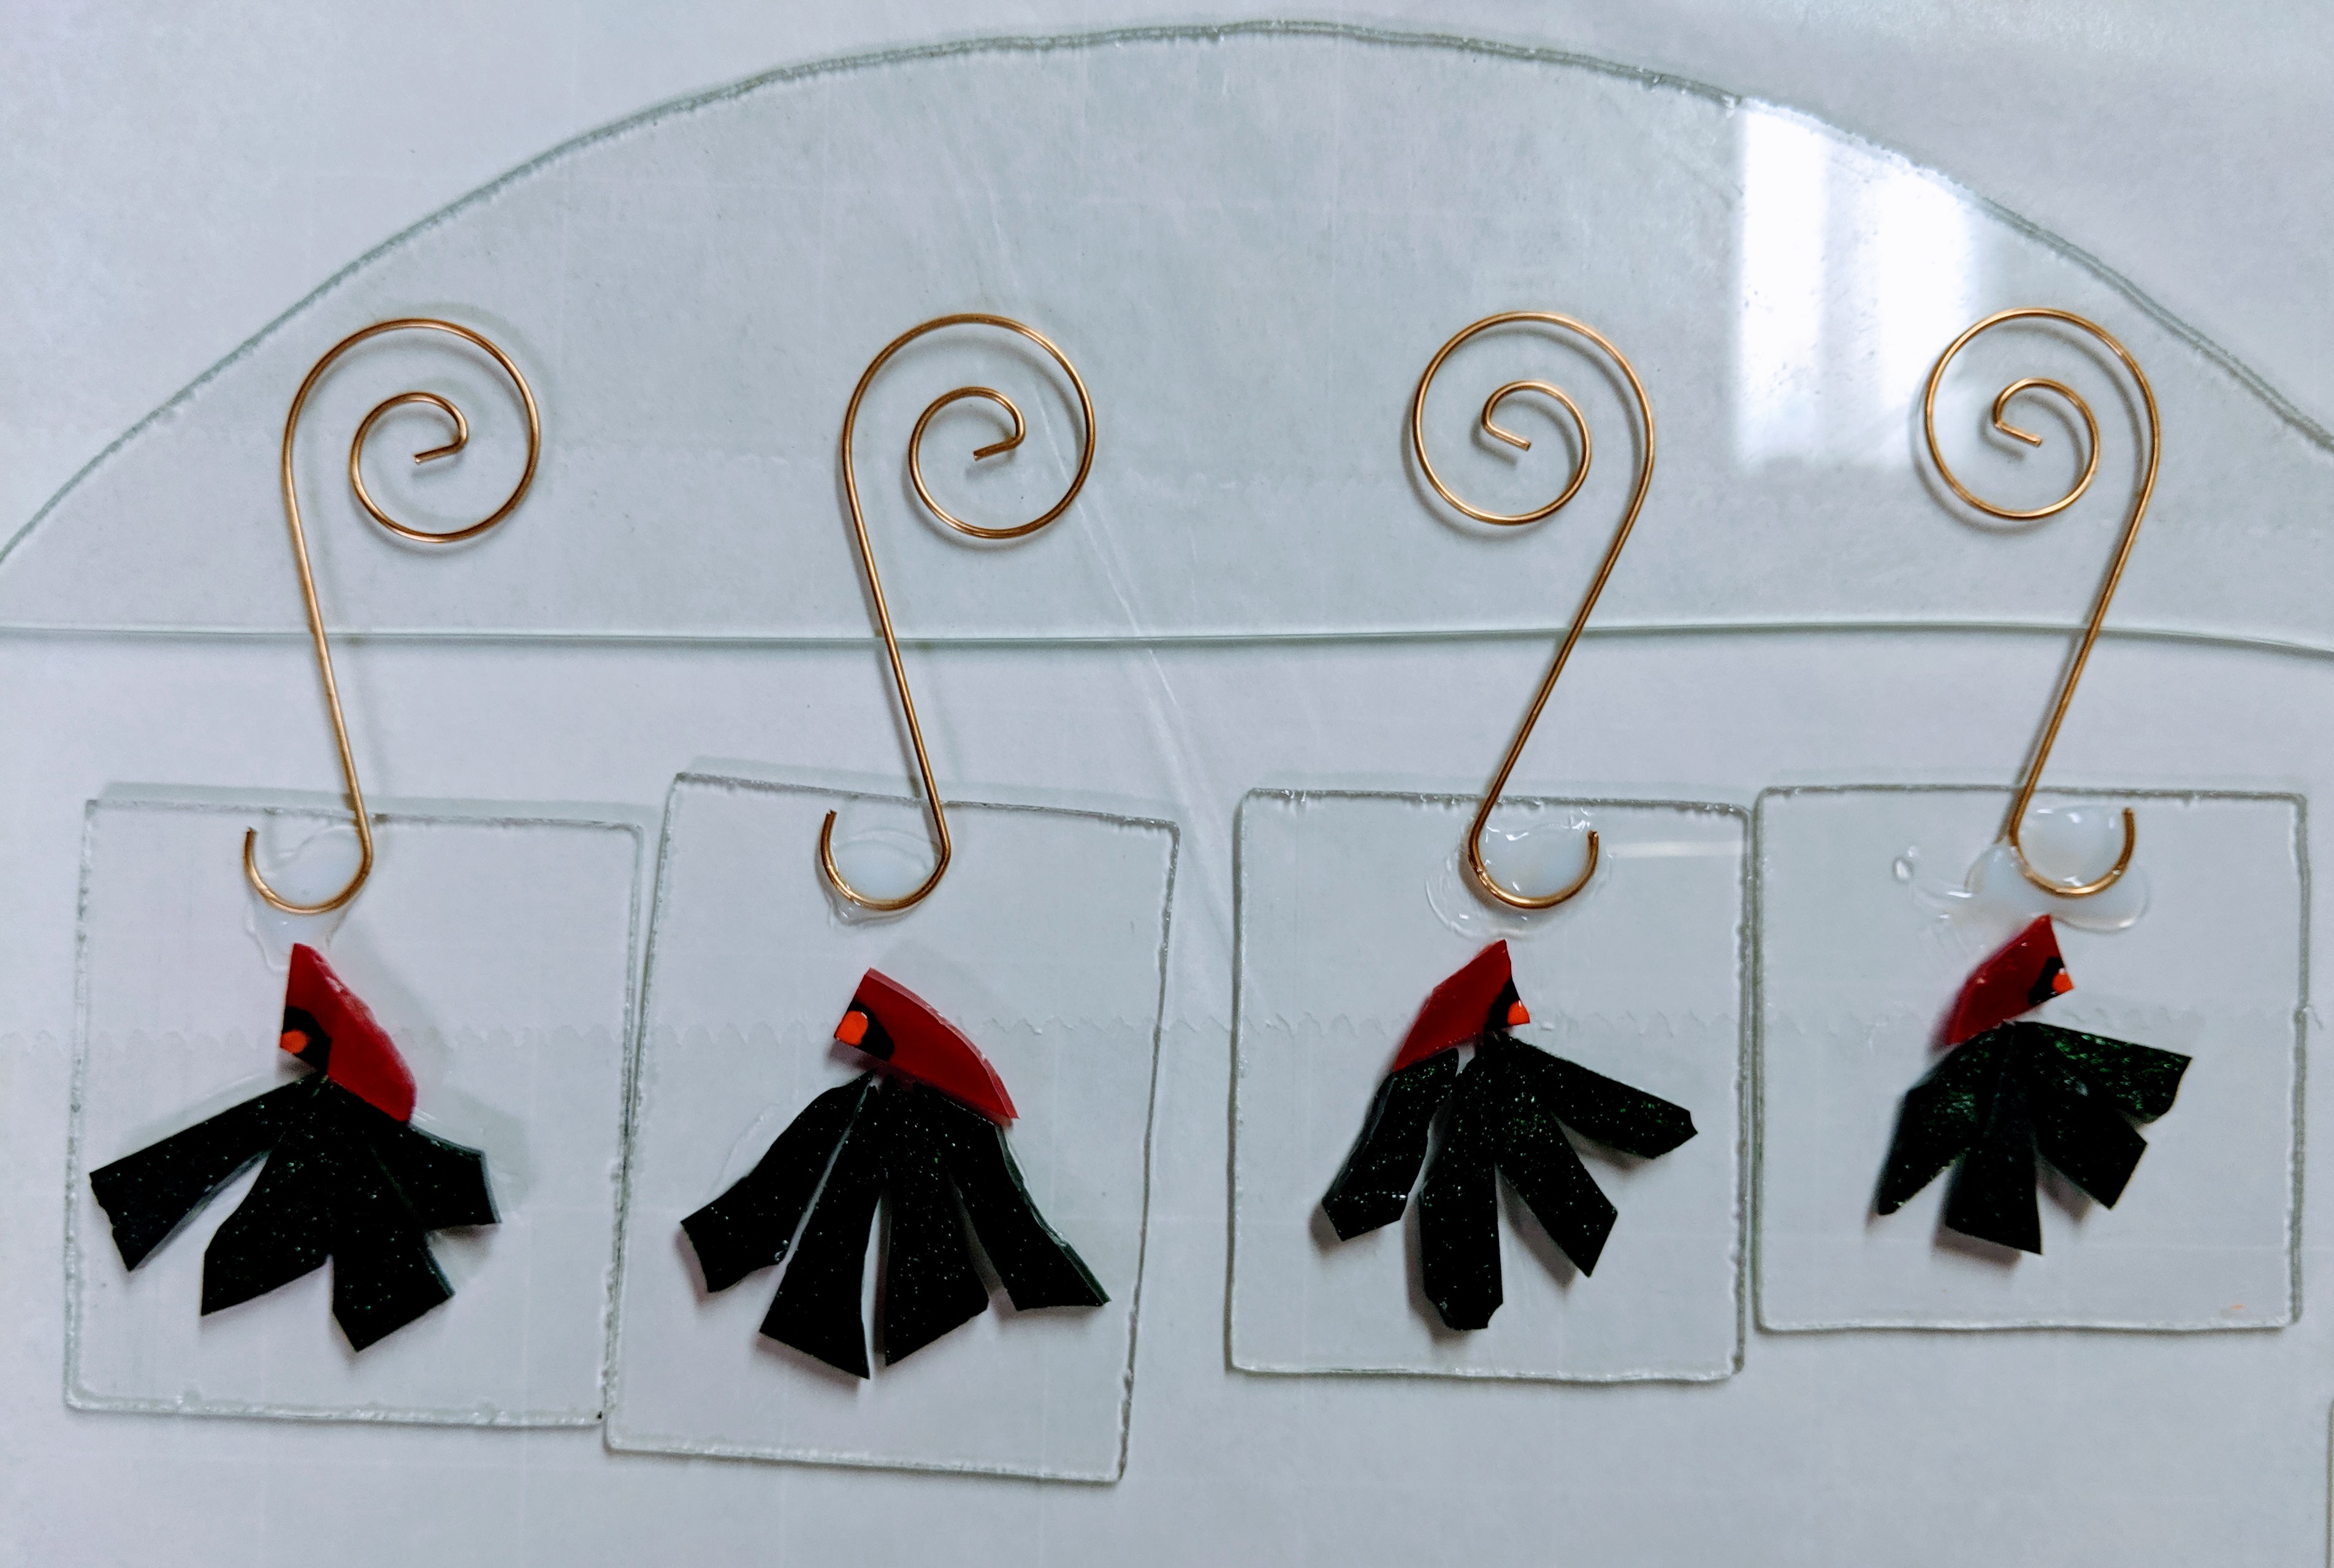
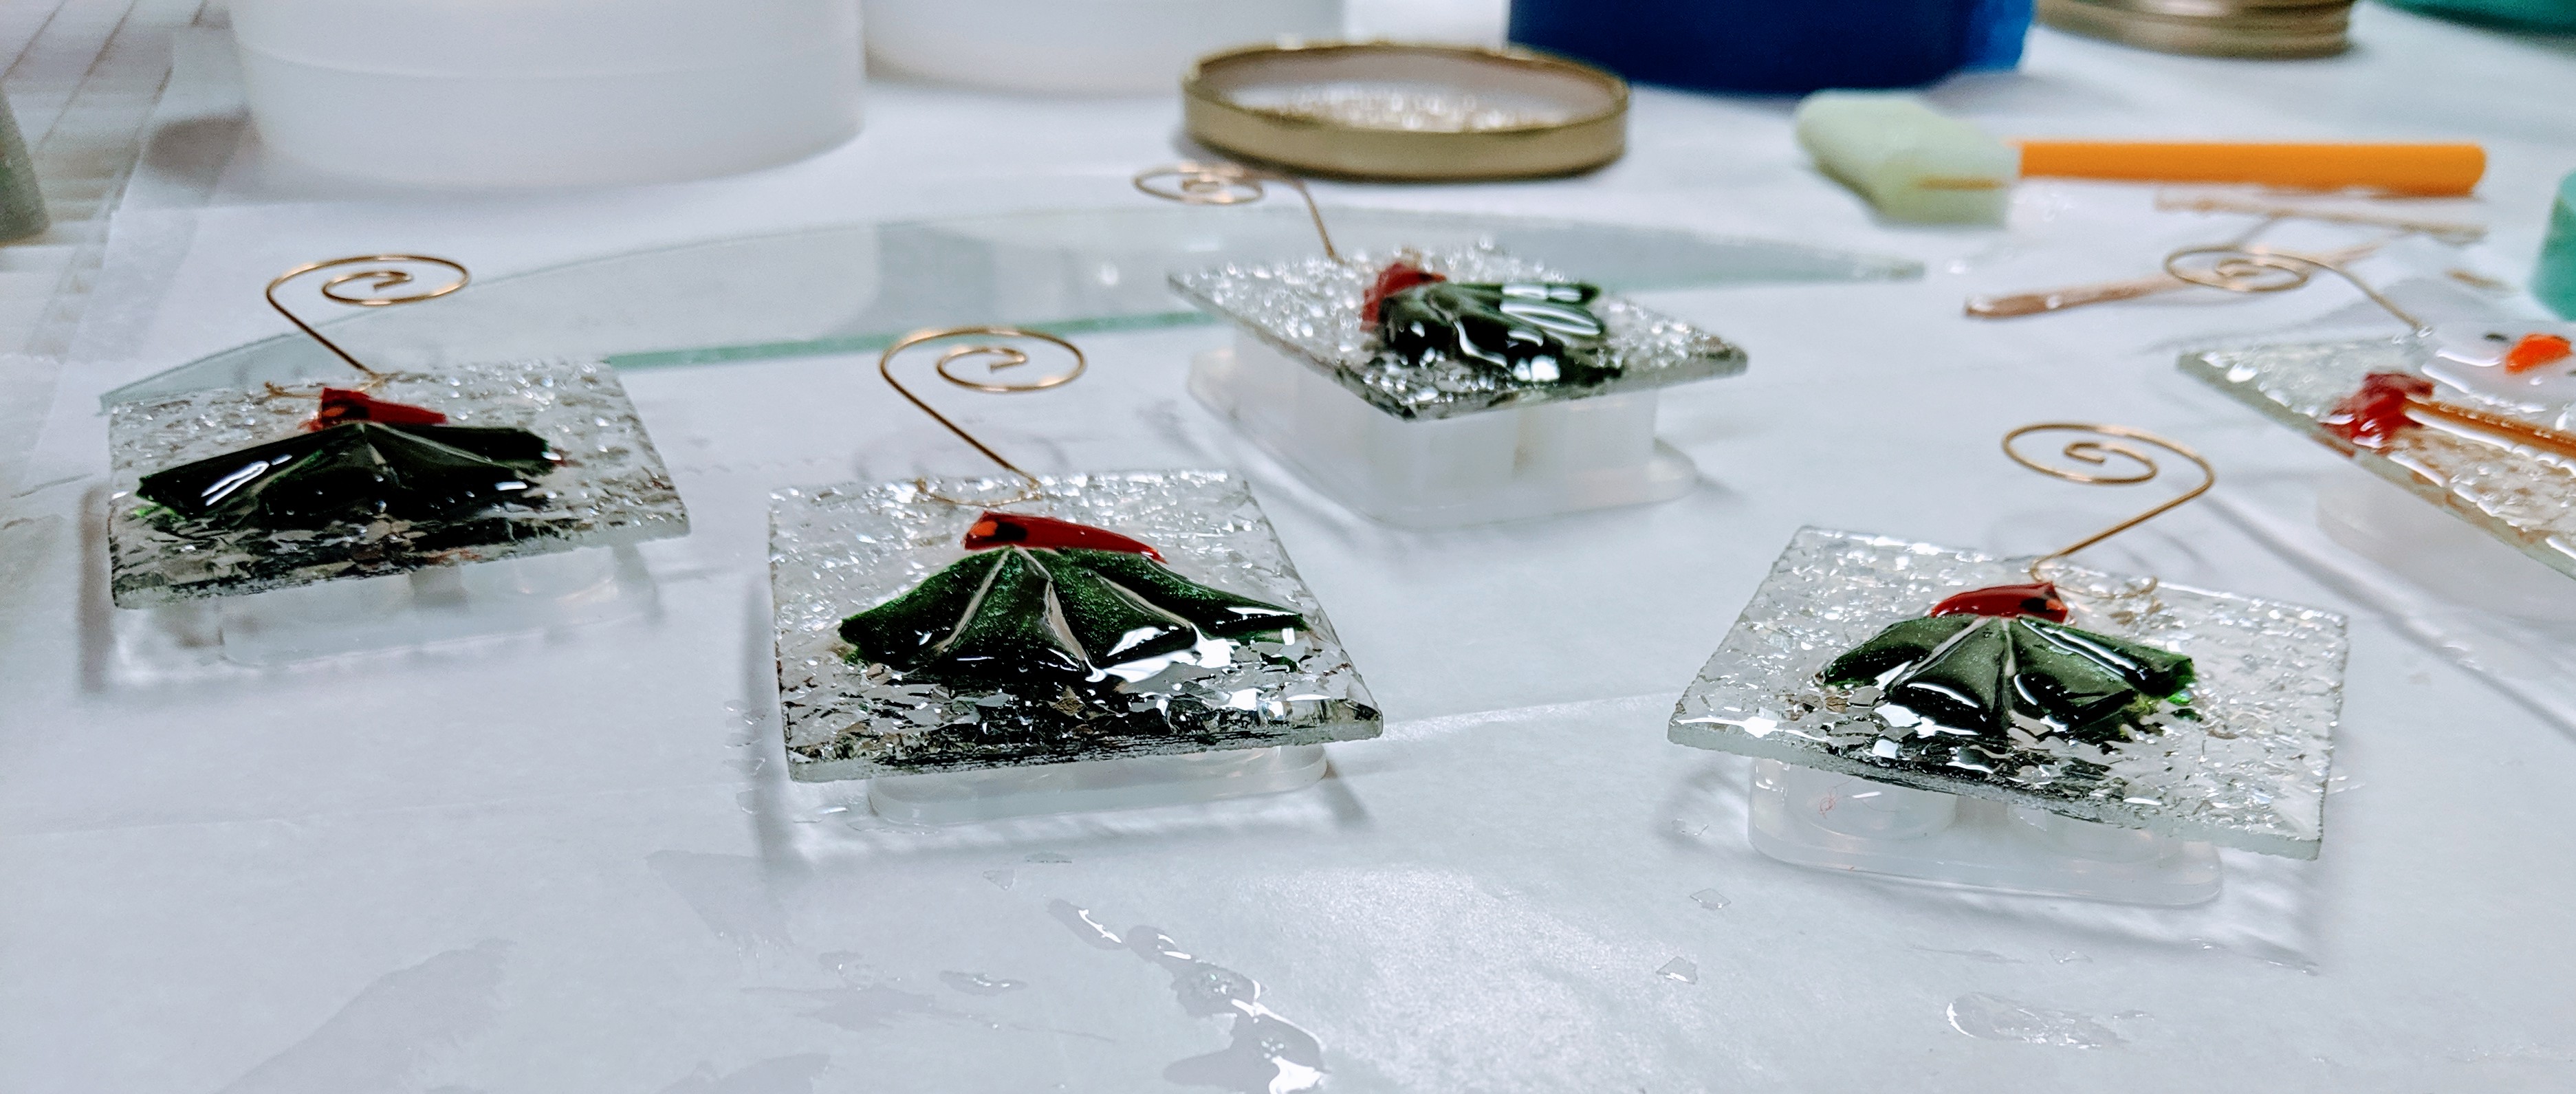
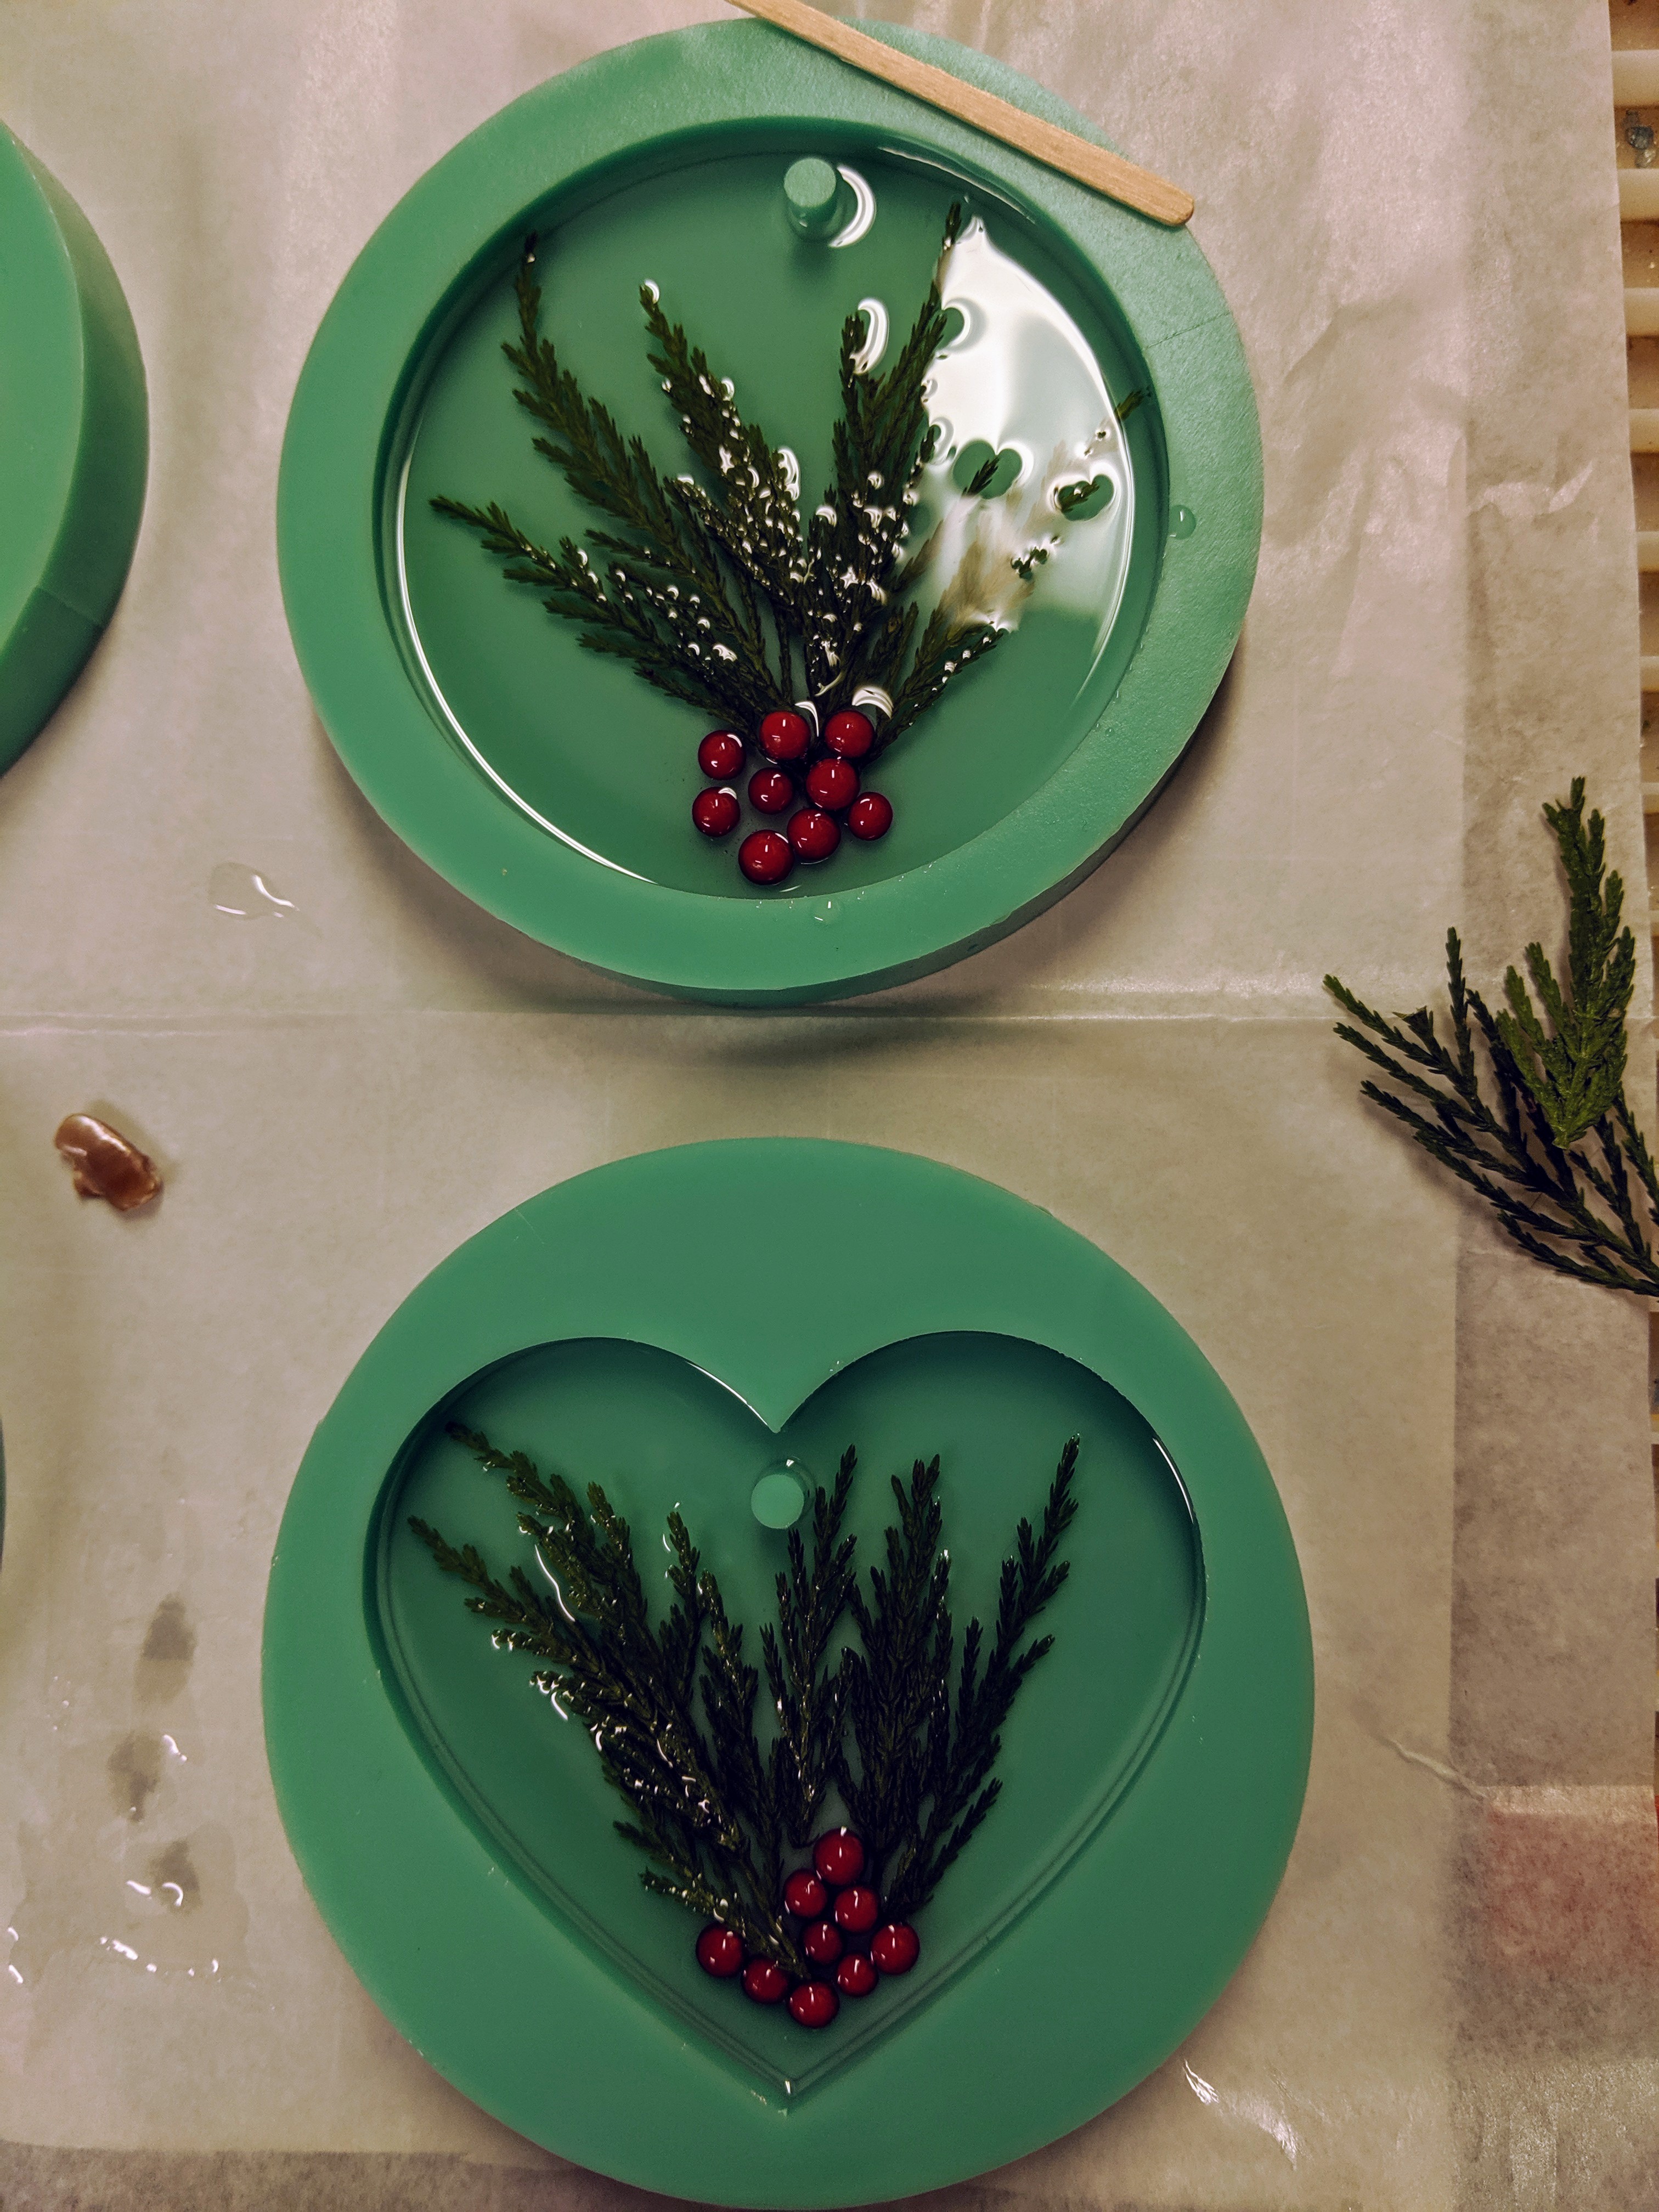
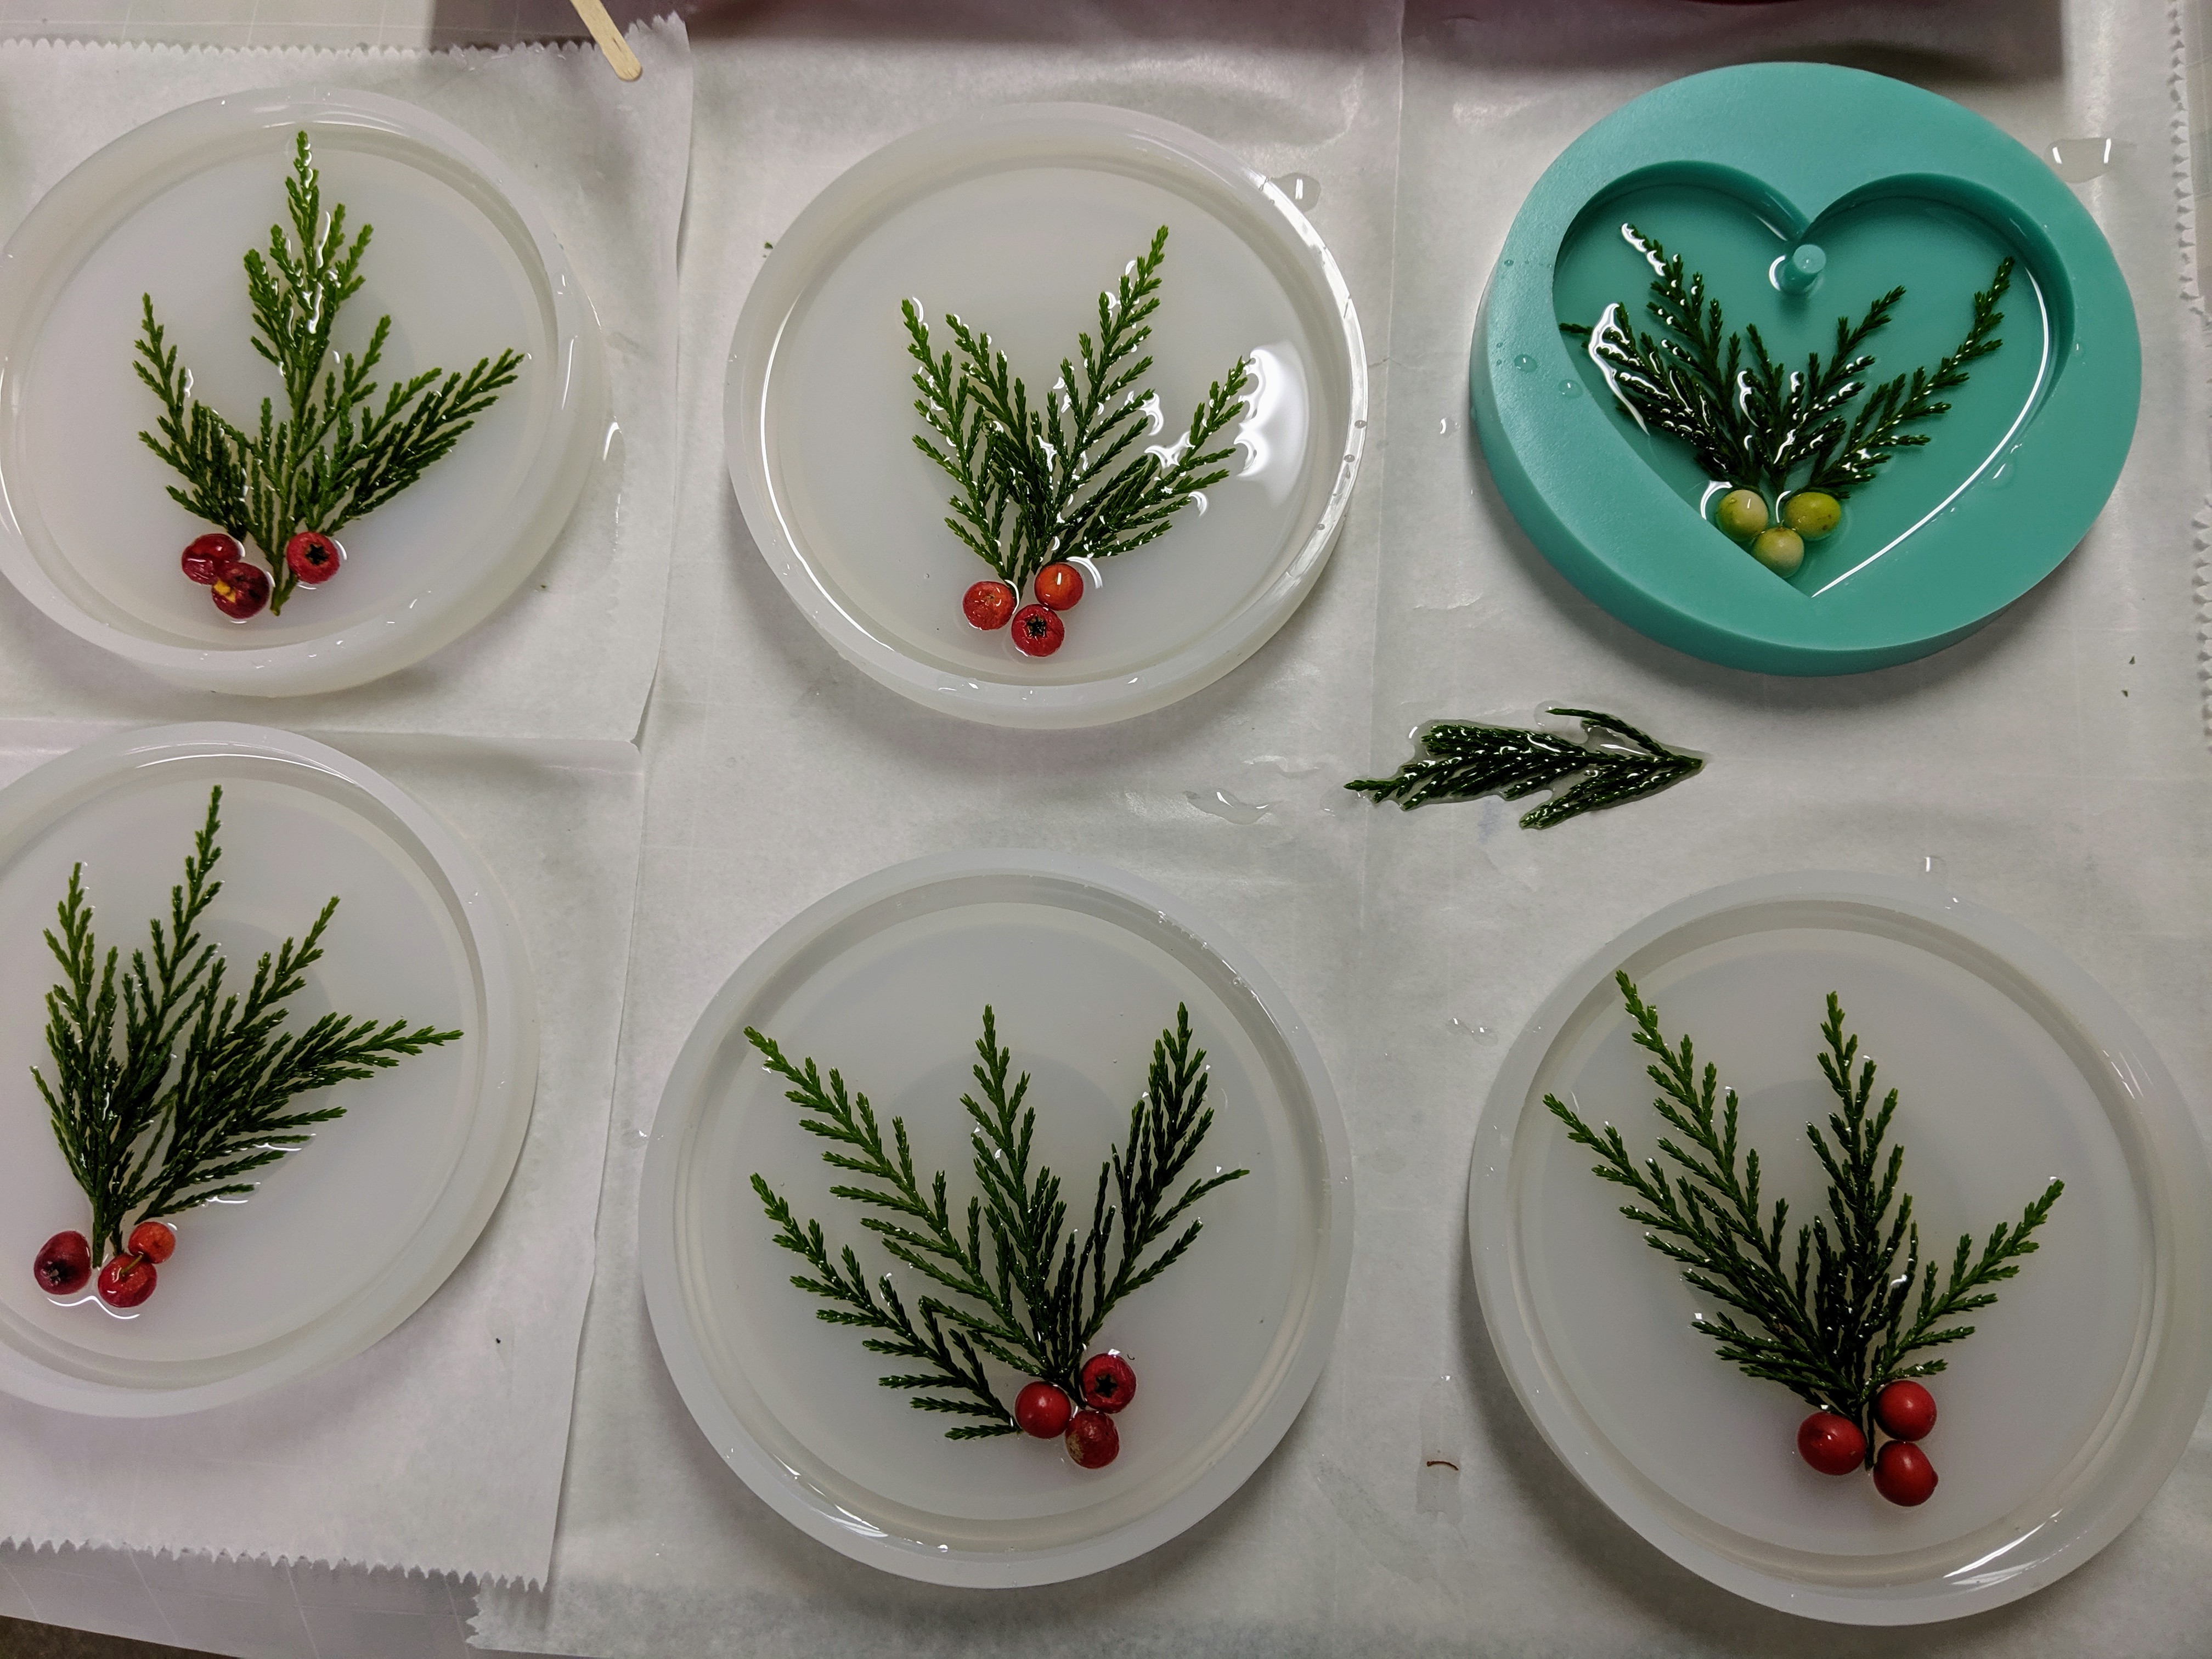
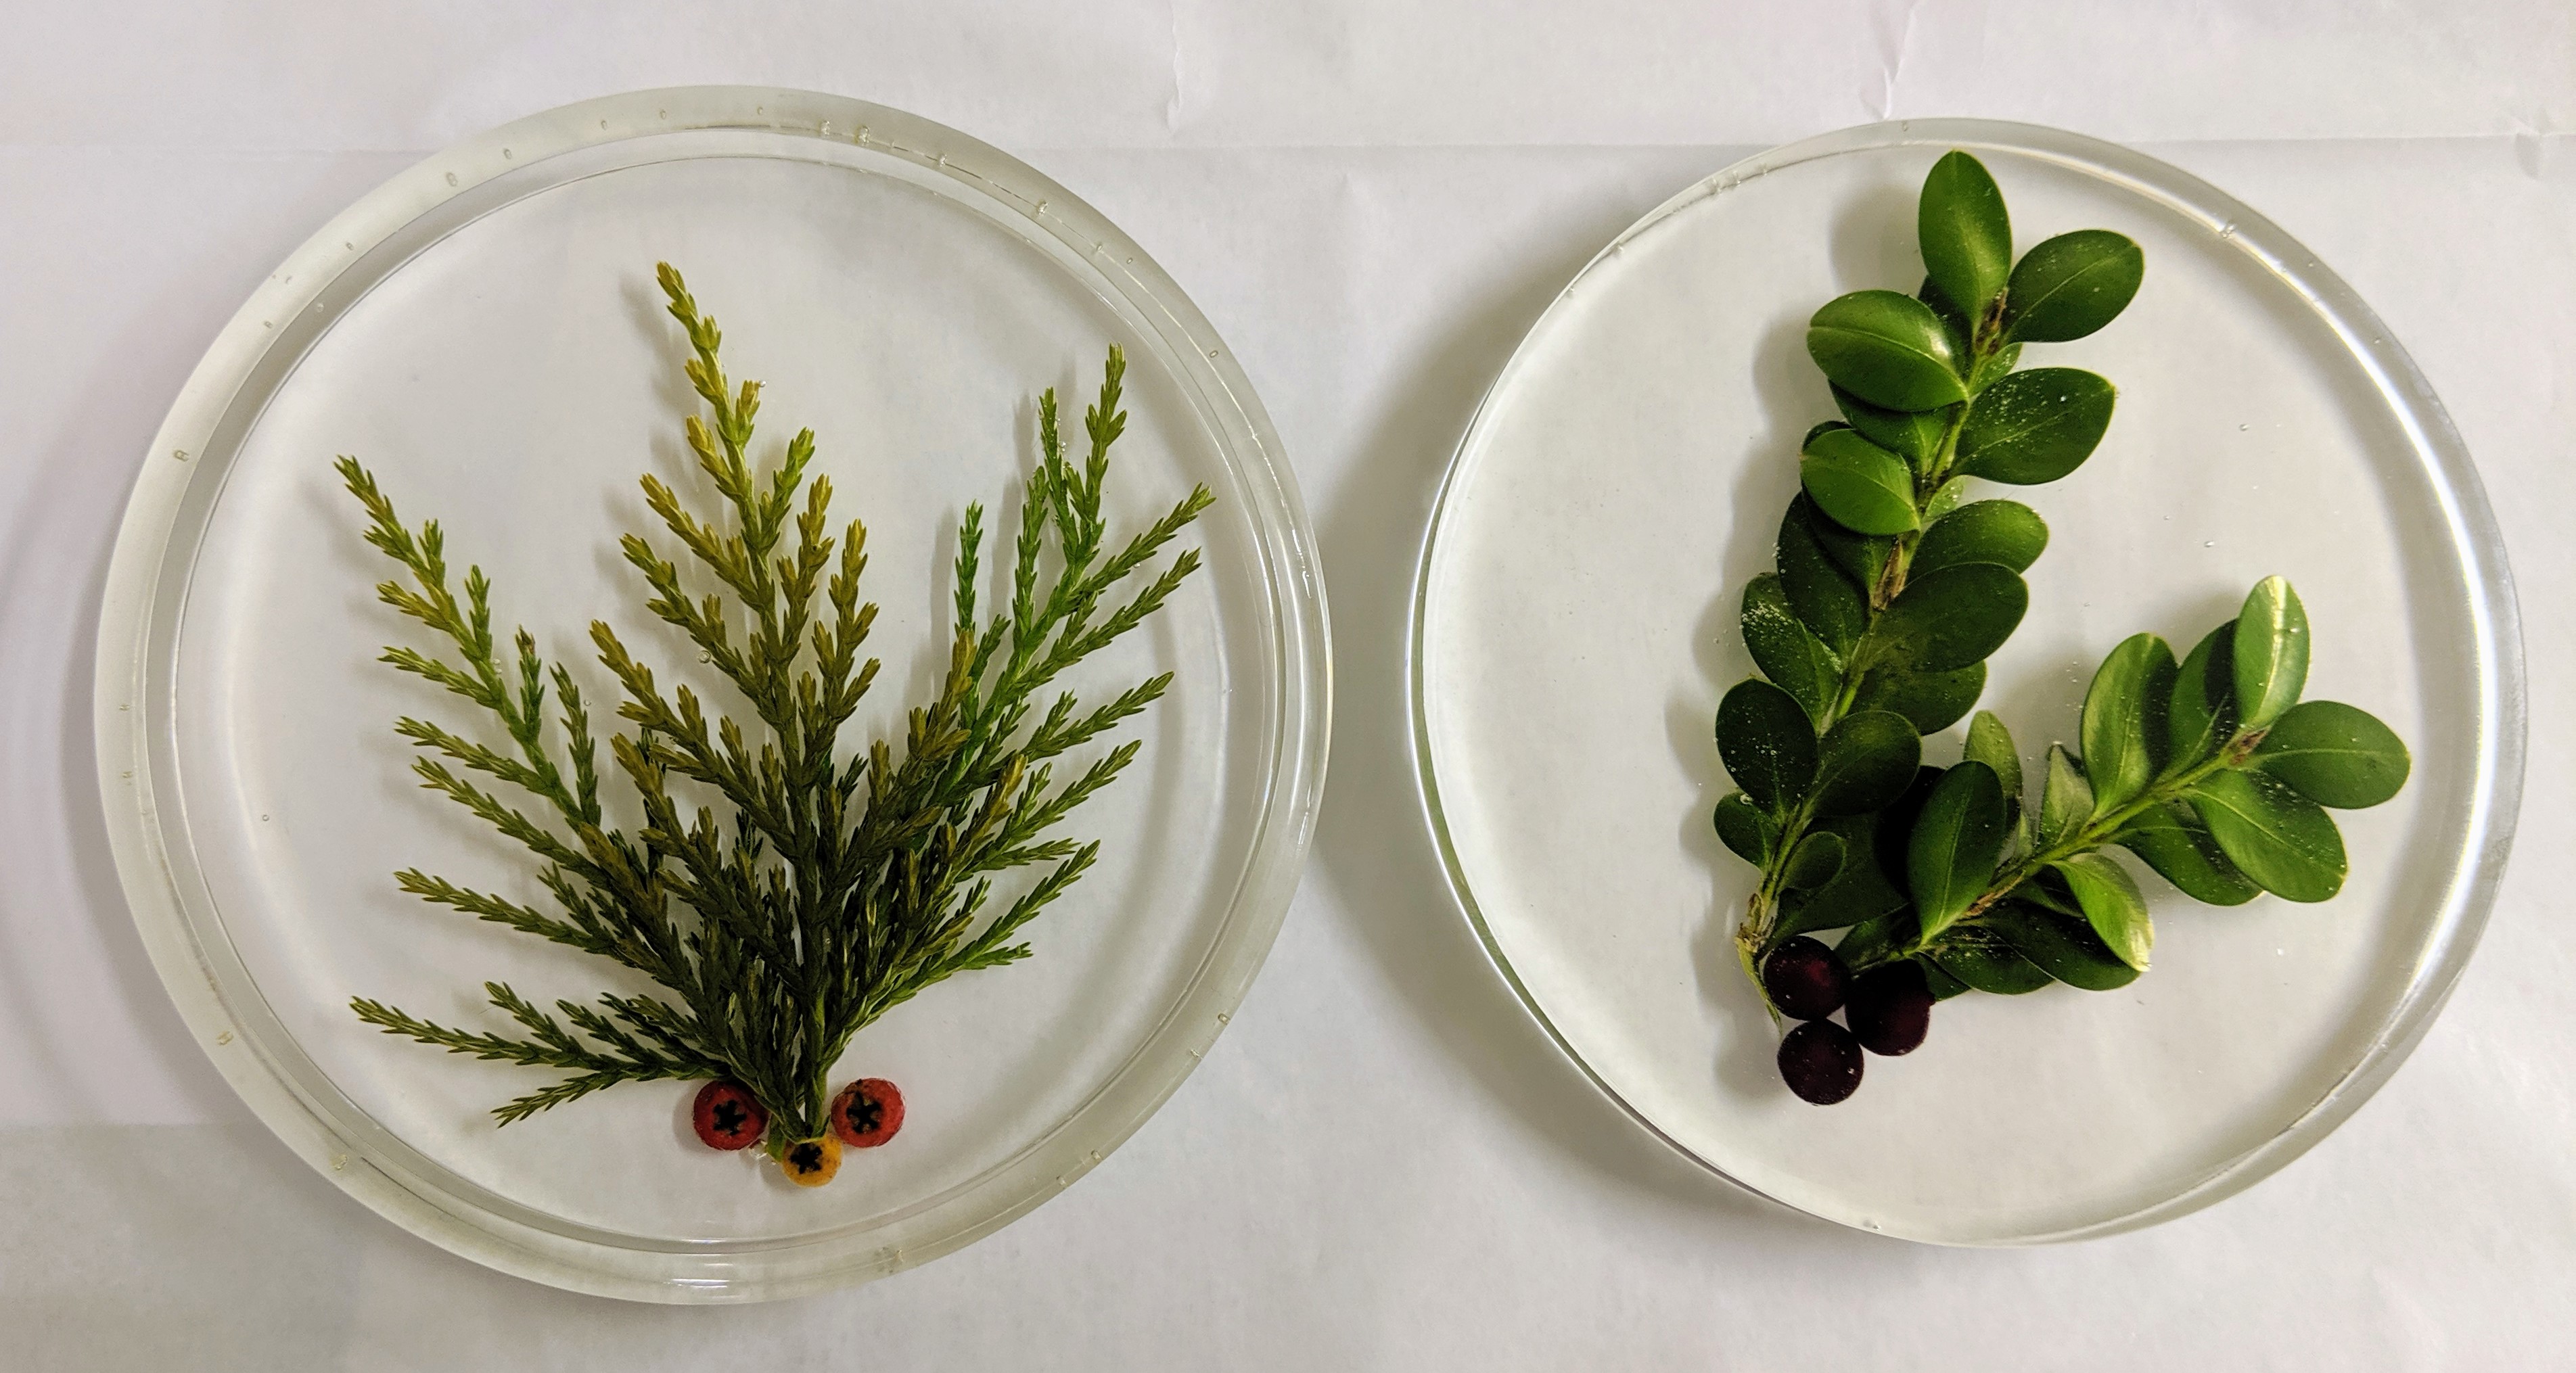
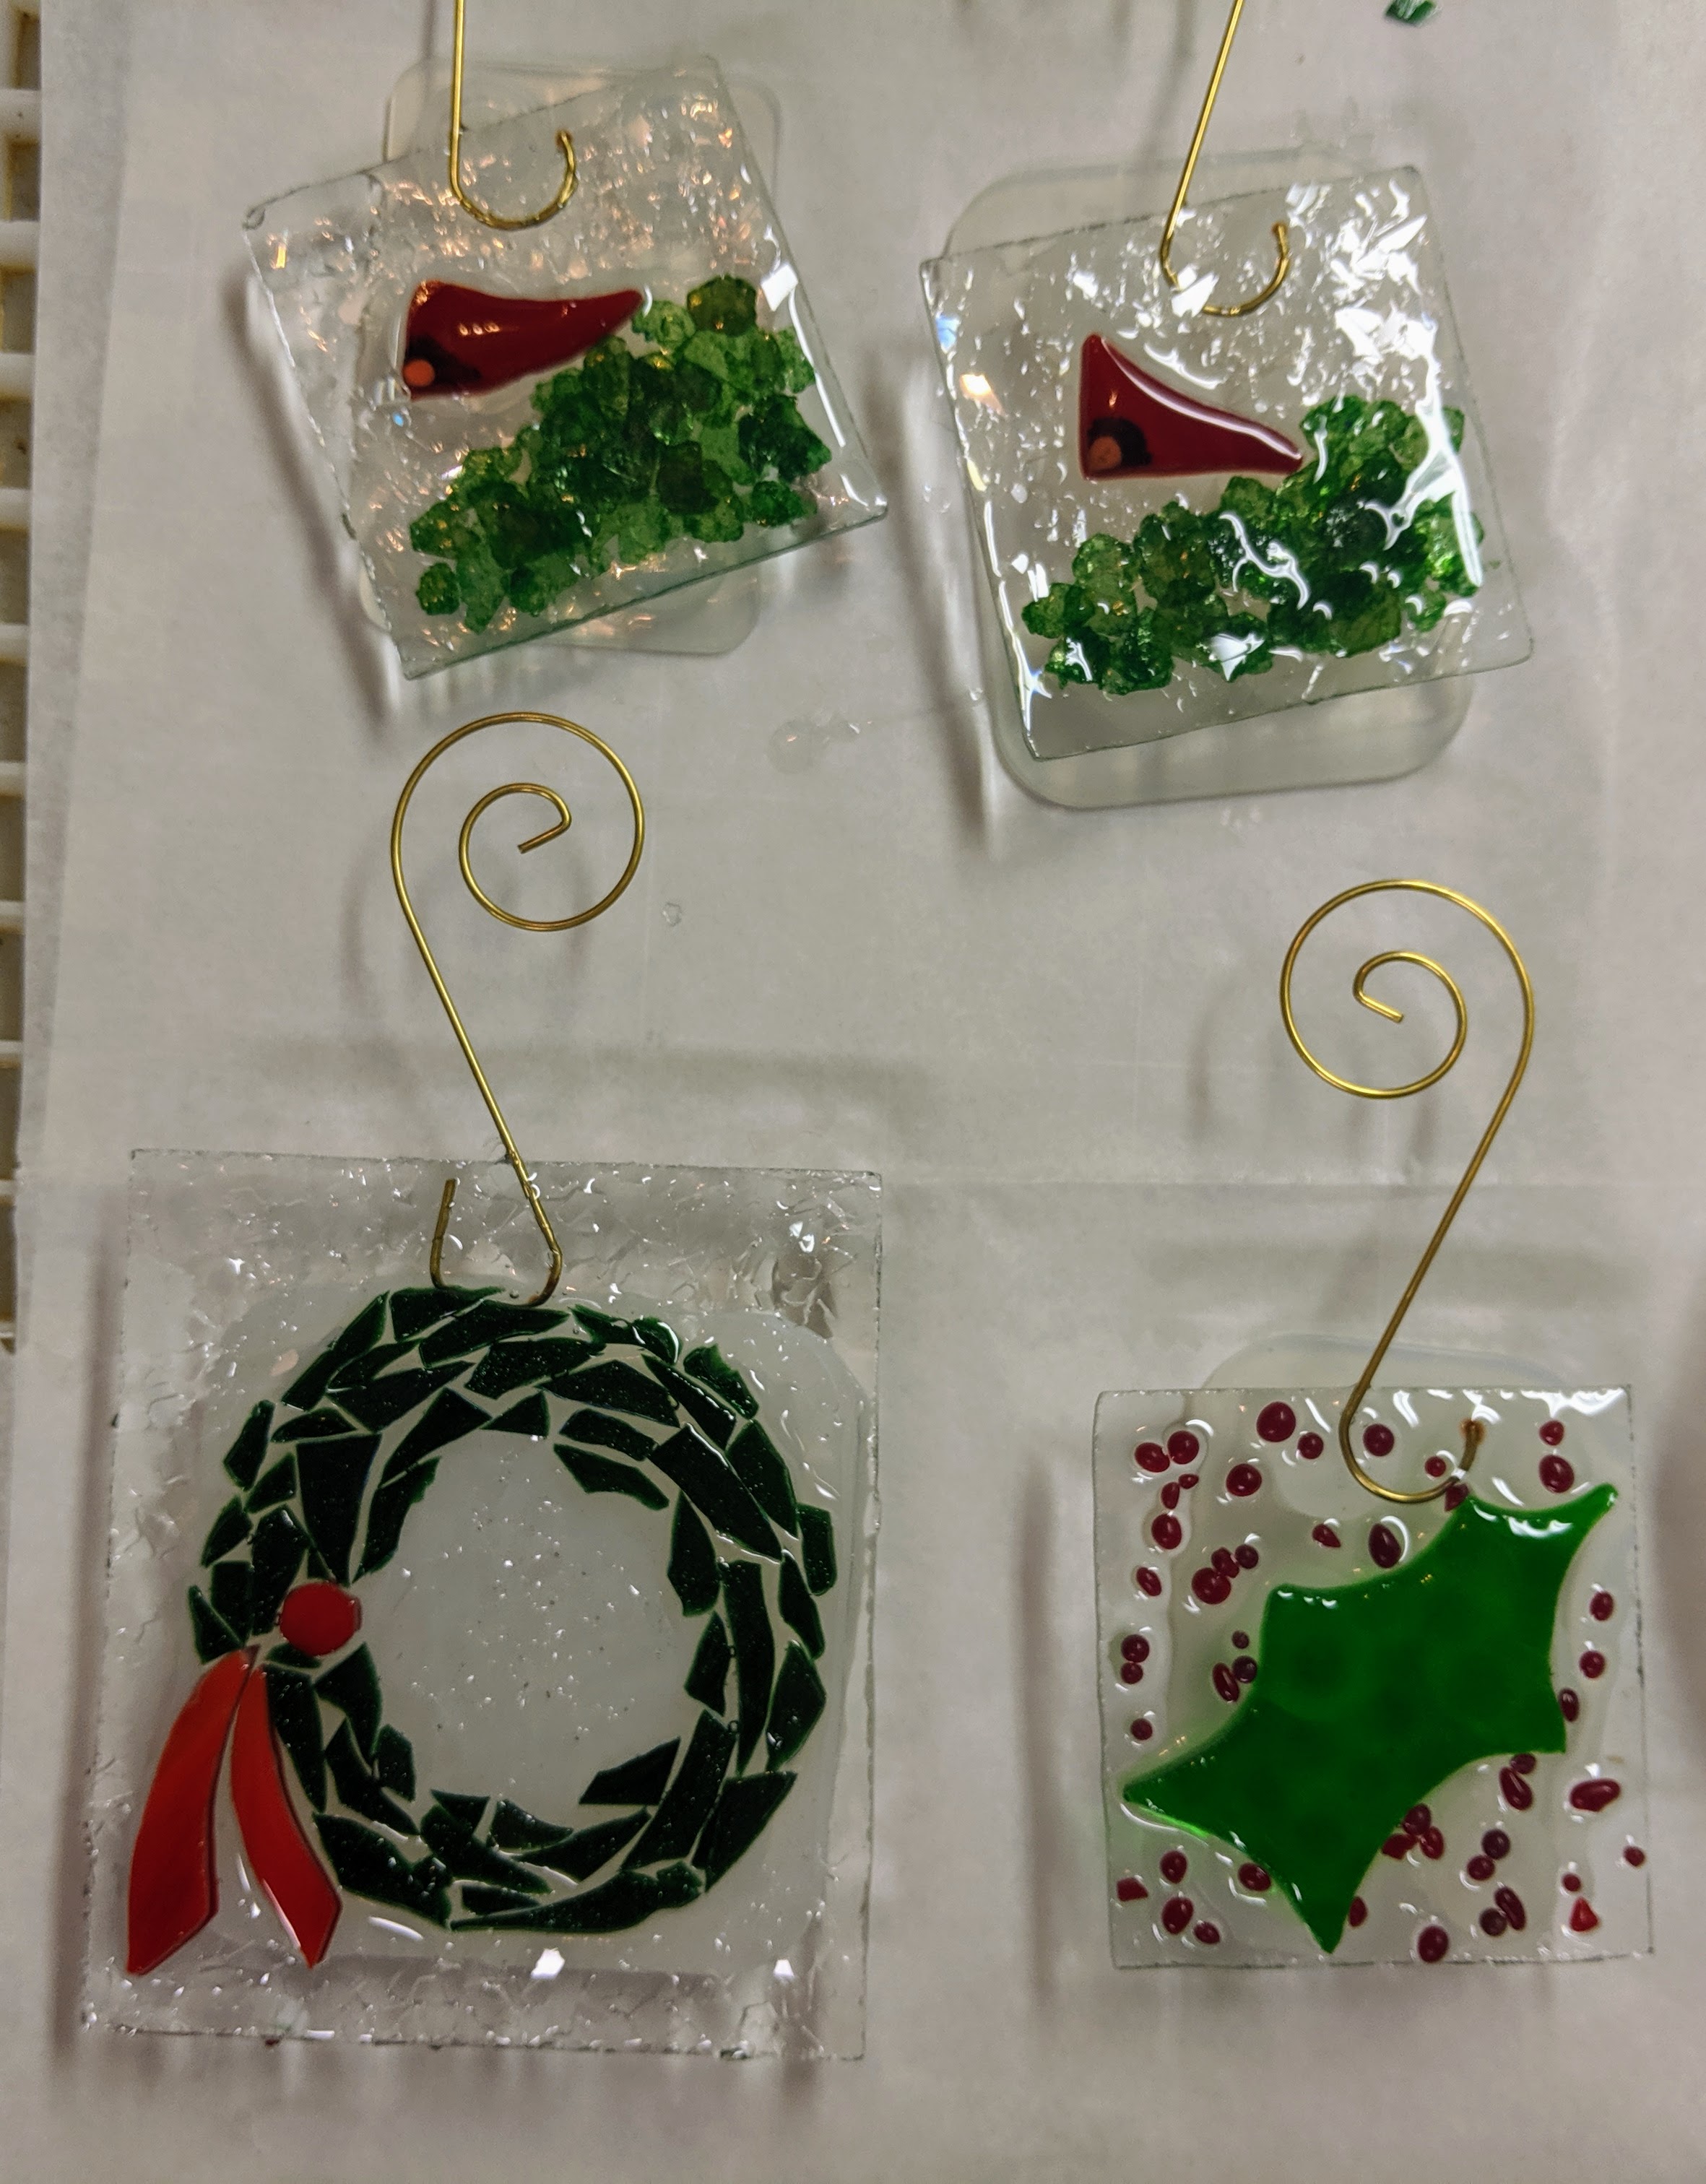
I really like these tiny ornaments, I think they are between 1-2″ (have not measured yet). I am using mica chips for the first time under the little cardinals. Can’t wait to see how they turn out!
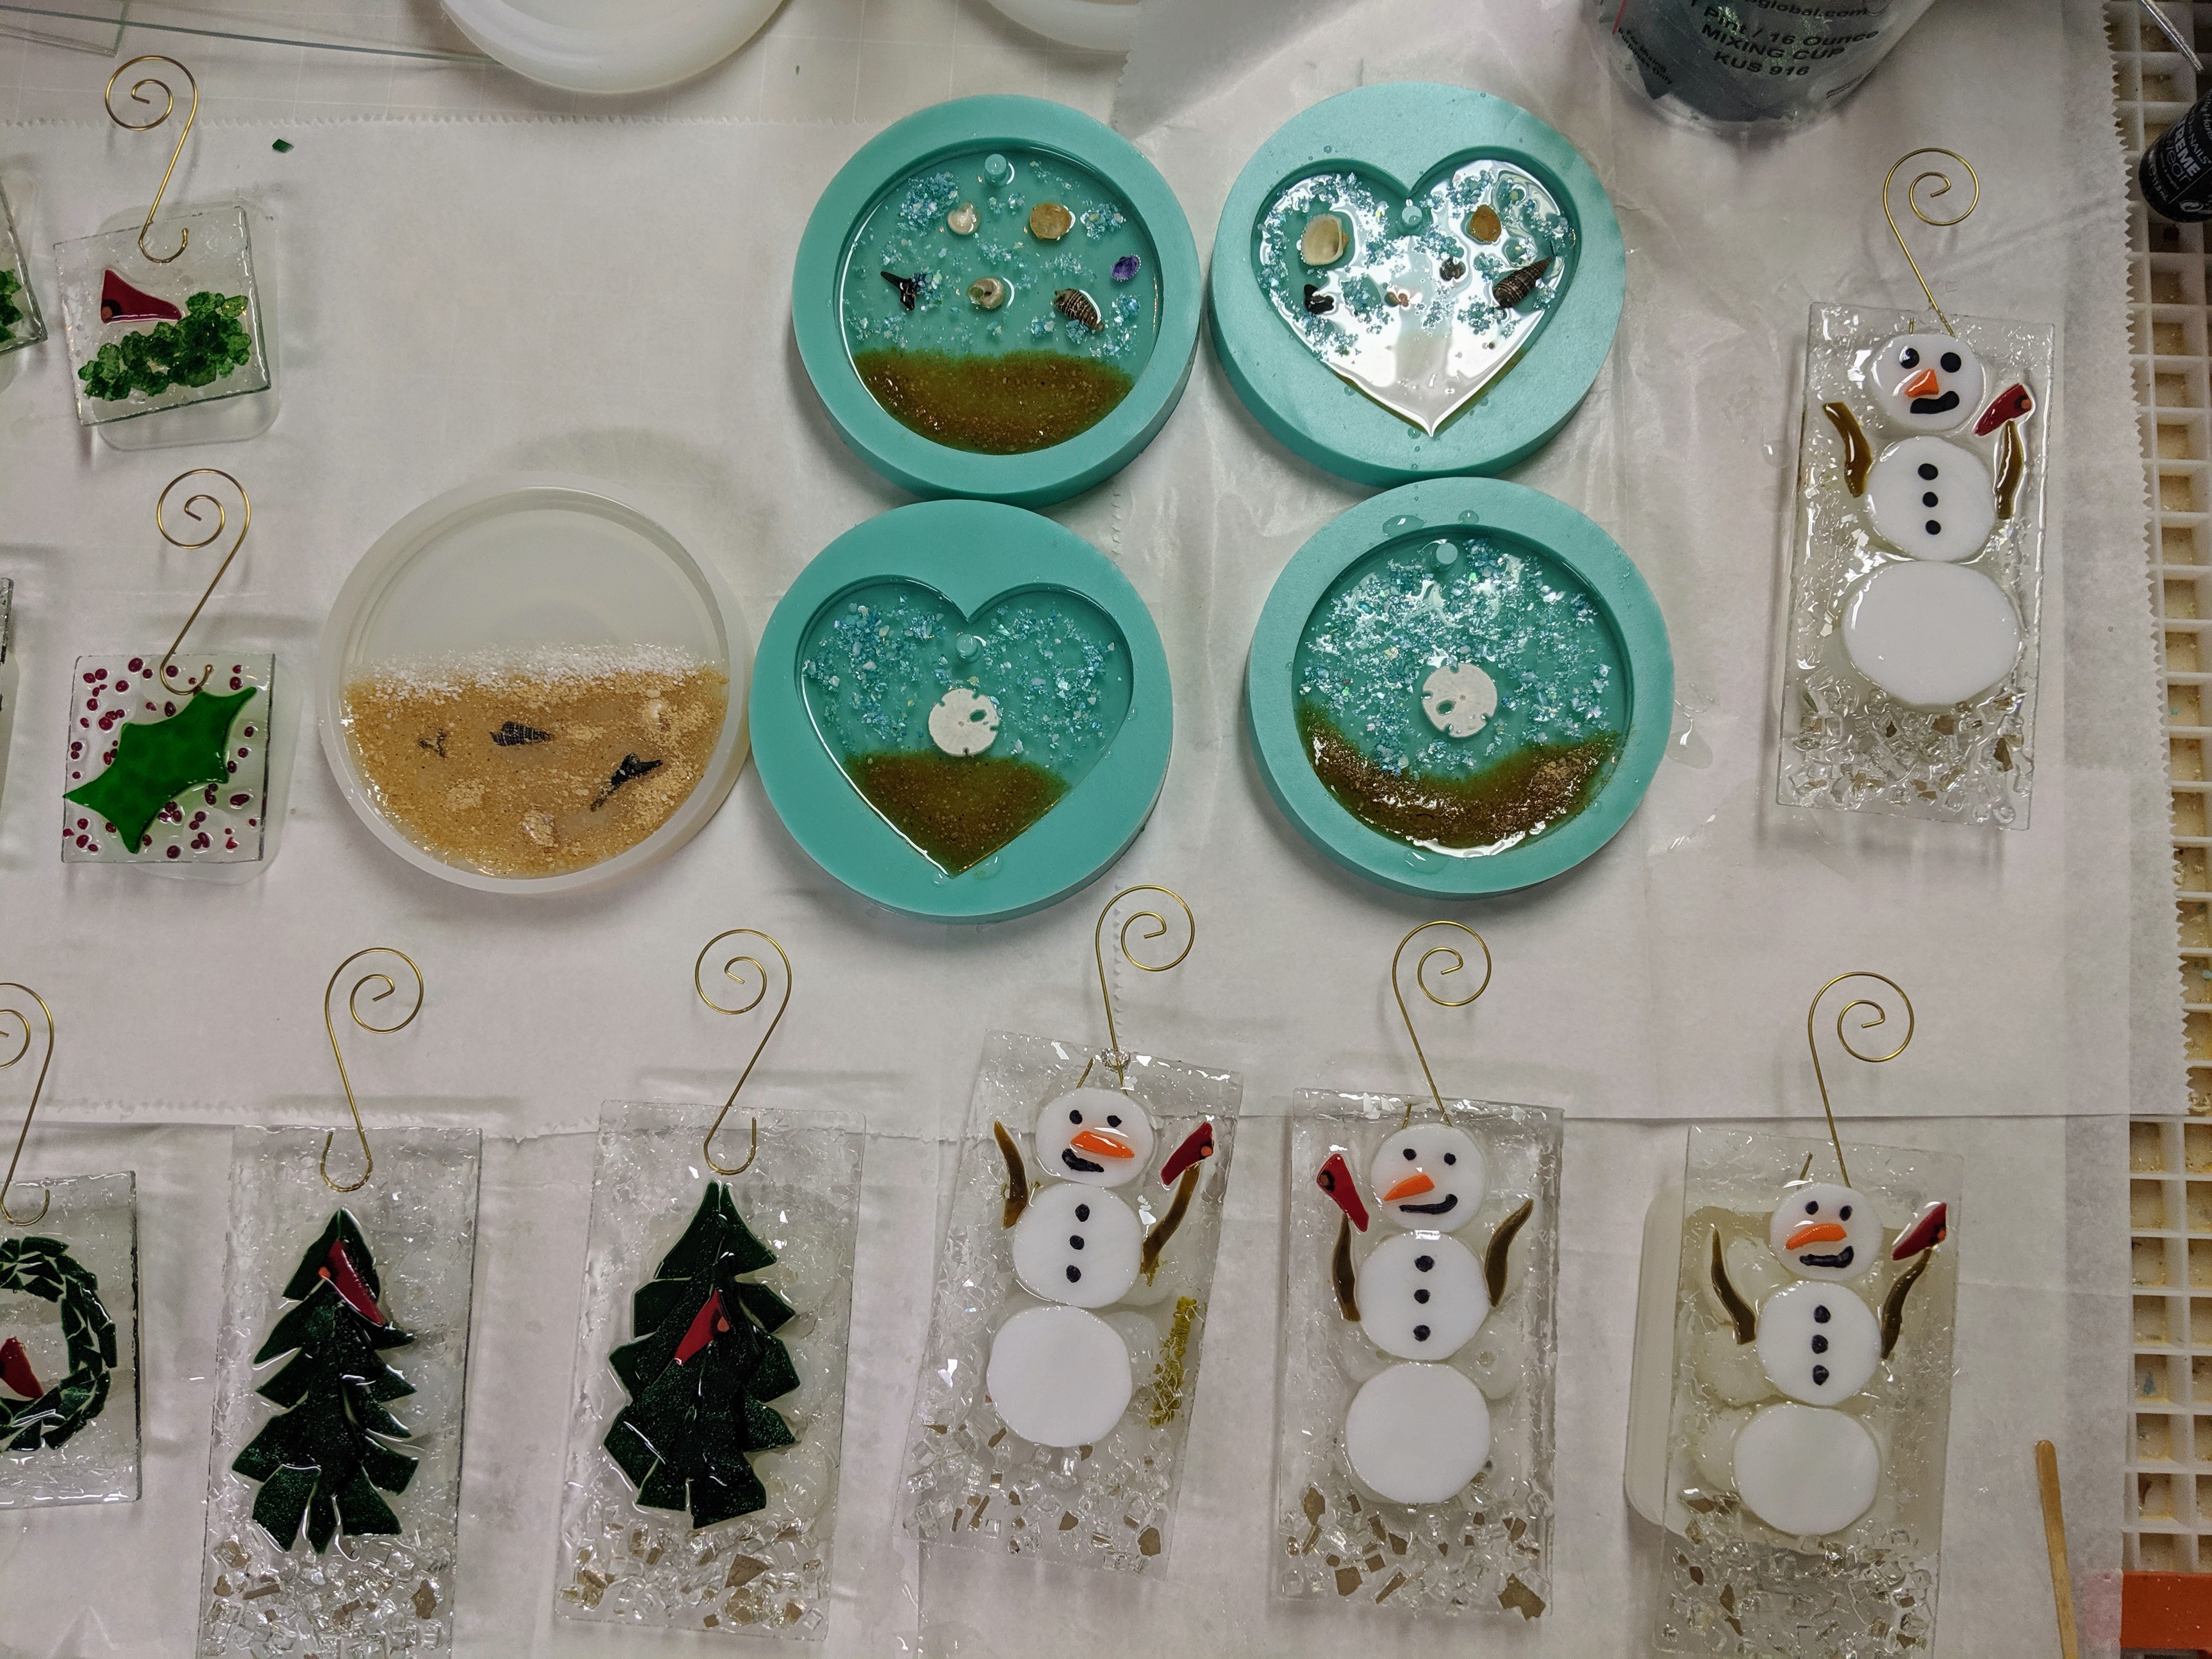
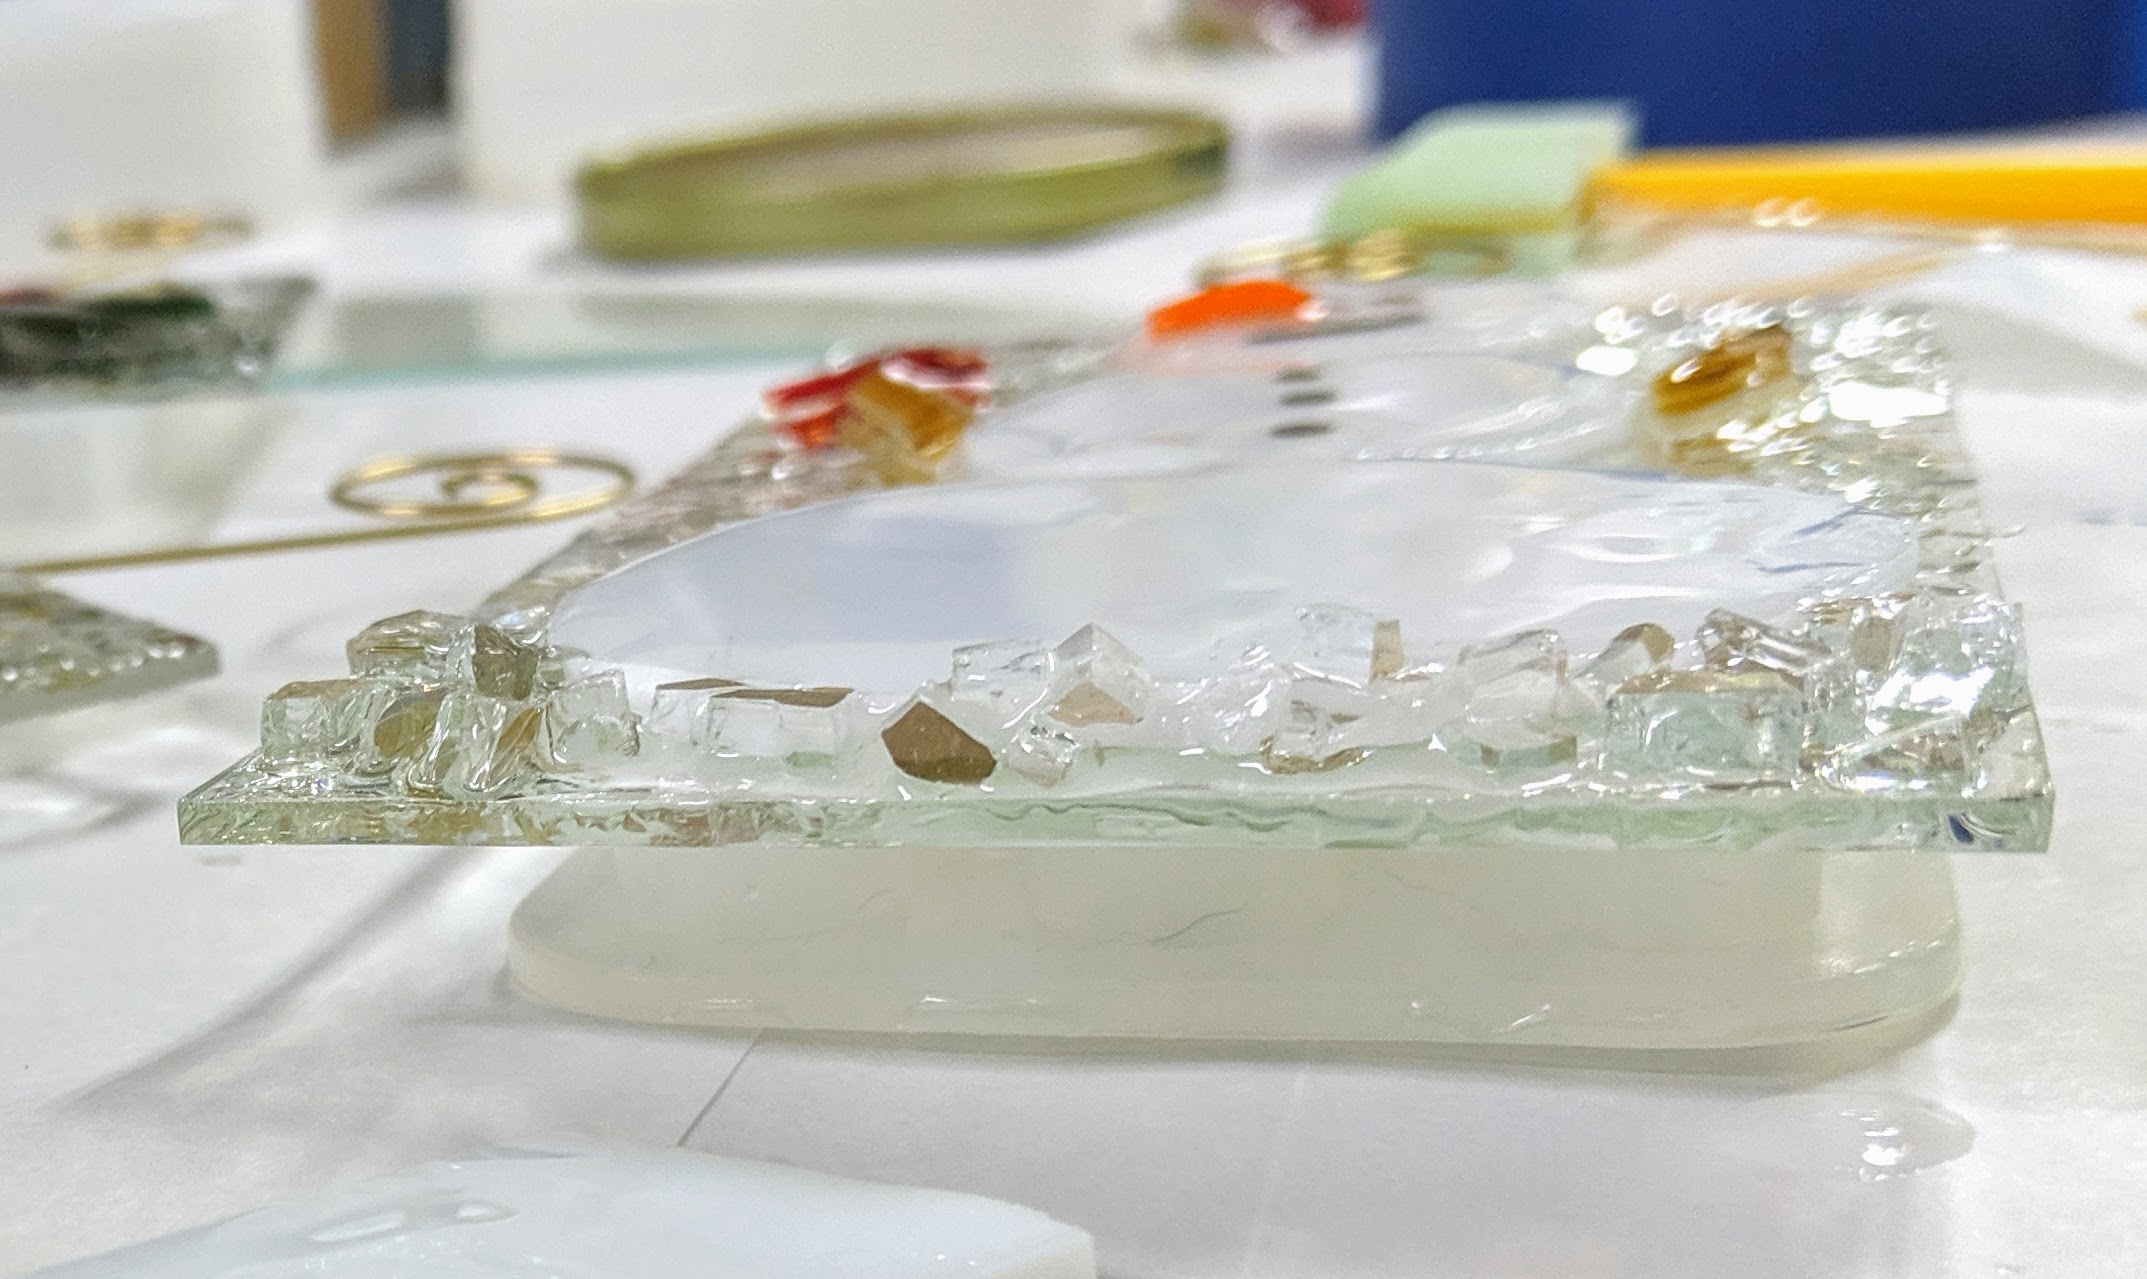
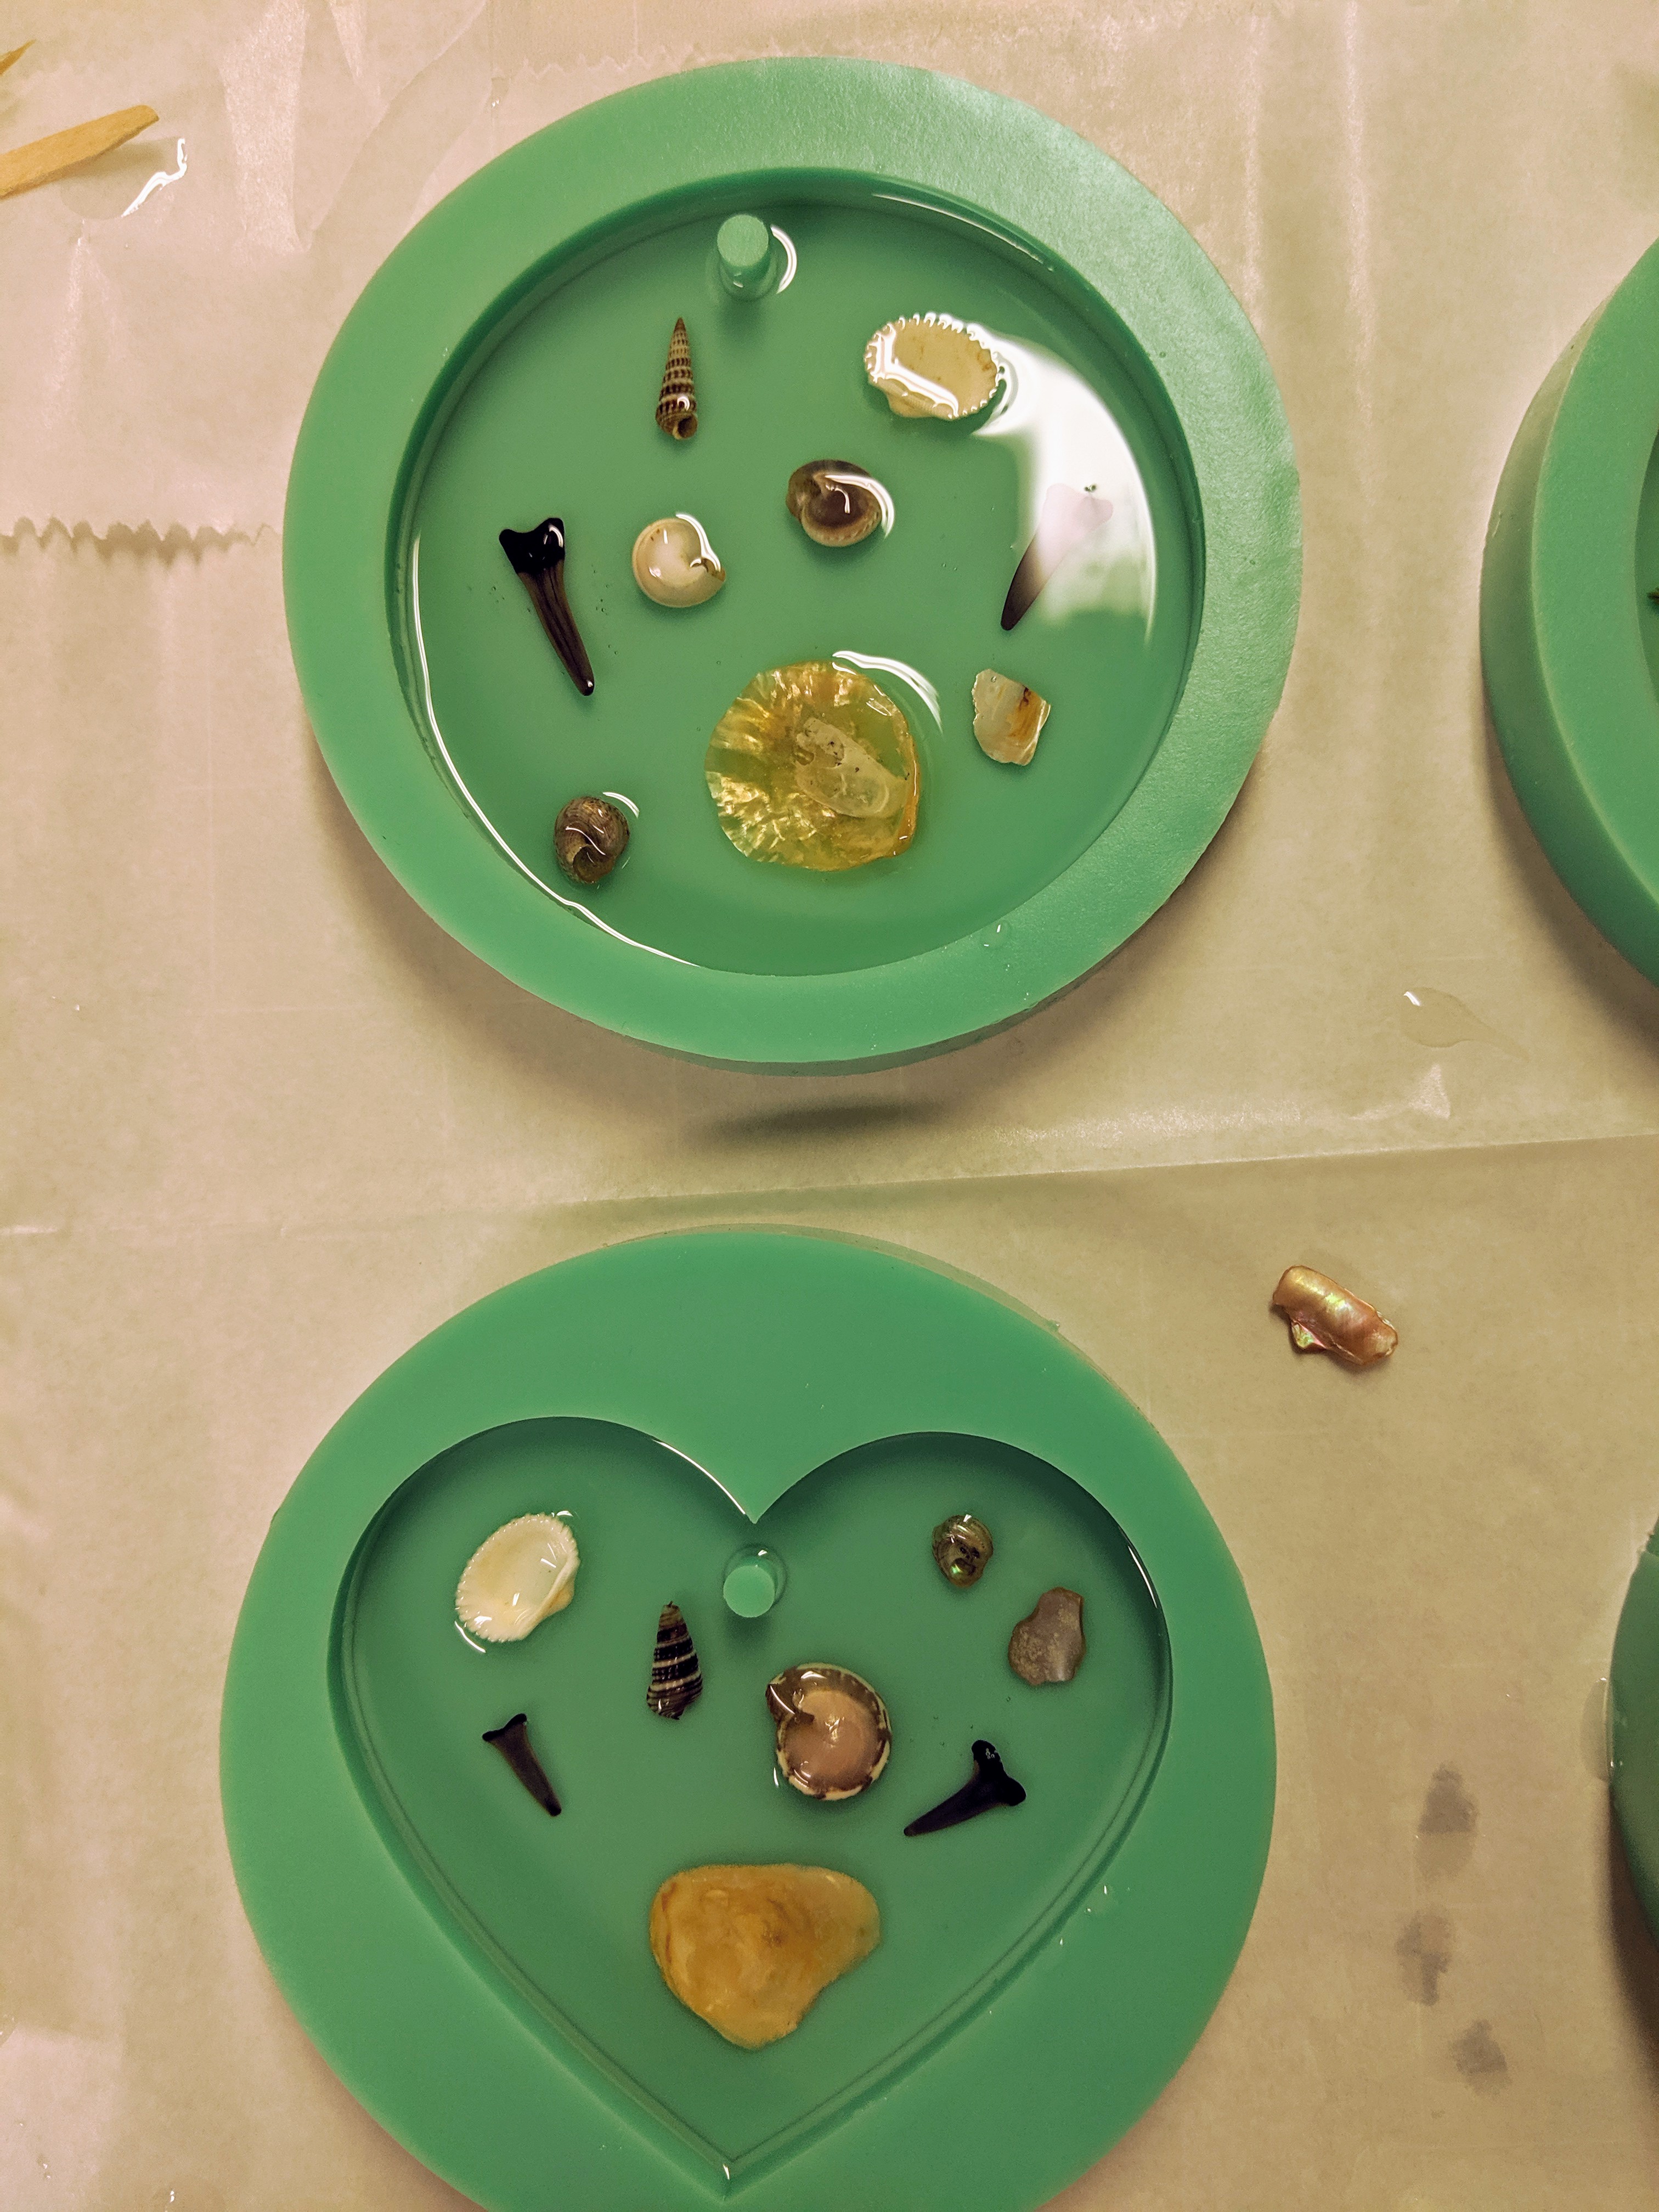
I used 200 ccs of resin for this batch, which was enough to add one extra coaster to the day’s work. I might have had just enough for the first half of one more coaster, but I wasn’t confident in the amount and didn’t try for two. I will have to pour another layer of resin on both the circle and heart shaped ornaments as well as the coaster.

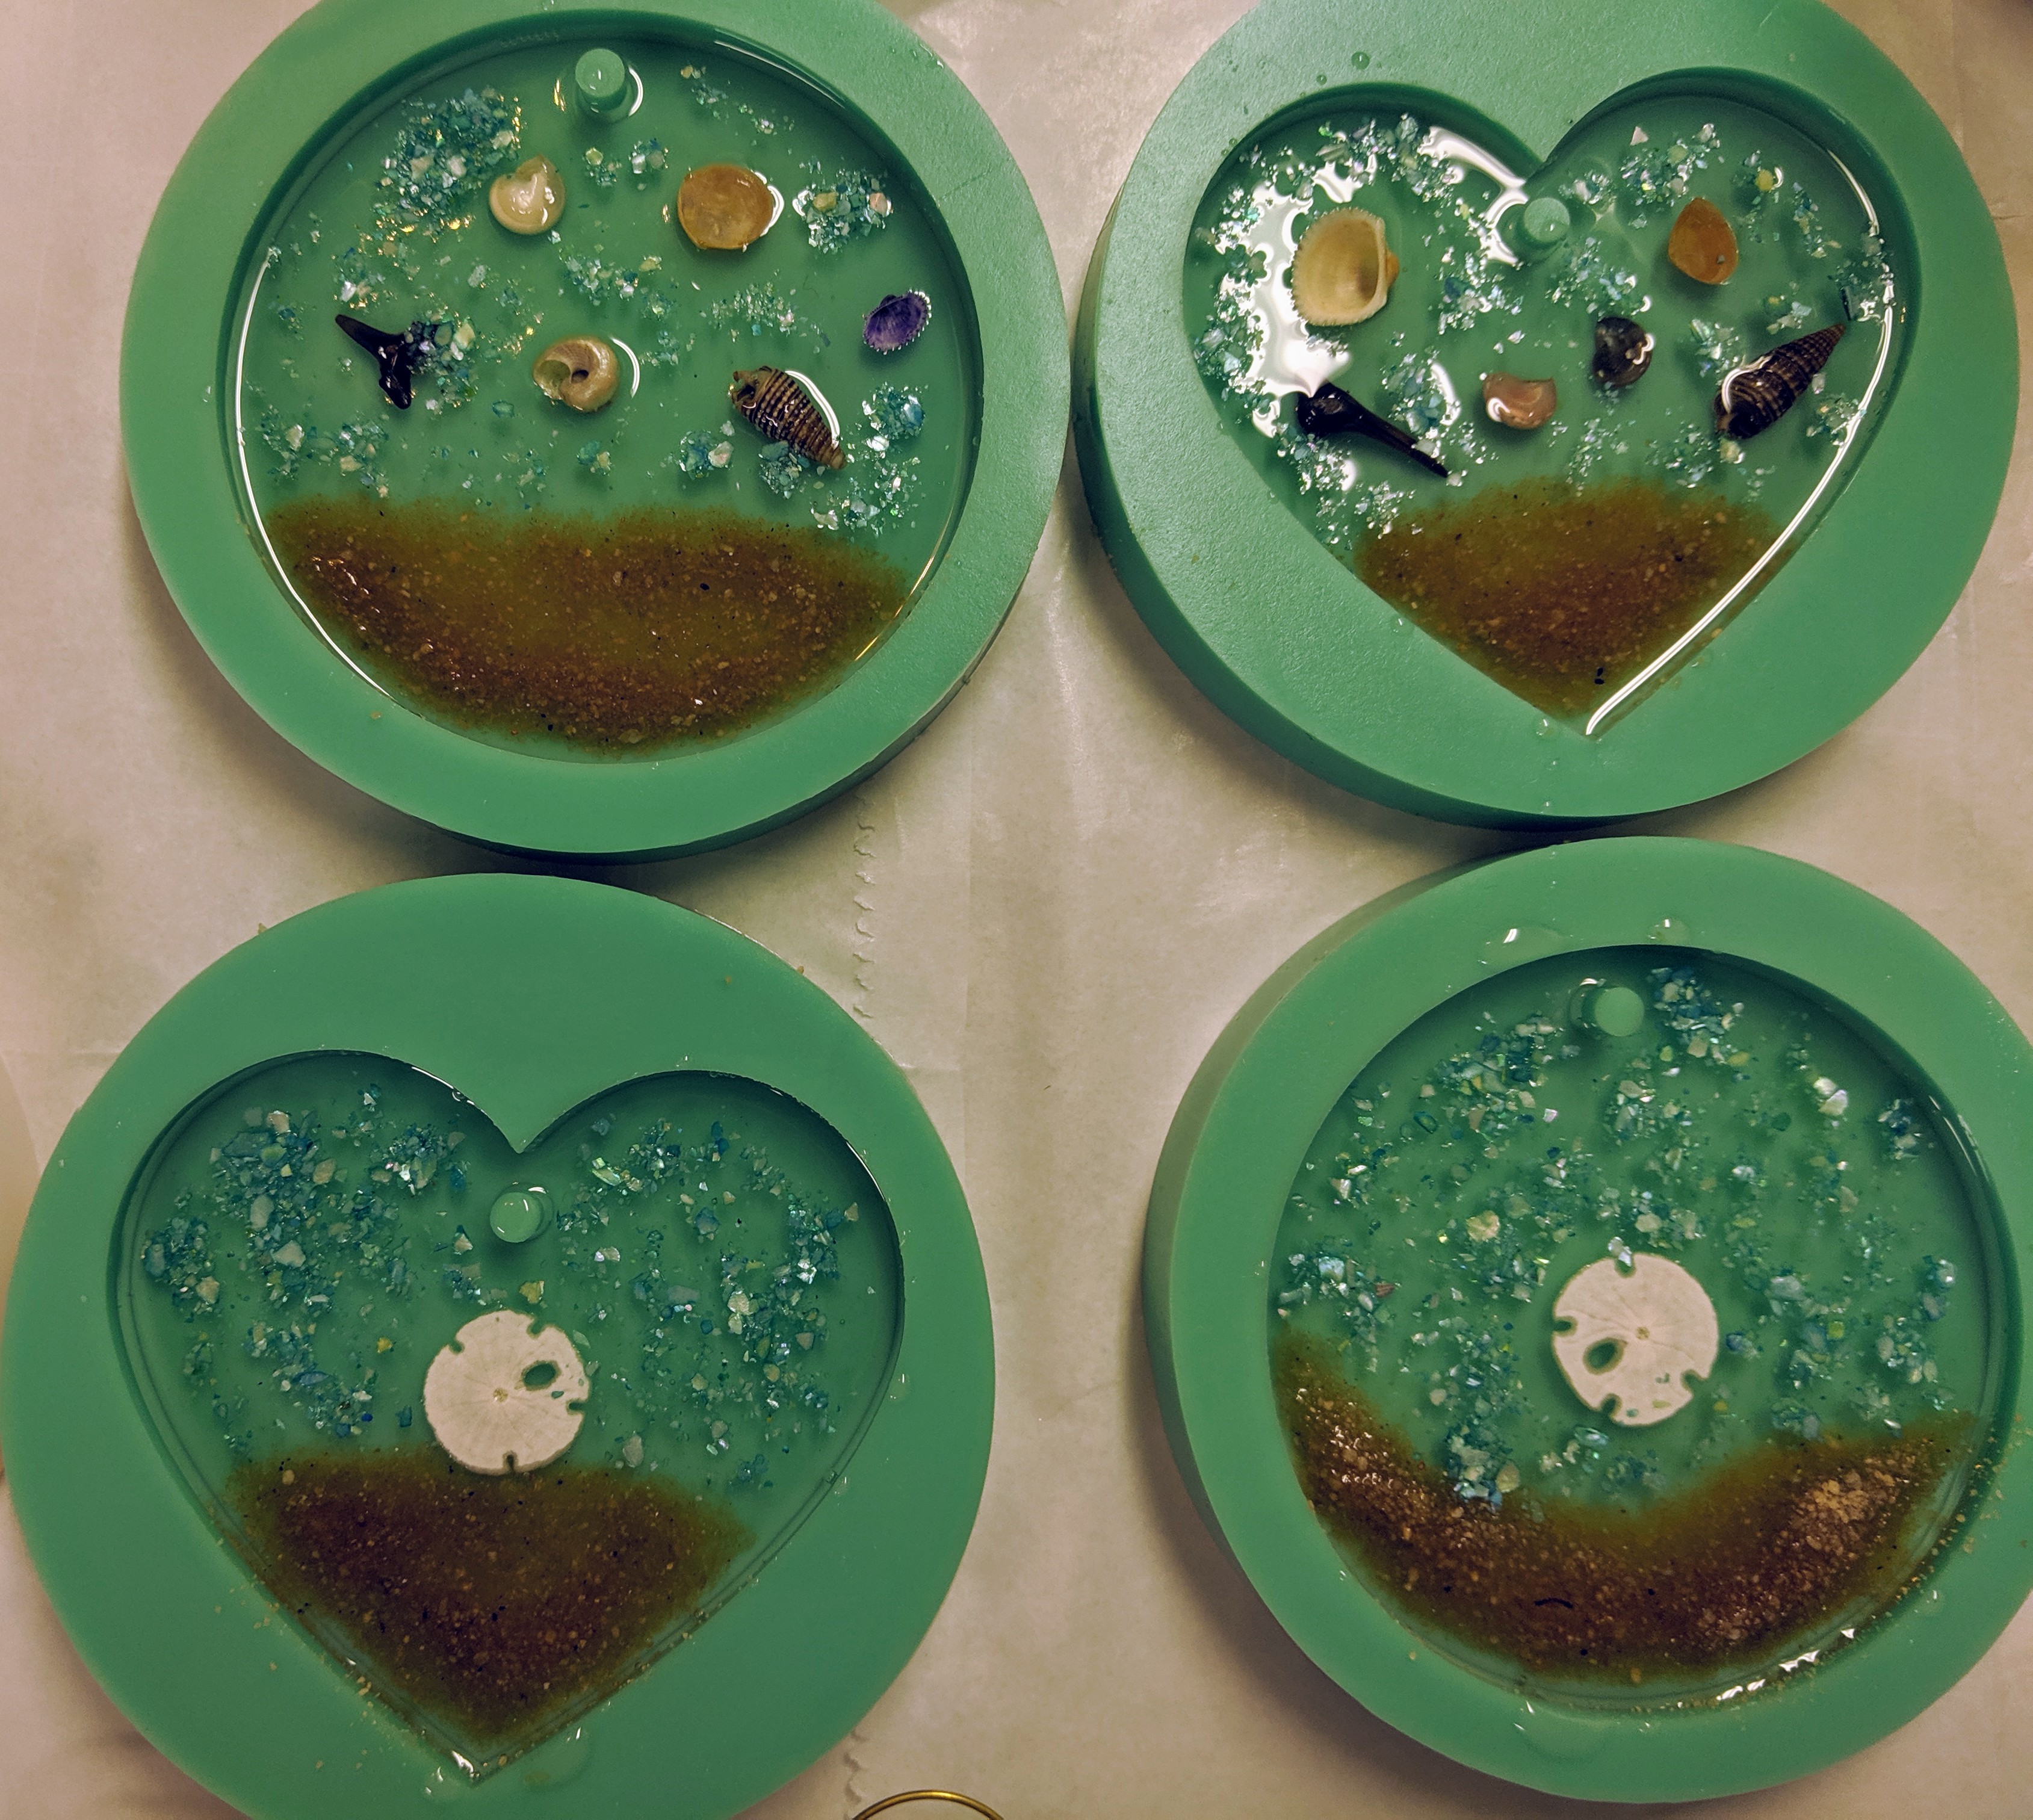
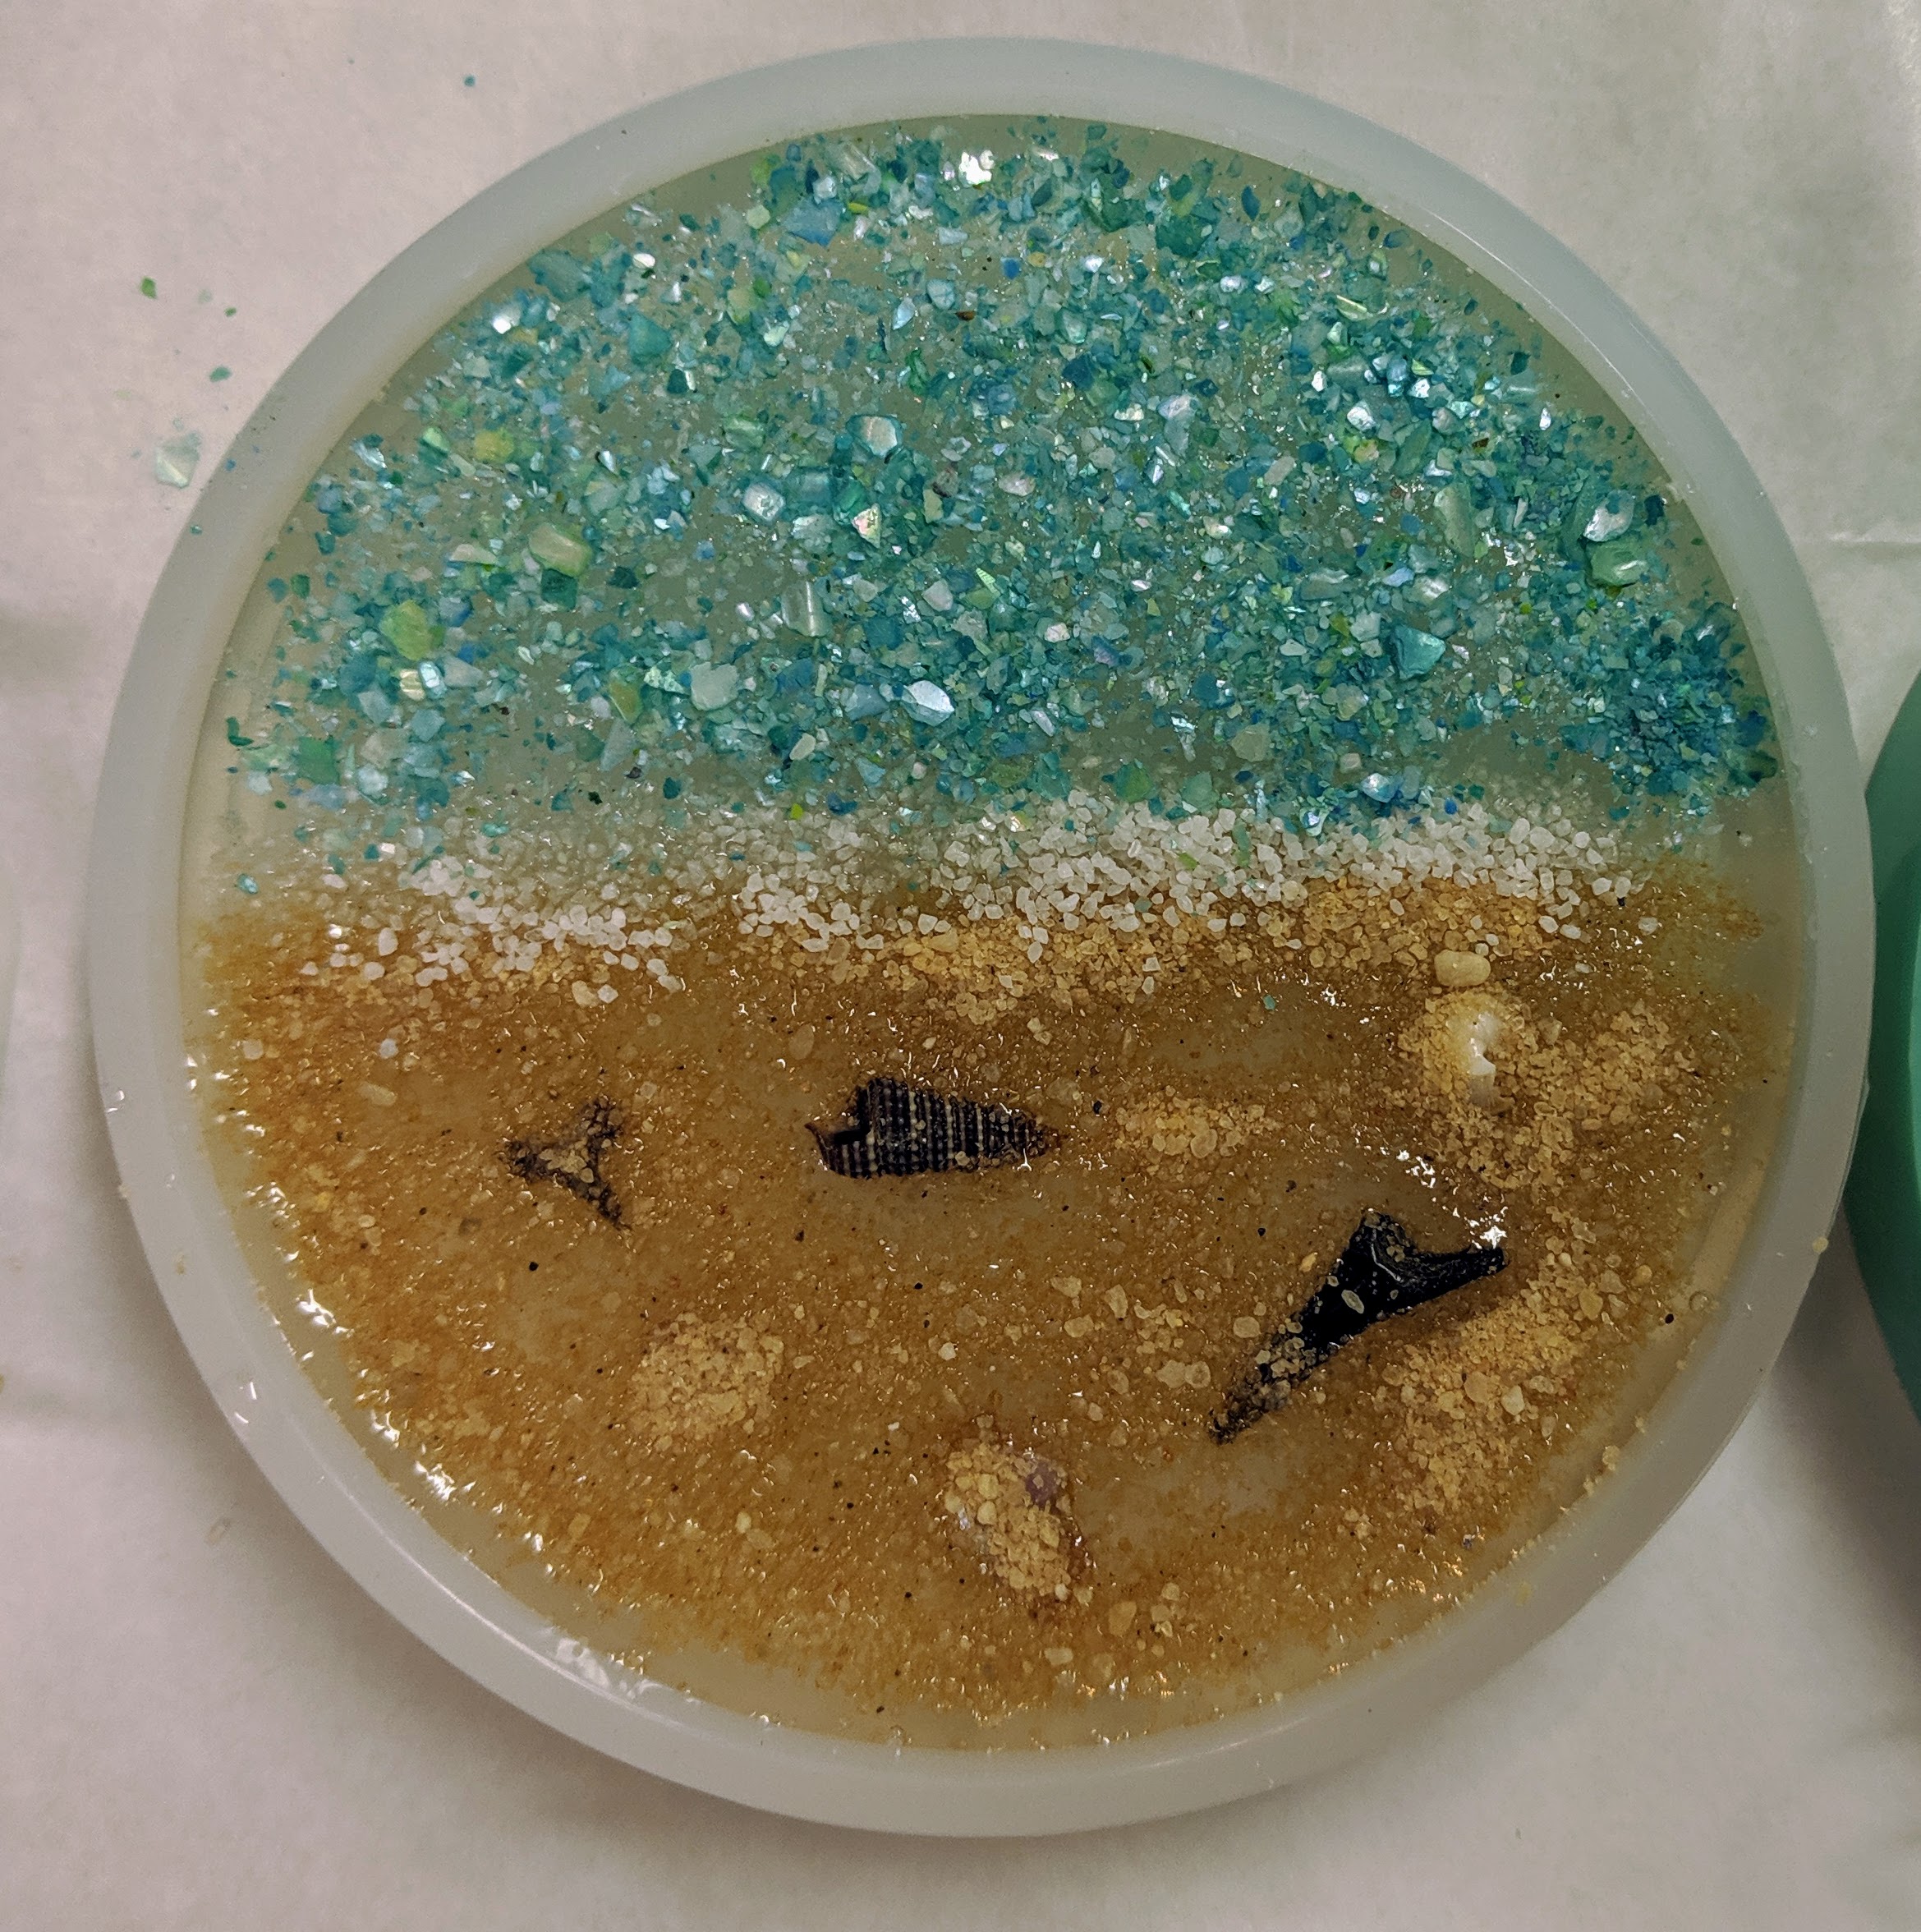
I decided to try adding all the layers to this coaster in the first half, though there was a time lag between the heavy shells / shark teeth, then the sand and lastly the water layer of blue shell chips, which were last and the resin was pretty thick by then.