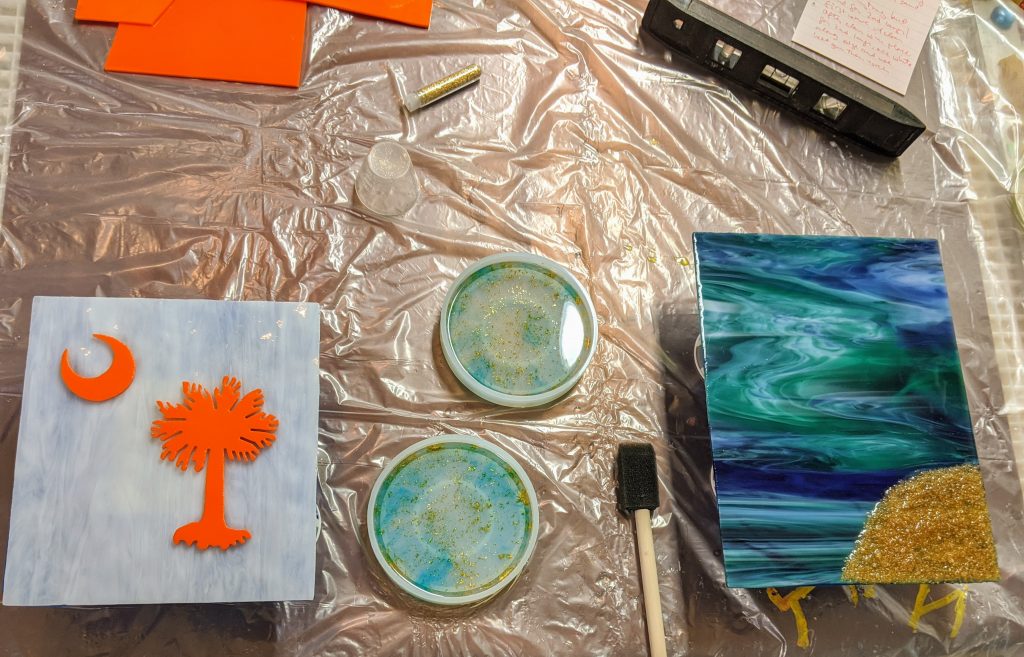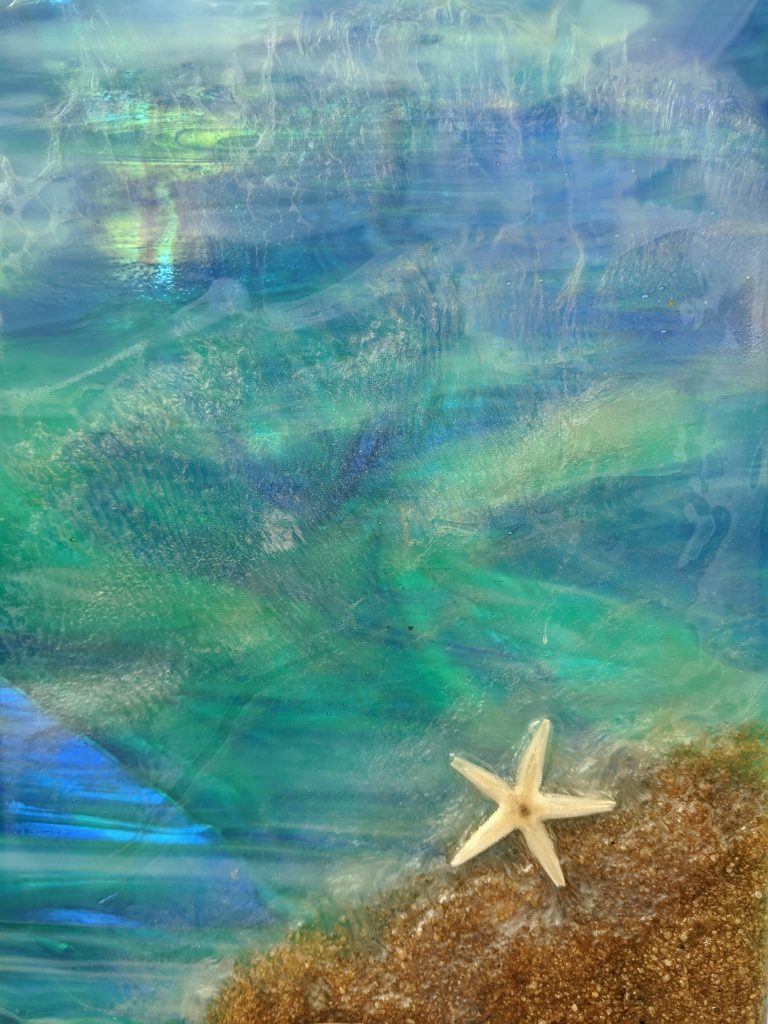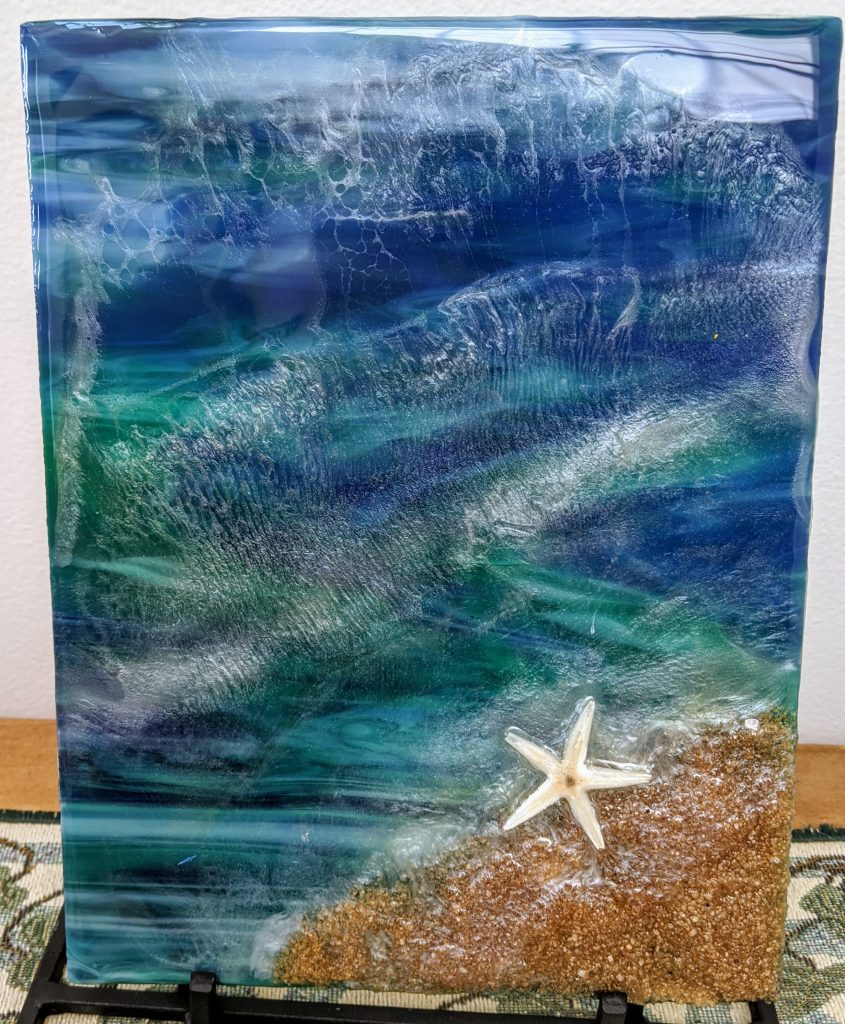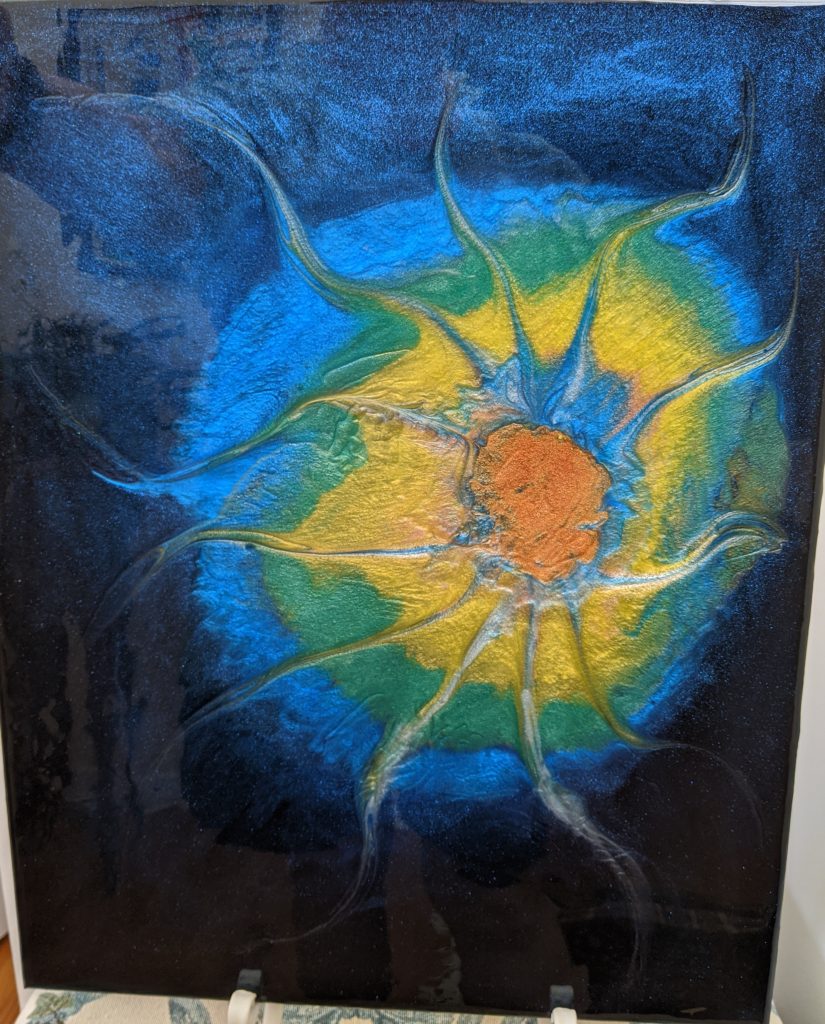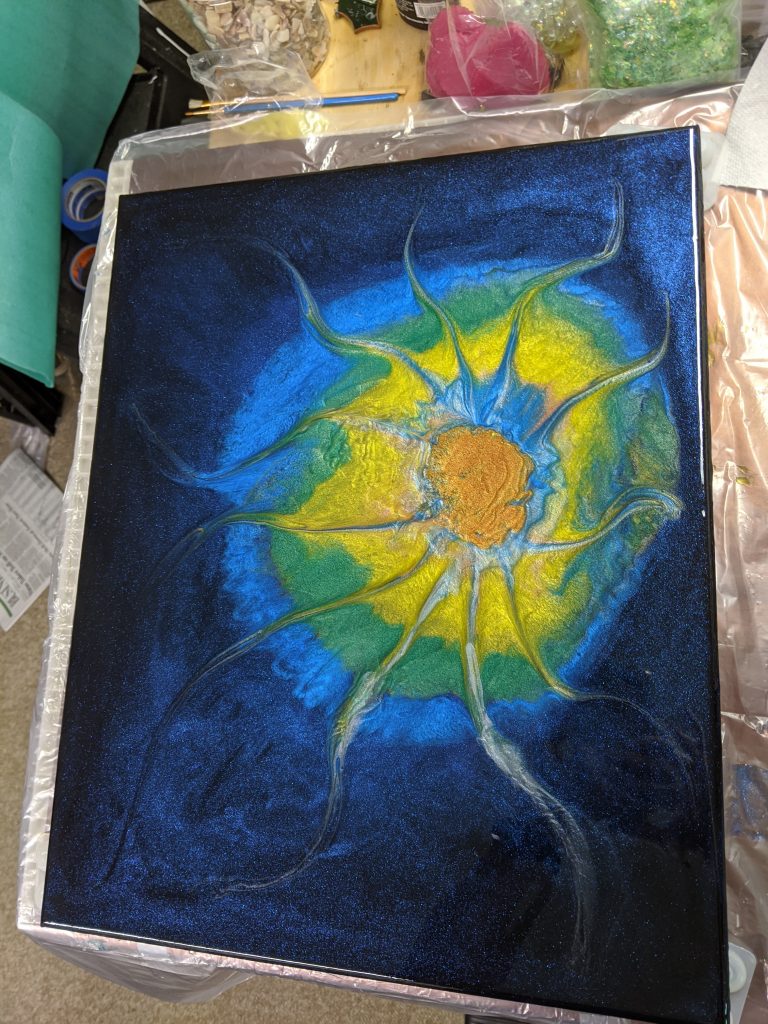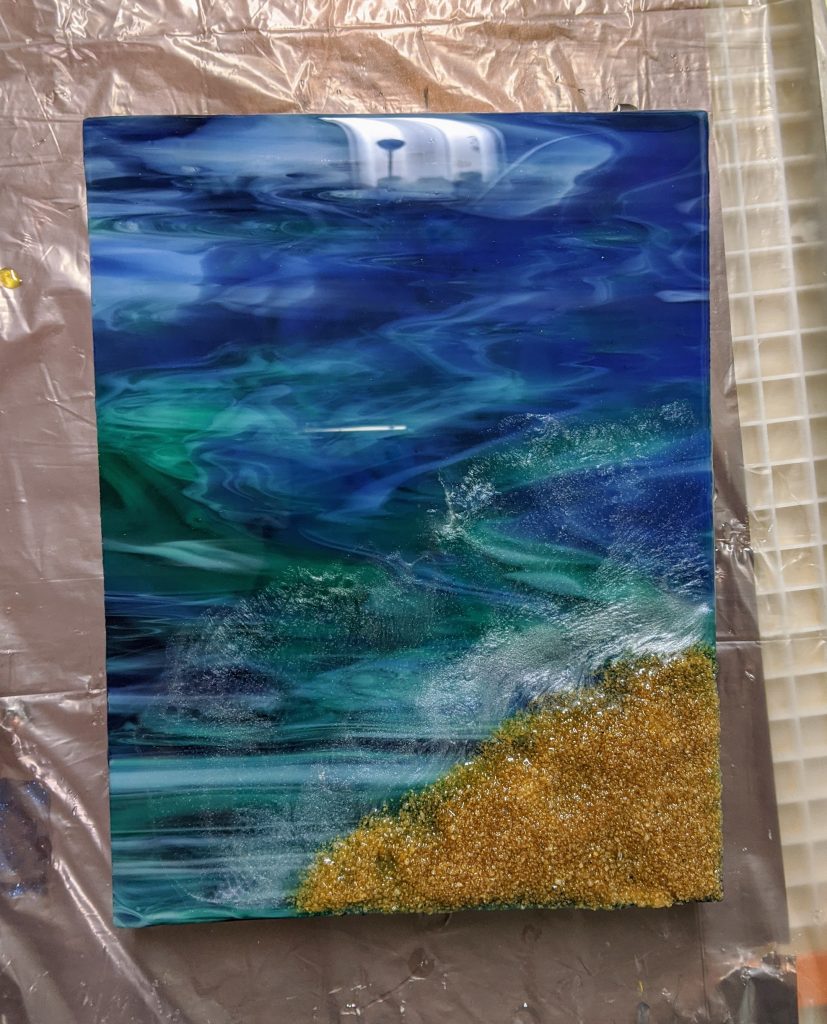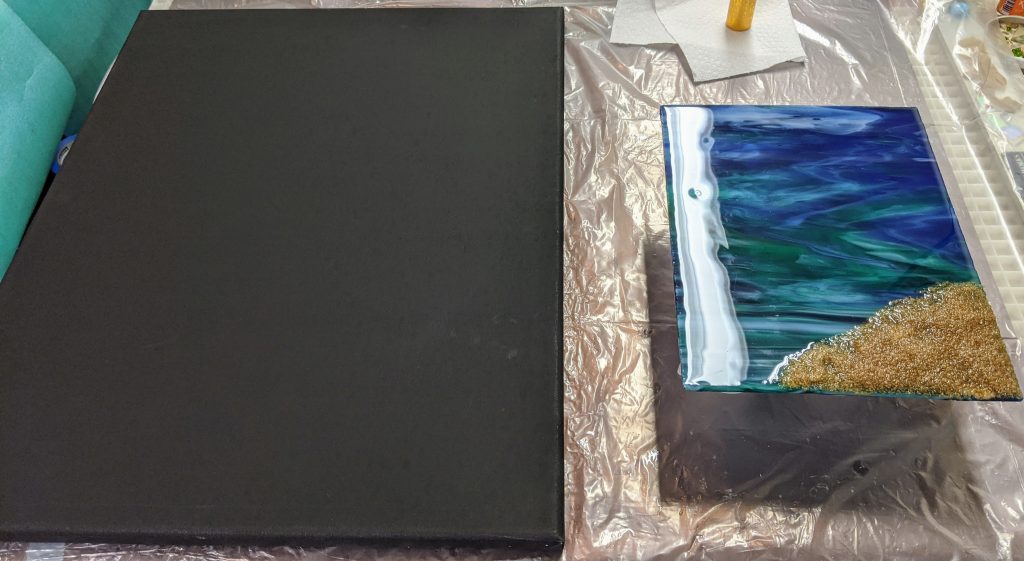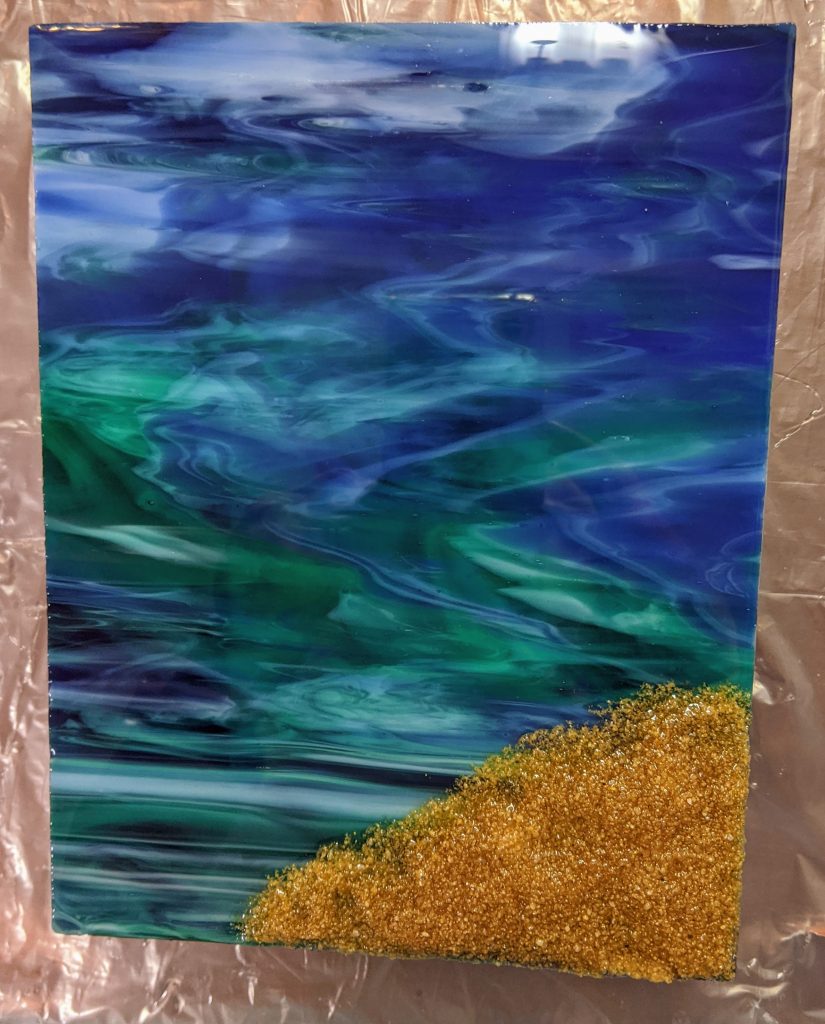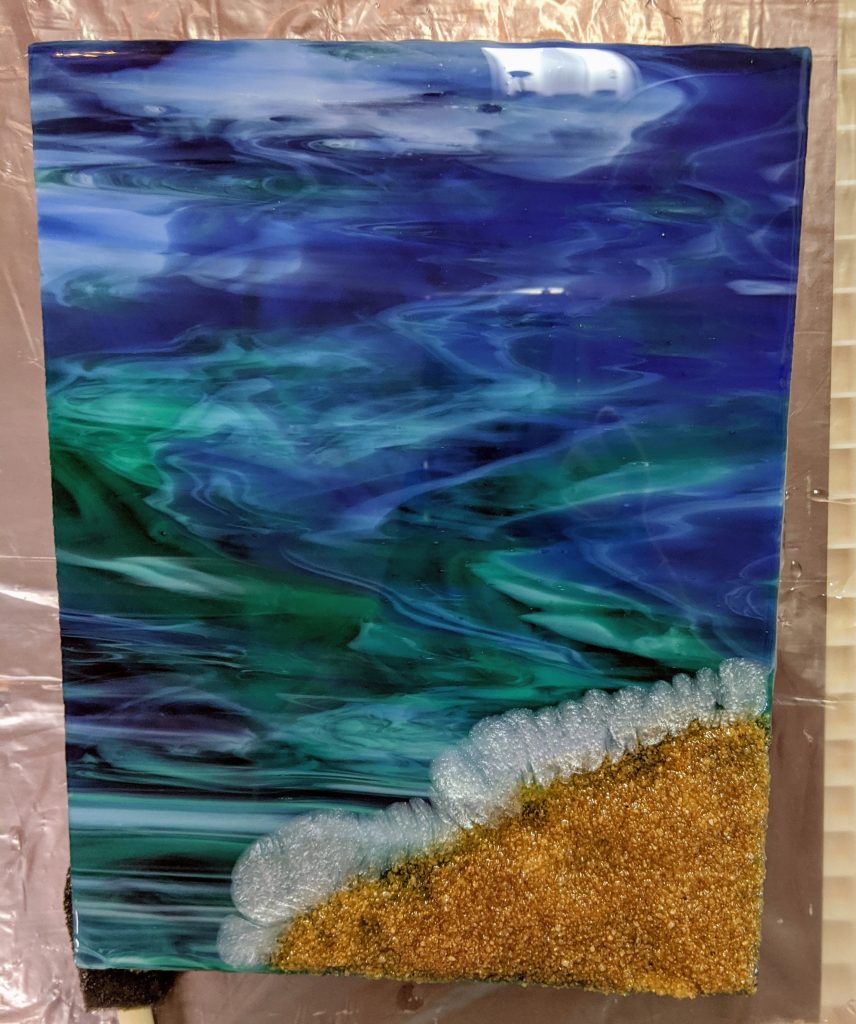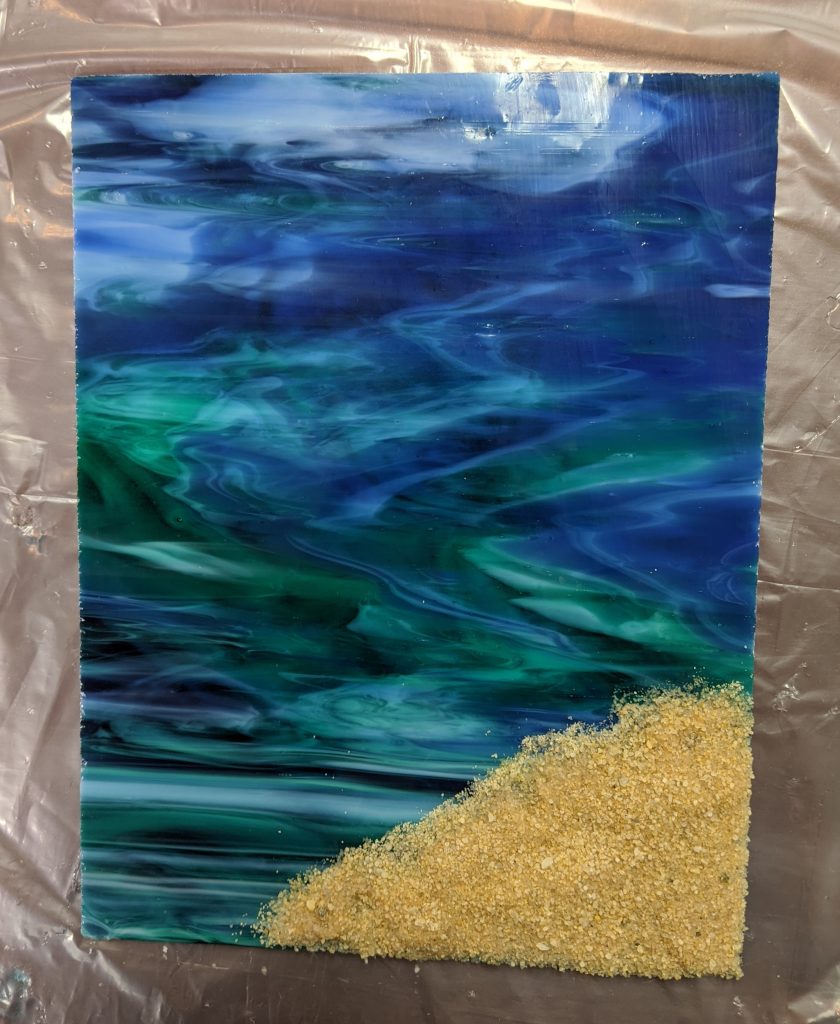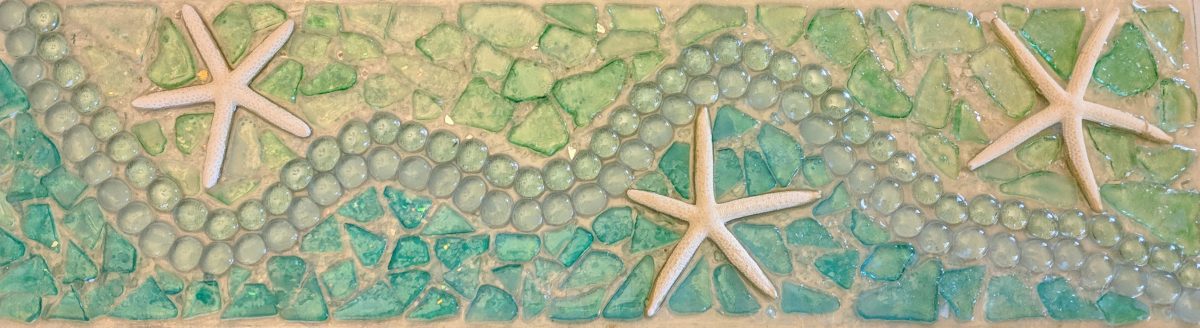
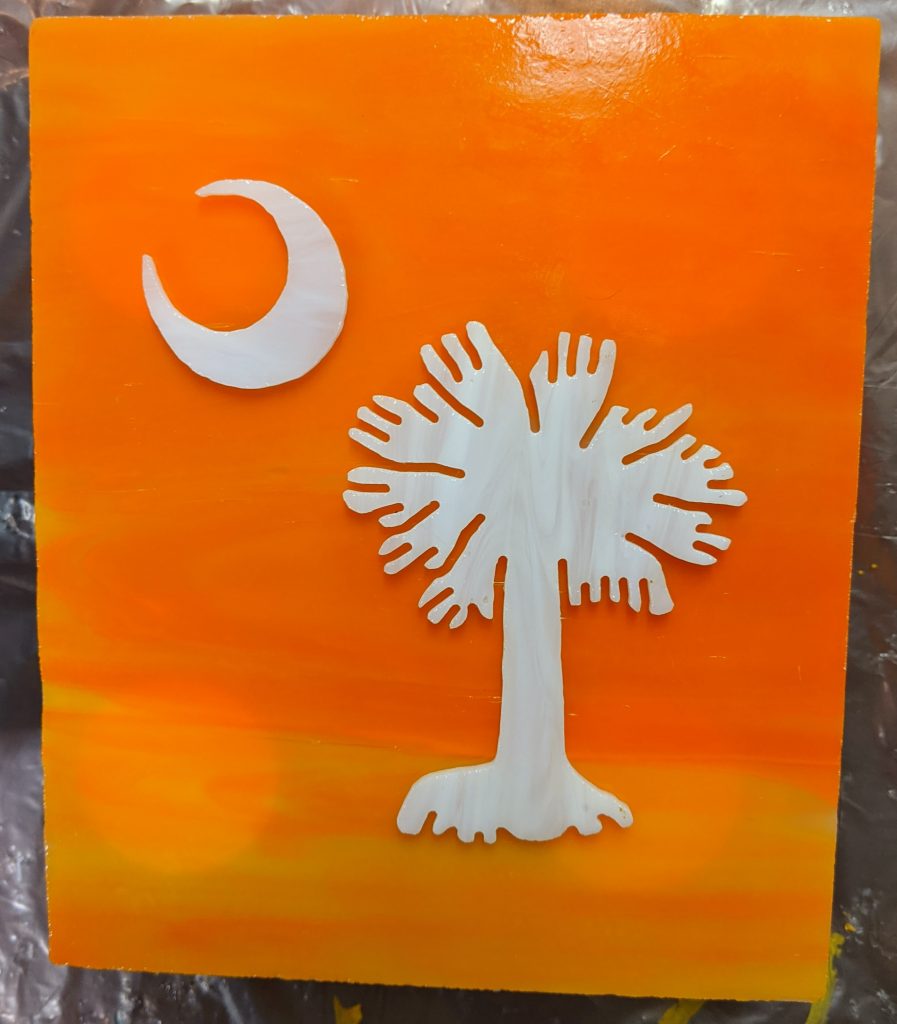
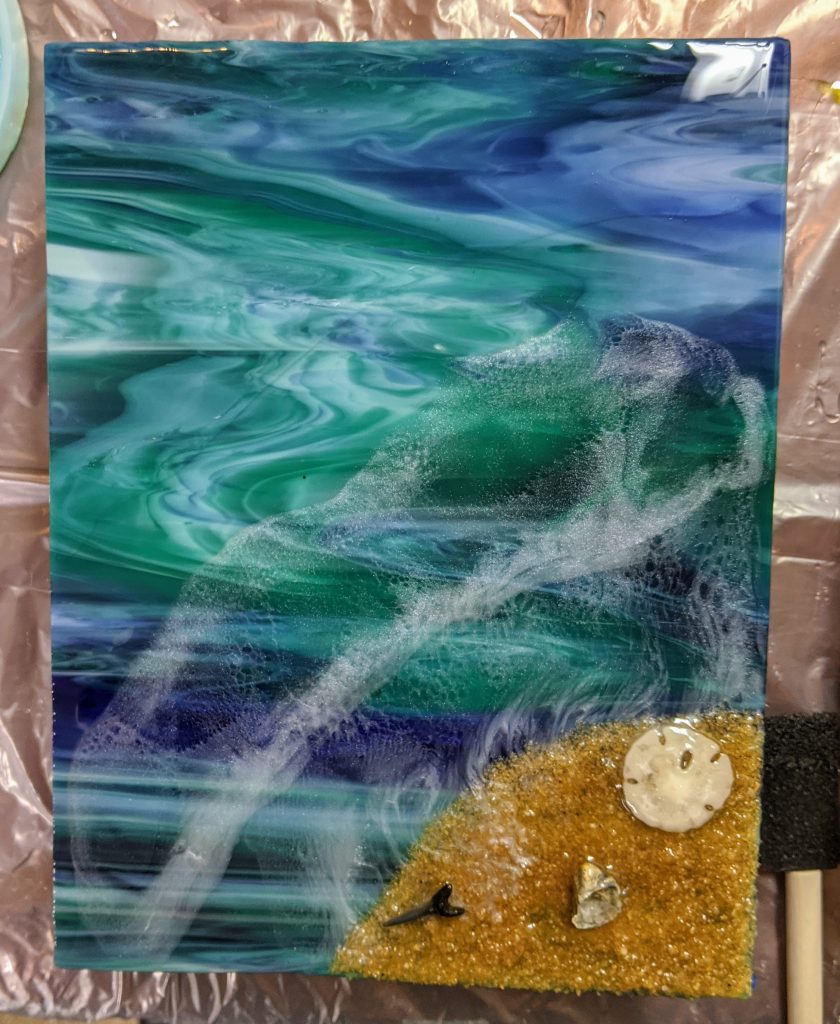
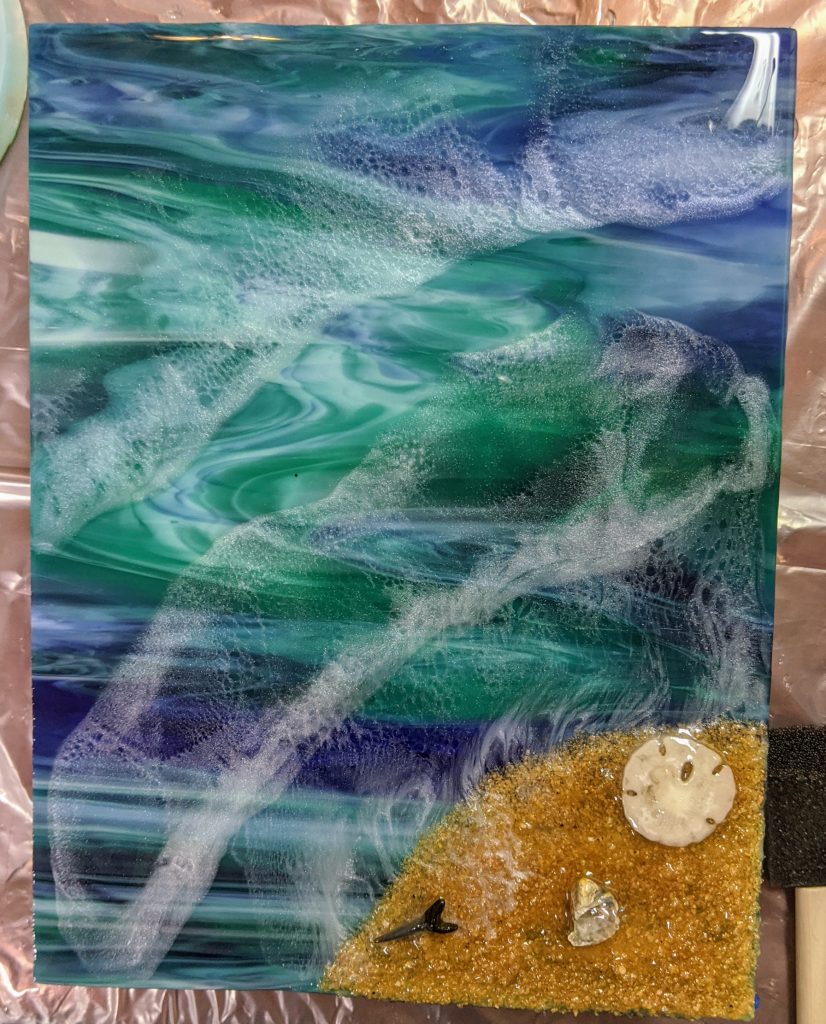
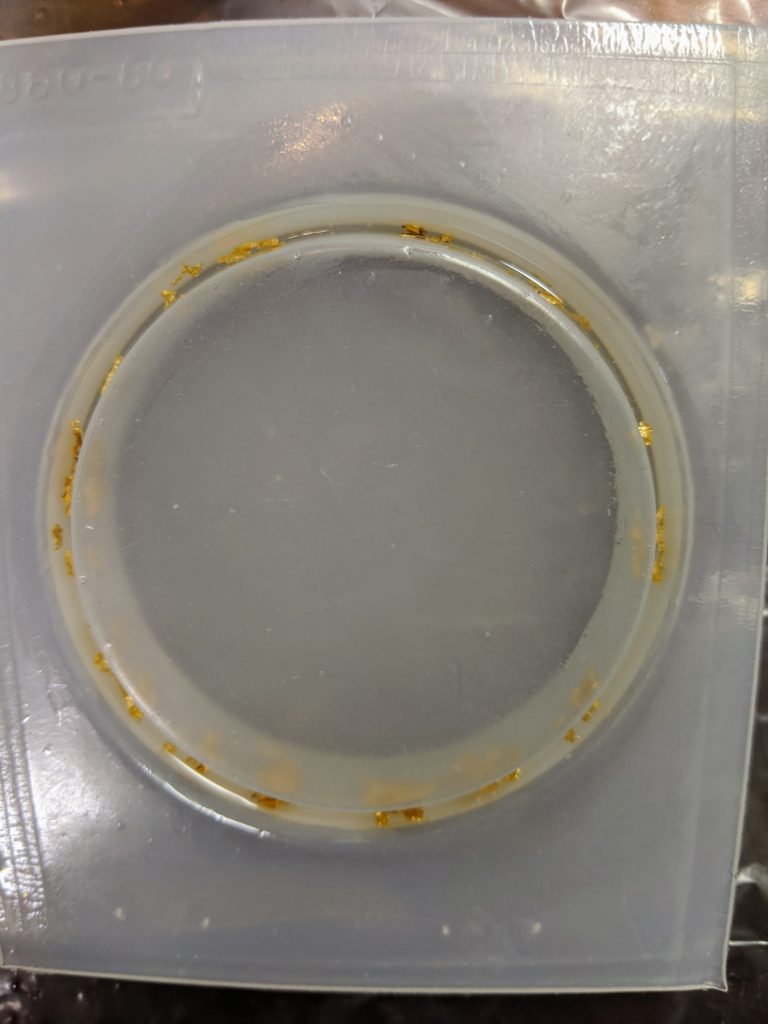
Today I added the last wave to my second beach glass panel, made another Palmetto and Crescent glass panel, finished a second metallic flake coaster and started a brand new cast resin bracelet project.
Cut glass 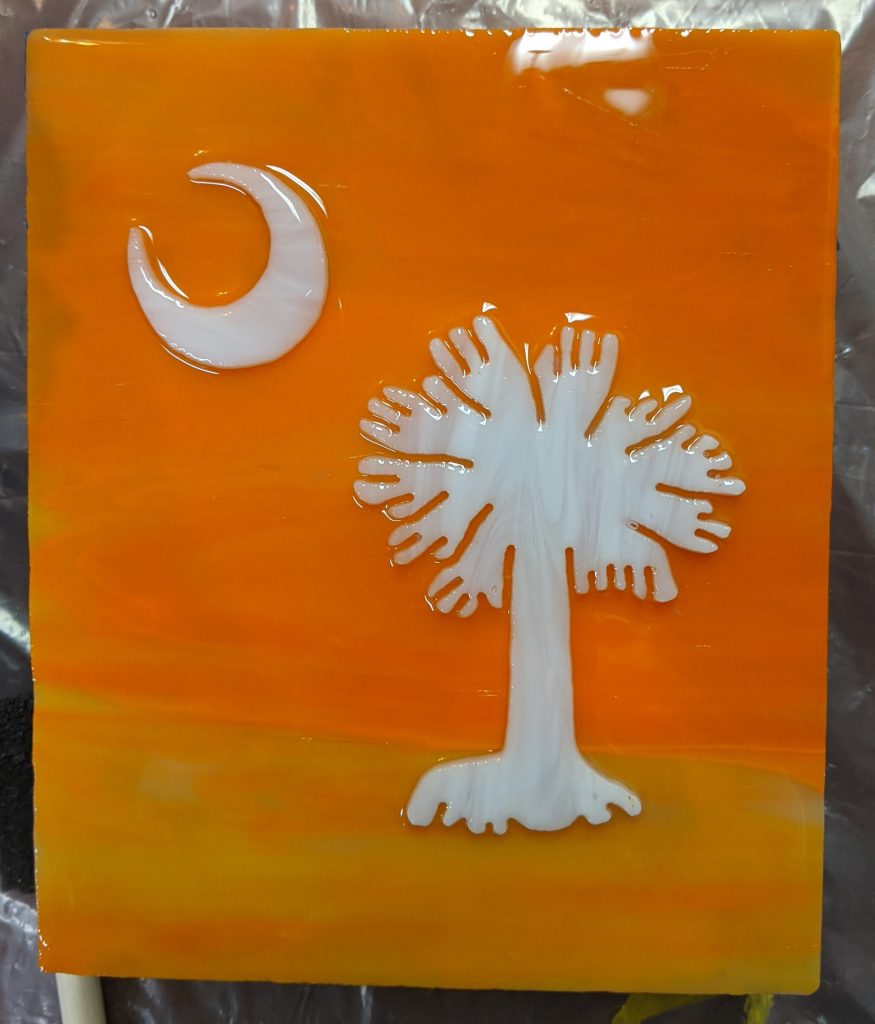
Cut glass with resin coating
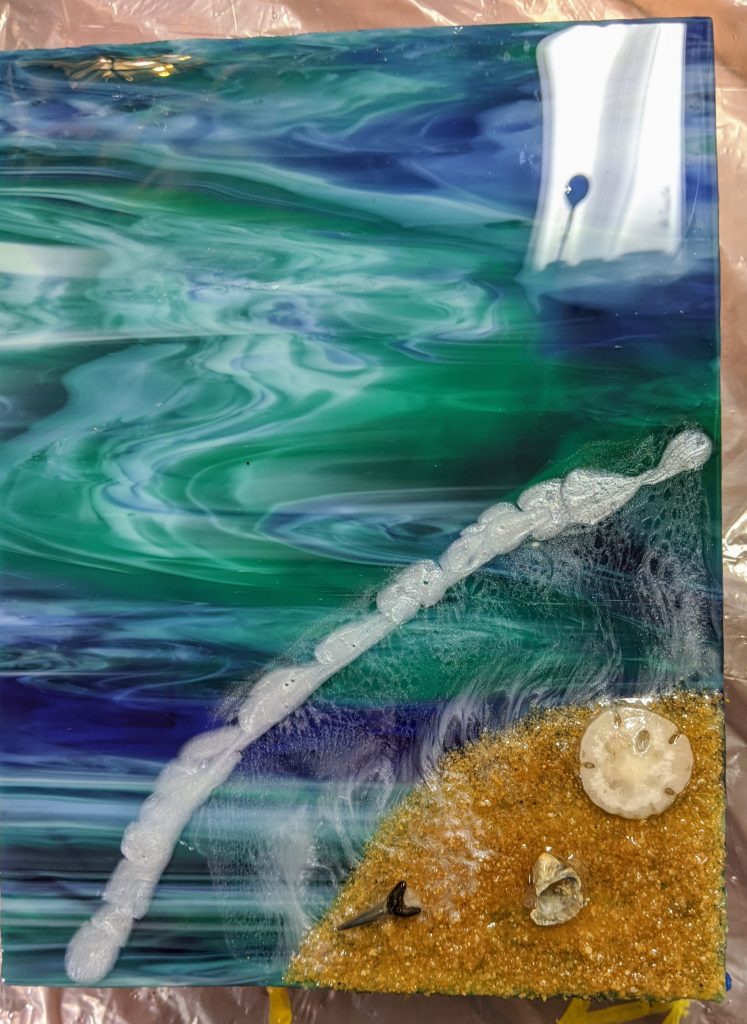
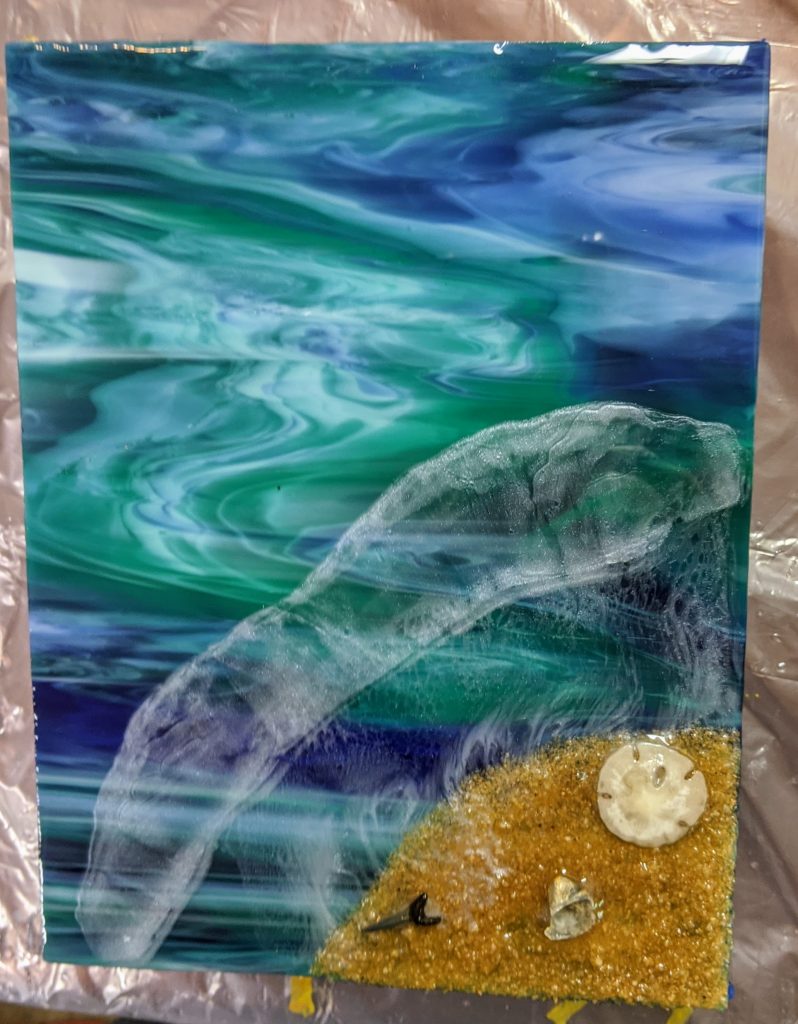
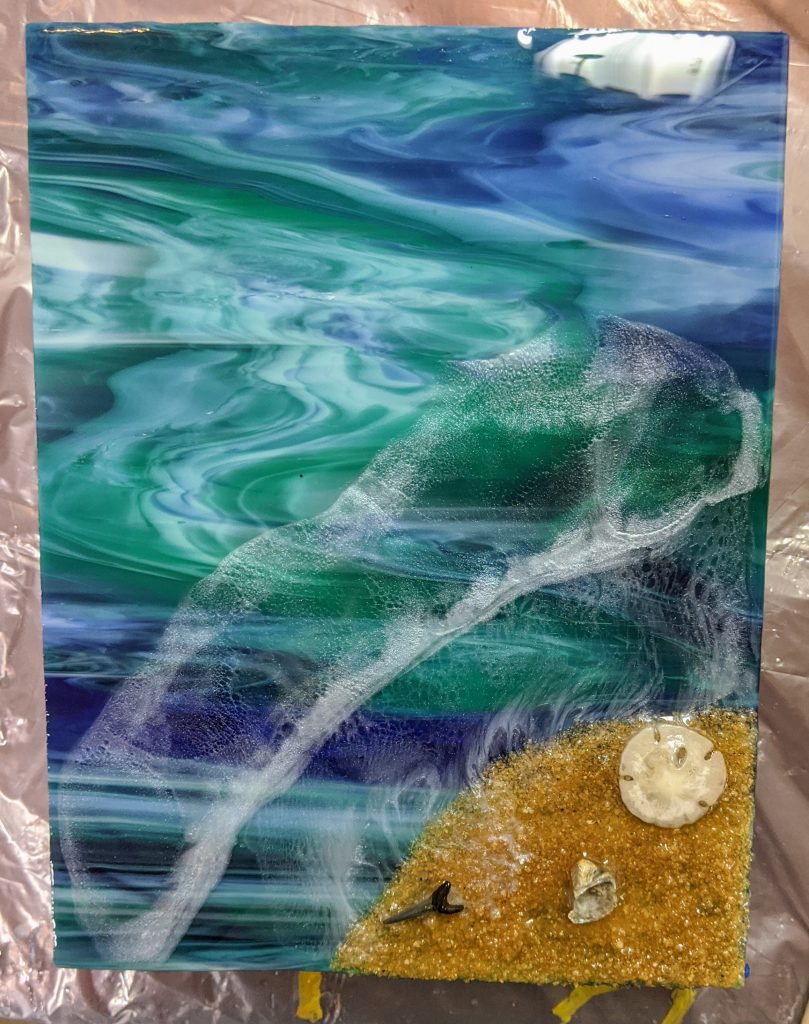
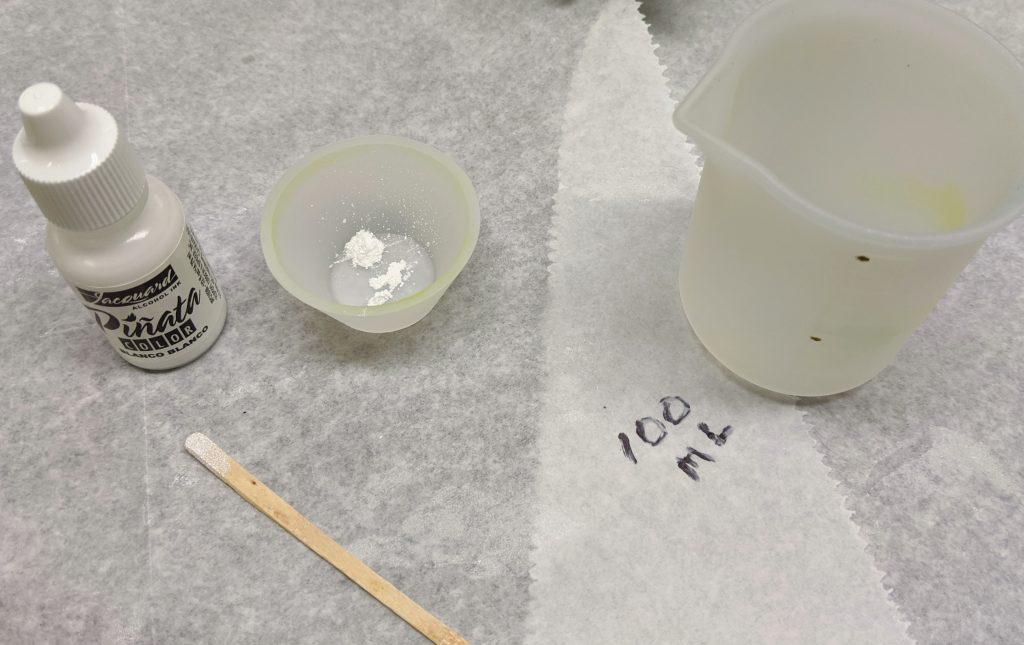
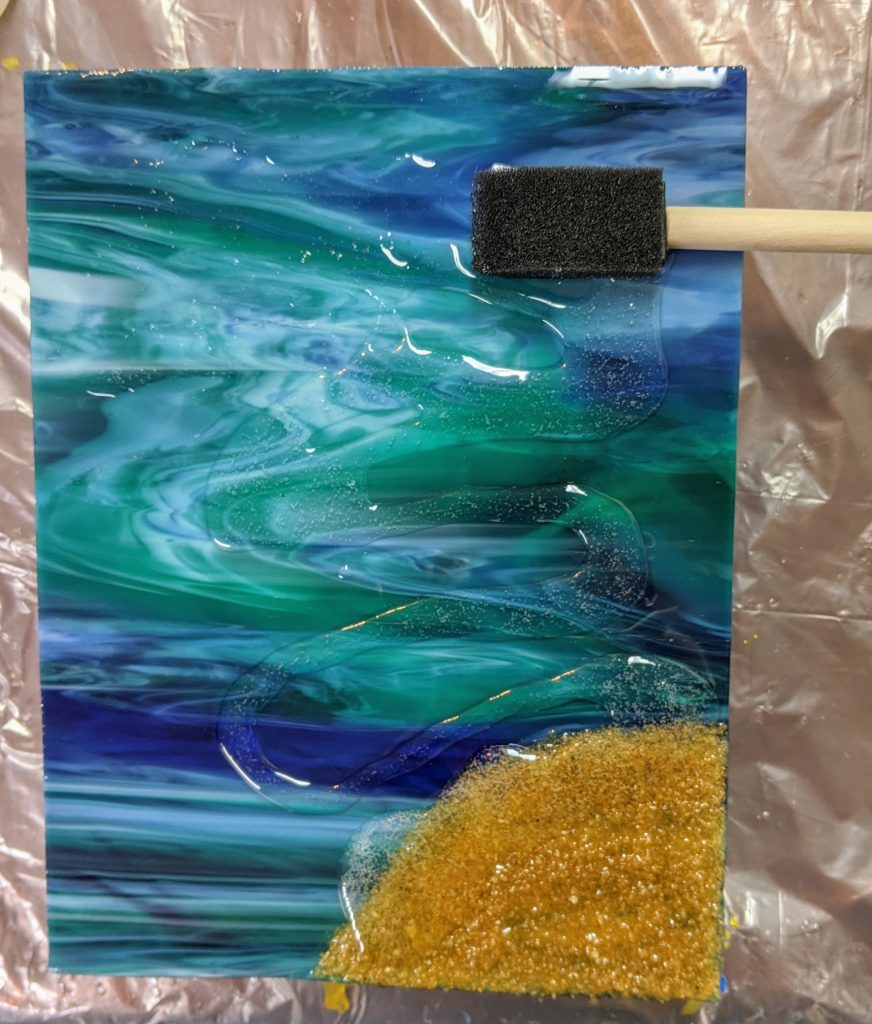
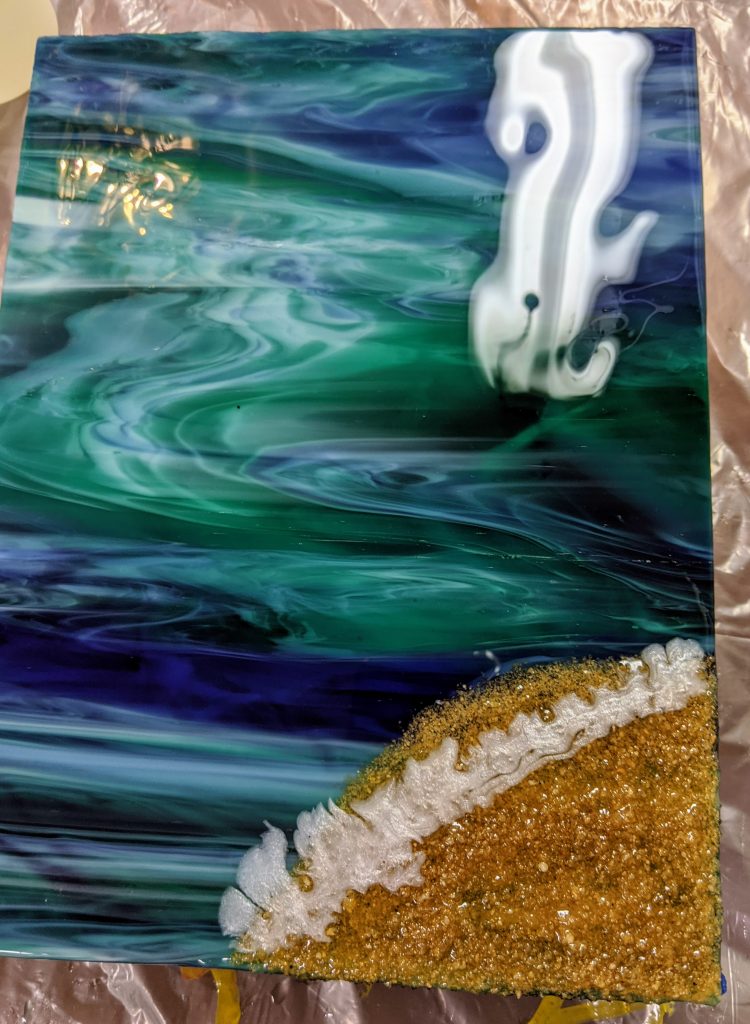
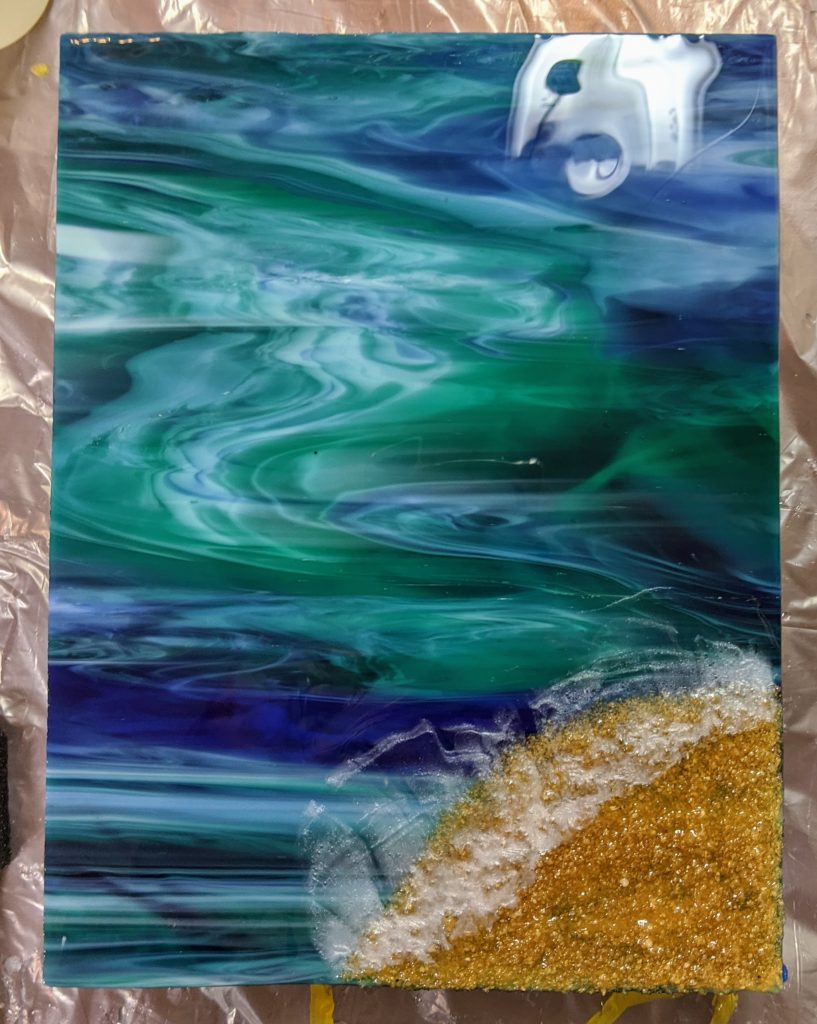
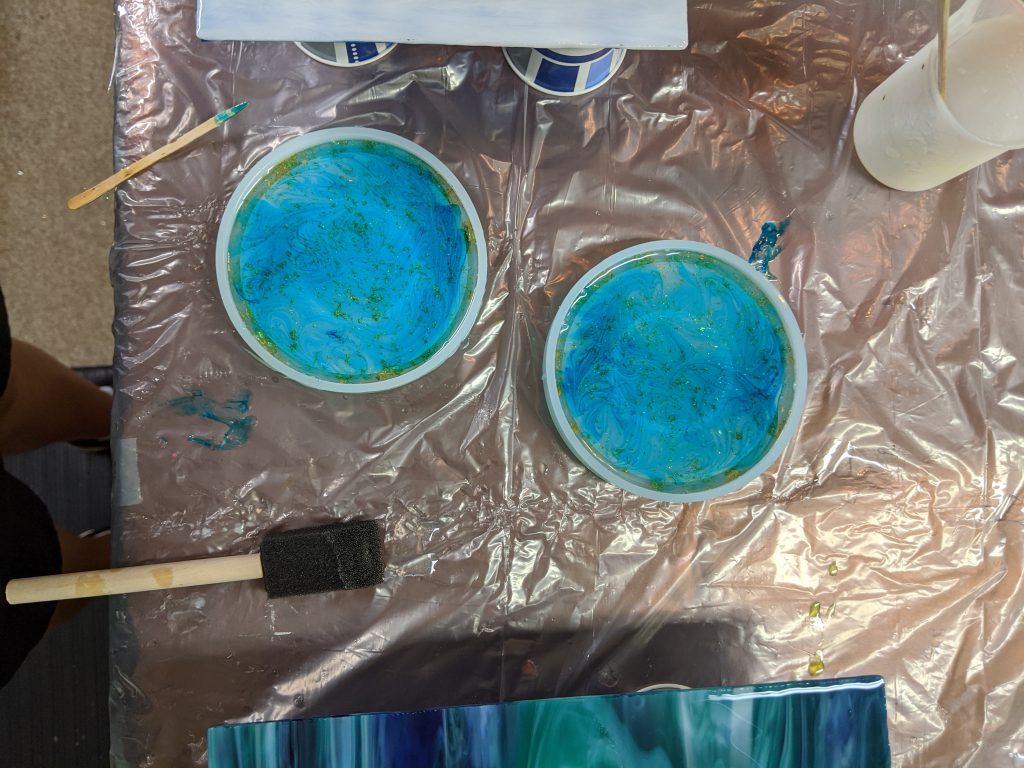
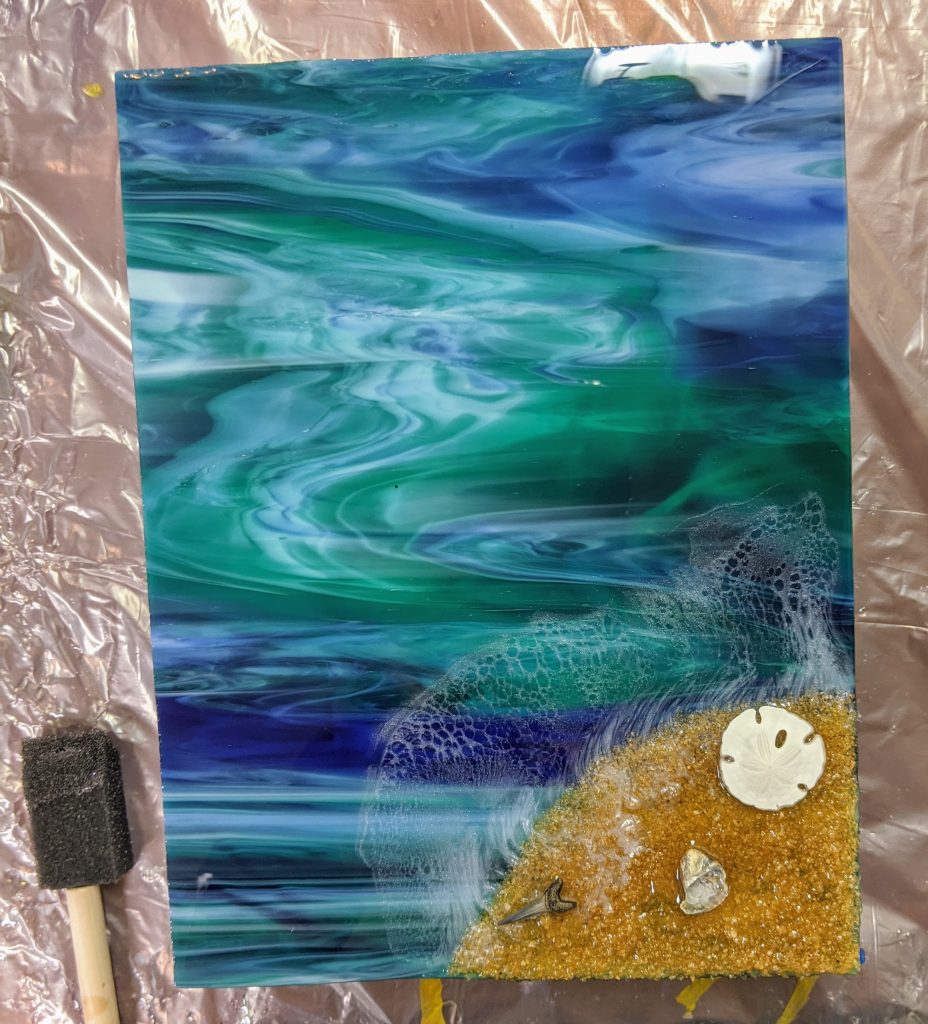
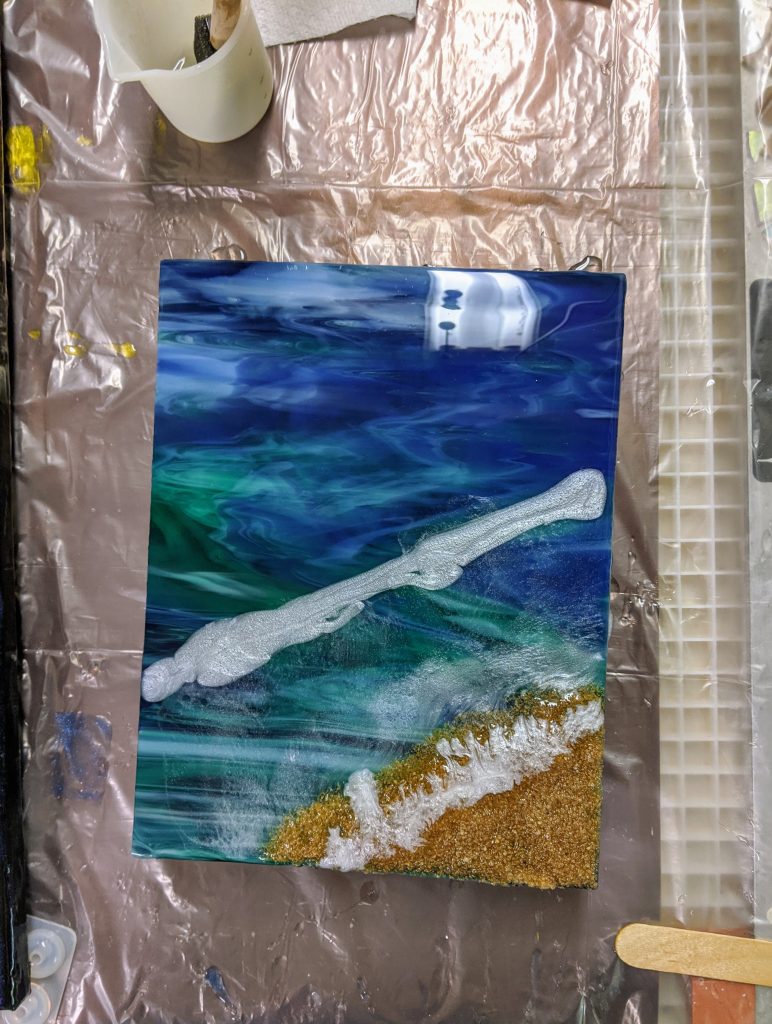
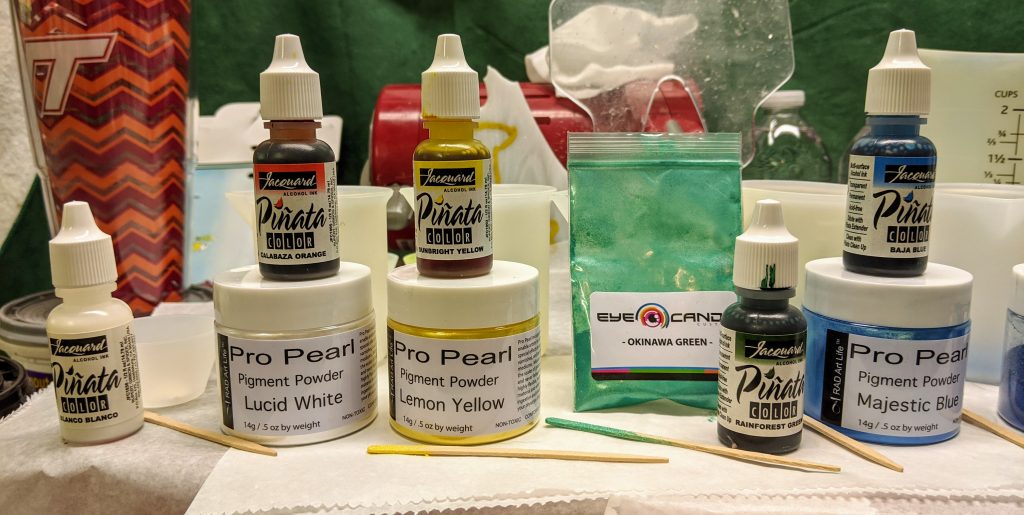
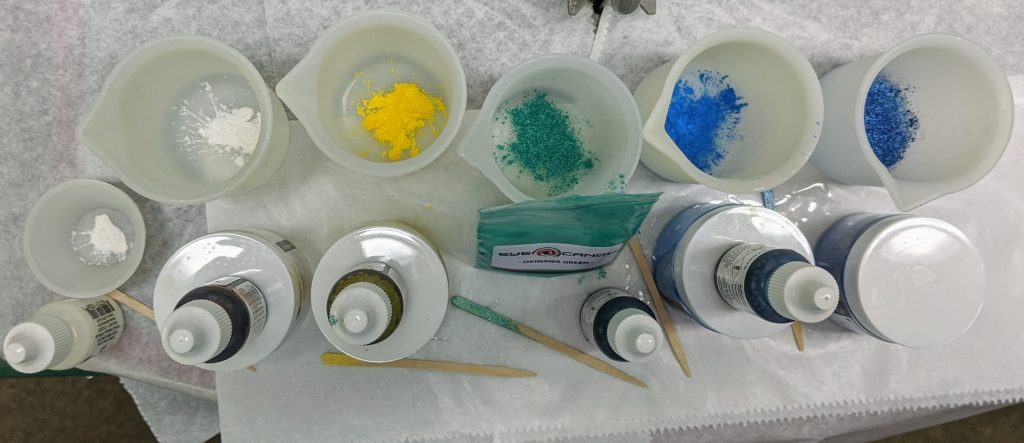
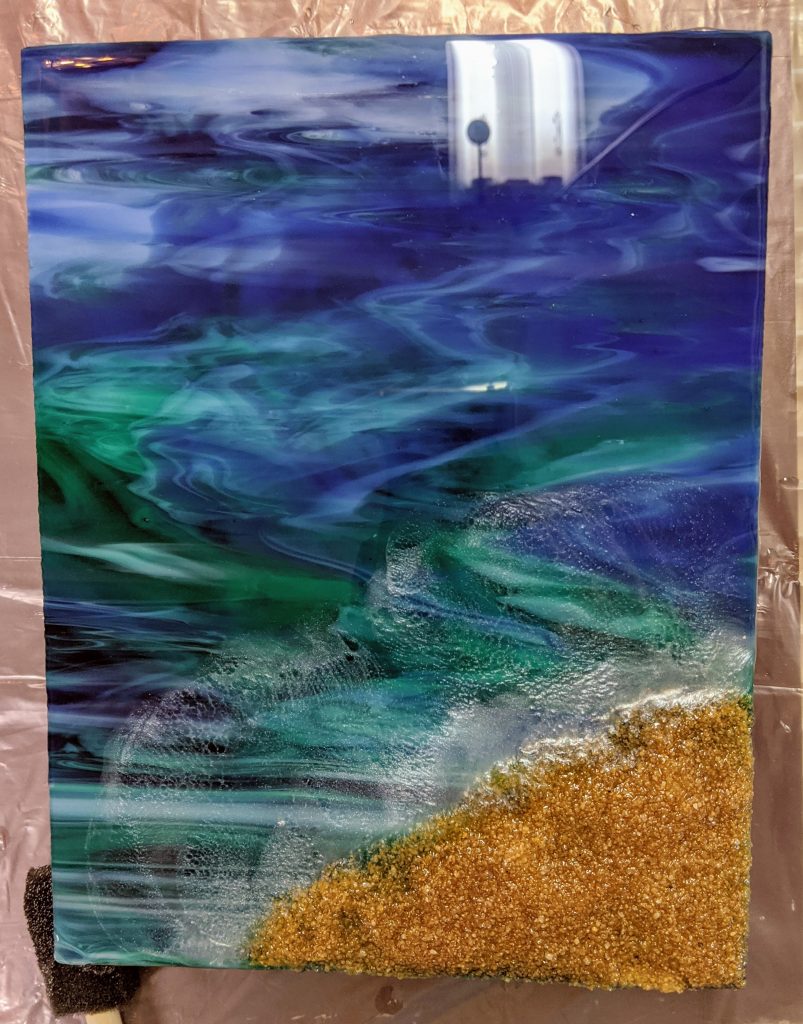
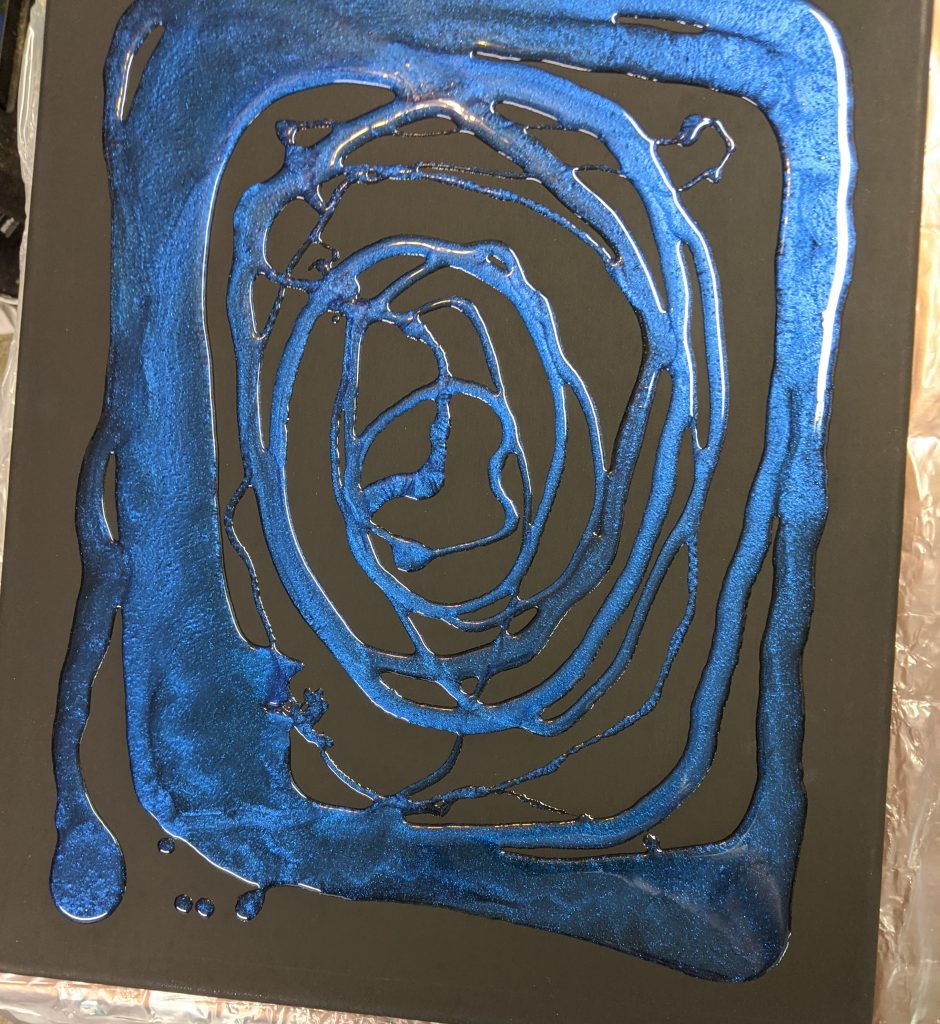
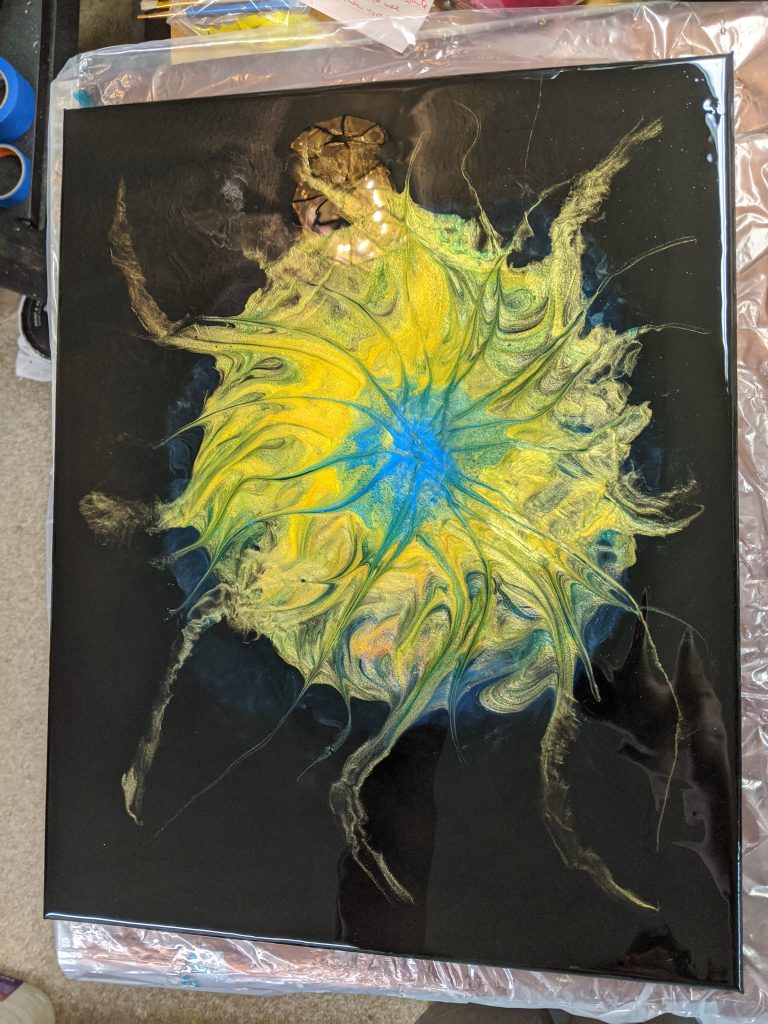
First I mixed up 80 ml of resin and set aside about a tbsp for the white wave for the beach panel. I spread the resin over the desired areas of the panels and mixed the white portion for the bubbles of the waves. I used the heat gun to manipulate the resin coating and also to remove bubbles. Next it was time to add the white bubble detail to the beach waves. I also got a new bangle bracelet mold and decided to use some of the extra resin for that. I should have waited until I had some mold release (this mold is hard plastic, not silicone like I’m used to), but I decided that I could try it out without the release for experience’s sake.
clear resin layered 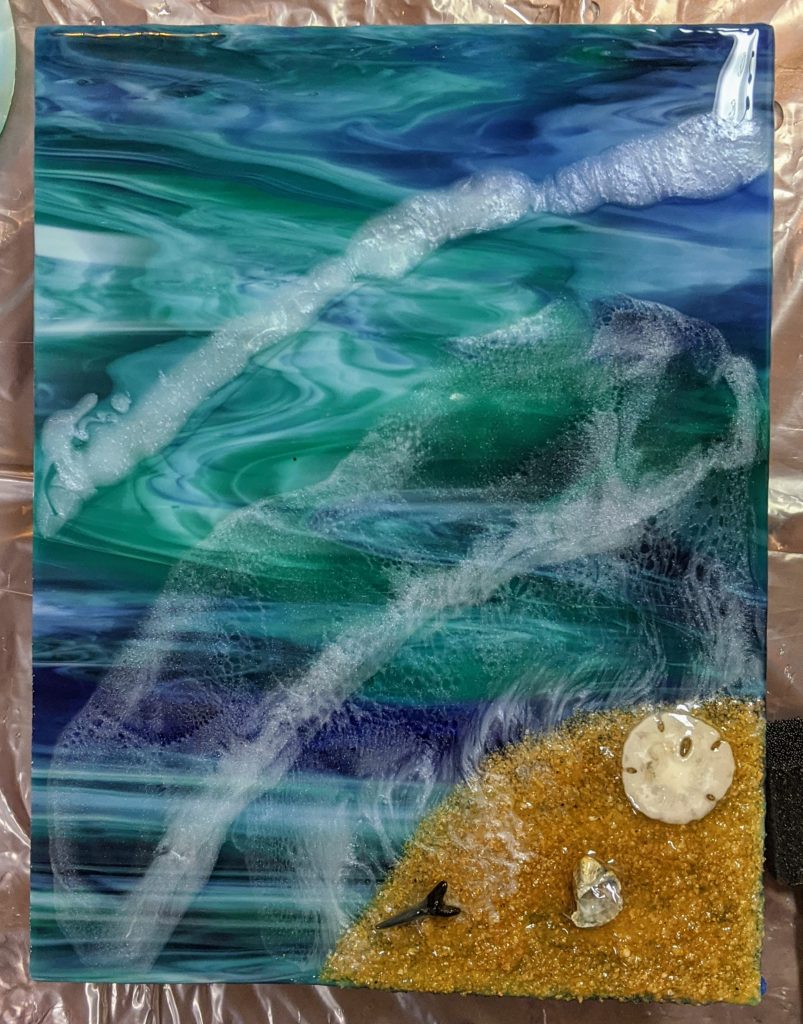
White resin along the edge of the clear layer
After heat gun and blow torch
I couldn’t resist trying out a new bangle bracelet mold I ordered. I thought it was silicone, but it is hard plastic. I ordered some mold release for it, but this is an experiment to see how much I need the release chemical.
With metal flakes 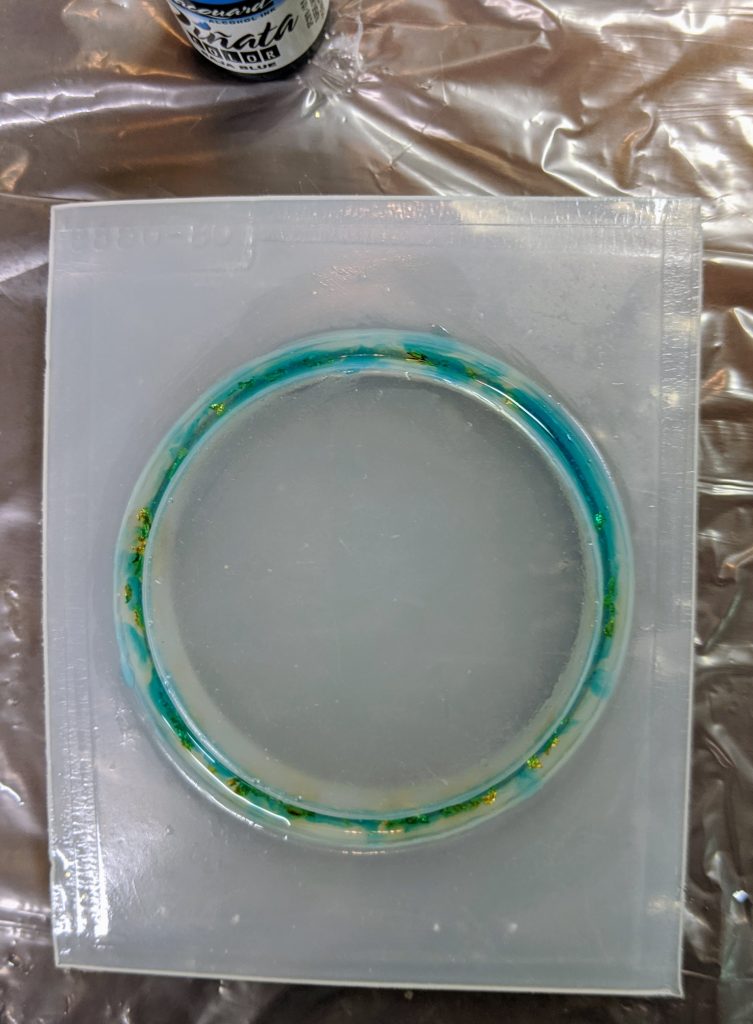
Metal flakes and some ink
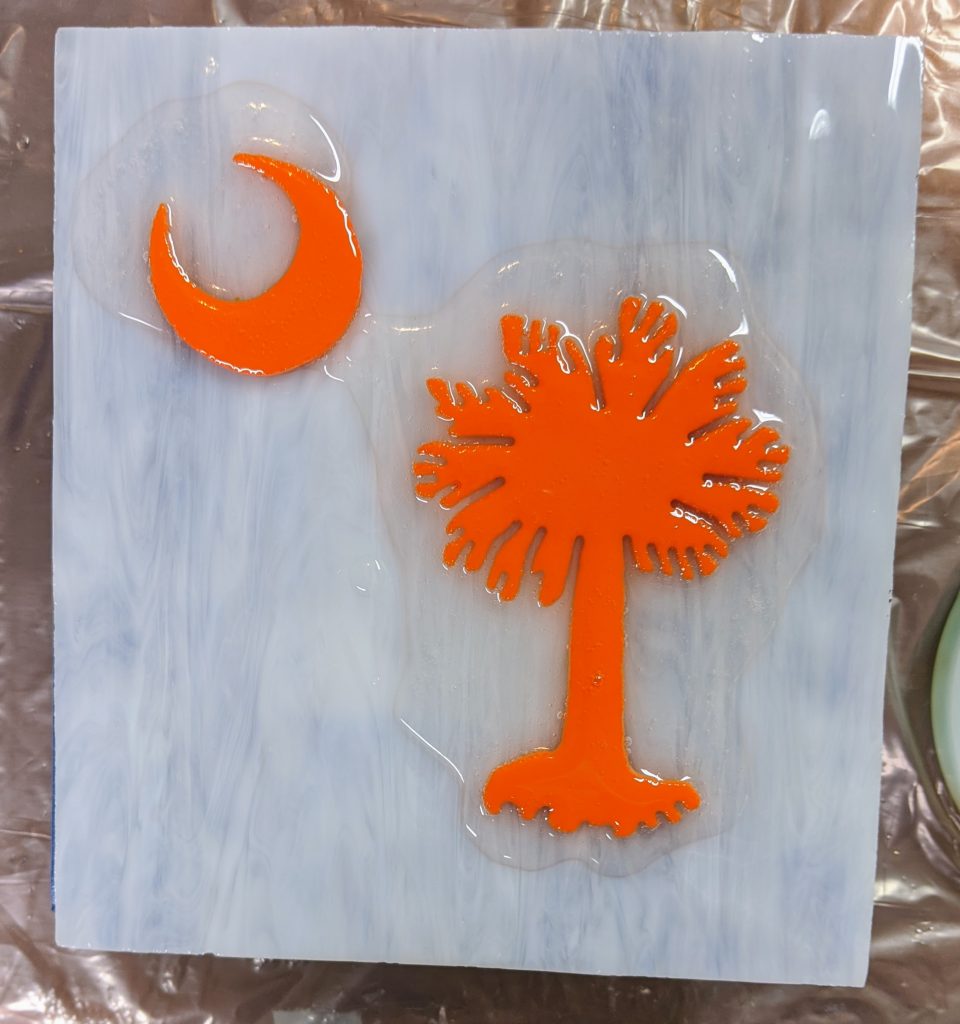
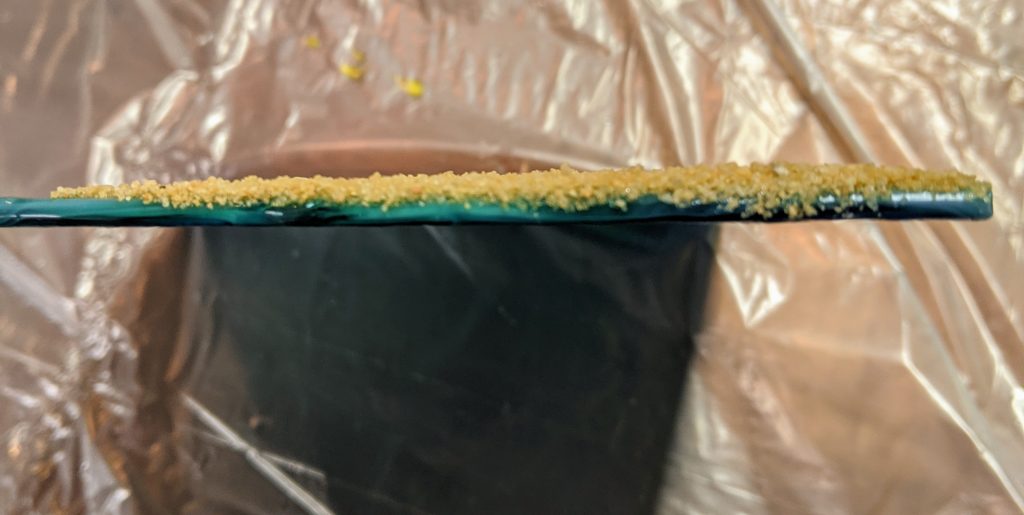
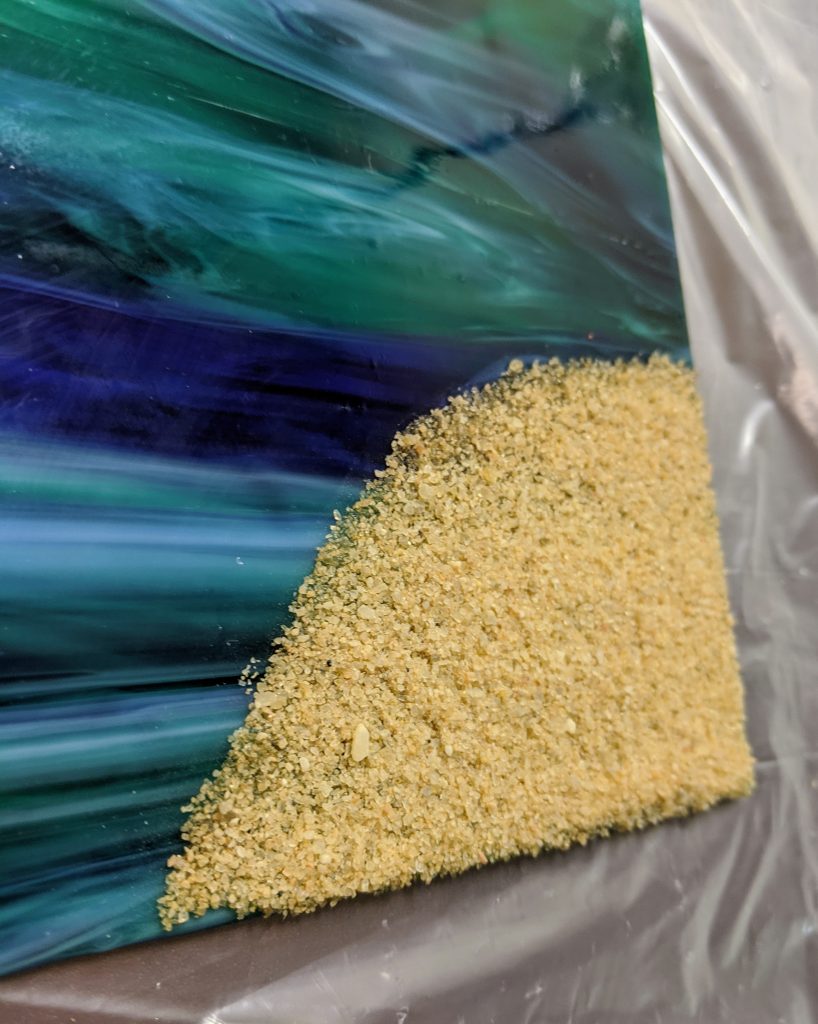
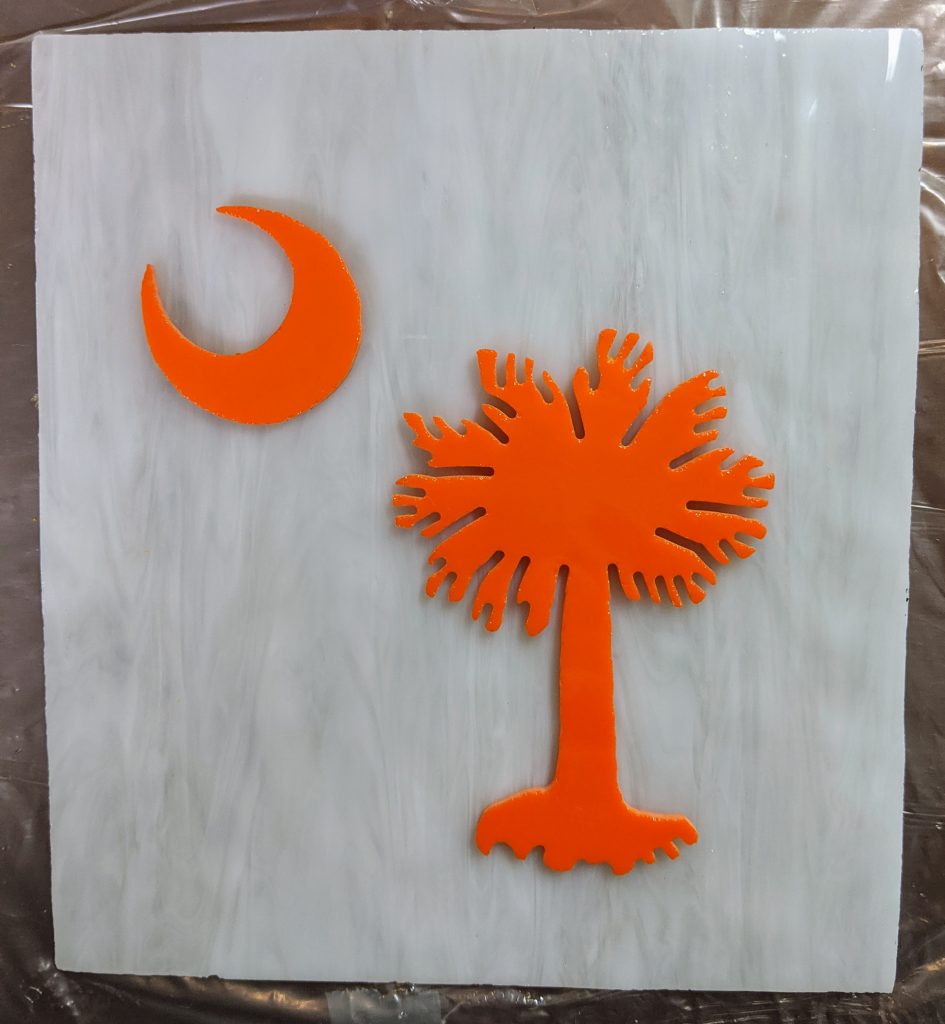
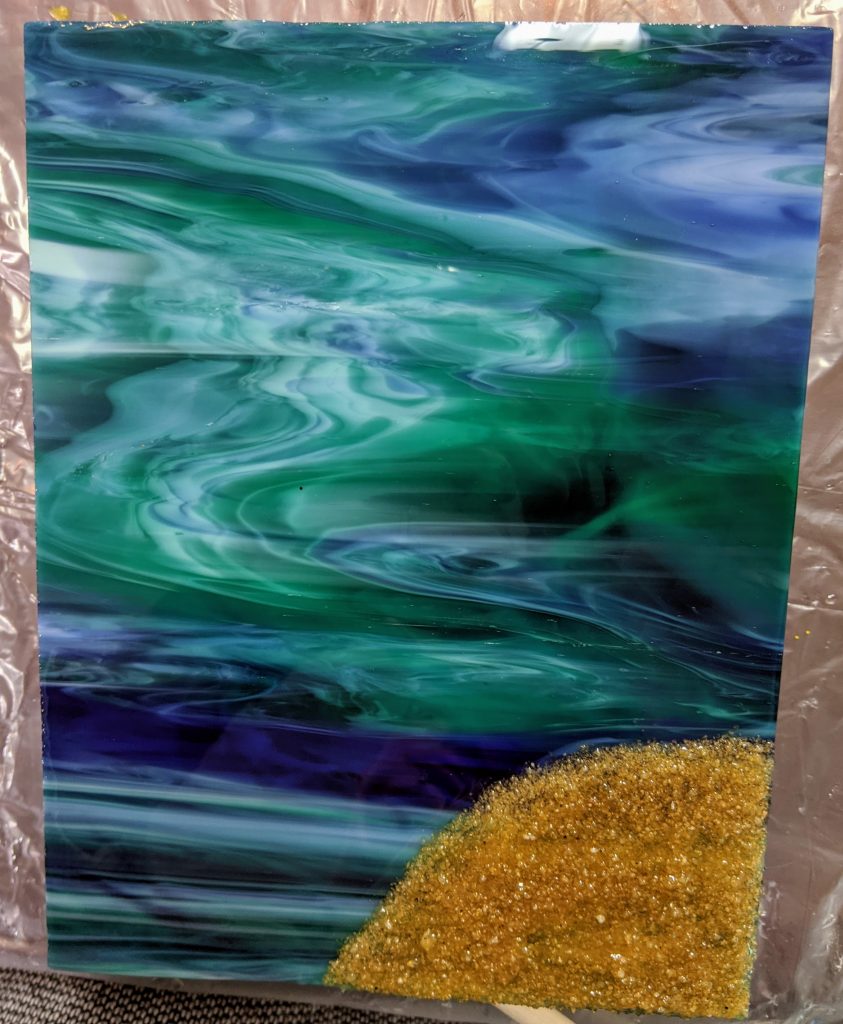
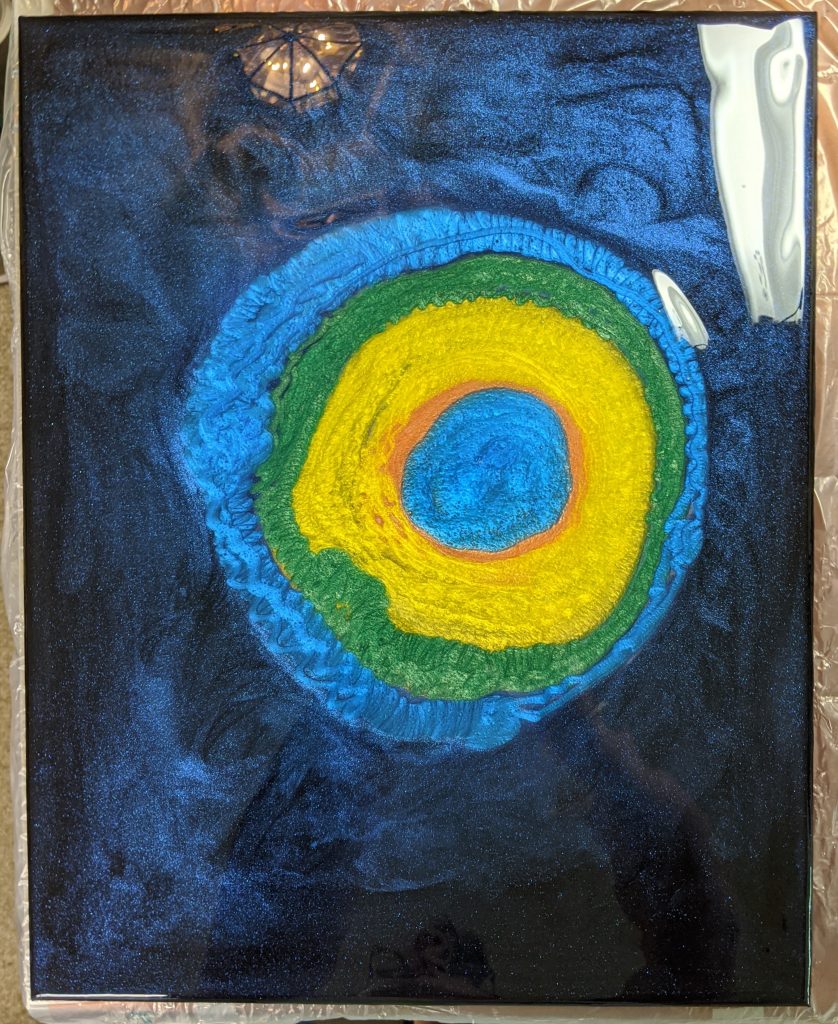
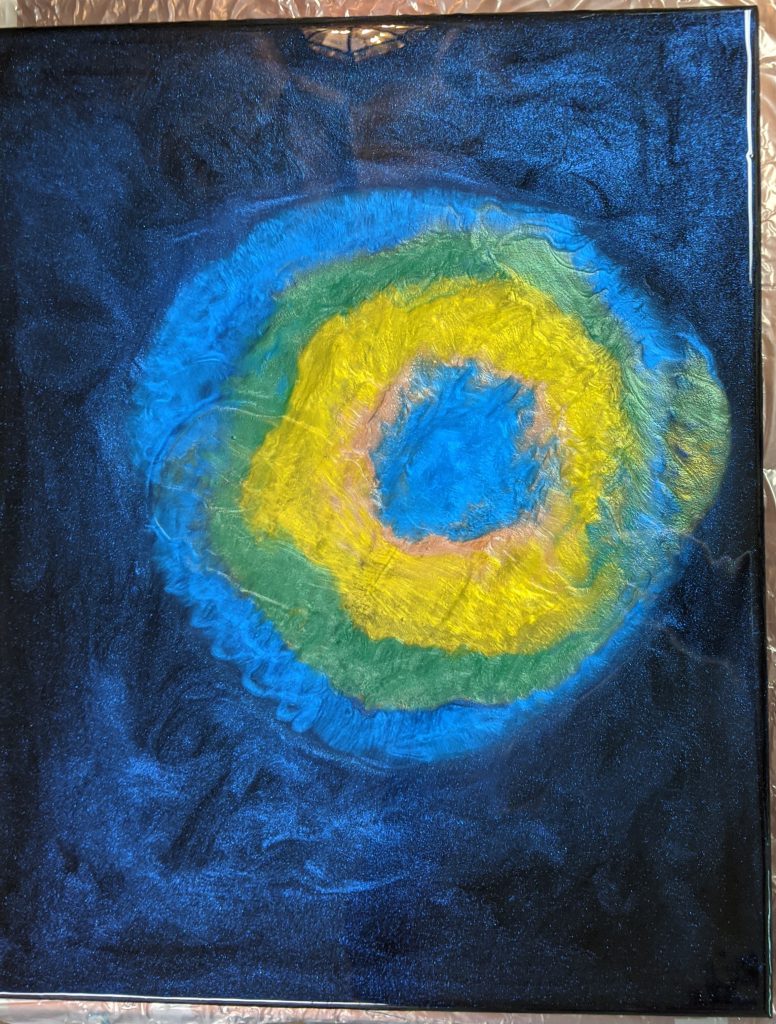
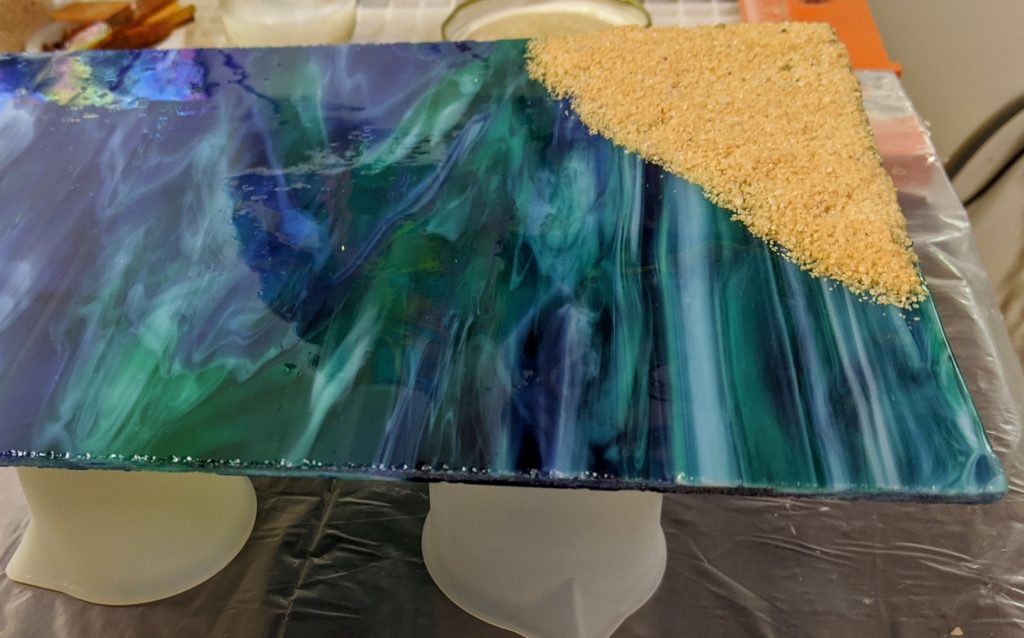
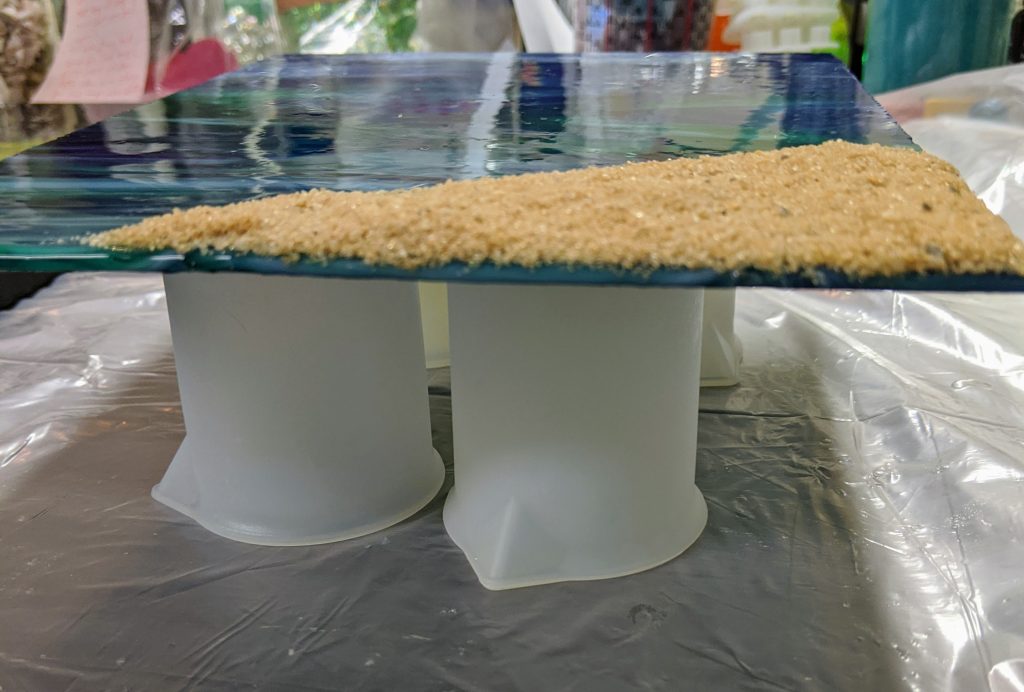
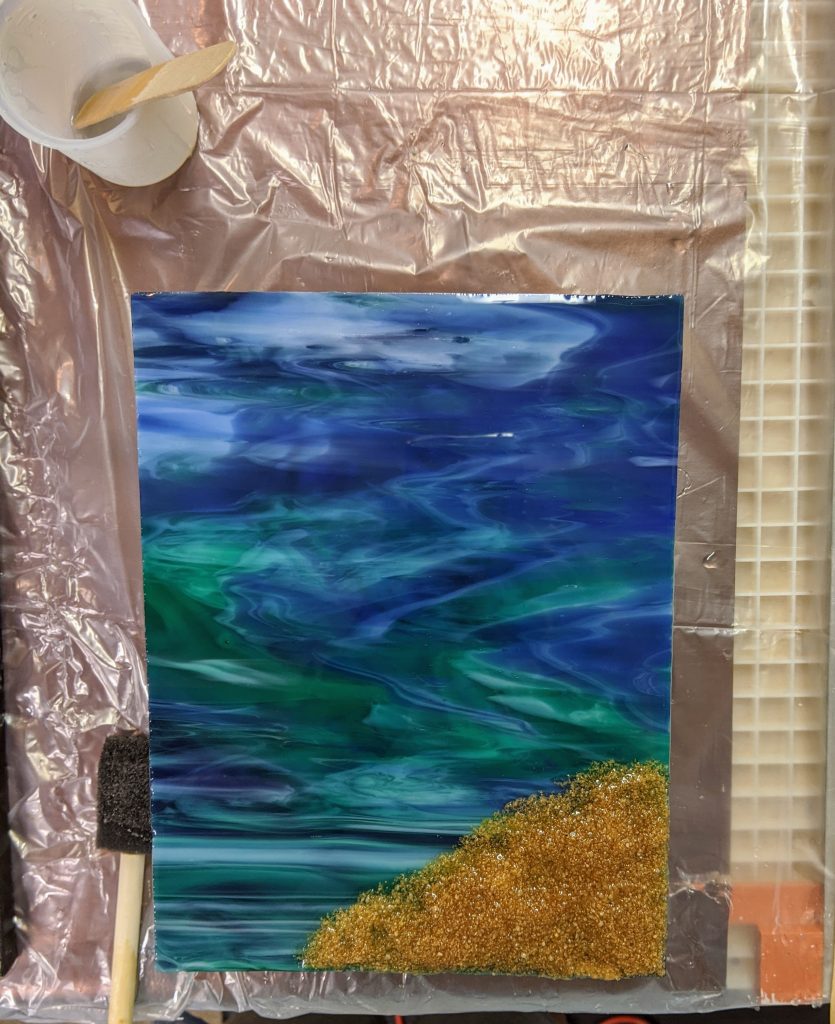
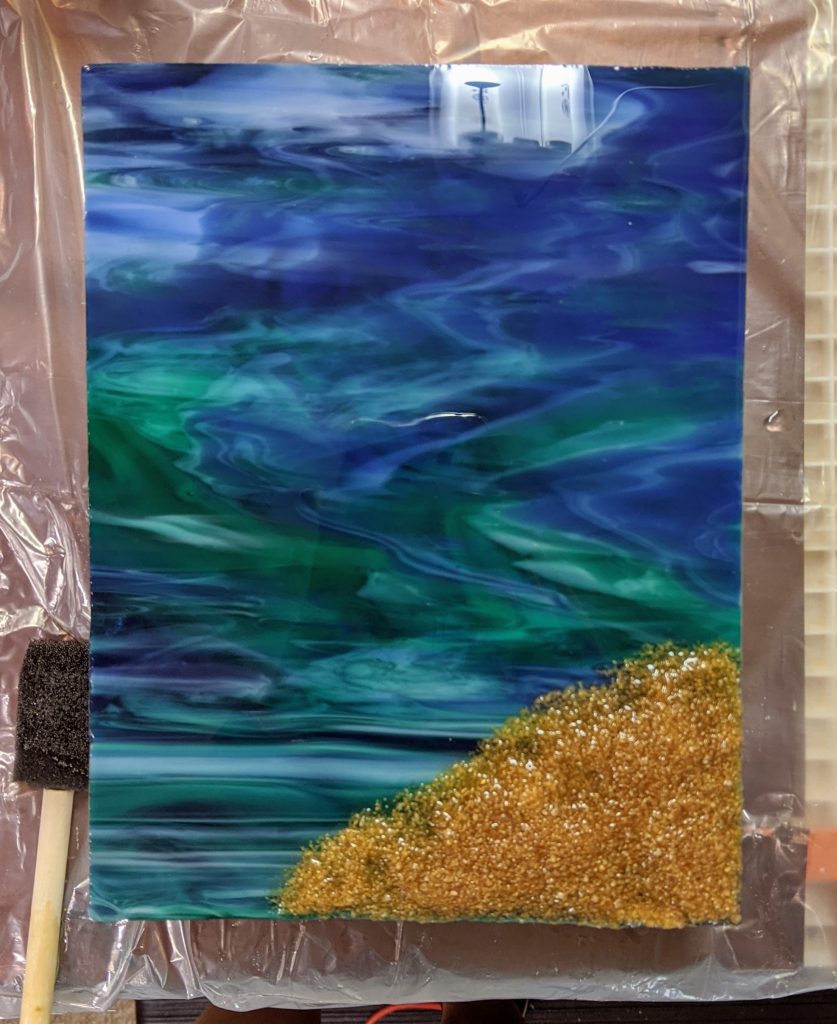
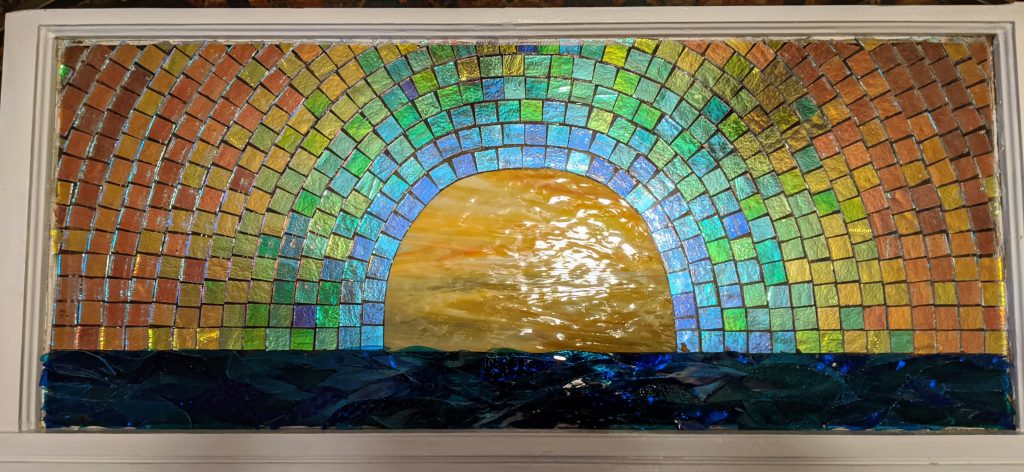
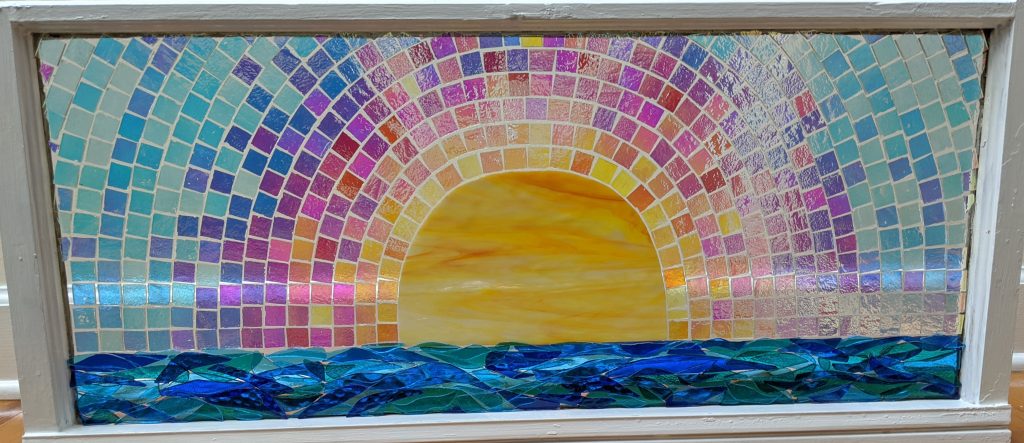
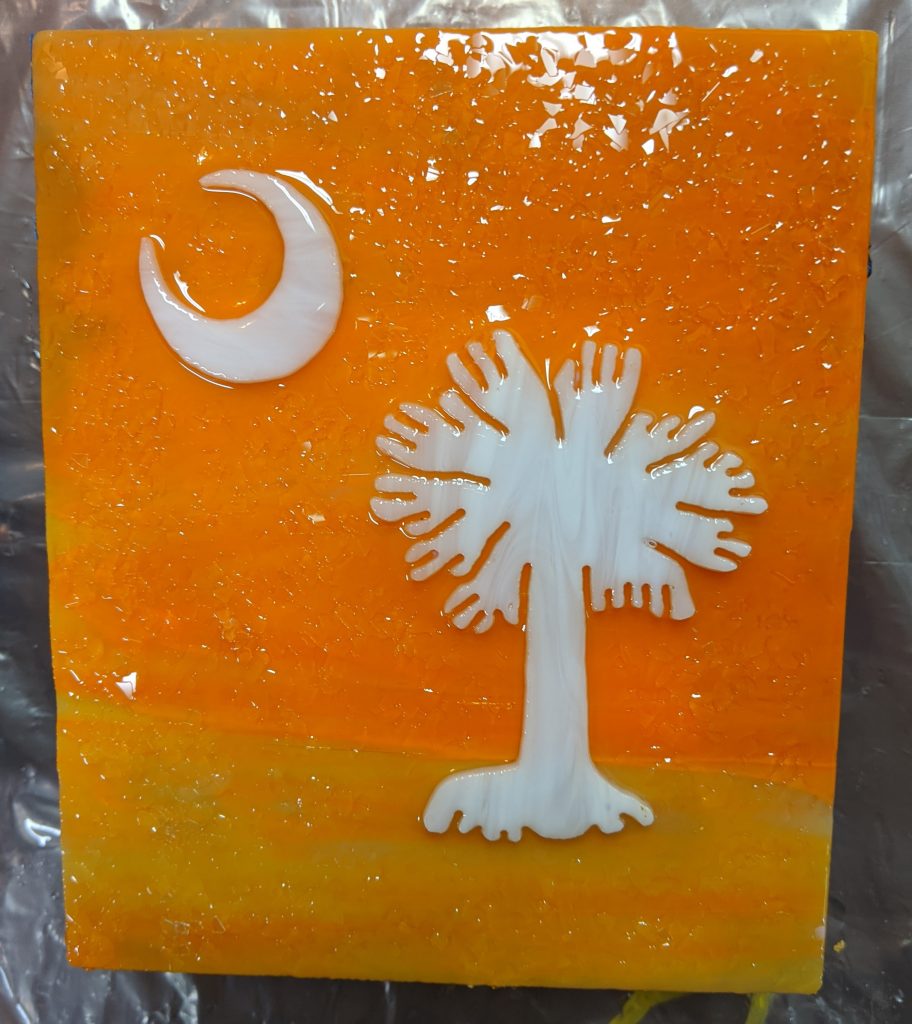
I also added some glass chips to an orange and white Palmetto and Crescent glass panel. The chips add some nice sparkle!
The bangle bracelet still needs a bit more resin, and it will take some practice to figure out how to place the decorations / pigments in that mold, so check back!