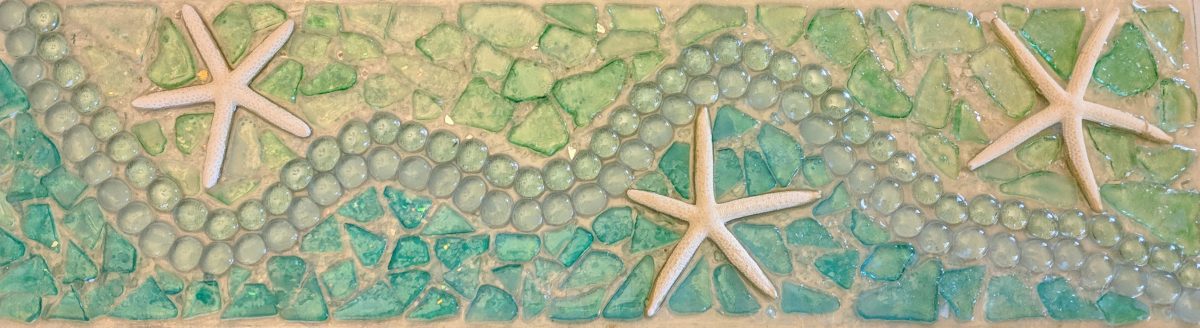
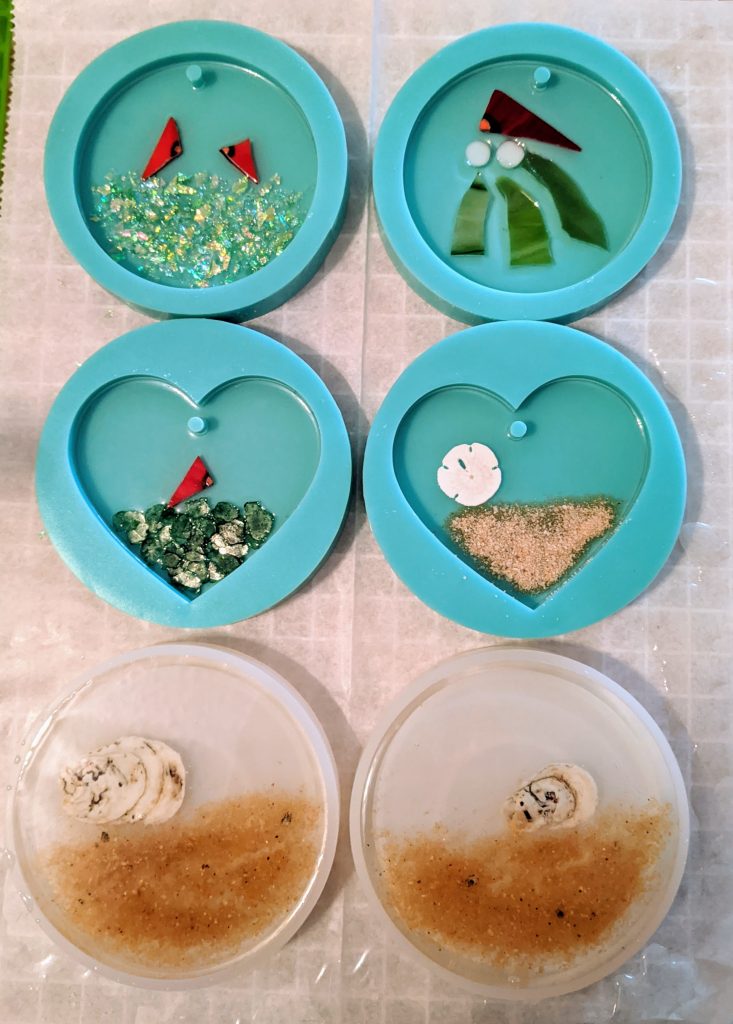
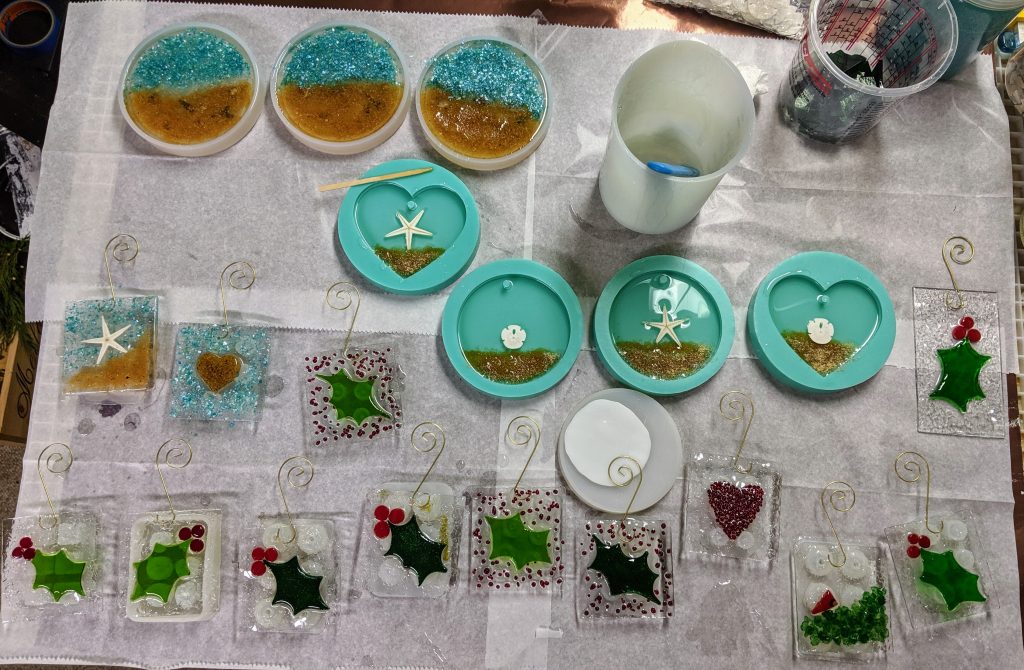
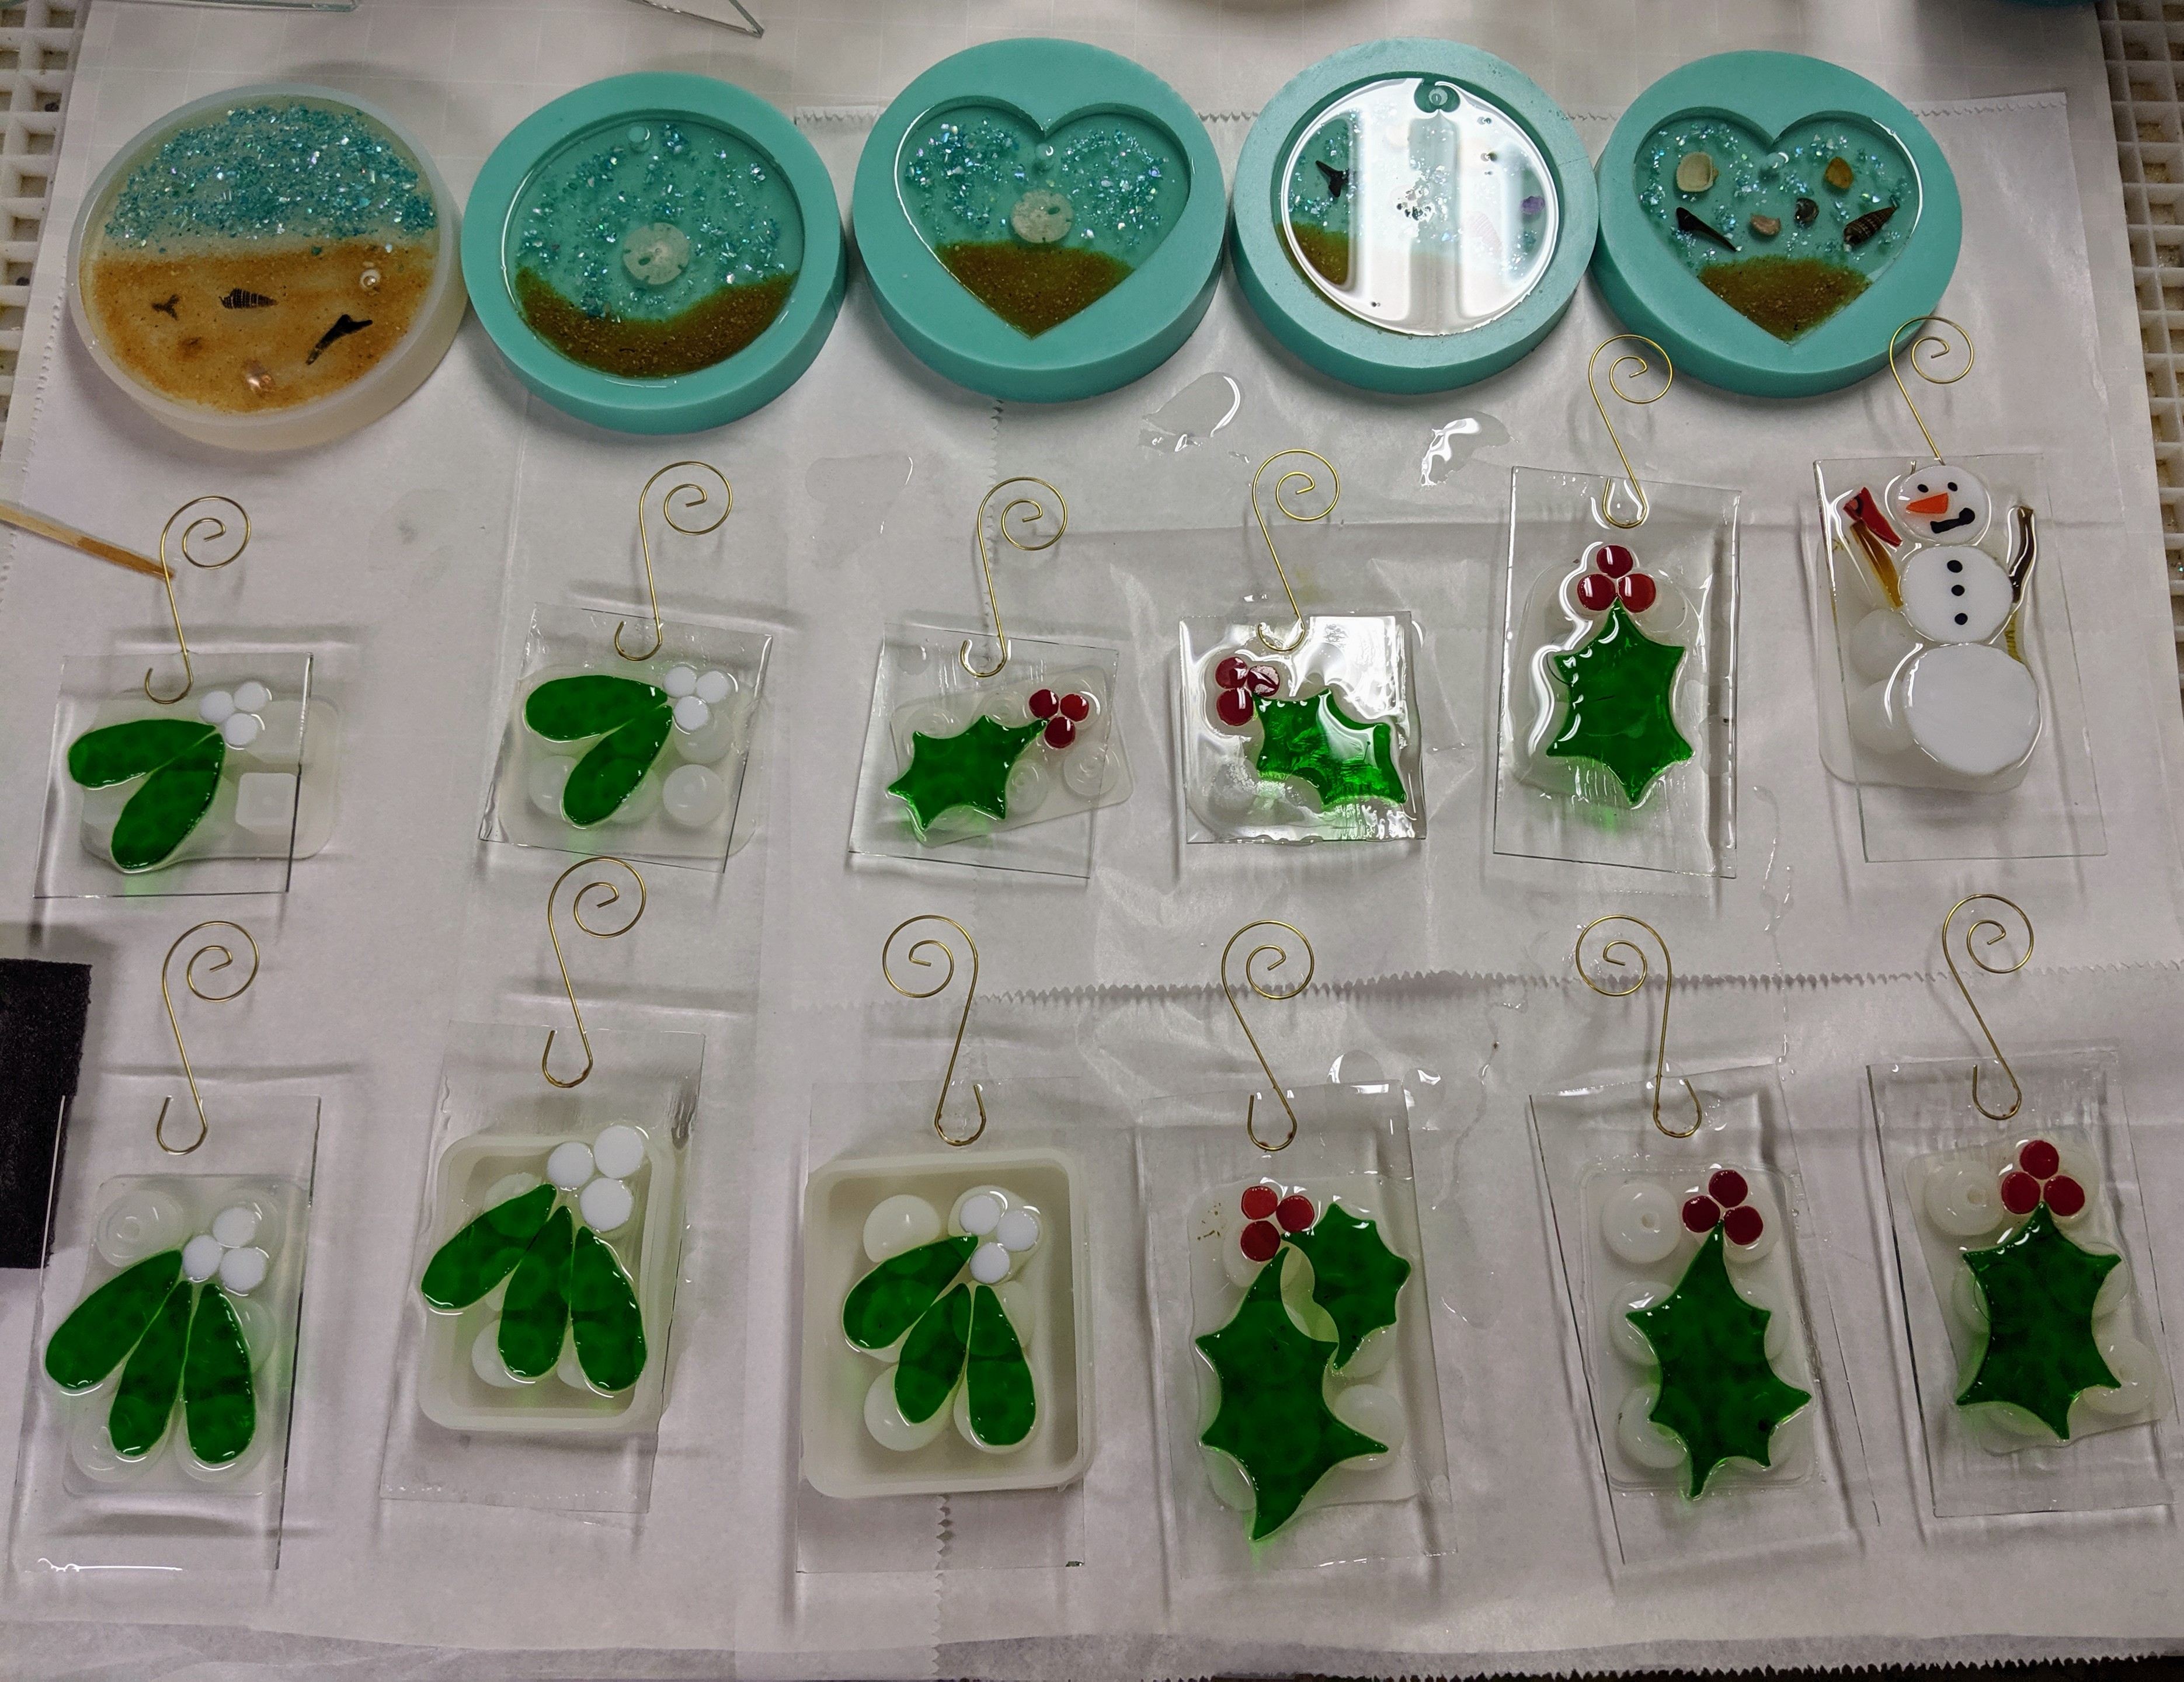
Poured the second layer of resin on four Cardinal coasters (one needs a third layer as I ran out of resin) and the first layer on some new holiday suncatchers / ornaments!
Coasters, suncatchers
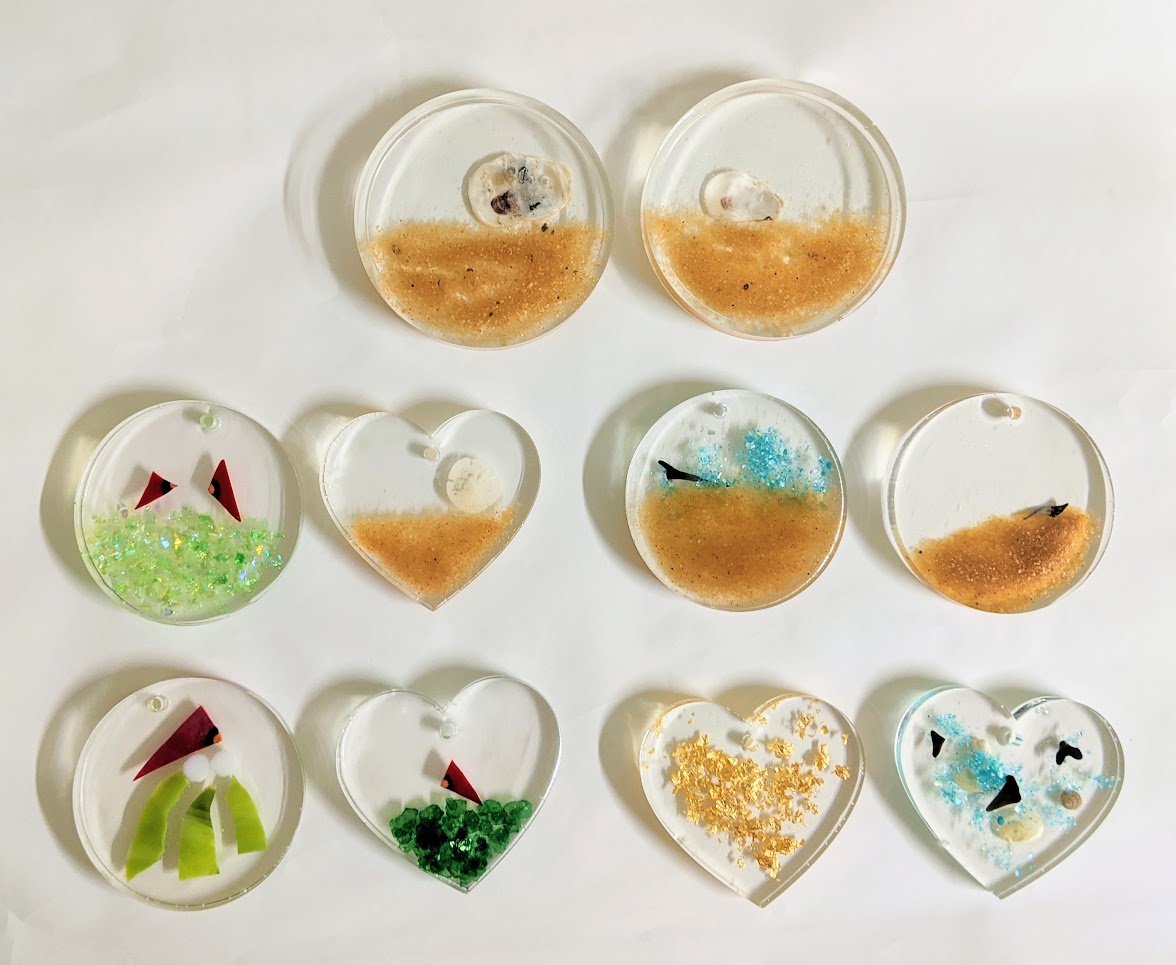
Also took some better photos of the past few weeks worth of ornaments, though I’m no photographer with my phone, ha!
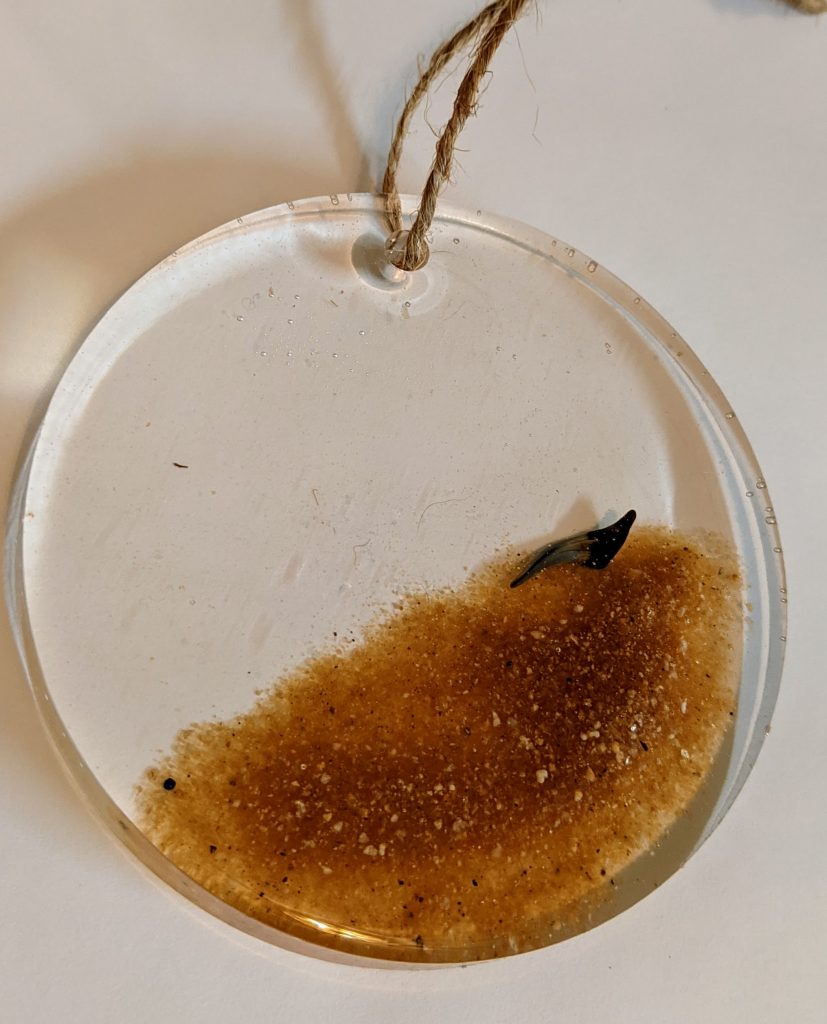
Shark tooth / sand
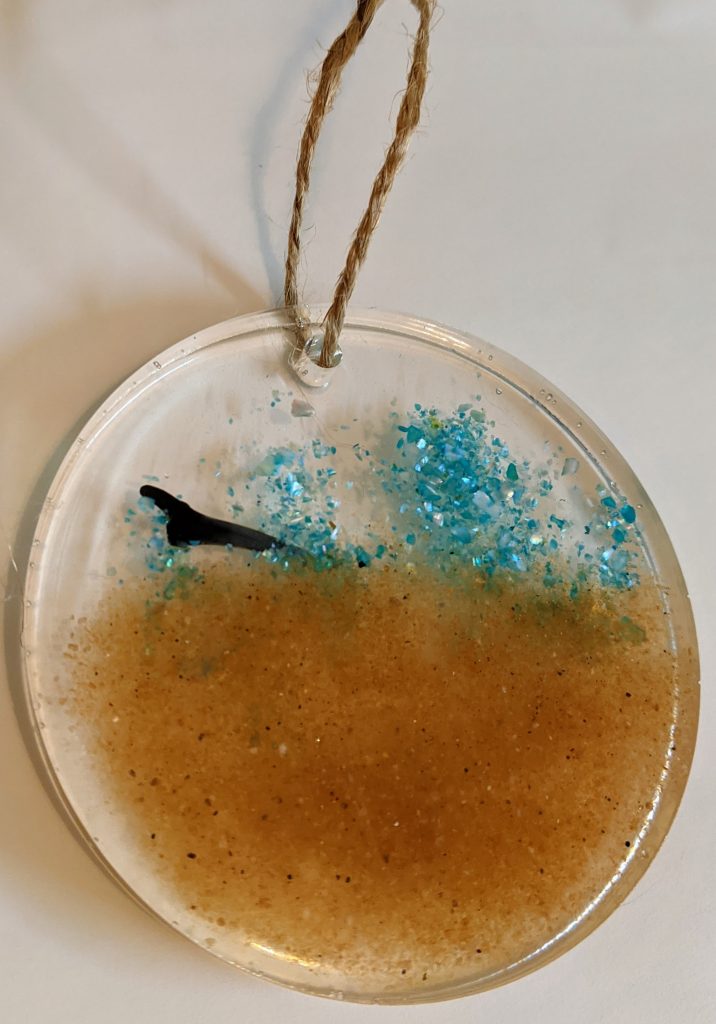
Shark tooth / sand / water
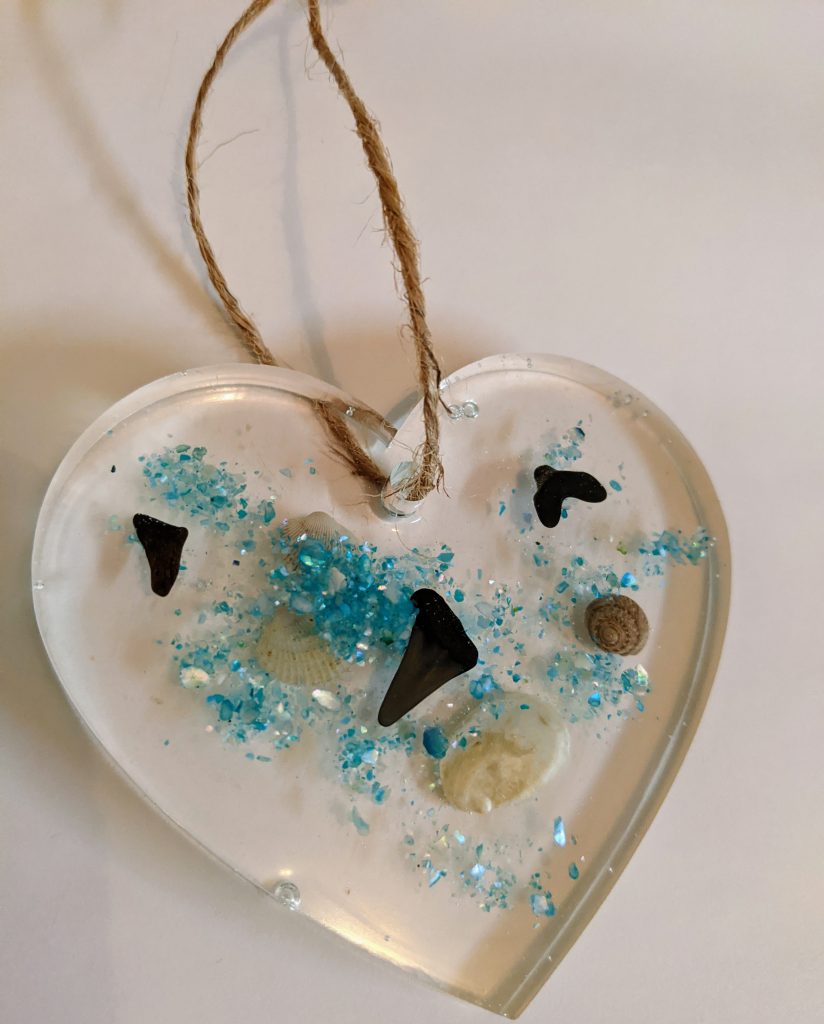
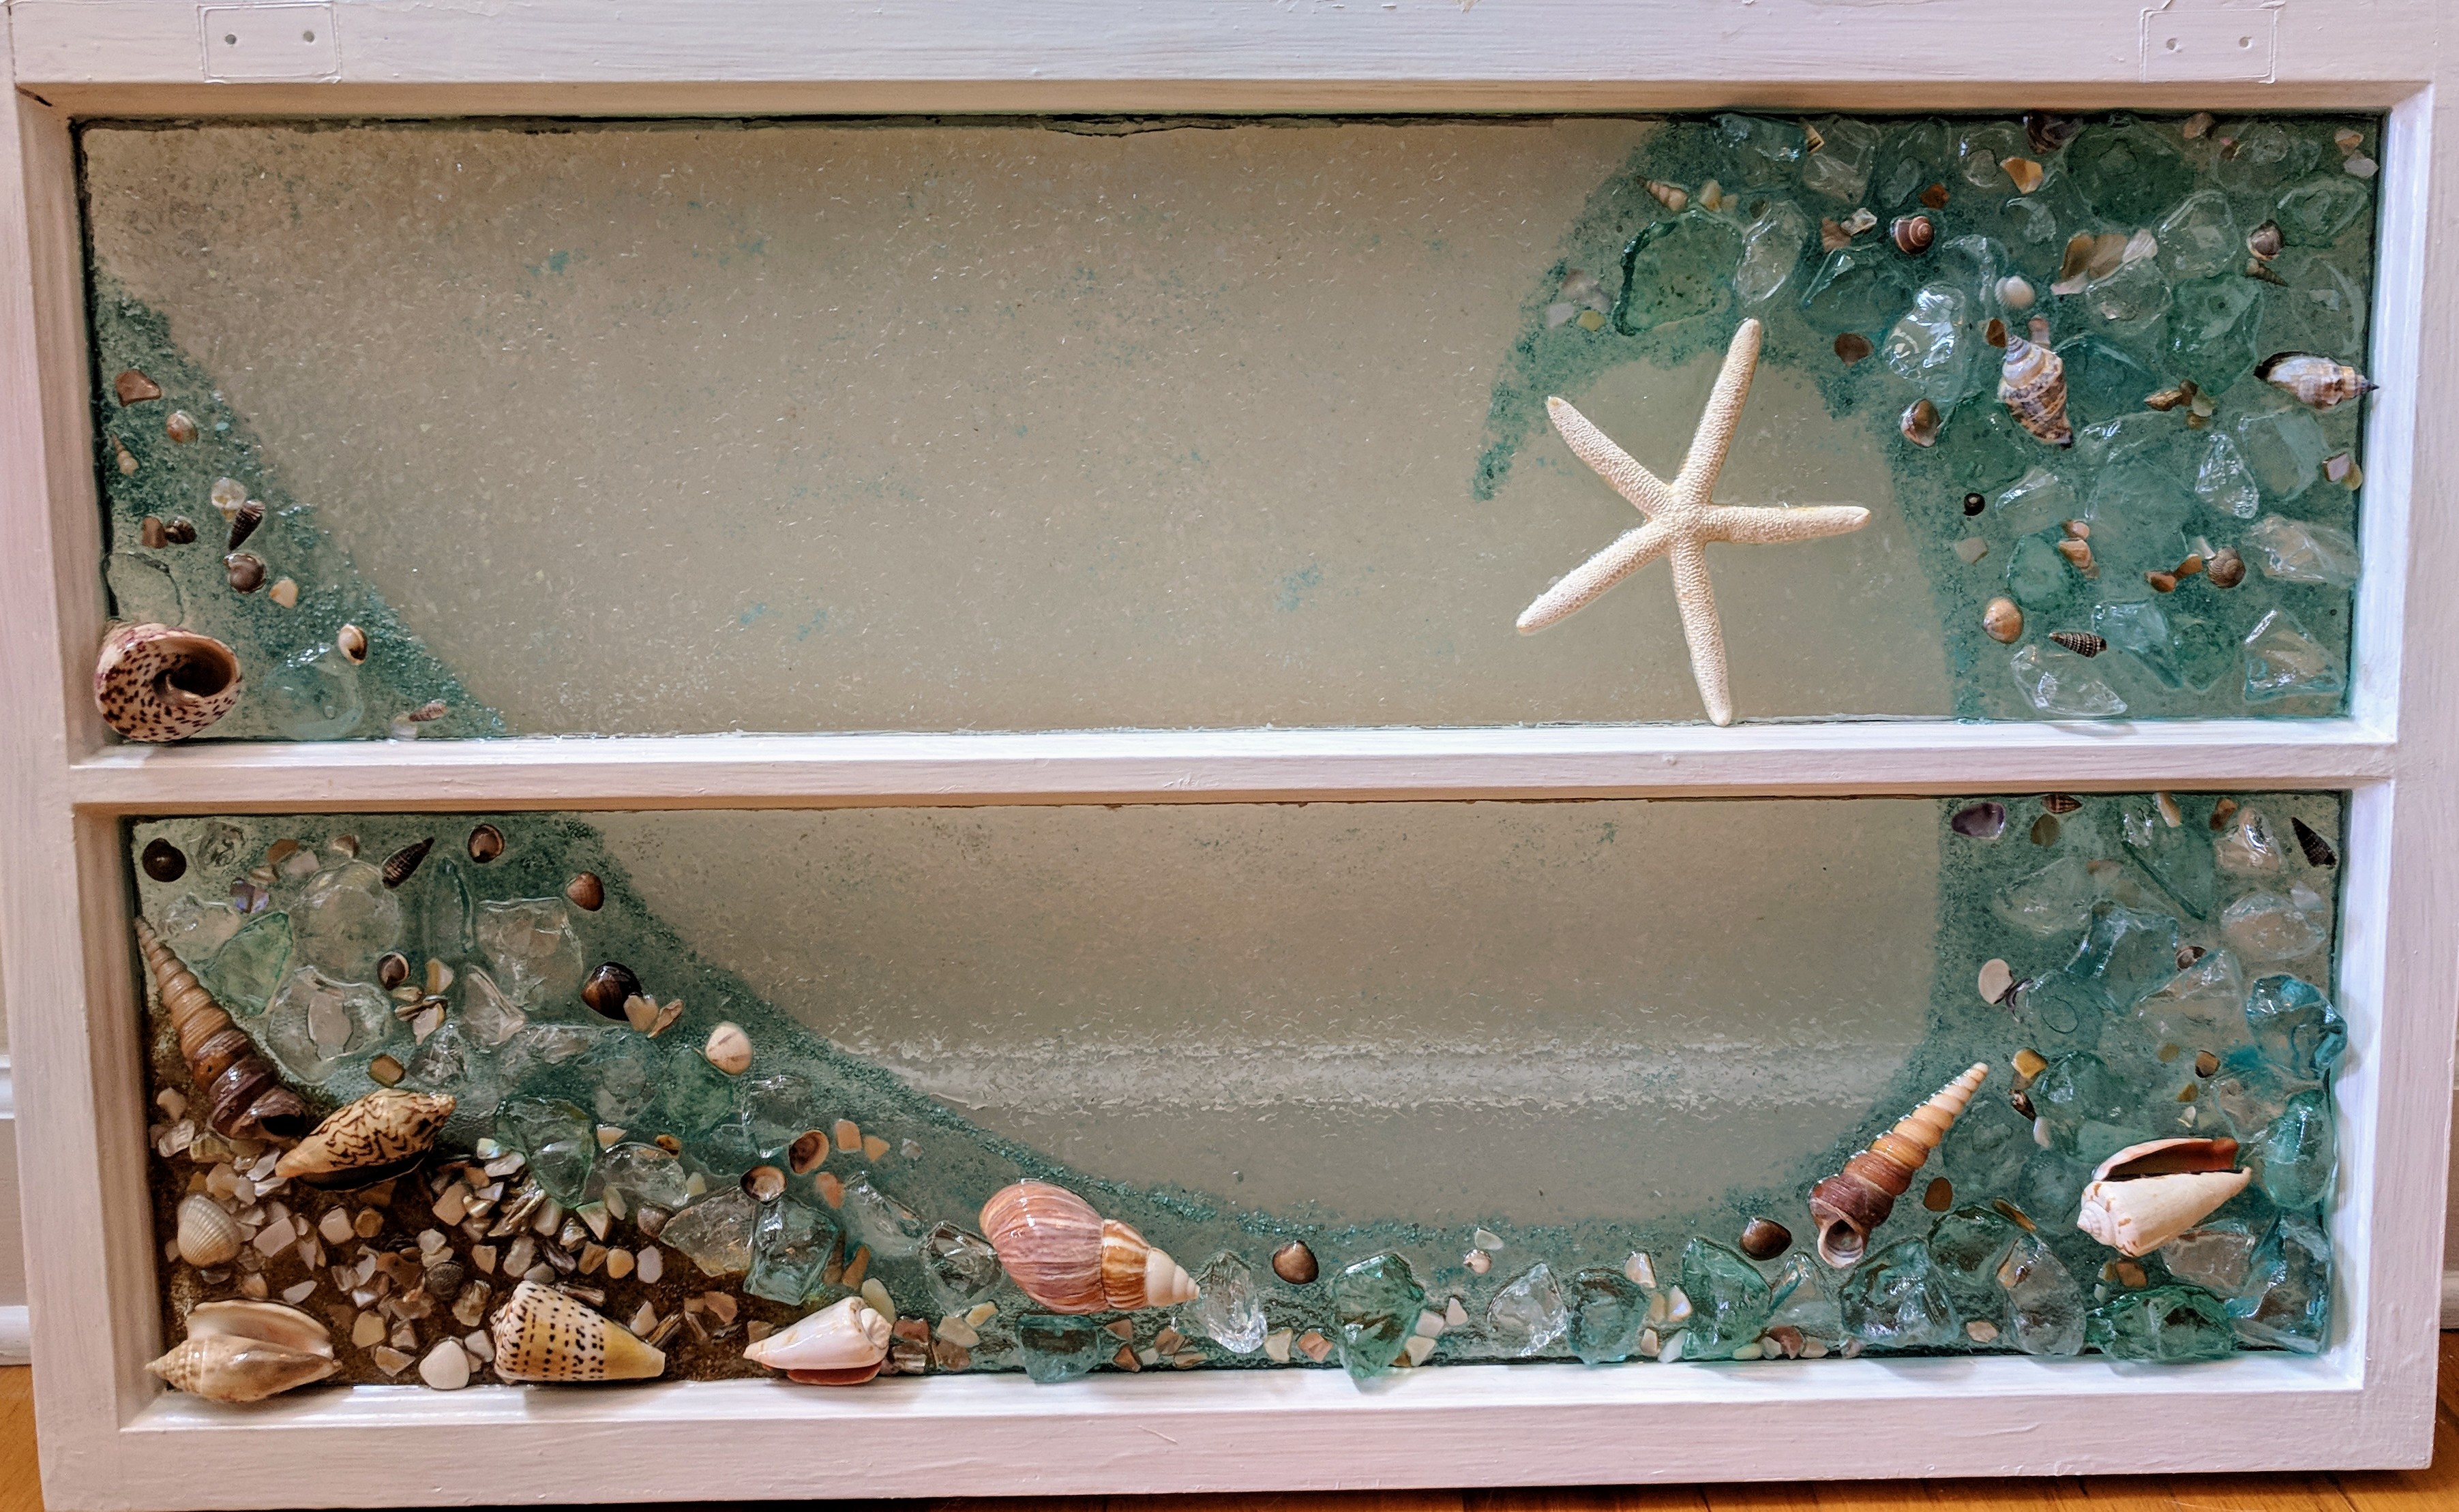
Shells, shark teeth, blue water
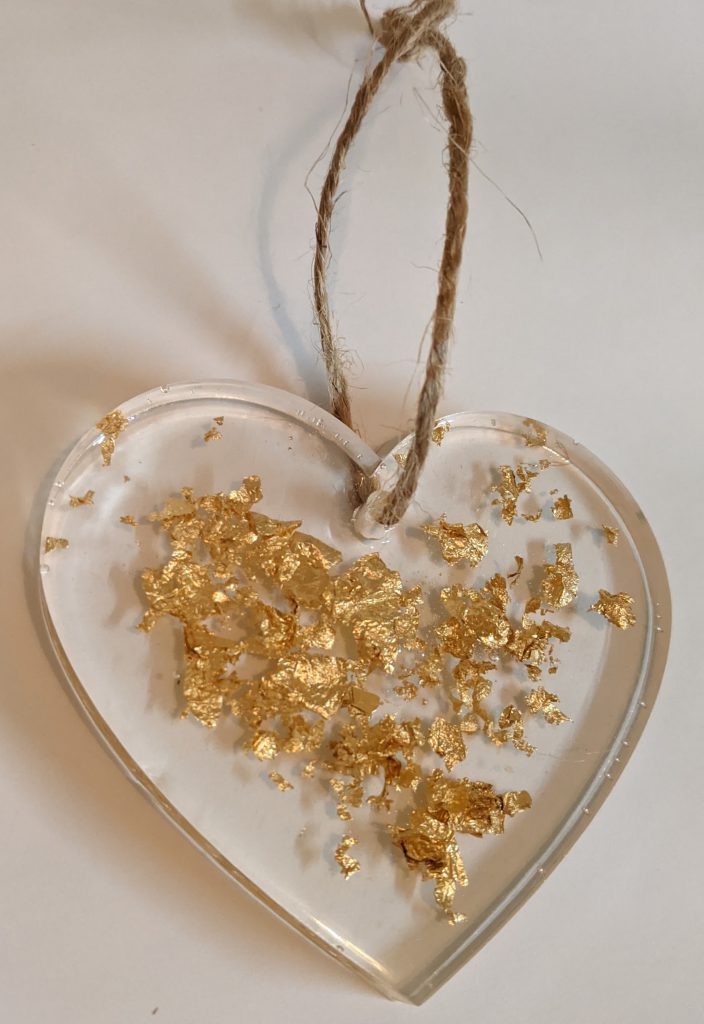
Heart of gold
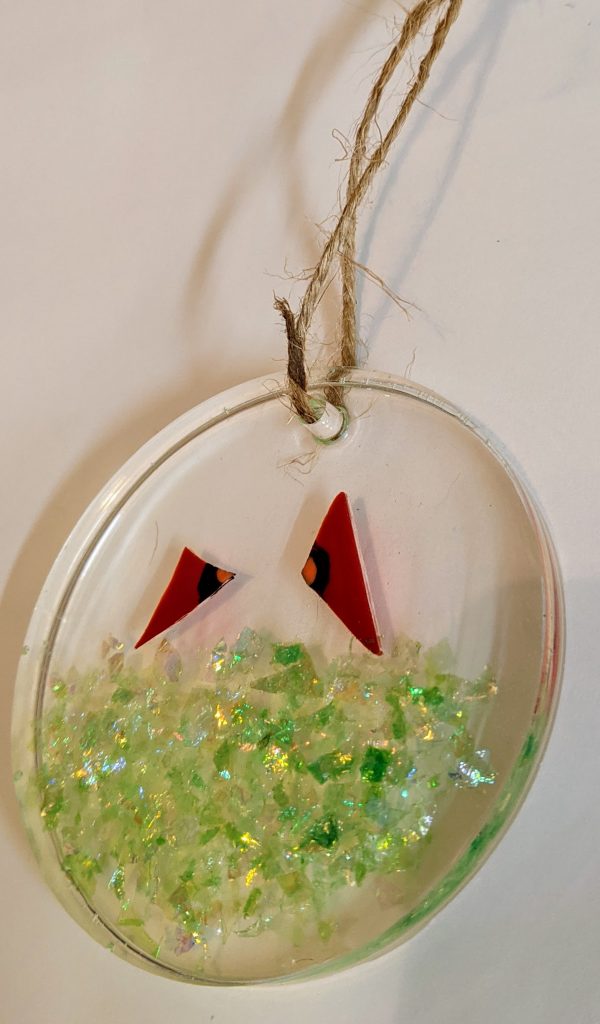
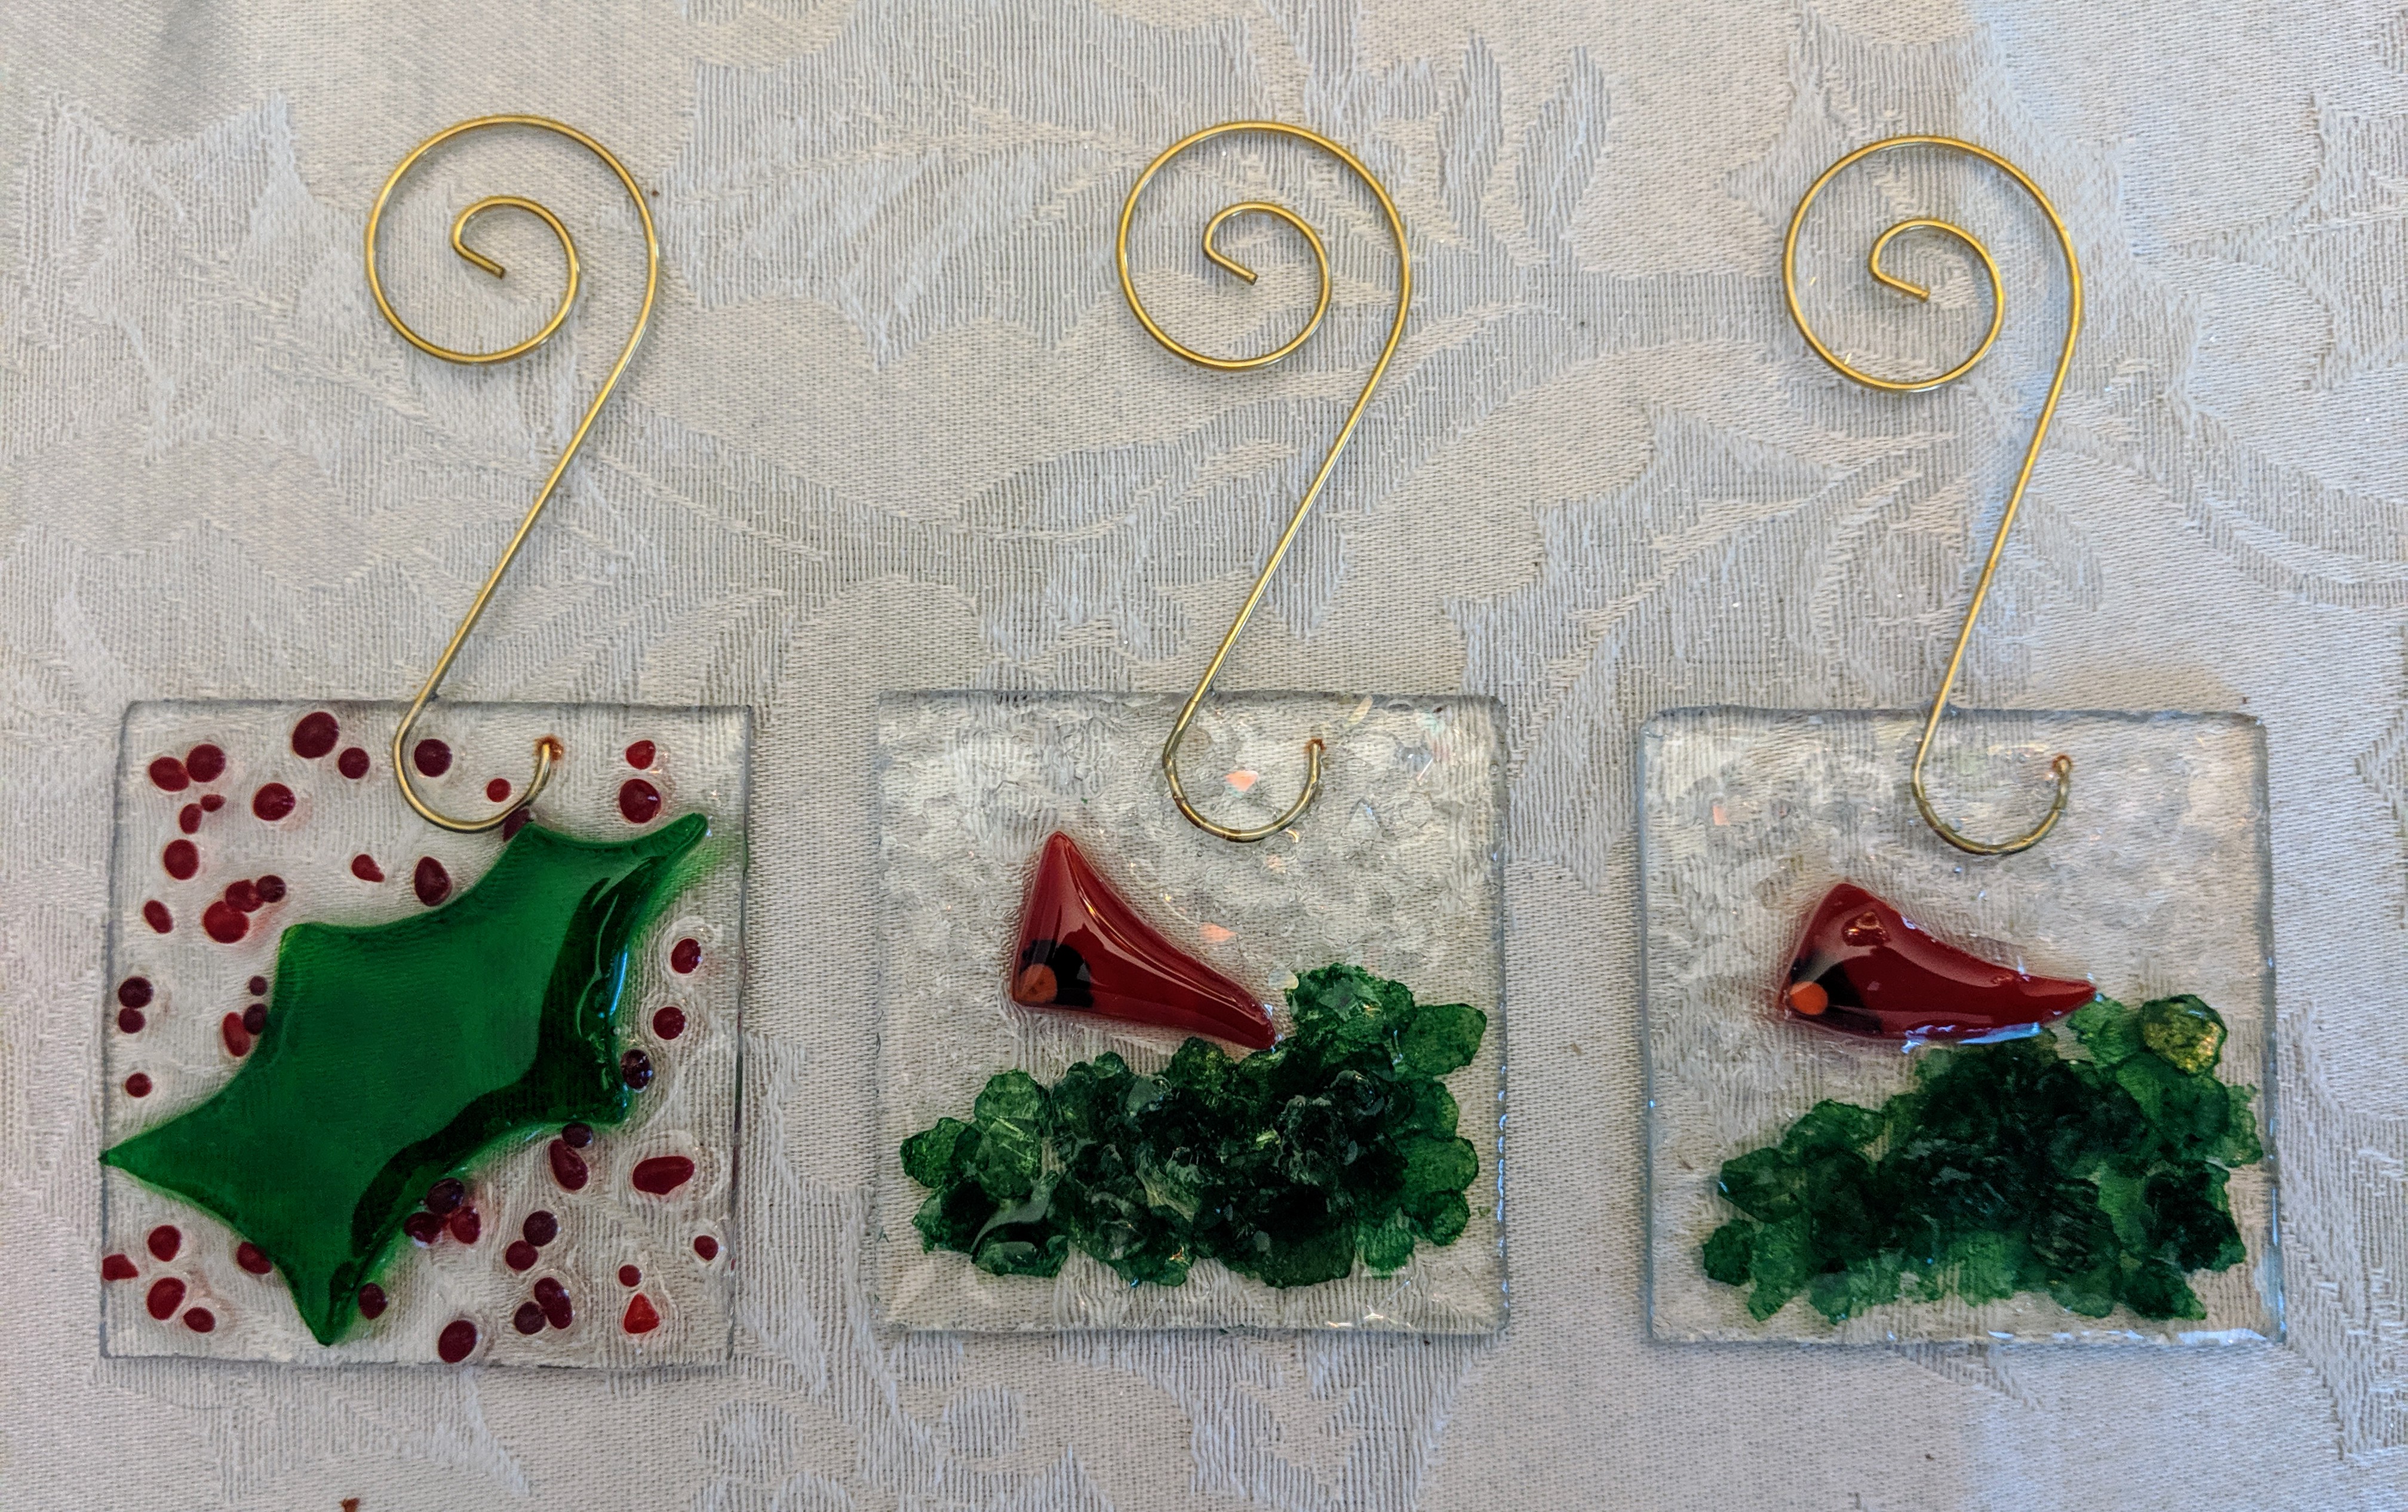
Stained glass cardinal / green mica
Stained glass cardinals / sparkly green
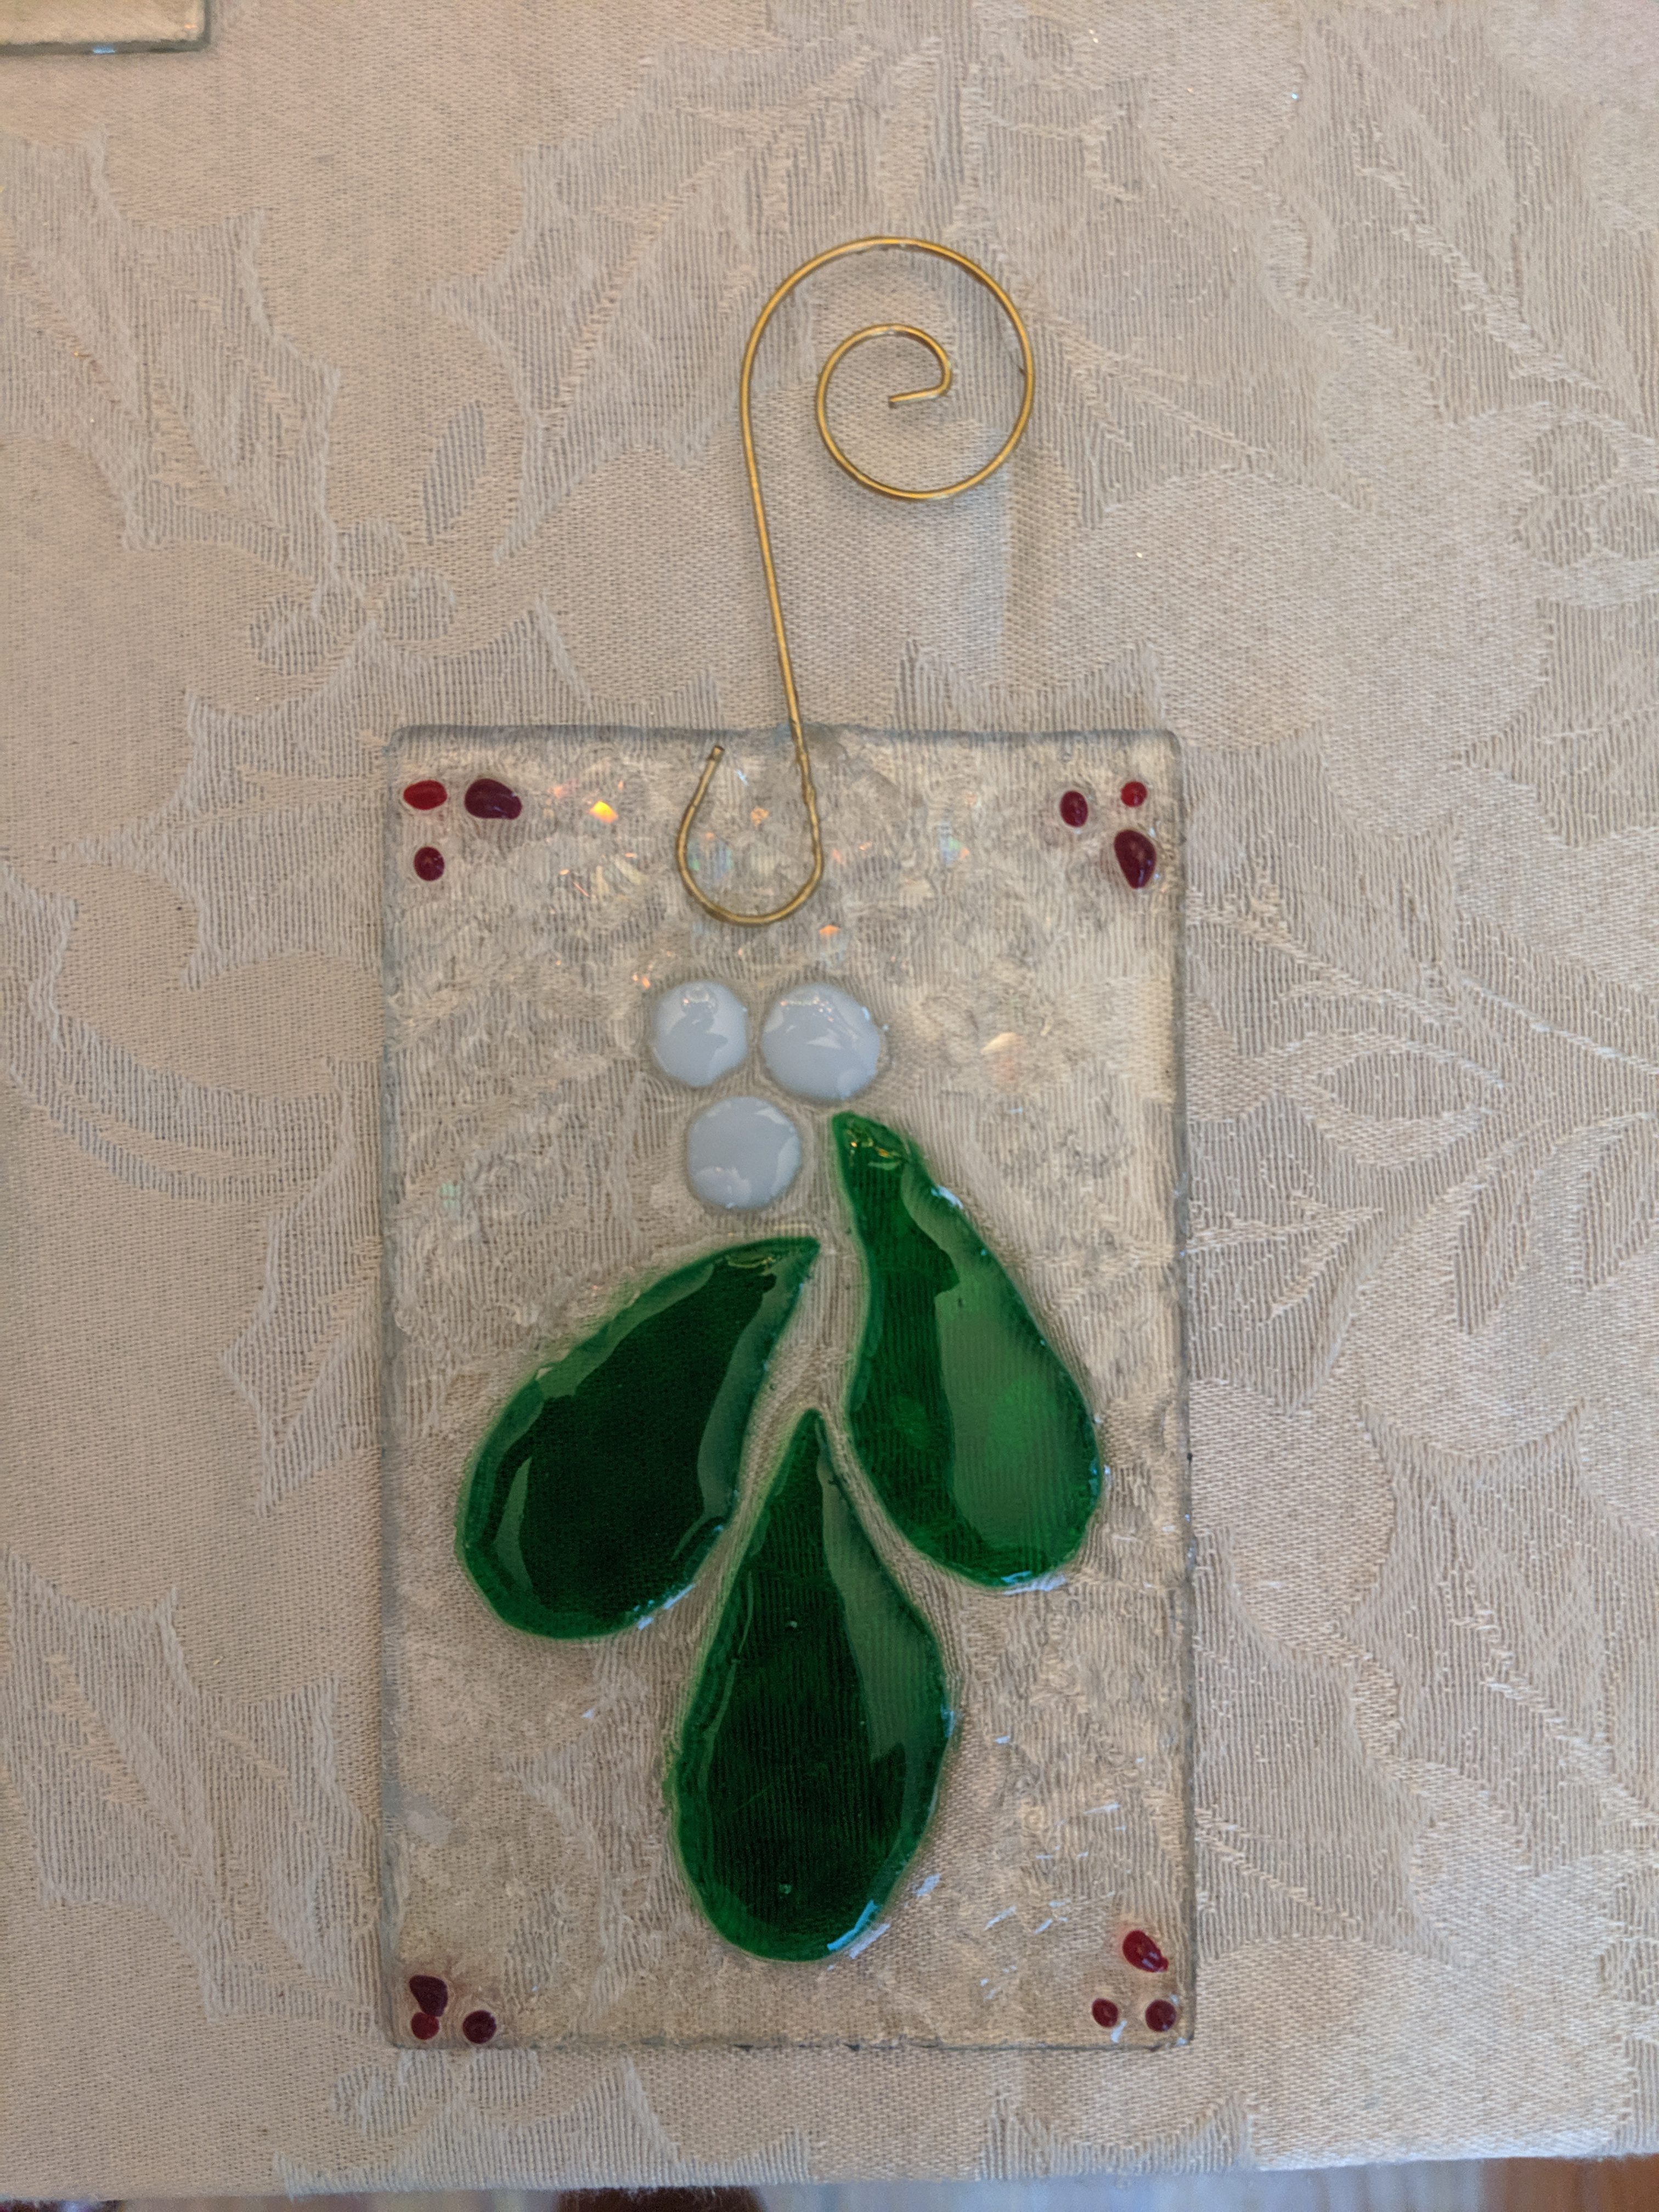
Stained glass cardinal / mistletoe
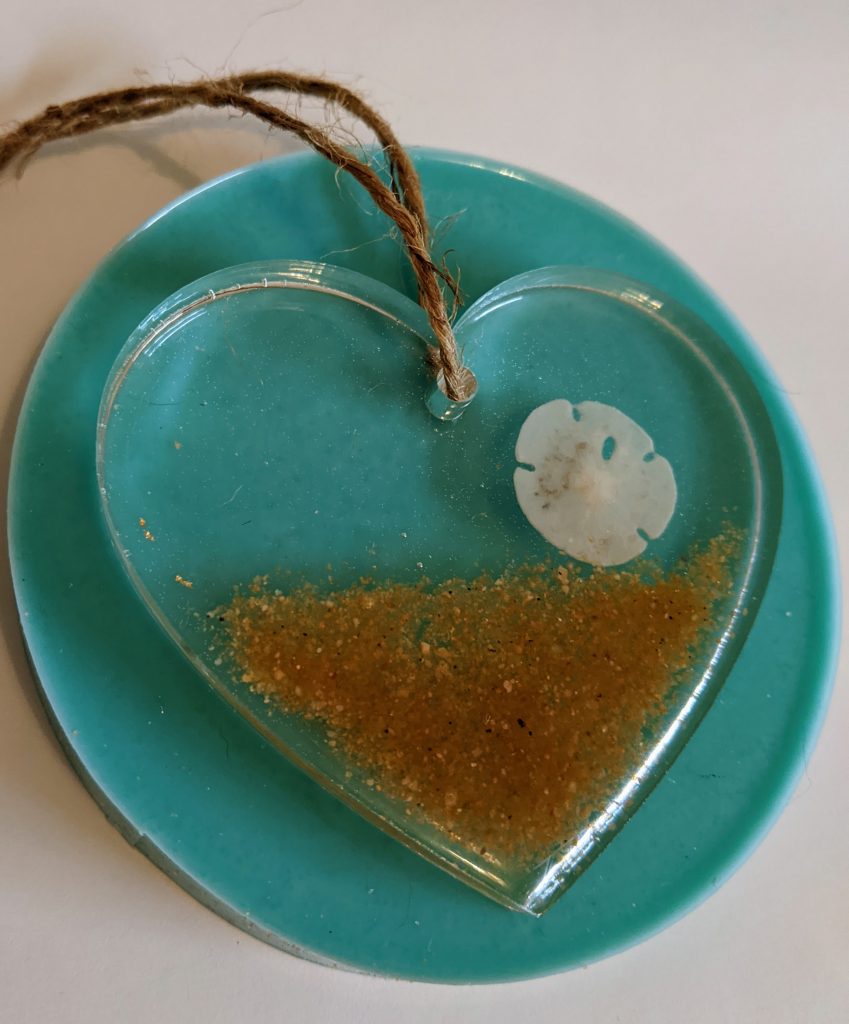
Sand dollar on the beach
Resin ornaments handmade in Charleston SC, $20 each
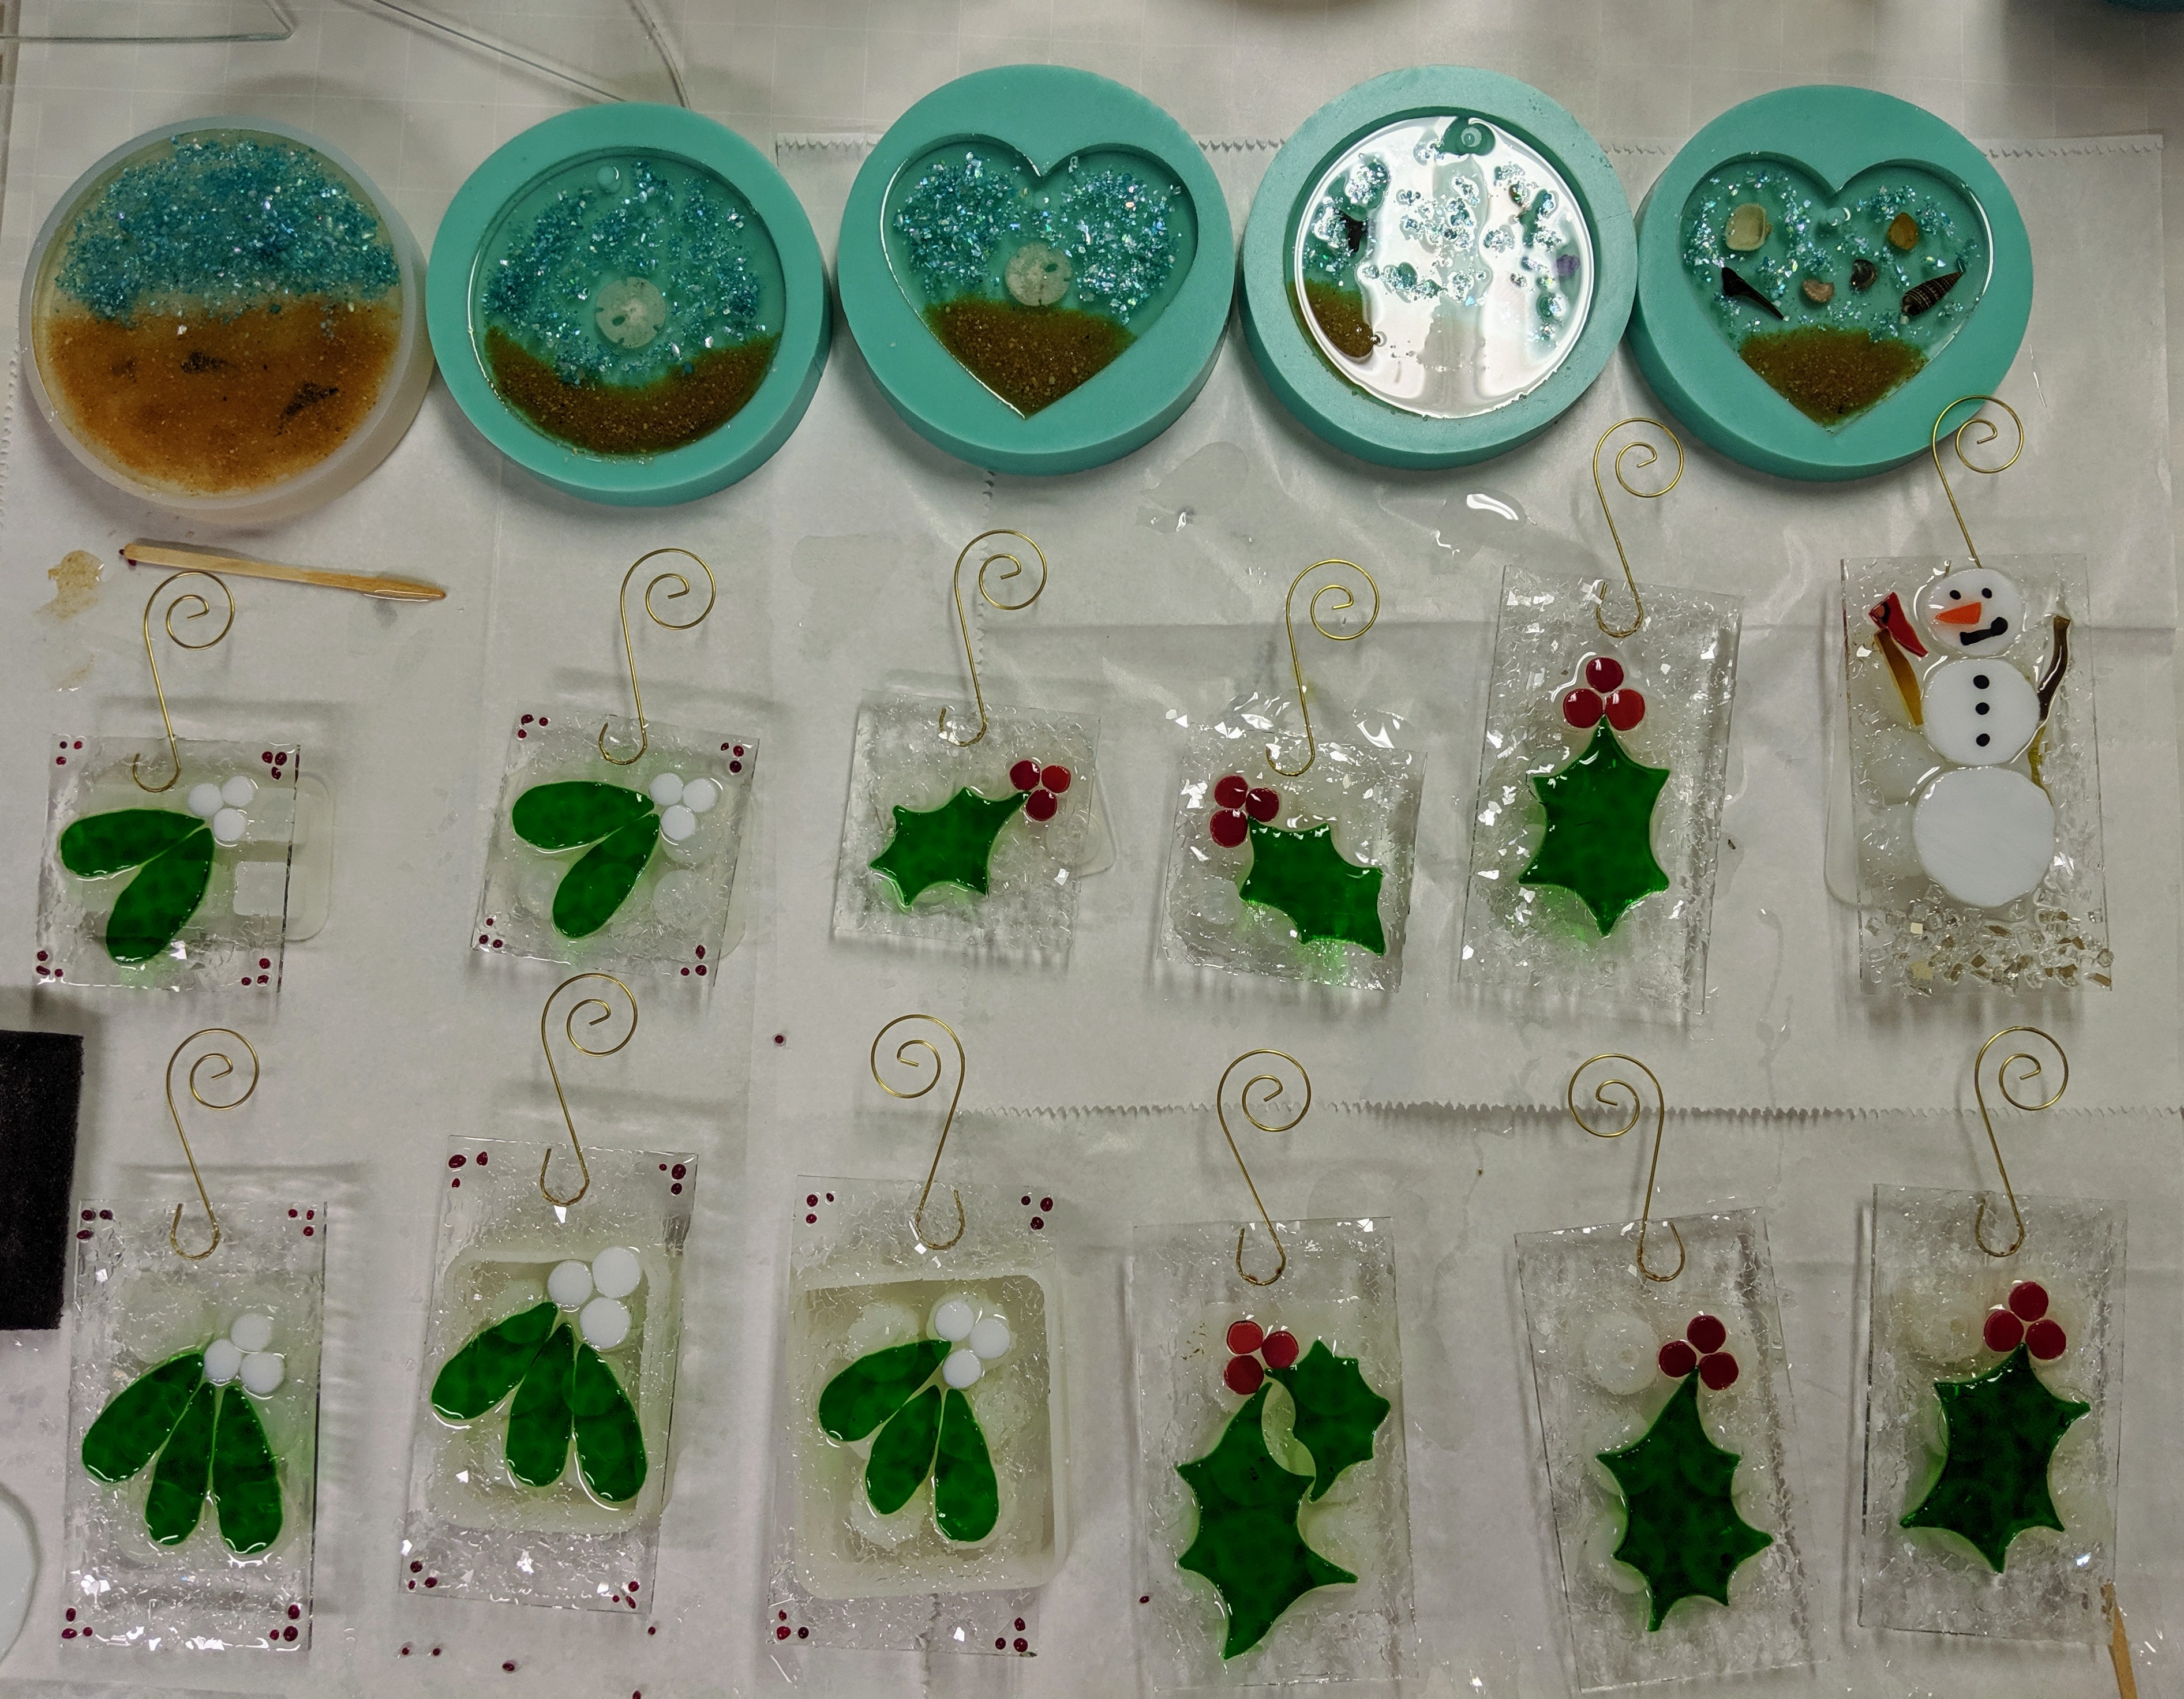
Finished a few more suncatchers today – also in this picture are a couple of beachy coasters! I used shells, shark teeth, sand, mica, various decorative flakes (metallic, metal, green) and stained glass set in resin for these.
Top two – coasters, the rest are suncatchers / ornaments
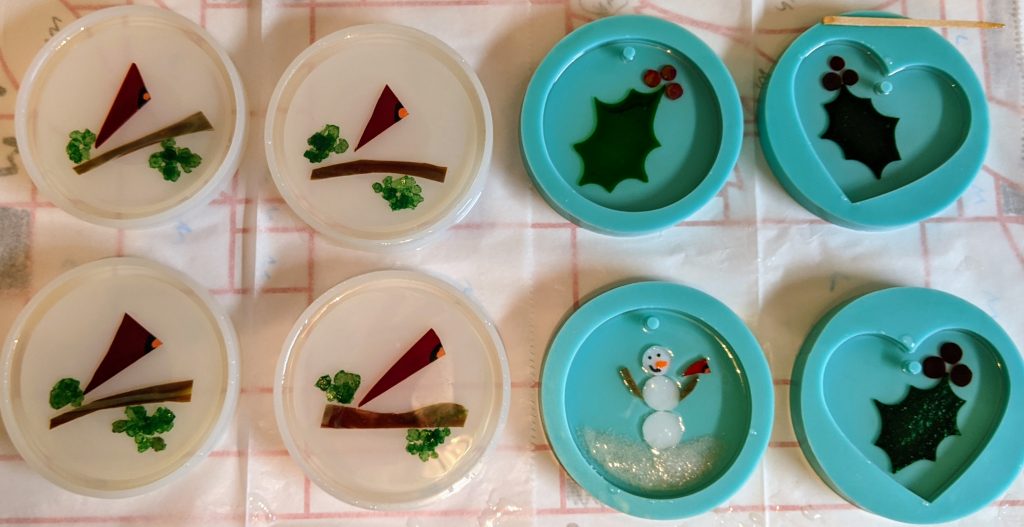
Working on some small, fun projects inspired by friends and holidays. Poured the second layer on these ornaments and the first layer of a set of cardinal coasters today.
Ornaments of glass, mica, sand, shells, etc set in resinCardinal coasters and a new surprise project for an old friend
I decided to rotate the large Frank Lloyd Wright window I have been working on, and upon closer inspection of the “far” side, I decided to pour another thin layer of resin to address a few coverage issues. Since I was doing that, I mixed some extra resin to finish off a couple of coasters I’ve been working on and made a few new ornaments using mica, glass, sand, shells etc. I still have to pour a second layer on the ornaments, but the coasters should be ready to pop out of their molds tomorrow. The picture isn’t very good, but hopefully I’ll get some better ones once these are out of their molds.
I have a few suncatchers / ornaments on hand for last minute holiday gifting. Drop me an email, message me on twitter or tag me on my facebook page (see social links down on the right) if you would like to see them. Rectangular ones cost $25 each and are generally between 6-7 inches tall (including hanger) and square ones cost $15 each and are generally around 4-4.5 inches tall (including hanger). I also have some coasters available. I’ll try to get some good photos of them this week.
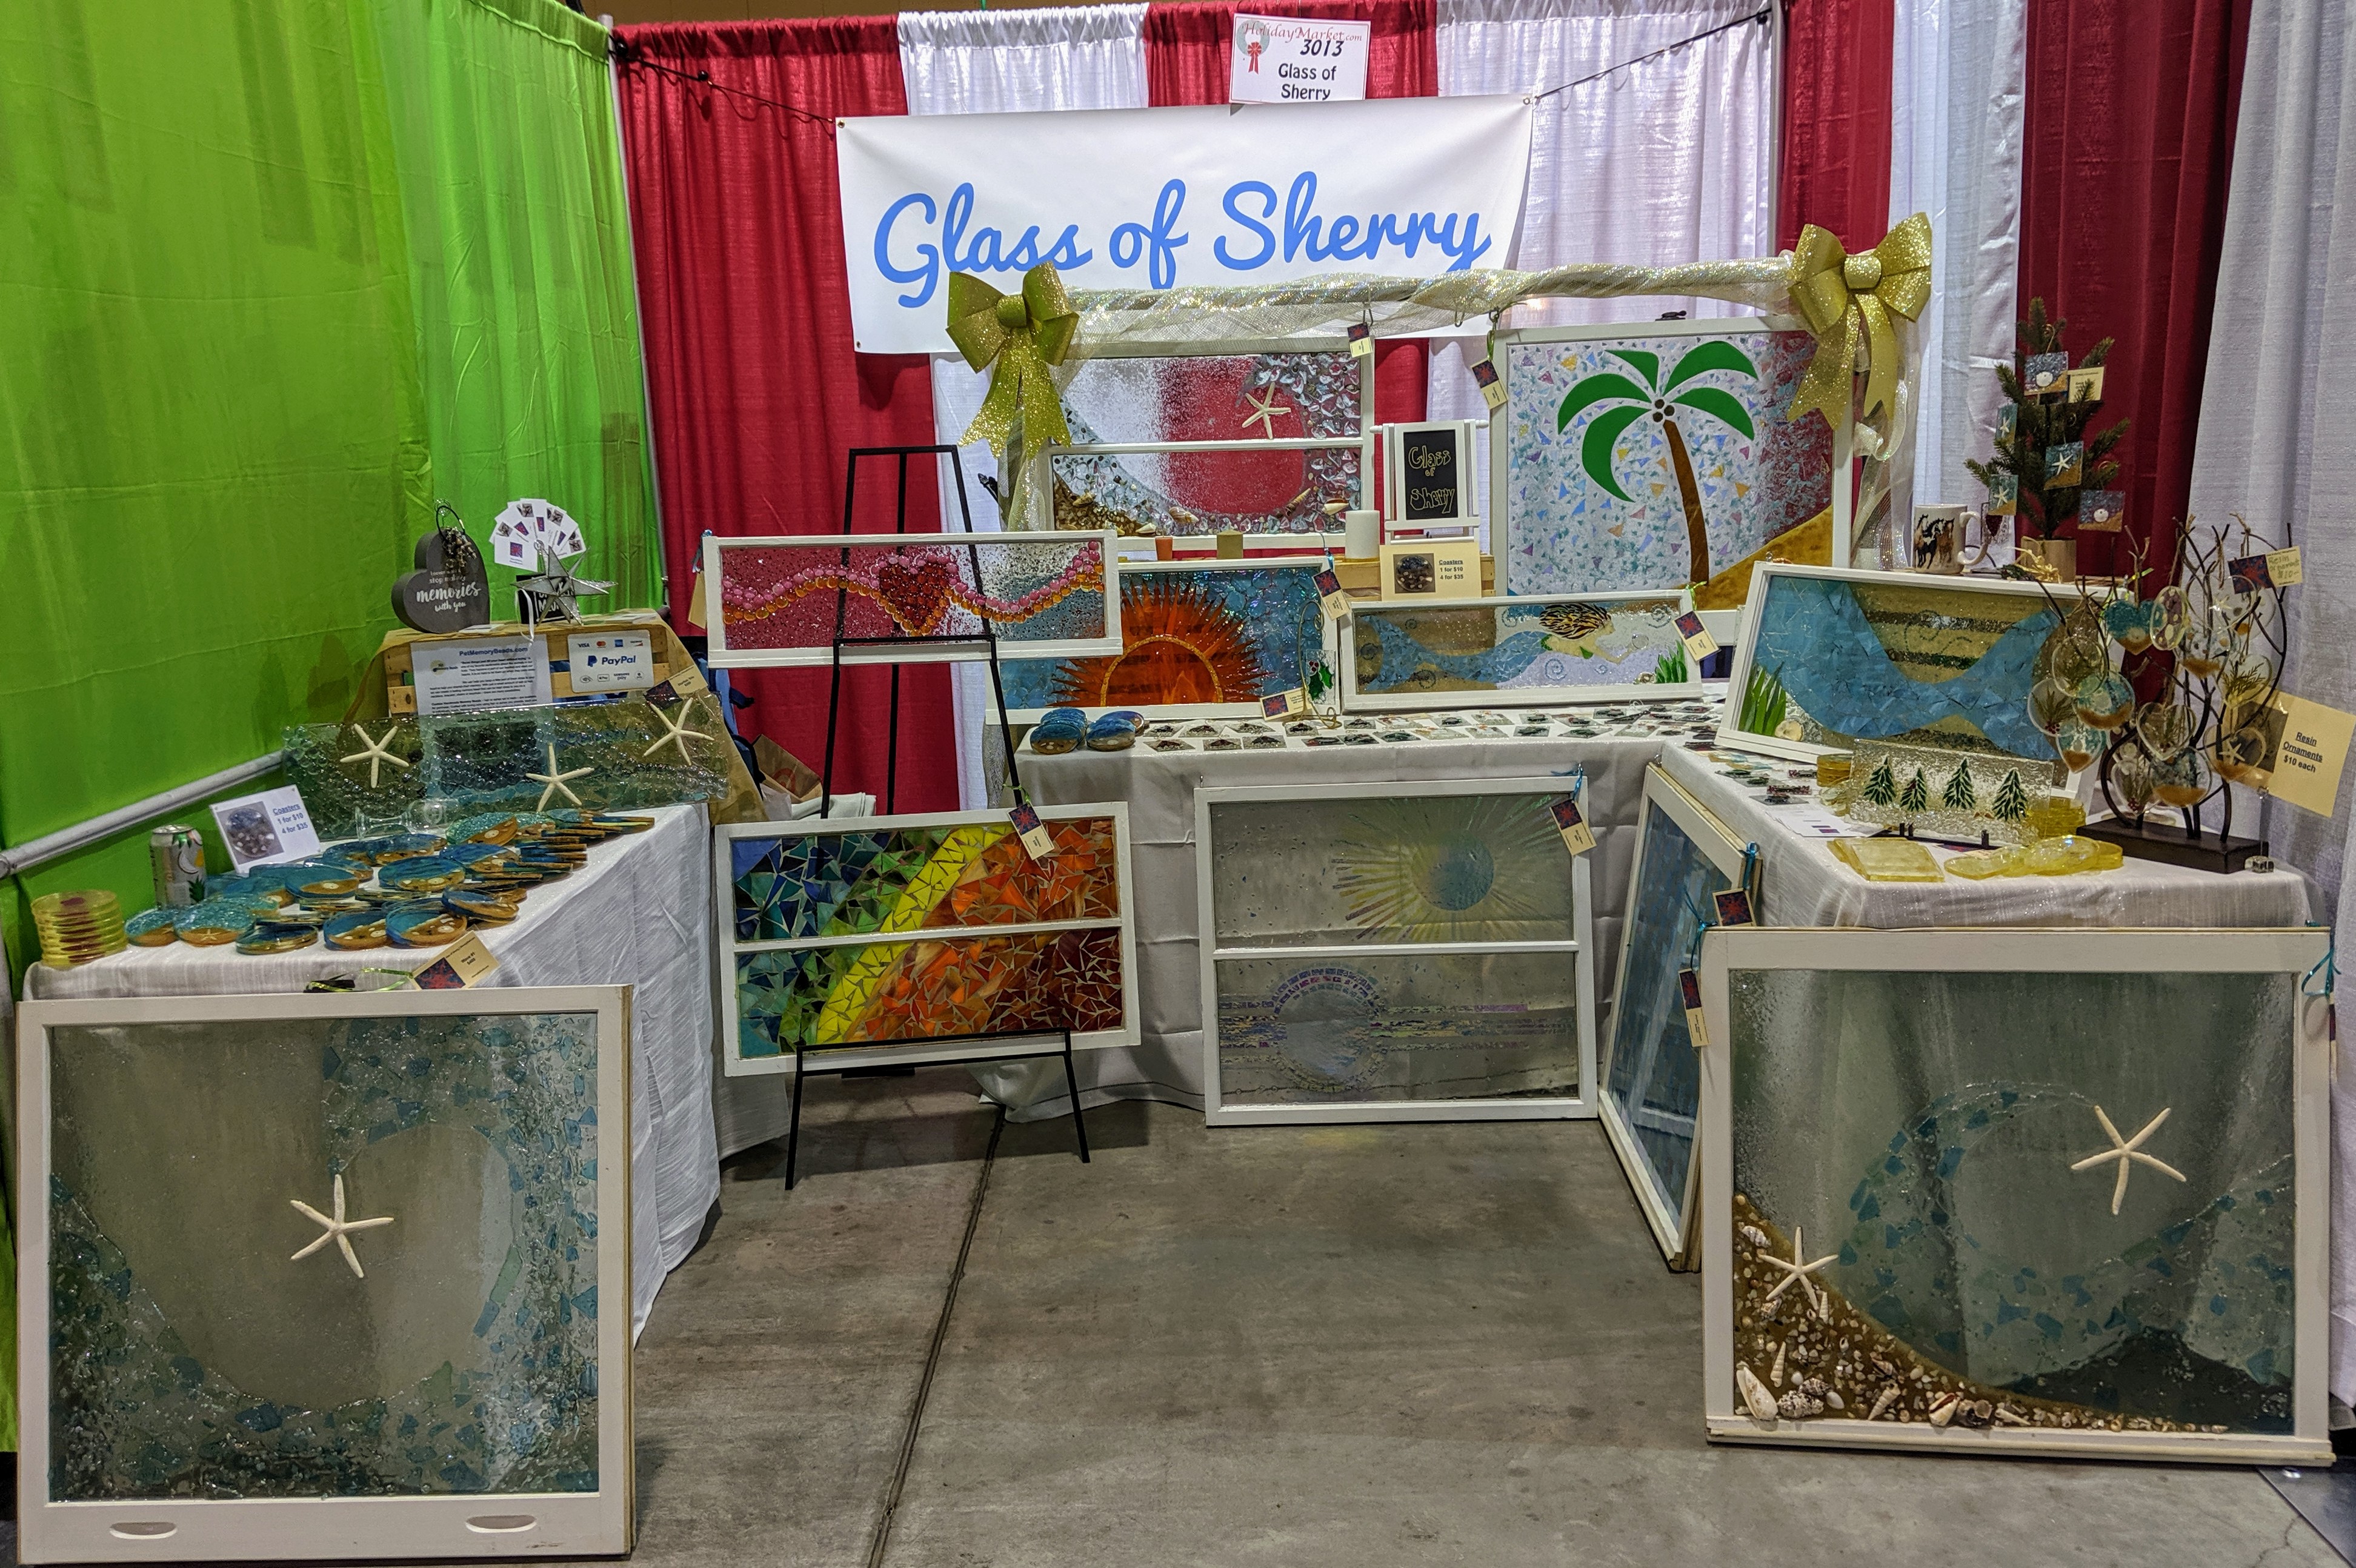
I had a busy first day at the Charleston Holiday Market today (you can get a coupon for a dollar off admission if you visit their website). I will be there from 10am to 6pm tomorrow (Saturday) and 11am to 5pm on Sunday. I don’t think I will have a single coaster left by this time Sunday. My Beach Window went to a loving home, and several ornaments did, as well. Since this is my first time participating in such a large show, it is a great learning experience!
My booth at the Charleston Holiday Market.
The best part is that I will have a whole year to prepare for next time; I will know what items resonate with people most and be able to work on similar projects. The date for this creeped up on my quickly because I signed up late in the game, but I will have plenty of time to prepare for next year. Since all of my projects (coasters, ornaments) take at a minimum 2 days to make (windows much longer), I can’t quickly make more. That is part of what makes them special, though! I still have some coasters, plenty of ornaments (both glass and resin) and several window mosaics for the rest of the weekend, though. Come on out to the Convention Center and visit – it’s a great time! Another bonus is that my booth is right next to Mountain Mist – I love their products (especially anything in Orange Blossom scent). My family thinks I will spend all of my earnings in their booth, though.
If I sell out of anything you really like, I can make more – just send me a message. My items are all one of a kind, but I can make something pretty close to what I made before (especially in glass – the coasters are more difficult to reproduce).
In preparation for this week’s Charleston Holiday Market, I’m really pushing the limits on how many individual items I can pour and decorate at the same time. If it goes well, at least I will have all year to prepare for the next one! I finished shaping the stained glass items for this batch of ornaments and was able to pour / decorate the resin this evening.
Glued and ready for resin.
Many thanks to my husband for taking care of dinner while I tended these – I really need a solid two hours after pouring the resin to work with them, which can be hard to find between my regular work and carting my teenagers around to their various obligations. I had a few issues during the pouring (pouring too much resin, a couple of the ornament hooks came loose, etc). I think they will turn out OK, though. I’m pretty sure I will be spending a chunk of time tomorrow cleaning up cured resin drips from the back sides of these ornaments, though.
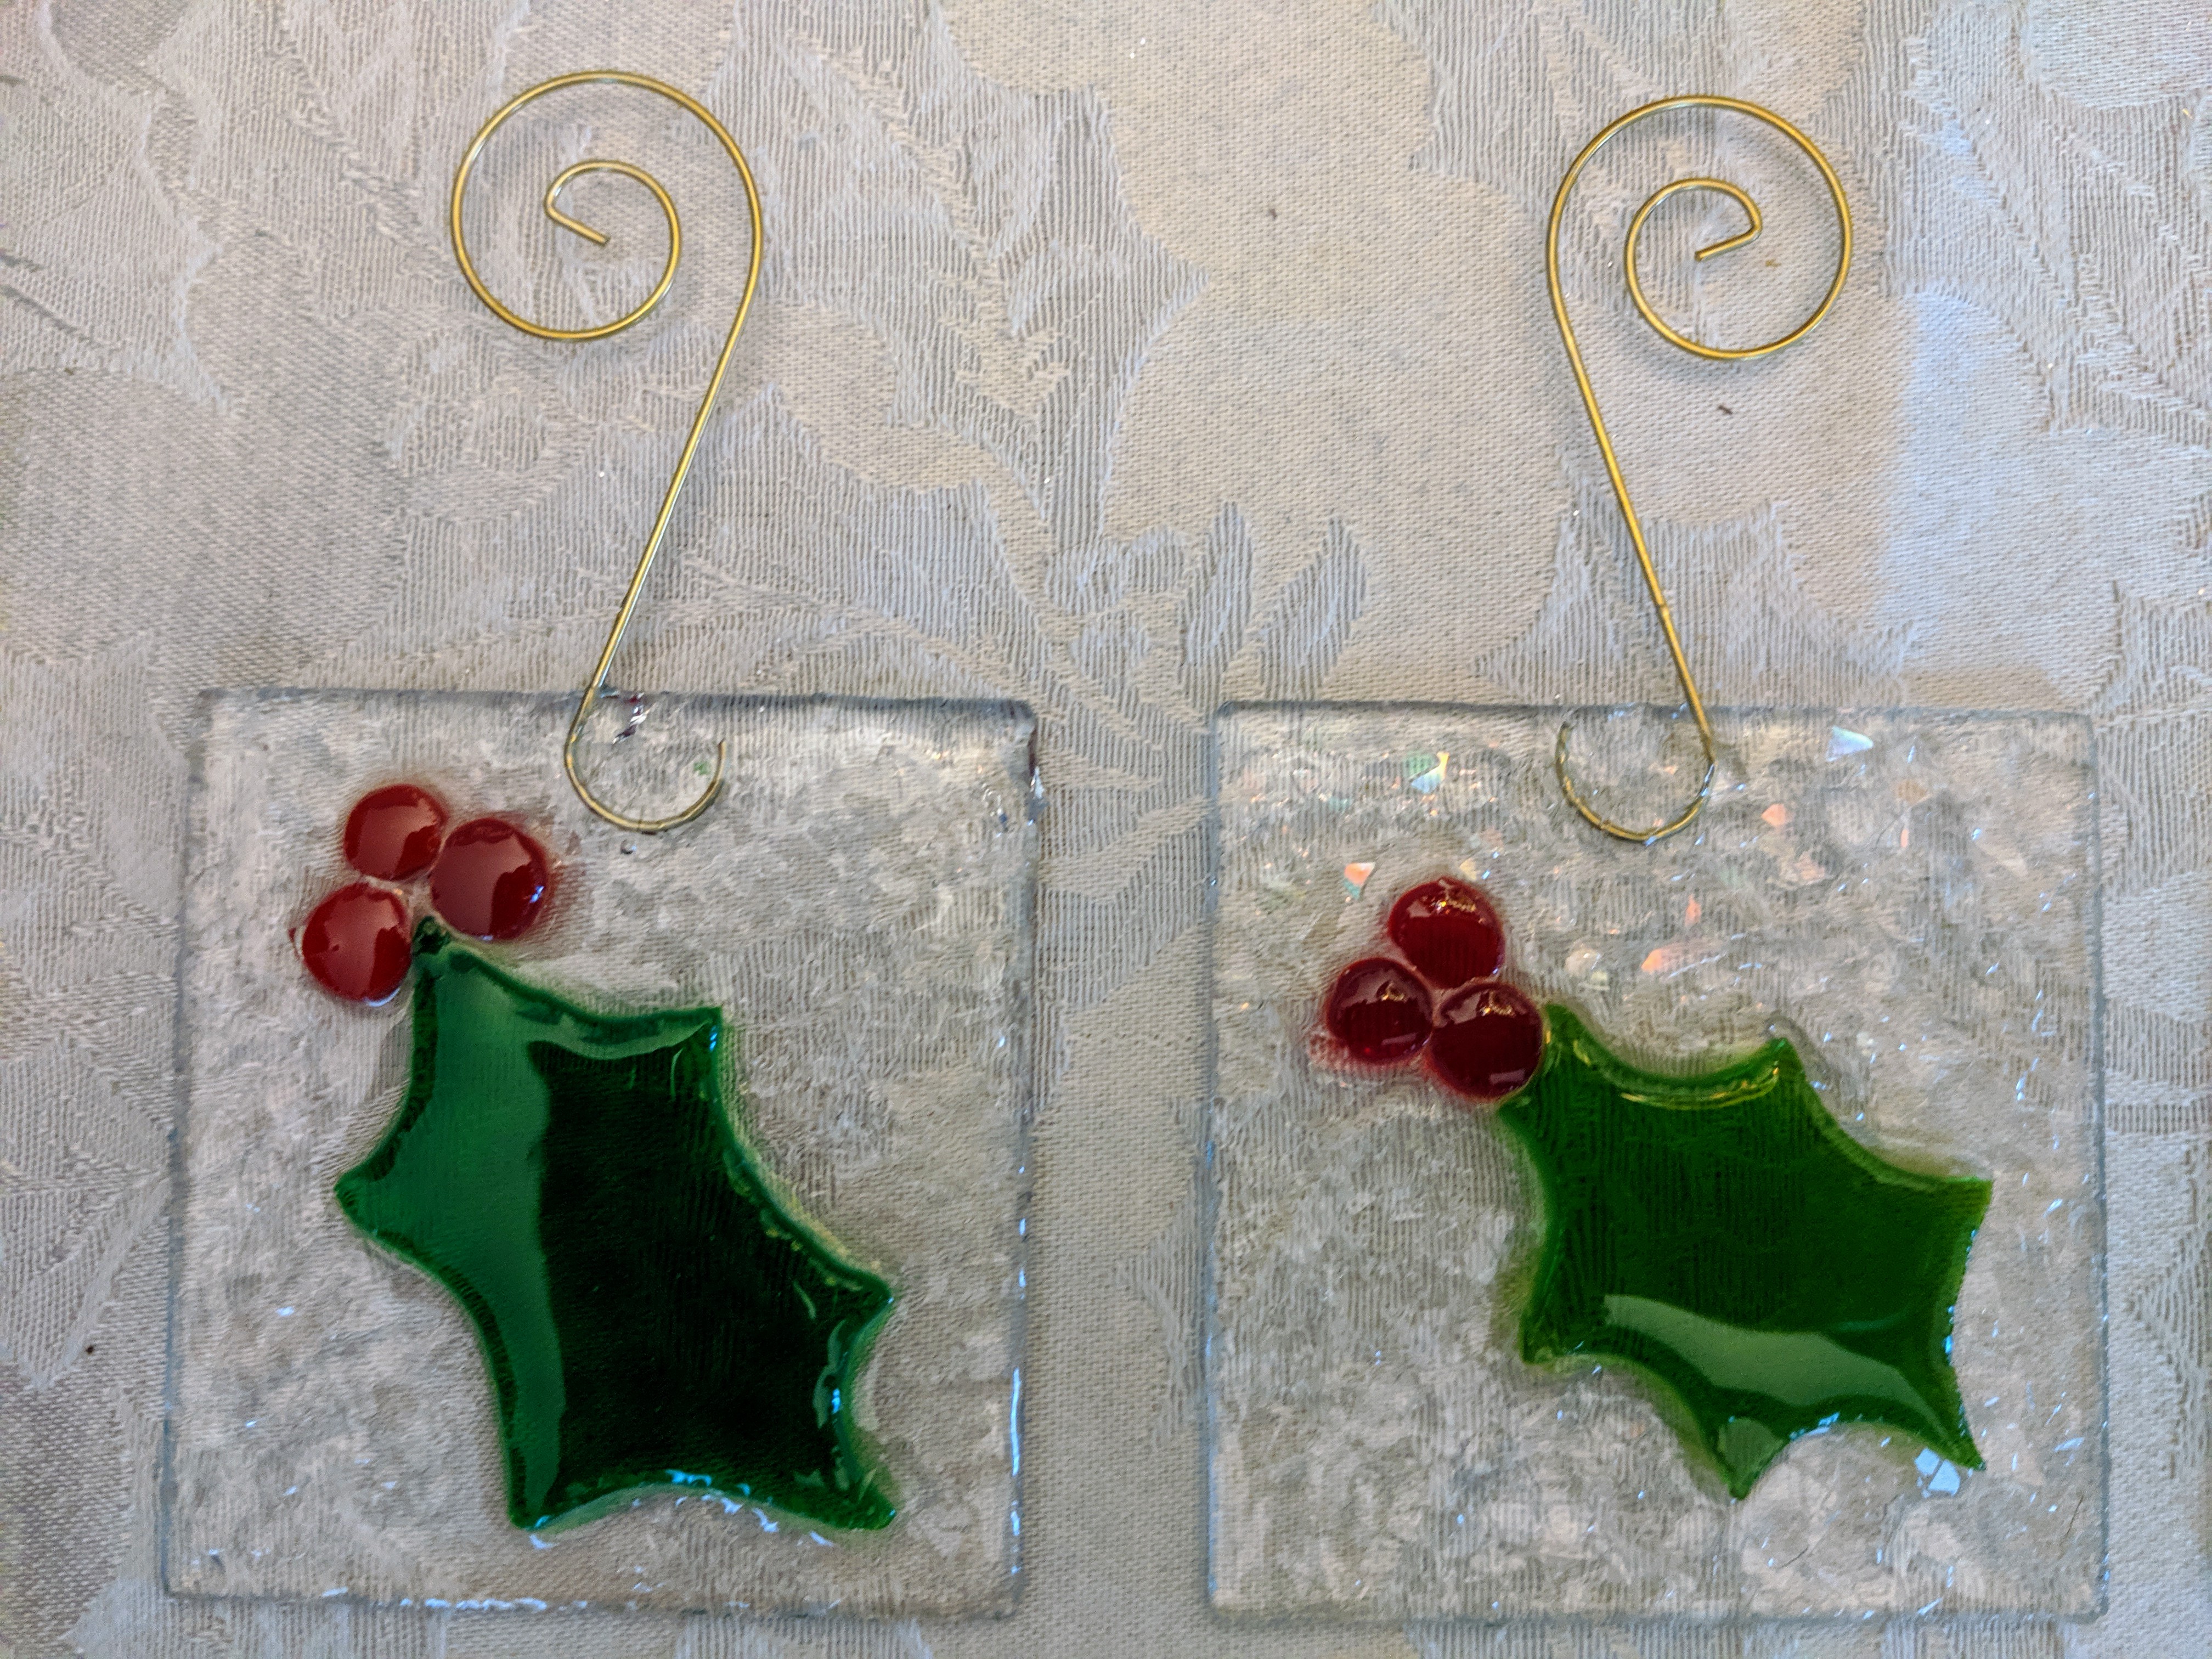
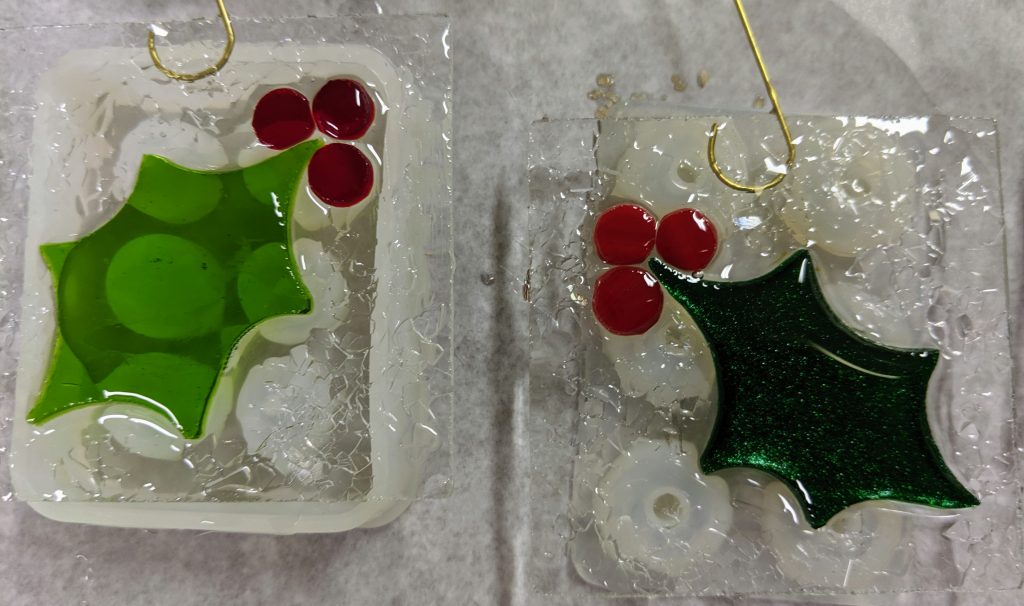
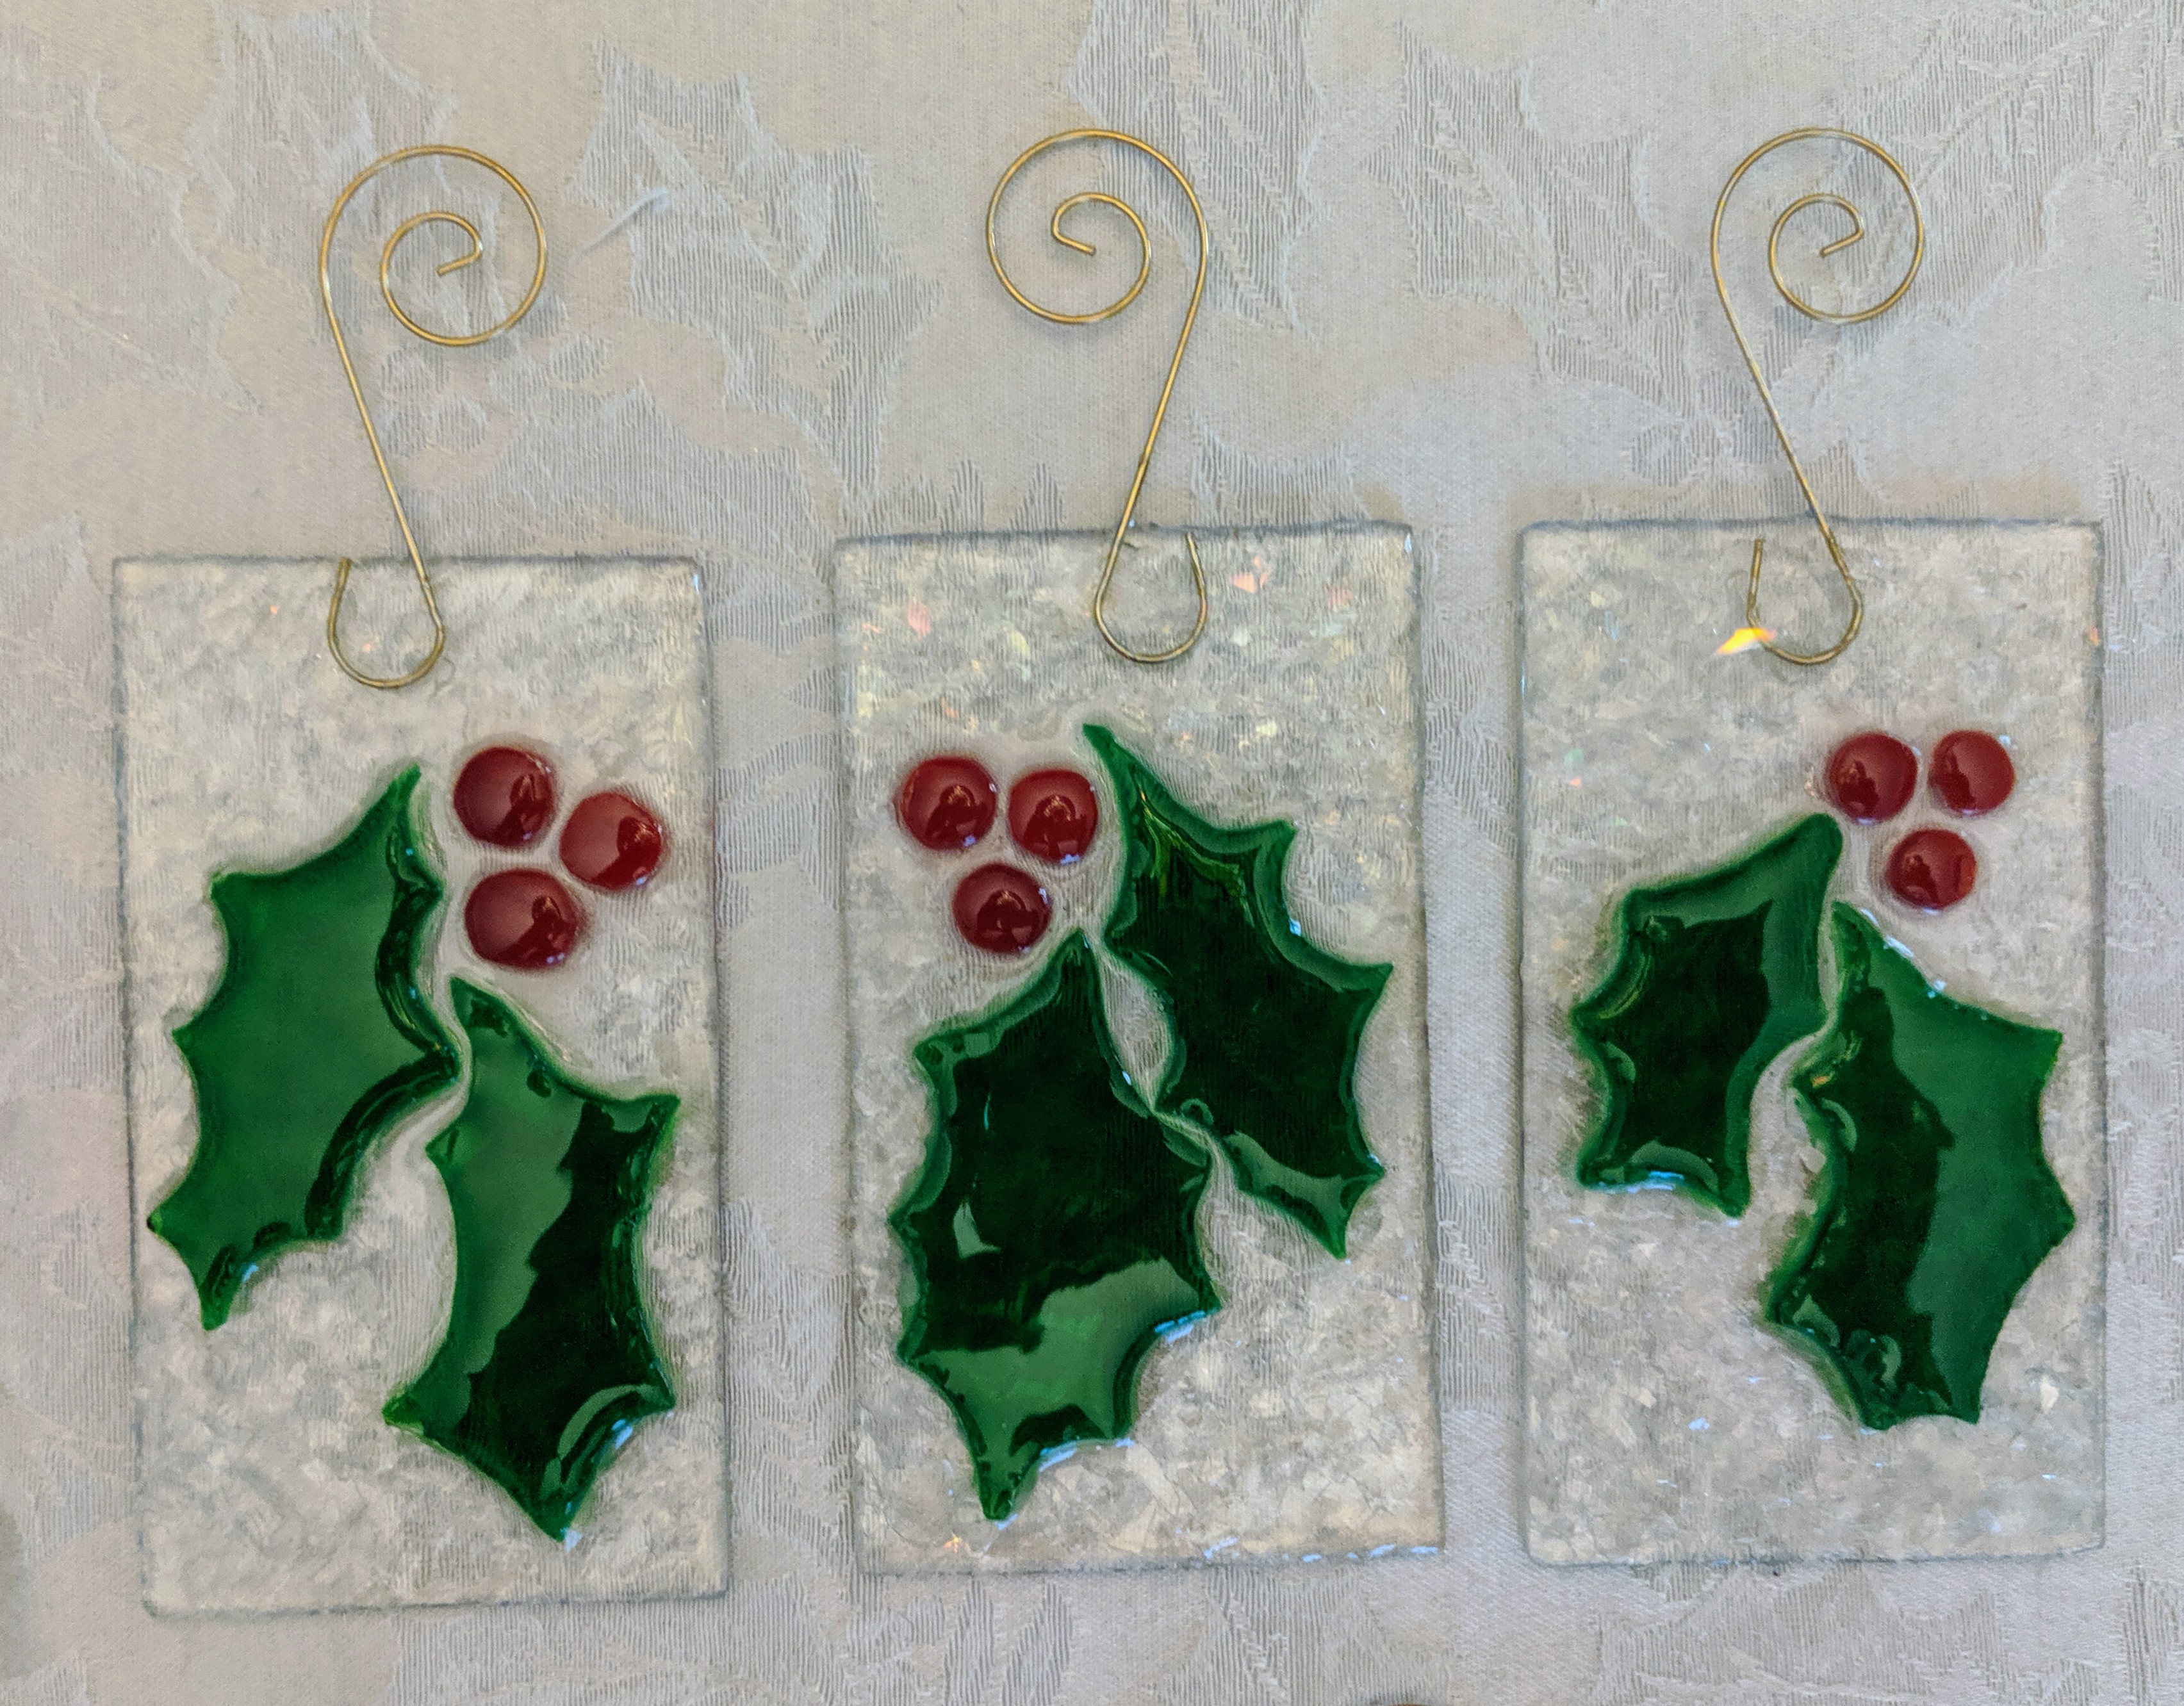
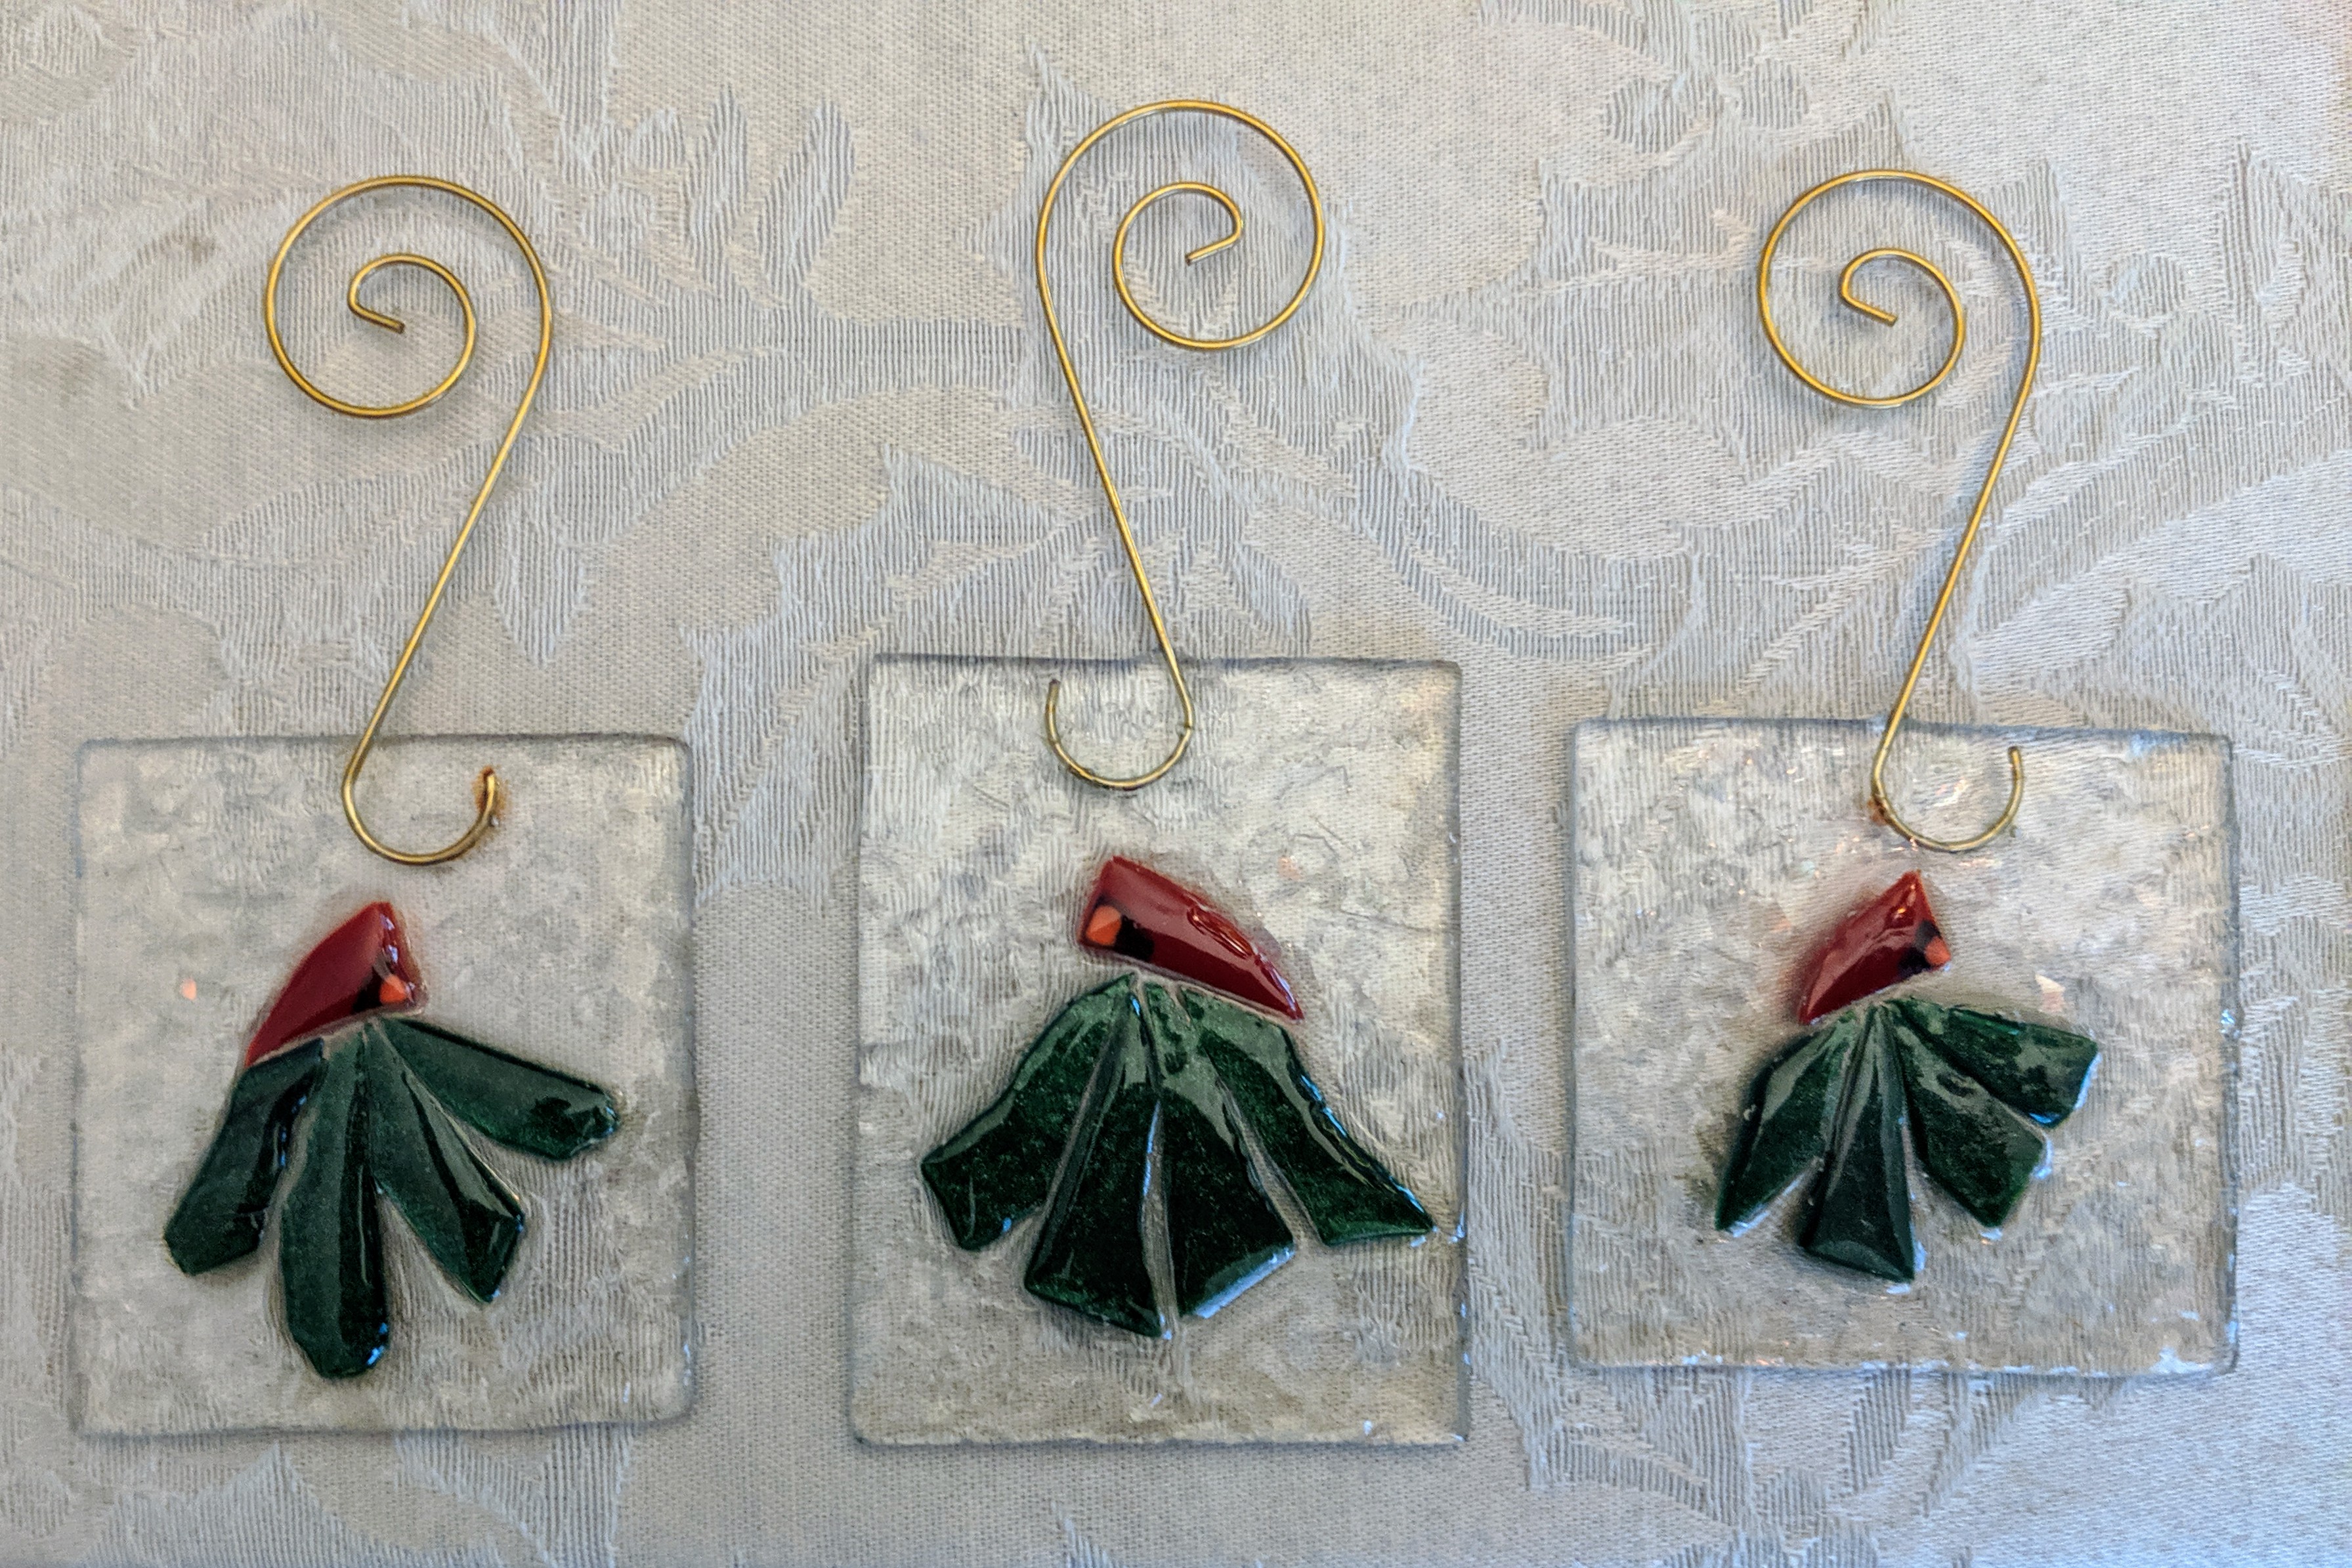
Poured, decorated and ready to cure.Neat Holly designs.
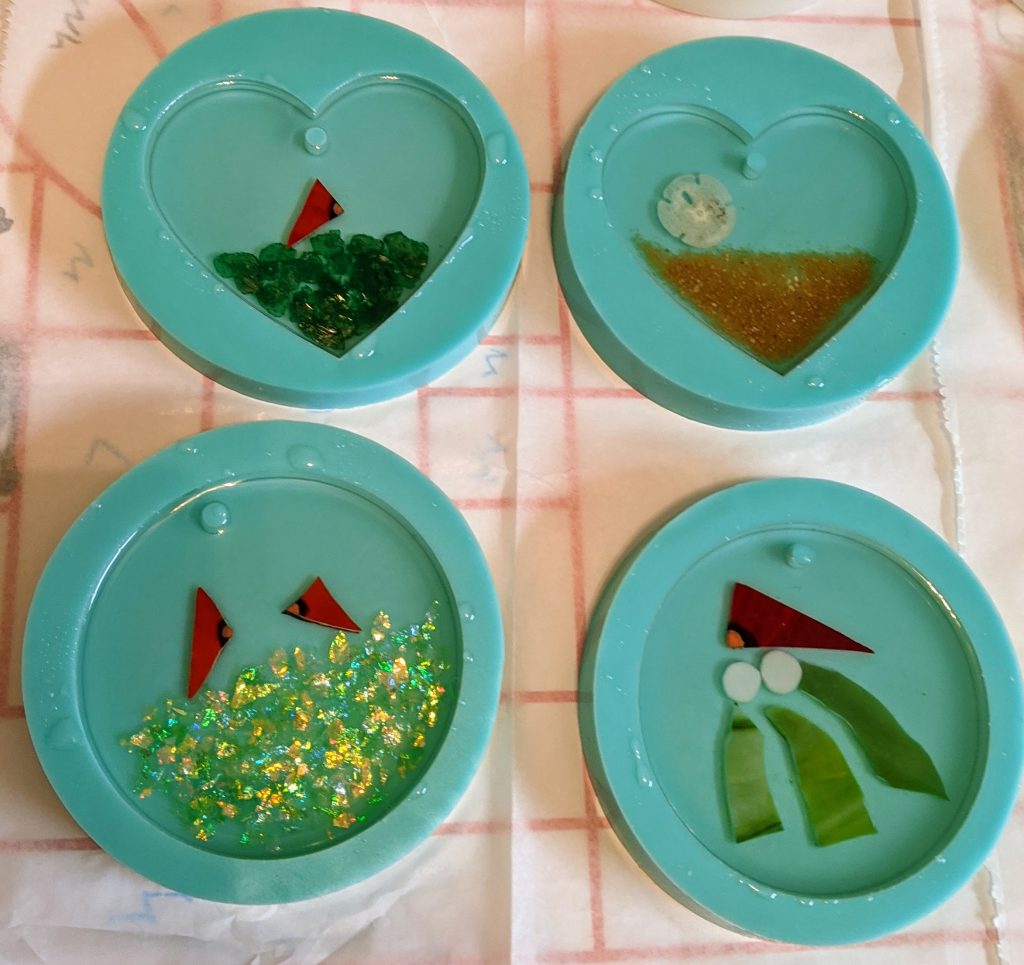
I used some different glass for the holly ornaments I made today (on the left). The glass on the right is the sparkly green I love for so many different projects. I’ve made several tree / wreath ornaments with it. It’s really great for hummingbirds, too!
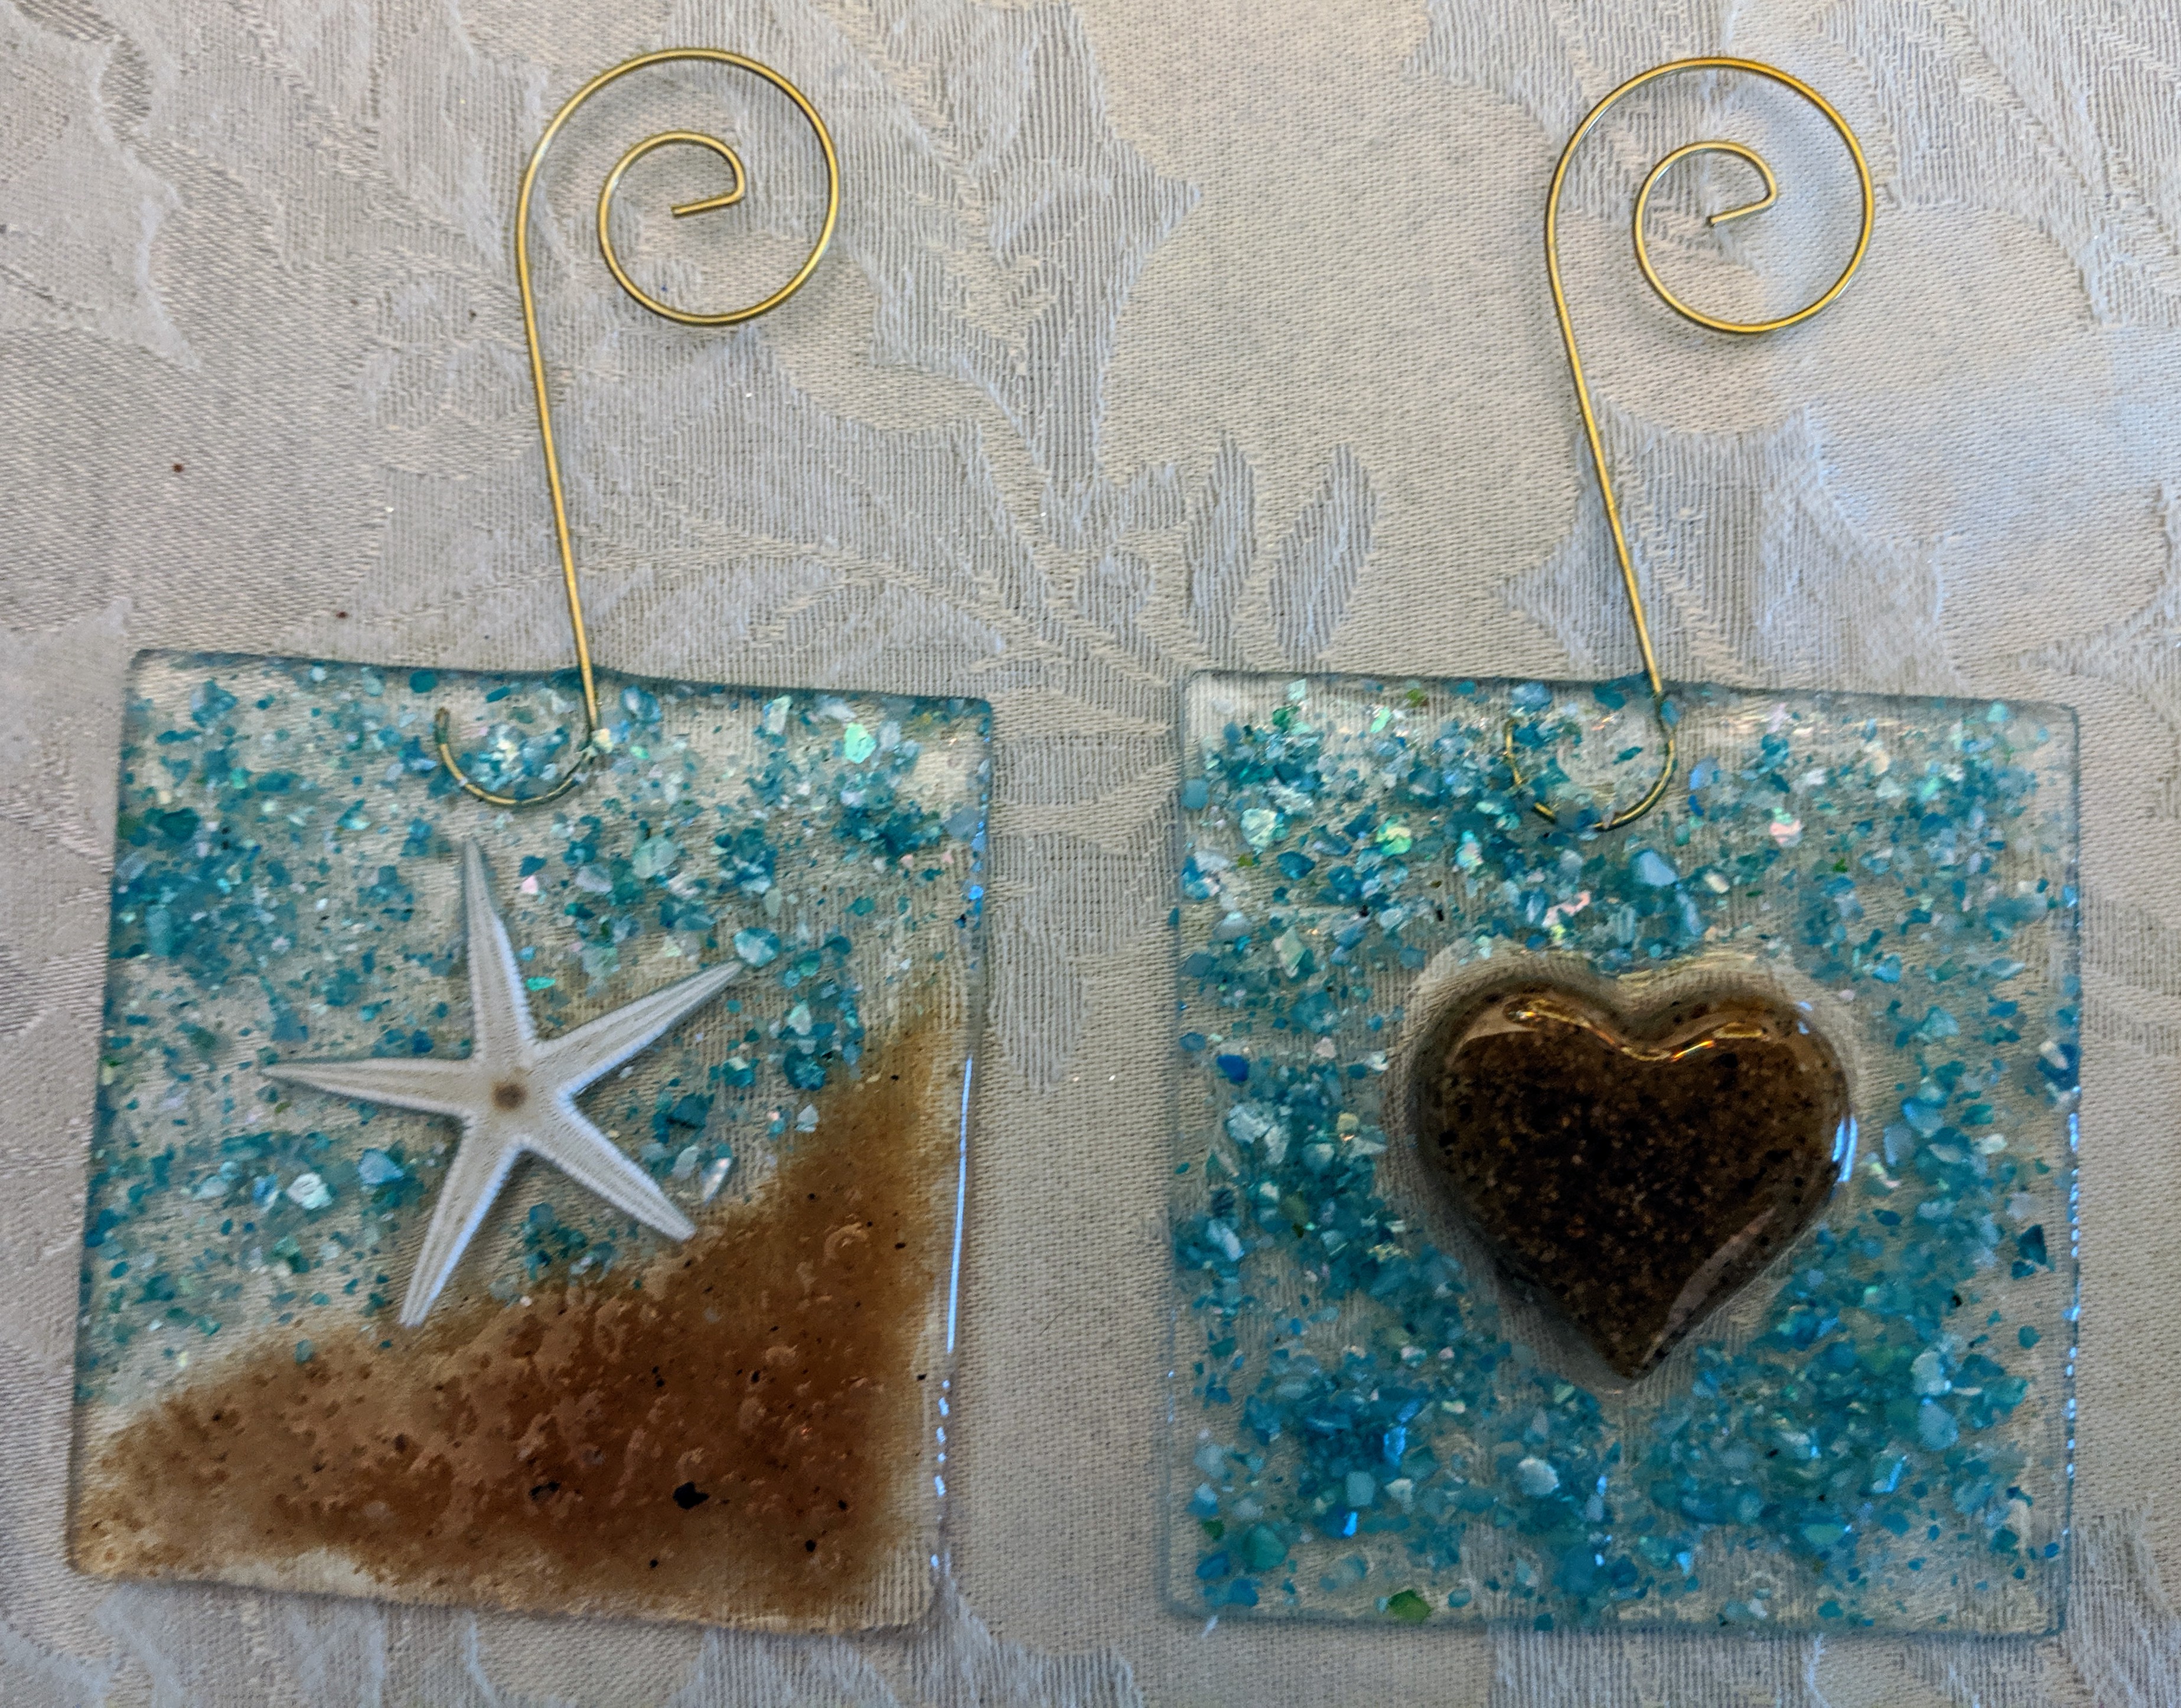
I decided to try some beach themed ornaments.
I went out of my usual habit and made some new designs for beach themed ornaments – the heart is made of resin and sand that I molded a few months ago. They both have recycled clear glass bases (the squares), sand, and blue shell chips for the water effect. Great for anyone who loves the beach!
I’ve had a lot going on the past couple of weeks and I haven’t been able to make as many new small items as I expected for the Charleston Holiday Market that is starting on Friday. It’s a pretty big event, much larger than any I’ve ever done before, so it should be a learning experience! If you click on the link, you can get advance tickets for $2 off, or a coupon for $1 off admission. I was able to finally pour the resin on several new ornaments as well as the second layer of resin on a few resin ornaments and a coaster today, though.
I was able to cut, grind and glue these yesterday.
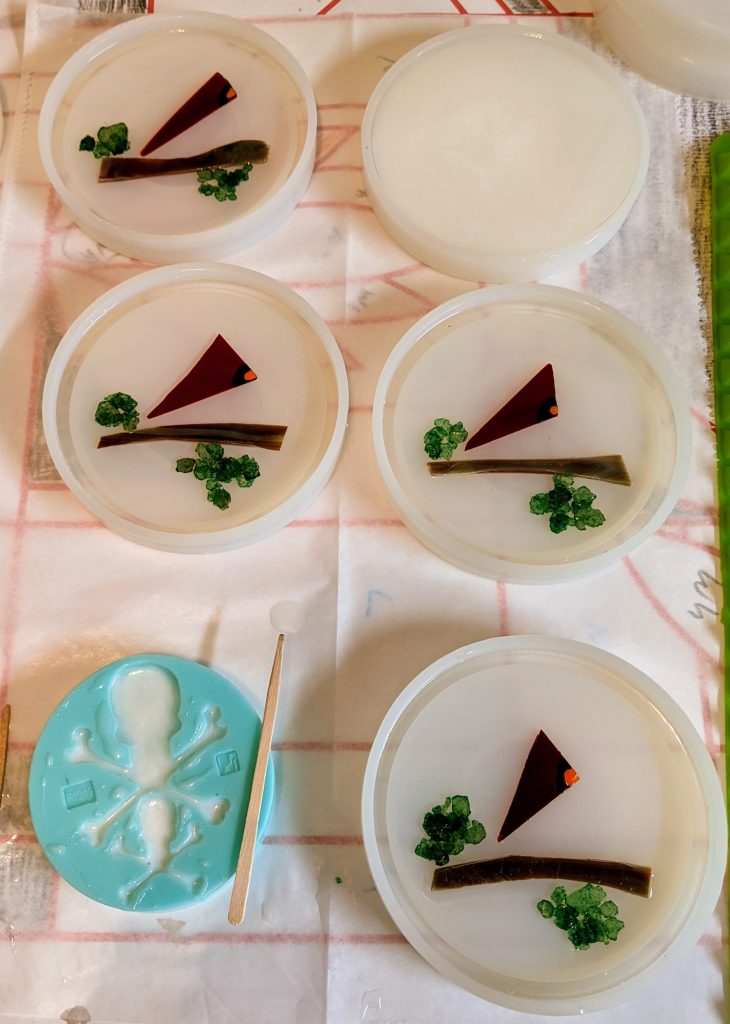
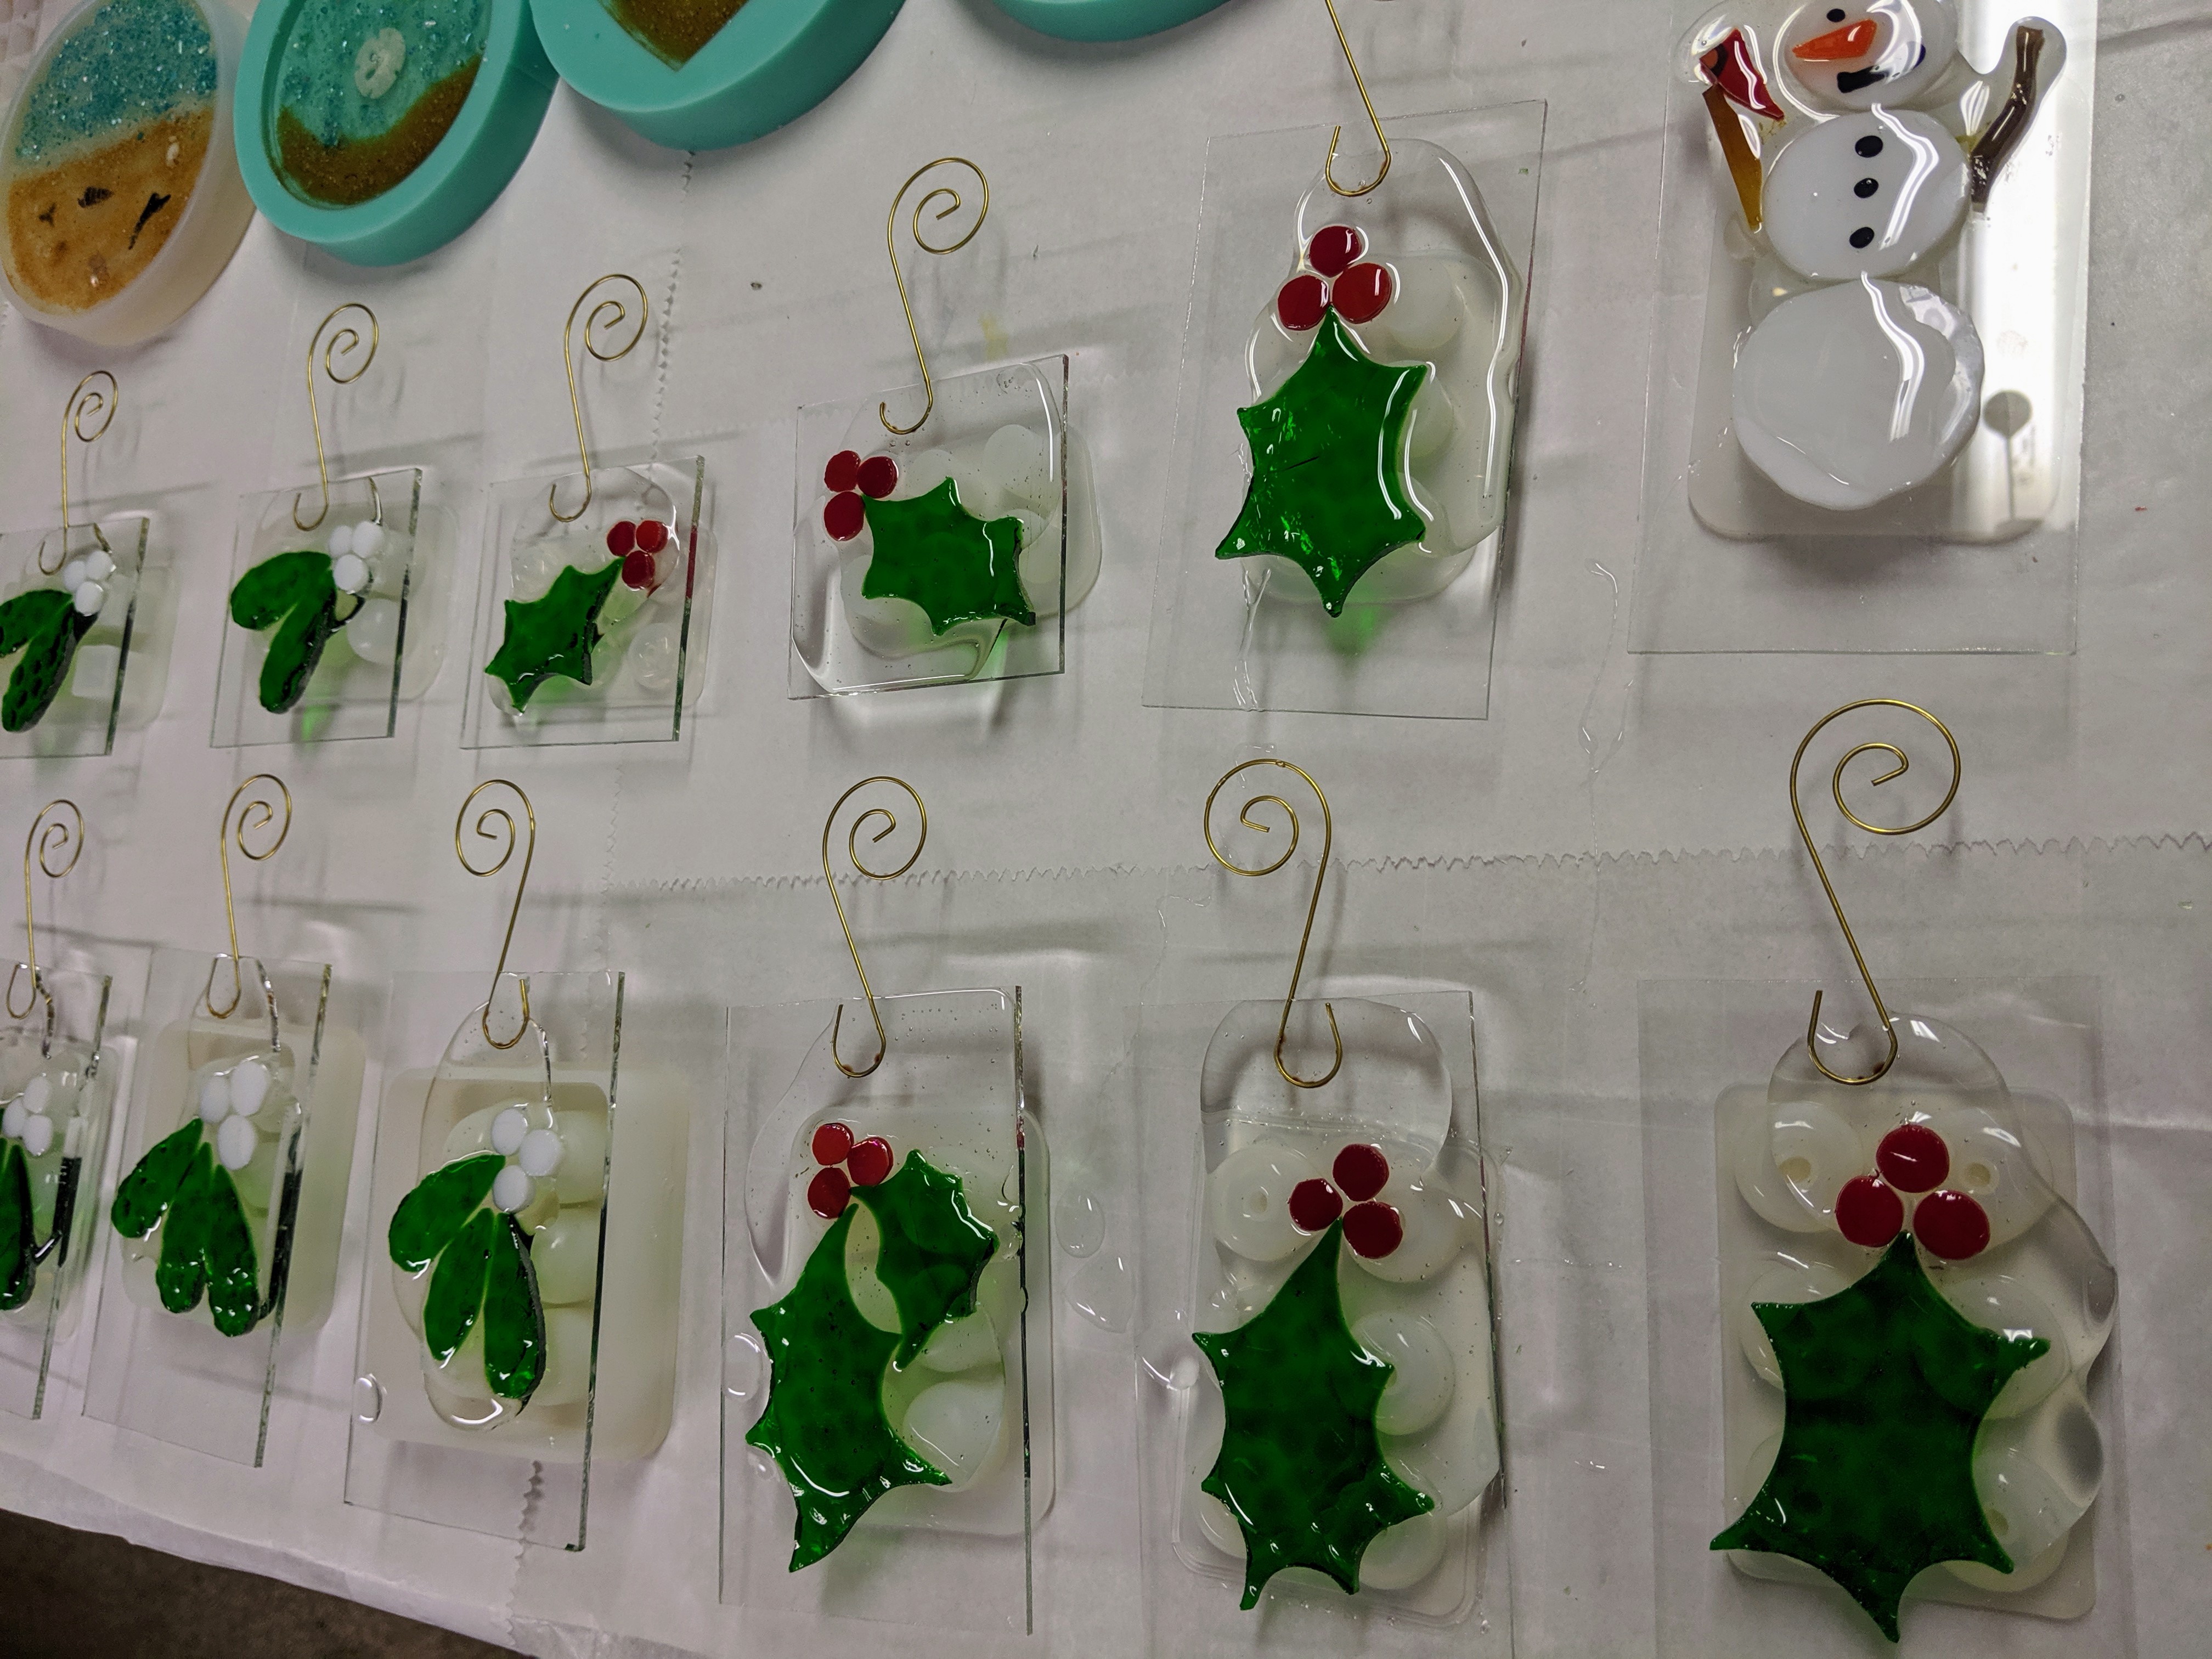
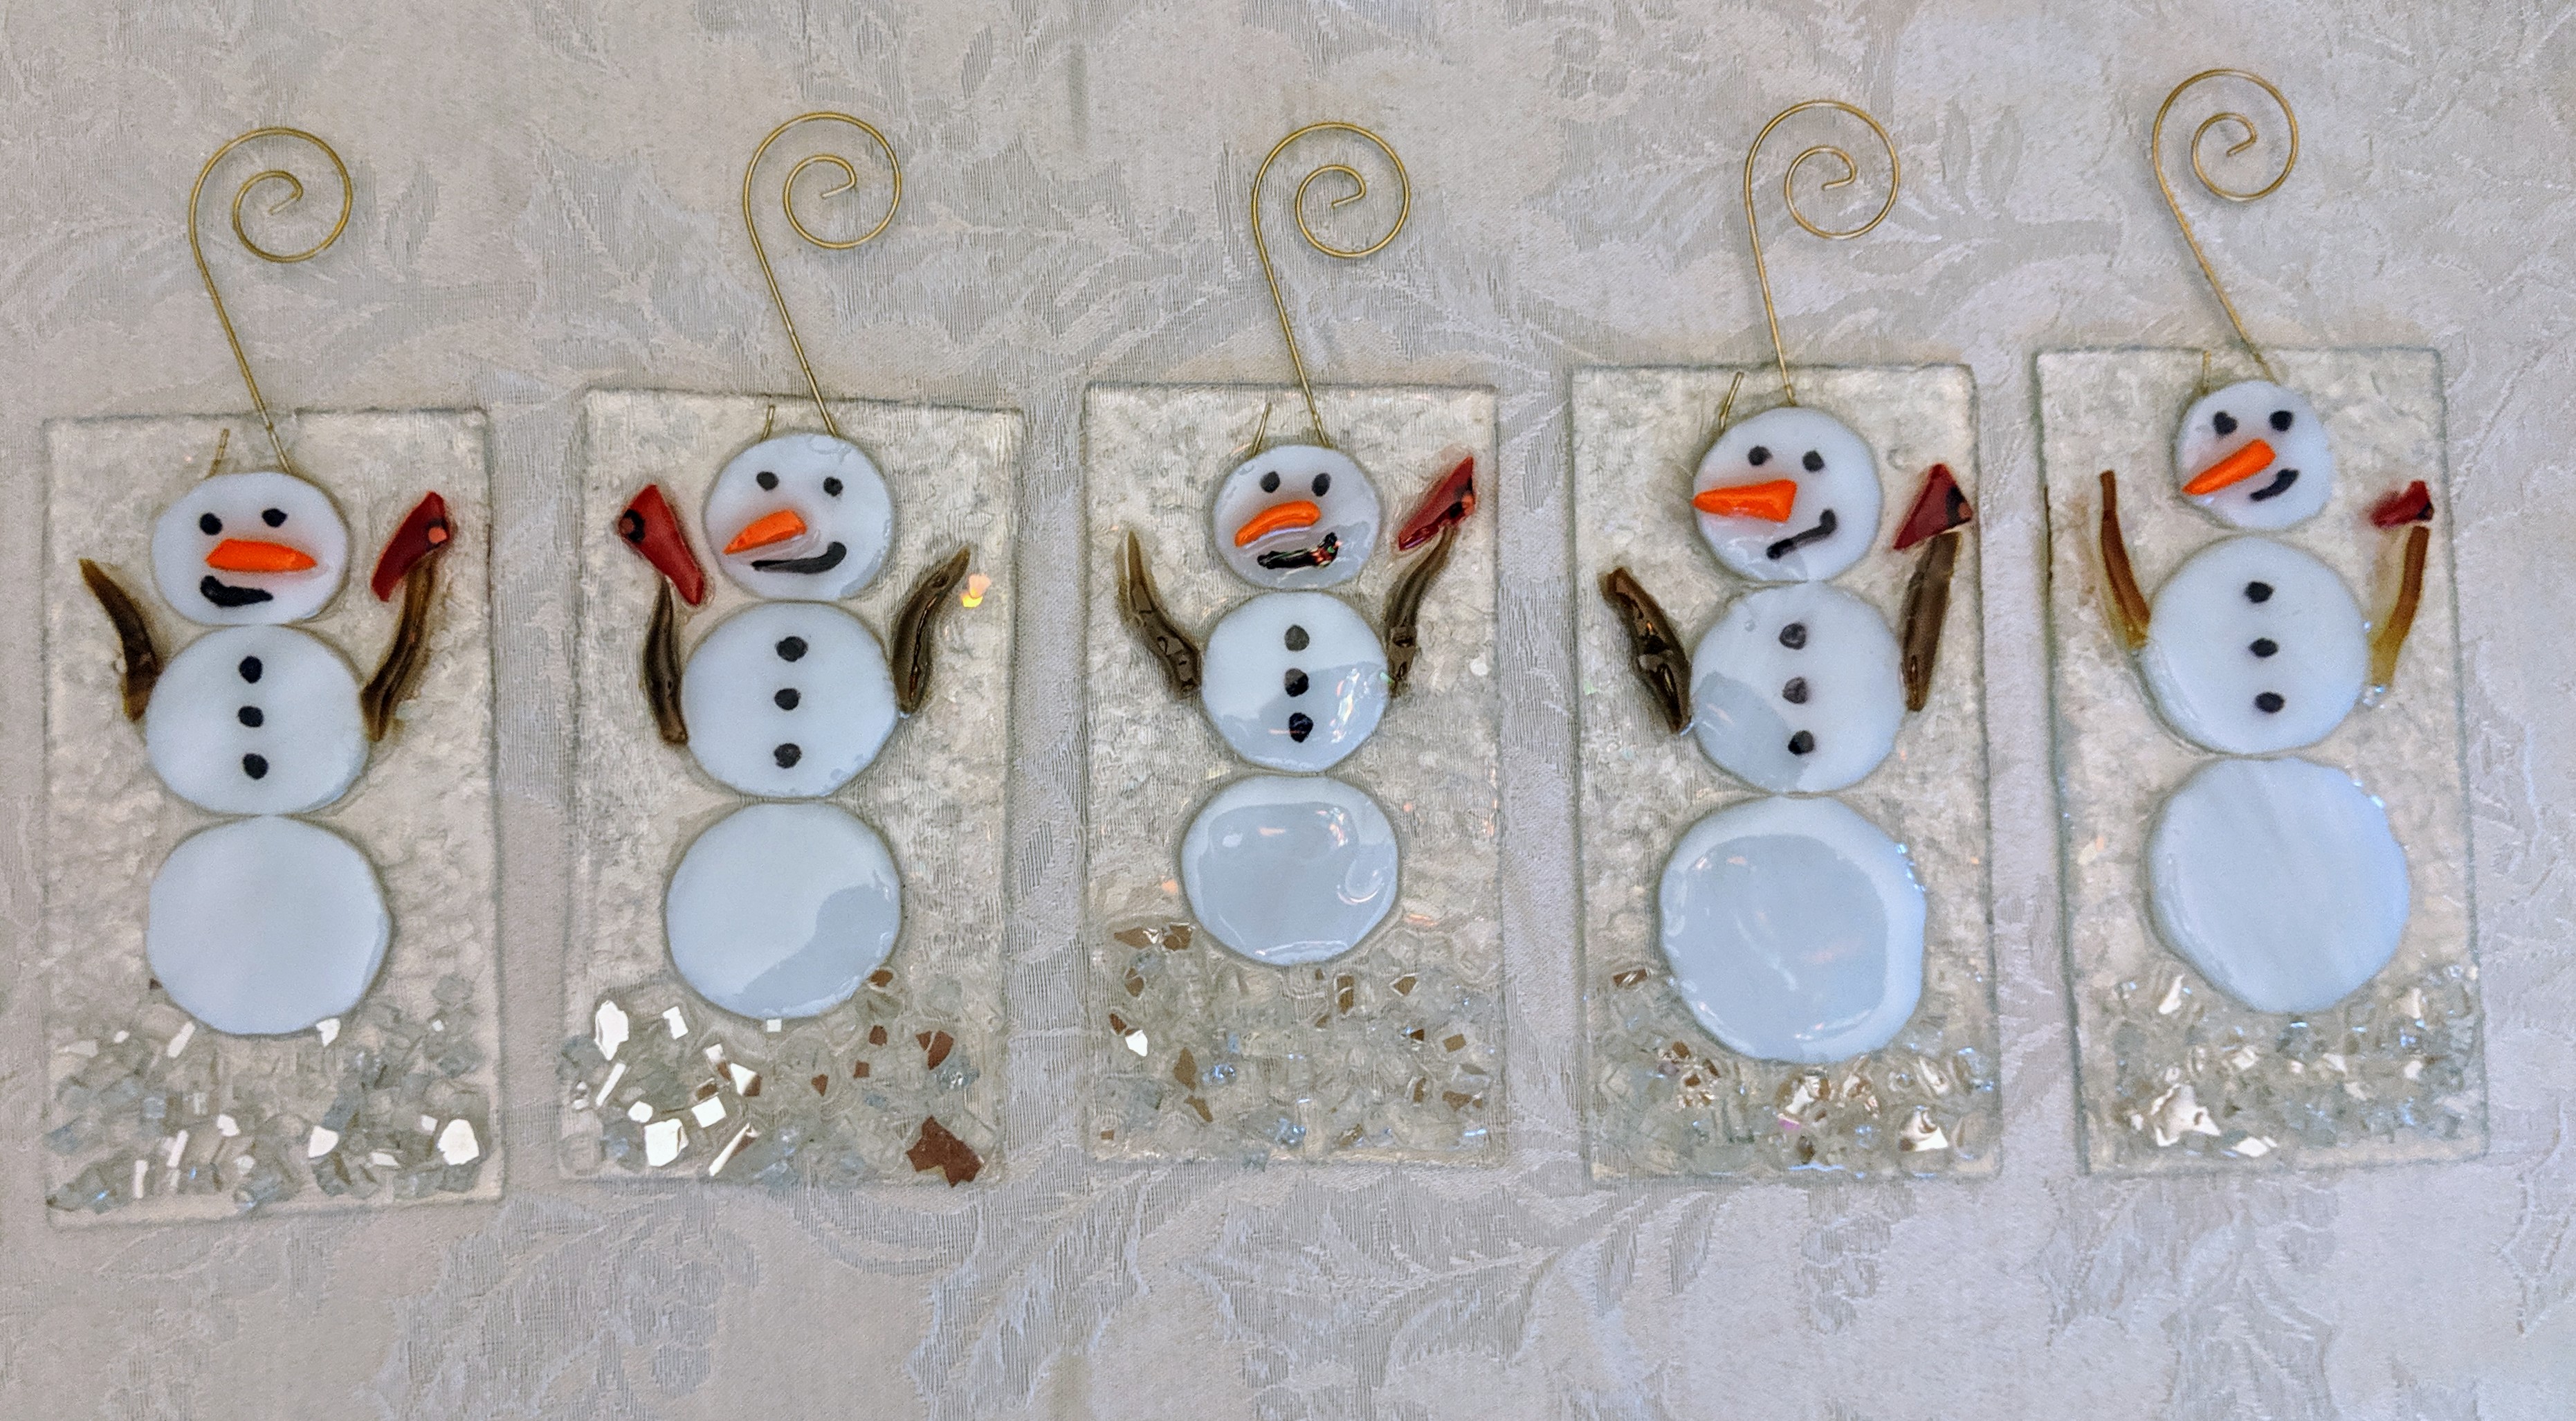
I use stained glass for the leaves, berries and snowman and clear glass that is recycled from old windows to make these festive ornaments. I cut the glass for these ornaments and glued it down yesterday, so today it was time for the resin layer. After mixing, I pour a blob of resin on each ornament. A little goes a long way, and too much makes for more difficulty with drips, so it’s better to use too little and then add more later. I went a bit overboard with a few of these and had to wipe away a lot of drips. That also causes some of the resin to form on the underside in such a way that I have to scrape it off with a razor blade later, which is tedious and a little dangerous if you’re clumsy like I am.
After mixing, I pour some resin blobs on each ornament.
I used a sponge on a stick to spread the resin around so it covers all of the top surface of the ornaments. The resin will settle itself down and look smooth once it cures, so I don’t worry about the streaks left by the sponge. I do have to use a heat gun a few times during this stage to remove bubbles. They are worse in the deep molds for the beach themed resin ornaments and coasters than the thin layer on the stained / recycled glass ornaments, though.
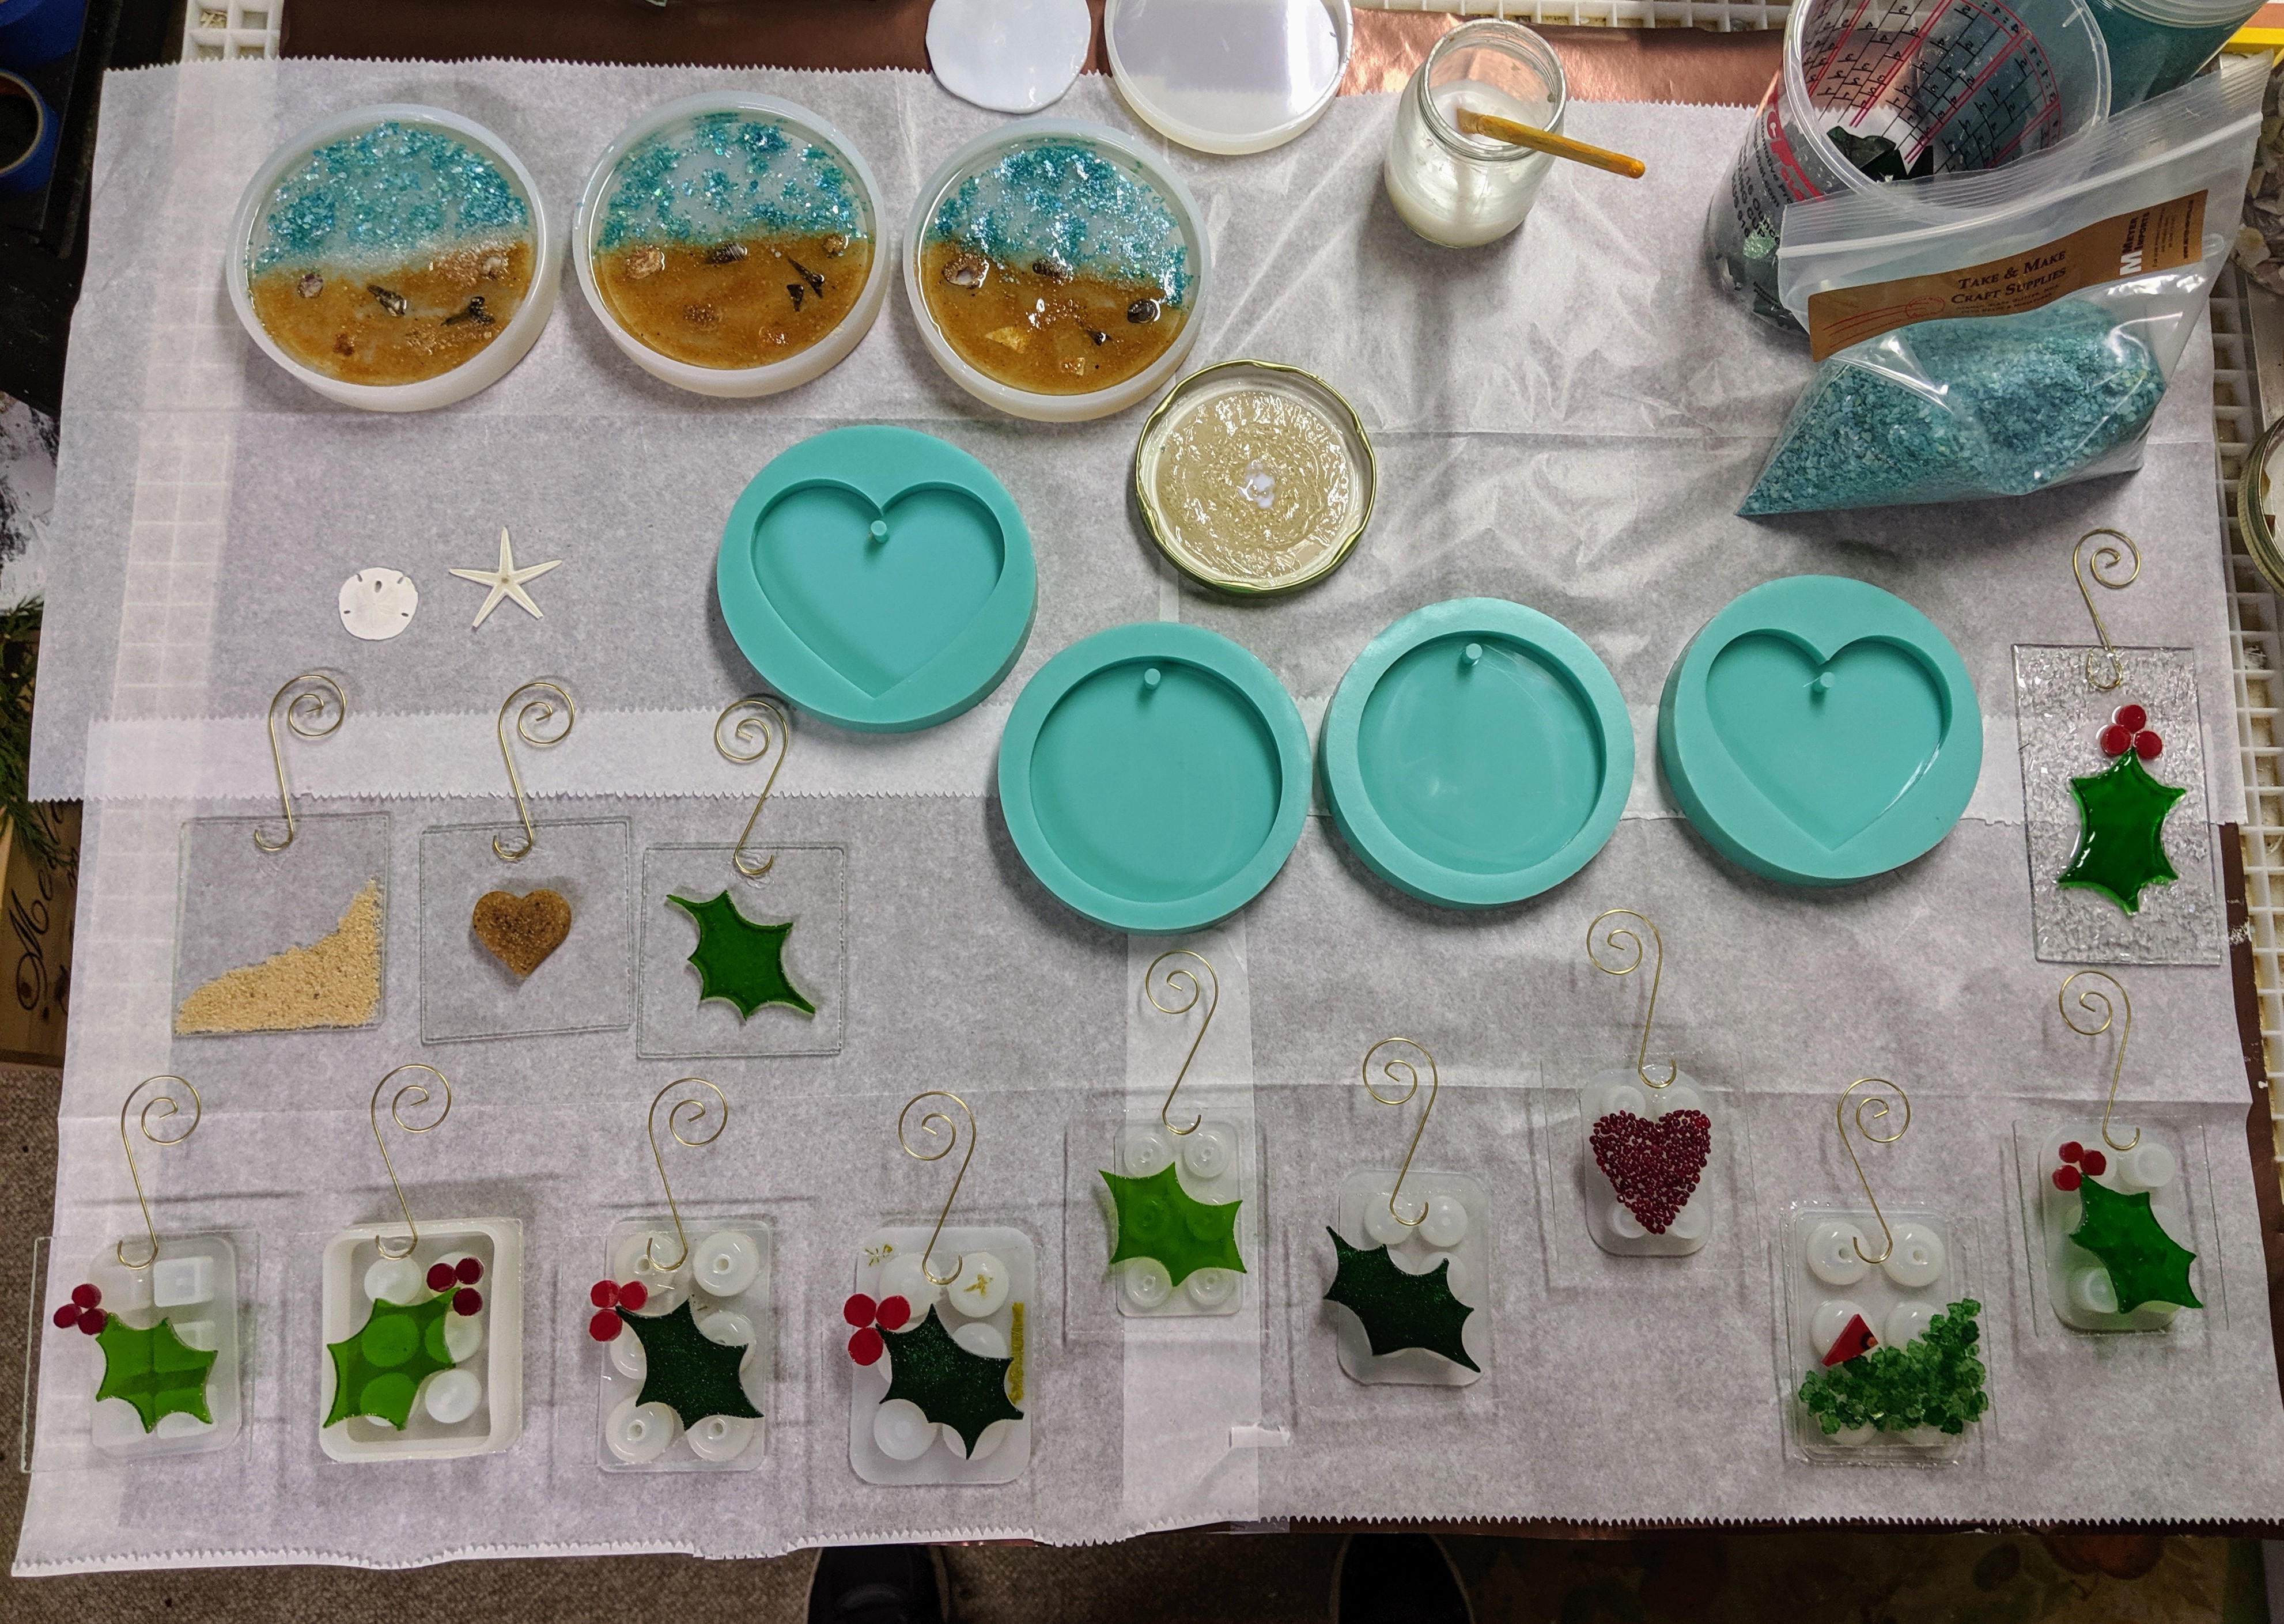
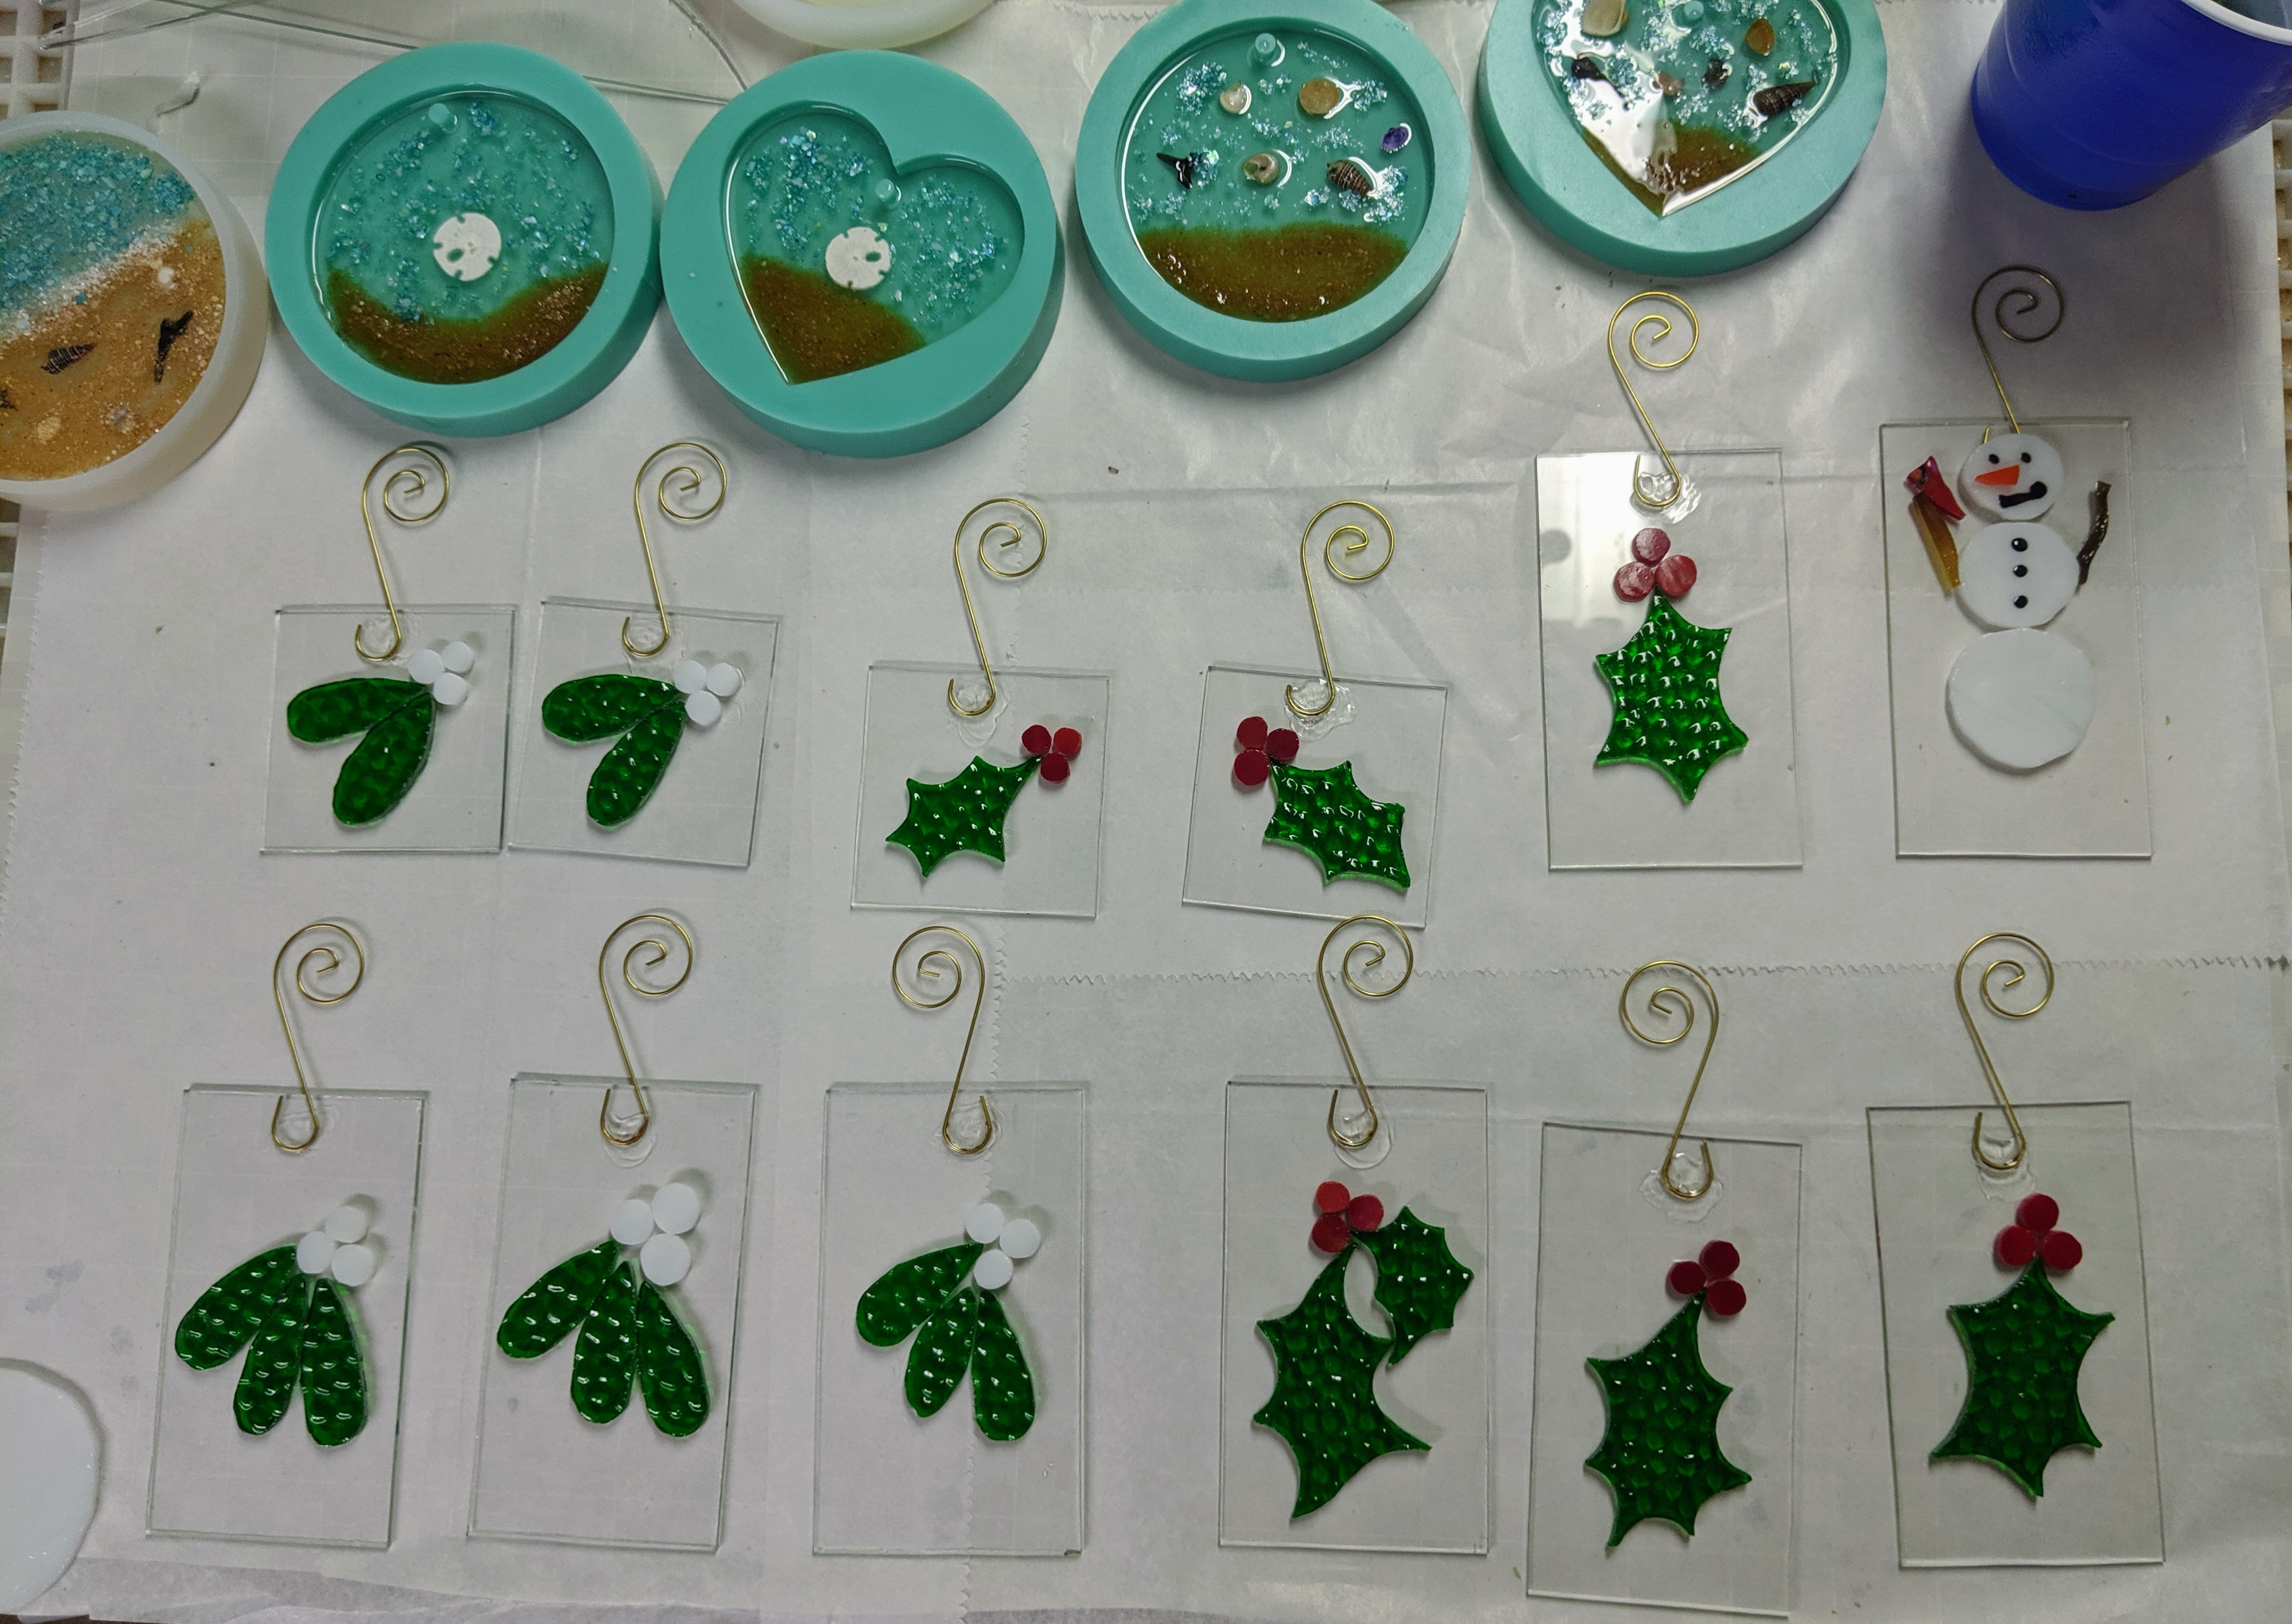
Resin spread all over the tops of the ornaments.Done decorating and now just waiting for them to cure.
After the resin is spread, I place the glass blobs, chunks and chips I like to use for decoration in the resin. I also poured a little leftover resin into three new coaster molds that I decorated for the first layer of some more coasters.
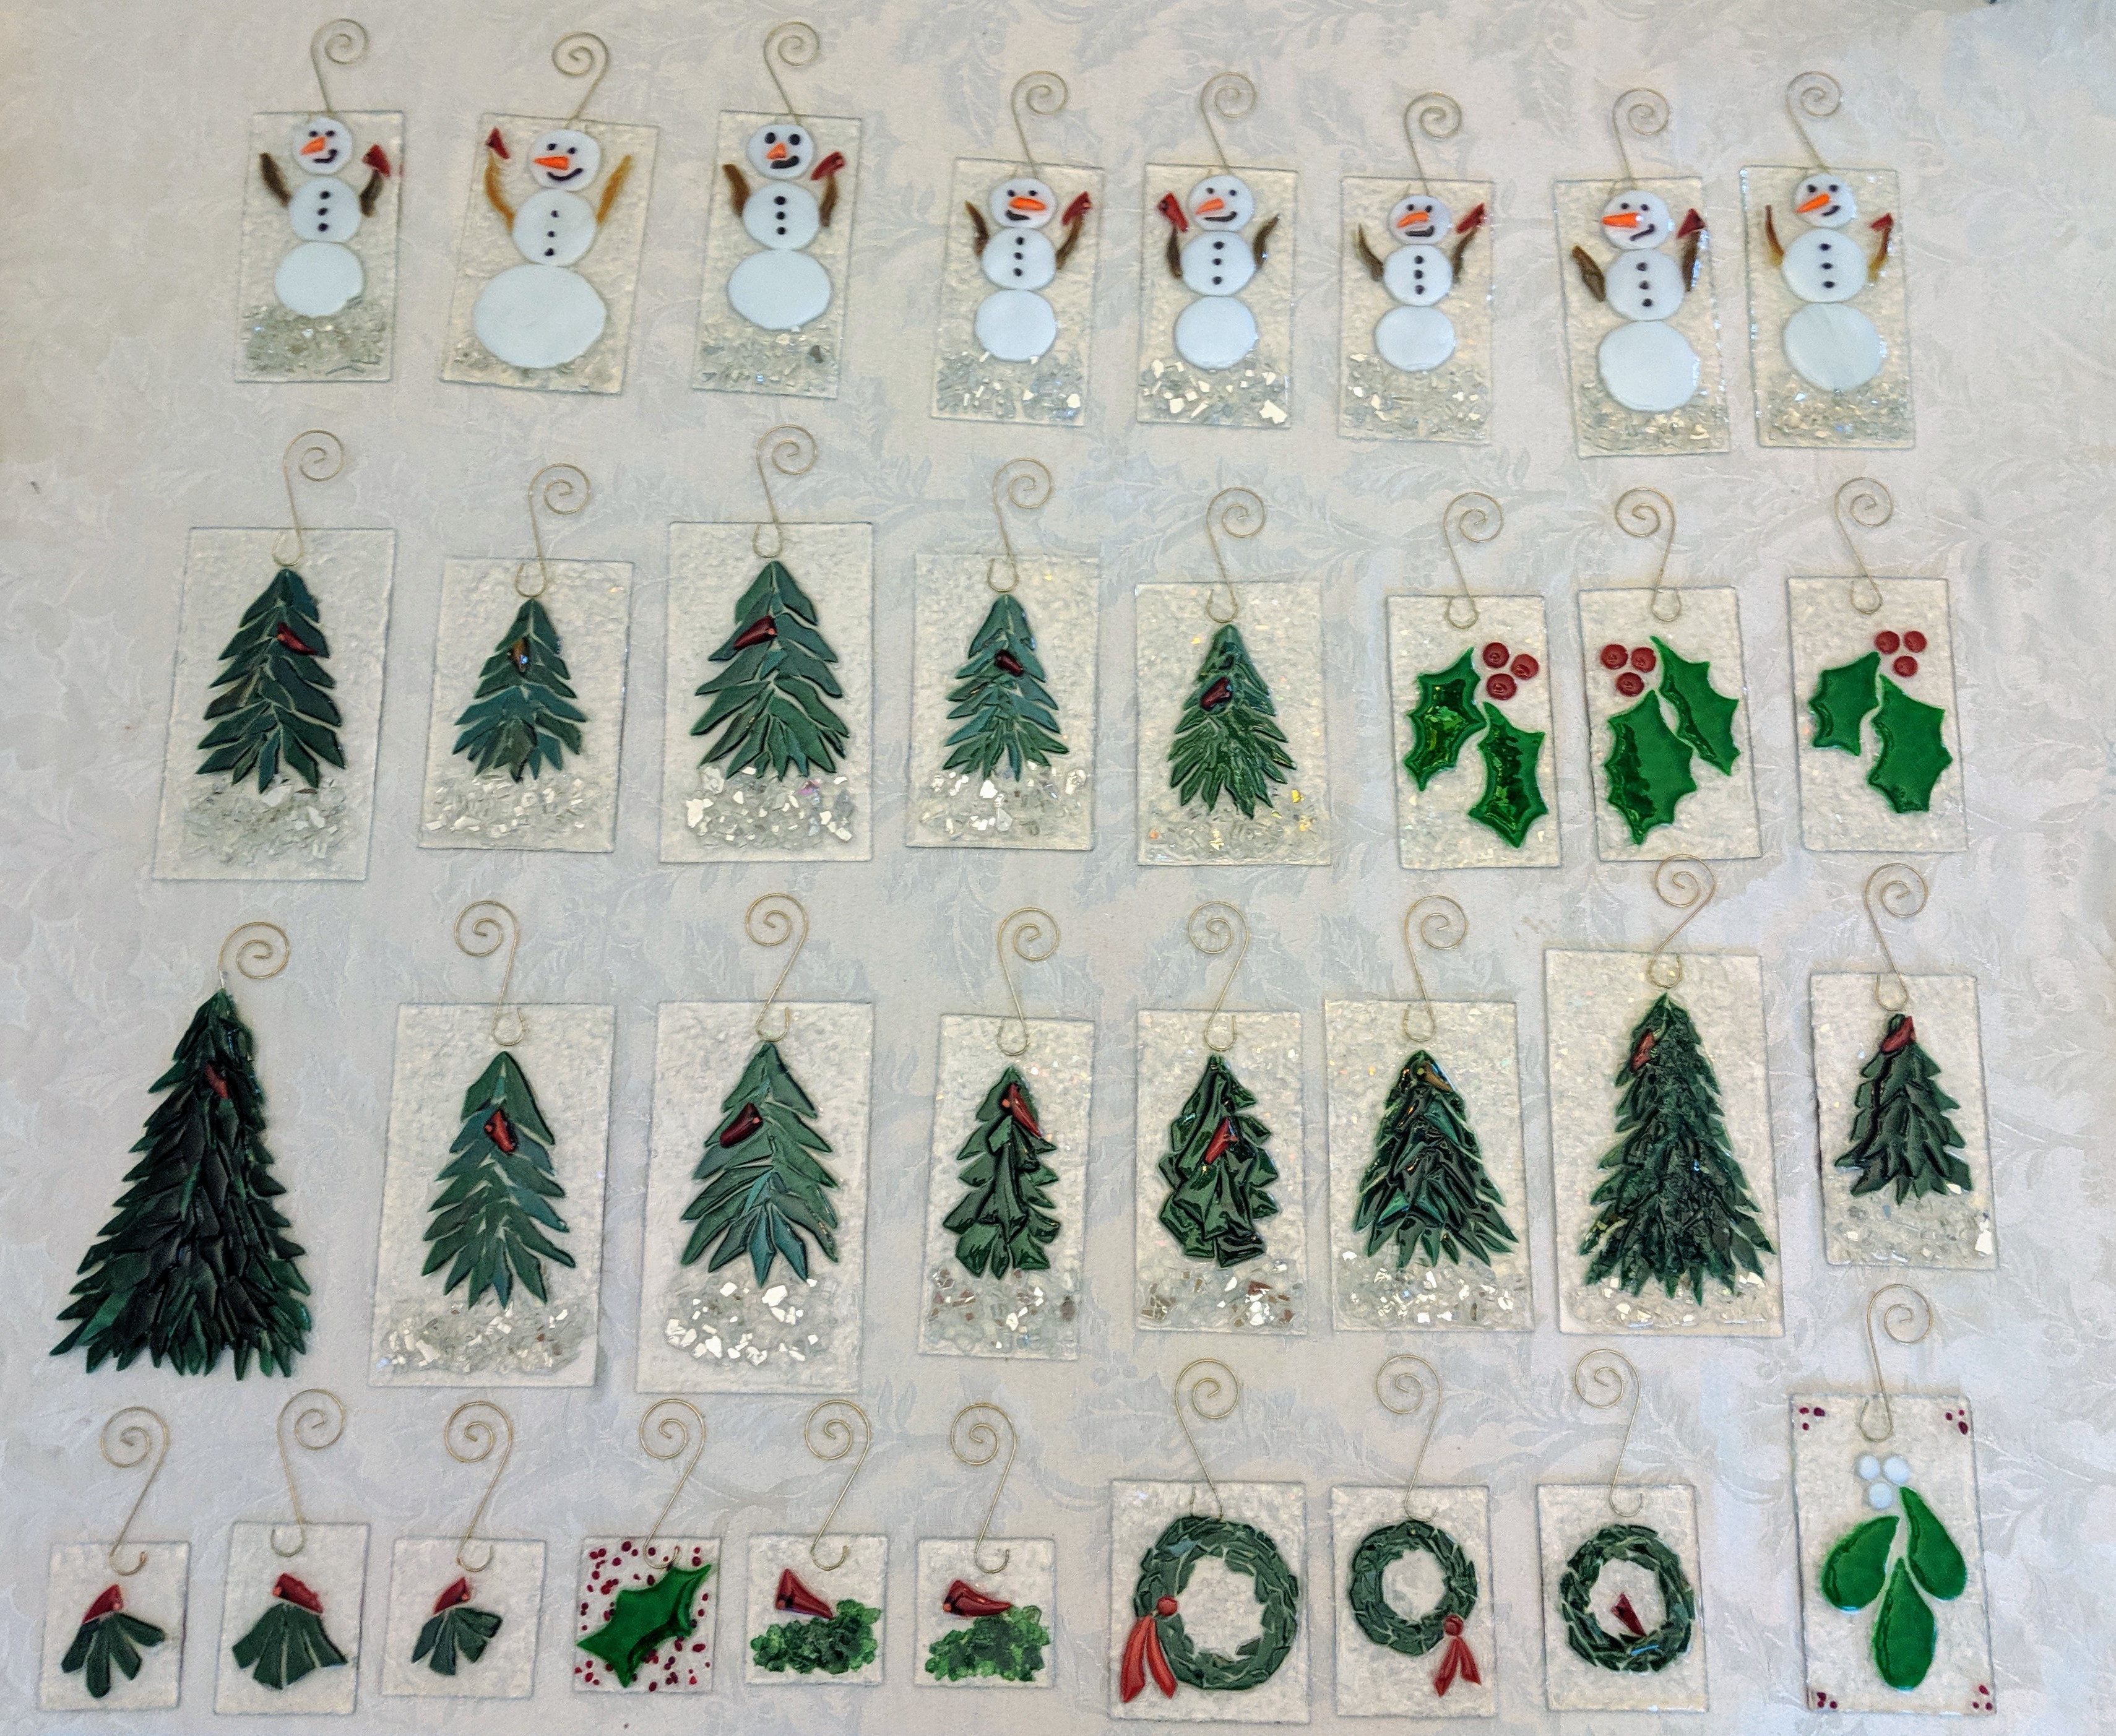
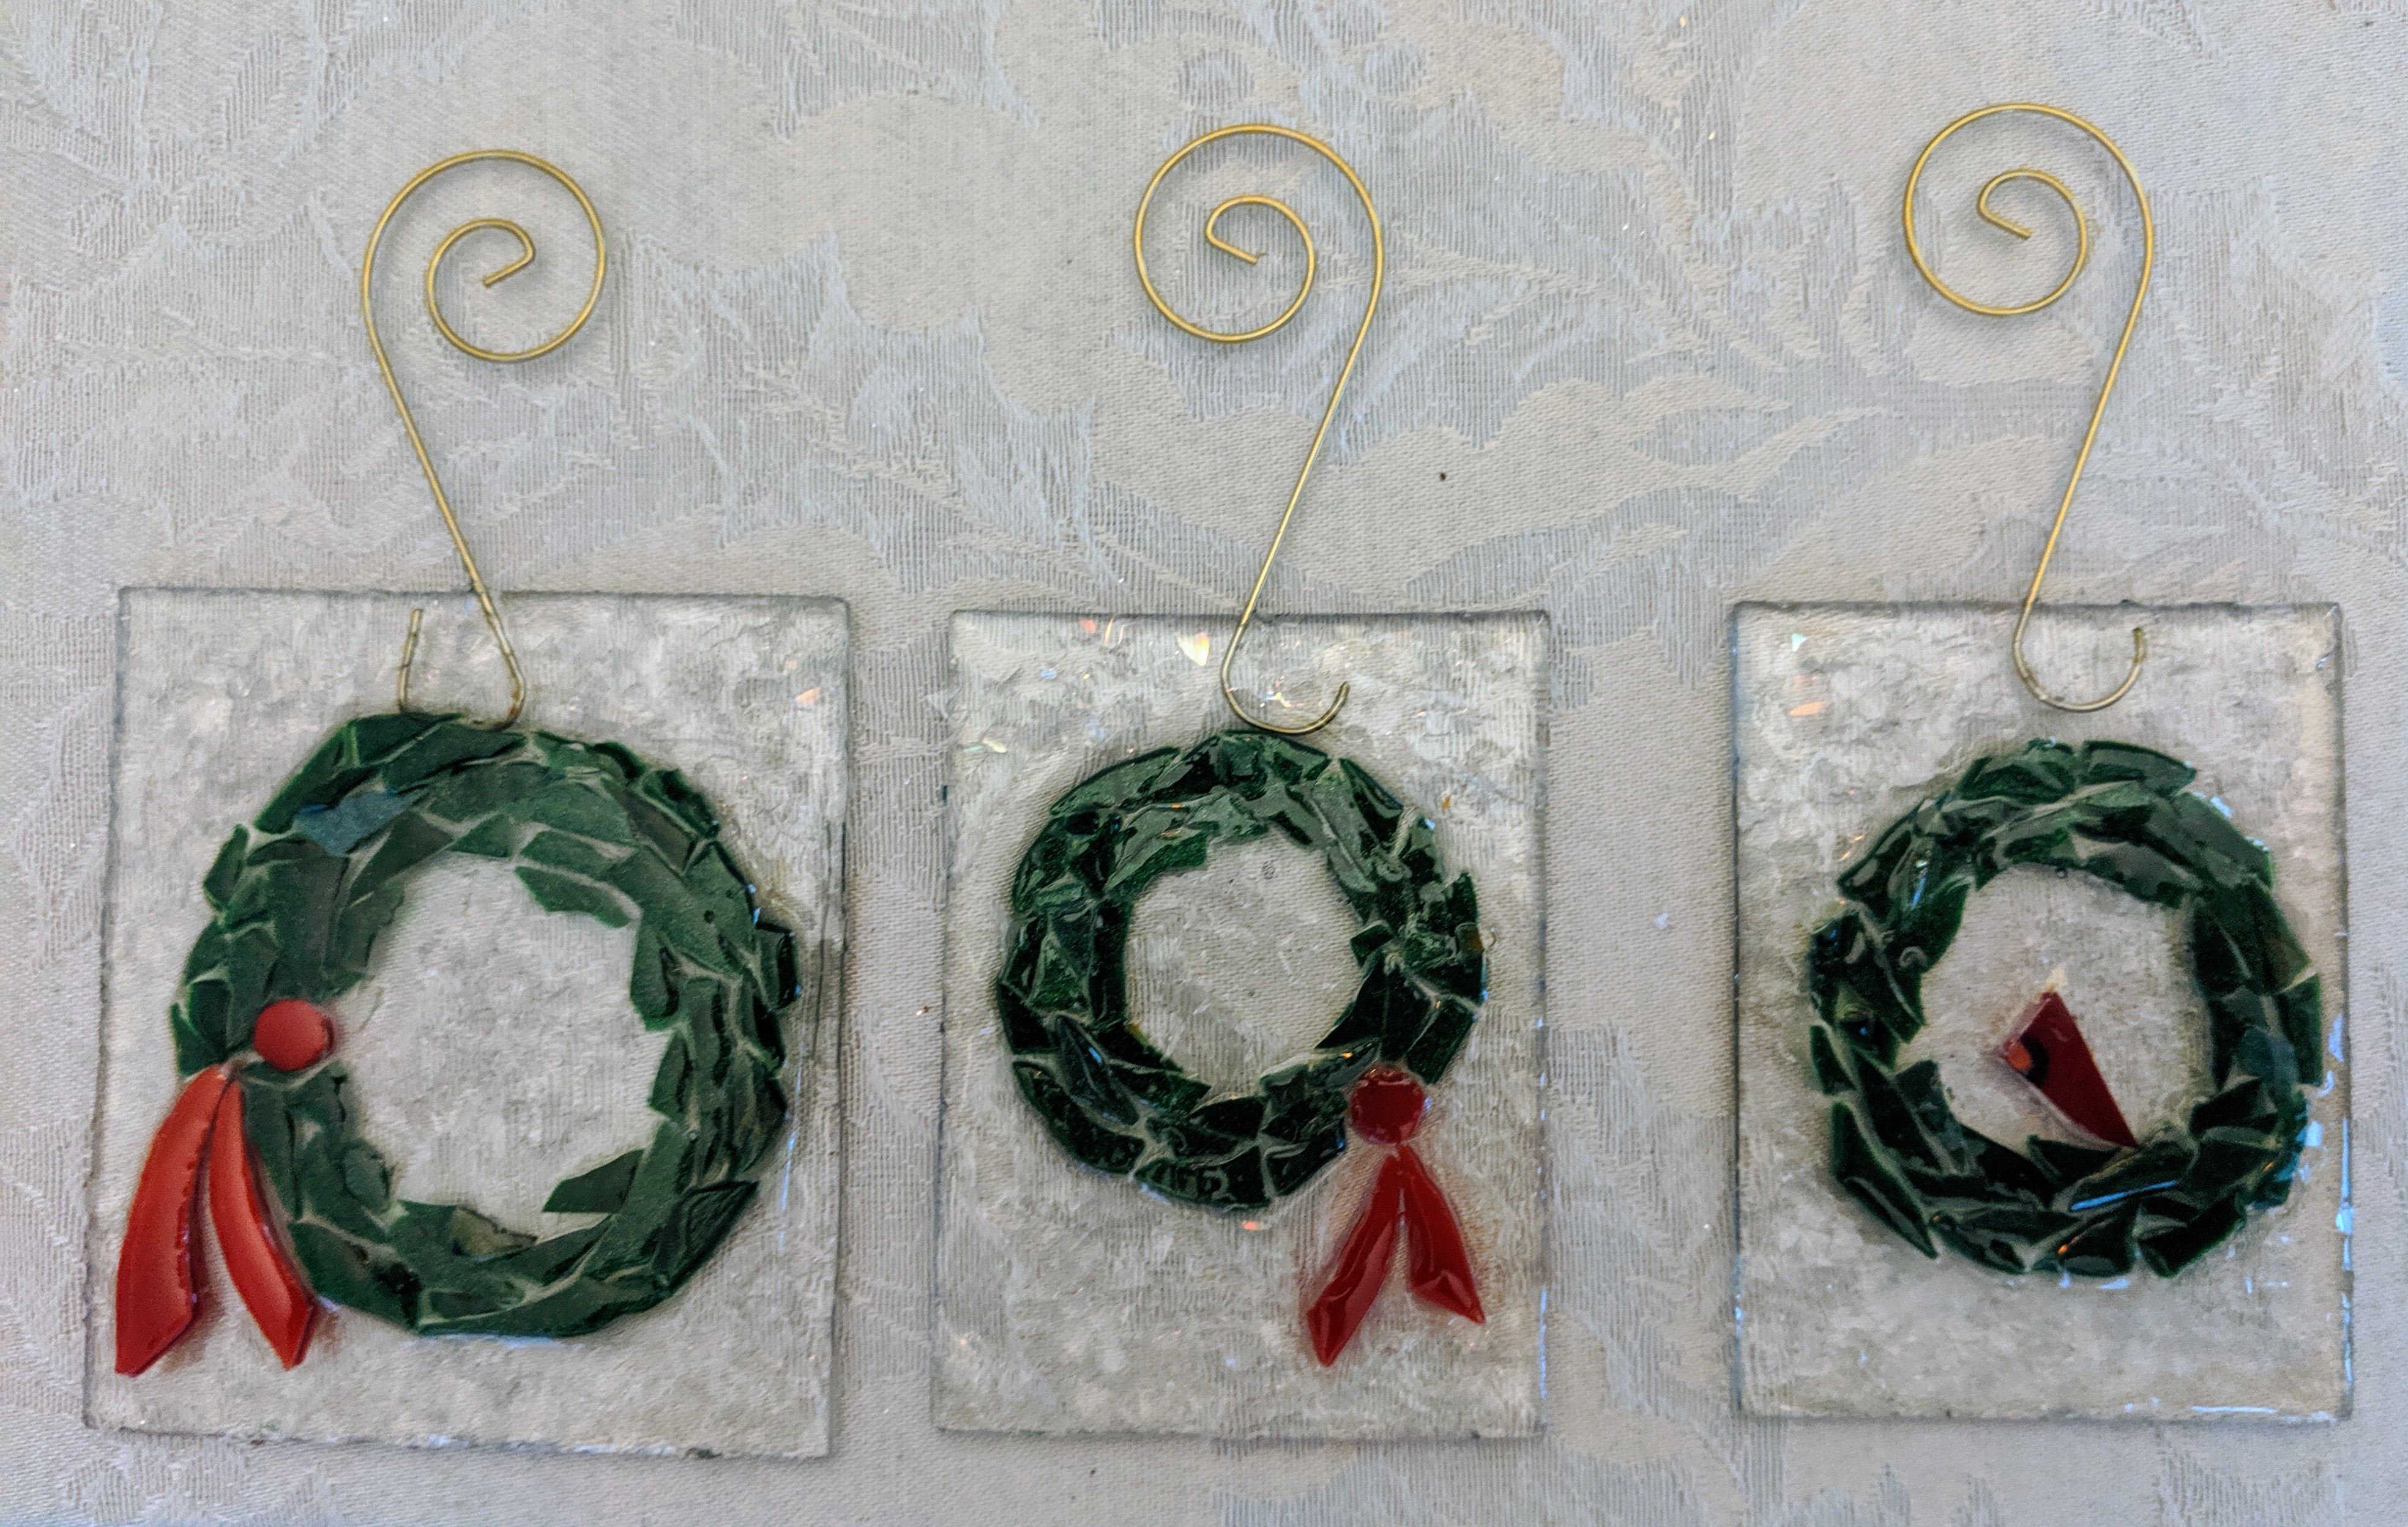
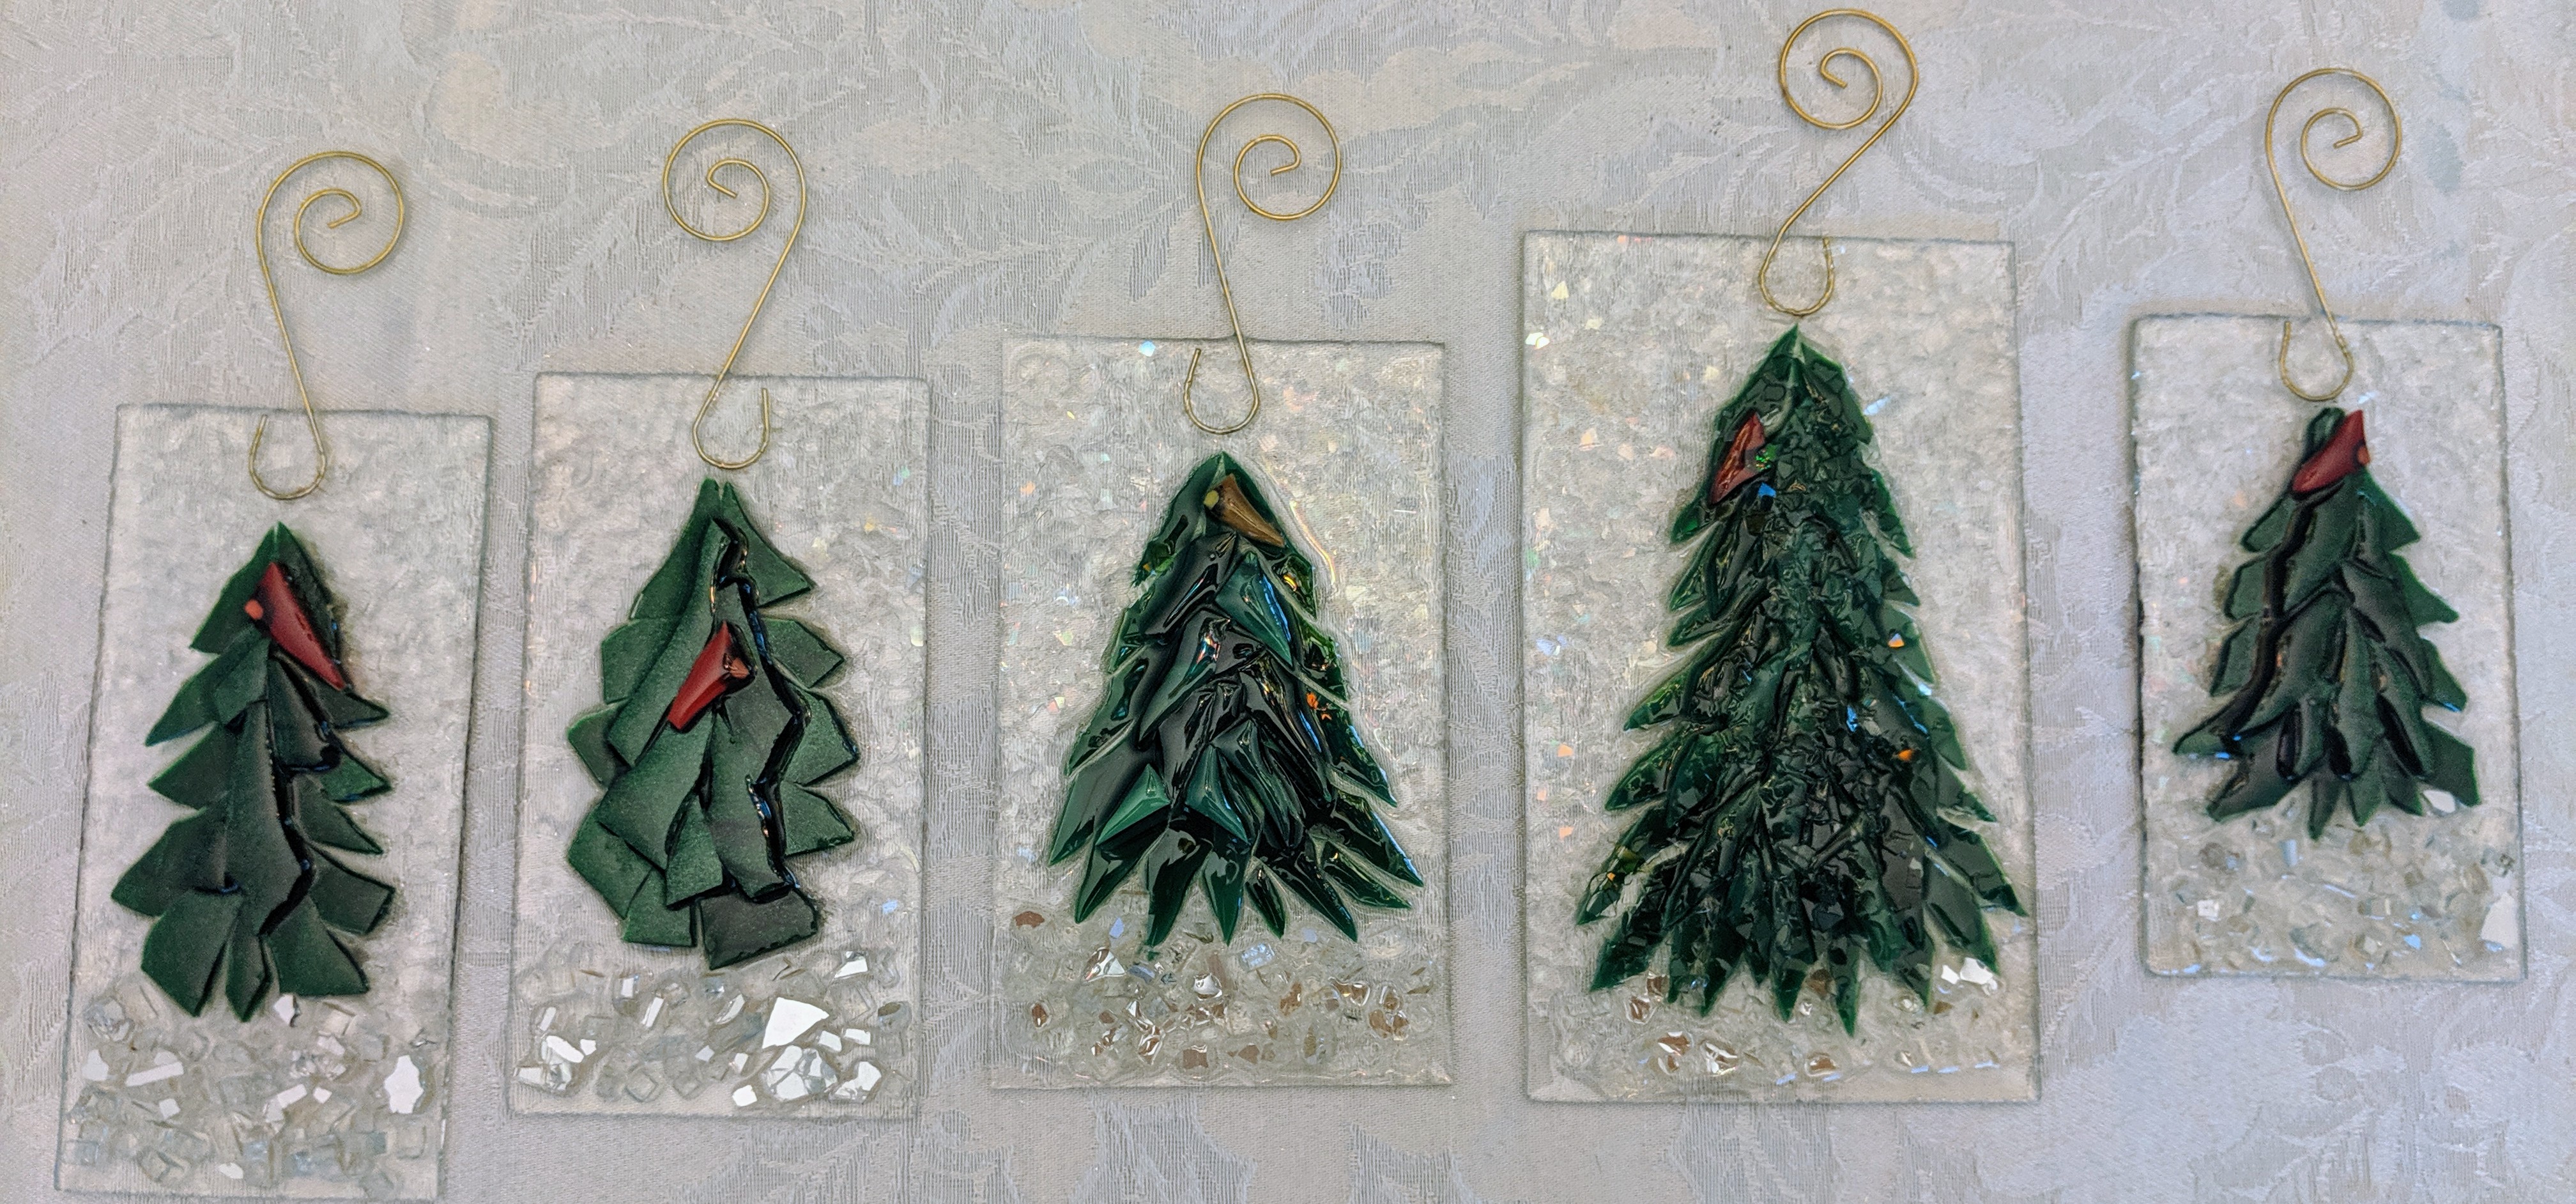
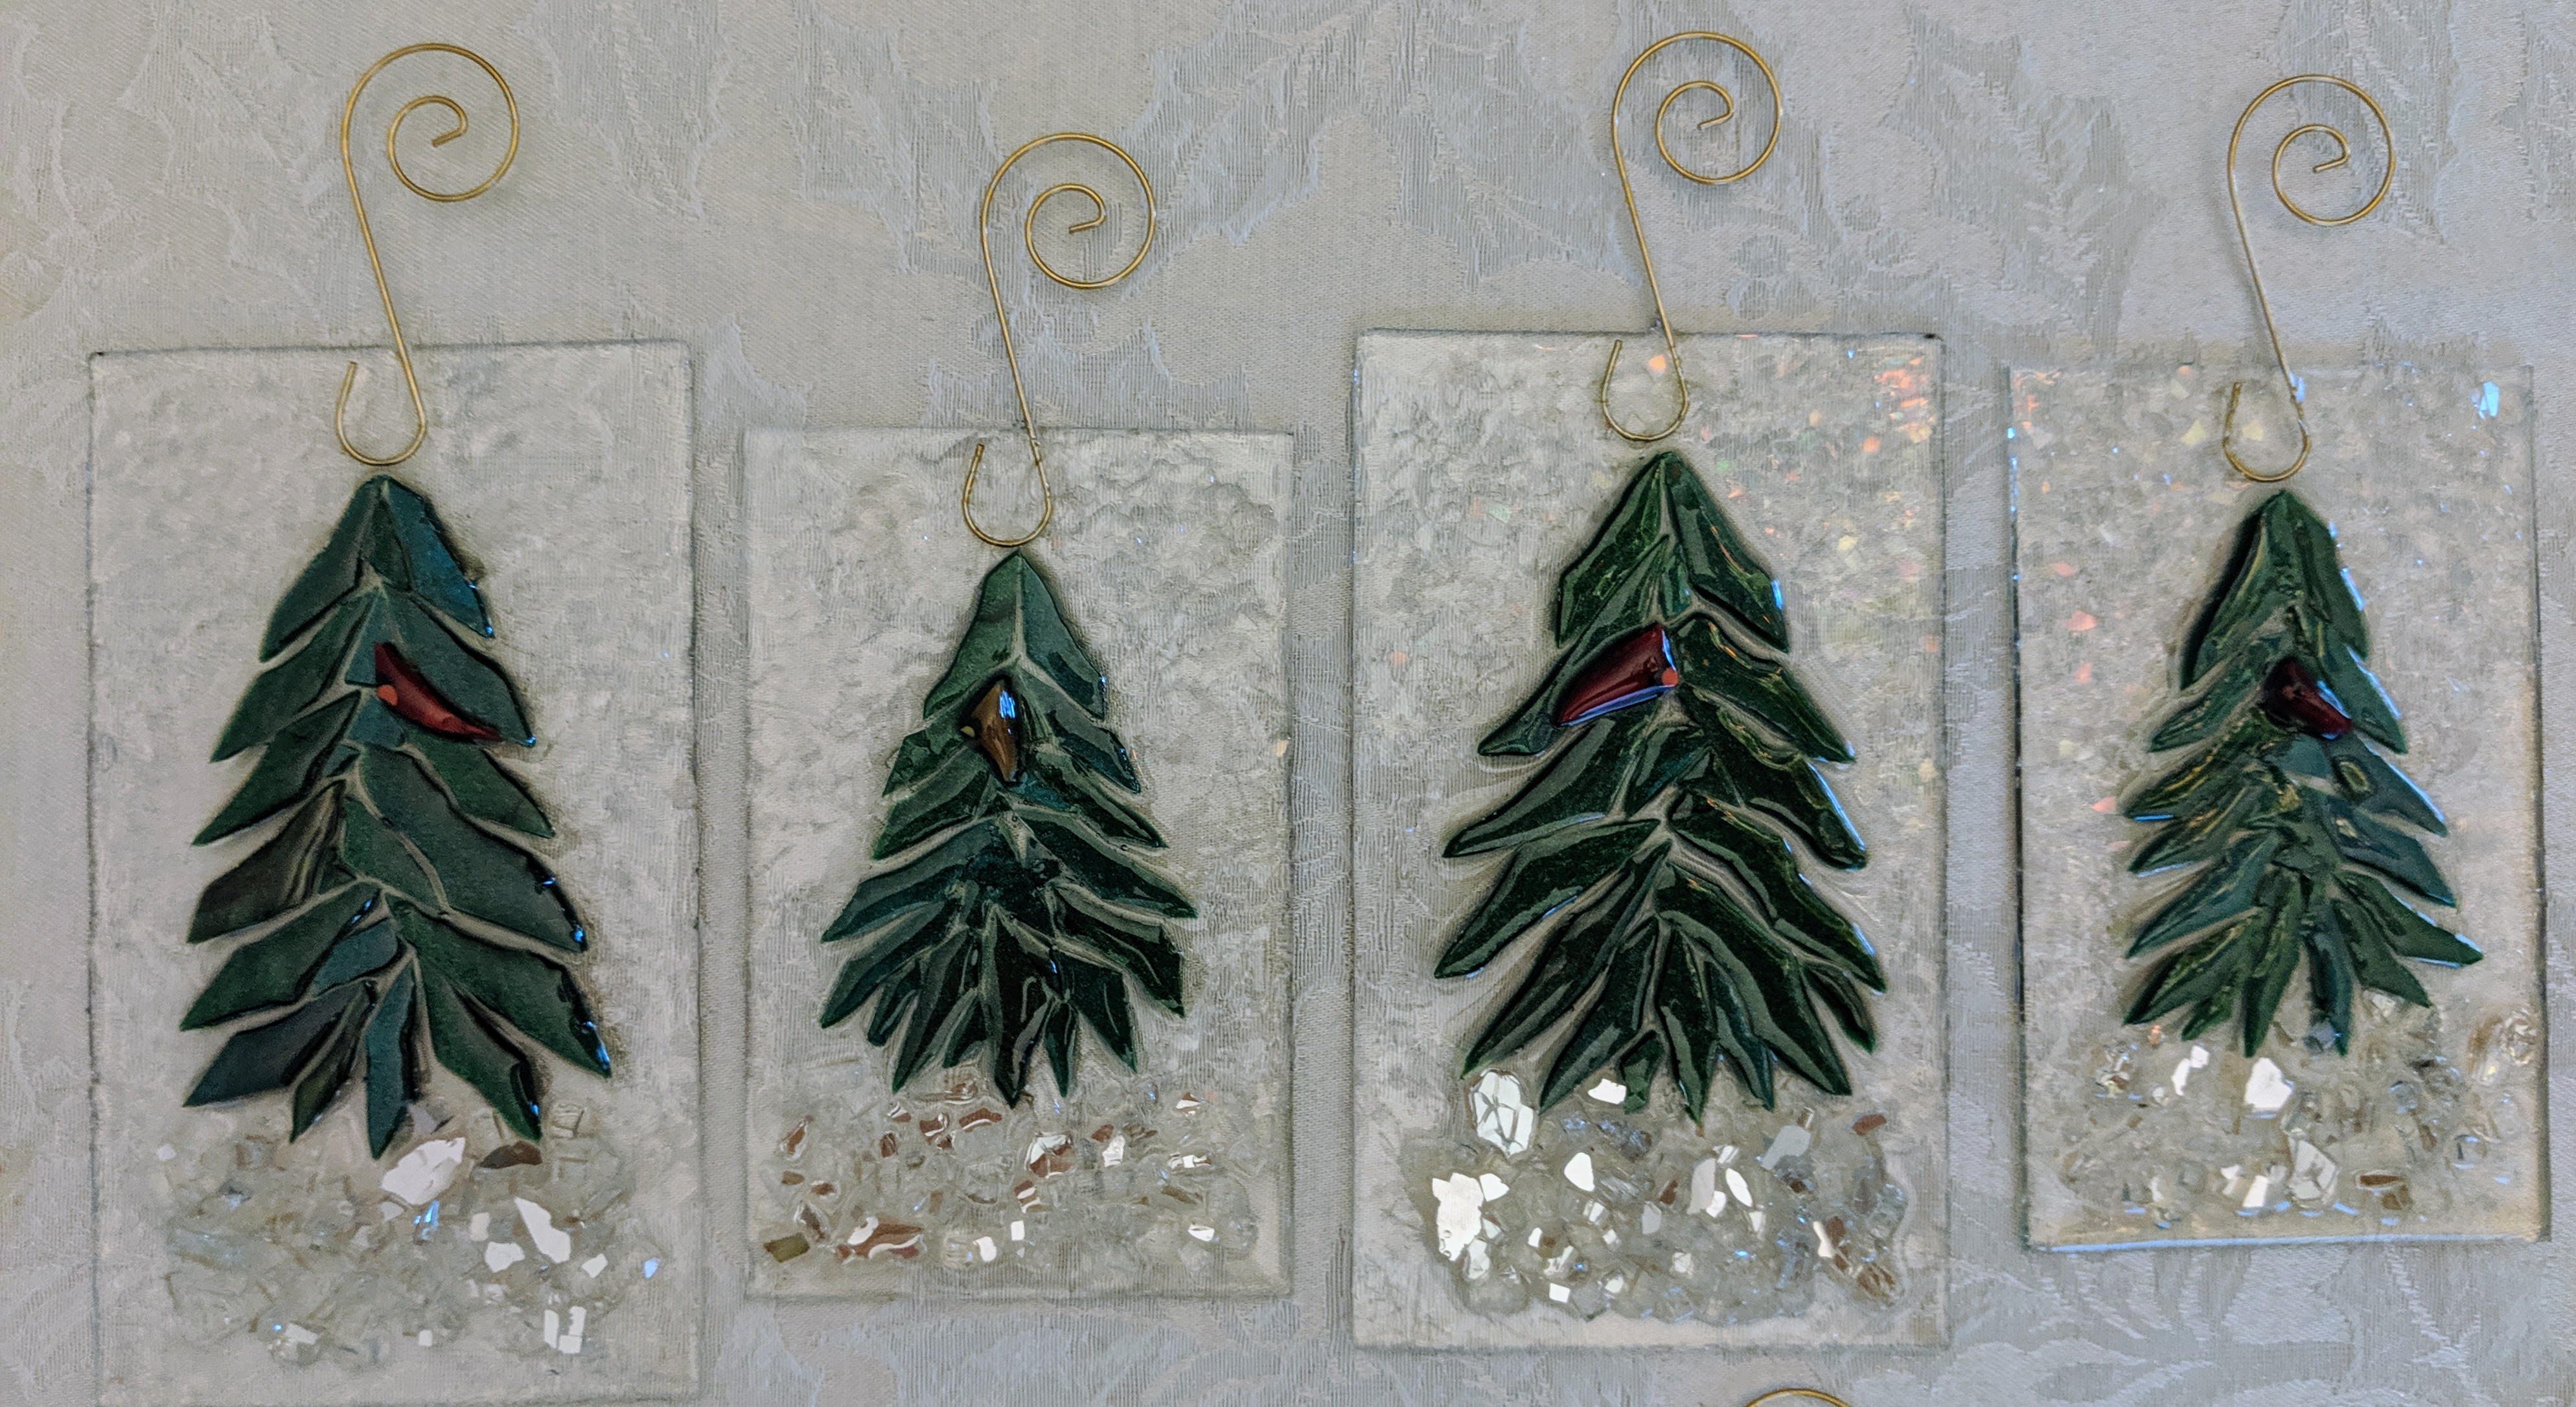
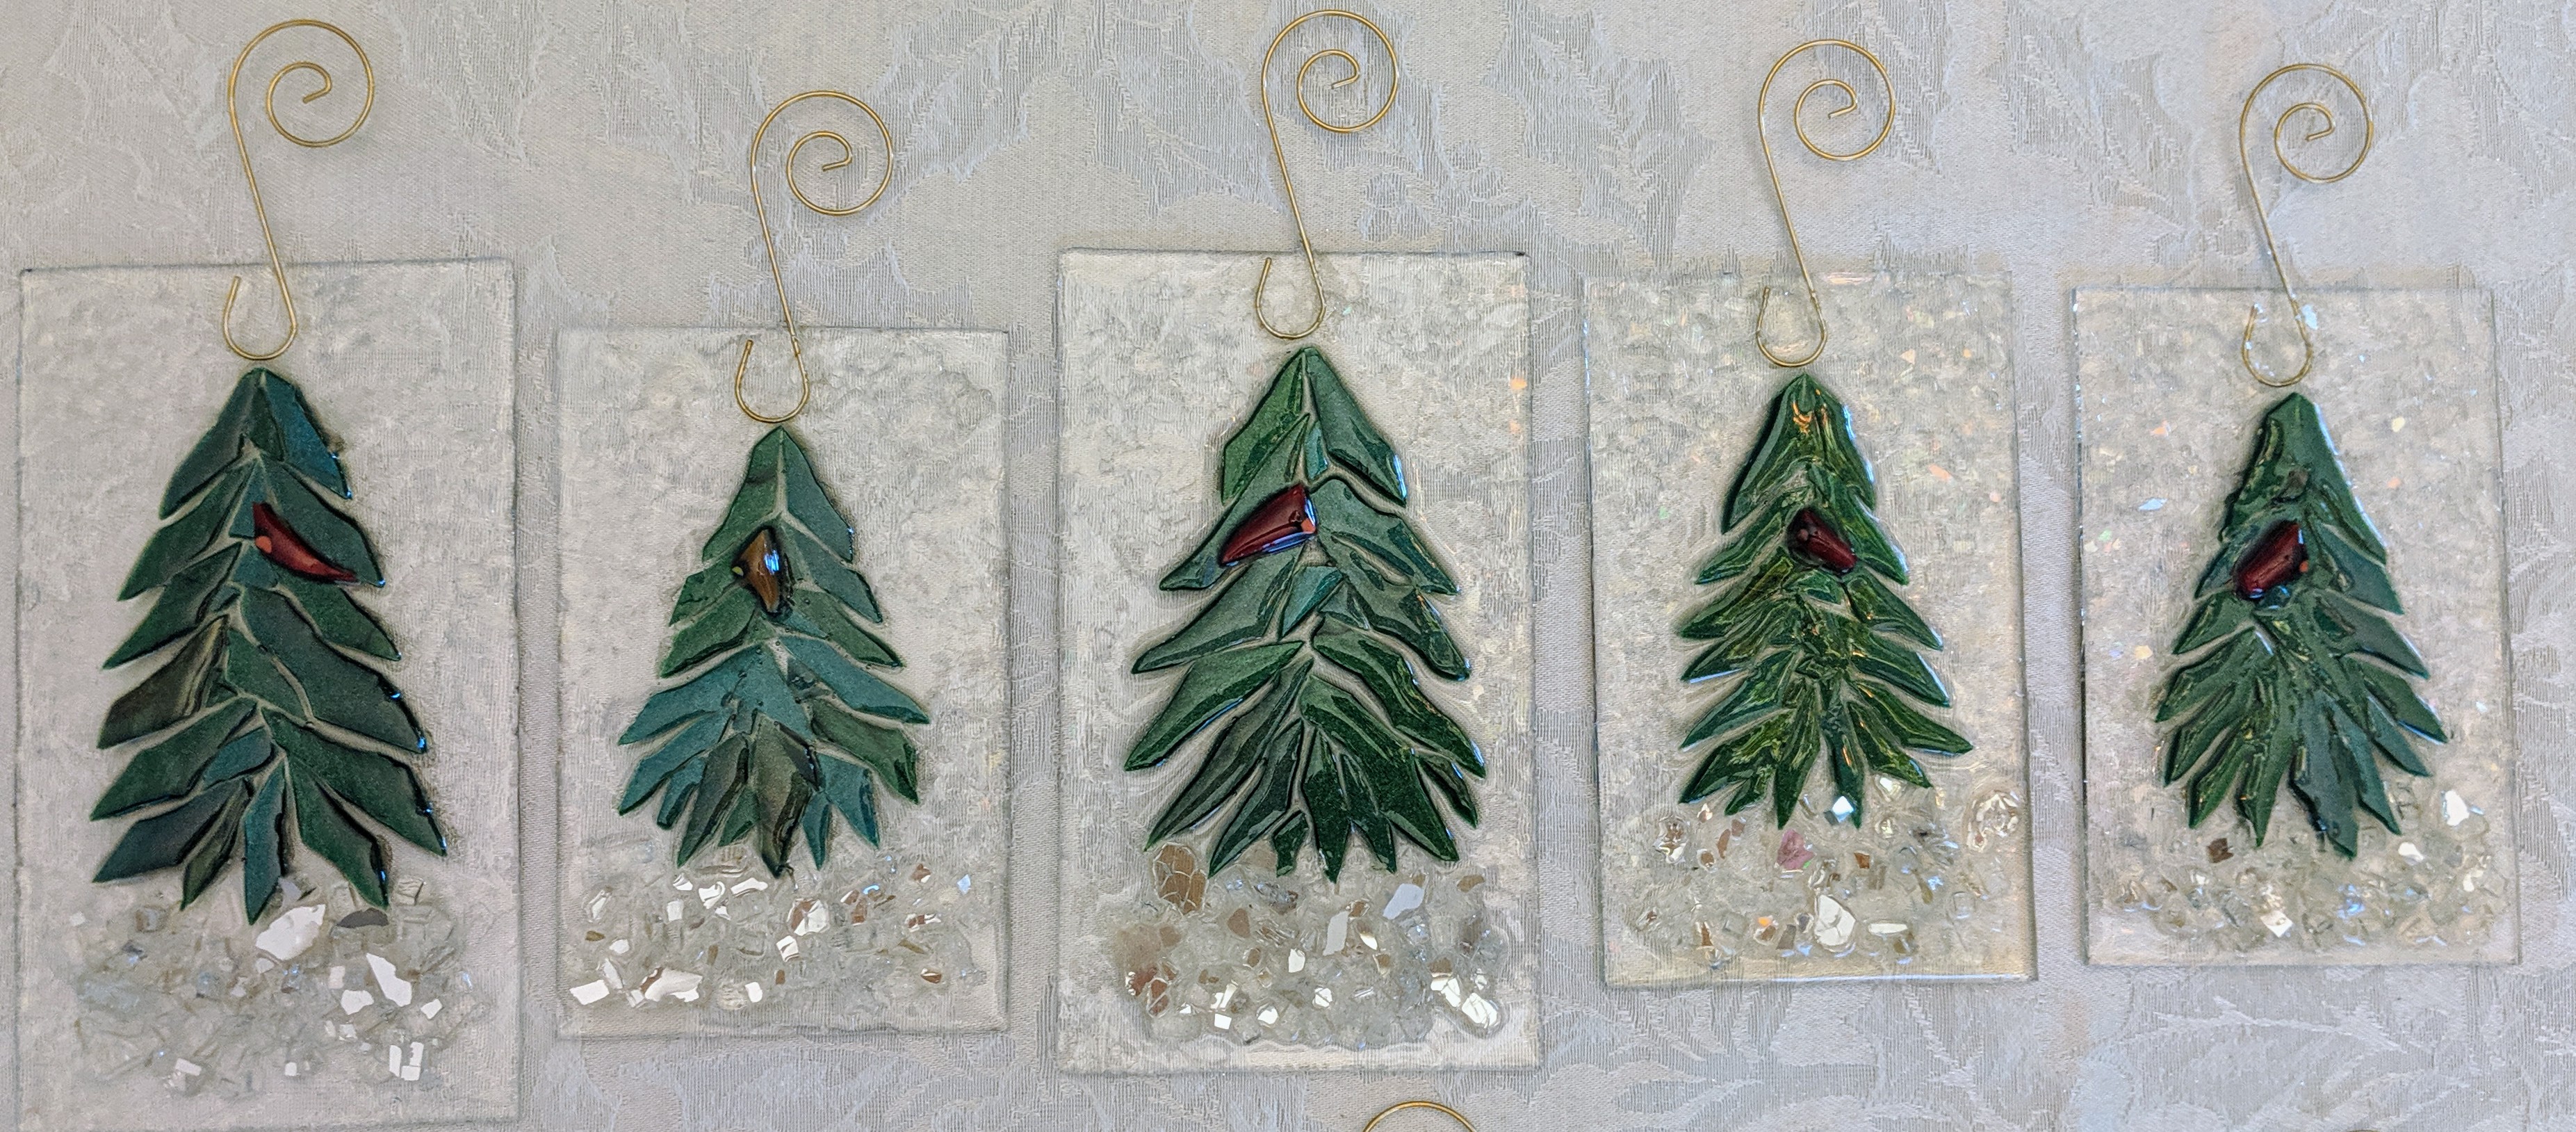
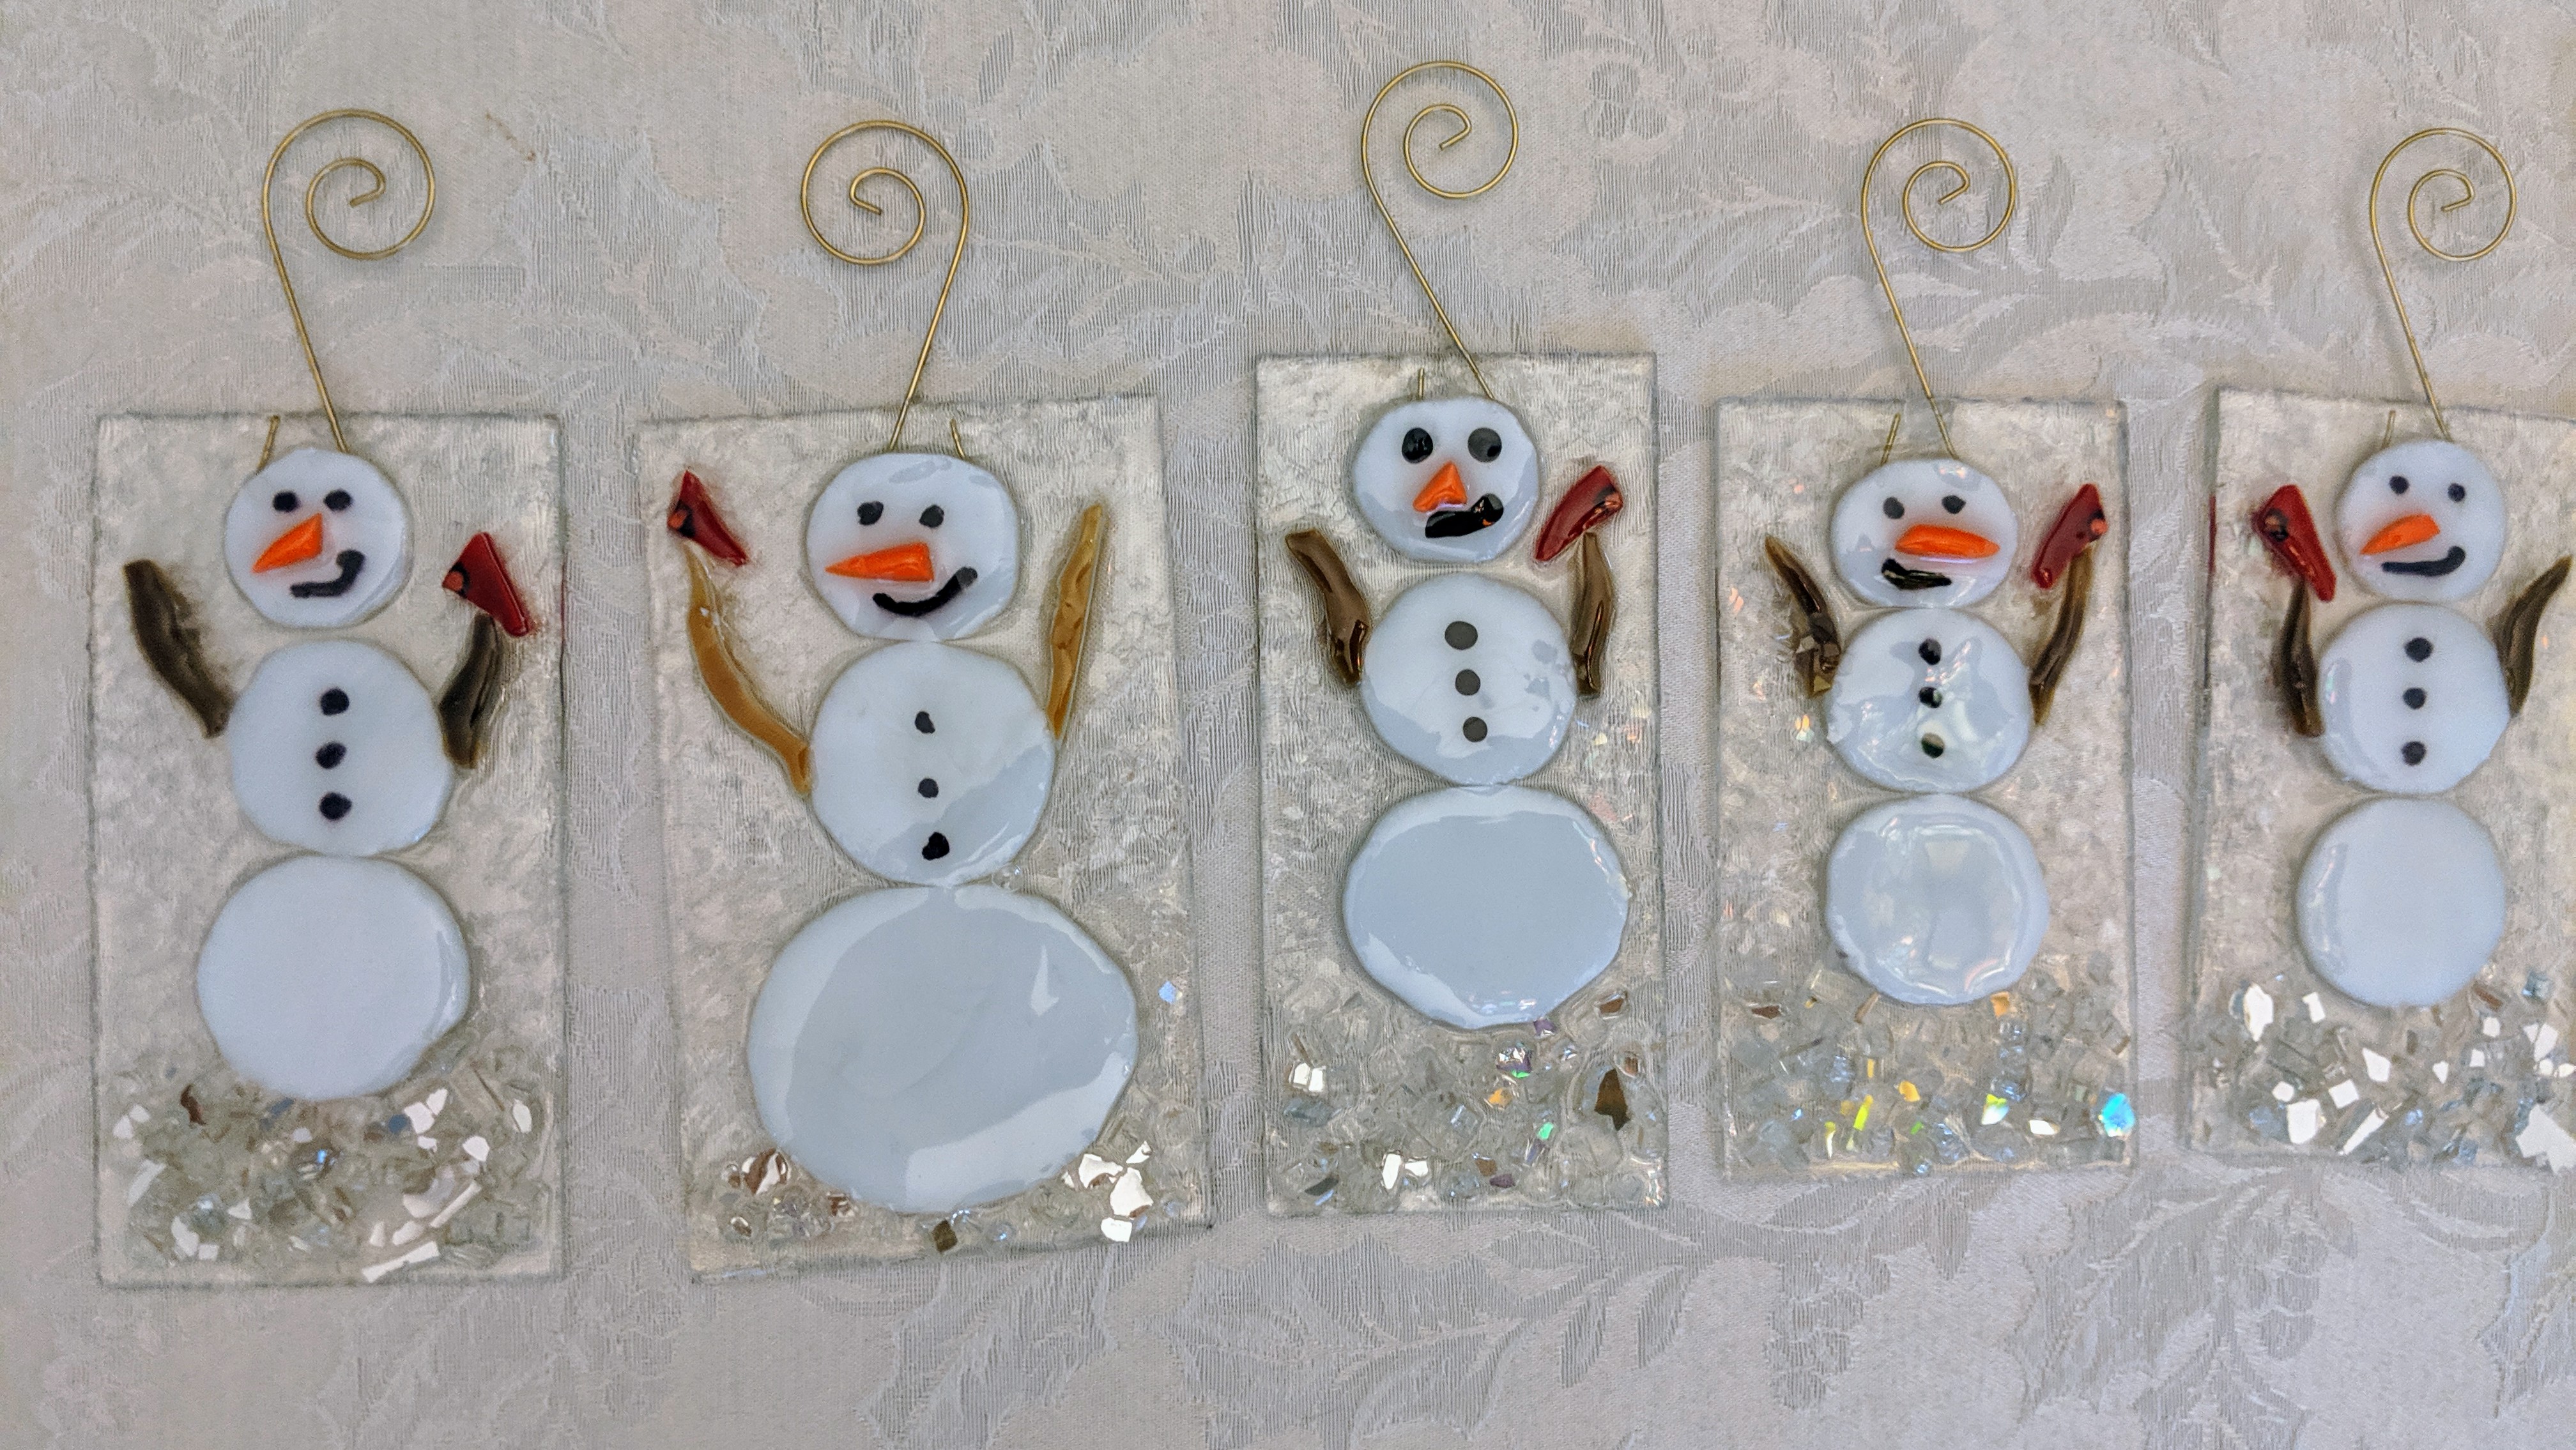
This post is just photos of the glass ornaments I’ve finished over the past few weeks. Enjoy! I will have these at the N. Charleston Farmers Market this Thursday (Halloween!) and at the Charleston Holiday Market at the N. Charleston Convention Center November 8-10.
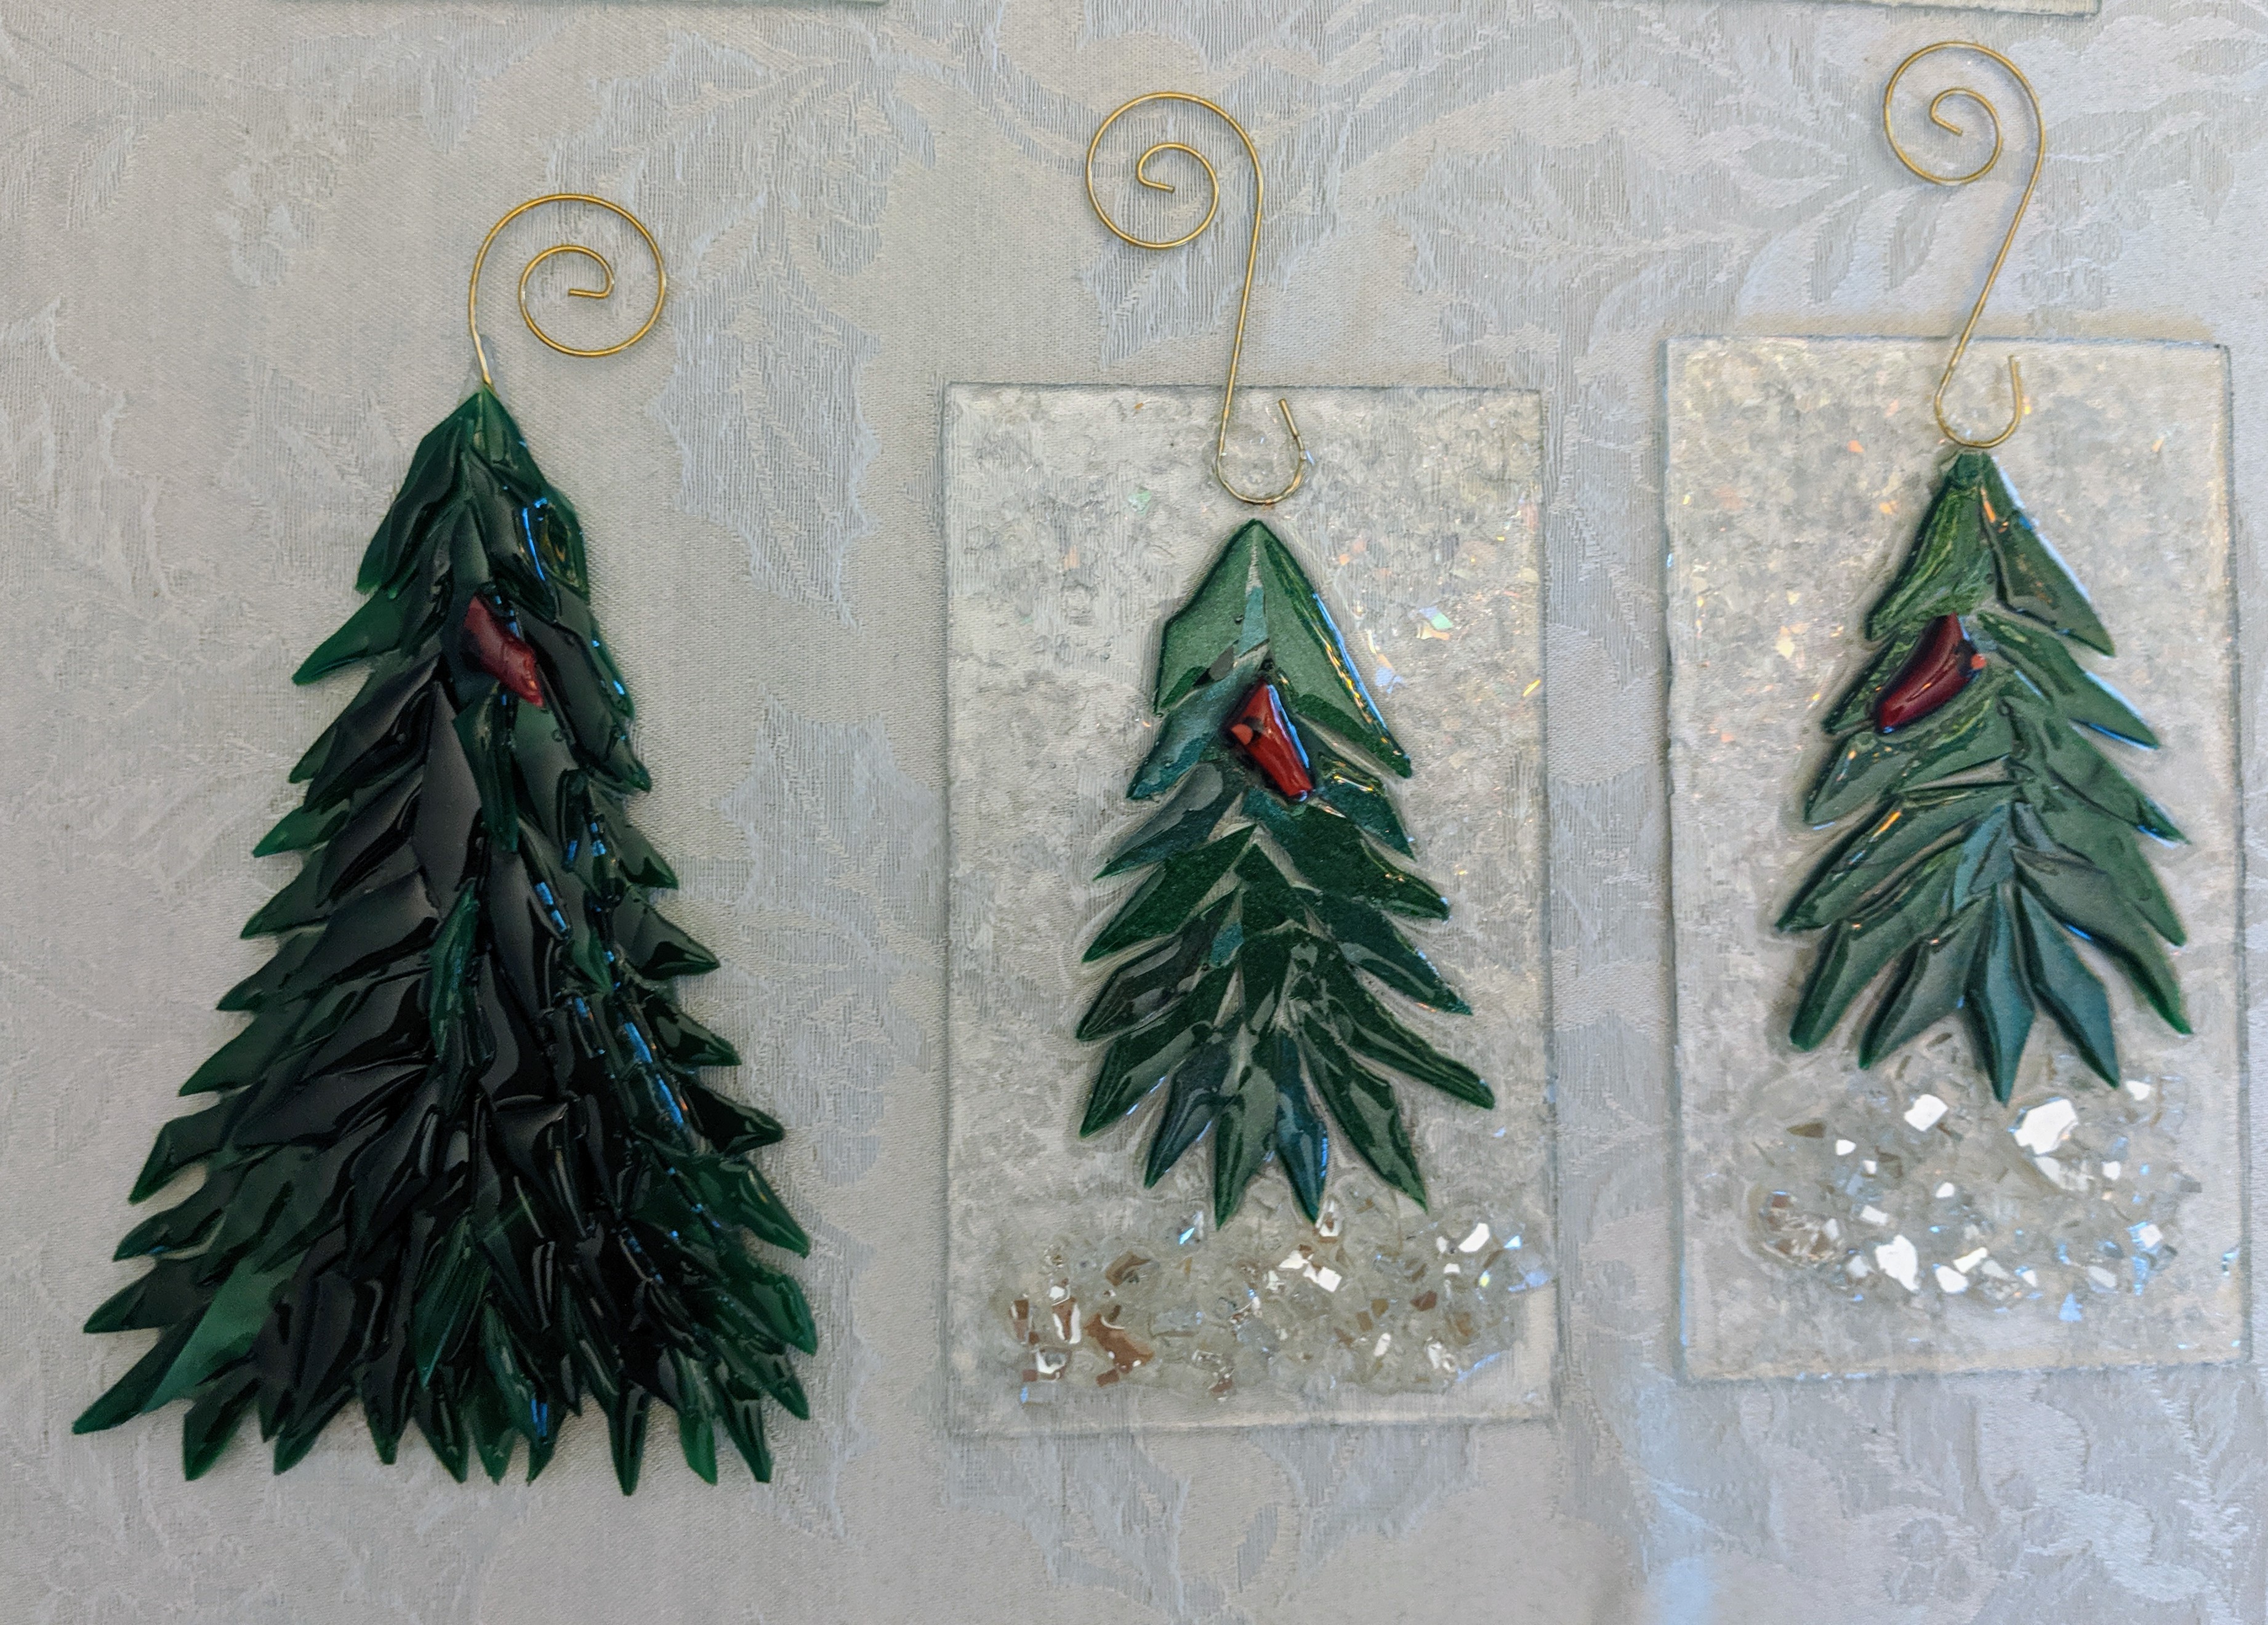
The whole lot of them!WreathsMistletoeLittle birds with green mica and a small Holly leaf.HollyVarious evergreen treesMore treesMore trees!It’s getting to be a forest!SnowmenMore snowmen!Little red birds.


