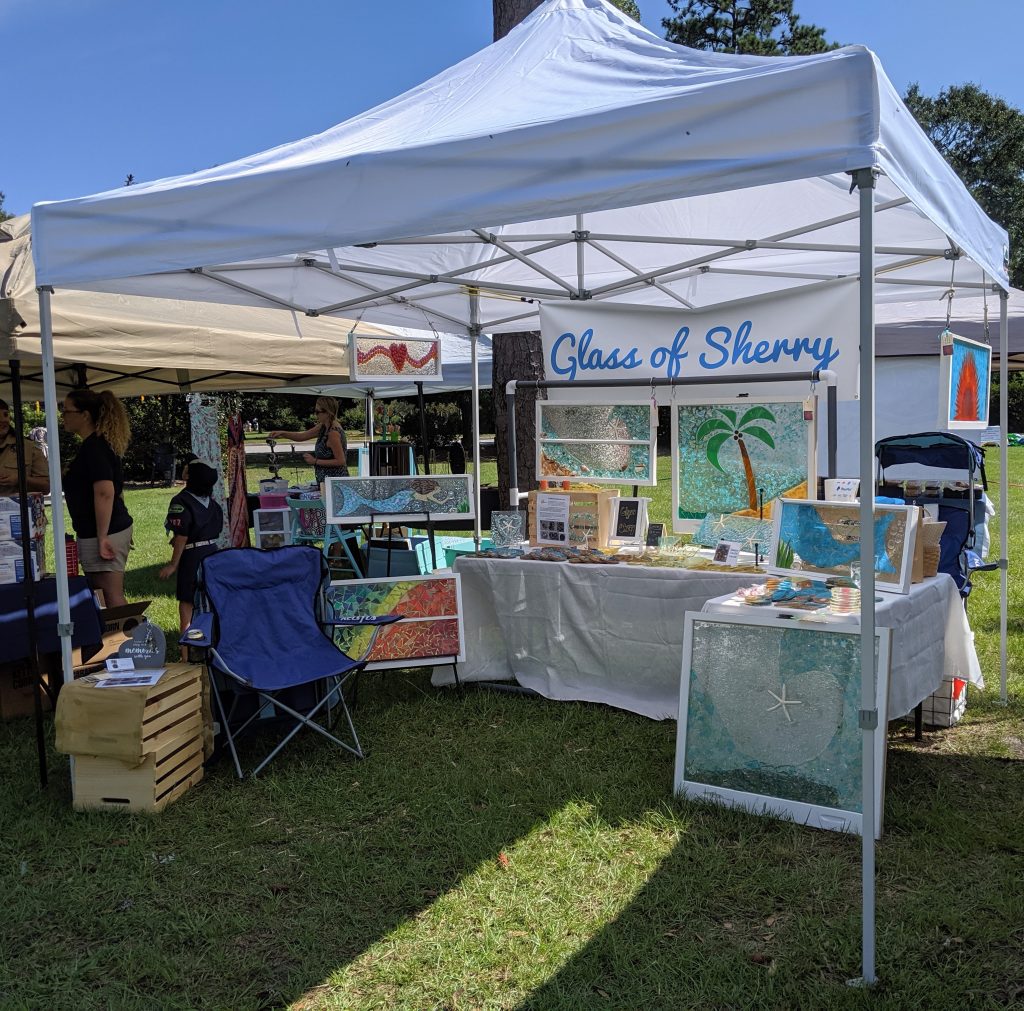
I’ll be at the Farmers Market in Park Circle again tomorrow, Thursday September 19th from 3-7 pm. Come by and visit me! Mention the code “VisitTen” to receive 10% off any in stock window!
posts
A new dichroic project
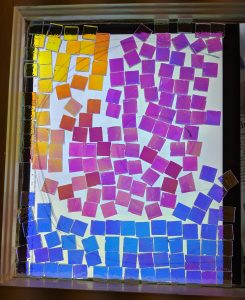
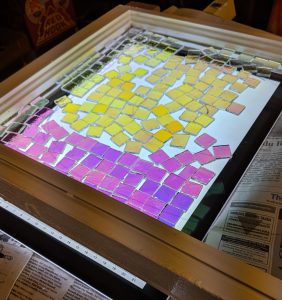
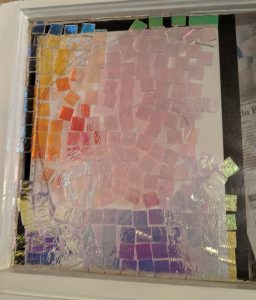
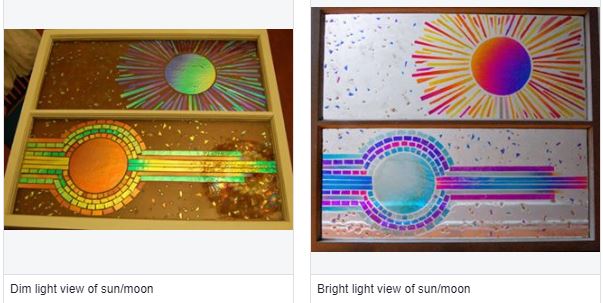
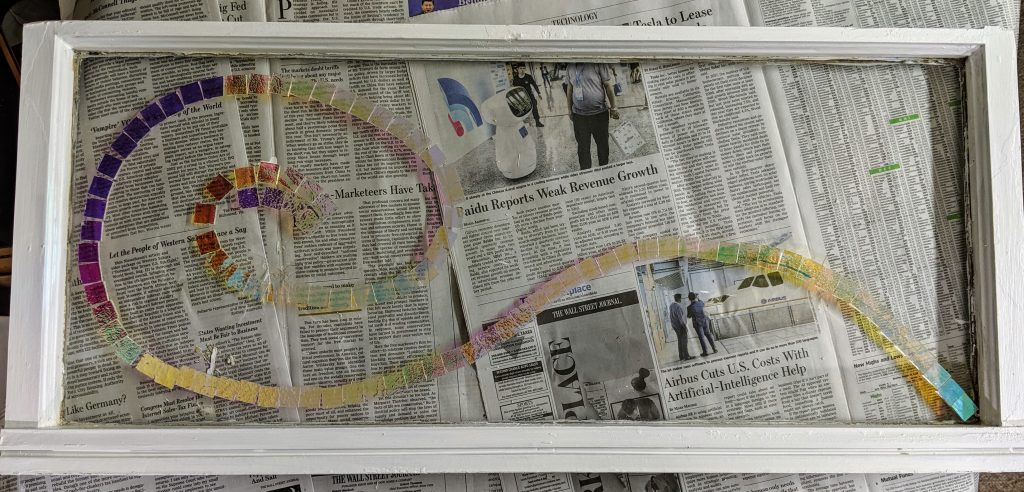
I prepped two more half windows and am trying to figure out what to put in the first one. I have a lot of beach / sea themed mosaics on hand, so I think I will do something different with this one. I love this dichroic glass, so I think I will start with it and see where it takes me – sort of a Ribbon of Light.
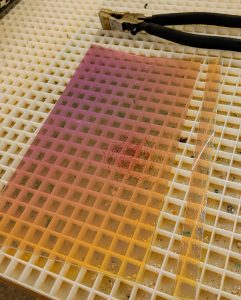
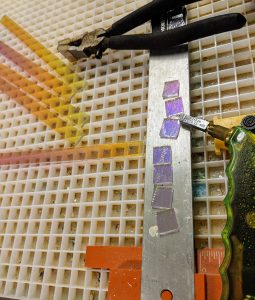
I like the idea of having all uniform square pieces for the “ribbon” part of the mosaic, but when I lay them out, I have the urge to make a lot of them trapezoidal so the curves are smoother. We’ll see if the urge wins out or not. I also broke down and ordered a light box, as I can’t tell what color the dichro pieces will be without one (well, not without holding each individual piece up to the light source, which is too tedious with a 30″ window).
This is just the first, very rough draft for this project. Still lots of adjustments to make and planning to do before any glue is involved!
Park Circle Farmers Market
I’ll be at the N. Charleston Farmers Market every Thursday in September and October (weather permitting). Come check out my booth!
Done with the tail
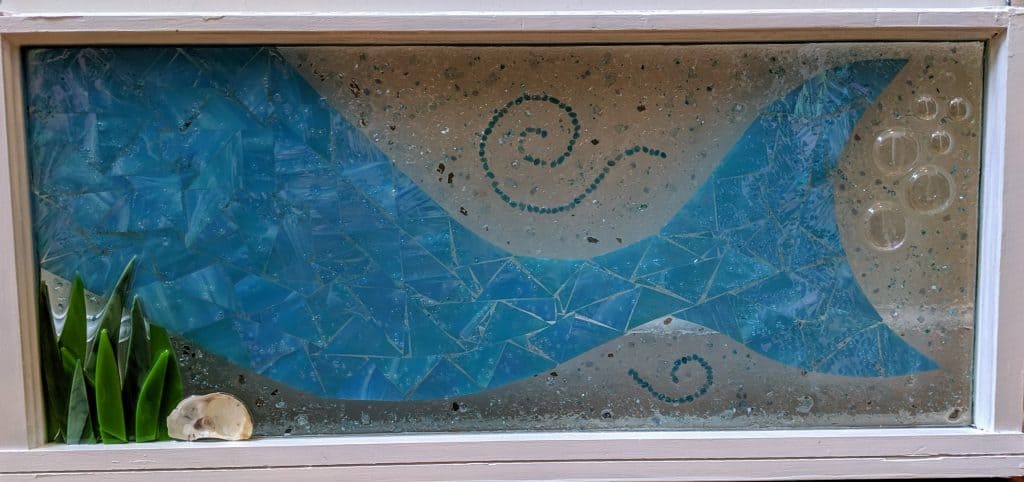
It’s not the best photo (I’m really not good at photographing these), but here is the finished Mermaid Tail Mosaic. Time to clean up a couple more old windows to recycle into the next artwork!
Resin is poured
Today I poured the resin on the mermaid tail and decorated it with glass chips, chunks, flakes, etc. I even used a little of the blue shell material. Now it needs to cure before I can bring it upstairs for a better photo.
Tale of a Tail
I was having a bit of a mental block with the mermaid tail mosaic, but today I forged ahead and got it pretty much ready to pour the resin after the glue dries, maybe tomorrow.
After I reshaped the tail slightly, I started trying out some different options for decorating.
I finally decided I liked the small seaweed and bubbles. I added some swirls and plan to add a variety of glass chips when I pour the resin.
Starting a New Mosaic
I’ve been pretty busy making beads (petmemorybeads.com) the past couple of weeks, but today I took some time to start another mosaic. I started with a huge sheet of Spectrum light blue iridized glass that I have been holding onto for a long time. I cut a good sized chunk of it off so it would fit on my work space and started to make pieces for the mosaic.
Next I cut the smaller piece of glass into strips, and then into squares, and again into triangles and started arranging them on the window where I drew a mermaid’s tail a week or two ago.
First I laid out the outline of her tail, then started filling in the gaps.
I haven’t glued anything down yet, just getting a feel for how it looks. I need to eyeball it for awhile to make sure I like where it is going before I commit with glue. I plan on filling in some more and then decorating with some glass embellishments after I pour the resin. I also need to decide how I want to decorate the background areas – will there be shells and seaweed? Maybe some swirls and bubbles? Still need to figure that out.
Formulating a plan
Varying the “waters”
I signed up for a space at a local farmer’s market for the months of September and October, so I have been trying to build up an inventory of small things (smaller glass pieces and coasters) to sell in addition to my stained glass in recycled windows. I also bought some various blue glass materials to use for the water in the beach coasters. I decided to try three different types of glass for this round of coasters. I really love the look of the “Blue Shells” glass, so I used that for some. Additionally, I used some fairy garden glass chips and another shade of larger (but still tiny) fairy glass globs.
Below is how the fairy glass globs looked when set in the resin.
I poured all of these coasters in two layers, one day apart. Since I learned that the type of resin I’m using is meant for thin applications, I went back to my old layering method of pouring. The demolding revealed another anomaly in the resin, however. The coasters with the fairy glass chips warped when they cured, so the tops of all four of them were uneven.
All the other coasters turned out to be fine, only the ones using that particular glass warped. They will obviously not be particularly useful as coasters with the tops so warped. After further inspection, I realized that one of the new molds I just purchased for coasters is defective, causing the warping. Unfortunately I wasted a lot of materials before I realized why the warping was occurring.
Another lesson learned. Luckily my new resins arrived today, so I can start using the proper resin for thicker molds going forward. The type I normally use is good for thin coatings only. I must just be fortunate that my previous coaster creations turned out fine using it!
Latest coasters – reveal
Here is how the latest batch of coasters came out. I was trying different colored pigments and also some new glass called “Blue Shells”. I *really* love this new glass. I bought it from Meyer Imports. By the way, I get no payment or promotion of any kind from any of the vendors whose products I use. I just share the info in case it helps someone.
I probably should have used more of the gold pigment in these, but I didn’t mix up enough. I can try this one again.