More waves

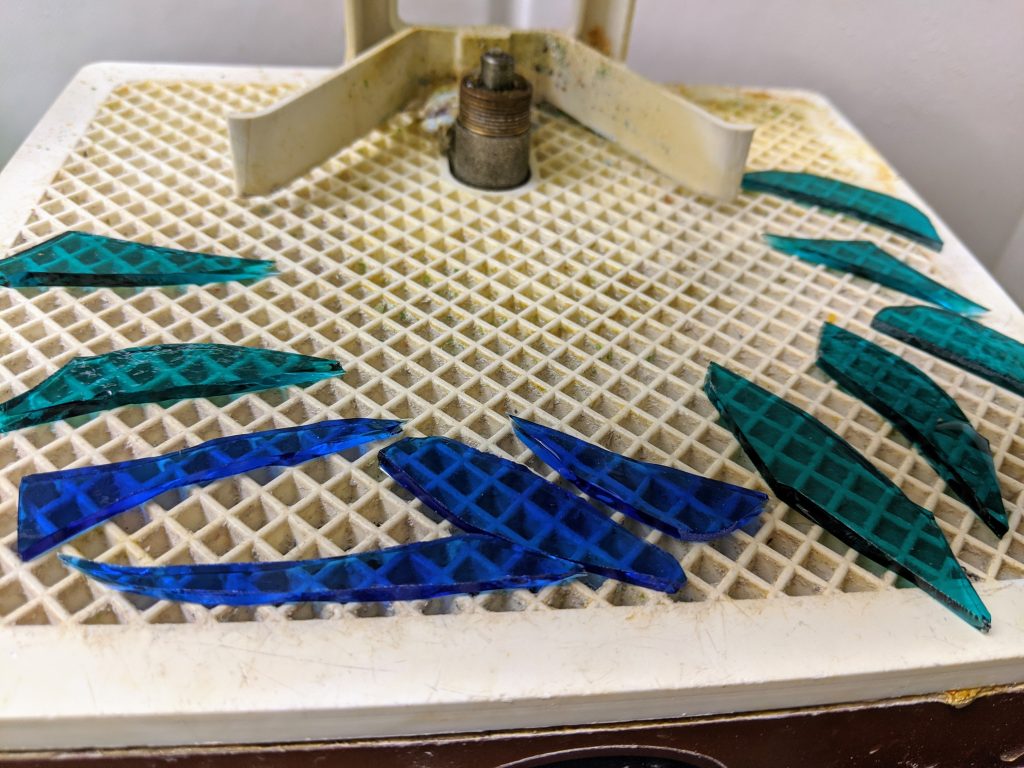
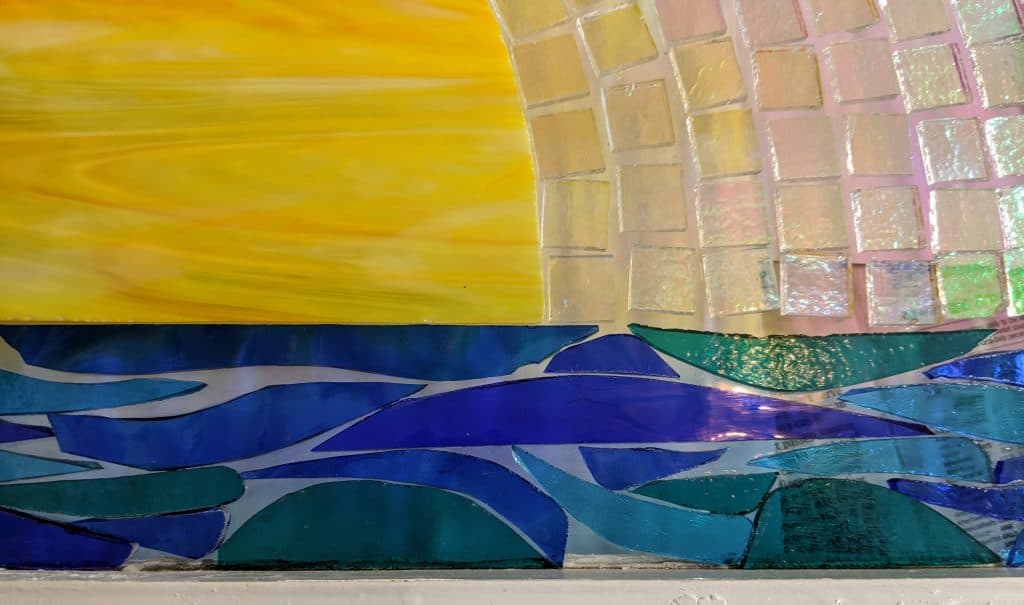
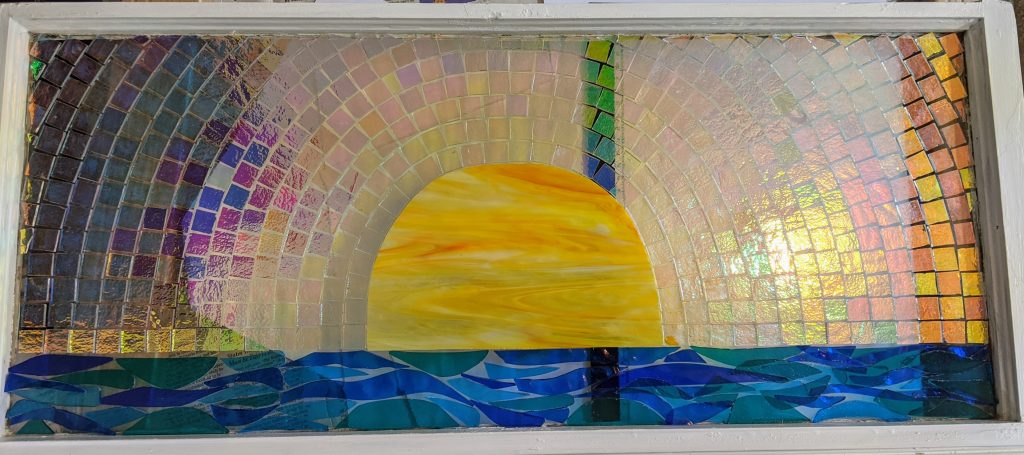
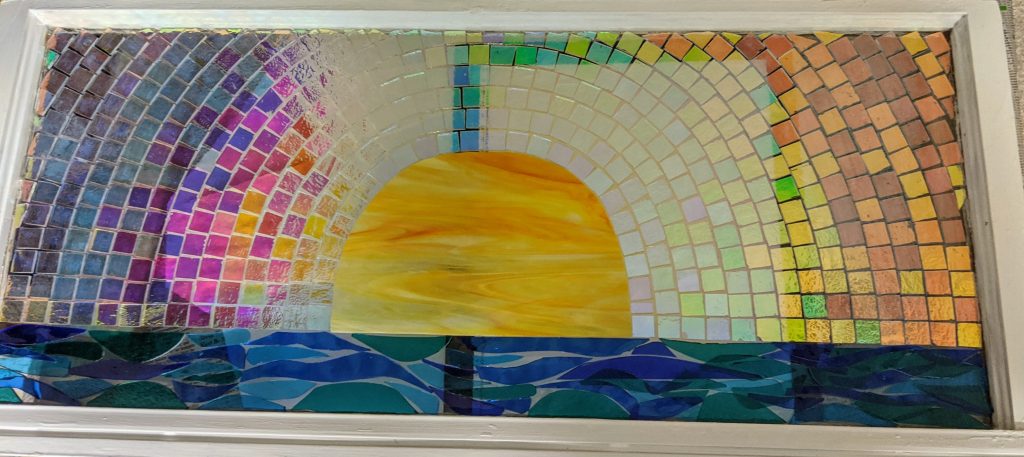
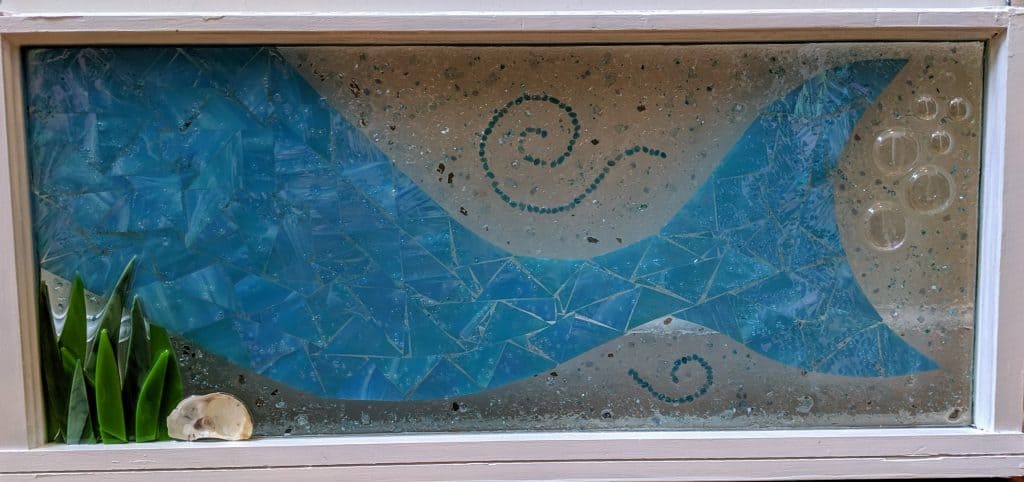
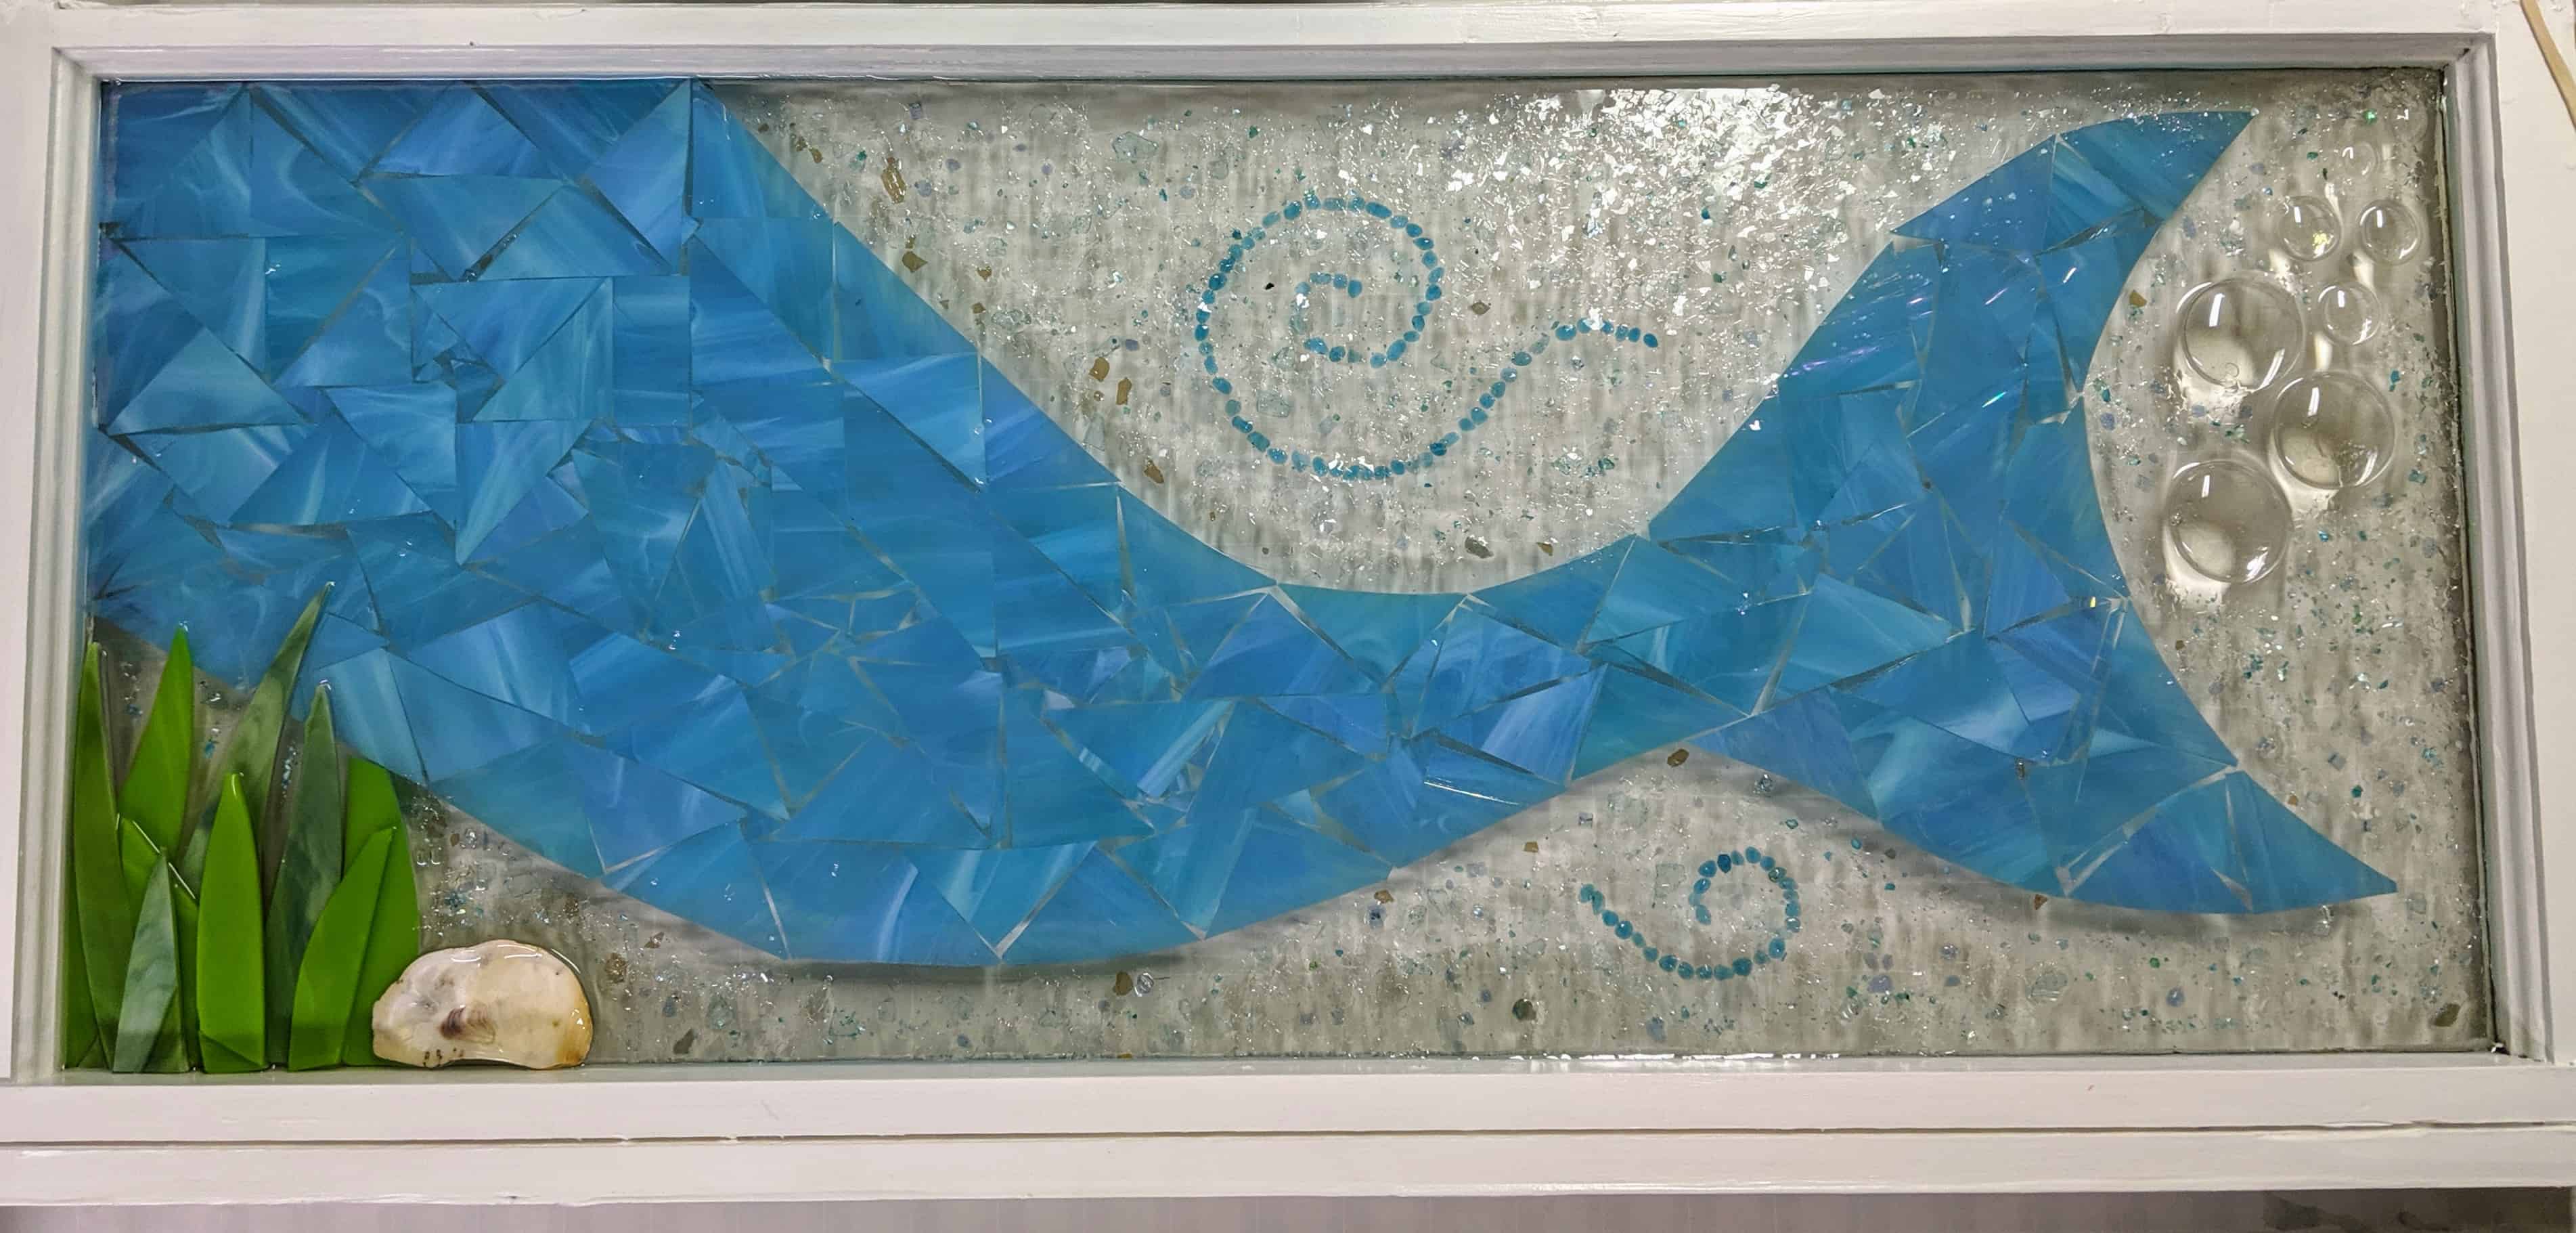
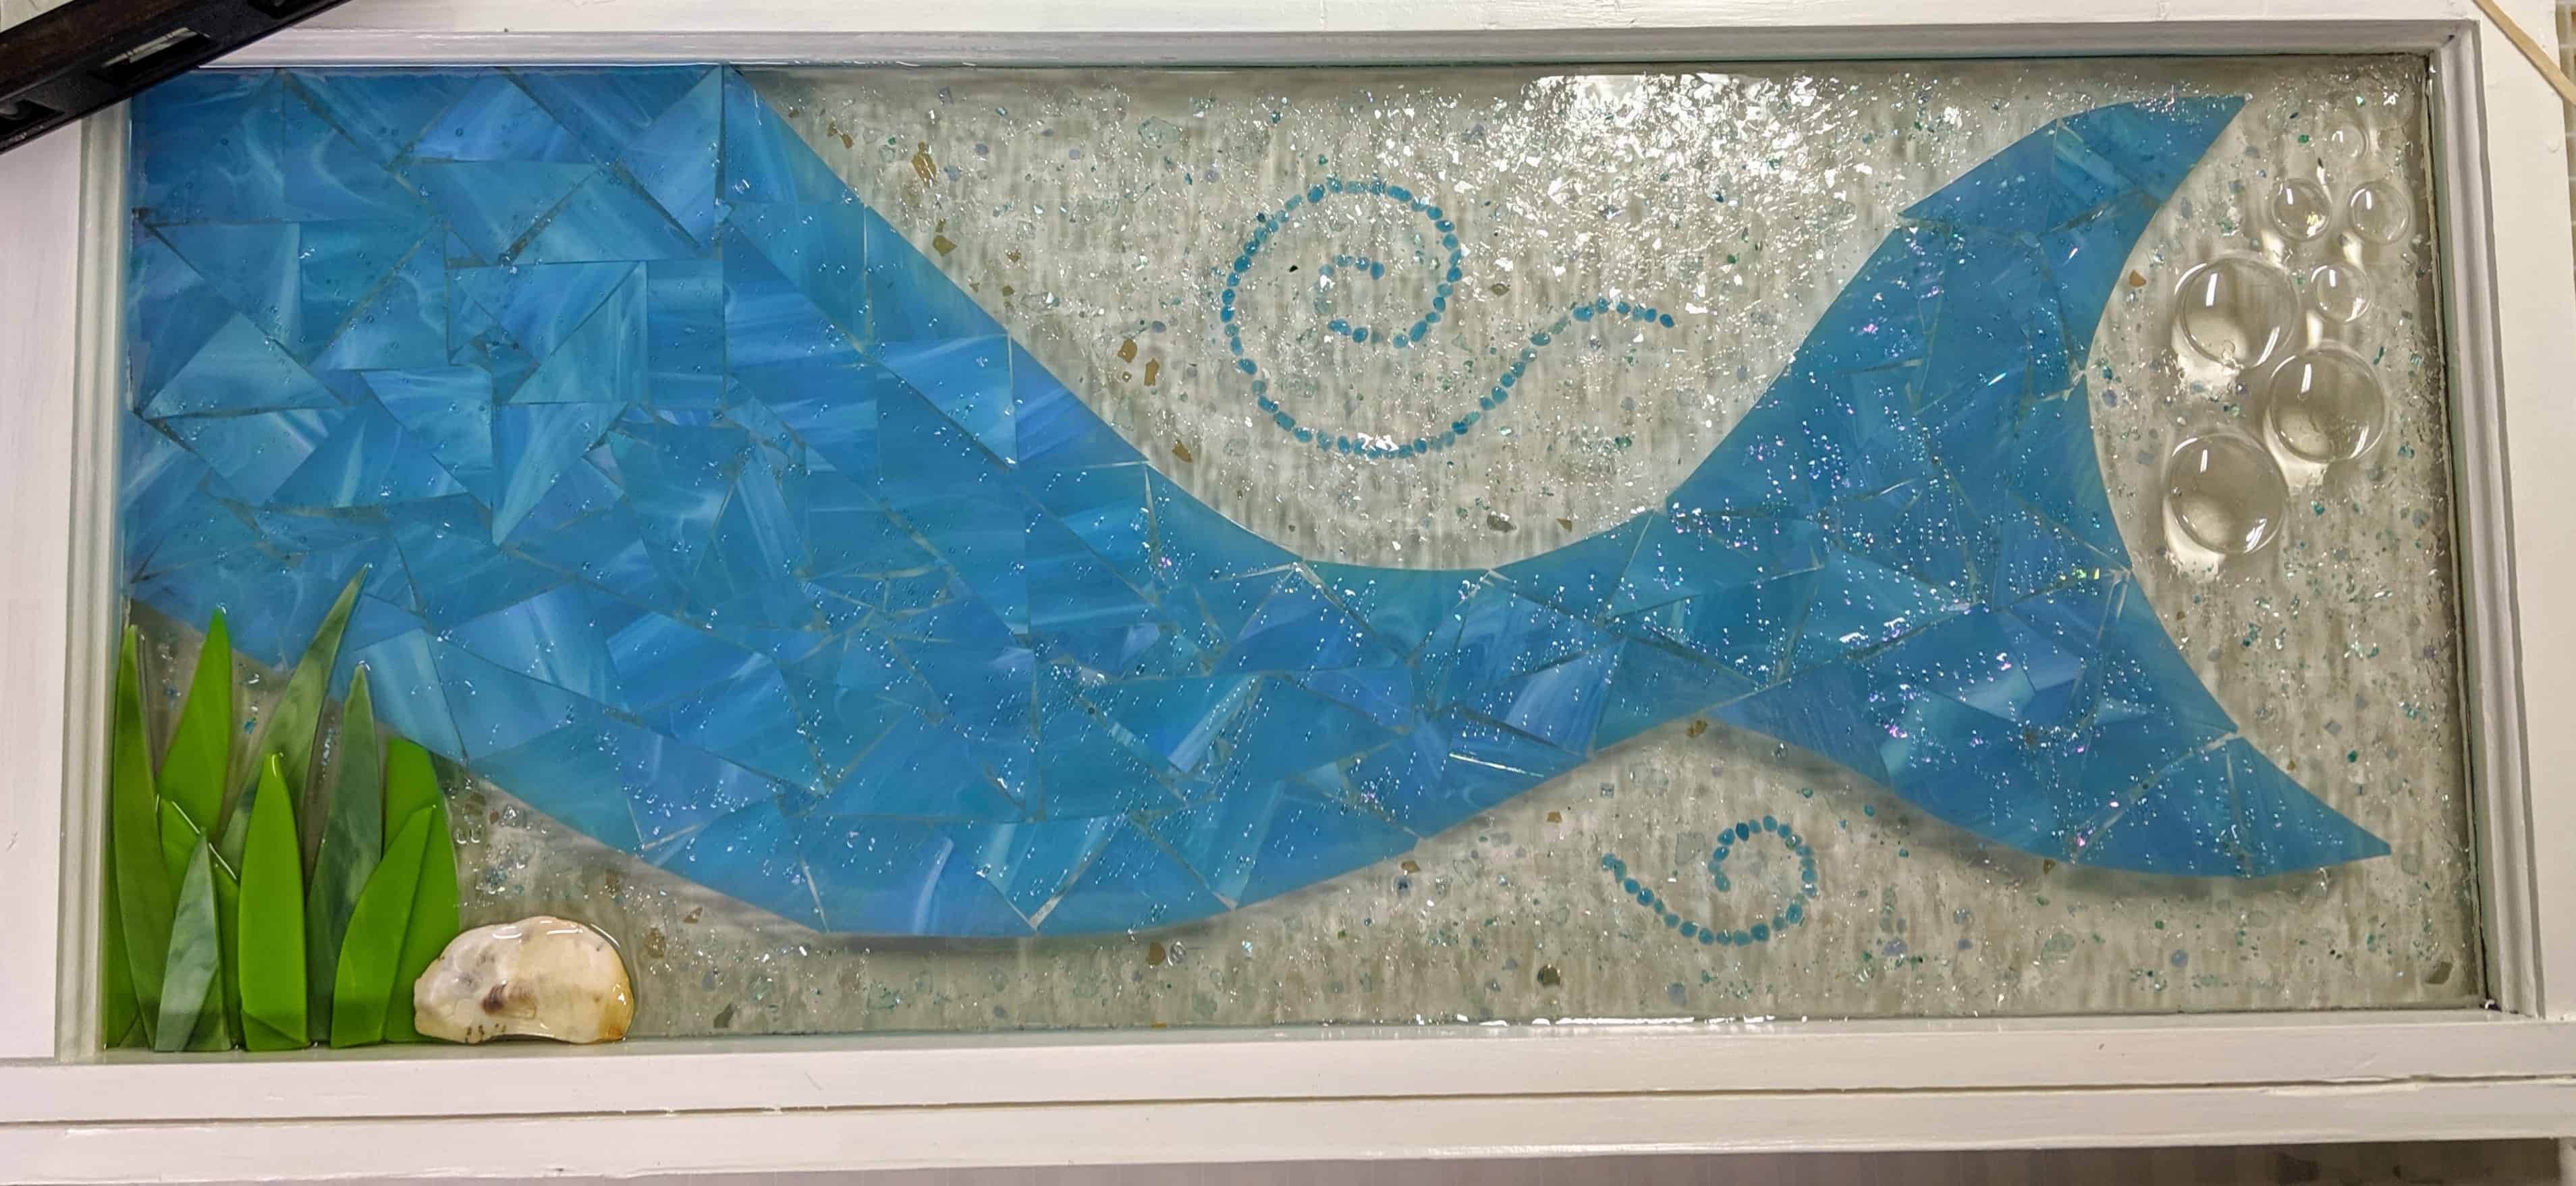
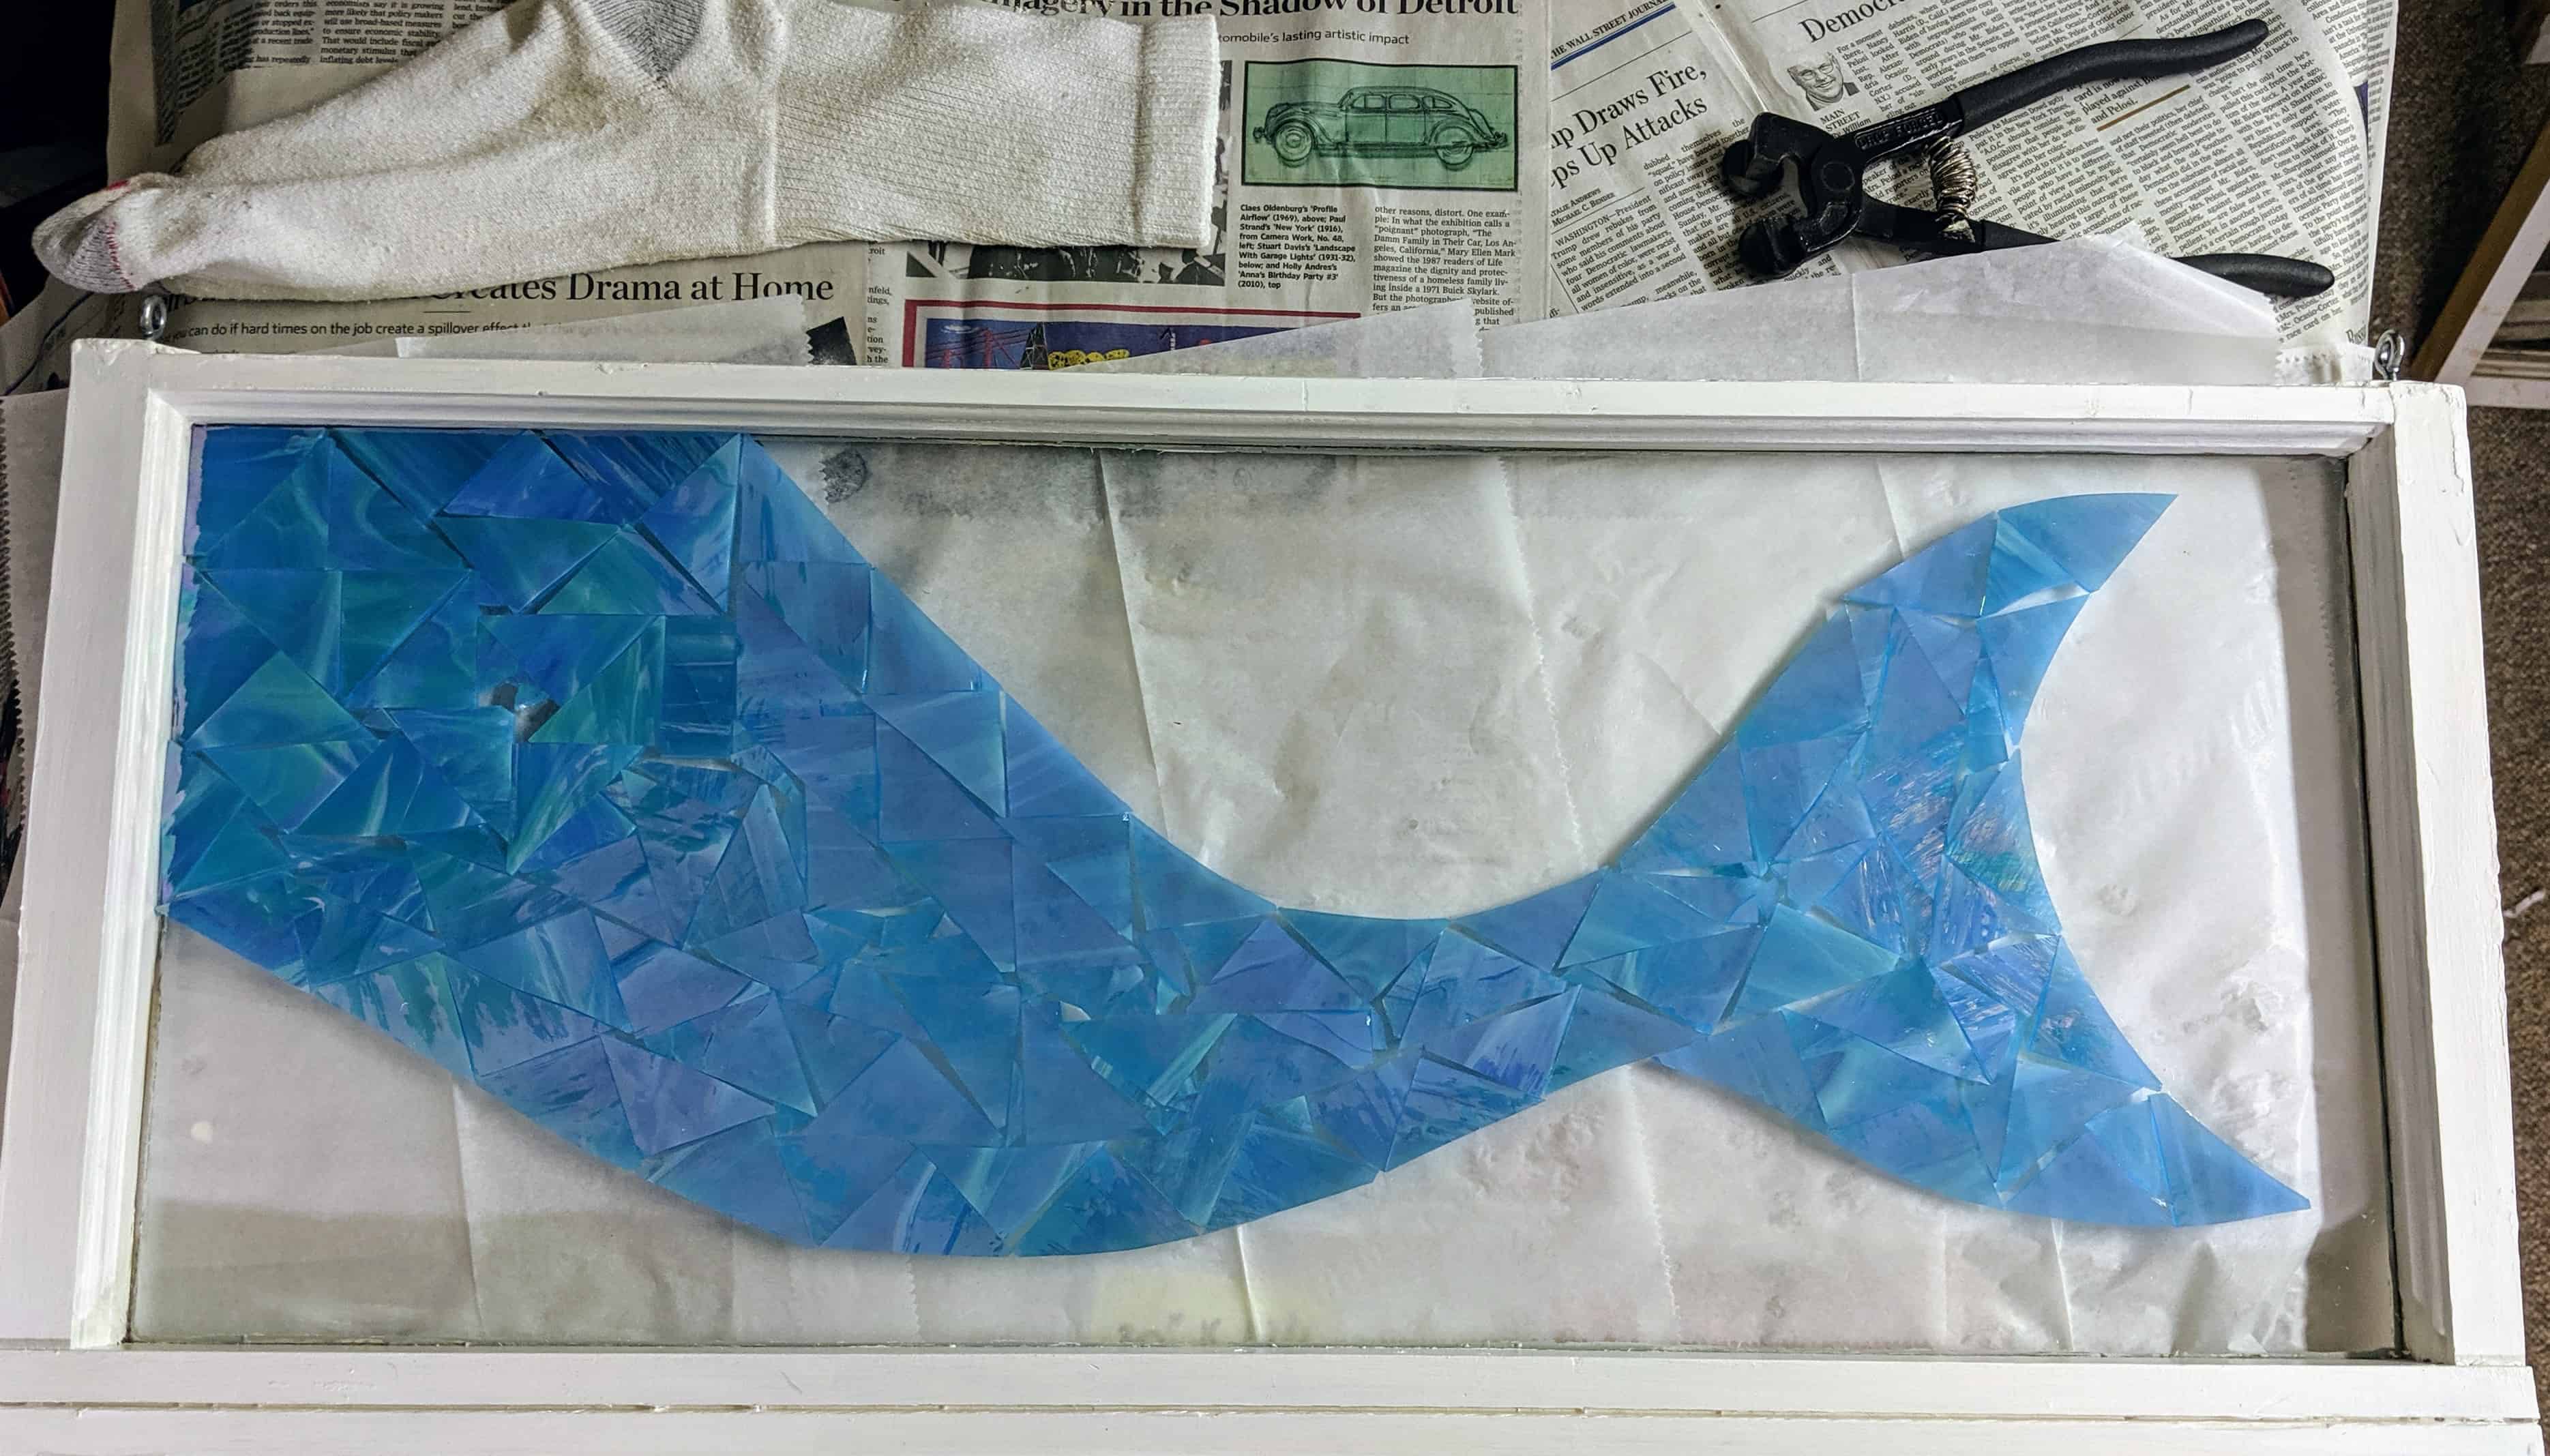
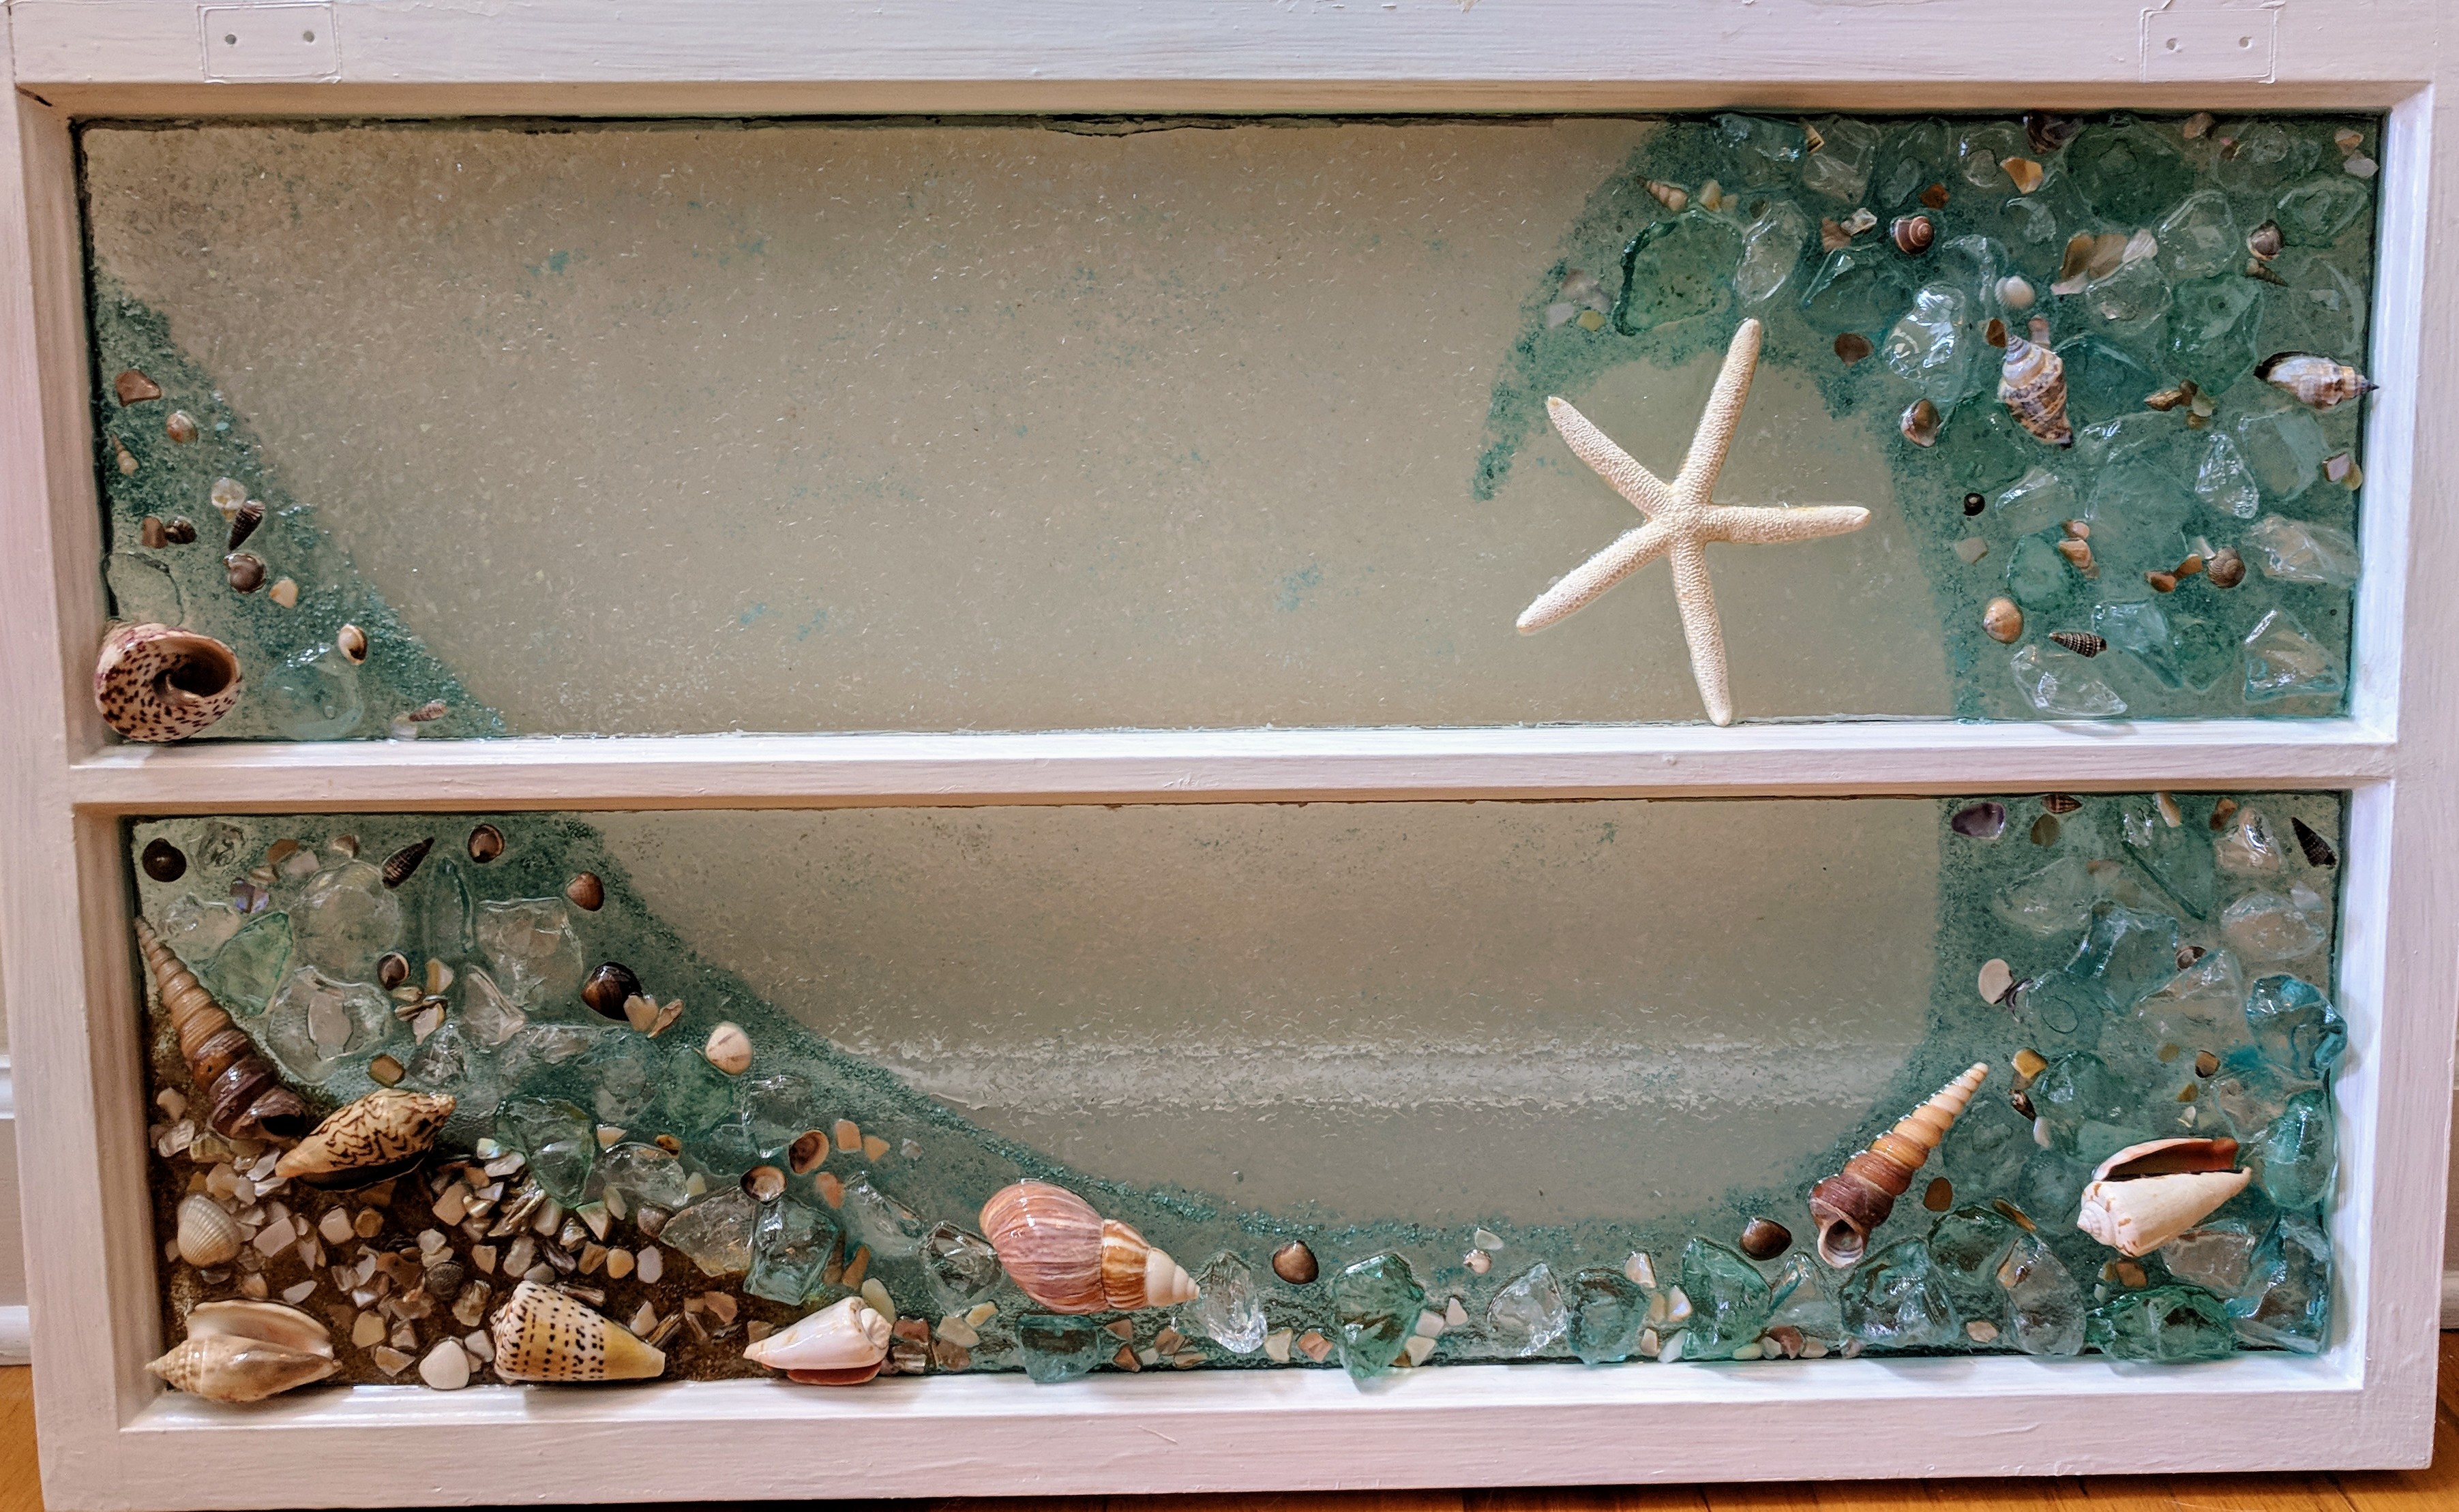
I was able to make a few more waves Tuesday, but managed to really slice one of my fingers while grinding the glass, so I didn’t get as much done as I had planned. Today my finger is feeling better and I was able to make some more waves (this time I was smart and covered my fingers with band aids before I ground the glass for the waves).

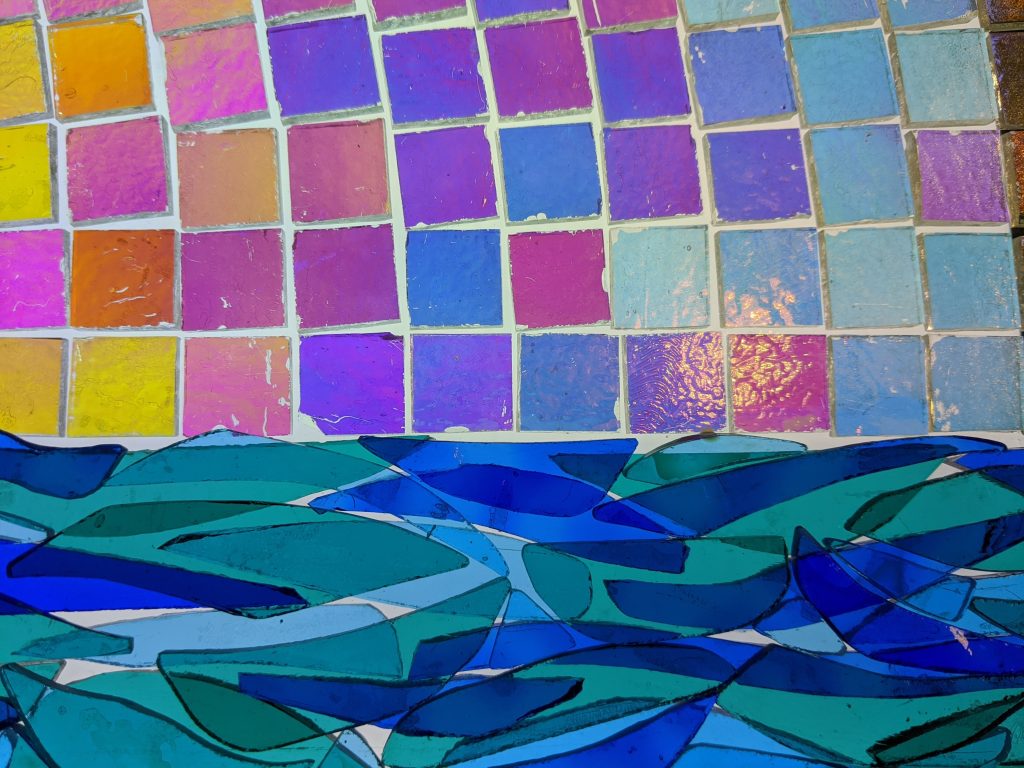
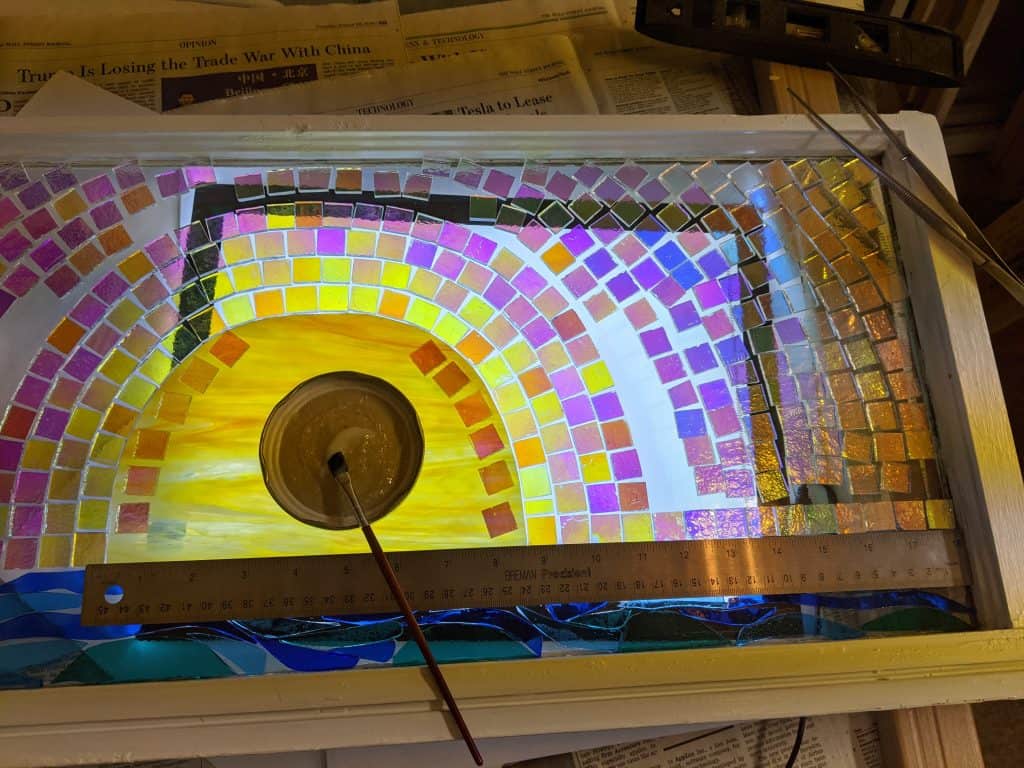
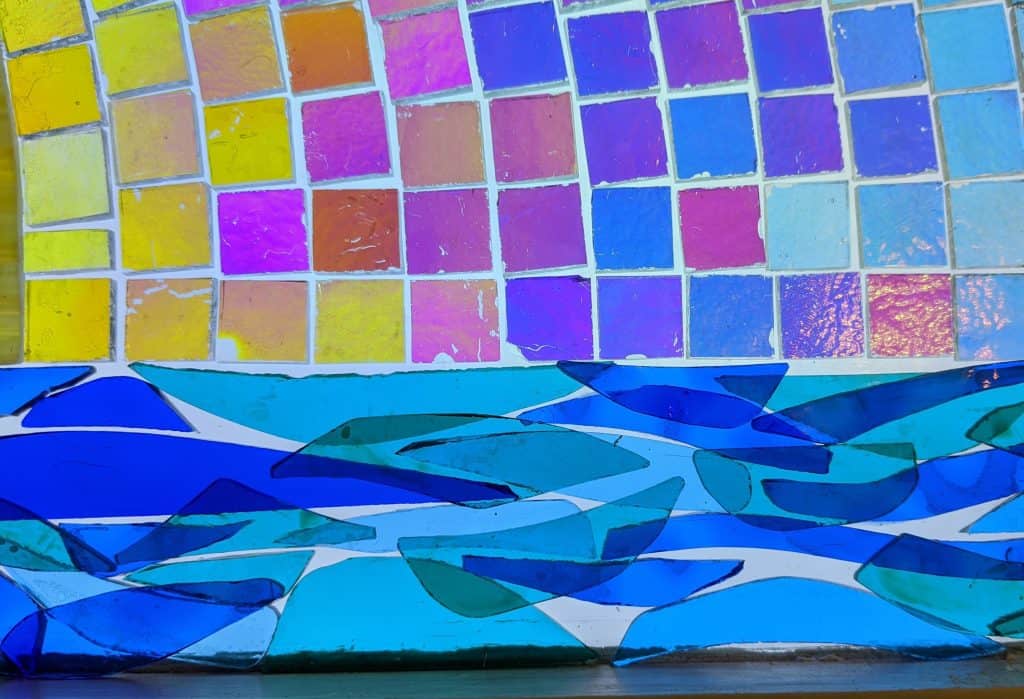
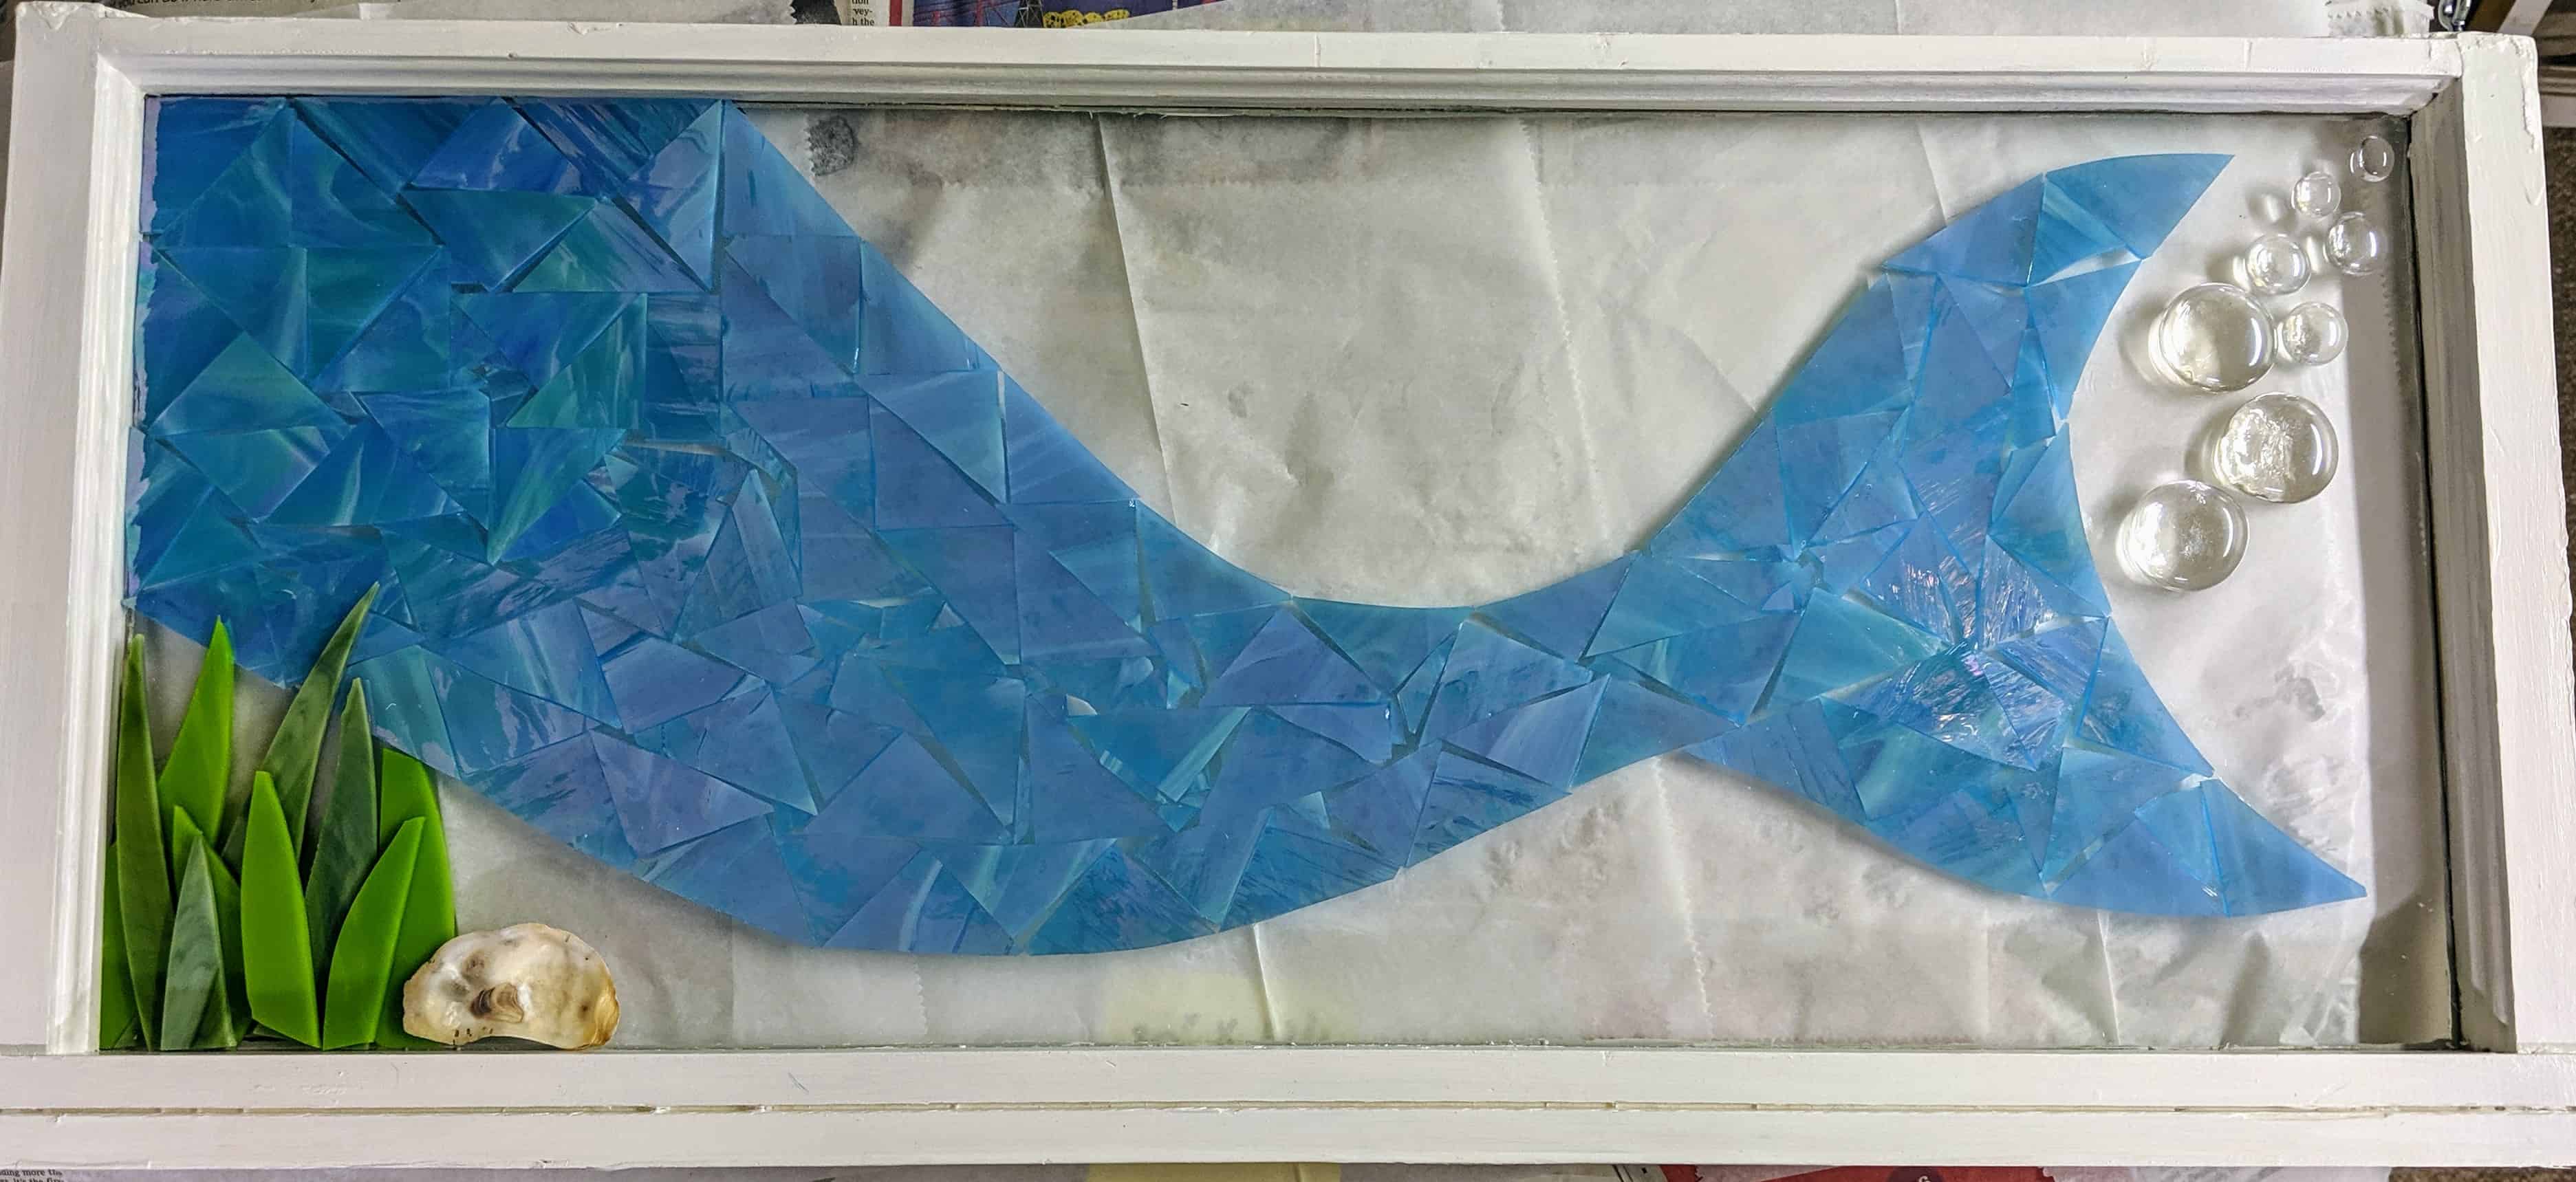
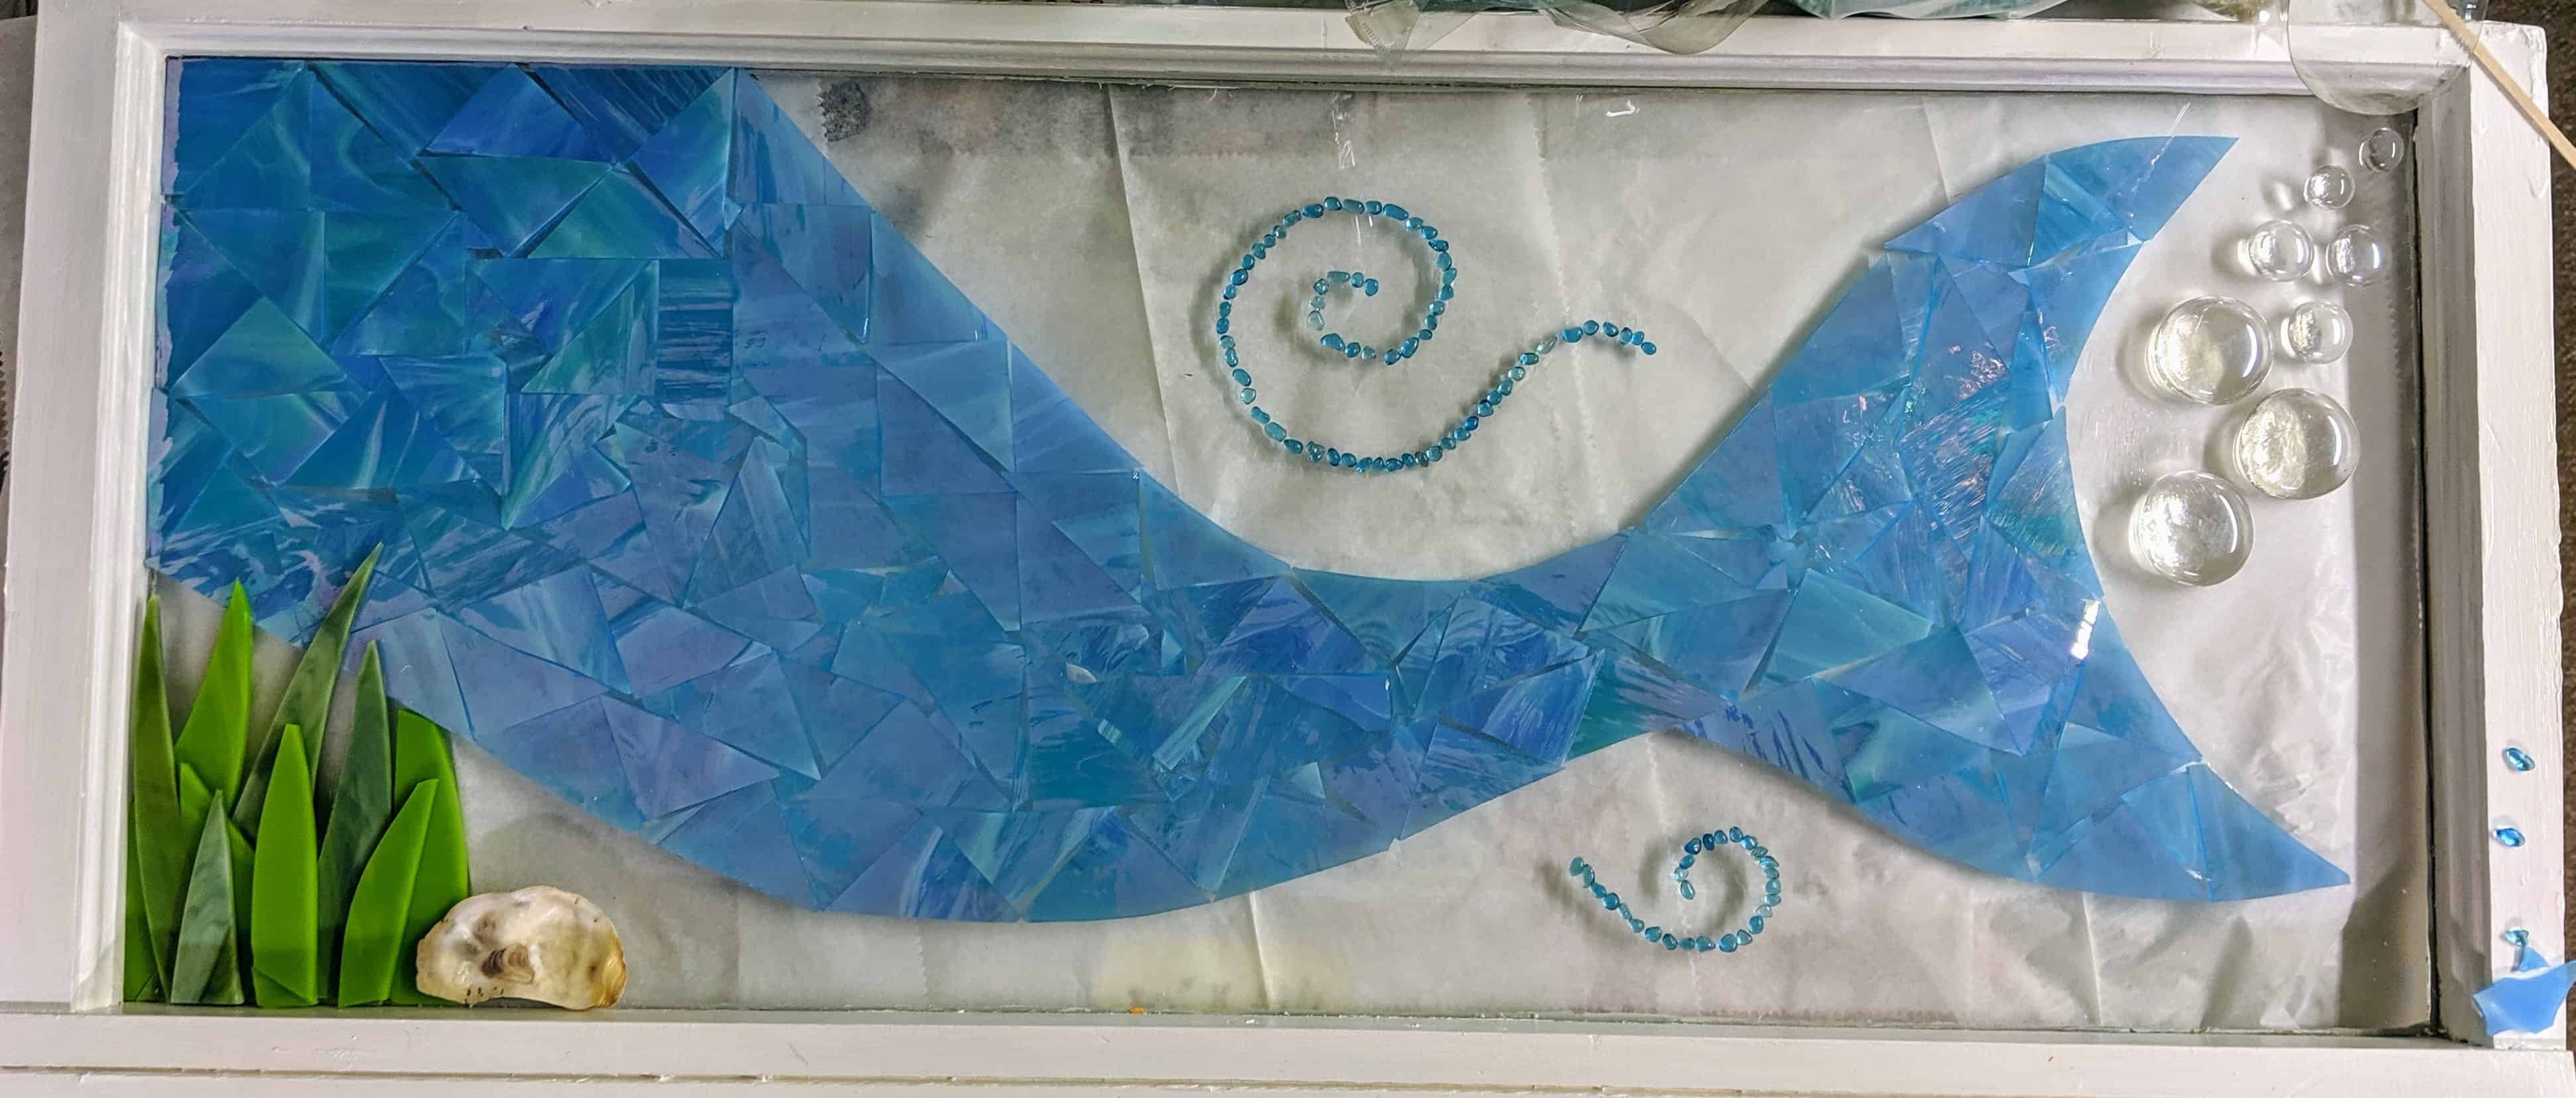
I was able to fill in quite a bit of detail on the sea / waves after all. My next step is to wait for the mosaic adhesive to dry, then I will be able to hold the entire window up to a light source to check for areas I want to augment. My light tray only covers about a third of the window at a time and I need to see “the big picture”.

Full view with today’s wave layers

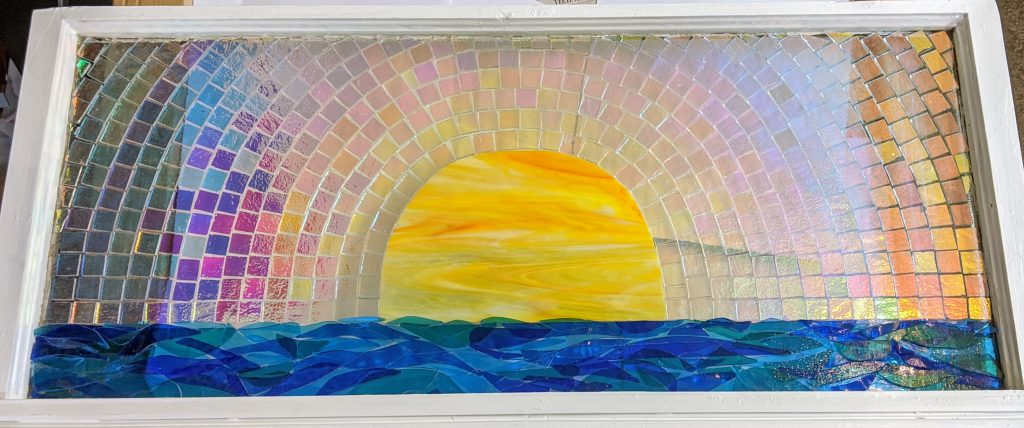
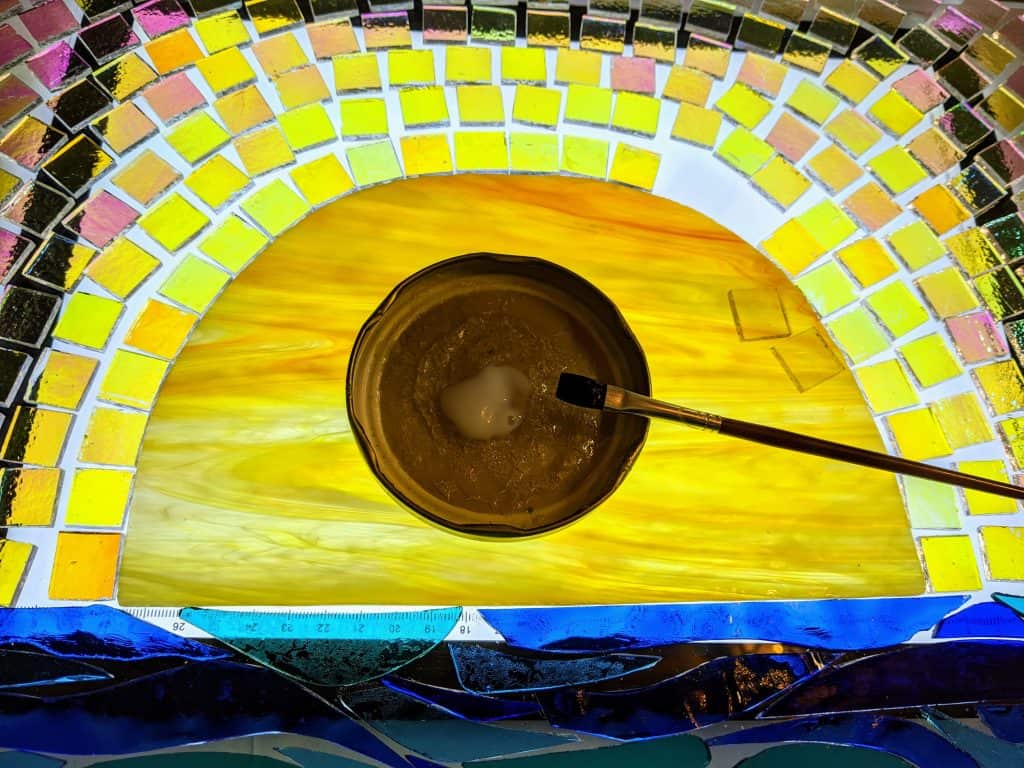
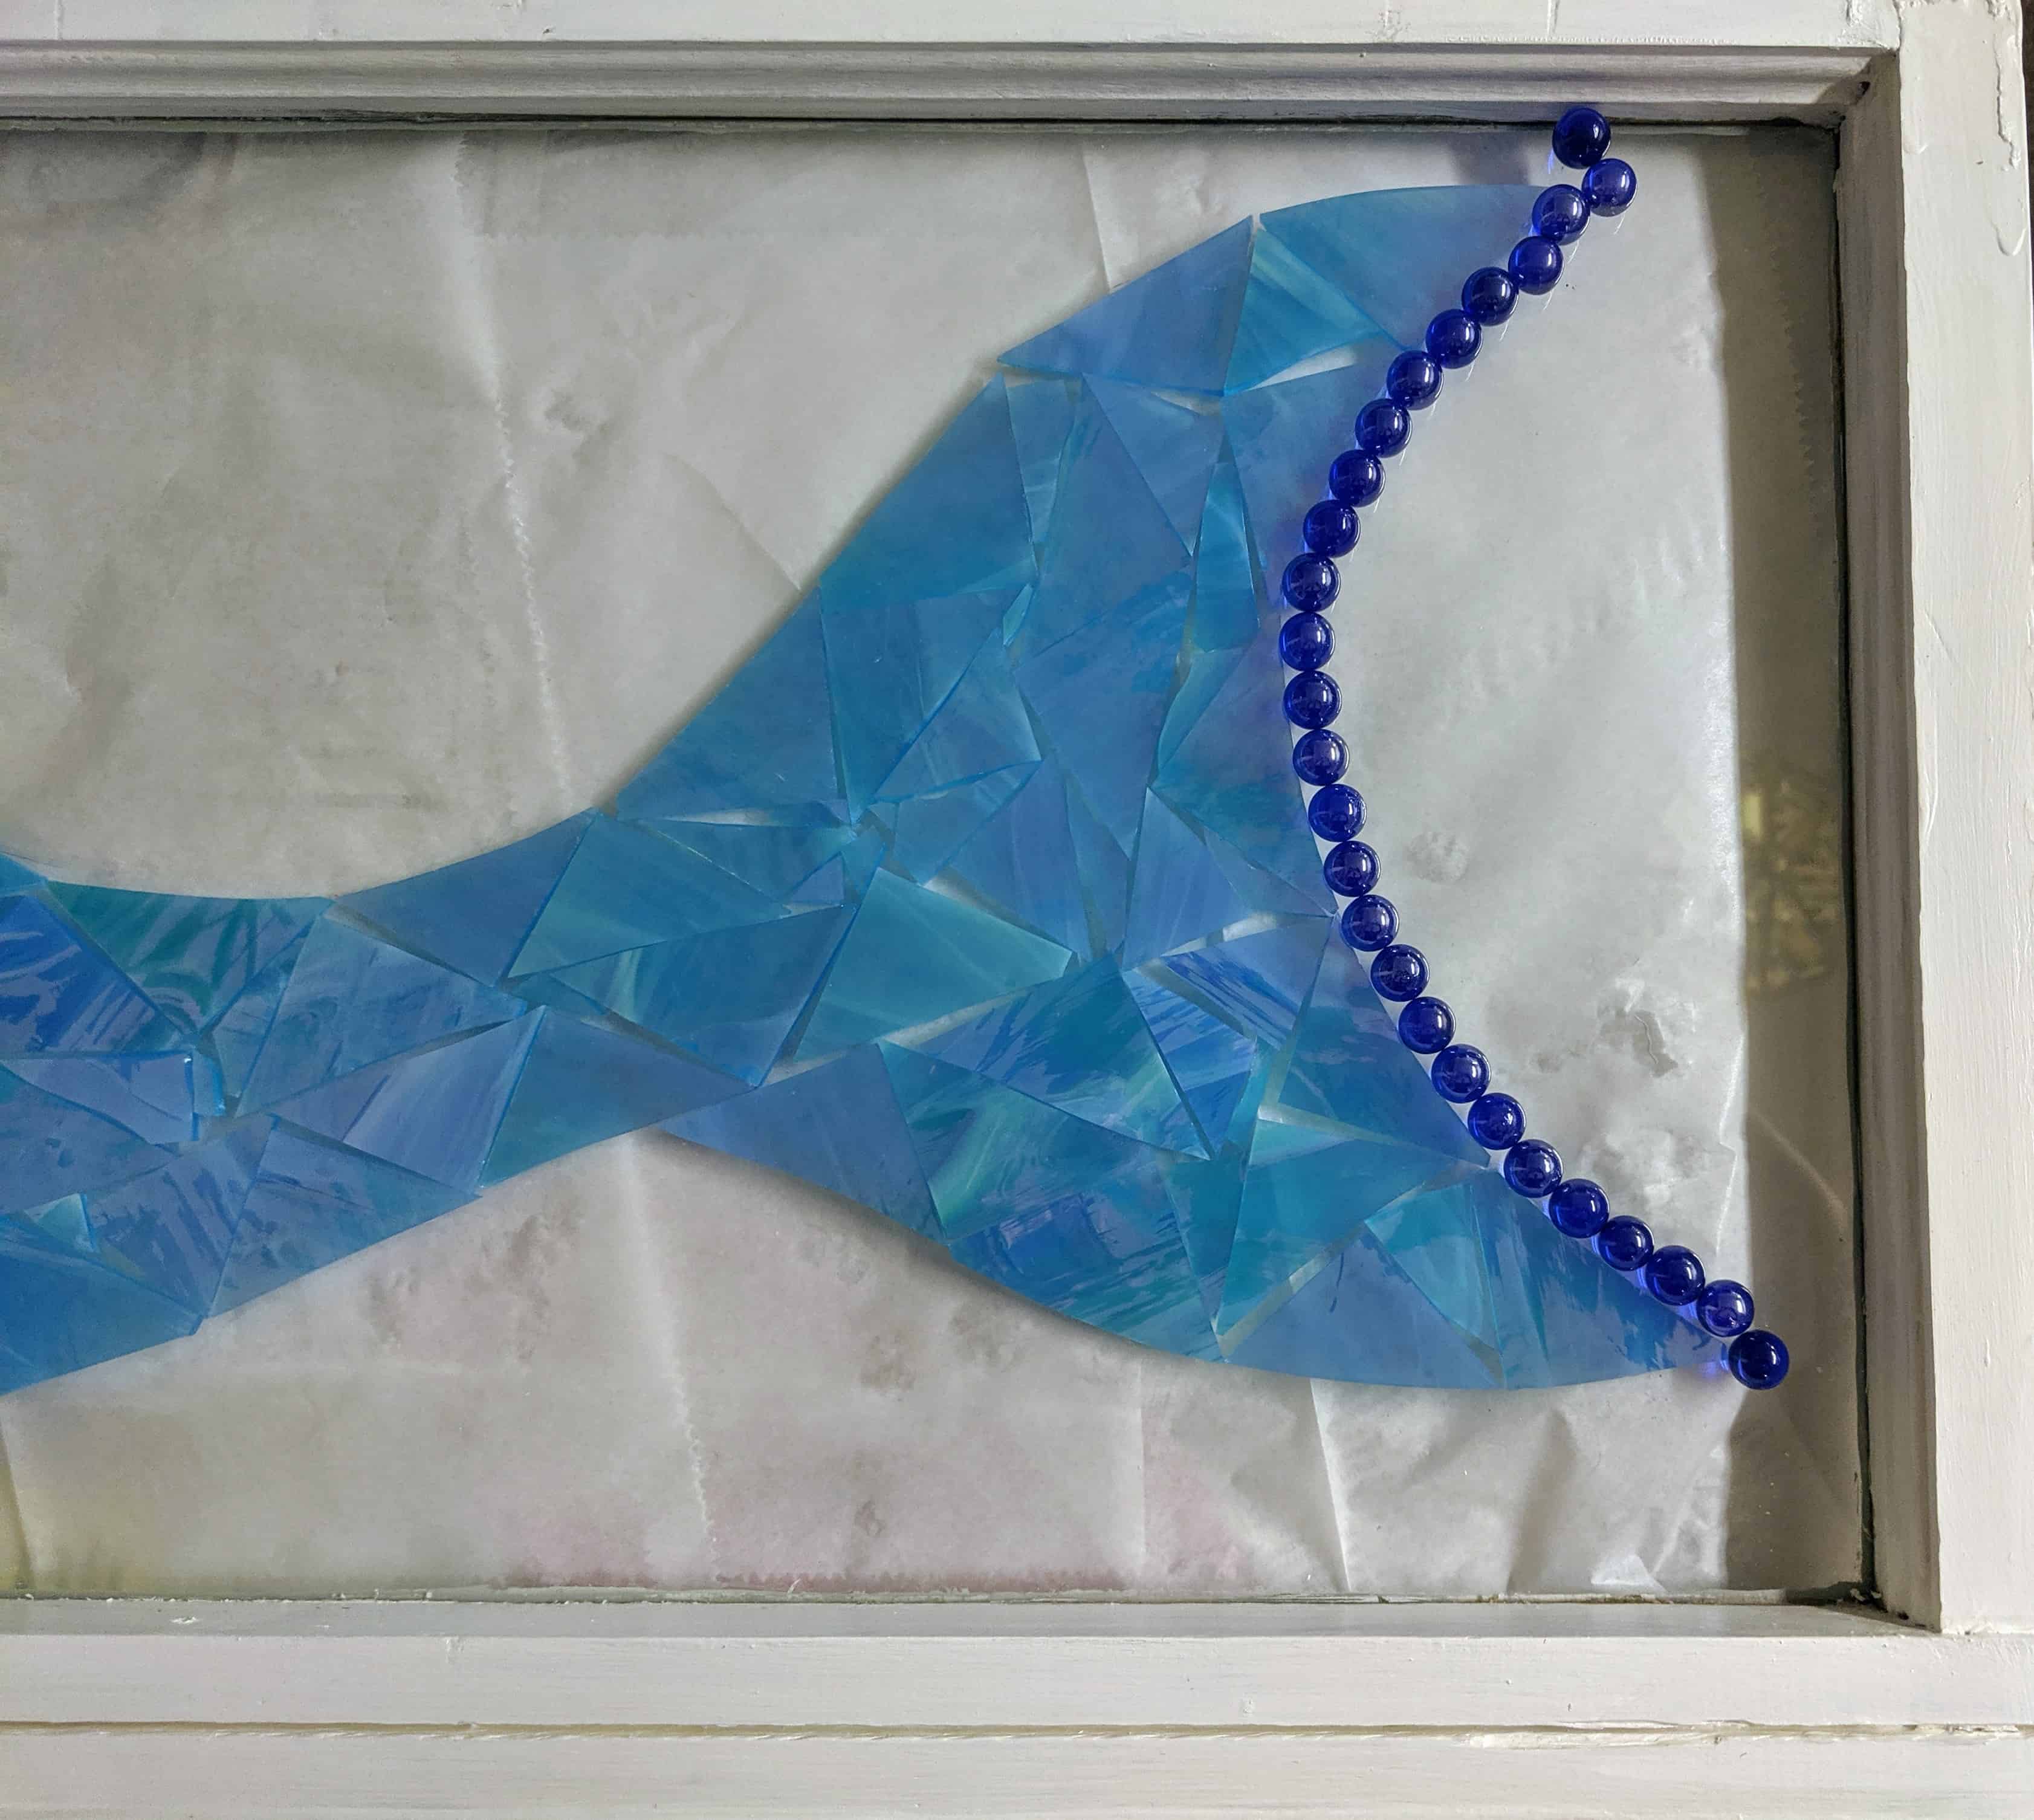
Once I’ve seen the fully lit window, I’ll be able to plan the finishing steps, which will be pouring the resin coating and then decorating some areas of the resin with glass chips / frit. That’s the part I still need to plan. I’m also considering adding a layer of glass around the edges of the sun’s rays (adjacent to the frame), though I haven’t figured out exactly what yet.

Full view from overhead

Making Waves

I spent most of the day Monday working on gluing down the pieces I had already cut for the rays of the sun, and making waves to start layering the ocean below the sun. First I rough cut some waves, then used my grinder to shape and smooth the edges.

Ready to grind the glass pieces for the 2nd layer of waves

After I got the above pieces ready, I realized that I would need to glue the dichroic glass I had cut and laid out for the suns rays before I started working on the layering for the waves, so I set out to do that.

How the waves / rays looked when I started the day’s work

Using Mac mosaic adhesive and a small paint brush, I spread a thin layer of adhesive onto each piece and then position it where I want it. I already did this step for the main ball of the sun and the first layer of waves last week.

Gluing the rays around the sun

Using a light tray to help me see what I was doing, I worked one row at a time from the inner row to the outer edges. I decided to place the pieces a bit closer together than I previously had them laid out, so I had to rearrange some and also cut quite a few more squares.

Gluing the rays

Once I had all of the rays glued down, including the smaller filler pieces at the edges, I started gluing the second layer of waves in place.

Layering the waves

I will need to make quite a few more waves, but I at least got a start on them today. Gluing the rays in place took most of the day. I really want the mosaic adhesive on the rays to have plenty of time to cure before I pour the resin, otherwise they will be cloudy.

How everything looked at the end of today (light tray powered off)
Snapshot with the flash on my camera (phone)
One last snapshot with reflective light

Hopefully I’ll have time on Tuesday to put some additional waves in place. I also need to plan how / if I will embellish the resin when I pour it. I think I would like to do something at least around the edges of the frame.

Charleston Holiday Market!

I had a busy first day at the Charleston Holiday Market today (you can get a coupon for a dollar off admission if you visit their website). I will be there from 10am to 6pm tomorrow (Saturday) and 11am to 5pm on Sunday. I don’t think I will have a single coaster left by this time Sunday. My Beach Window went to a loving home, and several ornaments did, as well. Since this is my first time participating in such a large show, it is a great learning experience!

My booth at the Charleston Holiday Market.

The best part is that I will have a whole year to prepare for next time; I will know what items resonate with people most and be able to work on similar projects. The date for this creeped up on my quickly because I signed up late in the game, but I will have plenty of time to prepare for next year. Since all of my projects (coasters, ornaments) take at a minimum 2 days to make (windows much longer), I can’t quickly make more. That is part of what makes them special, though! I still have some coasters, plenty of ornaments (both glass and resin) and several window mosaics for the rest of the weekend, though. Come on out to the Convention Center and visit – it’s a great time! Another bonus is that my booth is right next to Mountain Mist – I love their products (especially anything in Orange Blossom scent). My family thinks I will spend all of my earnings in their booth, though.

If I sell out of anything you really like, I can make more – just send me a message. My items are all one of a kind, but I can make something pretty close to what I made before (especially in glass – the coasters are more difficult to reproduce).

Still prepping

In preparation for this week’s Charleston Holiday Market, I’m really pushing the limits on how many individual items I can pour and decorate at the same time. If it goes well, at least I will have all year to prepare for the next one! I finished shaping the stained glass items for this batch of ornaments and was able to pour / decorate the resin this evening.

Glued and ready for resin.

Many thanks to my husband for taking care of dinner while I tended these – I really need a solid two hours after pouring the resin to work with them, which can be hard to find between my regular work and carting my teenagers around to their various obligations. I had a few issues during the pouring (pouring too much resin, a couple of the ornament hooks came loose, etc). I think they will turn out OK, though. I’m pretty sure I will be spending a chunk of time tomorrow cleaning up cured resin drips from the back sides of these ornaments, though.

Poured, decorated and ready to cure.

Neat Holly designs.

I used some different glass for the holly ornaments I made today (on the left). The glass on the right is the sparkly green I love for so many different projects. I’ve made several tree / wreath ornaments with it. It’s really great for hummingbirds, too!

I decided to try some beach themed ornaments.

I went out of my usual habit and made some new designs for beach themed ornaments – the heart is made of resin and sand that I molded a few months ago. They both have recycled clear glass bases (the squares), sand, and blue shell chips for the water effect. Great for anyone who loves the beach!

Park Circle Farmers Market

I’ll be at the N. Charleston Farmers Market every Thursday in September and October (weather permitting). Come check out my booth!

Done with the tail

It’s not the best photo (I’m really not good at photographing these), but here is the finished Mermaid Tail Mosaic. Time to clean up a couple more old windows to recycle into the next artwork!

Mermaid Tail – stained glass, glass chips / flakes / globs, etc. set in resin, in a recycled window. Approximately 13.5″ x 30″

Tale of a Tail

I was having a bit of a mental block with the mermaid tail mosaic, but today I forged ahead and got it pretty much ready to pour the resin after the glue dries, maybe tomorrow.

Tail with slight shape adjustments

After I reshaped the tail slightly, I started trying out some different options for decorating.

Some glass balls on the edge?
Some seaweed?
Some small seaweed and bubbles?

I finally decided I liked the small seaweed and bubbles. I added some swirls and plan to add a variety of glass chips when I pour the resin.

Just waiting for the glue to dry now.