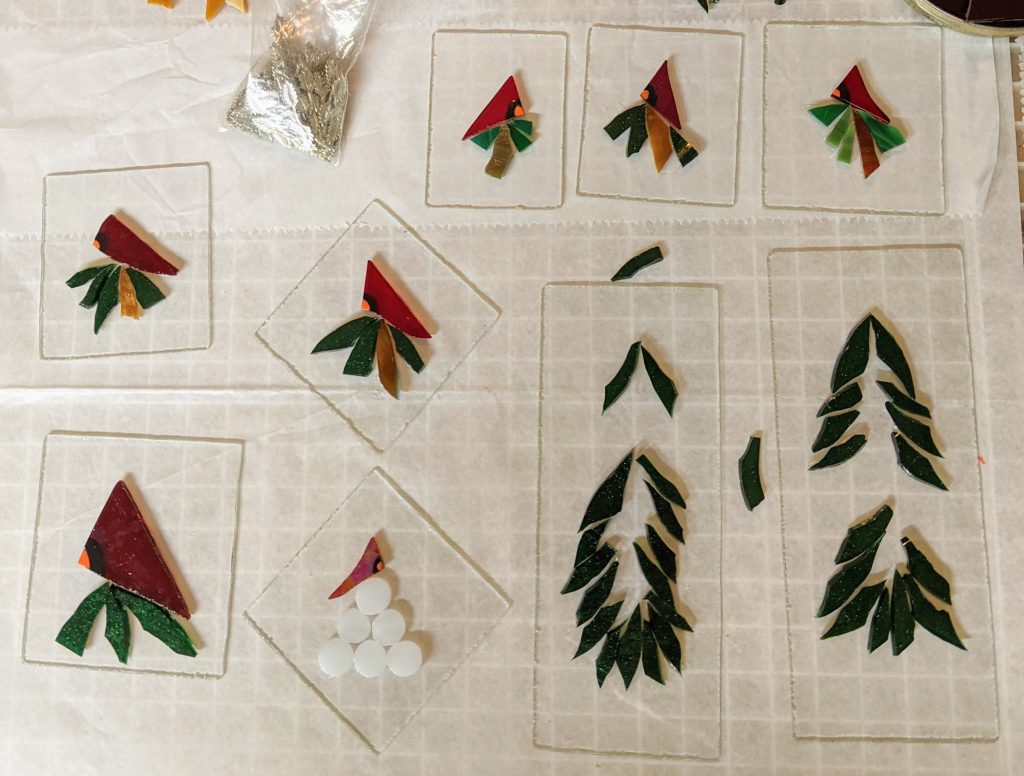
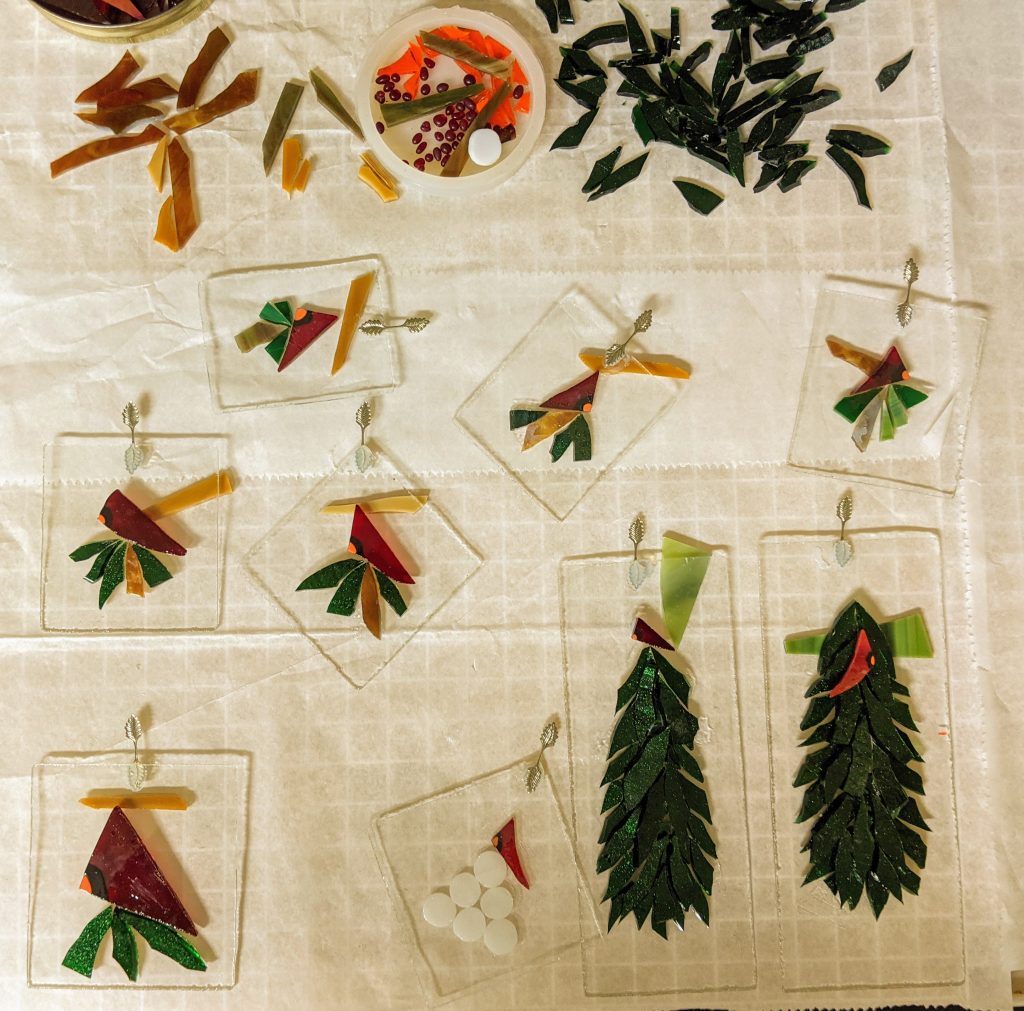
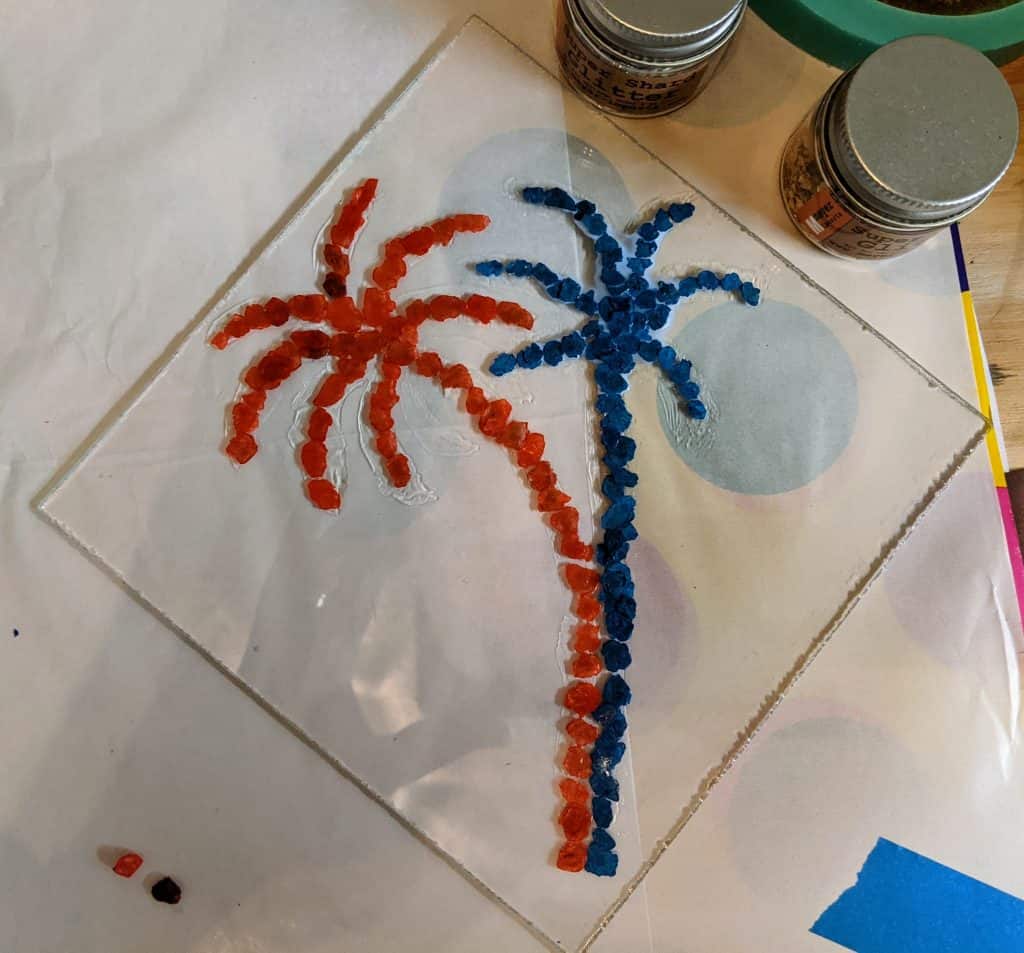
Today I laid out some designs and glued them in place. These will have a lot more detail once the resin is poured and decorated. I like to use “glass chunk snow” under the trees and glass chips / mica accents for sparkle.
Glass of Sherry
Today I laid out some designs and glued them in place. These will have a lot more detail once the resin is poured and decorated. I like to use “glass chunk snow” under the trees and glass chips / mica accents for sparkle.


I’m working on this changeable display for various holidays / seasons. Still just the beginning stages, but I’m making progress! There is a sparkly stained glass wreath, a seahorse, and some fireworks in the works so far. I plan to make at least four panels (hopefully more like 6-8). It really helps me to take pictures and look at the pieces on my computer so I can see areas I want to enhance in later steps.
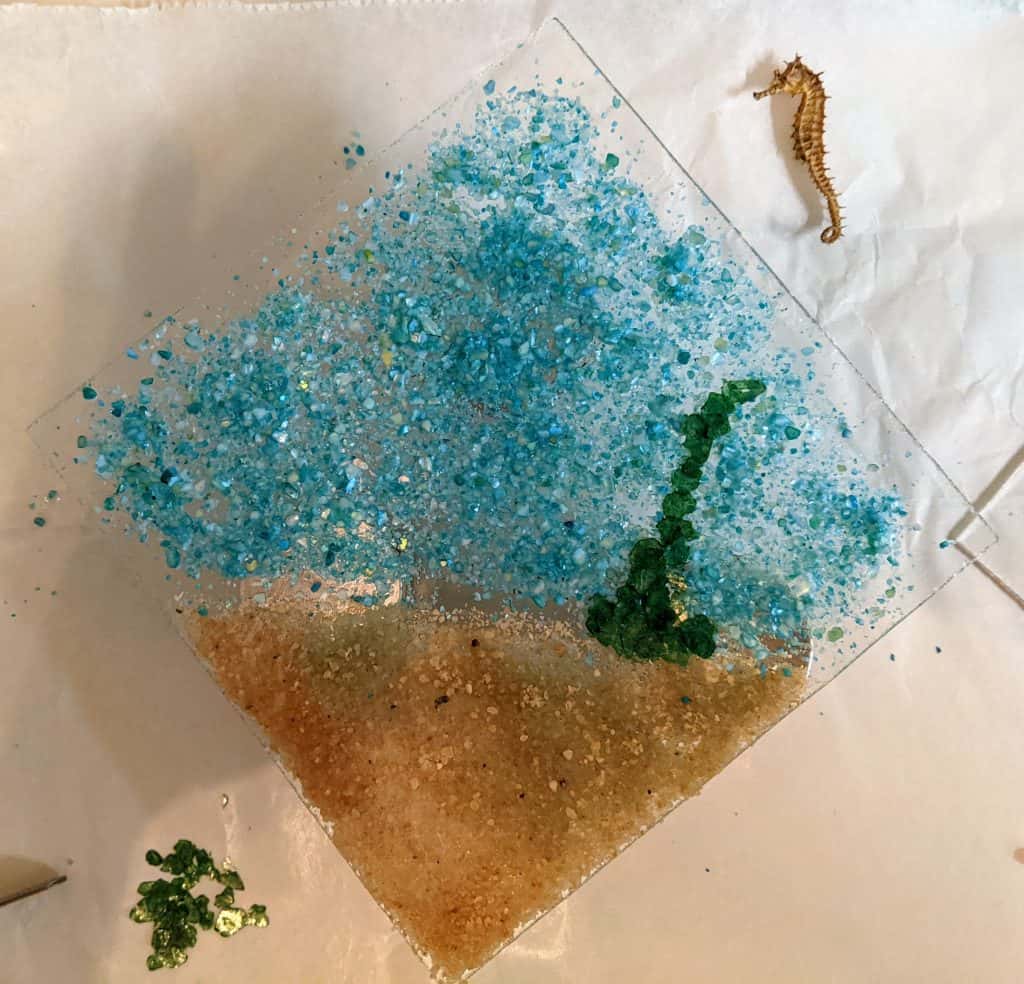
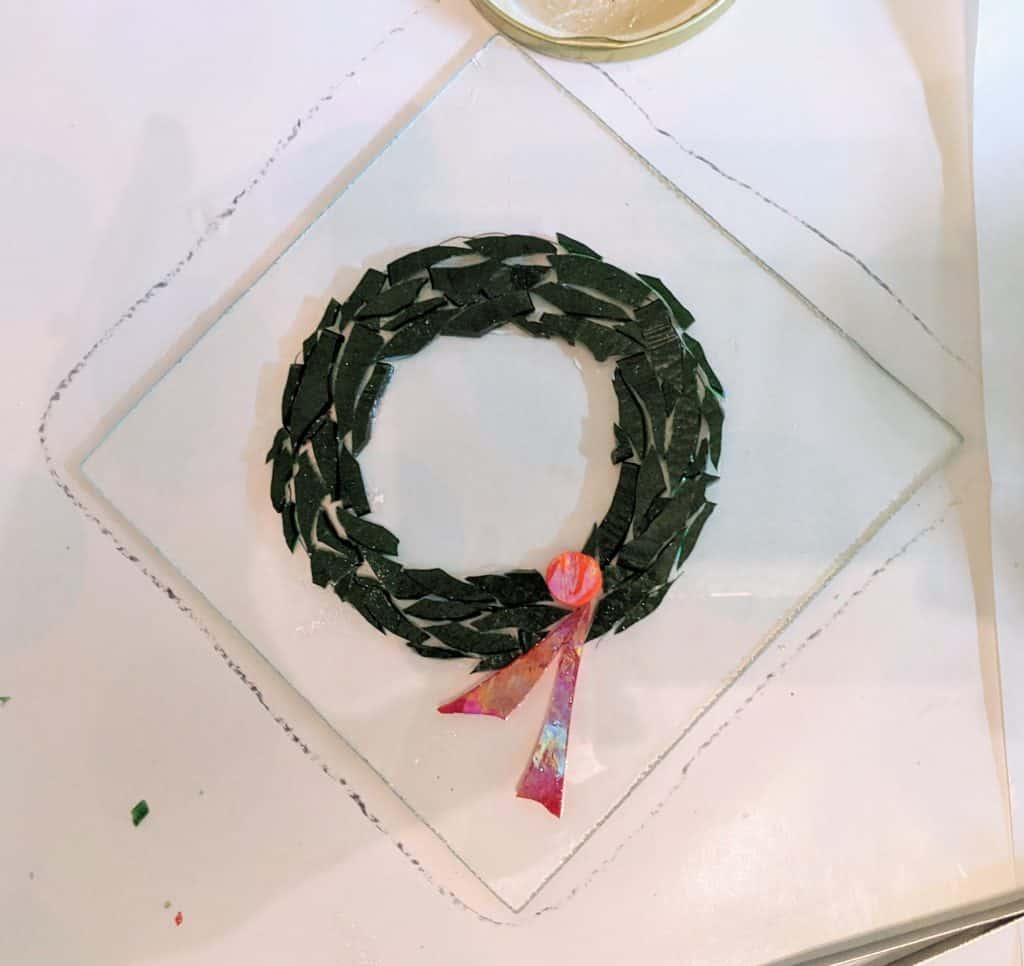
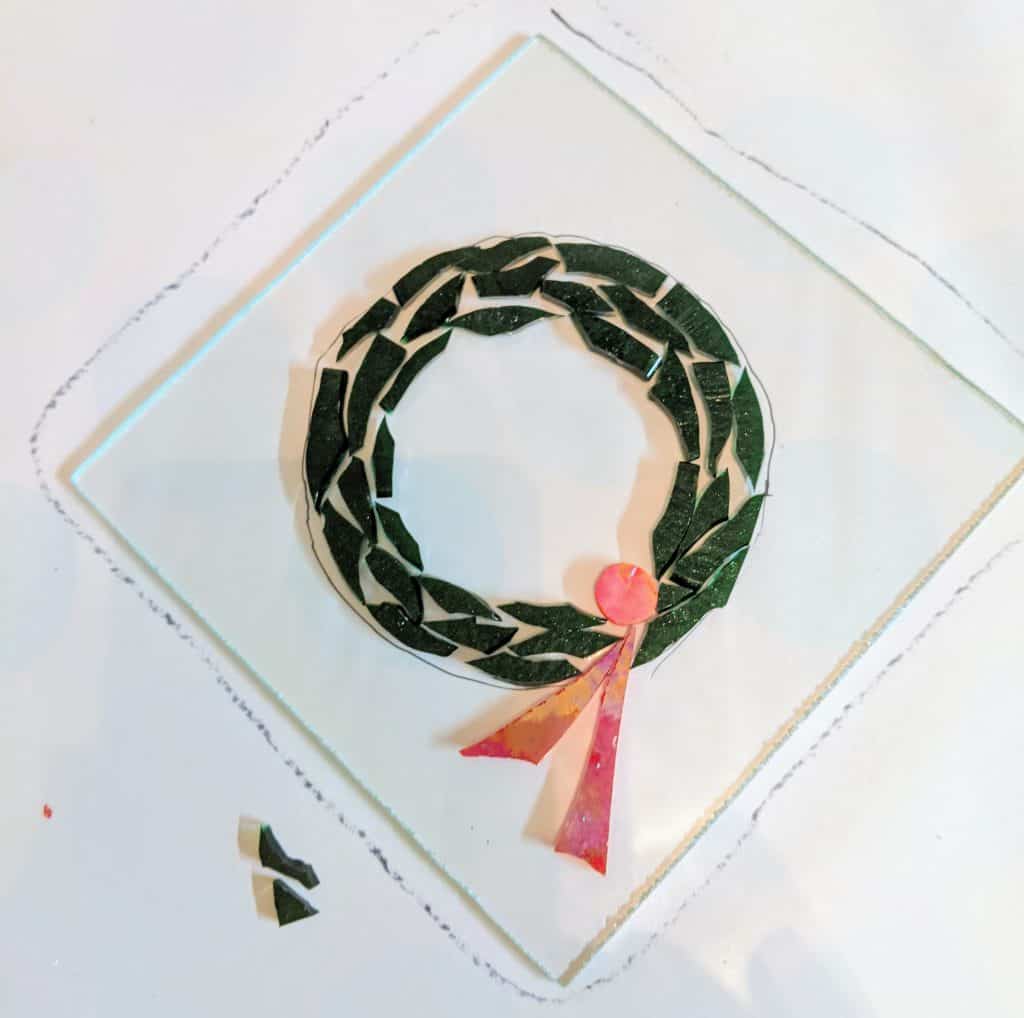
I’m gearing up for hopefully my first booth in forever. Even though it’s not until late November, it takes time to make some things to stock the booth, so it’s Christmas in July here! My plan for this project is to make several seasonal panels that will fit in the same display base so you can switch out the glass for the appropriate season. The first panel I’m making is this wreath, which is just in the beginning phases right now.
Some friends are doing some home renovation and have asked me to make a glass panel to decorate and provide privacy in a 31″ x 48.25″ window in what is to become a new powder room. I was planning to do it with resin, but when they shared the design they chose with me, I started having second thoughts.
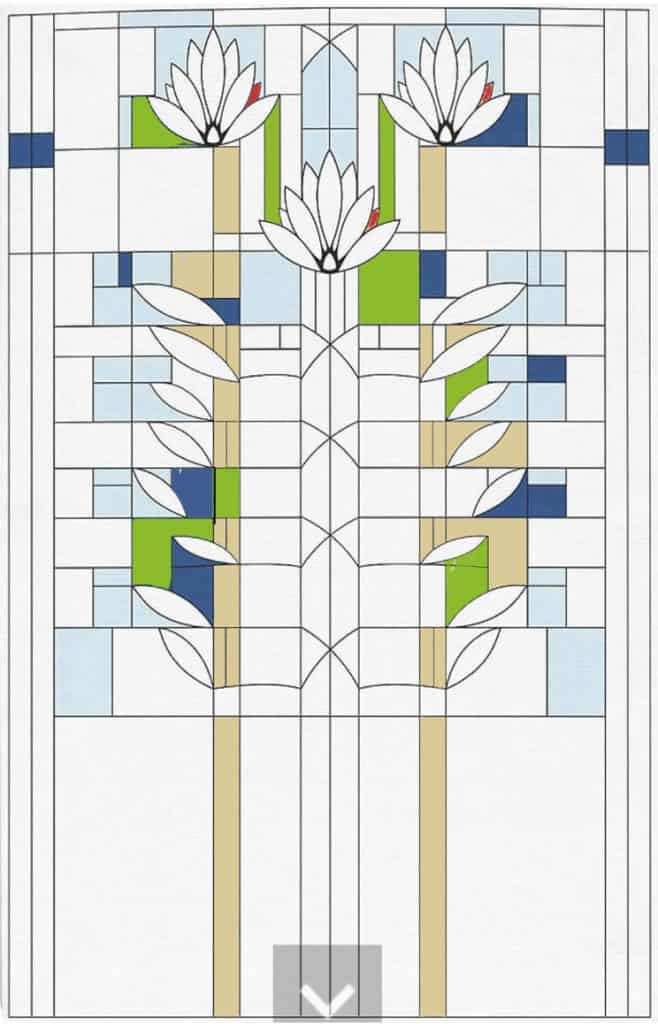
It’s actually just the top half of the pattern (in order to fit their window). When I saw all that clear glass area, I realized that it would be difficult to achieve the level of privacy they would likely desire for a big window by a toilet! I might have to dust off my soldering iron and see if I can do it with copper foil.
I’ve never made such a large panel without a solid background, and I’m pretty sure a piece this size would require some significant reinforcement. I’m also not the best at fitting pieces for a copper foil project that has to fit an exact opening, so my confidence is a bit low that I wouldn’t end up with a disaster on my hands if I did it with copper foil.
Perhaps I could use a light blue background instead of clear. Even still, the large rectangles at the bottom won’t provide a lot of privacy. I would have to use opaque glass, which I don’t believe I have on hand. I will have to think about it for awhile.
Today I started another layered wave over glass project. I need more practice to get the layers the way I want to see them. I also decided to make a “Clemson” version of the palmetto and crescent. My leftover resin went to a new coaster project where I’m trying out a new “beachy look” theme with metallic flakes and some blue alcohol ink.
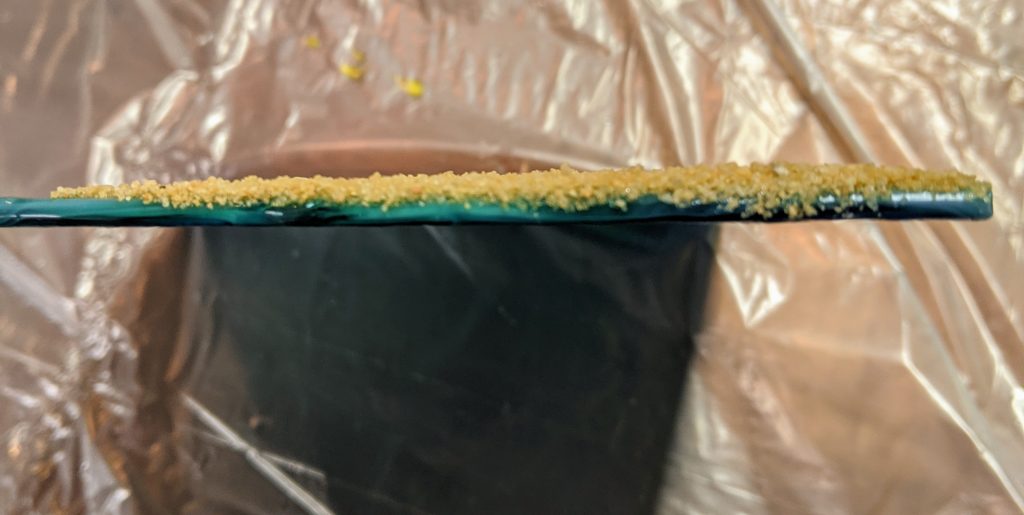
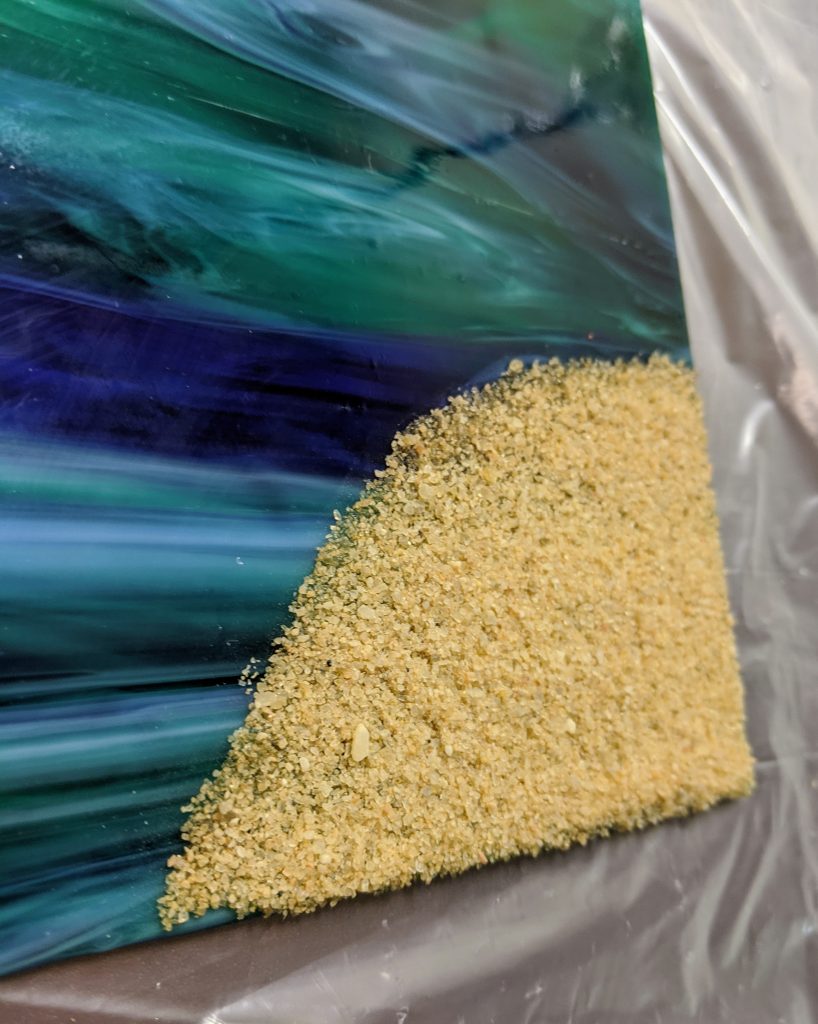
My first resin wave layers over glass project looked great, but I felt like I made the sand layer too thick, so for the past couple of days I have been slowly layering the sand to the point where it is pretty much opaque, but not thick. My plan for today was to pour the first layer of clear resin. I also wanted to add the first wave (white pigment), but I chickened out and decided to wait until the first resin layer had cured.
While I waited for the resin to settle over the sand and glass, I poured the first layer of resin into two coaster molds and added some metallic flakes and later some blue alcohol ink tinted resin drops as well.
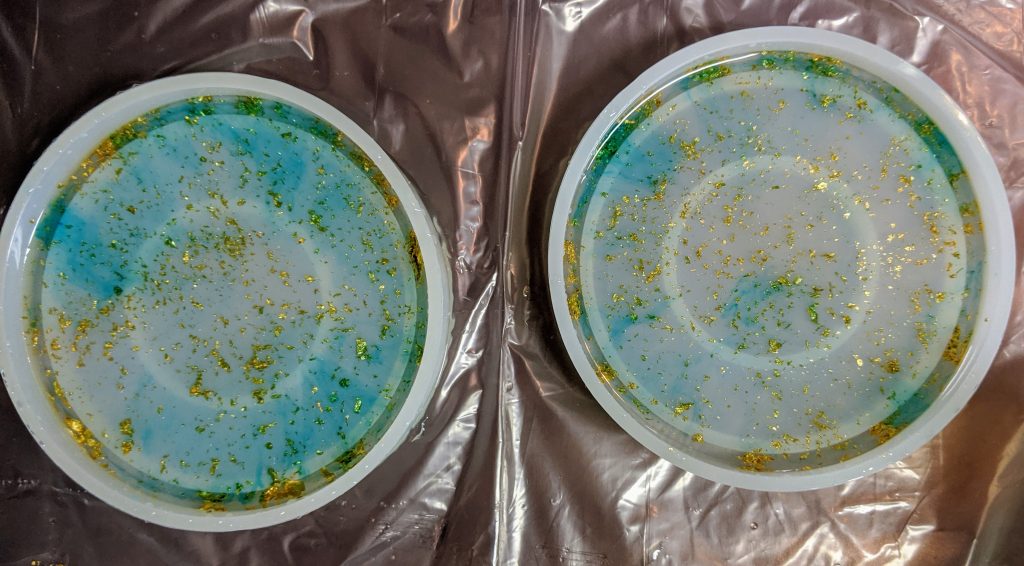
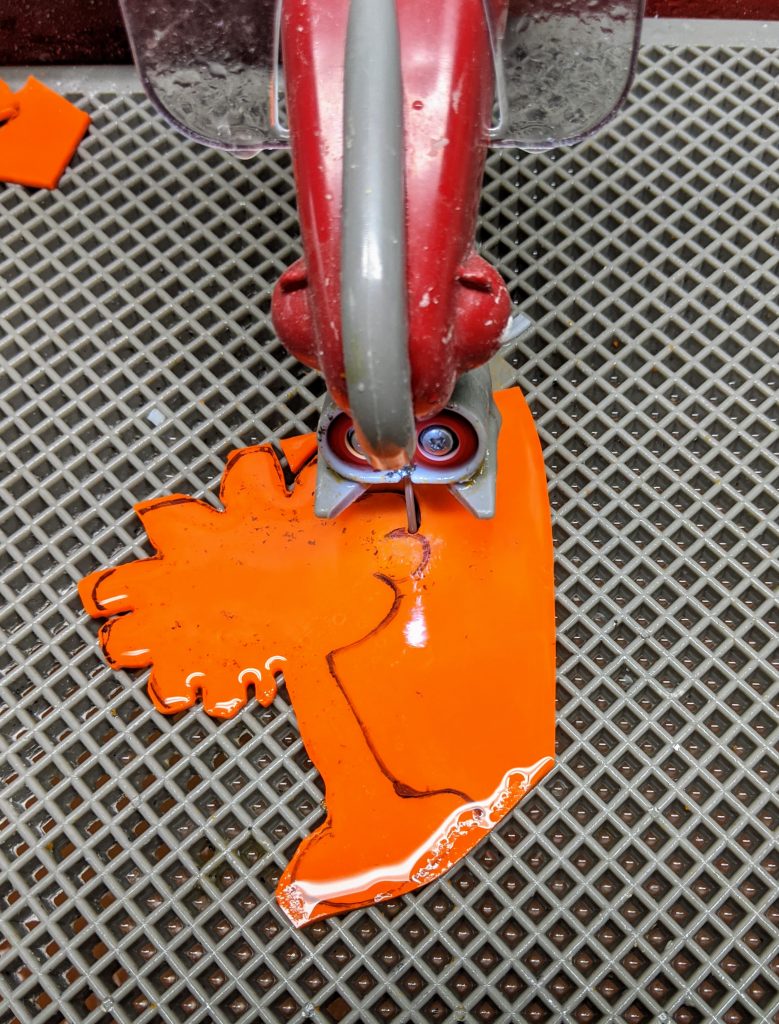
I ordered some bangle bracelet molds the other day and I’m hoping to use a mix similar to the one I used in these coaster molds in those, so I thought I’d try it out with my leftover resin today. I have no idea how it will turn out, but I think I will add another layer with more ink when I mix my next batch of resin for my art-glass-layered-wave-beach panel. I poured and spread the resin as needed, used my small craft stick to remove bubbles and then used the heat gun on all three items to further remove bubbles. While I waited for the resin to settle (you have to hang out for 30-60 minutes and watch for more bubbles in case they decide to pop up), I cut out two more palmetto and crescents using my glass saw; one set orange and one white.
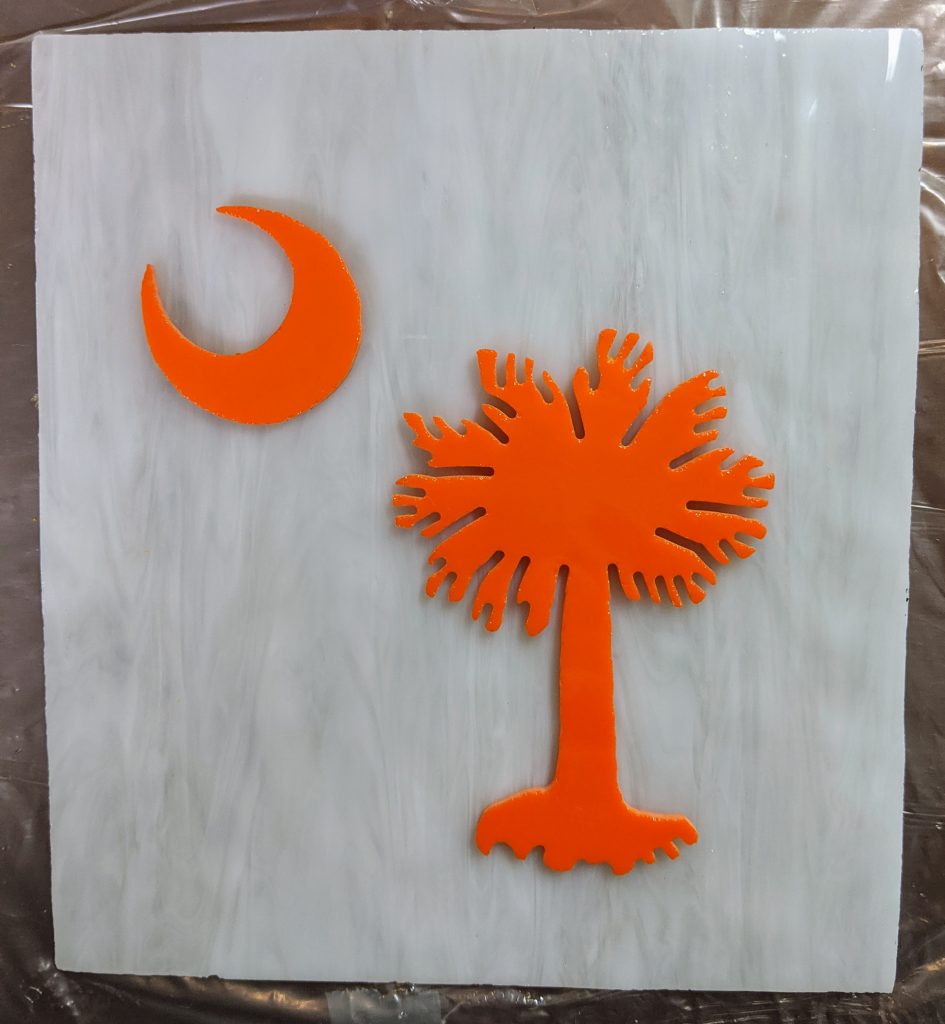
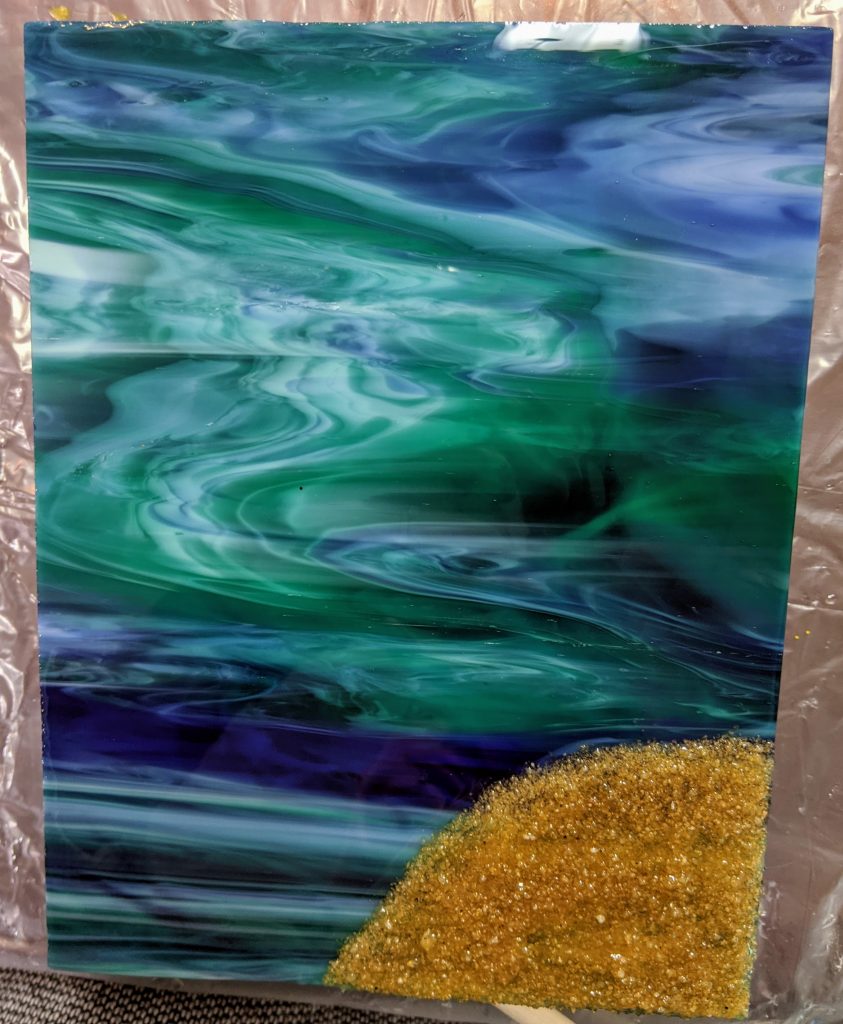
Tomorrow I will add the second wave layer over the sand / beach on the glass panel and hopefully layers for the orange / white palmetto and crescent glass panel and another tinted layer for the coaster experiment.
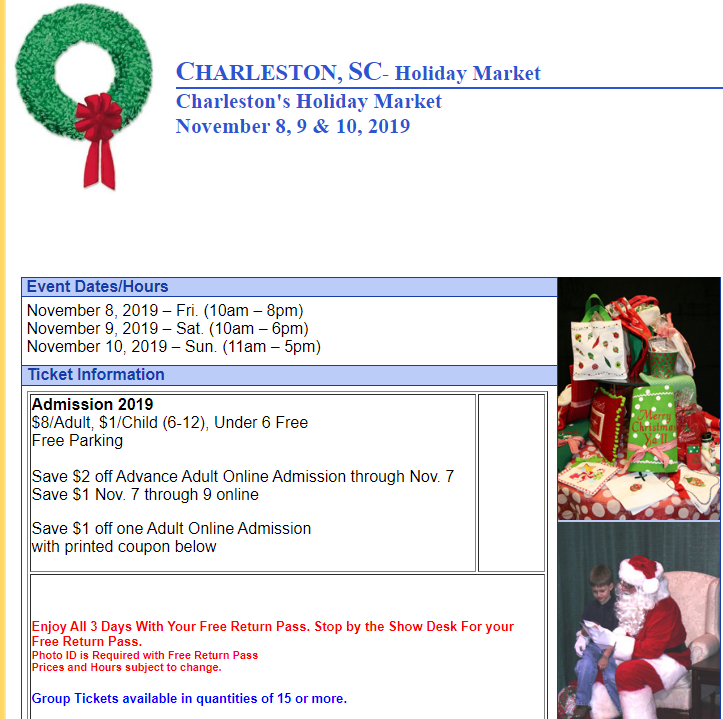
I’ve had a lot going on the past couple of weeks and I haven’t been able to make as many new small items as I expected for the Charleston Holiday Market that is starting on Friday. It’s a pretty big event, much larger than any I’ve ever done before, so it should be a learning experience! If you click on the link, you can get advance tickets for $2 off, or a coupon for $1 off admission. I was able to finally pour the resin on several new ornaments as well as the second layer of resin on a few resin ornaments and a coaster today, though.
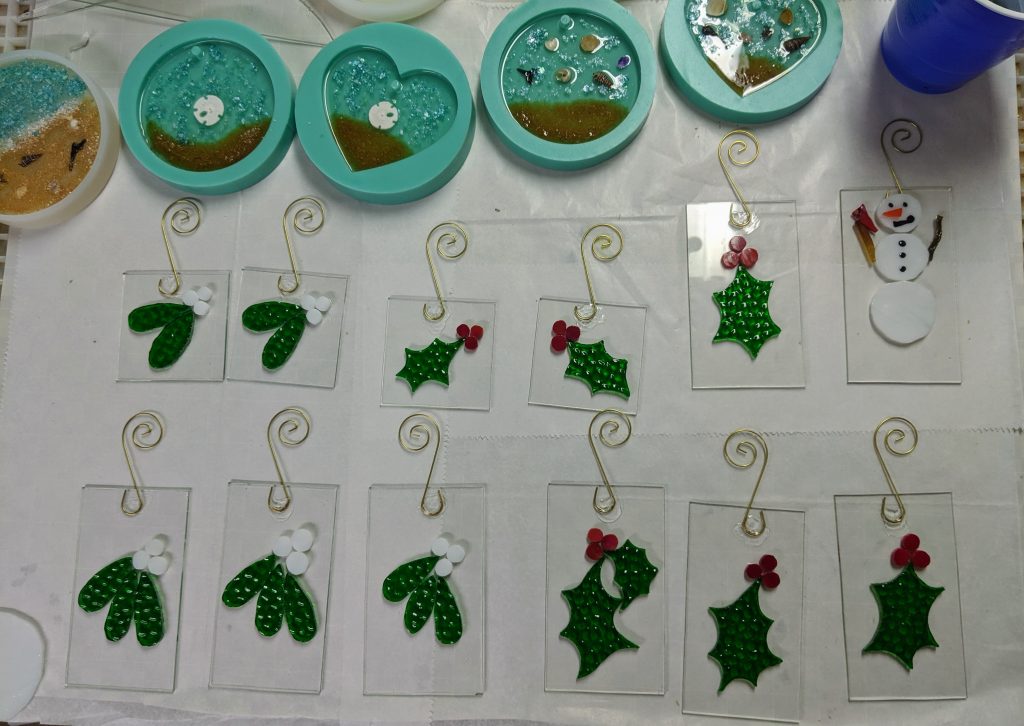
I use stained glass for the leaves, berries and snowman and clear glass that is recycled from old windows to make these festive ornaments. I cut the glass for these ornaments and glued it down yesterday, so today it was time for the resin layer. After mixing, I pour a blob of resin on each ornament. A little goes a long way, and too much makes for more difficulty with drips, so it’s better to use too little and then add more later. I went a bit overboard with a few of these and had to wipe away a lot of drips. That also causes some of the resin to form on the underside in such a way that I have to scrape it off with a razor blade later, which is tedious and a little dangerous if you’re clumsy like I am.
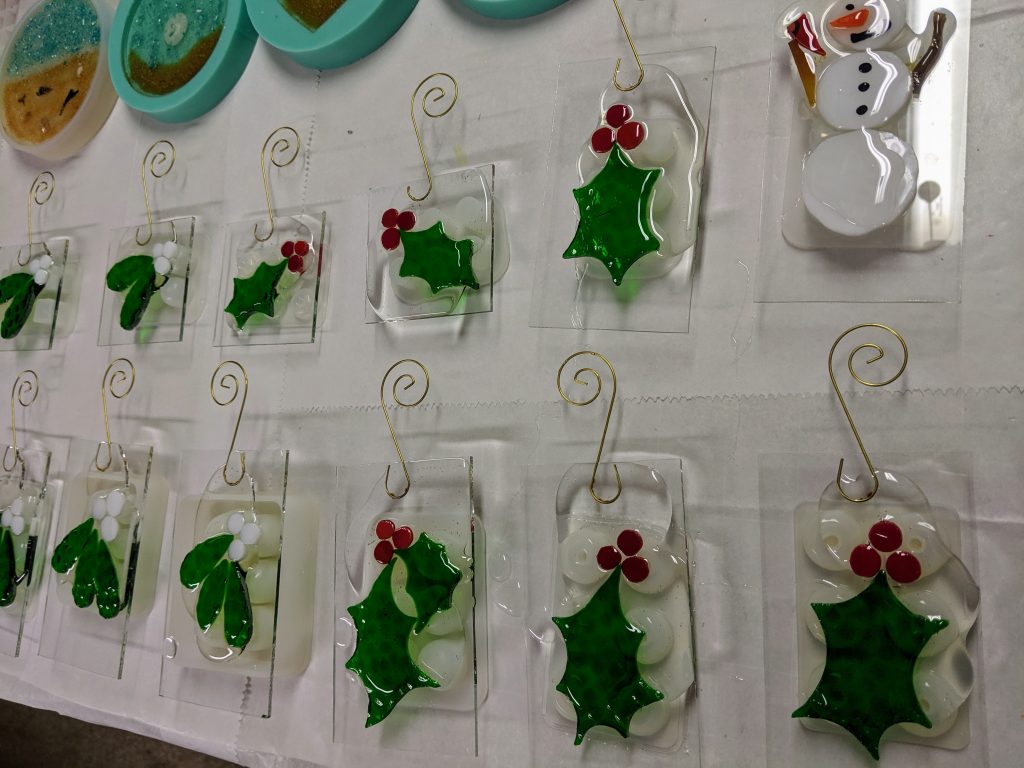
I used a sponge on a stick to spread the resin around so it covers all of the top surface of the ornaments. The resin will settle itself down and look smooth once it cures, so I don’t worry about the streaks left by the sponge. I do have to use a heat gun a few times during this stage to remove bubbles. They are worse in the deep molds for the beach themed resin ornaments and coasters than the thin layer on the stained / recycled glass ornaments, though.
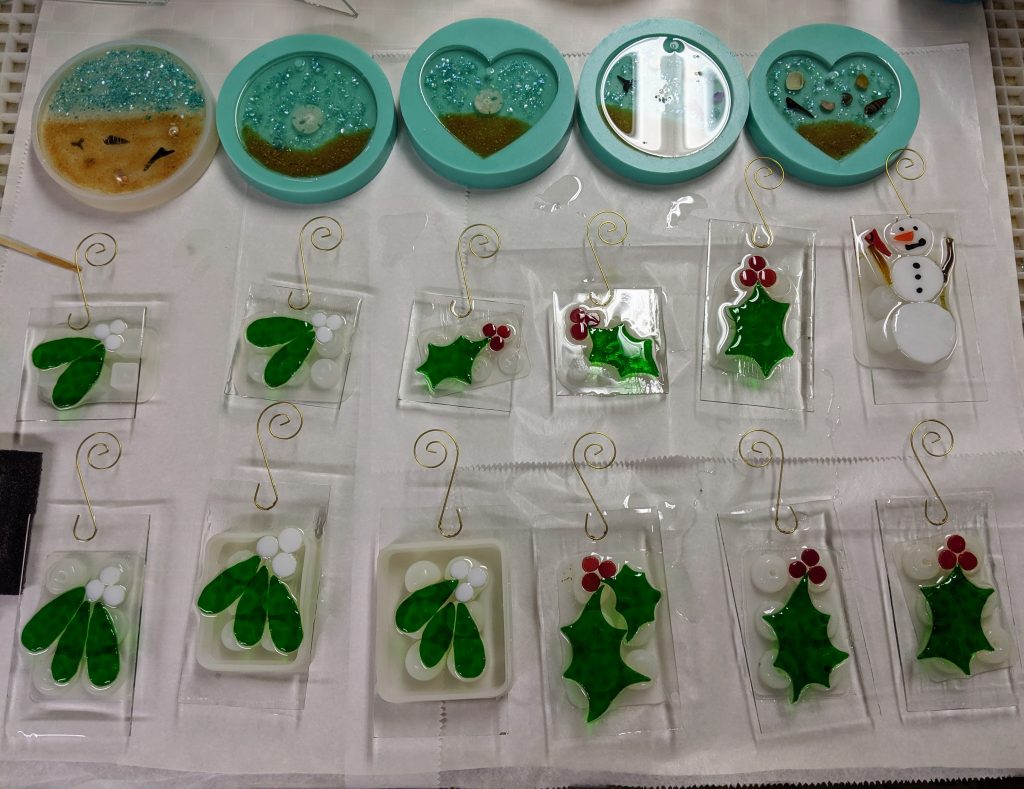
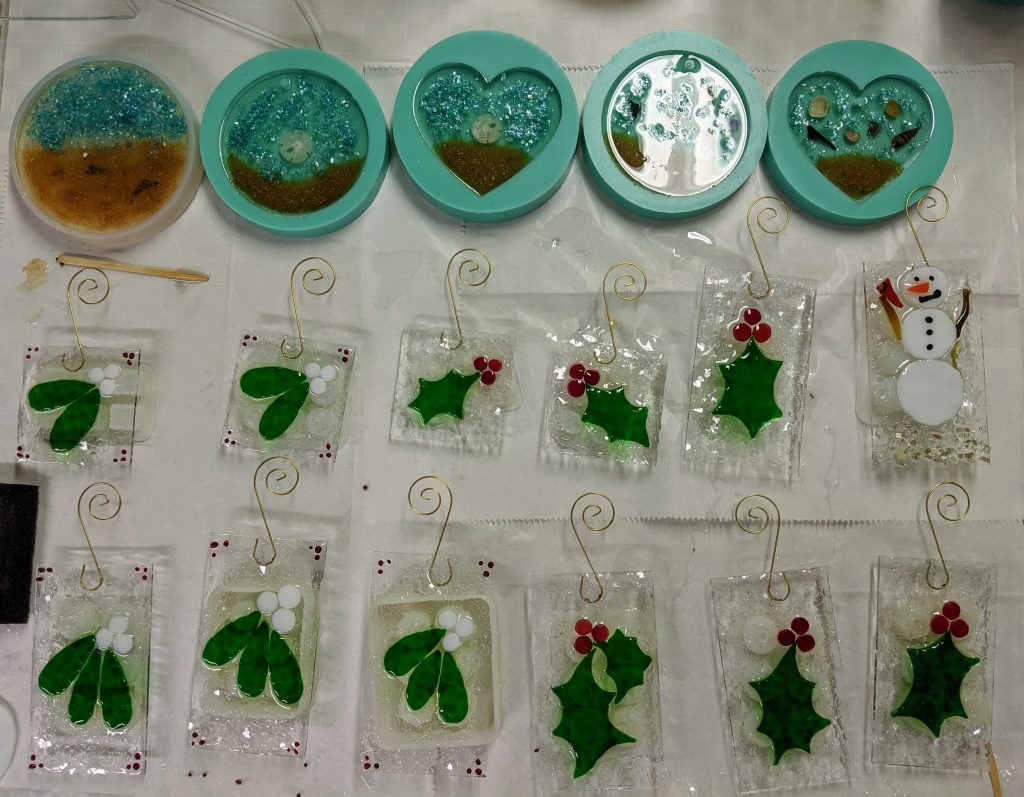
After the resin is spread, I place the glass blobs, chunks and chips I like to use for decoration in the resin. I also poured a little leftover resin into three new coaster molds that I decorated for the first layer of some more coasters.
I haven’t been posting much, mostly because the dichroic window I’ve been working on has now been rethought as a sunset and it’s taking me some time to plan it. At the same time, I haven’t been doing much that is new and different, until this weekend. I decided to sign up for the Charleston Holiday Market at the N. Charleston Convention Center. It’s a big three day craft fair, held November 8-10. I usually do most of my holiday shopping at this event. This year, I’ll be a vendor!
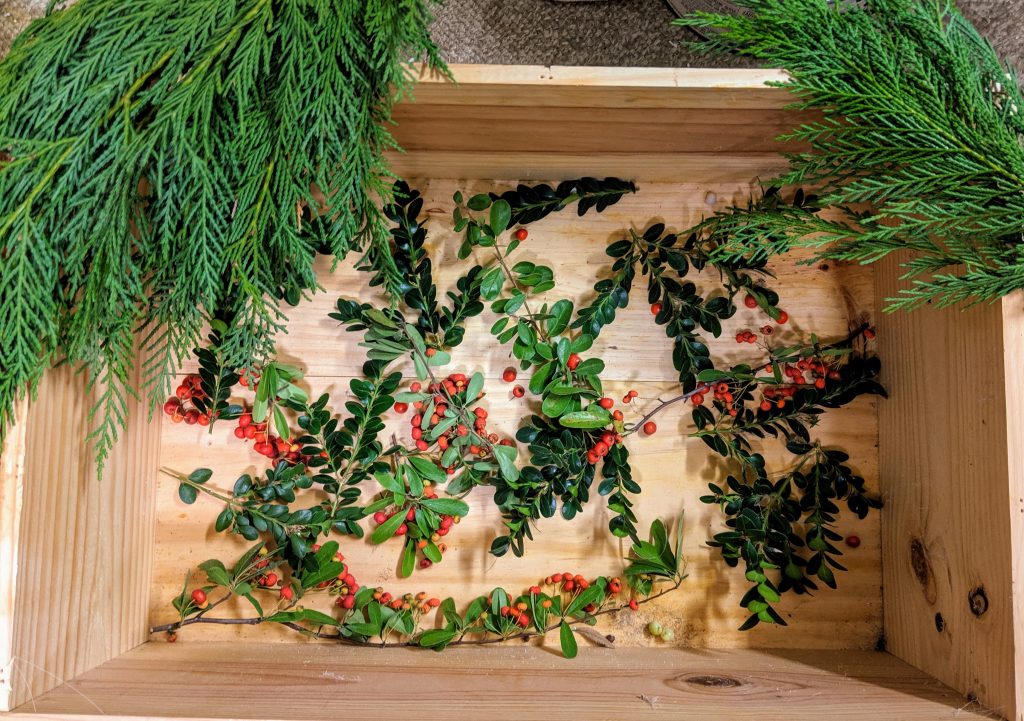
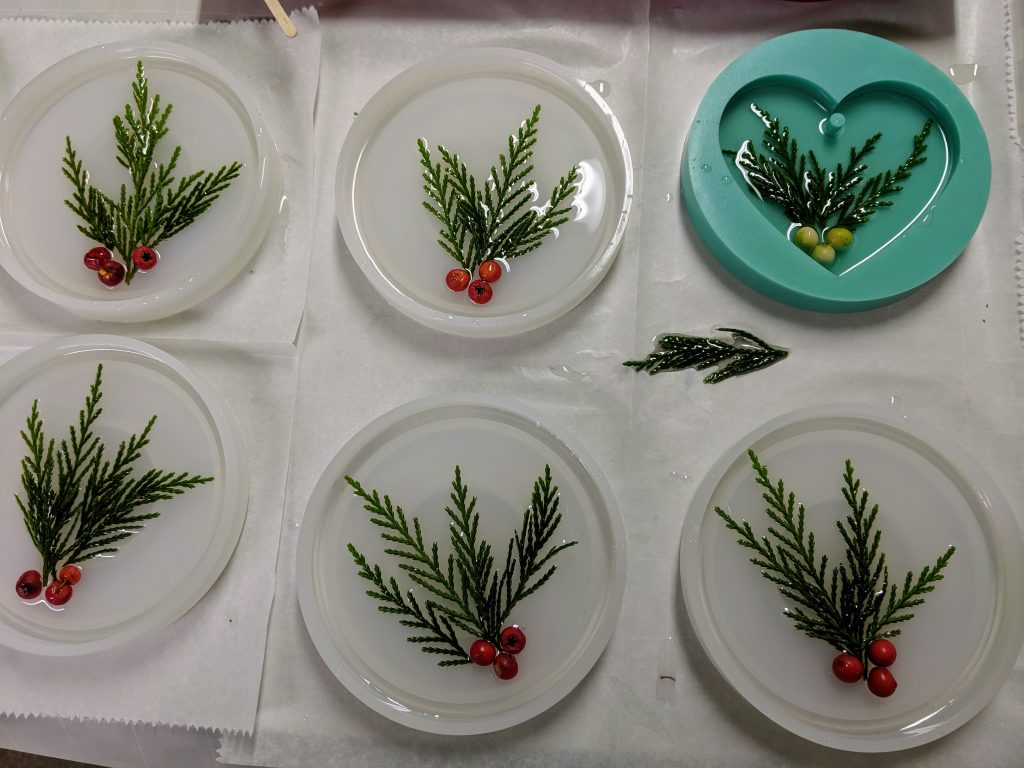
When I was talking with another vendor at the N. Charleston Farmers Market about it last week, she suggested that I make some seasonal coasters for the event. So I decided to see what I can do. I haven’t used any really perishable / organic materials other than shells and beachy things, so plants are an expansion of my repertoire. I headed out into my yard and snipped some cheerful berries and greenery from my plants, then coated them with resin spray.
I then set about inserting my harvest into some coaster molds with resin. Hopefully they will turn out well – I read a few stories online of others’ experiences with plant based embedding and there were a lot of woeful tales of things turning brown. Fingers crossed that the resin spray helps deter that from happening. I even read that some folks use plain old hair spray instead of resin spray, which I may try when my supply of resin spray is depleted. I have two types of berries on hand, one from I believe a Pyracantha and some others from some Asparagus Fern in my yard.
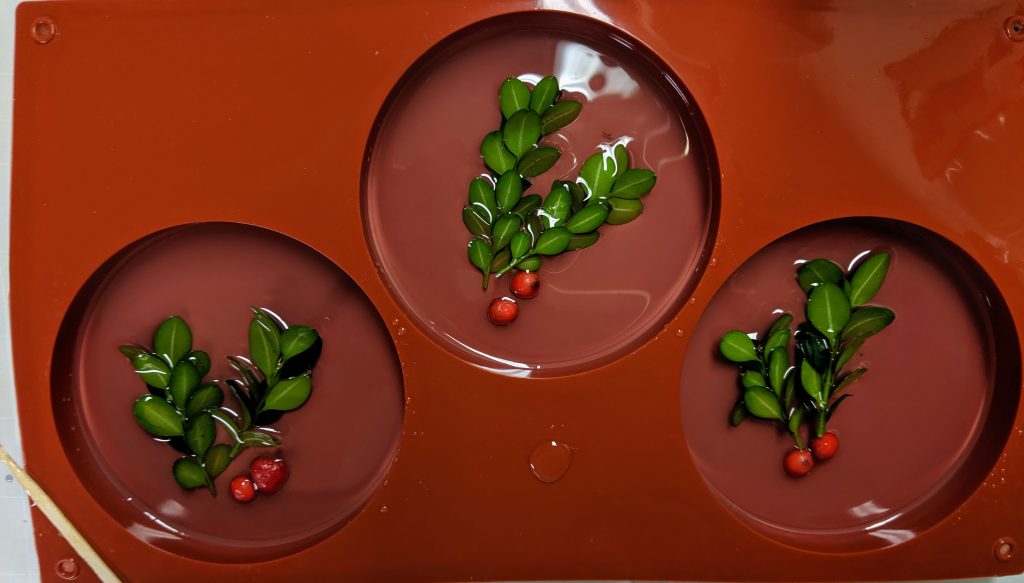
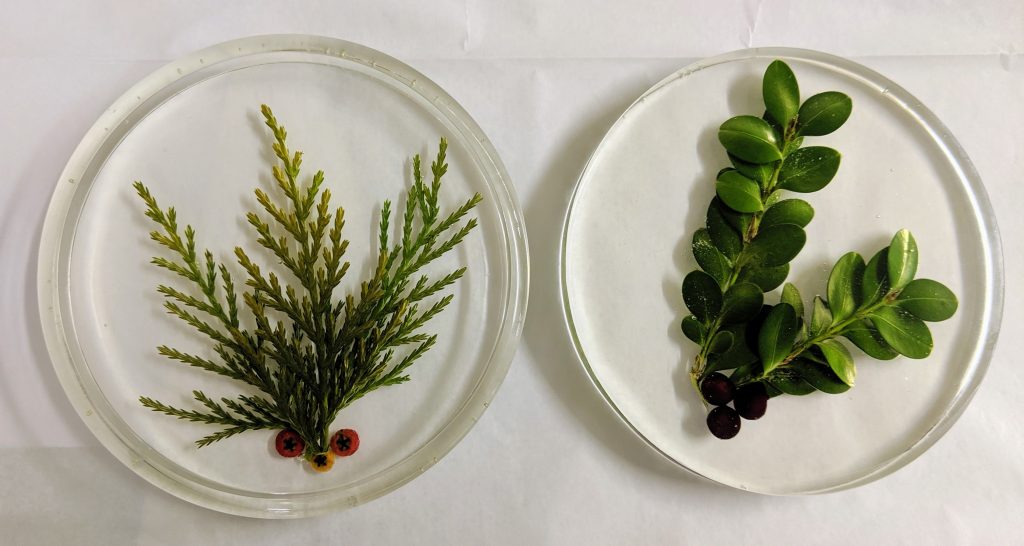
I like how the Boxwood looks, but it is very thick and difficult to keep small enough for the mold. I used some extra resin spray on the cypress greenery in the batches I did today to see if they hold their color any better.