I needed one more panel to complete the set of eight, so I made a second Autumn themed one with some acorns and leaves. Tomorrow I should be able to pour the resin on the flowers, snowman and acorns all at once.
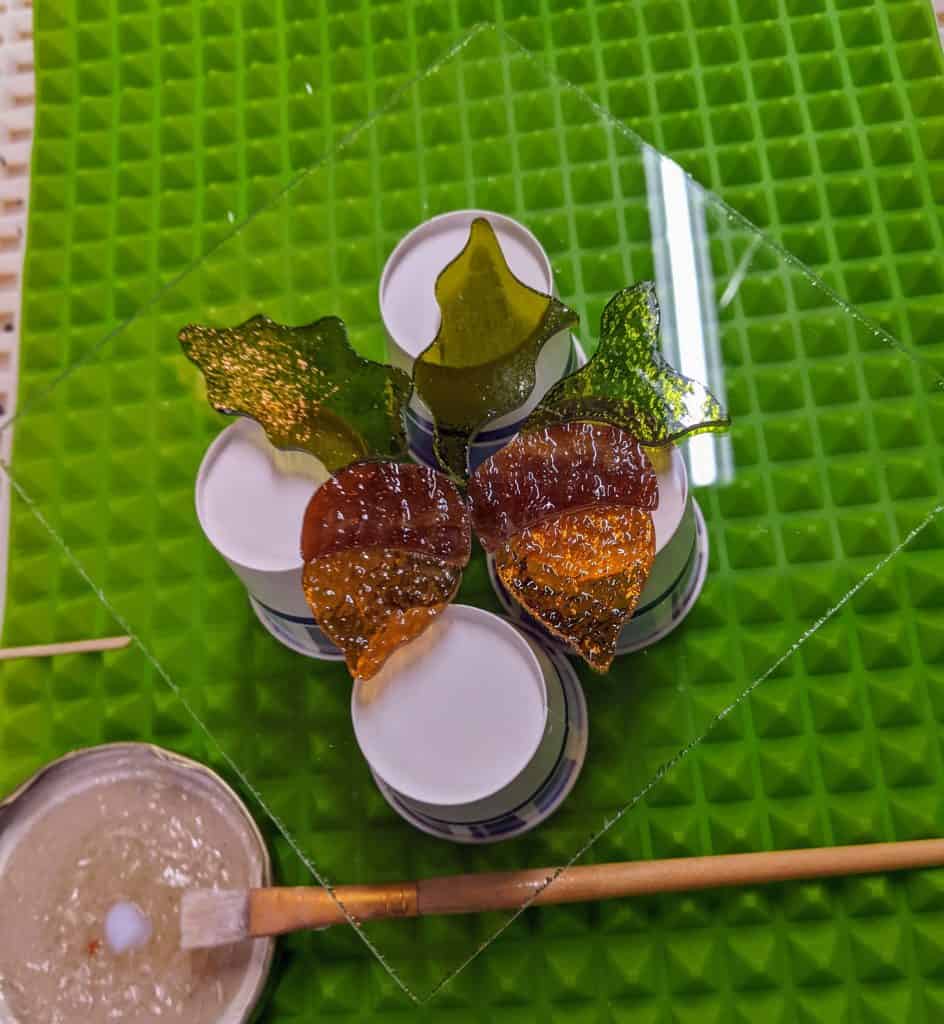
Gluing the acorns 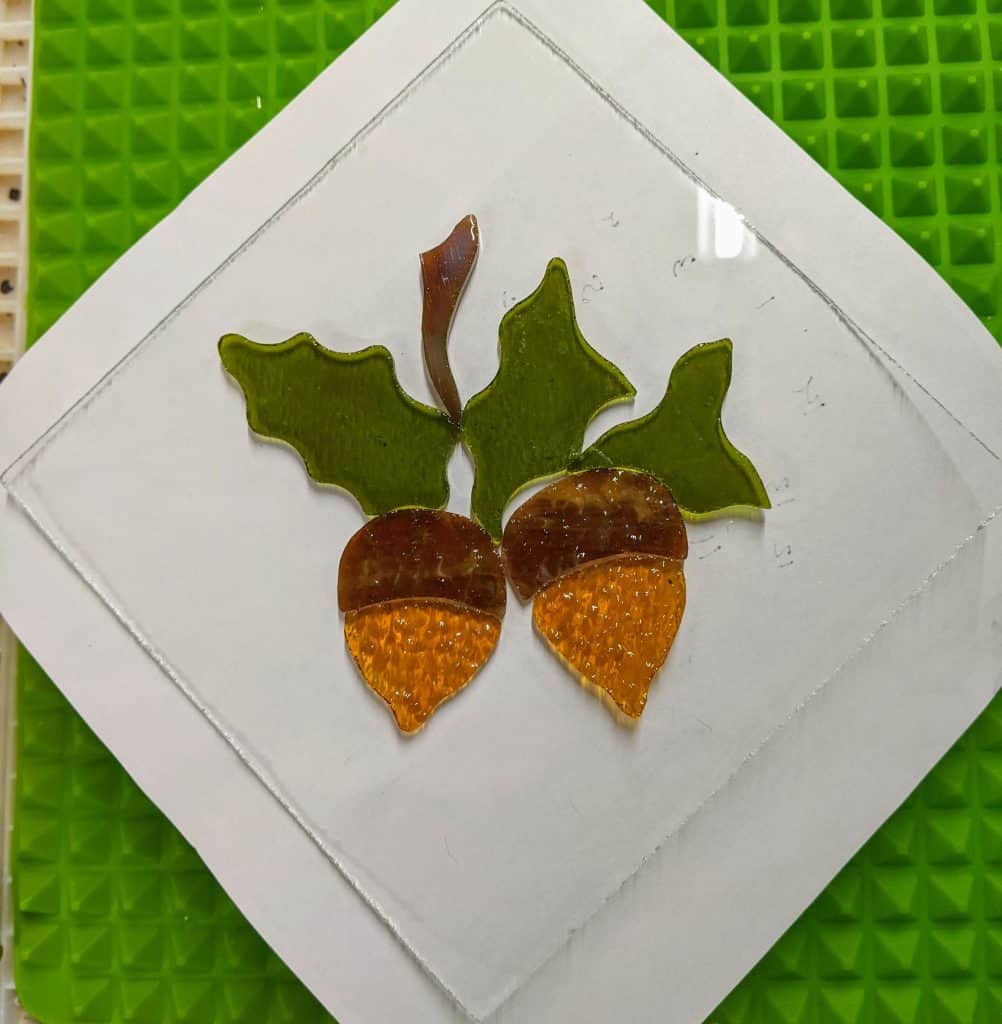
Acorns and Leaves
Glass of Sherry
I needed one more panel to complete the set of eight, so I made a second Autumn themed one with some acorns and leaves. Tomorrow I should be able to pour the resin on the flowers, snowman and acorns all at once.


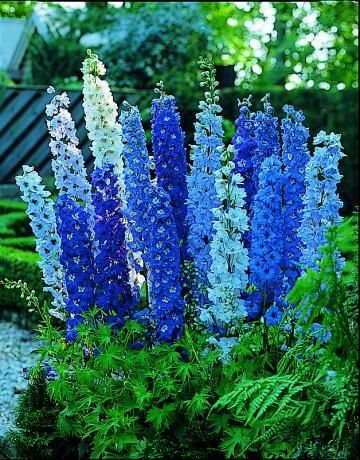
Today I glued in place the three panels I worked on laying out yesterday. Now to wait for the glue to dry so I can pour the resin. I have one more empty panel I want to add to this group – need to come up with some ideas to round out the set! The spring flowers remind me of Grape Hyacinth more than Delphinium.
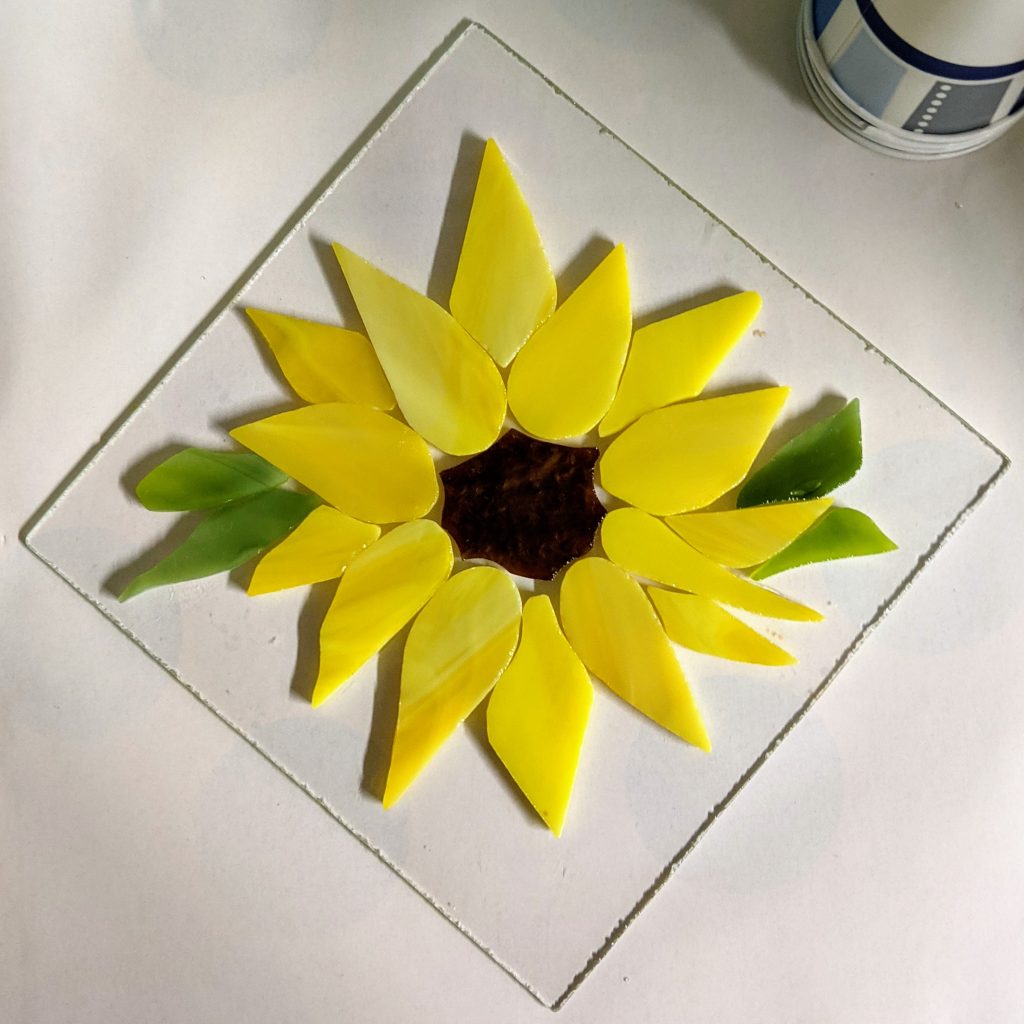
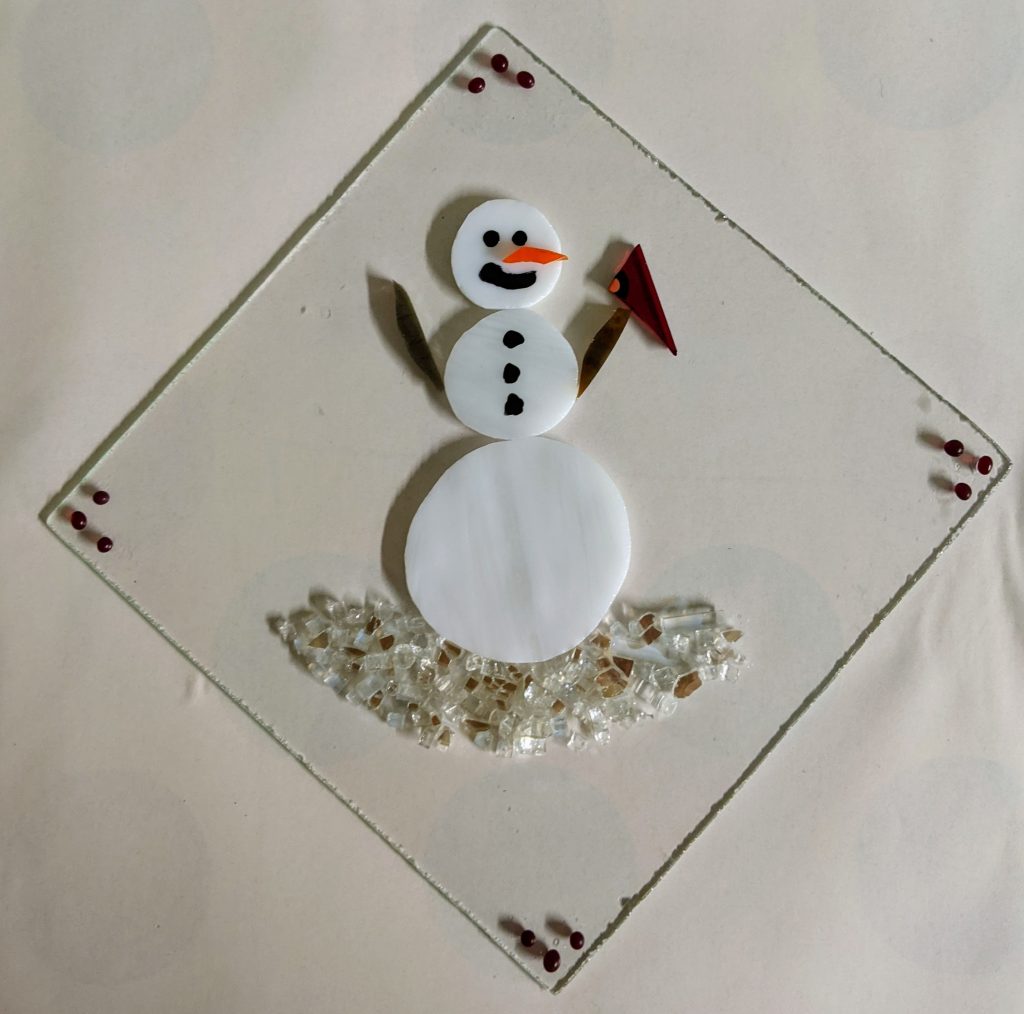
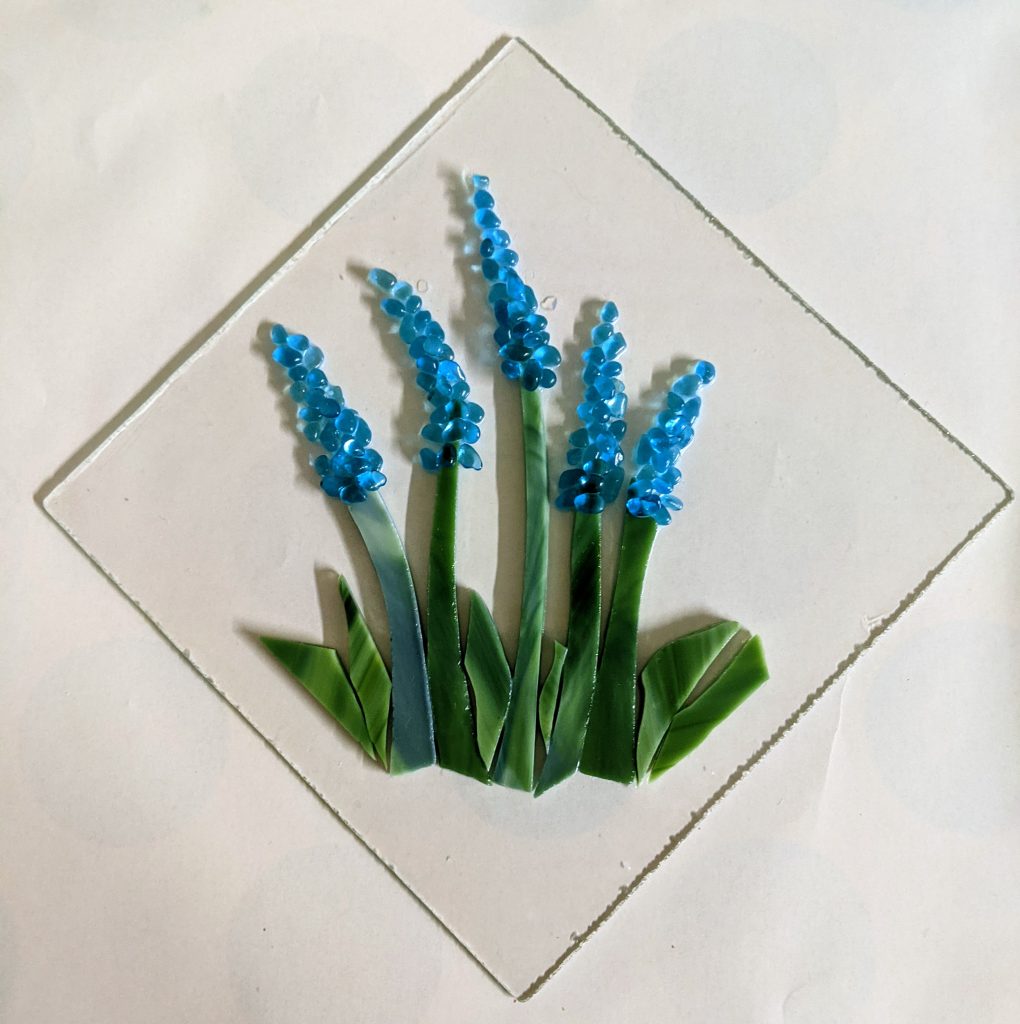
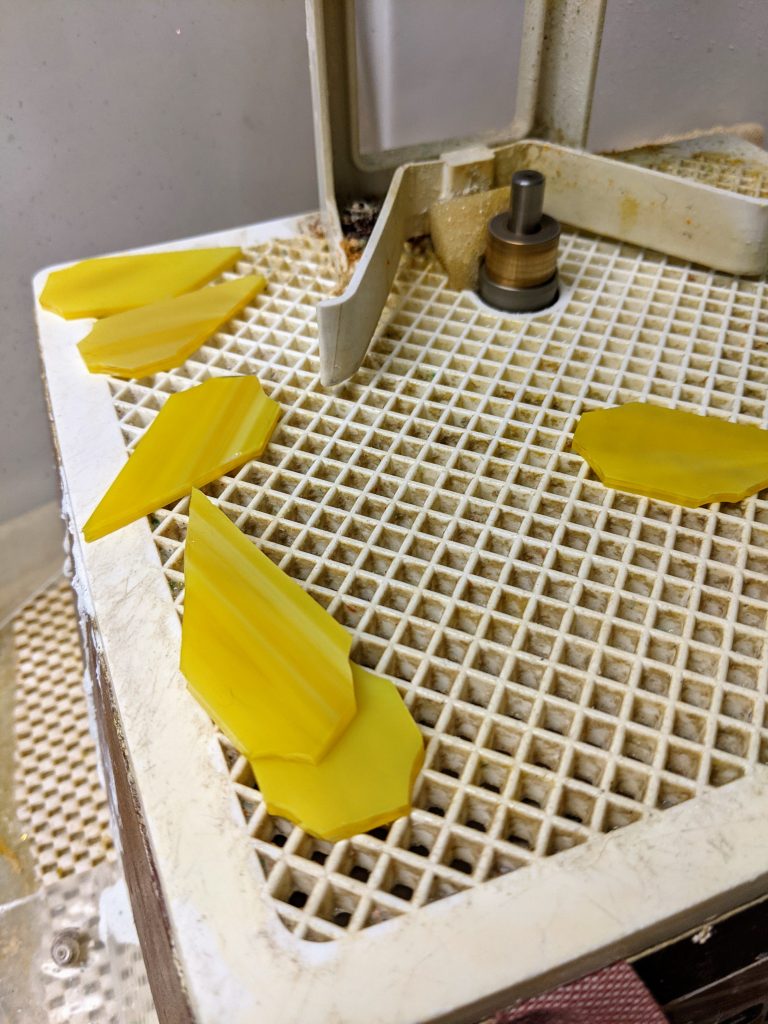
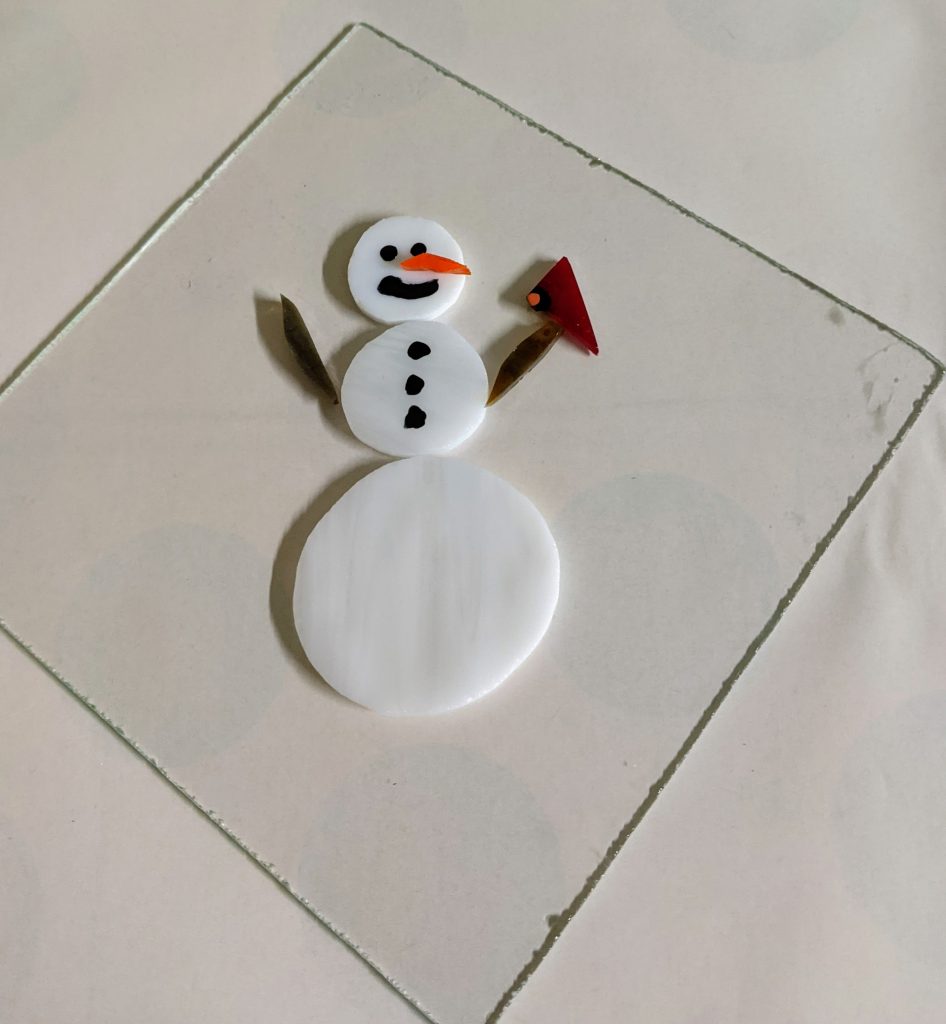
Some friends and family opined that my Seahorse panel for this set was more summer-y than spring-y, so I set out to make some other options to round out the seasons. Today I started a sunflower, a snowman, and spring flower panels. I still have to decide what the flowers themselves will look like for the spring flowers panel.
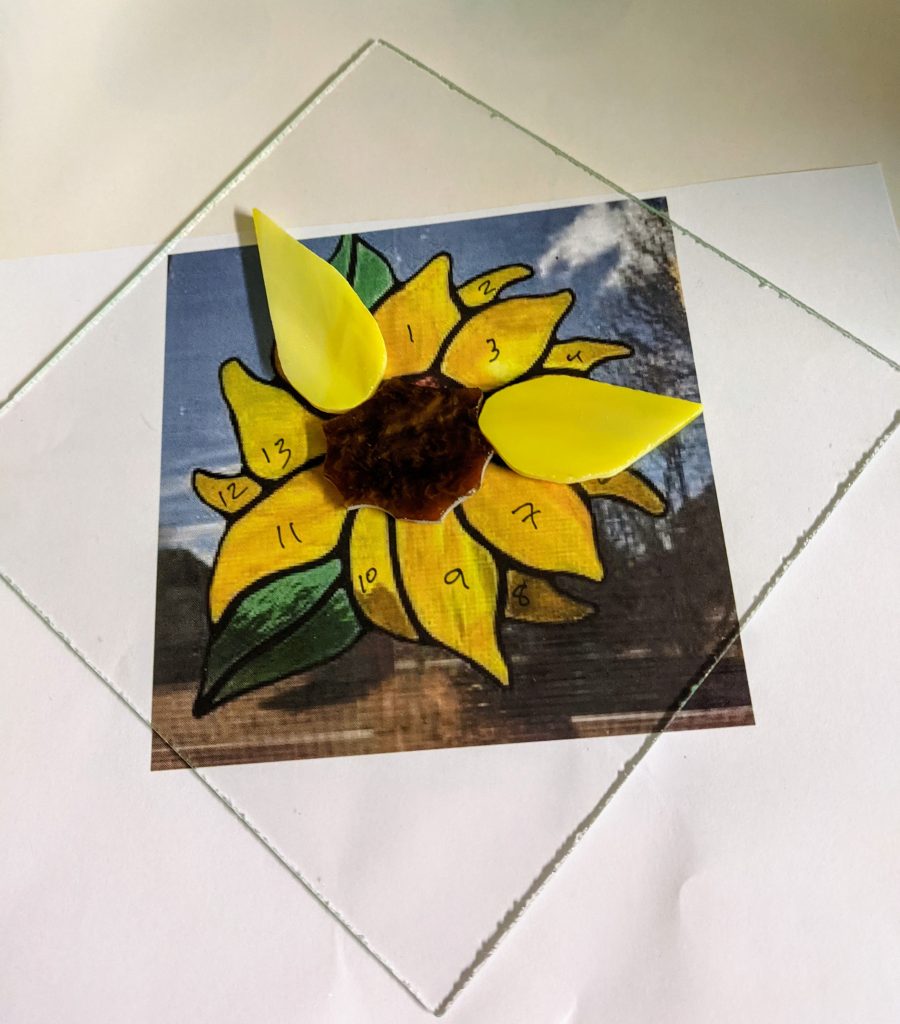
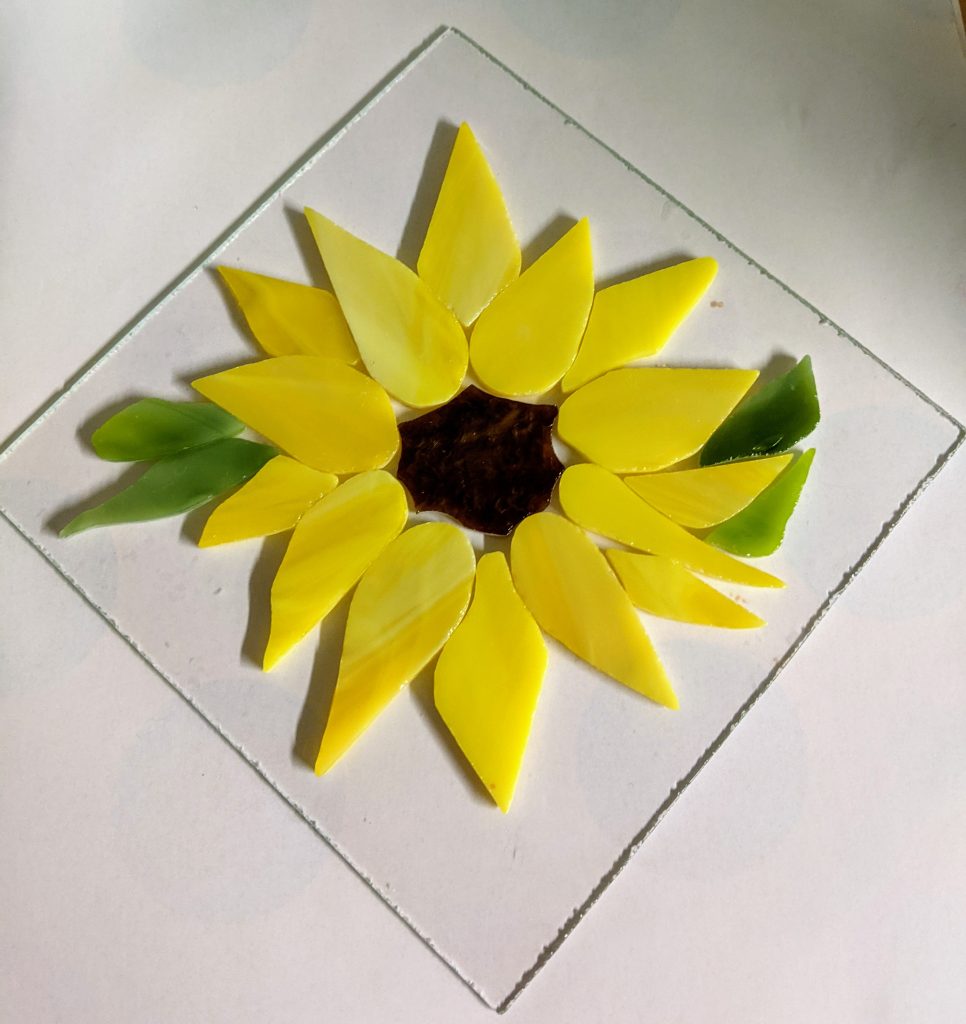
I had some snowman parts already made, so it was easy to lay out the parts.
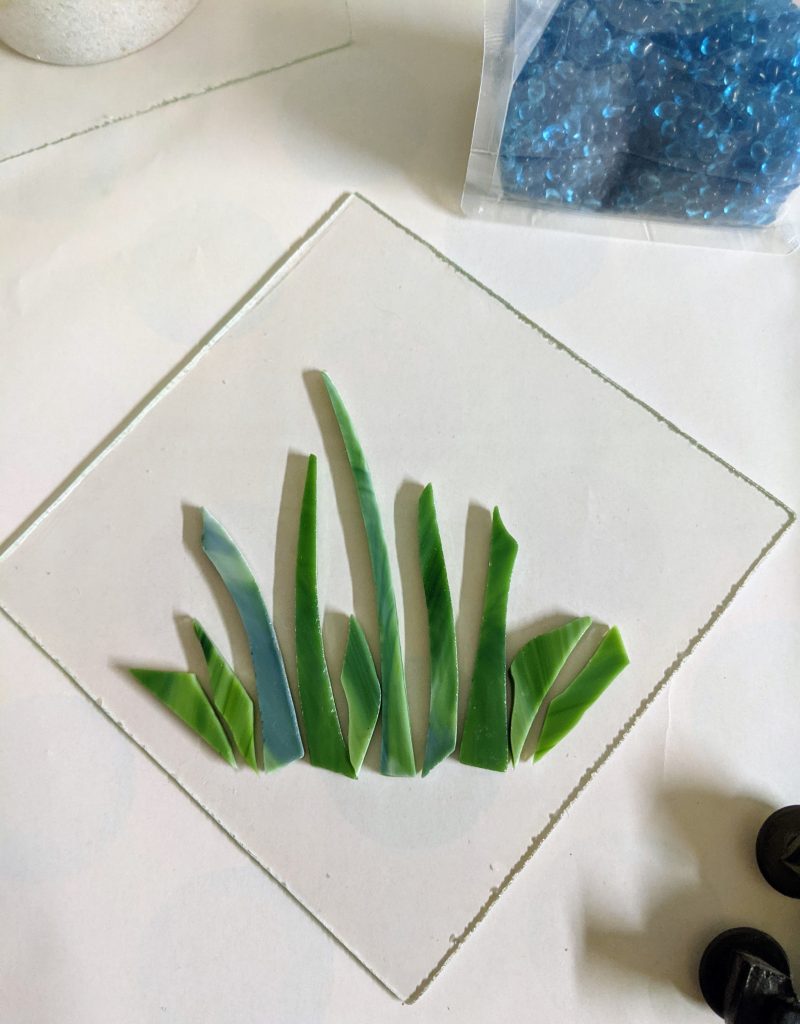
I might use the small blue glass globs in the top right of the photo for the flowers. I think it would be nice to make it look like Delphinium!
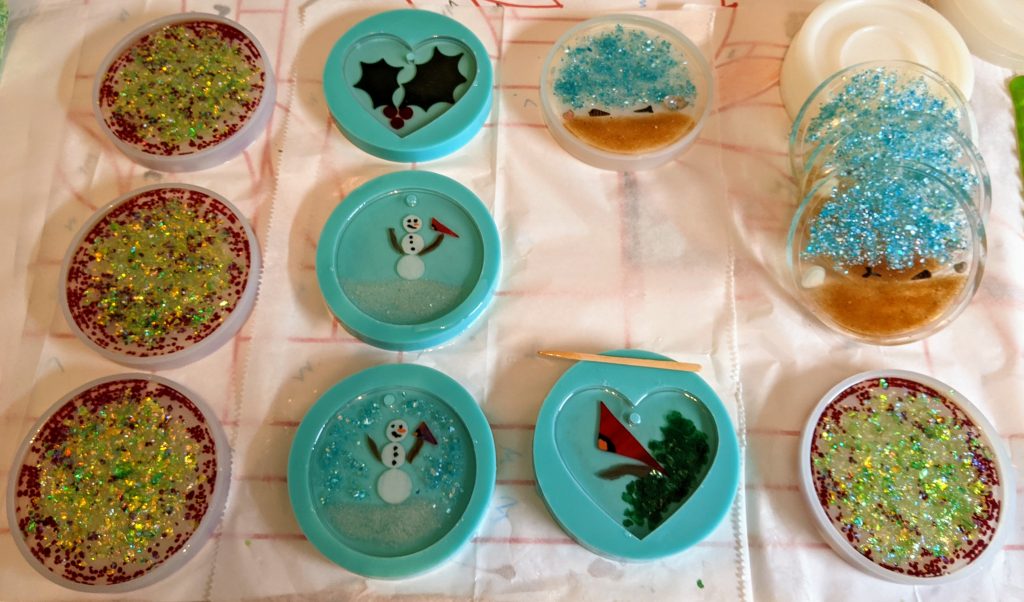
Today I poured the second layer of resin on several small projects and then spent some time making several small snowmen. I am experimenting with some abstract red and green coasters too, though my son says his favorite is the holly leaf suncatcher. My current favorites are the little snowmen. This is as close as you can get to making snowmen here in Charleston, SC. It’s 80 degrees outside and it’s well into November!
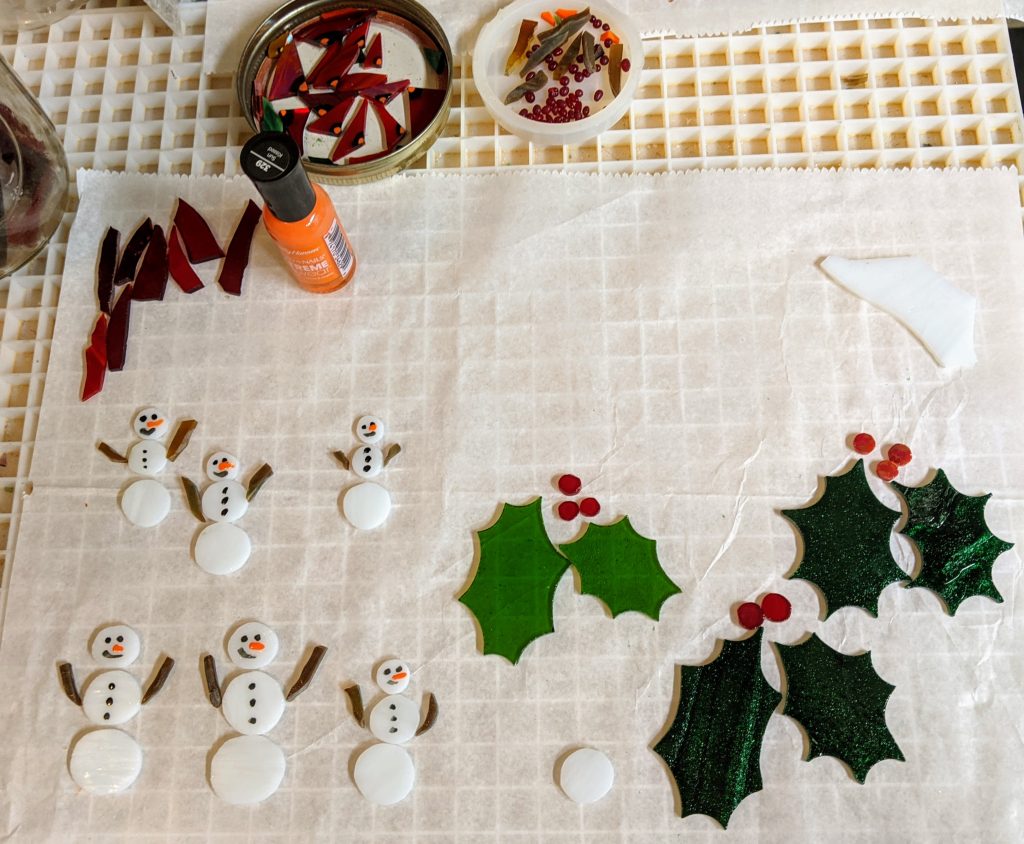
To make the “snowballs” for their bodies, I use glass nippers to rough out a generally round shape, then I use my glass grinder to smooth the edges. My fingers are pretty sore after making so many snowmen in one day! After the “snowballs” are ready, I paint on their faces (on the tiny ones). I use glass for the detail on the faces of the larger snowmen. Since these tiny ones are destined to be in two sided ornaments, I painted both sides of their faces / buttons and the little birds that will perch on their stick arms.
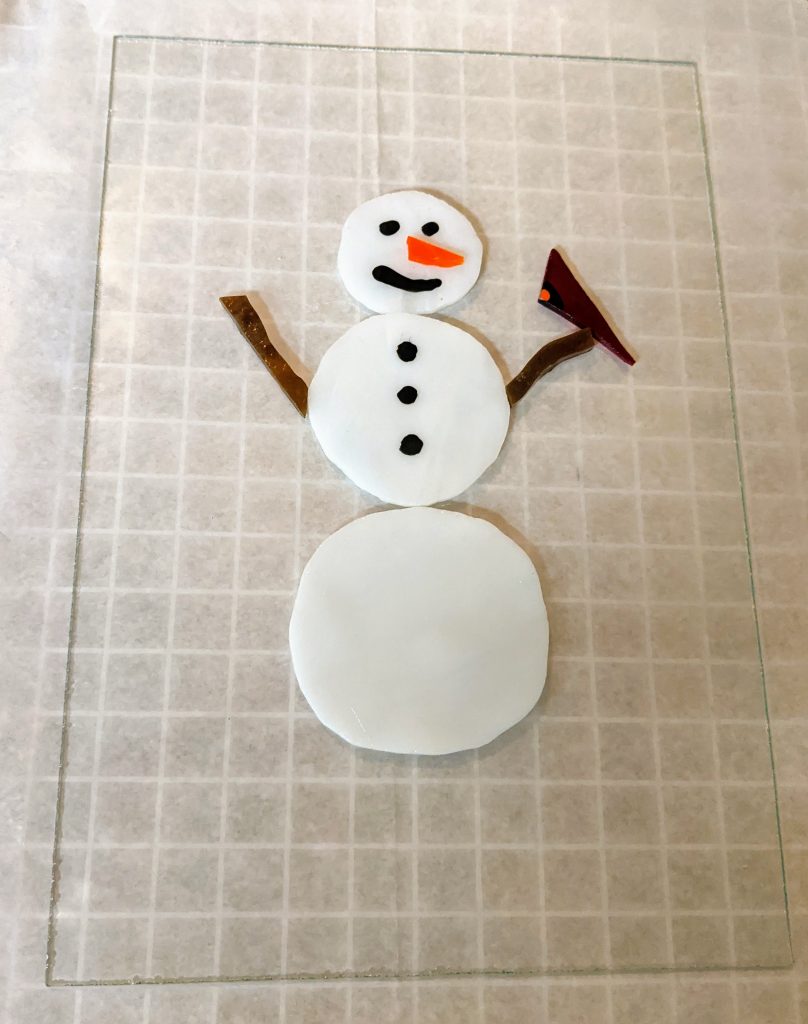
I also cut some backer glass and glued the pieces of this “big” snowman in place. I will pour the resin and decorate it another day, after the mosaic adhesive has had a chance to fully cure. This piece will be table top sized as it’s slightly smaller than a standard sheet of paper.
Glued in place today!
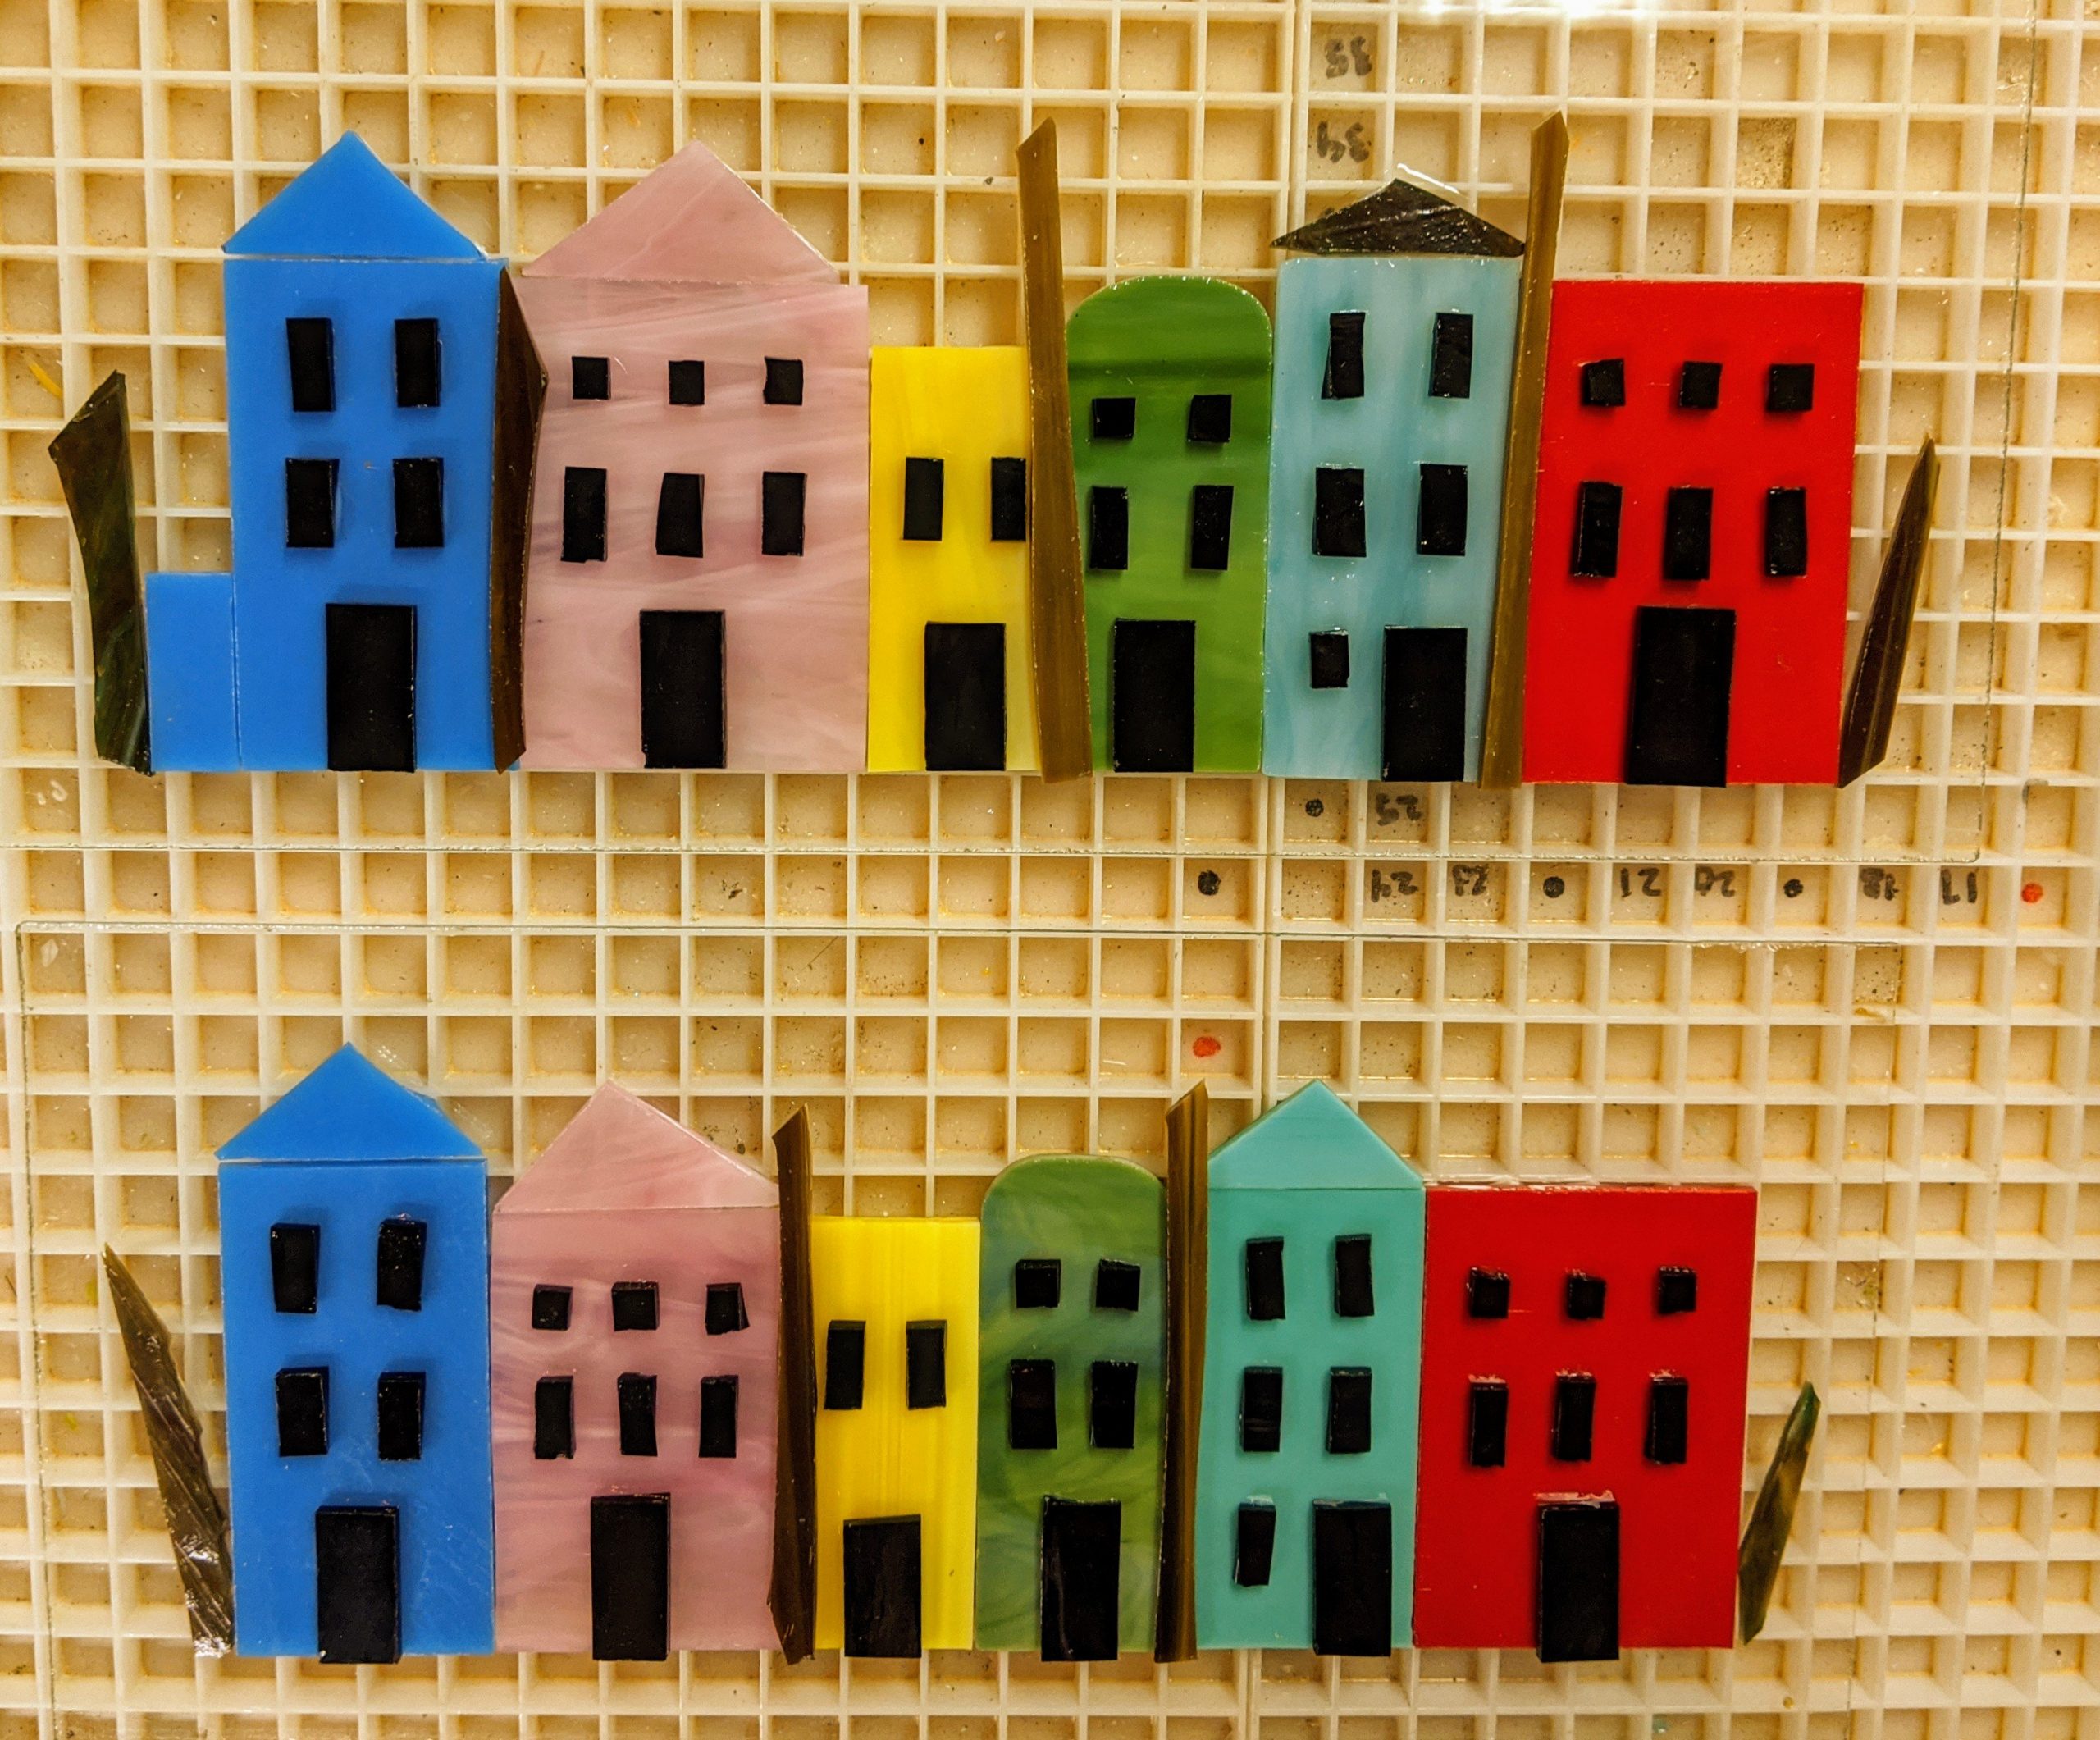
I use the plain glass from half of an old window to make smaller projects, like these Rainbow Row pieces. The old window glass is used as the base / background for the little scene. I then cut stained glass in various colors. I use a photo of Rainbow Row as a reference to help plan the colors and shapes of the houses. I also noticed that one of the houses in my reference photo has a little garage off to the left, so I’m going to see how it looks with that added on the top panel.
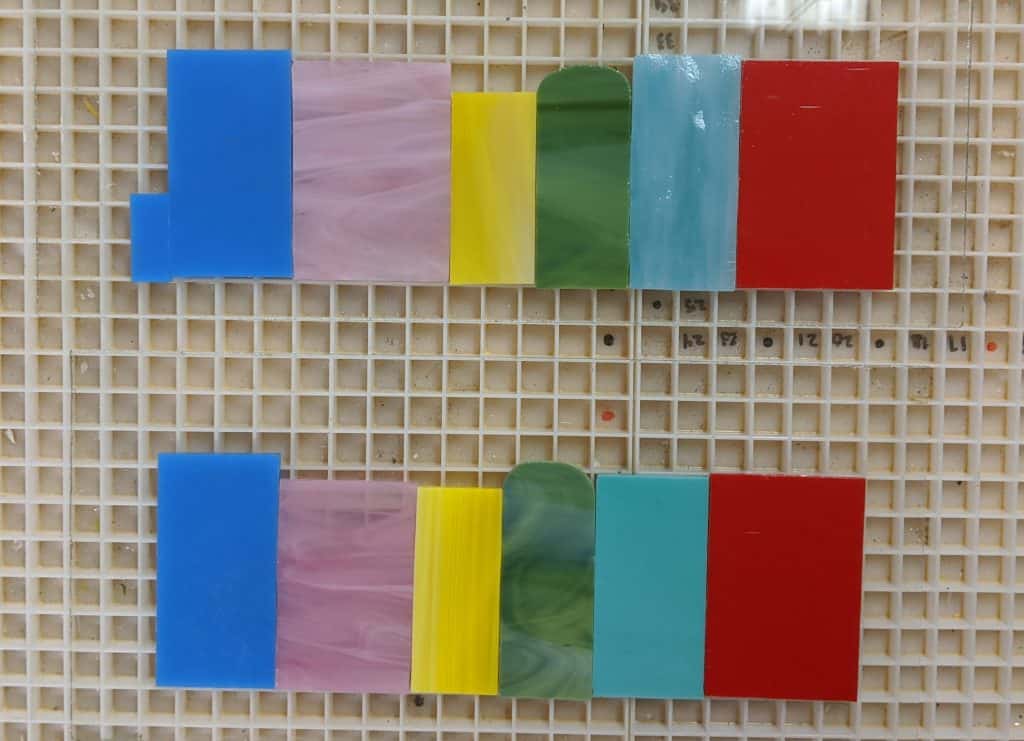
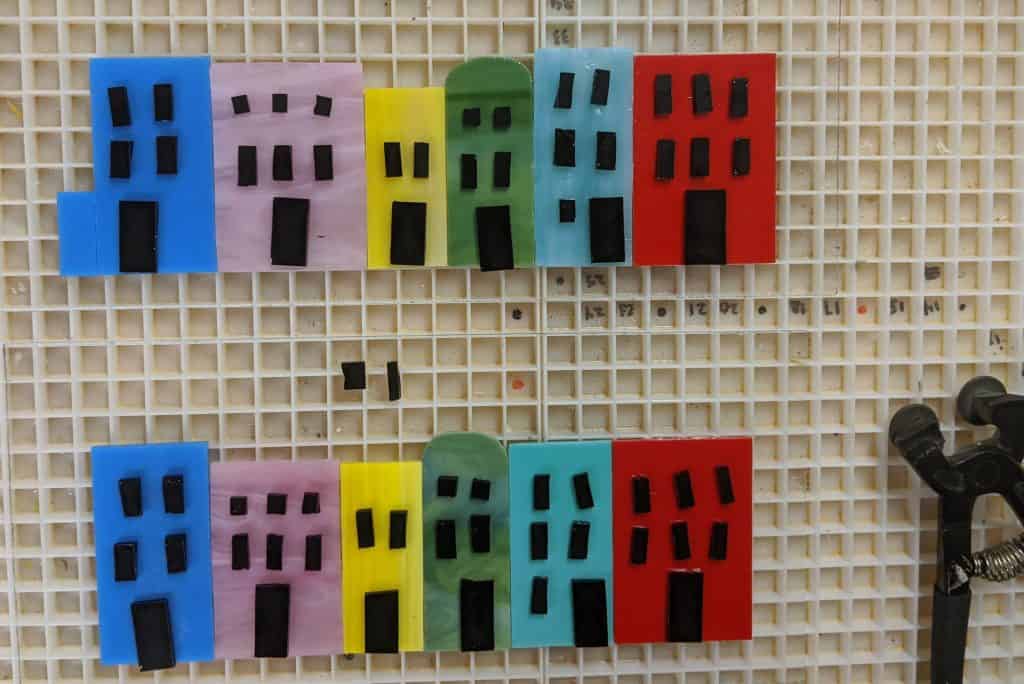
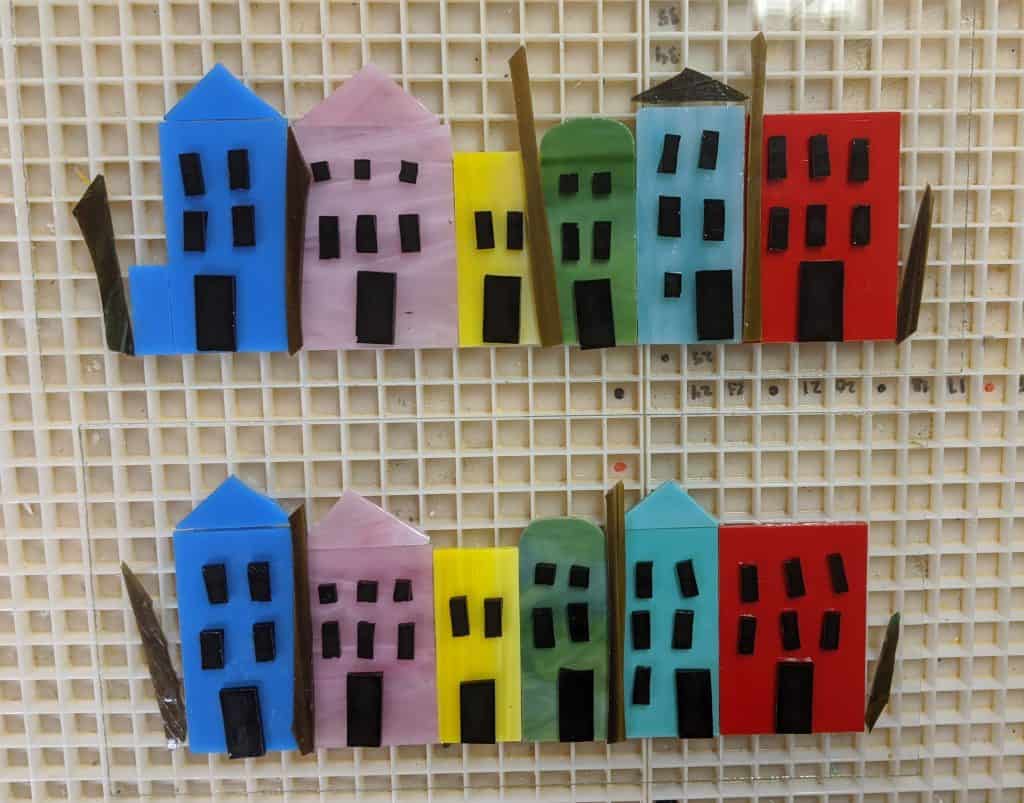
Today I finished cutting out the rectangles for the houses (I had already started some of them) as well as the doors and windows. I glued the house rectangles in place and arranged the other details while it dried. I will glue the windows, doors and tree trunks another day.
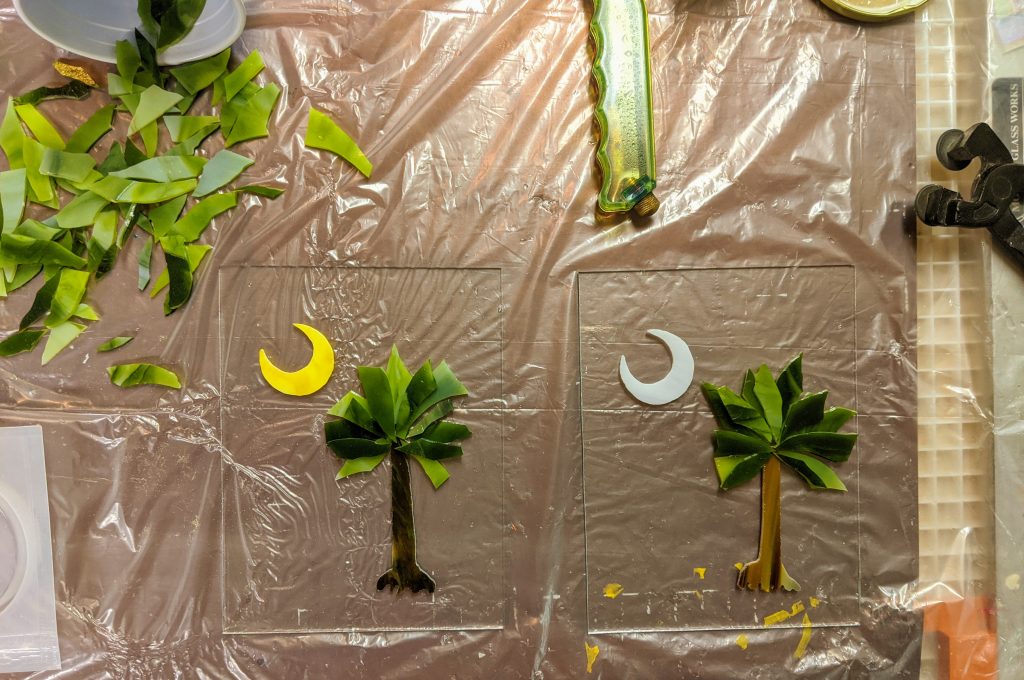
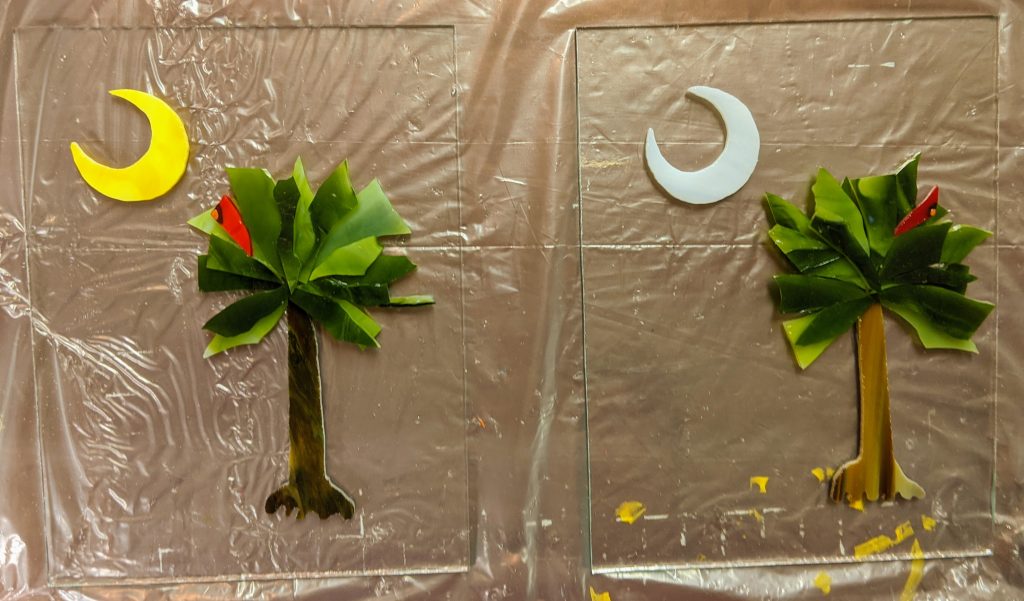
I finally got around to making some Palmetto and Crescents with variety today.
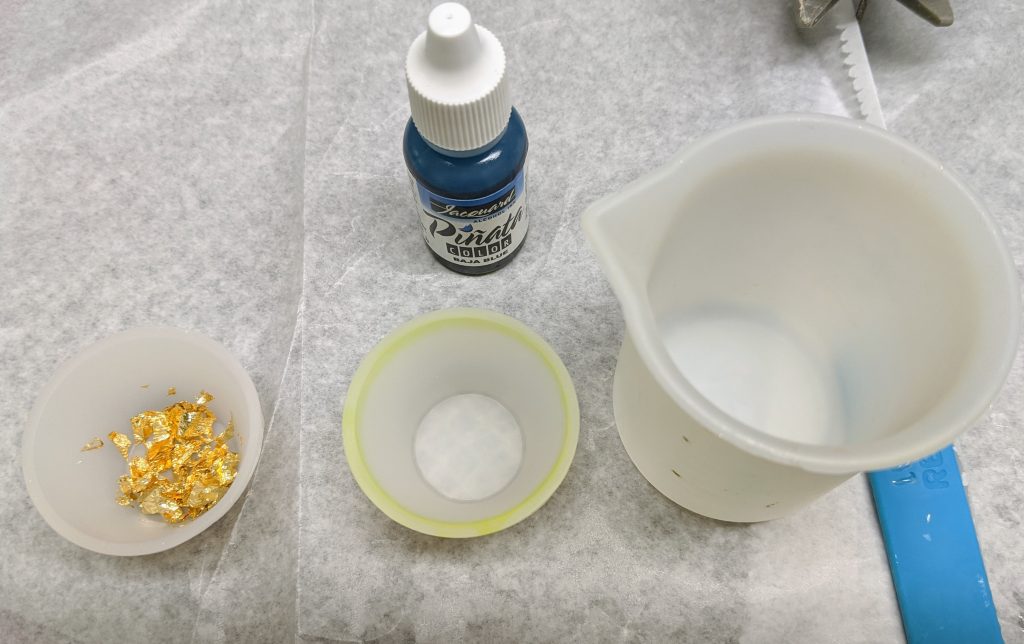
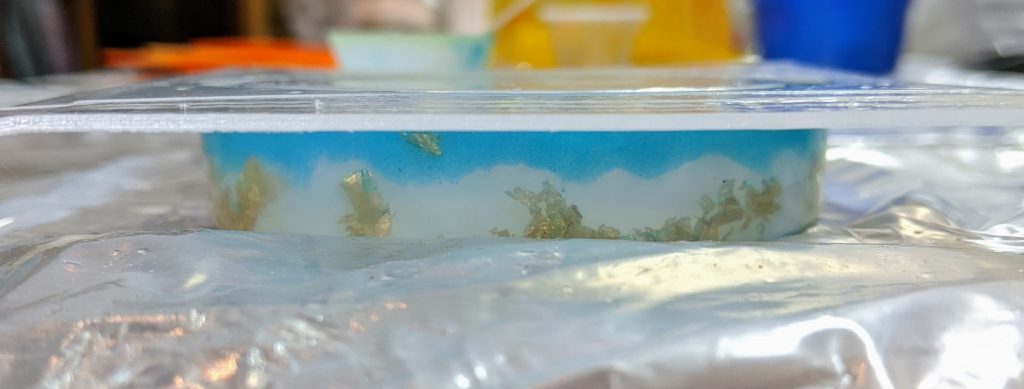
First, I mixed 80 ml of resin and then separated it into clear, a small container of clear with metallic flakes and one that would end up blue tinted.
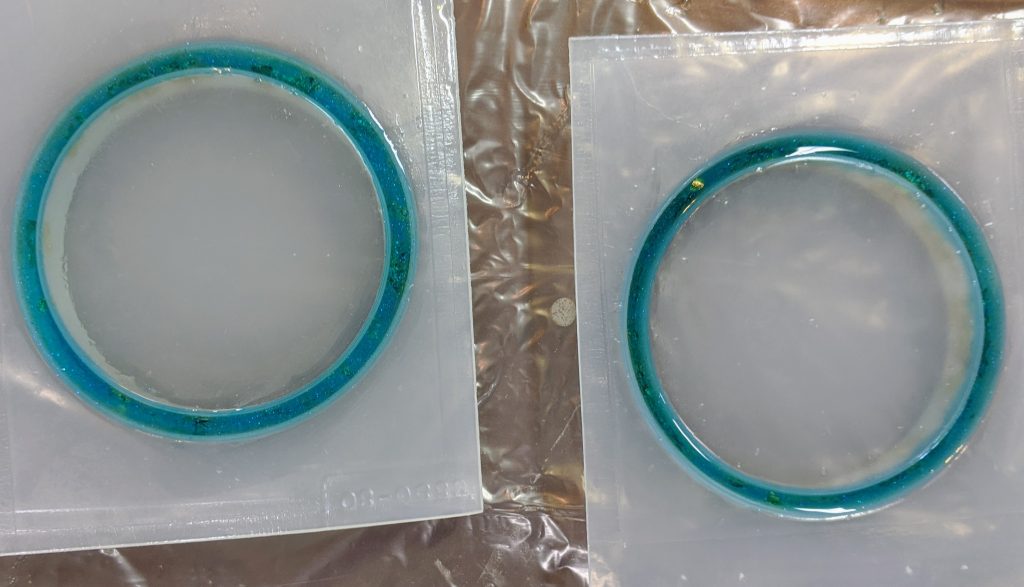
I also finished pouring the resin for my new bracelet molds. I’m not too sure how to get my desired look yet, but it’s just the first attempt. I think they might make a nice addition to my PetMemoryBeads.com offerings once I figure it out. I started pouring the one on the left a few days ago, with a clear layer then adding metallic flakes, then a little blue over that. I think mixing the flakes directly into the resin before pouring into the mold will make the flakes distribute better in the mold. I also needed to add more blue to the first mold today to fill in the space. For the one on the right, I mixed the flakes directly with the clear resin before pouring into the mold. The mold on the right also has been coated with Castin’ Craft Mold Release. I ordered the molds not realizing that they are stiff plastic, not silicone, which all of my other molds are made of. I never need mold release for my silicone molds, so I didn’t have it on hand when I poured the first one.
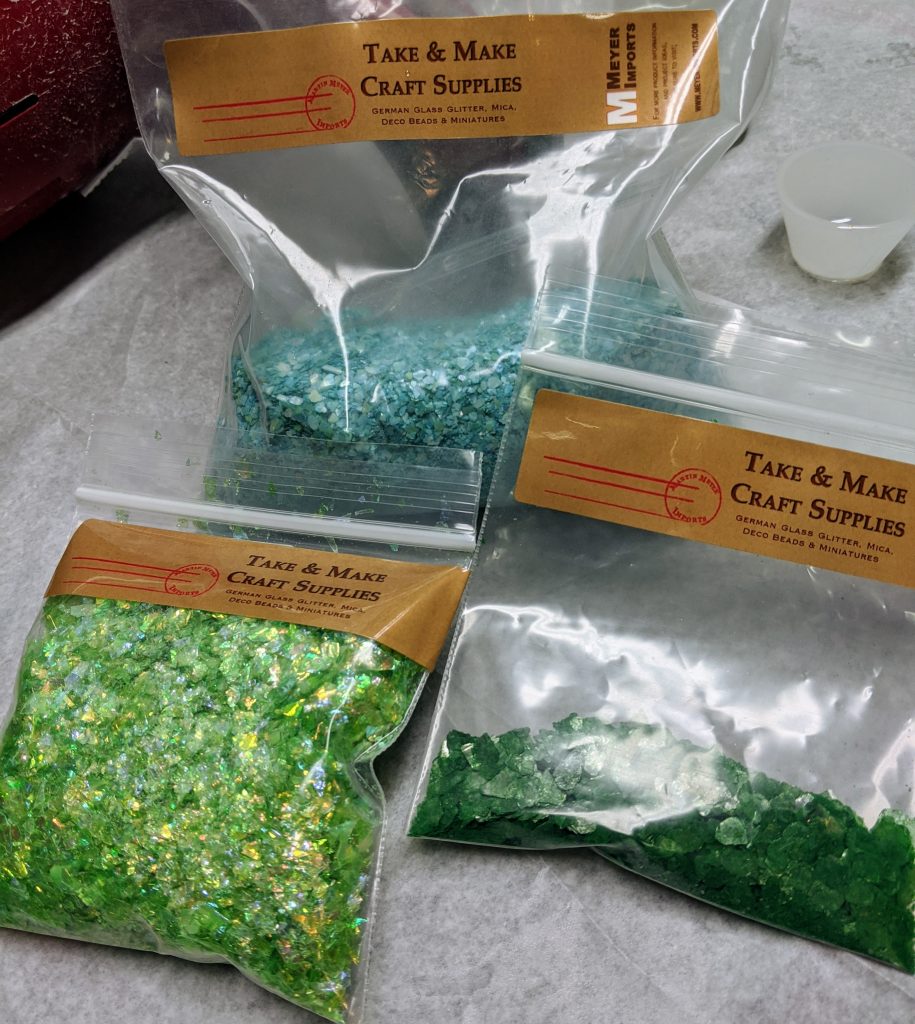
I actually poured the clear resin over the tree panels first, then tended to the bracelets, so my photos are a bit out of order. I decided to add a little red bird to the trees for interest. I also set aside some decorative class chips, mica, etc for decorating the background areas of the Palmetto and Crescent panels. I use a lot of materials from Meyer Imports and I really like their products.
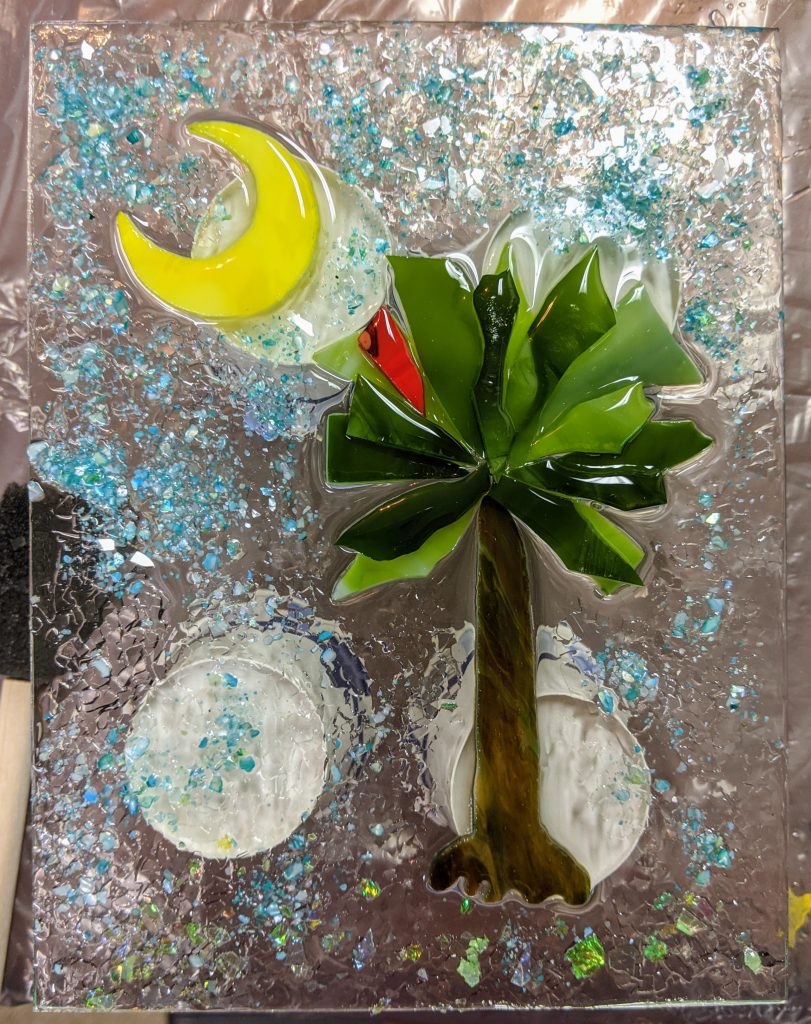
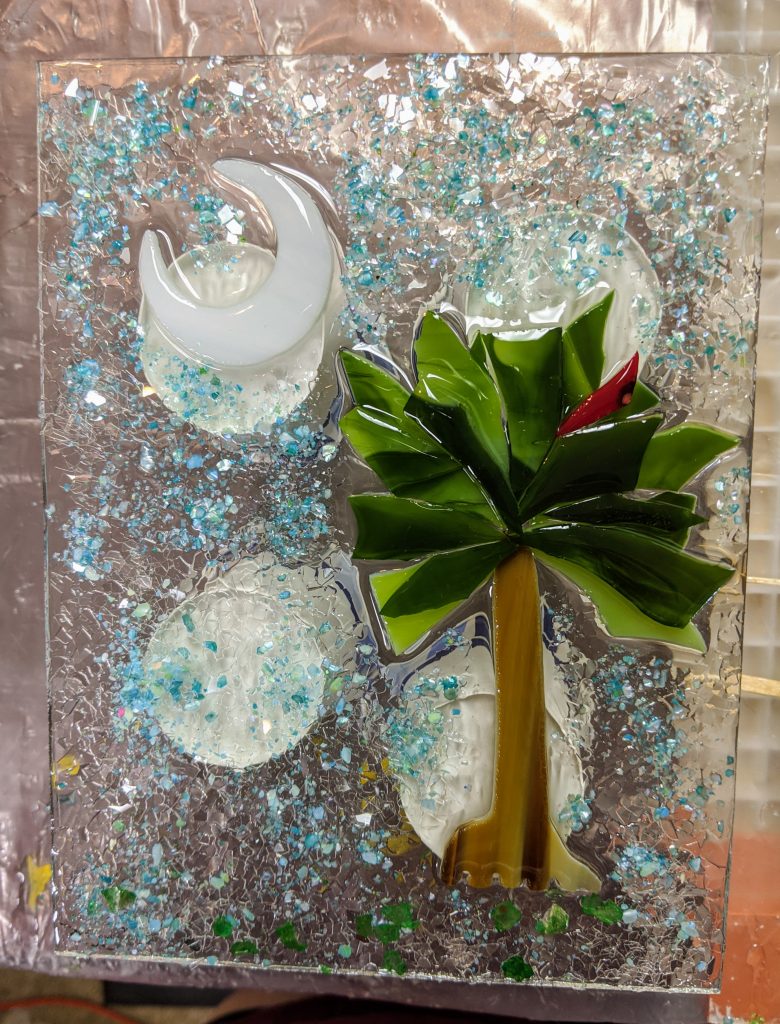
Today I started another layered wave over glass project. I need more practice to get the layers the way I want to see them. I also decided to make a “Clemson” version of the palmetto and crescent. My leftover resin went to a new coaster project where I’m trying out a new “beachy look” theme with metallic flakes and some blue alcohol ink.
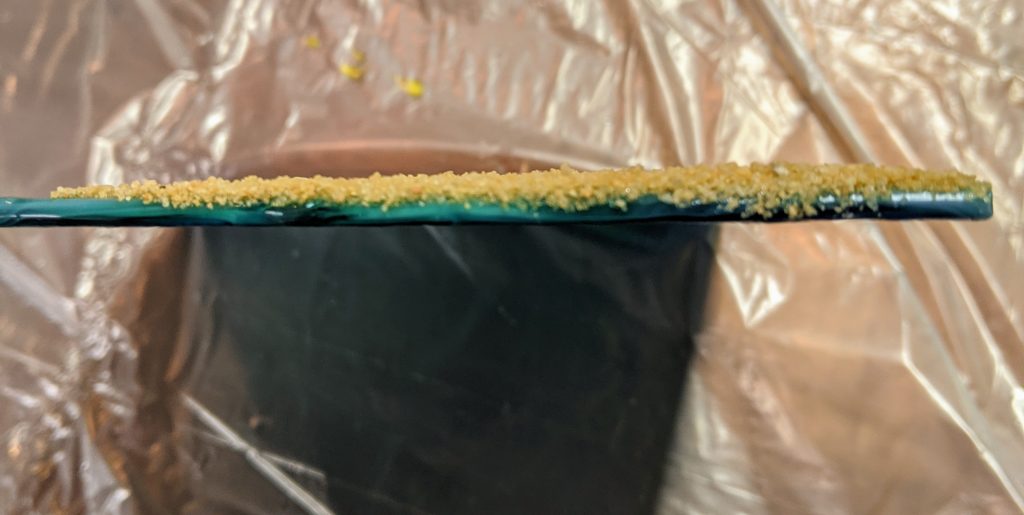
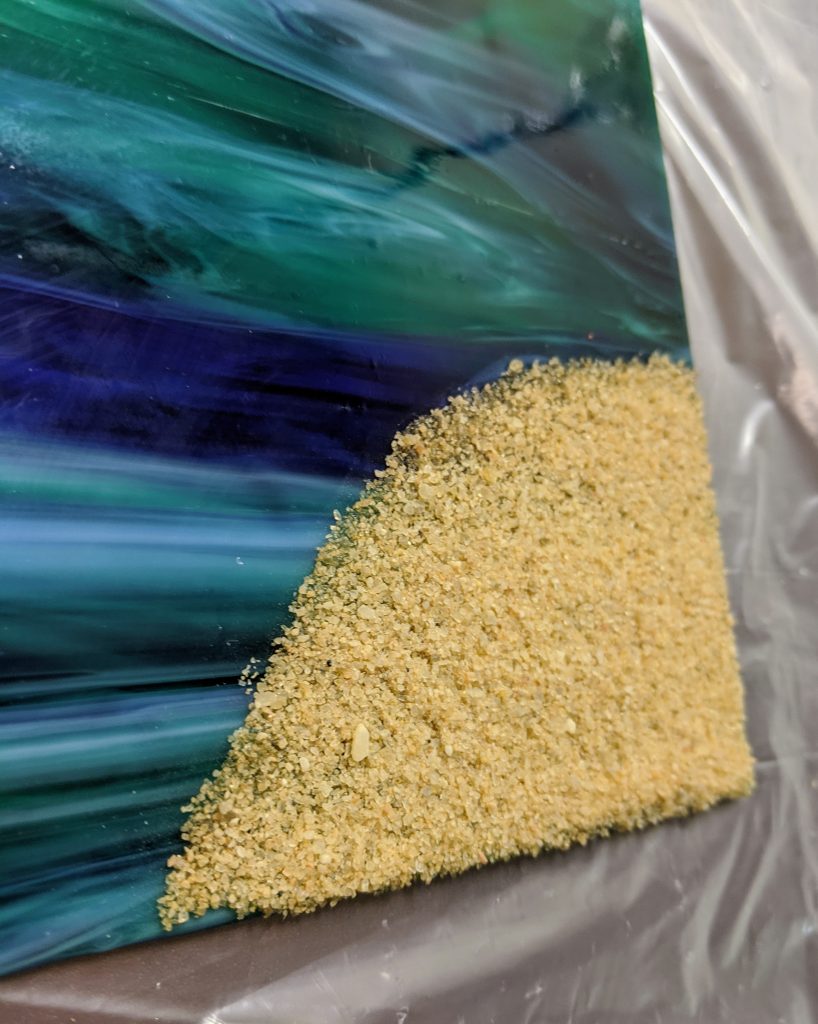
My first resin wave layers over glass project looked great, but I felt like I made the sand layer too thick, so for the past couple of days I have been slowly layering the sand to the point where it is pretty much opaque, but not thick. My plan for today was to pour the first layer of clear resin. I also wanted to add the first wave (white pigment), but I chickened out and decided to wait until the first resin layer had cured.
While I waited for the resin to settle over the sand and glass, I poured the first layer of resin into two coaster molds and added some metallic flakes and later some blue alcohol ink tinted resin drops as well.
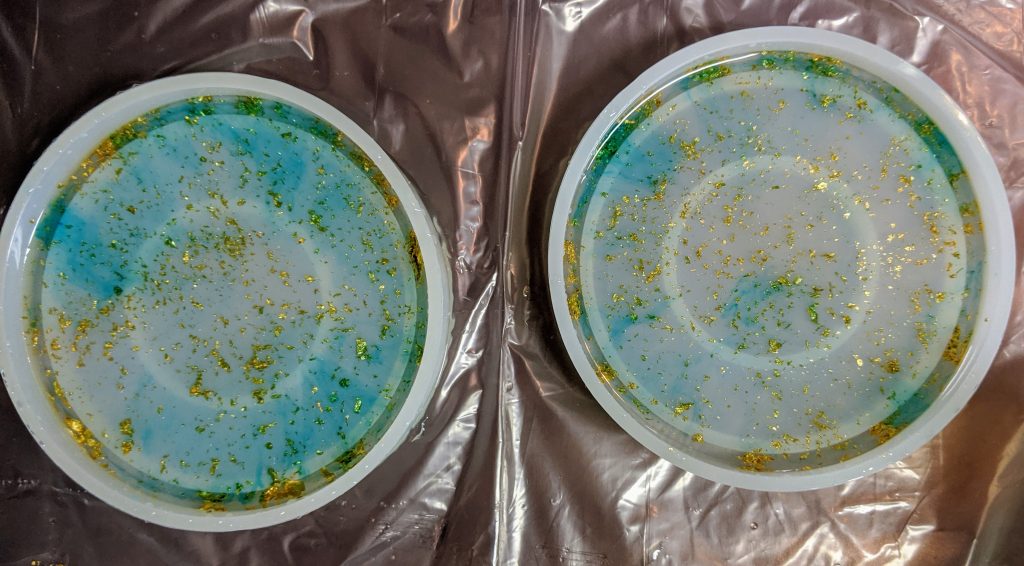
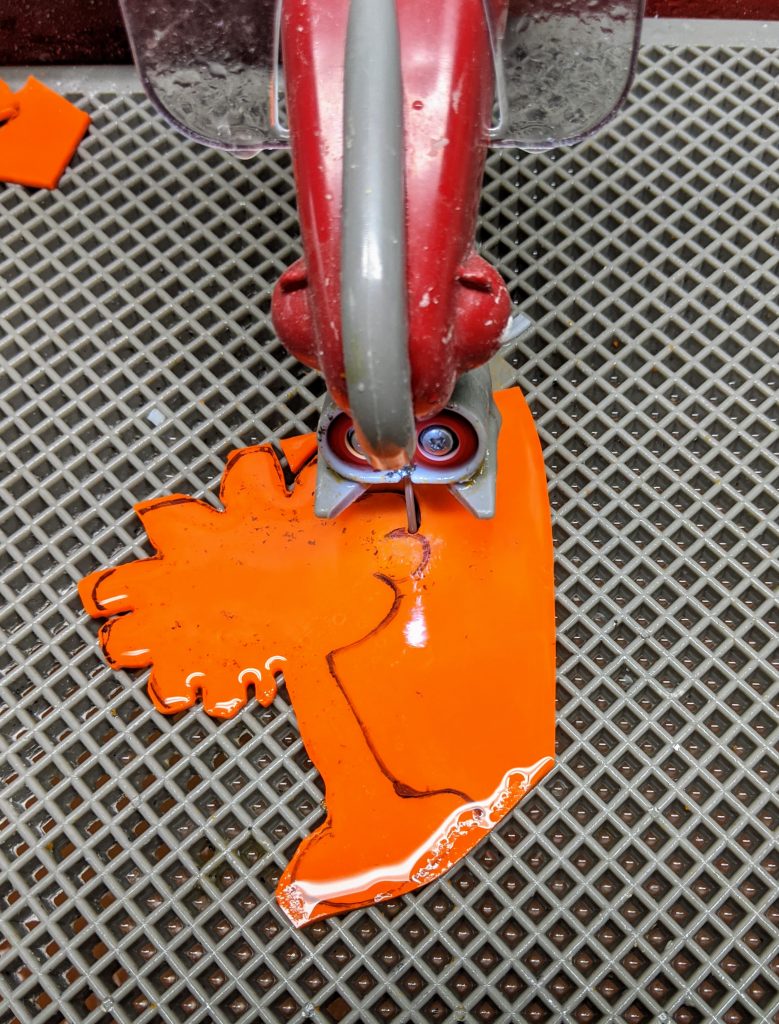
I ordered some bangle bracelet molds the other day and I’m hoping to use a mix similar to the one I used in these coaster molds in those, so I thought I’d try it out with my leftover resin today. I have no idea how it will turn out, but I think I will add another layer with more ink when I mix my next batch of resin for my art-glass-layered-wave-beach panel. I poured and spread the resin as needed, used my small craft stick to remove bubbles and then used the heat gun on all three items to further remove bubbles. While I waited for the resin to settle (you have to hang out for 30-60 minutes and watch for more bubbles in case they decide to pop up), I cut out two more palmetto and crescents using my glass saw; one set orange and one white.
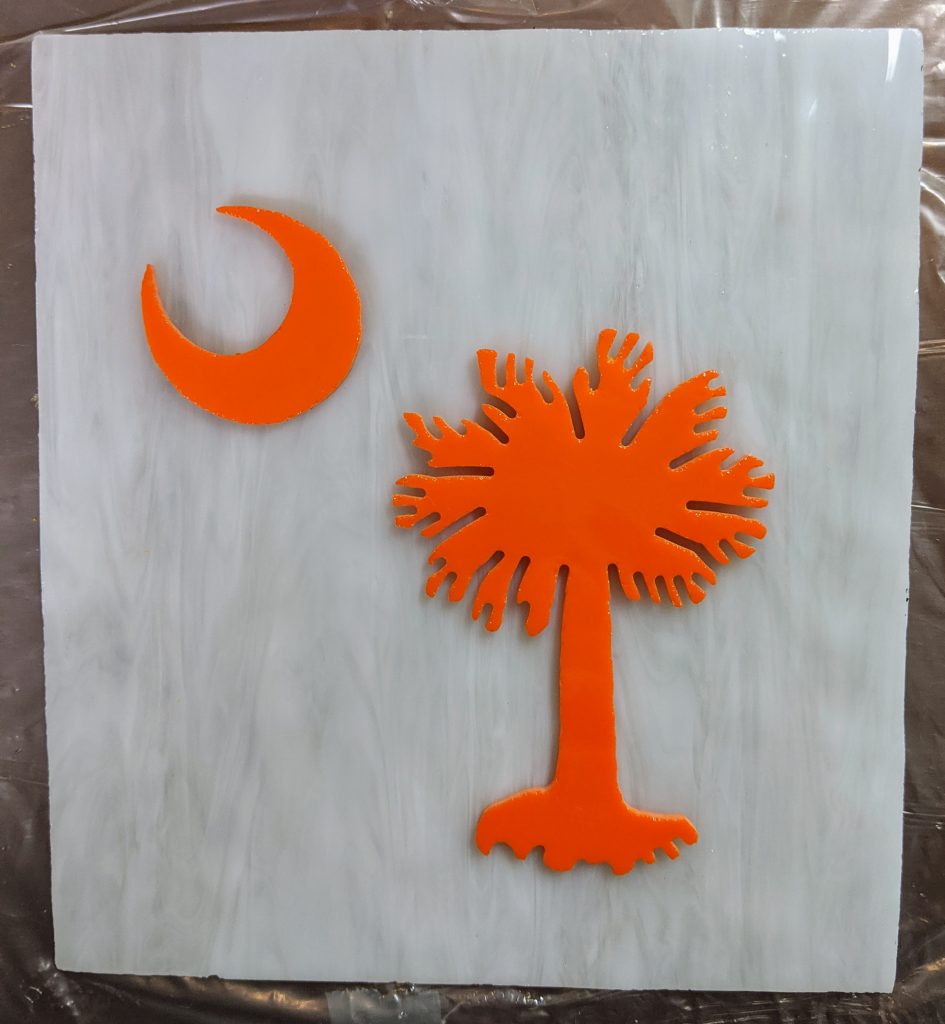
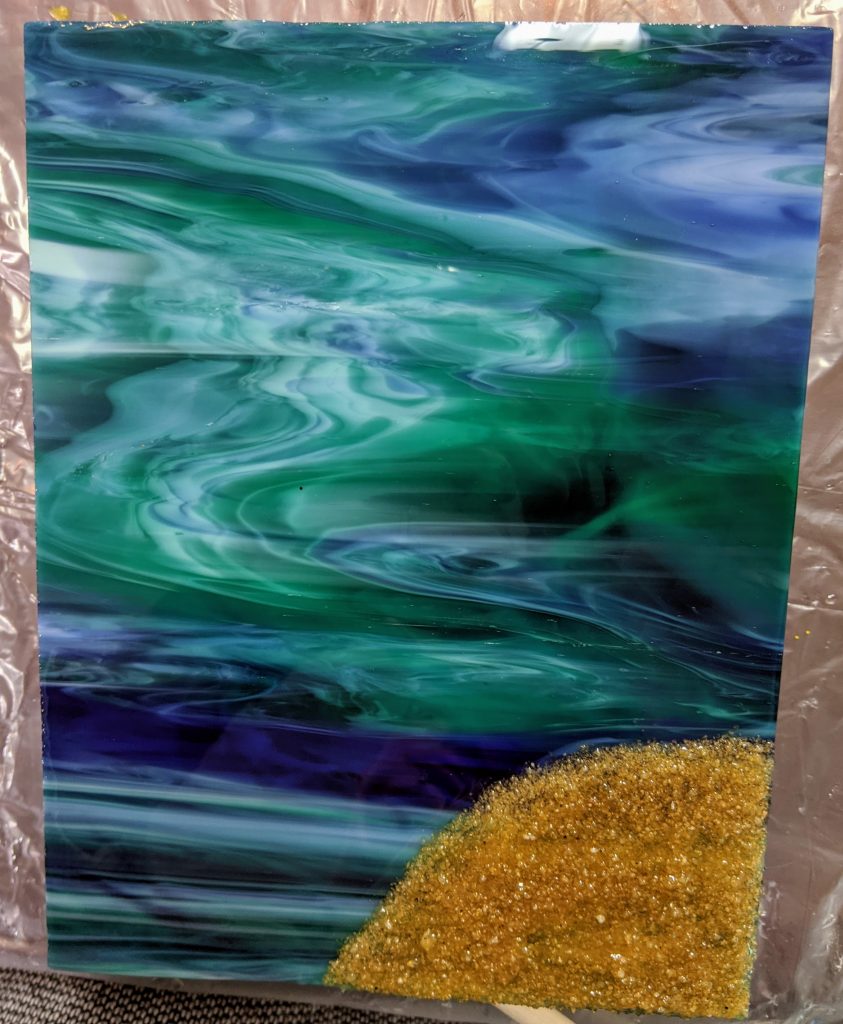
Tomorrow I will add the second wave layer over the sand / beach on the glass panel and hopefully layers for the orange / white palmetto and crescent glass panel and another tinted layer for the coaster experiment.
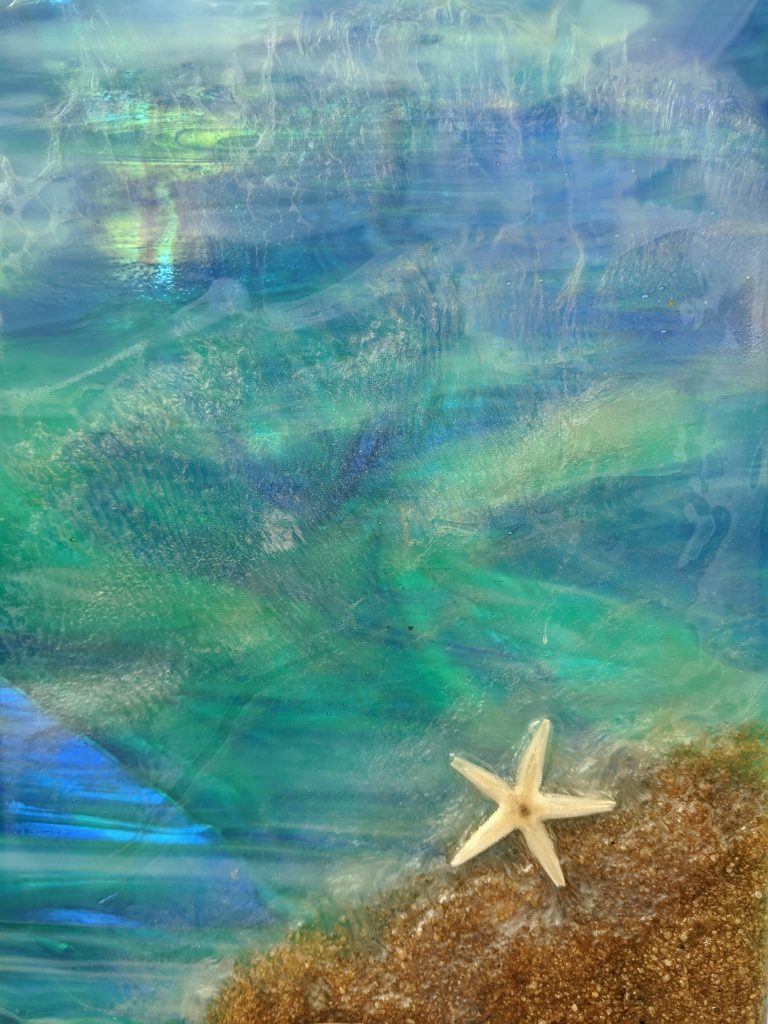
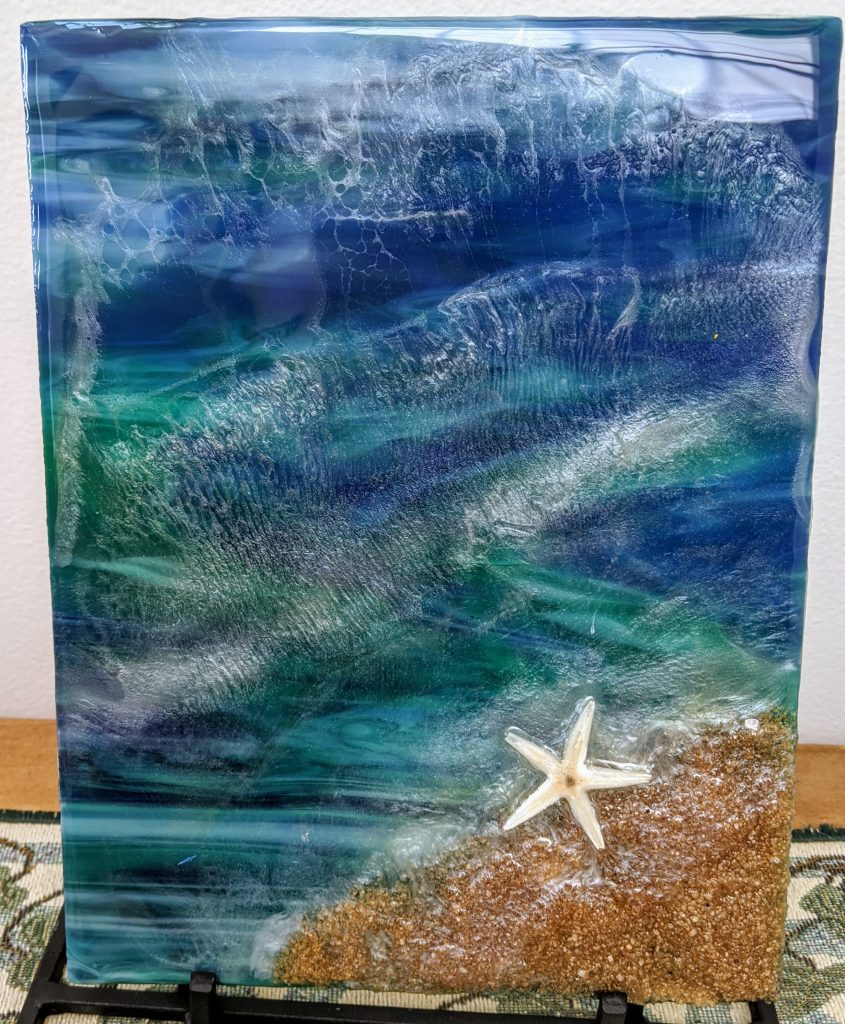
The resin cured on both of these overnight. Even though the wave project didn’t go completely as planned, I am pleased with it. It looks amazing when I hold it up to a sunlit window!
